Tires are prone to going flat over time. In most cases, all you have to do is pump the tire with air. however, sometimes the tire bead will come off the rim. To fill up your tire again, you’ll have to seat it on the rim.
A tire bead is the inner edge of the tire that is fitted to the rim when the tire is inflated. When it comes loose, the tire deflates and your tractor becomes a burden. Below, you’ll find out how to seat a tire bead on a regular lawn more or a garden tractor.
There are two main methods for reseating a tire bead. The first one involves the use of fire. I wouldn’t recommend this method for smaller tires or inexperienced individuals. The next method involves increasing the pressure using an air compressor and a rope or string.
I don’t recommend using this method because of how dangerous the outcomes could be. This mainly works for larger tires, try not to take the risk with smaller ones.
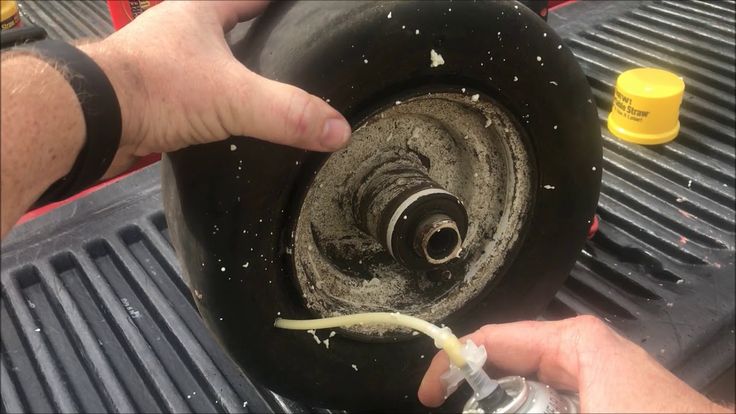
All you’ll need to use is starter fluid and a way to set it on fire. You’re going to spray the fluid in the gap between the tire bead and the rim then ignite it. The pressure from the fire will bounce the bead back into place.
After making sure that the fires are out, proceed to fill your tire with air before it deflates. Be careful the air emanating from the tire is really hot! When inflating the tire, don’t exceed the PSI limit. You’ll find the maximum PSI written on the side of the tire.
Should you choose to go through with this method, you should take great care. Keep a fire extinguisher nearby for any emergencies.
This method requires some muscle power. The smaller the tire you’re handling the less power you’ll need to carry out these steps.
https://www.youtube.com/watch?v=5mfJIOkvVRMVideo can’t be loaded because JavaScript is disabled: How To Seat The Beads on a New Riding Lawn Mower Tractor Tire (https://www. youtube.com/watch?v=5mfJIOkvVRM)
You’re going to need something to tie around the length of the tire. It should be elastic enough to be able to tie it and sturdy enough to handle the tire’s pressure. You have several options.
Take your rope, or whatever you chose to use, and run it along the length of the tire, making sure it’s centered. If it’s not centered, the rope could slip off when you’re pumping air into the tire.
You don’t need to tie the rope very tightly, you’ll do that in the next step.
Grab a screwdriver or any metal appliance that resembles it. Wedge it under the knot you just made and twist it. That will make the rope tight over the tire, and increase the pressure inside.
You may struggle a little bit with this step. The first twist is always the hardest one. If you get it done, then the rest of the work will be a walk in the park.
This step is optional but still recommended. Removing the valve stems will allow the air to flow easily with no restrictions.
When you’re not limited by anything when filling the tire with air, it makes it much quicker to do so.
Fill the tire with air until the tire bead is pushed outwards and seated on the rim. Don’t over-inflate it, you’re still applying pressure to the tire.
The valve stem will prevent the pressure from escaping the tire. If pressure does escape, the tire bead will loosen around the rims again. You don’t want to go through all of that again, do you?
Now that there’s no external pressure being applied, you can fill the tire to the maximum PSI level, and you’re done!
Overfilling the tire with pressure could cause it to burst. You should know the maximum PSI of your tire beforehand and fill your tire accordingly. If you’re unlucky enough, you’ll get in the way of the exploding tire which could cause severe injuries and sometimes death.
So be really careful when adding pressure to your tire.
Each method has its time and place. It all just depends on the tire you have and the situation you’re facing.
If you’re dealing with one of the tractor’s bigger tires and can’t easily use the wrap around the circumference method, go for the fire method. With bigger tires, it’ll be hard to tie a rope around it, especially if you’re working alone.
Squashed tires and the explosive method go hand in hand. Because there’s no pressure in the tire, you won’t be able to wrap the rope around the tire. So you’ll have to turn to the other method.
Contrary to the fire method, this method is perfect for small, more manageable tires. Assuming you only have limited space to fix your tire, you should go for this method. It doesn’t require much space and won’t set your garage on fire.
It’s best for cases where the gap between the tire bead and the rim is narrow. This indicates that there’s pressure inside, which you’ll need for this to work.
If the tire bead or the related cords are cut or damaged then the wheel is shot and cannot be repaired. In this case, you need to purchase and replace the damaged tire. There is no way to make a damaged tire bead airtight again.
How do you know if your tire is losing air abnormally? A normal tire will lose about 1-3 PSI a month, so if you’re losing more than that you should get it checked.
There are four reasons behind the loss of air.
Air condenses in cool weather and expands in warm weather. You probably know this from your chemistry classes. In wintertime, your car will detect lower PSI inside the tire.
When you start driving the PSI will increase as you begin to heat the air particles inside the tire. This will keep happening for about 10 minutes, the air will then stop expanding.
Again, your chemistry class. Naturally, the air wants to escape the tire because of the high concentration there. It wants to be let out into the vast world outside the tire. Thus, any chance the air will get to escape, you’ll find your tire losing its pressure.
There could be a problem with the valves inside the wheels which release more air than they should. These deteriorate through the years due to weather conditions or bumpy roads.
Another problem with the wheels is that they could be bent or damaged. When part of the wheel is bent, the tire won’t be fitted tightly around the wheel, causing pressure to escape through the ill-fitted parts.
We get tire damage because the roads aren’t as clean as we’d like to think they are. Sometimes, a loose nail or other sharp objects may slash the tires. Small tears will be enough to cause the tire to lose air slowly.
If there is any damage done to the beads, air could escape from the small opening between the bead and the rim.
The bead doesn’t even need to be damaged, it could just loosen around the rim and still cause the tire to lose air. We’ll tell you how to bounce it back in position.
Good luck trying to steer a car with only a steering wheel. Similar to how our body and mind work in sync, the steering wheel, and tires do too.
Tires aren’t in sync only with the steering wheel, but also with the engine. They translate the engine’s power into movement.
The pressure inside them makes them keep the vehicles moving and support their weight. If it wasn’t for its bouncy quality, tires wouldn’t have held up the vehicle or absorbed shocks on the road while driving.
It’s fascinating how one small aspect of a vehicle can make a huge difference to it.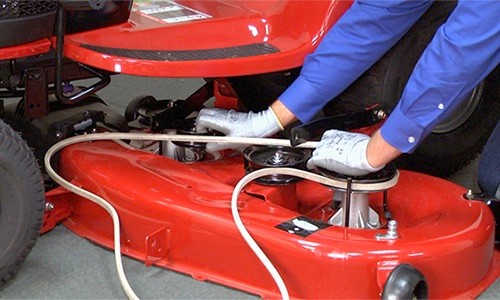
You may be wondering ‘why would I repair the tire myself?’. Well, do you really want to go through the trouble of taking the tire to a mechanic? A small tractor tire could easily be repaired in your own garage.
For larger tires, you should weigh out the advantages and disadvantages of going to a mechanic or using the fire method. If you’re a natural handyman with some experience, fixing your tire may be your best option. It’ll save you some money, and time. After you fix the tire, your garden tractor will be up and running right away.
I can’t stress enough the importance of safety precautions when dealing with the tires yourself, especially if you choose to work with flammable fluid. Don’t work alone, always have someone there with you in case something goes wrong.
Seating a Tire Bead With Air Pressure (the Safe Way)
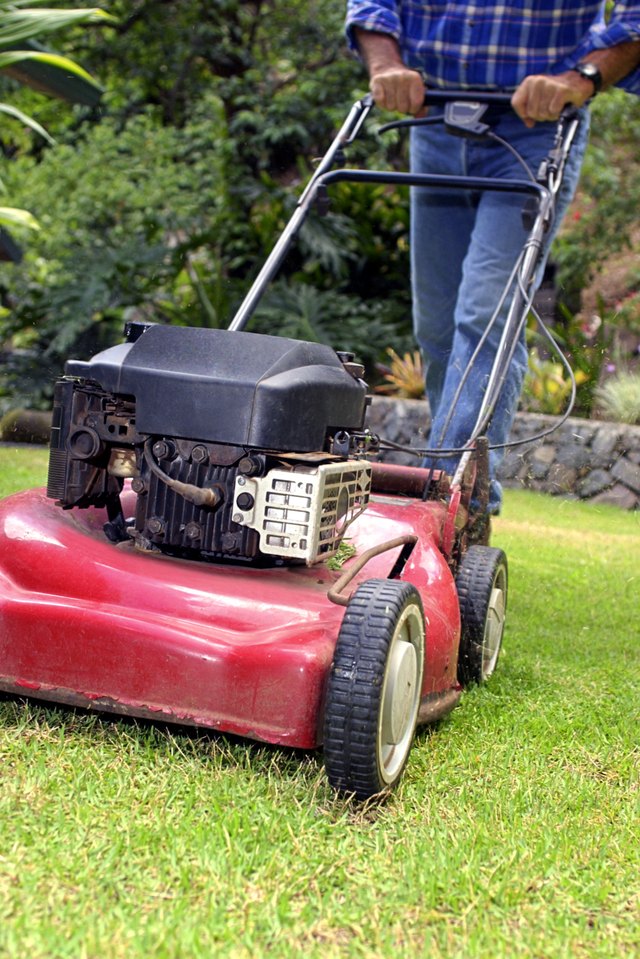 It should be elastic
via
Related Question
To break the bead on a lawnmower tire, you can use one of several methods. The most reliable is to wedge a prybar or extra-long screwdriver into the tire's edge against the rim. From there, you should be able to separate the rubber and pop the bead. via
One of the best ones consists of 1 part tubeless slime, 2 parts water, 2 parts windshield washer, 2-4 parts latex, plus silicone until the desired consistency. It may seem a bit watery at first, but it sticks well. The color will be a shade of greenish-brown. Add some glitter or rubber dust for thickener. via
Lubricating the bead may allow the tire to move around enough to seal, but using the wrong lube can make the tire more likely to spin on the wheel. The lube should be something like soapy water or RuGlyde, not oil, grease, silicone, or anything that remains slippery. via
Tubeless tyres hold air only after being seated properly. That means the bead is at the shoulder of the rim's flange. Many tyres have to be inflated and under pressure to seal the bead. One has to inflate them with more air per second going in through the valve then getting lost along the yet unseated bead. via
Tire beads hold the tire to the rim, or the outer edge of the wheel. They're made of copper, brass, or bronze-plated high tensile steel wires wound into a rubber band. Tire beads prevent the tire from sliding out of place when the wheel rolls. via
Deflate the tire fully, squeezing to remove any pressure on the bead. Assume there is tire sealant inside & keep the valve away from the downward position. Push both sides of the tire toward the center of the rim to loosen the bead from against the rim sidewall. via
If a leak develops between the tire and rim of your vehicle, TECH recommends using TECH's Bead Sealer, a natural rubber solution designed to seal leaks around the bead of a tire. When applied to the rim and tire bead, you can protect your tire from future leaks and prevent corrosion.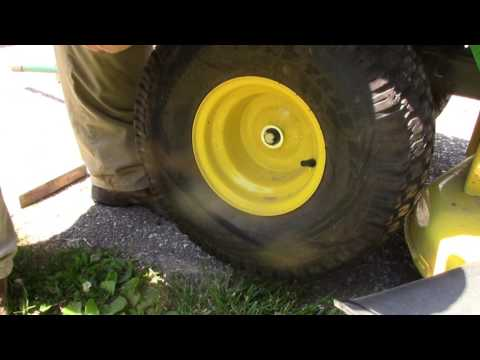 via
via
via
via
If you get a gash in your tire that's too big for the sealant to handle or even to plug by hand, you can remove the tubeless valve and install a regular inner tube on the rim to get home. “If your tire gets a puncture that just won't seal, it's possible you are riding with too much pressure,” Esherick says. via

via
A: It is a bad idea to put a tube into any tubeless tire. Tubeless tires have a considerably more robust construction than tube tires, which need the help of a tube of air to maintain sidewall stability and air pressure. via
Yes, most modern golf cart tires are tubeless and come in a wide variety of sizes and tread patterns.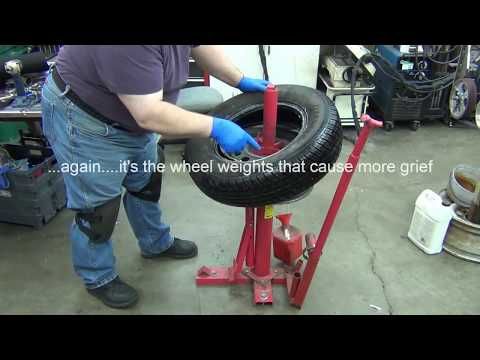 Tubeless tires are a pneumatic tire that does not have a separate inner tubing that must be filled up with air. A tubeless tire has continuous ribs that are designed to fit right to the interior. via
When a lawnmower tire has a lot of tread left but has a puncture or leak, it may be cheaper to insert an inner tube into the tire to prolong tire life. To purchase an inner tube for your lawn mower tire, dial the numbers on the side of the tire and call your local tire shops for pricing and availability.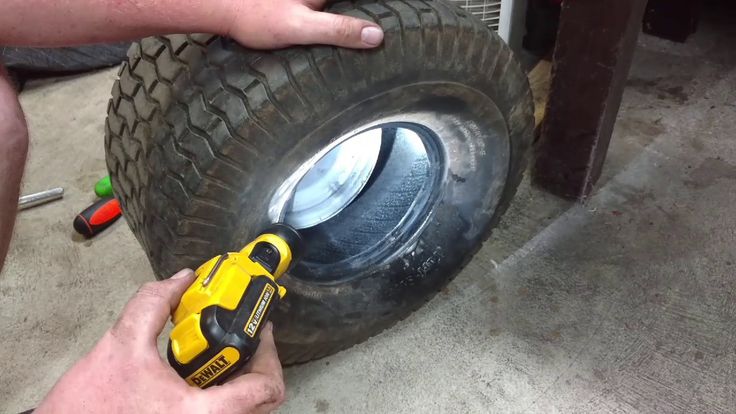 Check for glass, nails, or other debris and remove before inserting the inner tube into the tire.
Contents
Place a jack, stand, concrete block, or other stable wedge under the mower to support the mower.
Remove tire and rim from mower. Lay the wheel on a hard surface.
Wedge with crowbar and hammer between rim and tire. Hit the crowbar with the hammer to push the tire off the rim to break the bead. Go around the rim with a crowbar and hammer to push the tire completely away from the rim. Be careful not to damage the edge of the tire or rim.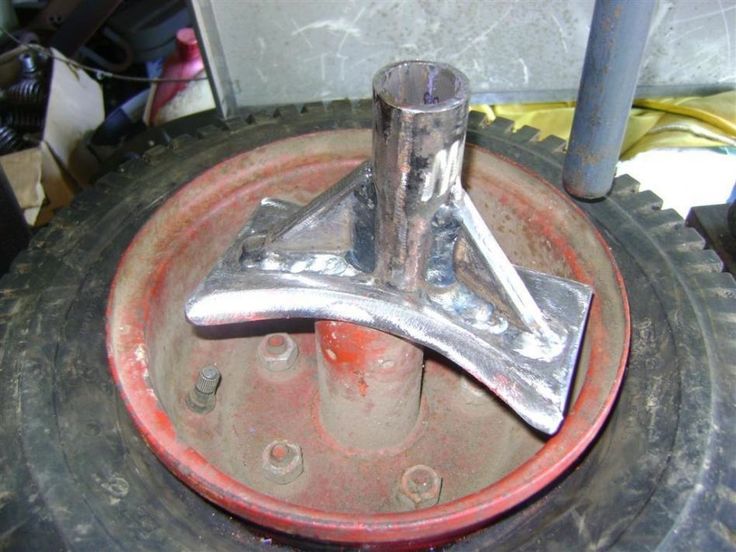
Push the tire down where the valve stem protrudes through the rim. Use a pair of sharp scissors to cut off the valve stem and remove it.
Use a crowbar as a wedge to carefully slide the tire one small section past the rim so that the rim is under the edge of the tire.
Sprinkle corn starch into the tire. This will help the inner tube move freely in the tire and make it easier to maneuver on the spot.
Lay the inner tube on top and position it so that the valve stem on the inner tube is in the same position as the valve stem hole on the rim. Insert the inner tube into the tire and push the valve stem through the hole in the rim. Use a pair of vise to clamp the valve stem to the outside of the rim.
Slide the inner tube onto the rim with your hands and move it into place in the tire. Make sure the inner tube is not twisted in the tire.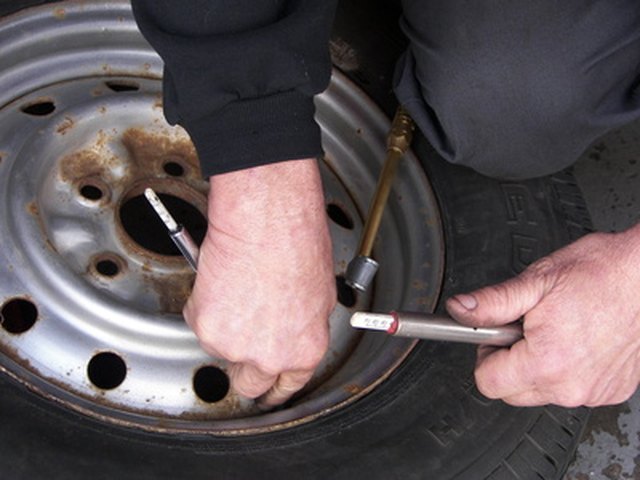
Wash the edge of the tire and the inside edge of the rim with hot soapy water. Don't saturate. Bead guidance is easier when both tire and rim are clean.
Lay the crowbar horizontally across the rim so that the hooked end can be inserted between the tire and rim. Attach the end of the crowbar to the rim under the edge of the tire that was removed from the rim. Be careful not to pinch the inner tube. Raise the end of the crowbar to bring the tire back into position on the inside of the rim. Repeat this procedure on the entire rim in small increments until the entire tire is returned to position on the rim.
Remove the vise from the valve stem and inflate the inner tube until the tire presses against the rim. As the tire presses against the rim, pour liquid dish soap between the edge of the tire and the rim. Wrap heavy rope around the center of the tire perimeter and tighten it. You can also use a garment belt for this.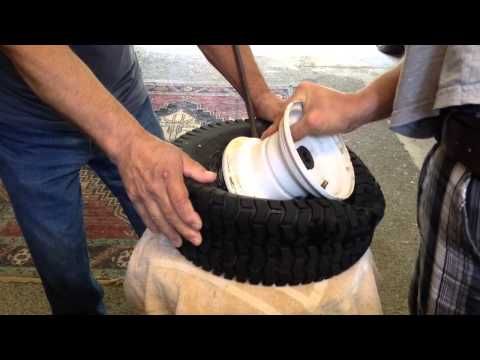 The purpose of this is to press the edge of the tire as close as possible to the edge of the rim with an even distribution around the entire circumference. Pour more dishwashing liquid around the entire rim between the tire and the inner tube.
Continue to inflate the inner tube until the tire is fully seated on the rim and there is no space left between the edge of the tire and the rim. Deflate the inner tube and apply pressure to the tire where it meets the rim. If it kicks off the rim, re-inflate the inner tube. Repeat this process until the tire can move away from the rim when pressed.
Release the inner tube until it is inflated to the manufacturer's recommended pressure. Replace rim on lawnmower.
 Inflate a tire only as recommended by the manufacturer before changing to a tire. Overinflating can cause a tire to burst.
 Russia
EgyptGambiaIsraelKenyaKuwaitLebanonMozambiqueOmanQatarSouth AfricaTunisiaTurkeyUnited Arab EmiratesZambiaZimbabwe
AustraliaAzerbaijanMainland ChinaFijiFrench PolynesiaHong KongIndiaIndonesiaJapanKazakhstanMalaysiaNew CaledoniaNew ZealandPapua New GuineaThe PhilippinesSingaporeSouth KoreaTaiwanThailandTurkmenistanUzbekistanVanuatuVietnam
AlbaniaAustriaBelarusBelgium (fr)Belgium (nl)Bosnia and HerzegovinaBulgariaCyprusCroatiaCzech RepublicDenmarkEstoniaFinland (fi)Finland (sv)FranceGeorgiaGermanyGreeceHungaryIcelandIrelandItalyLatviaLithuaniaLuxembourg (de)Luxembourg (fr)MoldovaMontenegroNetherlandsNorth MacedoniaNorwayPolandPortugalRomaniaRussiaSerbiaSlovakiaSloveniaSpainSwedenSwitzerland (de)Switzerland (fr) Switzerland (it)TurkeyUkraineUnited Kingdom
Husqvarna Automower® is very easy to operate and you will appreciate it right after the installation and setup procedure.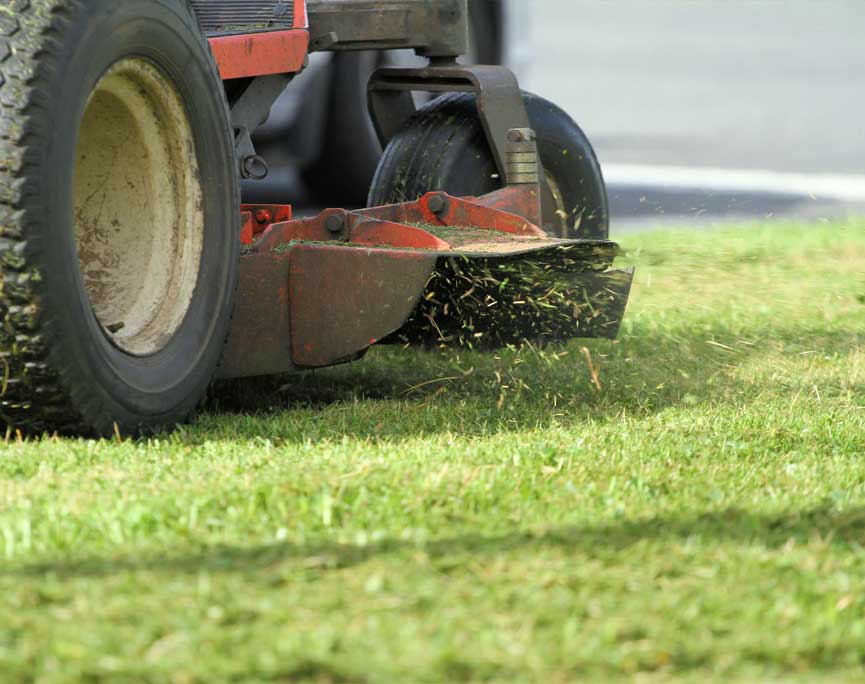 Here are some tips to help you install a Husqvarna robotic lawnmower on your property with ease.
Inspect the lawn first. To minimize the risk of blockage and damage to the mower, stones, branches, tools, toys, and other items should be removed from the grass. In addition, if the grass is taller than ten centimeters, it is recommended to cut it with a regular lawn mower.
Place the charging station on a level surface in the center of the area to be trimmed. Leave free space around the charging station. Make sure the charging station is located near a power outlet and protected from sunlight and splashing water from sprinklers.
After placing the charging station, the robotic lawnmower must be charged. Place the robotic lawnmower on the charging station and proceed to the next step. Charging a fully discharged battery takes 80-100 minutes.
Lay the boundary wire along the perimeter of the lawn to be maintained. Simply secure the wire to the ground with the included tie-downs. This will help the robotic lawnmower determine where to turn. Loop boundary wires around flowerbeds and shrubs for the mower to drive around.
The guide wire helps Husqvarna Automower® find its way back to the charging station. Connect one end of the wire to the station and position the other end in the farthest part of the garden so that the robotic lawnmower can easily find it. The free end of the guide wire must be attached to the boundary wire at their intersection. Then connect the boundary and guide wires to the charging station.
Switch on your Husqvarna Automower® and enter your four-digit PIN, set the grass cutting height and set the operating hours. That's all! The setup process is complete. The robotic lawnmower will remain in the charging station until it is fully charged. After that, she will go to the part of the garden where you last mowed the lawn.