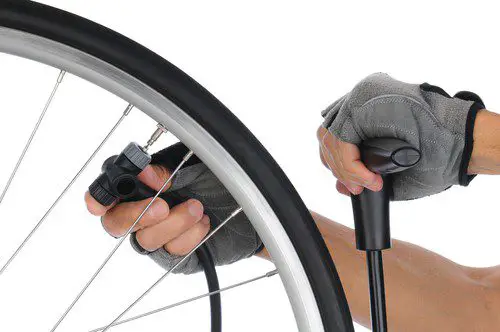
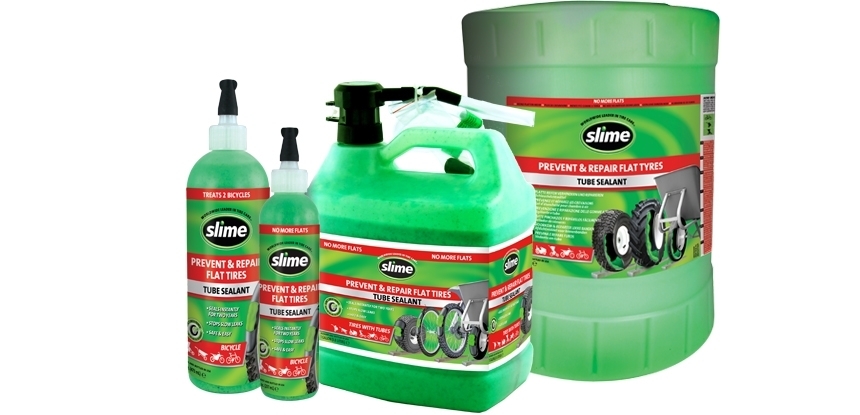
There are many, many ways that a bicycle tire can go flat. Thorns, goat heads, glass, nails … bicycle rides are literally littered with hazards for your thin bike tires. Fortunately, Slime Tube Sealant can prevent and repair flat bicycle tires instantly for up to two years.
Installing Slime Tube Sealant into your bicycle tires is simple and fast. Watch this short installation video below, or scroll down for step-by-step photo instructions. No more flats!
Step 1: Position the tire Slime can be inserted with the valve stem located in any position, but it works best if you position the valve stem so it sits in the upper half of the tire.
The black cap on your bottle of Slime is a valve core removal tool. Twist it off the bottle and use the knobby tool in the center to engage the valve core.
If you have Schrader valves: Take the valve cap off your valve stem. When you look inside the top of the tire valve stem, you will see a metal cylinder in the very center. This is the valve core and it needs to be removed in order to install Slime. Slowly twist the tool counter-clockwise to remove your valve core.
If you have Presta valves: Using your fingers, gently twist the knobby ball near the top of your valve core to remove it. CAUTION: Not all tubes have removable valve cores. If your valve cores are fixed (they won’t twist off), then you will not be able to install Slime (we recommend our pre-filled, self-sealing Slime tubes instead).
You will know you are successfully removing the valve core when air starts hissing out of your tire.
Step 3: Deflate Your TireYour tire must be as flat as possible to inject the Slime. Allow the air to slowly escape from the tire and set aside the valve core (you will need this piece again later).
Locate the thorn, nail or other offending object that caused your tire to go flat. If possible, remove it from the tire.
Unscrew the white cap from the top of the bottle, peel off the white seal and then re-attach the white cap.
Remove the clear tube from side of the bottle and attach one side to the top of the white bottle cap. Attach the other side to the valve stem on your tire. The white tube fits perfectly over Schrader valves. If you have Presta valves, we recommend you attach a Presta valve adapter to the white tube for a tighter fit.
Squeeze in the appropriate amount of Slime. You can use the chart on the back of your bottle to determine how much Slime you need, or you can use our Slime calculator. In general, bike tires need 4 oz. of sealant each. If you are using the gallon product of Slime, then one pump equals approximately 1 oz of Slime.
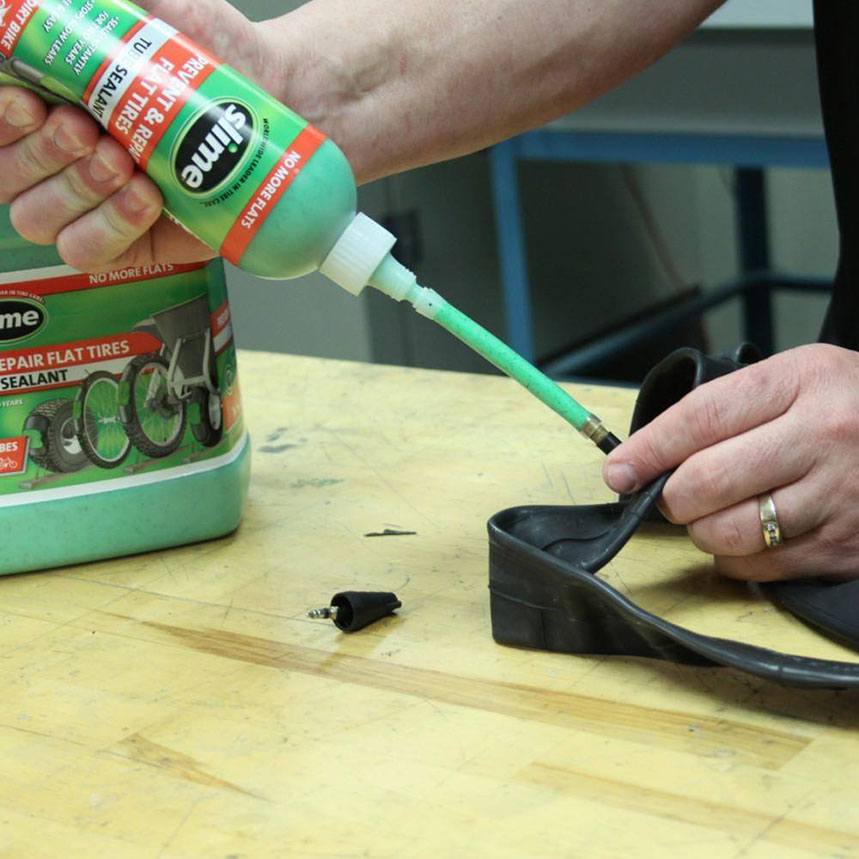
When it comes to bicycles, you can inject the sealant directly into the tube before inserting the tube into the wheel, or you can inject the sealant into a tube that is already pre-installed into the wheel.
Remember that little valve core you removed in Step 2? Time to put it back in! Using the same black tool from the cap of the bottle (or your fingers if you have Presta valves), screw the valve core back into the valve stem by turning clockwise until tight. If any Slime has oozed out while installing the valve core, simply wipe away with a cloth.
Using your favorite tire inflator, air up the tire to the recommended air pressure. You can find this measurement range listed on the sidewall of your bicycle tire.
To properly spread the sealant around the inside of your tire, spin the tire quickly a few times.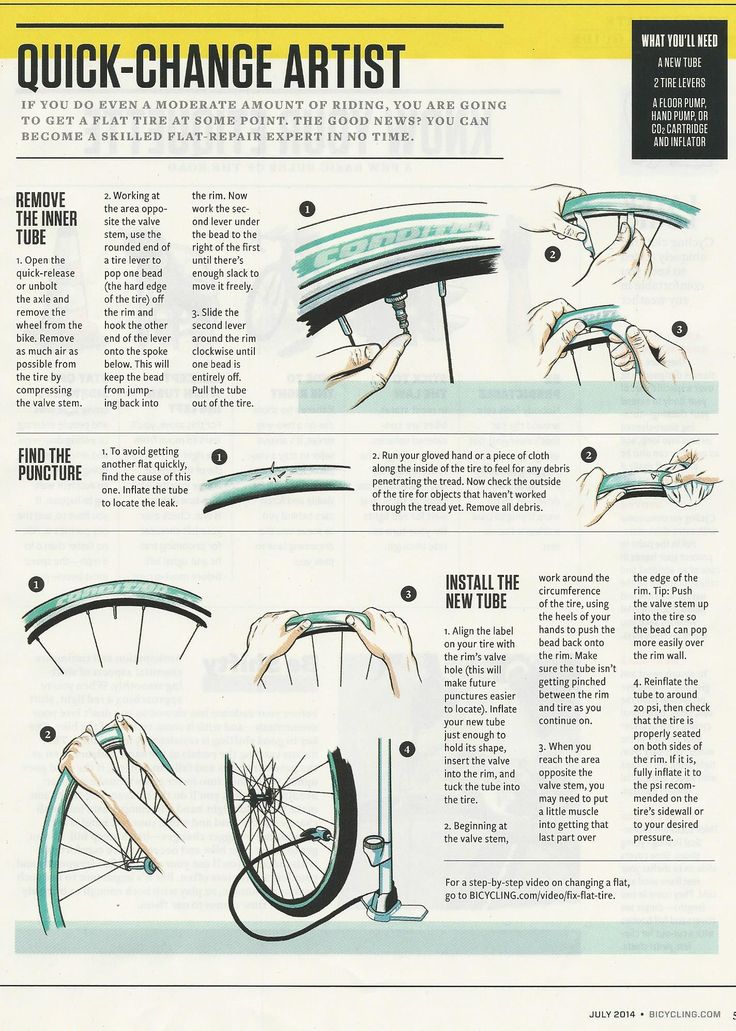
Congratulations! You have successfully installed Slime and repaired your flat tire!
Not interested in installing Slime sealant yourself? Or stuck with fixed Presta valve cores? Don’t worry, you can still prevent flats for two years! Simply install Slime pre-filled tubes (extra-strong because there is Slime inside!).
You’ve reached for the bottle to fix or prevent flat tires – smart choice! Whether this is an emergency repair (yellow label bottle), or you are preventing flats for up to 2 years (red, blue or black label bottle), the Slime installation process is the same.
Slime tire sealant is easy to install, cleans up with water and will get you back on the road quickly. All you need is the bottle and a tire inflator. Let’s get started:
Step 1: Position the TireSlime can be inserted with the valve stem located in any position, but it works best if you position the valve stem so it sits in the upper half of the tire.
Step 2: Remove the Valve Core
Take the valve cap off your valve stem. When you look inside the top of the tire valve stem, you will see a metal cylinder in the very center. This is the valve core and it needs to be removed in order to install Slime.
The black cap on your bottle of Slime is a valve core removal tool. Twist it off the bottle and use the knobby tool in the center to engage the valve core. Slowly twist the tool counter-clockwise to remove your valve core. You will know you are successfully removing the valve core when air starts hissing out of your tire.
Your tire must be as flat as possible to inject the Slime. Allow the air to slowly escape from the tire and set aside the valve core (you will need this piece again later).
Step 4: Remove the Puncturing ObjectLocate the screw, nail or other offending object that caused your tire to go flat. If possible, remove it from the tire.
Unscrew the white cap from the top of the bottle, peel off the white seal and then re-attach the white cap. Remove the clear tube from side of the bottle and attach one side to the top of the white bottle cap. Attach the other side to the valve stem on your tire.
Squeeze in the appropriate amount of Slime. You can use the chart on the back of your bottle to determine how much Slime you need, or you can use our Slime calculator. If you are using the gallon product of Slime, then one pump equals approximately 1 oz of Slime.
If your tire has tubes (like on a bicycle or dirt bike), you can inject the sealant directly into the tube before inserting the tube into the wheel, or you can inject the sealant into a tube that is already pre-installed into the wheel.
Remember that little valve core you removed in Step 2? Time to put it back in! Using the same black tool from the cap of the bottle, screw the valve core back into the valve stem by turning clockwise until tight. If any Slime has oozed out while installing the valve core, simply wipe away with a cloth.
Using your favorite tire inflator, air up the tire to the manufacturer’s recommended air pressure. You can find this measurement on a label typically located on the inside door jamb of the driver or passenger seat.
Step 8: Rotate the TireTo properly spread the sealant around the inside of your tire, drive approximately 0.2 miles, then stop and verify that the sealant plugged your puncture and that the tire is holding air pressure. If you are installing Slime in a bicycle, simply spin the tire to evenly distribute the sealant.
Congratulations! You have successfully installed Slime and repaired your flat tire.
If you installed the yellow label Emergency Tire Sealant formula, then please seek a professional repair within 3 days or 100 miles.
Content
3 The bicycle belongs to the number of such mechanical inventions of man, in which there are elements that interact with each other by rolling some surfaces relative to others (wheel bushings, main travel carriage), by means of a chain transmission and by entering one cylindrical surface of a smaller size into another - such is the depreciation mechanism front fork.
Despite the fact that bearings significantly reduce friction, proper lubrication of all these elements is necessary: friction is reduced, movement is facilitated. This increases the life of the parts. However, it is important to know how to properly lubricate your bike.
The better the bike, the better the factory lube, the longer it lasts. These mountain bike models include, for example, Merida, GT. For example, the 2009 GT Avalanche 2.0 is known to easily get 10,000 km without any lubrication of the bushings and bottom brackets, while there is no damage to the bearings. Of course, this does not mean that you need to give a damn about bike maintenance.
In the event that you buy an "Auchan-bike", then it would be correct immediately after the purchase to "open" all the nodes that need lubrication, check them and lubricate them again. Sometimes you need to replace something right away, such as the rear hub and main carriage bearings.
It's probably not worth pointing out that only a thoroughly washed and, most importantly, dried bike should be lubricated.
So which parts of the bike need to be lubricated and how is it done?
The regular lubrication of the bicycle chain determines the comfort when riding - the chain does not buzz, shifts easily and freely. As a rule, the need for lubrication arises if the chain begins to rustle, rattle, and it is also difficult to shift gears. This can be felt after driving hard in rain and muddy weather after the chain has dried.
Proceed as follows:
 Therefore, do not be afraid to wipe the chain properly.
 In addition to lubrication, you need to monitor the "mileage" of the chain. On average, after every 1500 - 2000 km it must be replaced for the following reasons:
Another question that often comes up is how often to lubricate the chain?
There are no uniform standards. It all depends on the feelings of the owner of the bike:
Some lubricate the chain after 100 km, regardless of operating conditions. This decision is probably the most correct, as it teaches you to regular maintenance.
Rear derailleur rollers. They are often "clogged" with deposits of grease and dirt that have thickened around the perimeter.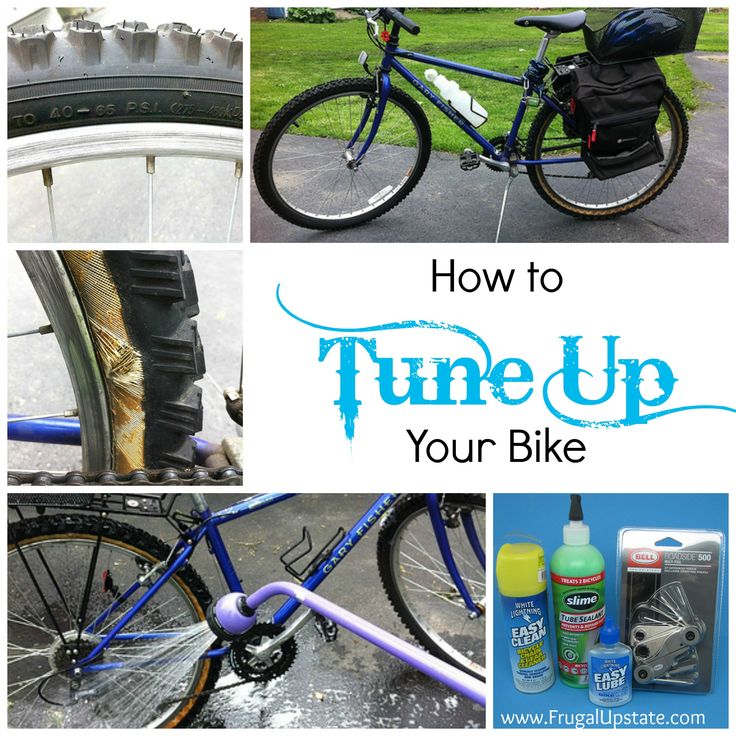 They must be carefully removed, e.g. with a flat head screwdriver.
Lubricate the rollers
It is necessary to apply a spot of liquid lubricant to the roller axles to avoid squeaking and tight rotation. Only lubricated, they are able to keep the chain taut.
The bike has several cables that transmit power from the shifters and brake levers to the front and rear derailleurs, as well as to the disc brakes or to the V-brake. If dirt has accumulated between the jacket and the cable, or the surfaces are dry, then the control may “stick”. This leads to untimely gear changes and even to the impossibility of emergency braking.
Lubricate the bicycle cables
To lubricate the cable entry and exit points from the shirt, apply a couple of drops of lubricant, and then “work” with the shifter lever or the brake handle. This allows you to lubricate evenly and to a considerable depth.
You can say that this is the “main” axle of the bike. It is from it that an impulse is “radiated” to other elements. Therefore, the speed, lightness, and comfort of the move depend on the state of the carriage. The elements of the carriage are:
The bottom bracket is filled with a different, “thick” lubricant, not the kind that drips on the chain or on the cables.
The lubrication of the carriage on a bicycle is done by simply putting grease into the cups and on the surfaces of the bearings, onto the bushing, as well as by evenly distributing them. In addition, before lubricating the carriage, it is advisable to wash the bearings and all cavities well, the surface of the sleeve, for example, with kerosene. It is flushing that will subsequently properly lubricate the carriage.
If the grease is dry, then there is resistance to the movement of the wheel, an increased noise level, and if the bearing is destroyed, “play” occurs in the wheel, and even jamming of the wheel may occur.
Bearing lubrication scheme is identical to carriage bearing lubrication.
The continuity of the cycle depends on the clarity and coordination of their actions. Sometimes, especially when climbing a hill, the switch must be made immediately after the "afterburner" in order to switch gears not "pulled", but on a free ride. This often takes a fraction of a second, and the switches must work flawlessly so that the climb up does not “choke”.
Switches are ideally lubricated disassembled. Details on maintenance and lubrication can be found here:
It is the presence of a shock absorber that allows the biker to ignore obstacles and makes the bike passable. A good shock absorber resists the reaction of the support on the front wheel in a timely manner, so the fork must be kept in good condition.
How to lubricate shock absorbers
Normally, you need to lubricate the “legs” of the fork after 150-200 kilometers, after 700 km (on average) the oil seals are disassembled and lubricated, and annually or after a run of 3-4 thousand km. the oil in the shock absorber is completely replaced.
It is better to show the entire fork care on video than to describe it in detail in text. For example, here you can see all the preventive maintenance operations for the front fork and shock absorbers:
In the store, “eyes run wide”, but all their variety comes down to several types that are used to lubricate the bicycle:
Liquid oil ( colloquially referred to as "machine"). With it, lubricate the chain, as well as the fork with a shock-absorbing mechanism. The disadvantage of such a liquid lubricant is a strong thickening in frosty weather.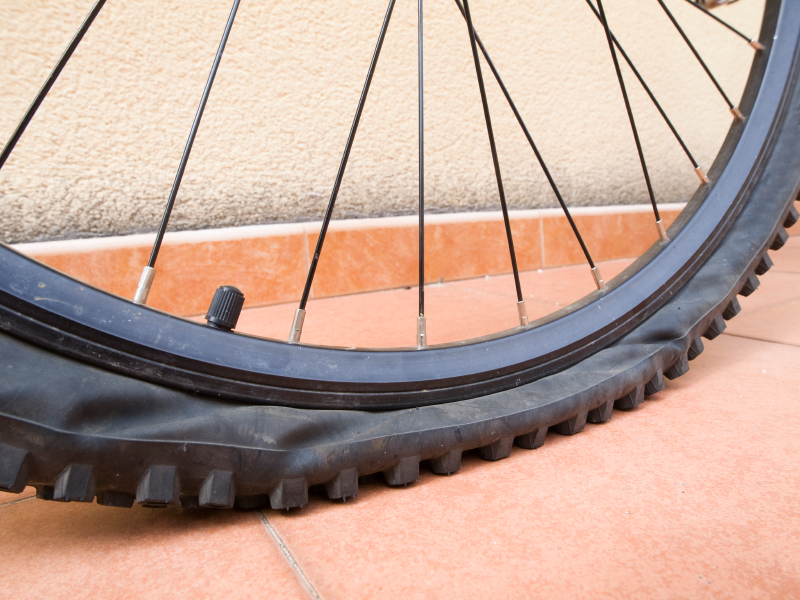
Lubricants with a high content of an element such as lithium or calcium.
With lithium grease, such as "Litol-24", it is good to lubricate the bearing axles, carriage. It is lithium that gives the lubricant a specific slip, and it exhibits anti-friction qualities. In addition, lubricants with the addition of lithium do not thicken in temperatures down to -50 degrees and do not liquefy even at midday temperatures in the desert, as they can not change their properties when heated to 150 degrees.
The negative side is rather high water solubility, so the lubrication points must be closed with sealed anthers. In addition, such a lubricant is not recommended to be applied to an aluminum surface.
Calcium greases are flexible and work well for a long time. An example of such a lubricant is Uniol. Unlike lithium, they have high adhesion, or sticking to the surface, and last a long time. In addition, they help resist corrosion when used in wet conditions. These lubricants are yellow or greenish.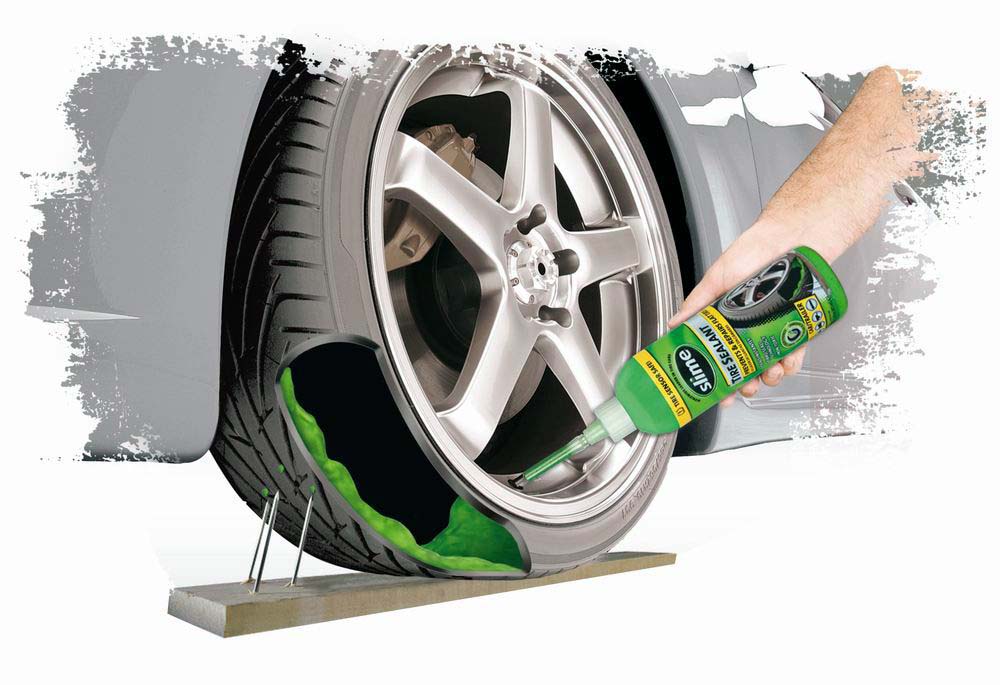 It is very important that they do not react with aluminum, unlike lithium greases. Therefore, their price is high, and they can be used to lubricate expensive bikes.
A special type of lubricants are aerosols, which may contain several components, such as Teflon. Their advantage is the ability to penetrate into hidden cavities and hard-to-reach places, also due to adhesion and surface tension. Their predecessor is kerosene, which has a truly incomparable enveloping ability, it can even get out of the vessel. With the help of such lubricants, it is possible to process cables, all types of threads, especially when unscrewing "heavy" and "stuck" connections. An example of such lubricants are LM 40, LM 47 and others.
Perhaps the best-known "quick release" spray lubricant is the well-known WD-40. Among other things, it creates a hydrophobic layer and displaces water.
Lubricants containing silicone. They are easy to apply, able to "repel" dust and water.
Wax lubricants: on a chain, for example, the coating can last several months under dry conditions. But the wax is able to subsequently “fall off” itself in the form of scales and flakes. If the bike is used in water, mud, fords or riding occurs in the spring or autumn, then you need to choose a different lubricant, because the wax does not flow and cannot effectively penetrate into the chain connections.
A bicycle is not an easy machine. Before you lubricate the bike, you need to know that, in addition to the lubrication points, there are areas where the lubricant does not get into it at all. These include wheel tires (accidental ingress of grease into large areas can lead to skidding and the impossibility of emergency braking), rims (in the case of using caliper-type brakes), as well as brake discs and pads. In addition, if oil gets on the rubber chamber, it can begin to corrode the rubber, causing it to break for a significant amount.
Enjoying a long ride, effortlessly, with easy and precise operation of all mechanisms - this is what every cyclist strives for. No matter how perfect a bike is, it cannot be achieved without systematic cleaning and lubrication of its components.
The modern market, and our bike shop in particular, offers a wide range of products that simplify the process of caring for a bike and extend its service life. In addition to lubricants for various purposes, all kinds of cleaners, anti-seize compounds, polishes and other products are available to cyclists, which we will discuss in detail in this article.
Lubricating certain parts of a bike is a must for every bike owner. Ignoring this, dirt, dust and moisture will do their job very quickly. In the absence of lubrication, rust forms on the metal elements of the bike, which eventually grows into a serious corrosion focus; the working surfaces of the components are erased and quickly become unusable; unlubricated mechanisms stop working correctly, make unpleasant sounds, jam and collapse.
The action of technical lubricants is as follows:
There are several types of bike maintenance lubricants. Next, we will talk in detail about each of them, and tell you which compositions are most appropriate to use for processing specific technical components of the bike.
Greases or greases, classified as plastics, are indispensable for lubricating closed rotating mechanisms (bicycle bearings, bushings, bottom bracket assembly) and threaded connections. There are several varieties of greases that differ in their characteristics, which you need to know to select the optimal composition.
Calcium Greases. Calcium soaps are used as thickeners for these greases. Compositions of this type are distinguished by a characteristic yellow or green color. Well-known examples of calcium lubricants are Solidol and Uniol. Their advantages include their excellent adhesion to metal surfaces and high water resistance. They are recommended to lubricate wheel and pedal bearings, brake levers, bottom bracket assembly - all those important elements of a bicycle that get water. Calcium compounds can also be coated on metal components that need corrosion protection. Unlike analogues, the chemical activity of such a lubricant is the lowest, which is why it does not pose any danger to chrome coatings.
Lithium greases. Lithium soap greases. They are distinguished by a characteristic yellow or red color, less often blue. The inclusion of lithium in the composition of the lubricant makes it possible to increase the slip properties and significantly expand the operating temperature range, which distinguishes such materials from their calcium analogues. Examples are the well-known Litol, SHRUS, multi-purpose grease No. 158, etc.
A common disadvantage of oils in this category is their low resistance to water. They are relatively quickly washed out of the technical components of the bike. An exception in this matter is grease No. 158, which is an order of magnitude more resistant to moisture. It is important to know that lithium greases interact chemically with aluminum. Therefore, if you have a bike with an aluminum frame, they are recommended to be used as carefully as possible.
Such oil is applied to the same bicycle components as calcium lubricants. But you should be prepared for the fact that it will have to be updated once or twice a season, depending on the intensity of skiing. The main advantage of all lithium compounds is their affordability.
Graphite lubricants . This is another popular category of technical lubricants used by cyclists. The main advantages of this grease are its high coefficient of friction reduction and durability. Even after the full development of the thickener, a layer of graphite powder remains on the parts, it effectively minimizes friction and protects elements from premature wear, including those that are subjected to significant loads.
Before two-component lubricants became available and popular, graphite lubricants were widely used for processing bicycle chains. This was done using labor-intensive technology (the chain was boiled in a prepared solution), but the result was justified. The disadvantage of graphite lubricants is their very strong staining ability, so they are recommended to process “closed” nodes that do not come into contact with the body and clothing of the cyclist.
The active spread of two-component lubricants has greatly simplified the lives of many cyclists, making bike maintenance easier and more efficient. Such formulations include two basic elements: a grease and a solvent that helps thin the lubricant. High fluidity provides excellent penetrating ability of the oil: it flows into hard-to-reach places and envelops metal elements. After the solvent evaporates, and only oil remains on the surfaces. Such compositions are indispensable for lubricating the chain, gearshift mechanisms (grips, front and rear transfers), brake system components, cables, handles, switches) and other open and closed bicycle assemblies.
Two-component lubricants are available in aerosol cans and special grease bottles. The latter are more practical to use, since one can conveniently accurately apply the composition using the dot method. The aerosol, on the other hand, has a wide spray field, due to which the oil also gets on those elements of the bicycle where it is undesirable. For example, having sprayed a frame with an aerosol, dust and dirt will begin to stick in this place, which will not be so easy to wash off without a solvent. You will get more headaches if you get oil on the brake rotor or rim (if your bike is equipped with V-brakes). Lack of a firm grip between the pads and the rotor/rim will disable the system for a while: the brakes will function, but very poorly. After the oil burns out (and this will not happen soon), their correct operation will be restored.
Returning to the varieties of two-component lubricants for bicycles, we will briefly consider the most popular of them.
Silicone oils. Silicone based lubricants are available in spray, liquid or thick form. Silicone grease compares favorably with mineral and essential oils in that it does not have a destructive effect on rubber parts. This makes it indispensable for lubricating bicycle forks and rubber seals, and in this case it is convenient to use oil in sprays. An important advantage of silicone lubricants is their dust-repellent properties.
Teflon grease. Teflon oil is a must have for every cyclist. It has the highest coefficient of resistance to abrasion, is not produced for a long time, and is resistant to washing out. The composition additionally includes antistatic components that prevent dust and dirt from adhering to the machined part. Teflon lube is the best choice for chain maintenance. And given that it is the most frequently lubricated element, every bike owner should think about purchasing a bottle of Teflon grease.
Wax lubricant. The main competitor to Teflon. Although liquid wax lubricants do not adhere as well to high pressure parts as Teflon lubricants, they are no less successful in chain processing. Such oils compare favorably in that they lie on the metal with a thicker layer, which needs to be updated much less frequently. At the same time, they repel dust and dirt well. When applying a new layer of wax oil, the chain surface should be thoroughly cleaned of old grease.
Anti-seize compounds are underestimated by many cyclists despite being just as important as other lubricants. Their use prevents micro-welding of metal surfaces, jamming of parts, as well as the occurrence of fretting corrosion. Anti-seize lubricants, available as aerosols or pastes, are used to make assembly and disassembly of various bicycle components easier. Those who have ever tried to unscrew a "stuck" carriage or remove a jammed cassette will not underestimate the importance of such lubricants.
Anti-seize grease is recommended to treat the threads of the carriage and bicycle cassettes, the seatpost in the place where it is crimped with a clamp, the threads of the connecting rods, all bolts and nuts. Such pastes allow not only to avoid the formation of rust and "soldering" of metal surfaces, but also protect the thread from abrasion and distortion. Therefore, the subsequent disassembly and assembly of all threaded connections will not cause any problems. Anti-seize lubricants do not harm metal and rubber surfaces. They are also indispensable for eliminating the squeak of connecting rods.
The use of cleansing sprays is the easiest and most effective option to get rid of deep and old dirt. They effectively soften rust, dilute dried grease, displace all dirt from gaps and other hard-to-reach places.
The use of cleaners is especially appropriate when caring for bicycle transmission elements: front and rear sprockets, chain, gearshifts. The presence of dirt on these parts leads to their accelerated wear, reducing the accuracy of gear changes and overall performance.
Bicycle cleaners are as simple and convenient as possible to use.