Current Stock:
Frequently bought together:
Add to Cart
Start your vehicle with your phone each morning with this feature packed remote car starter! Start Lock and Unlock your car from anywhere you have cell phone service in the US.
This remote starter features a convenient remote lock and unlock features for the vehicle's doors to ensure safety from a distance. The app does require a service plan for operation and a download of an app to your smartphone. A one year warranty for parts and labor provides reassurance that purchase of this starter is a wise investment. It's upgrade able to include features such as remote trunk opening and rear defrost.
View AllClose
Range: |
Cell Phone |
Remotes: |
Cell Phone Control |
Warranty: |
Lifetime |
Interface Module: |
Included up to $100 value |
Lock and Unlock: |
Lock and Unlock Included* |
Rear Defrost: |
$40 additional if wanted* |
Open Trunk By Remote: |
$40 additional if wanted* |
Notes: |
*If vehicle is power equipped |
Notes: |
Subscription Required |
View AllClose
Quick view
AstroStart
1 Mile Range AstroStart 2 Way LED Confirming Remote Starter With Basic Installation Included. Basic Installation included in our online price.
Start your morning commute in a warm vehicle thanks to...
Quick view
Viper
$579 with Basic Installation for Most Vehicles Add to Cart 1 Mile Range Viper 2 Way LCD Screen Remote Starter With Basic Installation Included. Basic Installation included in our online price...
Quick view
AstroStart
1 Mile Range AstroStart 2 Way LED Confirming Remote Starter With Basic Installation Included.
Basic Installation included in our online price.
Start your morning commute in a warm vehicle thanks to. ..
..
Quick view
Compustar
Add to Cart This Ultimate Keep Warm Package is just $1599! Remote Start with Temp readout on display Compustar Pro T13 with Drone Phone App Dual Heated Seats Heated Washer System Race Sport...
Quick view
Viper
Viper is proud to introduce their most affordable 2-Way security system, which will wrap your vehicle in protection, with the most sophisticated electronic technologies available today,...
Quick view
Solar Gard Window Film
Window Tint Solar Gard Galaxie, with Lifetime Warranty is a very popular film choice. This film of course offers a lifetime warranty, 2 ply, non-reflective, and also 99% UV protection for you...
Quick view
Echomaster
Select for one or two heated seats for your vehicle. Both Include professional Installation and High - Low - Off position switch for each seat.
Viper
 99 USDMX5000 W/Steel - $ 299.99 USDMX5000W/Synthetic - $ 329.99 USD
Add Winch Mount
No Mount 2015+ RZR 900/1000 S (MA11906) (+$ 44.99)2014+ RZR XP 1000 (MA11906) (+$ 44.99)2016+ RZR XP Turbo (MA11906T) (+$ 44.99)2013-2019 Ranger 900/1000 (MA11904) (+$ 44.99)2016+ Polaris General (11906T) (+$ 44.99)Mounting plate to go into a 2" Reciever (MA11970) (+$ 59.99)
Add a Dash Mounted Switch (+$ 30.00)
Viper UTV Extended Wiring (+$ 44.99)
Customizations Total: $ 0.00
NOTICE: This order won't be fulfilled because the customizations require JavaScript to be enabled. Please enable JavaScript to continue shopping.
QuantityFree Shipping with in the lower 48 states
The VIPER Max ATV/UTV Winch is a durable winch for ATV, UTVs and Side by Sides. VIPER Max winches 3,500lb and larger also carry the official IP67 waterproof rating -- a claim not made by any other winch in the market. Manufactured in an ISO/TS 16949 quality facility with military grade raw materials, it is a great winch for snowplowing and mudding with ATVs, UTVs and SxSs. The VIPER Max is fully sealed with a composite housing and planetary metal gear train, a permanent magnet motor, an automatic brake, and stainless-steel hardware.
Features:
Kit Contents:
Specs
 0 inch x 4.875 inch (76mm x 123.83mm)
Optional Extended Wiring
Two (2), 5 gauge cables, 12' each - this extra length of cable will easily reach batteries that are in the rear of the ATV/UTV.
Please Note: both ends of cables are eyelets
Note: the Universal fairlead mount plate included will only mount to a flat surface or to a "winch ready" ATV / UTV / SxS. We have many custom mount plates designed to bolt on to your ATV / UTV / SxS.
CB 12/27/2021
Bike - freedom, drive and adrenaline. That is why two-wheelers are very popular and are the dream of many people. But before you buy a new motorcycle, you should learn the basics of driving. But what is needed for this? So let's figure out how to learn how to ride a motorcycle in just a couple of days.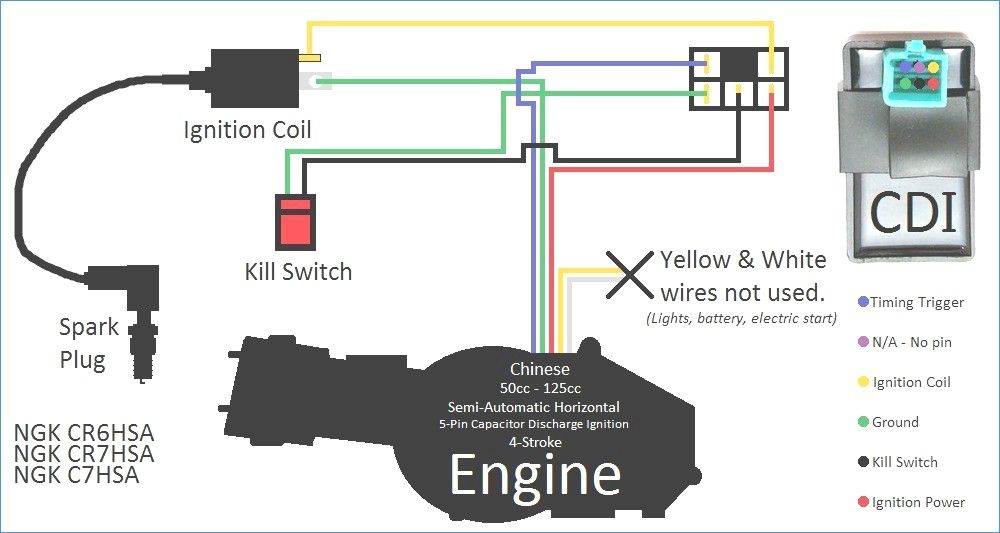
First you need to understand that a motorcycle differs from a car in a higher level of danger. There are simply no elements of protection on transport, so you should wear a helmet and motorcycle equipment before each trip.
The learning process must also be carried out with the utmost care. Ideally, the chosen bike should be ridden with an experienced driver. This will help evaluate its ride quality, handling, maneuverability, suspension performance and center of gravity.
To make it easier to master the vehicle, you should divide the training into several stages.
Approach the bike from the left side, grab the handlebars, the handle near the seat and tilt it towards you. Then slightly push the unit forward until the footrest clicks into place. To learn how to ride a motorcycle from scratch, it is important to find its center of gravity.
Exercise: Start riding the bike in a circle (clockwise) and then change direction. Repeat the exercise until the bike stops “pulling out” of your hands and you catch the balance.
Then you should work out the landing on a two-wheeler:
While doing this, look at the saddle so as not to overwhelm the technique with your foot.
To learn how to ride a motorcycle, you need to get used to its controls. And the key ones:
 To stop, gently squeeze the trigger. Sharp jerks should be avoided, otherwise the wheels will lock up, and the driver will fly out of the saddle or lose control.
 Also familiarize yourself with the button for electric start, headlights, emergency stop, etc.
The clutch, located on the left handle, is responsible for engaging and disengaging the gearbox from the engine. To move off, the rider needs to start the engine, depress the clutch, shift into gear (pad down) and gently release the trigger while simultaneously depressing the gas. However, the trigger has another function. Because it disconnects the transmission from the engine, the clutch can be used when braking.
Mastering manual transmission is also easy. The rider must memorize the positions of the "foot":
To learn how to ride a motorcycle from scratch, it is important to understand how the gearbox works.
Once you've figured out the transmission and clutch, you can start practicing:
Note: It is advisable to warm up the bike engine before riding (5-10 minutes).
In essence, learning to ride a motorcycle is not difficult, but it is important to follow all safety precautions. The driver must have special equipment: a motorcycle helmet, suit or turtle, boots.
In addition, the rider must have all the necessary documents. For example, a tidy fine (3400 UAH) threatens to drive without a license. Therefore, if you are going to travel on public roads, be sure to get a certificate of the appropriate category.
Documents will also require registration. The vehicle must be registered with the MREO. If this is not done, the driver will have to pay a penalty in the amount of UAH 850. For lack of insurance, a fine is also provided - 425 UAH.
It is worth noting that when buying equipment in the Dvako motorcycle showroom, you can immediately order a package of documents for registering the device. You will only have to make a copy of your passport and TIN, as well as visit the MREO Service Center.
29.05.2021 3265
290316
How easily the scooter starts or does not start after the winter depends largely on the storage conditions and measures taken in advance.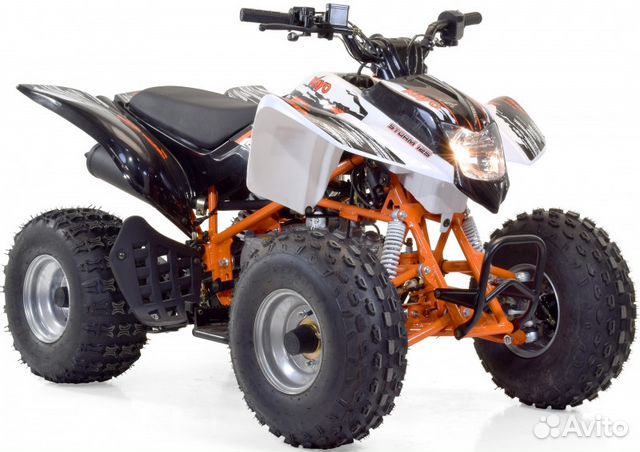 Most experienced owners in practice appreciated the benefits of competent winter storage, just as beginners were convinced that the scooter did not start half a turn after being idle in the garage without proper preparation.
○ New Stels scooters are available in Moscow with delivery to your region! Big choice. Best price guarantee!
If we take out the mechanical breakdowns - the scooter usually does not break by itself without operation - then there are only two reasons for the spring problems. The first, most common, is associated with gasoline, the second is ignition . Let's figure out how to start a scooter after winter , with a detailed analysis of all possible problems.
Gasoline, like other products of the chemical industry, has its own shelf life. In other words, starting the scooter after winter storage with old fuel in the tank will be very difficult. However, this does not always happen, because gasoline manufacturers sometimes use special additives that are designed to preserve all the properties of the fuel, including the octane number. But in order not to play the lottery, you can use the stabilizer, which should be poured into the tank in the fall . Naturally, having measured the dosage strictly according to the instructions, since the bottle is designed for a fairly large volume of a gas tank.
In order to start the scooter after winter right now, if no preservation measures have been taken, all fuel should be drained from the gas tank . To do this, you can use a hose and a suitable size container. An equally effective way is to disconnect the vacuum hose from the carburetor and the fuel hose in the benzo filter. After draining, which is logical, you need to pour new “fresh” gasoline, and many experts recommend filling a full tank at once. Another trick at the first plant - keep the gas tank open so as not to create pressure that prevents gasoline from flowing into the carburetor but back to the "procedures". Next, we look for drain screws on the float chambers - the drain can be with a rubber hose or a metal tube.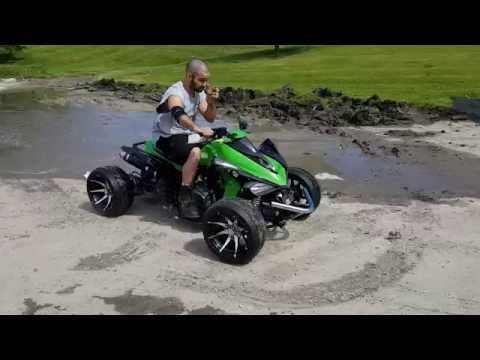 We drain about 50-100 ml of fuel, having previously prepared a container or a large rag for absorption. After all the manipulations on fresh gasoline, the scooter usually starts without any problems.
In order not to delve into the intricacies of which the ignition system consists, we will limit ourselves to such basic elements as candles and a battery. To start the scooter after the winter , the most important aspect of the success of the enterprise is the battery . If it is discharged during the winter, which is quite possible and quite natural, starting a scooter will be extremely problematic. You need to charge it with a current of 10% of the rated capacity - it is better to look at the cover in advance - for 10 hours. On some modern models of scooters, this time can differ significantly from the conventional norm, so the best way out is to study the instructions. If the battery is old and badly discharged, you can further revive it with Amper Plus restorer or similar .
Possible problems with candles are important to diagnose correctly. For this, the “breakthrough” method is not recommended, it will be easier and, ultimately, cheaper to use a probe, which costs mere pennies. The probe electrode must be touched to the tip of the spark plug, while the second flexible end is connected to ground . The only caveat: you should not use a carburetor as a mass, and even more so a gas tank. If the spark plug "does not respond", you can try to clean the electrodes with sandpaper and make the correct (according to the instructions) gap between them. In the event that resuscitation measures have not been successful, the candle should be replaced with a new one.
When all the necessary manipulations with gasoline, battery and spark plugs are done, you can proceed to the main thing. It is categorically not recommended to touch the throttle handle during the first spring winding.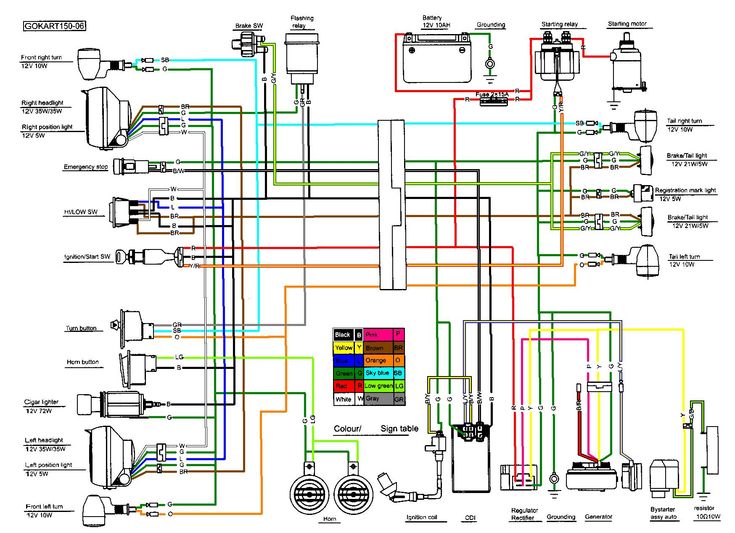 Its principle of operation is based on the entry of air into the gasoline mixture, which makes the process very difficult. Experts recommend making two or three winding attempts, and then blowing out the cylinders . To perform this manipulation, during the third or fourth attempt to start, you need to turn the throttle handle to failure with the brake pressed and hold the starter button for several seconds.
In most cases, all of the above steps to start a scooter after winter lead to a positive result. But if the scooter stubbornly resists, there is the so-called method of winding on the air. Its essence is quite simple: Starting Fluid or its equivalent is purchased at the nearest auto shop, the air filter cover is removed, then the agent is sprayed directly onto the filter (in reasonable quantities) and the scooter starts until the ether has evaporated . If the scooter did not show a single sign of life - a direct road to the service, where they can do even more radical manipulations and make a diagnosis.