Changing tyres is a fact of life for any cyclist, be it worn out treads or simply the inevitable punctures we all encounter at some point.
But changing a tyre or inner tube doesn’t have to be a major chore. As the video above shows, learning some simple techniques means saving all the struggle and you don’t even need tyre levers for the majority of setups.
Follow our steps and you can have your flat fixed, or tyres swapped, in no time.
The key to being able to remove a road bike tyre quickly and efficiently is getting all the slack that exists between the rim and the tyre into one place.
The technique is to work around the bead of the tyre systematically, unlocking it from the rim (as often you’ll find it stuck) and then gripping and pulling with your fingers and thumbs working towards a single point; ending opposite the valve works best.
Note: If you end up at the valve you won’t be able to push the tyre off.
With a ‘slack’ point established, hold onto it as you support the wheel between your feet on the floor, and then starting with your thumbs begin to push the tyre bead sideways off the rim. Once you’ve got it started you can use the palm of your hand, in an outward rolling motion, to be a more effective lever.
Note: Sometimes this requires a fair amount of force and good technique, which will only come with practice.
Also note: some tyre and rim combinations are tougher than others. It’s a good idea to try your particular setup at home first, so you are not doing this for the first time on the side of a busy road in the pouring rain.
Once you’ve got a section of the tyre over the edge of the rim it should be fairly straightforward to continue and push it all the way off.
At this point, if you’re at the roadside due to a puncture, now is the time you need to thoroughly check inside the tyre carcass for the offending thorn/flint/shard of glass or whatever has caused the flat.
Beware: sharp bits of glass poking through can also cut fingers!
To refit the tyre: start with pushing on just a single bead so the tyre is held in place. It’s a nice touch to align your tyre logos with the valve and it can make locating future punctures easier. Details count.
Before trying to fit the new tube, the best tip I can offer is to inflate it slightly.
It’s really important the tube has some air inside as this will make it hold its 'roundness' and shape which makes fitting it so much simpler, and significantly reduces the chance of pinching the tube during fitting.
Pop the valve in first and then guide the inner tube into the tyre carcass. Immediately you will notice how much easier this is to achieve with the partially inflated tube, rather than a dead flat one.
Check the inner tube is completely within the rim bed all around.
Place the wheel on the floor once more, valve at the bottom, and begin opposite (at the top) working the bead of the tyre back into the rim bed with your thumbs.
As per the tyre removal technique, try to work the slack around with you as you push the tyre bead in. With practice this will become second nature.
At the end point (try to finish at the valve) it may look like the tyre will not fit, but trust me it will. It just needs a good shove.
Strong thumbs are helpful, but it’s good technique not brute strength that makes this easy. Again, practise!
If necessary go back a few more times, working the slack around once more and pushing a little more of the tyre on each time.
Tip: Little bites are helpful – ie, push a bit on at a time, don’t try and push a huge chunk over in one go. You’ll just end up frustrated and with very sore thumbs.
Why you should finish at the valve: Once the final part of the tyre is seated end by pushing the valve stem upwards (into the rim) to ensure the tube is not trapped here (where it is usually thickest).
I’d advise one final visual check around the entire bead to check no part of the inner tube is trapped before inflation. But this should never be a worry if you have put sufficient air/shape into the tube in the first place, as it won’t lie flat.
Now you’re ready to inflate, using your mini pump or CO2 inflator if you’re at the roadside, or your track pump at home.
Ready to attempt something tougher than changing an inner tube? Read our guide on how to build a home workshop
Do you find it impossible to change your bike tubes without levers? Let me tell you that changing a bike tube doesn’t have to be a chore and is even possible without the help of tire levers.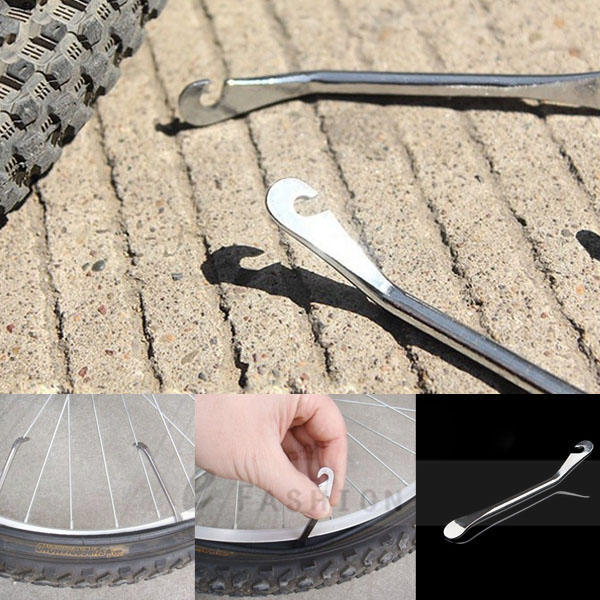
All you have to do is to move the slack round in one place. Applying a few techniques also helps and can really save you from all the struggles.
To know more about how to change a bike tube without tire levers, follow the steps, and I assure you that you will have your bike tube fixed in no time.
Table of Contents
Get ready to change your bike tube without needing those pesky and flimsy tire levers.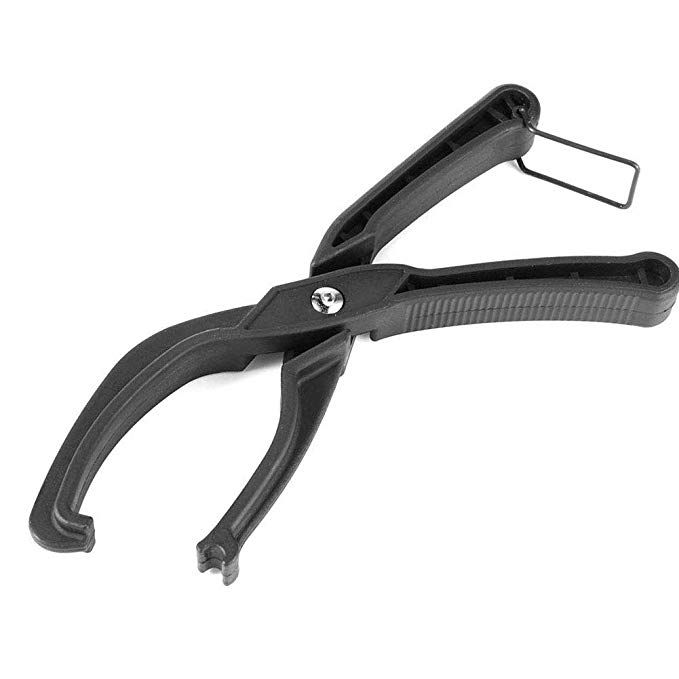 This technique on how to change a bike tire without tire levers is perfect for mtb tires and other wide-tired bikes.
I do not recommend applying this technique with road bike tires because they are usually tighter to the bike rim, making the tube more difficult to change.
Step 1: Put on GlovesSafety is our top priority when working with bikes. That’s why I highly encourage wearing gloves when changing a road bike tire or any other tire. However, this is an optional step in the process.
If you’ve got no gloves, then you can do the steps without them. Just be sure to be careful while you follow the process.
Step 2: Deflate TireMost bikers usually skip this step because the tire is already flat before changing the bike tube. However, if your tire is not deflated, it’s best to let some air out. You can do this by poking the tire using a small and relatively pointy object.
When you have a deflated tire, it is much easier to squeeze its sides.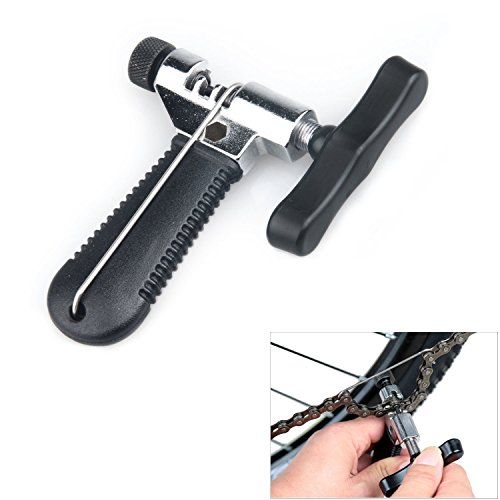 This will break the tire loose from the bike rim.
This is the primary key to change bike inner tube without tire lever quickly and systematically.
First, get one tire bead into the center of the rim. You can do this by pushing the tire into the bike rim’s center. Repeat this step on the second bead.
Step 4: Push the TireThe loose beads you established in the previous step will act as the primary support to ultimately push the tire off the bike rim.
Support the wheels on the floor using your feet. Start using your thumbs to push the tire bead off the bike rim.
After that, use your hand’s palm as a lever by moving it in an outward direction.
Some rim and tire combinations are more difficult to work with compared to other models. So, I highly suggest trying out your specific set-up at home. This will help you the next time you’ll remove tires on a busy road or under pouring rain.
After getting one section of the bike tire over the rim’s edge, it would be easier to continue and push it off completely.
If the reason you have to remove a bike wheel is due to a puncture, it’s time to thoroughly look for the offending thorn, glass shard, or flint inside the tire carcass. Knowing the cause of your flat tire can help you lessen your time at the roadside.
It is essential to be wary of the glass poking through the tube because it can cut through your fingers.
Step 6: Inflate the Tube a Little BitNow that you successfully removed the tire from the bike tube, it’s time to slightly inflate the new tube. This is the best tip I can give before you fit the new bike tube. Giving your tube some air inside will definitely help retain its roundedness and proper shape.
This step is a simple process to effectively lessen your chances of constantly pinching the tube while fitting it.
After step 6, lay the tube over one side of your tire and align the valve bike stem with the stem hole. Then, carefully squeeze the tire where the hole is located and put the valve stem through the valve stem hole.
Then, pull on the bike stem to ensure that most parts of it go through the hole as much as possible. If you noticed that the bike tire doesn’t go over the tubing by itself, you should lift it up and over the tube.
You should be careful not to twist the bike tube. While doing this, you will notice how easier it is to do this step with a partially inflated tube than a flat one.
Then, you must thoroughly check if the internal tube is installed correctly within the bike’s rim bed.
Step 8: Push the Bike Tire Wall Back in the RimAfter inserting the inner tube in the tire, push the tire wall back inside the bike rim. This process is the exact opposite of getting rid of the bike tube.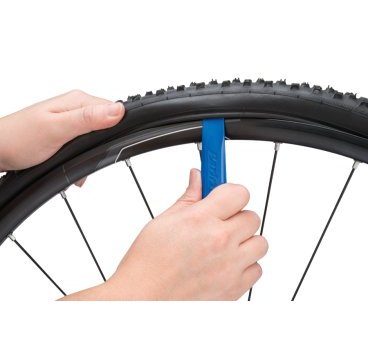 Jam the wheel side and force it over the rim wall.
Use one hand to grip the initial point in place. Then, use your other hand to further get the tire inside the rim.
Step 9: Do a Final Visual CheckAfter you change bike tires successfully, I highly suggest doing one final check around the whole bead. This will ensure that there is no trapped inner tubing before you do the final inflation.
However, if you put just the right air volume in the tube beforehand, the tire won’t lie flat and this probably won’t be a problem.
Step 10: Start InflatingYou should then be ready to inflate the bicycle tire, which you can do at the roadside quickly using the inflator pump or a CO2 inflator. You can also use a floor pump if you’re changing the bike tube at home.
Now that you have a concrete idea of this tire lever alternative, you can easily change your bike tube without having special tools. In case you have questions regarding the whole process, you can also check out this video tutorial.
Pro Tips:
How was the tutorial? Did you enjoy this comprehensive guide on how to change a bike tube without tire levers? This handy trick will save you time on the road as you take care of your bicycle during the trip.
You won’t have to worry about getting stuck on the road with a flat tire because you’ll know how to change the tube using your bare hands.
Of course, we love to hear from you. Tell us your experience in the comments and share the article with your loved ones. It would help us a lot.
Gary Johnson
“I ride my bike to work for years, but is that enough? Our carelessness towards our surroundings has taken a toll on the environment. And now, everyone is responsible for changes; even the most minor contribution is counted. With this hope and spirit, I started with my partner to establish Biketoworkday to help more individuals commute to their work sites on their bikes.”
90,000 size of bicycle tires and their replacementホーム
Bicycle service
The size of tires of a crossbow
Bicycle tires 3000 km か The duration of use for replacing rubber that deteriorates due to temperature, humidity, sunlight, etc., so it is recommended to replace it if it is more than a year old, even if it looks clean.
Accessories for Amazon
Chain Reaction Cycles, the most popular online store of bicycles in the world
to display tires 26 x 1.95 dimov type と, , , 32C is written as French Style The inch system expresses tire diameter and width in inches, while the French system expresses them in millimeters. Tire compatibility is determined by rim size. Thus, the tire diameter and width designations are not interchangeable, even if the dimensions are the same.
The tire width is expressed as a fraction of inches.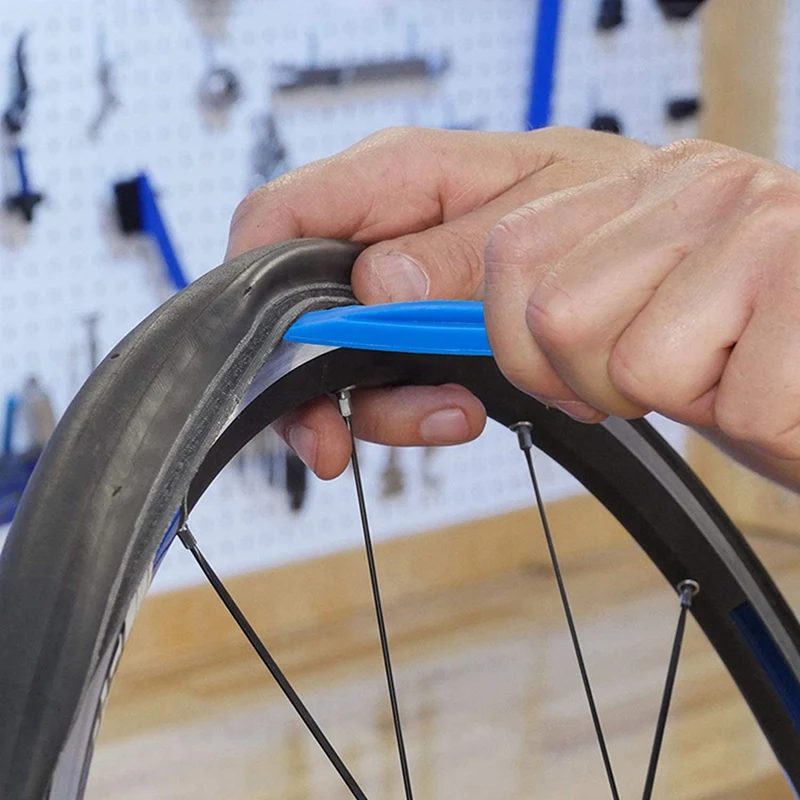 Without format and in decimal number system H/E format Then even the same 26 inches are not compatible.
Inch and French bead spacing AND ball diameter marked ETRTO Compatibility can be confirmed at size Compatible tires with the same bead diameter Yes
Tire width 1.5-2.4 times the rim width as a guide And the tire width that can be used depends on the rim.
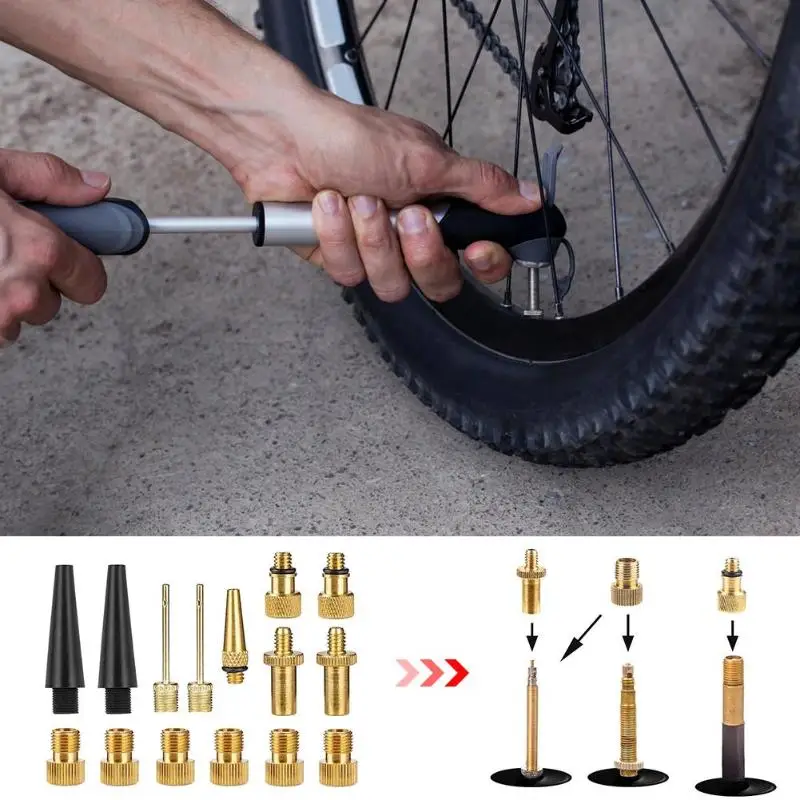
In addition to the tire size, there are also types of pipe valves, and the main ones are rice style Buddhist style 英式 There are three types, and the most common air pumps are compatible with all valves with an adapter.
Tires, tubes, and rim tape are required for full replacements, not partial replacements, and road and cross bikes have levers for attaching and removing tires, but MTB style bikes and adult bikes require a ratchet wrench to work the wheels.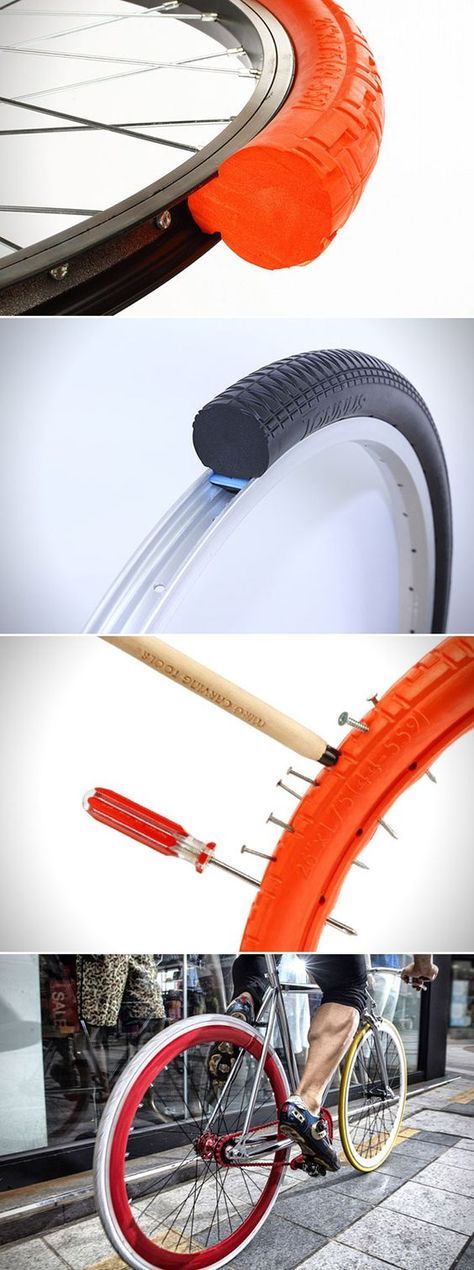
If you can't see the images, disable your ad blocker.
Since conventional cross bike tires are lever type, they are easy to fit and remove.
To remove the tire, simply lower the lever.
Loosen the brake cables front and rear to leave space between the brake pads and tires.
There is a chain on the rear wheel, so push the pin towards you to let the chain slack.
Remove the chain from the sprocket and then remove the bar.
Use the tire lever to remove the tire from the rim.
Since the tire only gets stuck inside the rim, insert the flat side of the tire changer arm into the gap between the tire and the rim and pull it out of the rim. Once hooked, insert the other tire changer arm and turn it. around the rim so that the tire comes off the rim.
After removing the tire, tube and rim tape from the rim, attach the new rim tape, insert a screwdriver into the holes in the rim tape and rim, secure it, and then slide it along the rim.
Omit the valve.
Press the valve that was skipped so that it comes back with your finger. , swim in a tube.
After completing this work, the chamber of the valve part will go inside the tire.
If the valve is not pressed in, the tube will not fit and the tire will only inflate near the valve, and if you drive in this condition, there is a risk of a puncture.
Temporarily lock the valve while it is retracted.
Screwing to the root is strictly prohibited.
Check tire direction.
Install the tire on one side of the rim before the tube passes over the rim.
Lightly inflate the tube and let it follow the rim as if it were in the tire.
Be careful if you add too much air it will be difficult to work.
After inserting the inner tube, insert the tire into the rim, kneading the tire so that the air in the inner tube is evenly distributed. come back after a few see
After the tire is mounted on the rim, check for a partial bulge in the tire or if the tube is caught between the rim and the tire.
When you change tires for the first time, it is difficult to press the tire into the rim. Especially in winter, the rubber of the tire is hard, so even if you try so hard that you lose grip, the tube will bite or the tube will twist inside and the tire will distort. It is inflated, but you will get the hang of it while you remake it.
Check the running direction of the tire and install it all the way.
For rear wheels such as MTB cars and city bike (mamacari) 14mm bolts are often used and a wrench of this size is not found in conventional tools, so an adjustable wrench or a special tool is required for wheel work.
Since the mold is a normal bolt, a wrench can be used instead of a special tool.
The bars are simply inserted into the U-pieces so you can easily remove them by removing the chain.
Loosen the brake cable and remove the chain before changing the rear wheel.
Replace the rim tube and attach the tire to the rim.
I tried to fit the tires under normal conditions, but I couldn't fix them well, so I flipped the bike over.
It's hard to get the bike into a U-shape without flipping it over, but it can be easily fixed by flipping it over.
As with the rear wheel, remove the 14mm bolt and work the front wheel in the same way as the rear.
Use the gidnet lever to turn a V-brake crossbike into a bullhorn. The problem with replacing flat crossbike handlebars with megaphone handlebars is the brake. V-brake MTB for relatively inexpensive motocross bikes […]
Cross bike V-brake replacement and adjustment The brake is an important part of every part of the bike that is life threatening, and, since the brake pad is a consumable item, it is necessary to check the effectiveness and replace the brake clean your shoes regularly. World of Amazon Bicycle Supplies […]
Cross bike tire size and tire replacement Bicycle tires should be replaced after 3000 km or one year of use. Rubber deteriorates due to temperature, humidity, sunlight, etc., so even if it looks clean, after 1 year [ …]
Replacing a cross bike chain When using a bicycle chain, the pins and pin holes wear out and a gap forms, and it stretches by the amount of the gap, and the teeth of the sprocket and chain do not mesh with each other, causing the teeth to jump. […]
Replacing and adjusting the rear derailleur and cross bike shifter Although the rear derailleur is not a frequently replaced part, […]
Bicycle Maintenance
Easy Innovation Zone
The first thing to do is to remove the wheel. To do this, release the brakes, unscrew the quick release skewer, and the wheel should just fall out. For rear wheel punctures, place the bike in the small front ring of the chain and the smallest cog in the back. This will loosen the chain and make it easier to remove the rear wheel. You will also need to move the rear derailleur to allow the wheel to come out.
Remove the dust cap and retaining ring from the valve tube if you have either of these two things. Remove the tire levers and position them 10-15 cm apart. Hook the tire arms under the tire bead. Once they're in, lower them down to pull the bead over the rim wheel. Depending on your tire, two levers may be enough to release the tire, but some stiffer tires will require three. Run one of the tire's levers around the rest of the tire. pulling the tire bead over the wheel rim as you go. Remove the tube, leaving the wheel on the wheel. Pull the pipe out of the valve first so as not to damage the valve opening. Do not leave the pipe by the side of the road for someone else to pick it up. Either keep it in your shirt pocket or dispose of it in the nearest container.
After the tube comes out, make sure you carefully check the tire for anything that could have caused the puncture: glass, sand, spikes, nails, nails, etc. If you find anything, take it off the tire, but don't think it's... Check the entire tire to make sure there's nothing left in there that could cause another puncture. There is nothing worse than replacing a flat tire and then doing the whole process again 1 km down the road because the piece of glass that caused the first puncture is still there. Run your finger along the inside of the tire, feeling like something is missing should be. Do this slowly and methodically, if something could have pierced through your tire, it could easily do the same to your finger. Once you're sure there's nothing left in your tire, it's time to put in a new tube.
Remove the new tube and put some air into it to give it some shape before trying to put it on the wheel. If you have a hand pump that will help you, if not, just blow it in like a balloon. This will help the pipe keep its shape, make it easier to move around the wheel, and also avoid pinching from getting stuck under the tire bead. Install the valve first and slowly thread the tube under the tire until it is inside the tire and part of the tube is visible. At this point it is very important that there are no tube marks, especially if you plan to use a CO2 cartridge to inflate the tire. If there is any part of the bladder outside the tire, it will expand and bulge when inflated and will almost certainly burst. If it doesn't happen right away, it definitely will as soon as you start riding. Try to put the tire on with your hands and avoid using tire levers unless you have to. Using tire levers will increase the chances of tearing or pinching the new tube.
If so, the process is slightly different but equally simple.