With some places in the United States seeing around 125 inches of snow per year, it’s important to be prepared for snowy driving conditions during the winter months. In mountainous or extremely snowy areas, utilizing snow chains is sometimes the only way to keep your car moving.
While winter tires can provide you with traction, they often don’t give you enough to help you in deep snow or slippery situations.
If you’ve never used snow chains before, you might be wondering, “how do snow chains work?” Advanced preparation, practice, and the right equipment will increase your comfort and safety when driving in blizzard weather.
This guide will discuss the basics of tire chains and how you can install them.
Tire chains are a chain system that’s designed to cover the wheel set-up or tire on your vehicle. When installed correctly, they provide you with better vehicle traction in the snow. Snow chains can also give you added traction when driving on frozen surfaces or ice.
There are several different designs of snow chains. One design wraps around the tire and is held together by tensioners. Another design covers the tire’s tread pattern and is mounted to the wheel.
Snow chains can effectively dig into snow and frozen surfaces. The chains can grip the road and allow your wheels to rotate freely. Snow chains also help prevent your vehicle from skidding.
Keep in mind that when you have snow chains installed on your vehicle, you can’t drive at a high speed. Another thing to keep in mind is that you should always put them on your vehicle before you think they’re needed. When the roads start to get covered with snow, it’s always good practice to pull over and put on your chains.
Snow chains aren’t dangerous to put on. The thing you need to be mindful of is the other drivers and road conditions at the time.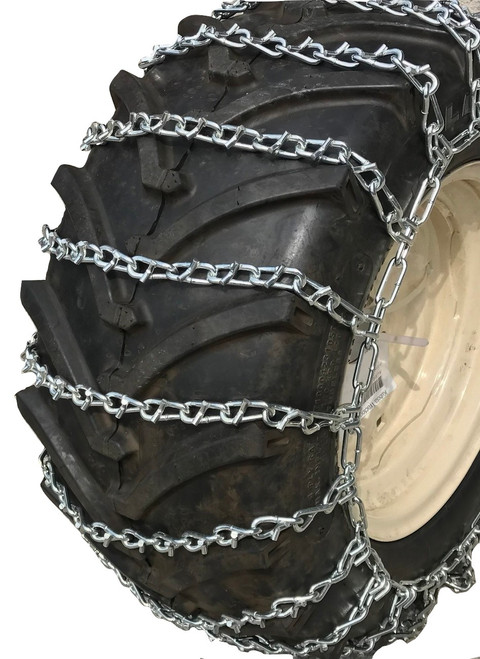
After you put the snow chains on, test them before you head back out on the road. You want to ensure that there are no dangling or loose parts. This can result in the snow chains flying off and causing damage.
The ideal place to install snow chains is in a quiet parking lot, but that isn’t always the case. If you need to install them on the side of the road, pull over as far as you can. Put on your hazard lights so other drivers can see you, especially during a dangerous snowstorm.
Before you exit your vehicle, ensure that your parking brake is engaged. You want to prevent any dangerous movement or the car from rolling away.
All you need to install snow chains are the chains themselves. You can also keep a roadside safety kit nearby with emergency reflectors for your protection. One thing you’ll need to check before you install the snow chains is which of your wheels are the driven wheels.
If your car is a front-wheel drive, the chains will go on the front wheels. Install rear-wheel-drive chains on the rear wheels of the vehicle. Four and all-wheel drive cars can utilize four snow chains.
Follow the below steps when installing snow chains on your vehicle:
Before you start driving again, ensure that your chains are installed evenly. They should run straight around the tire sides. If they’re misaligned or loose, fix the issue before you start driving.
Next, drive about 100 feet. Check your snow chains again. If everything looks good, you’re ready to head back out onto the road.
You should purchase snow chains before you head out on a snowy mountain road. There aren’t many places that sell snow chains or carry a full selection. You also can’t purchase snow chains where there is a chain checkpoint.
Most gas stations, big box stores, and tire shops sell snow chains. Look up your tire size in your vehicle’s manual so you get the right size.
As we mentioned before, you’ll only need two snow chains for your vehicle. The only exception is if you have an all- or four-wheel drive car.
Snow tires are designed for better performance and traction on snow and ice. In many scenarios, snow tires are all you need for driving on snowy roads. You often don’t need another traction device, like cables or chains.
Cables wrap around your vehicle’s tires like chains. They help your car grip the road when it’s icy or snowy.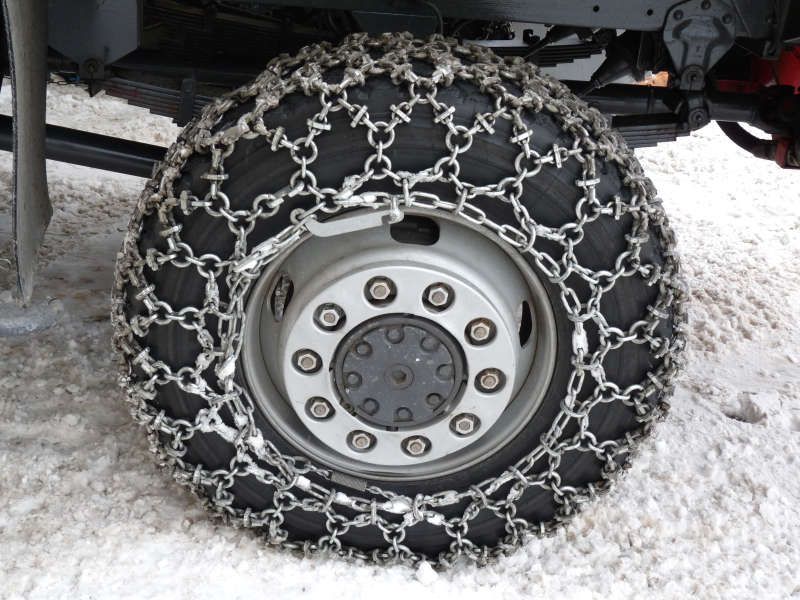
Cables are more lightweight than chains and can be easier to install. However, cables don’t last as long as snow chains. They’re a good option if you don’t require them very often.
The department of transportation where you’re driving will notify you when chains are required. You can check their website for road conditions before you start driving. There will also be a sign on the highway indicating that you need to put your chains on.
Snow chains can damage your tires if they’re not installed improperly. They can also cause some damage if they contact the road.
Make sure that your snow chains are installed correctly. Only use them on roads that have a layer of ice or snow. Once the road is clear, take off the chains.
Now that we’ve answered the question of, “how do snow chains work,” you’re ready to drive safely this winter. Driving with snow chains and moving slowly is key to remaining safe during inclement weather.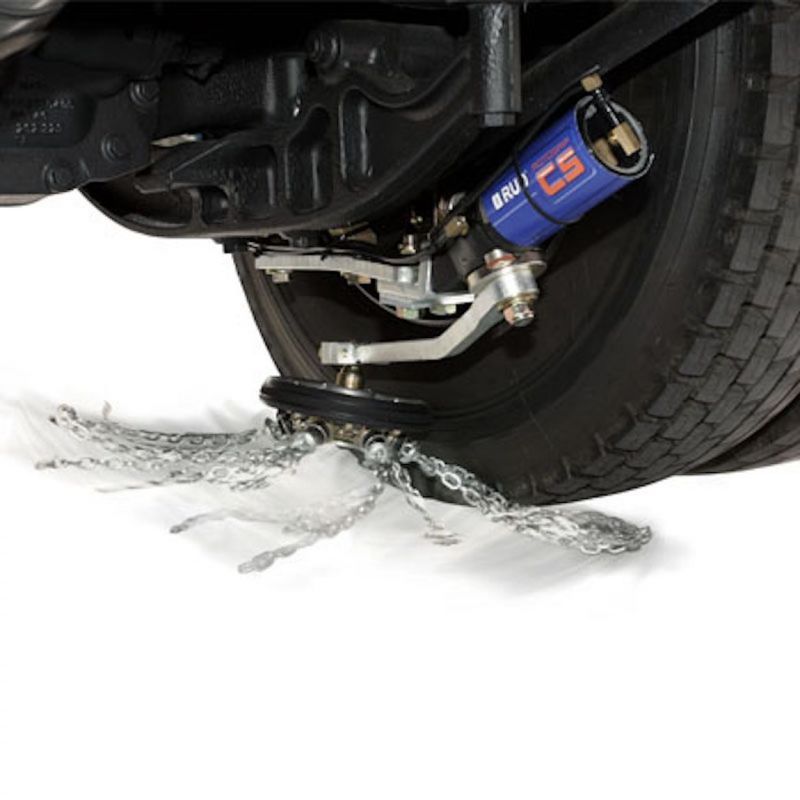
If your’e looking for a day to day winter driving solution to help improve your tire traction consider purchasing a set of a winter tires! Simply download the Treads App and we’ll send an installer to your home to swap on your winter tires for you!
If you travel to the mountains or snowy areas regularly, sooner or later you’re going to have to use tire chains. Start by getting the right set for your vehicle at your local Les Schwab.
Quick-fit chains are not your grandpa’s tire chains. They are MUCH simpler to put on and take off. Here are a video, step-by-step instructions, and driving safety tips for installing quick-fit tire chains on your vehicle.
When you need chains, driving conditions are nasty. Snow is coming down, passing traffic is spraying slush, dirty water is dripping off your wheel wells, the road is slick, and it may be dark._77761_364056_type13058.jpg) Don’t make this the first time you put on your chains.
Don’t make this the first time you put on your chains.
Practice installing your new chains once BEFORE you travel. Take advantage of a dry garage or driveway to make sure your winter tire chains are the right size and you’re comfortable putting them on. If needed, the professionals at Les Schwab Tire Centers can help.
Put together a simple winter road trip safety kit with warm gloves, waterproof layers, and other items to make your winter driving more safe and comfortable. In the winter, always carry this emergency kit and tire chains in your vehicle.
Once you’re comfortable installing your chains, you’re ready to hit the snow.
Be Safe. If you’re on the road, pull off as far as possible onto a safe shoulder. Flip on your hazard lights. Put on your waterproof layers, hat, headlamp, and gloves from your winter road trip kit.
Identify the Correct Tires.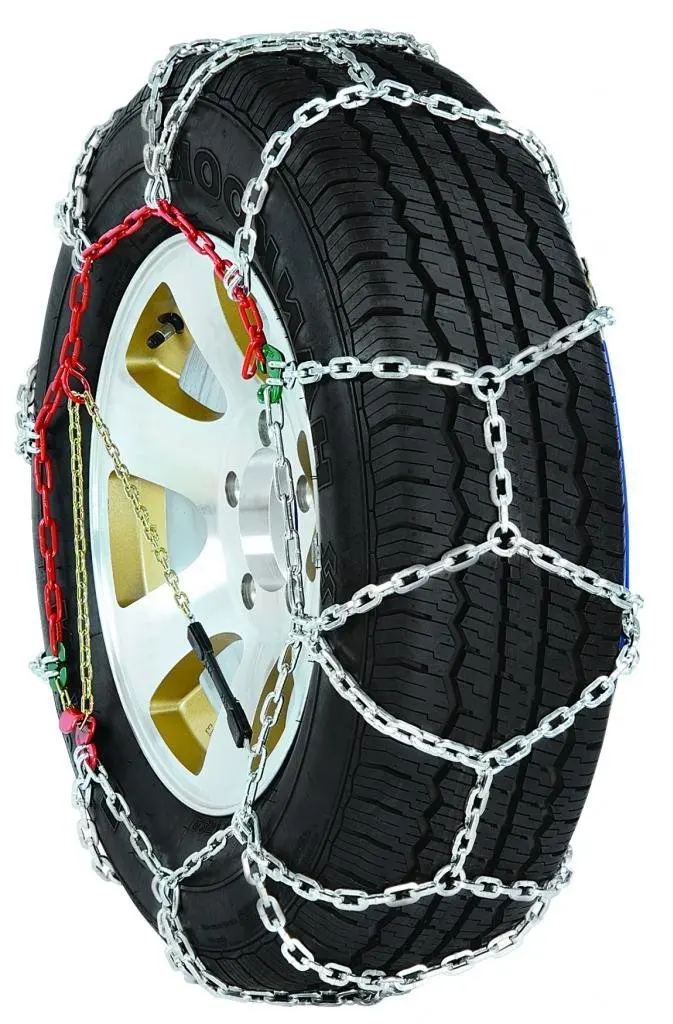 If your vehicle is front-wheel drive, the chains go on the front. If it’s rear-wheel drive, chains go on the back. If it’s all-wheel drive, please check your owner’s manual. If you’re not sure, you can ask the experts at Les Schwab for help.
Pull Out Chains & Instructions. With your vehicle parked, open the bag and pull out your instructions and your first chain. Each bag comes with two chains. The plastic instruction mat that comes with your chains can be used as a barrier between you and the snow to keep you dry.
Untangle Your Chains. Holding them from the plastic-covered cable, make sure everything is straight and the chains are not looped over one another. Hold up your chains so the yellow end is in your left hand and the blue end is in your right.
The chains should hang loosely and the metal hooks seen along the yellow and blue sections should be facing away from you so they don’t damage your tires.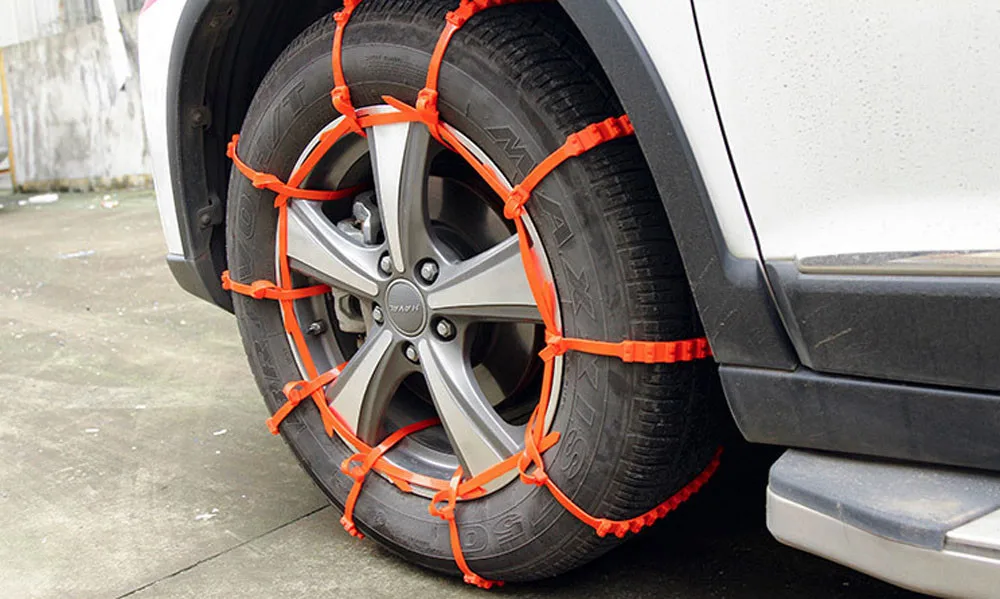
Place Chains onto Your Tire and Connect the Cable. Lay your chains on the ground and push them behind the tire, yellow cable end first, from the right side to the left.
Once the chains are centered behind the wheel, grab both ends and pull them up over the top of the tire. You should feel the chains against your axle.
This will allow you to easily connect the yellow and blue ends of the cable by slipping one end into the other and pulling them into place.
Connect the Red Hook. Now that the cable is connected on top, look for the red hook directly opposite the cable connection. Connect the red hook on the right to the first available gold link on the left.
Check the Diamond Shape. Push the connected chain over the top of the tire.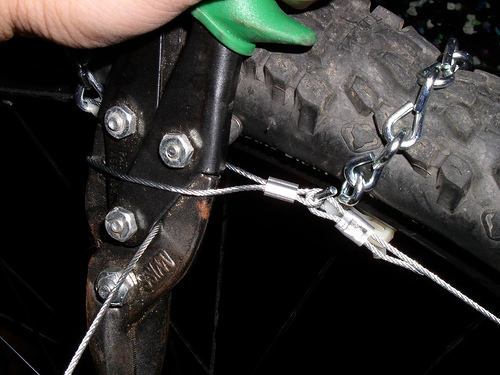 You should see the diamond shape in the chains against your tire. Between each of those diamonds is the center rail, which should be placed down the middle of the tire tread.
Connect the Red Chain Along the Bottom. Now that the cable is connected on top, look for the red hook directly opposite the cable connection. Connect the red hook on the right to the first available gold link on the left. Push the connected chain over the top of the tire.
The bottom of the chains includes a red draw chain with bungee on your right, and a chain guide on the left. Pull these out towards yourself.
Take the long red chain and run it through the chain guide and pull as tight as you can with both hands. Don’t pull using the bungee. As you pull, one of the chain links will find its way into the notch on the red chain guide, locking it into place.
Using the bungee end of the red chain, pull it through one or both of the red loops and secure it to a gold-side chain opposite the red loops. If you can’t get it through both loops, that’s ok, pull tight through one and attach it to a side chain to the left of the loop.
Repeat on Second Tire. Repeat these steps to install chains on the other side of your vehicle.
Drive Forward Slightly. The next step is to drive forward about 15 feet, or a full car length. This gives the chains a chance to relax and settle on your tires.
Re-tighten Chains. To take up any slack, unhook the rubber end of the red draw chain and pull it tight again. Once it’s tight, guide the red chain through the loops and, again, securely latch the bungee end to the gold-side chain.
The chains should be tight on the tire. And, be sure to stop if you hear them making any contact with your vehicle. If your chains are still loose, unhook the bungee and adjust the red hook straight across from the chain guide. Unhook and reattach to the tightest position on one of the three gold chain links. It’s okay if the extra links are hanging loosely. Now, you’re ready to reattach your bungee.
While driving with tire chains, listen for a loud sound of slapping, or metal on metal. If you hear any indication that a chain may be broken or hitting your car, STOP as soon as safely possible. Loose or broken chains that flap can wrap around a strut or shock component, causing big damage to your vehicle. To help prevent damage, here are a few tips for driving when you have winter chains installed on your vehicle.
Pull over in a safe location and remove the chains.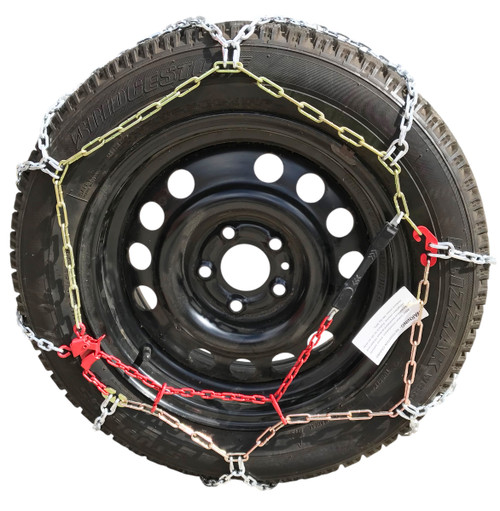 Start by unhooking the bungee and chain from the guide, removing them from the tensioner. Unlatch the red hook, and then undo the blue and yellow cable connection. Once all of your chains are off and lying flat on the ground, pull backward or forward slowly a few feet so you can safely pick them up.
At the end of your trip, lay your chains out in the garage and let them dry. If you pack them wet, they can rust.
Also check them for wear, especially if you’ve driven them on asphalt for any distance. Look for flat spots, and replace the chains if you find some.
Link at left shows flattening from wear. Link in center shows sharp edge from wear that can damage a tire.
Remember, if you don’t use your chains all winter long, you can return them with proof of purchase to any Les Schwab for a full refund in the spring.
Get your next set of Quick-Fit chains, along with a few tips on how to install them, at your local Les Schwab, where doing the right thing matters.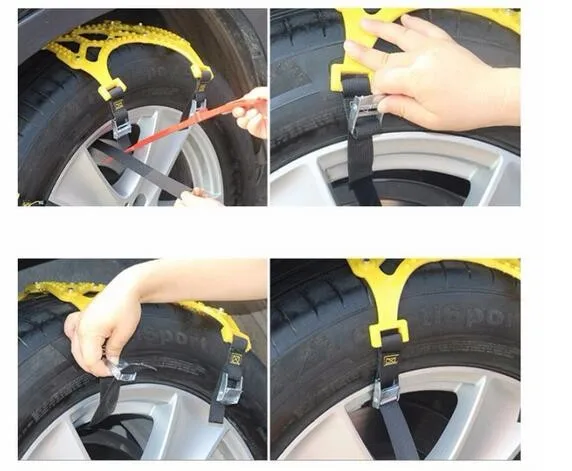
Want more tips on winter road safety? See 19 Winter Driving Resources You Can’t Do Without.
Get More Winter Tips
In view of the fact that winter or even studded tires are almost universally used in Russia in winter, snow chains are not widely used. Except, maybe, areas of complete impassability.
Contents
Whereas in Europe, on the contrary, few people use studded tires. And when traveling to ski resorts, on some roads you may encounter a mandatory requirement to use snow chains.
You will be informed about this by the relevant road sign. And the fact that you can have winter tires installed will not matter. So for peace of mind, it's better to have chains in the trunk.
New vehicles are often offered with different wheel/tyre sizes.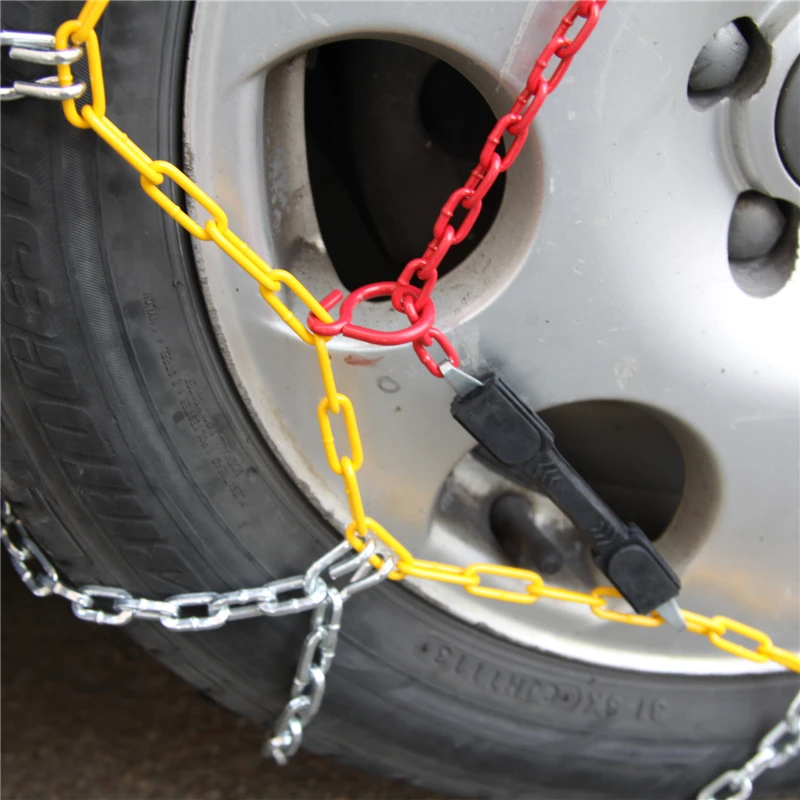 Some of them may not be suitable for fitting snow chains.
The problem is that installing chains adds a few centimeters to the width and diameter of the tires. This means that with some wheel/tire combinations, the snow chains will hit the body, suspension or parts of the braking system, which can lead to serious consequences.
Circuits can also interfere with the correct operation of the electronic sensors mounted on the steering wheel.
The vehicle manual must clearly state which wheel size the manufacturer allows snow chains to be used with.
If the chains cannot be used with the wheels installed on your machine, then your only option is to buy a second set of wheels/tyres.
You should only use snow chains where the road surface is completely covered by compacted snow or ice.
If signs require the use of snow chains, they must be fitted to all vehicles. Including those equipped with both winter and studded tires.
If you attempt to use the chains on a road that has been cleared of snow, you risk damaging the road surface and the vehicle. If you damage the road surface, you may face a large fine.
Therefore, as soon as you reach a section of the road free of snow or ice, you must select a level place and remove the chains.
It can be quite inconvenient to install or remove chains, for example when the wheel arches are filled with snow and your gloved hands are wet and cold.
So when you buy chains, don't just throw them in the trunk and forget about them. The practice of installing them at home when the weather is warm and dry, and you feel much more confident when you have all the necessary tools at hand, will help to cope with them in more difficult weather conditions.
At least one pair must be used on the drive wheels. But two pairs are better, especially if you spend a lot of time in conditions where snow chains are a must.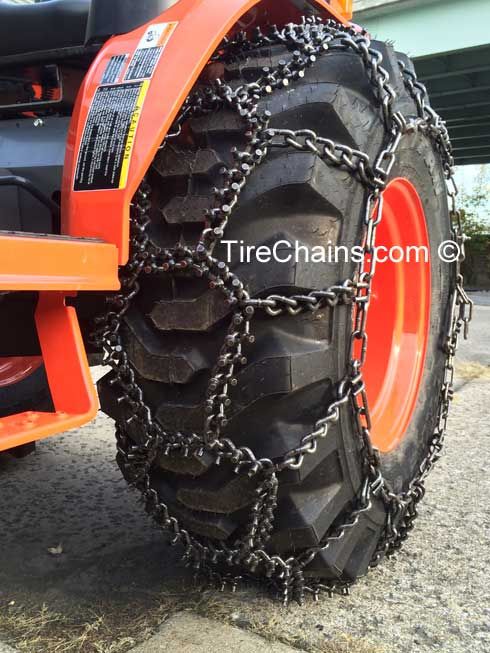
As a general guide:
As a general rule, traction control (a system that controls the amount of slip on the vehicle's drive wheels to prevent them from spinning during acceleration) should be disabled when snow chains are used.
It is important to drive carefully with snow chains fitted. For cars with chains, different countries have their own speed limits. Reduce speed when cornering and avoid sudden acceleration and braking.
A few tips for using chains:
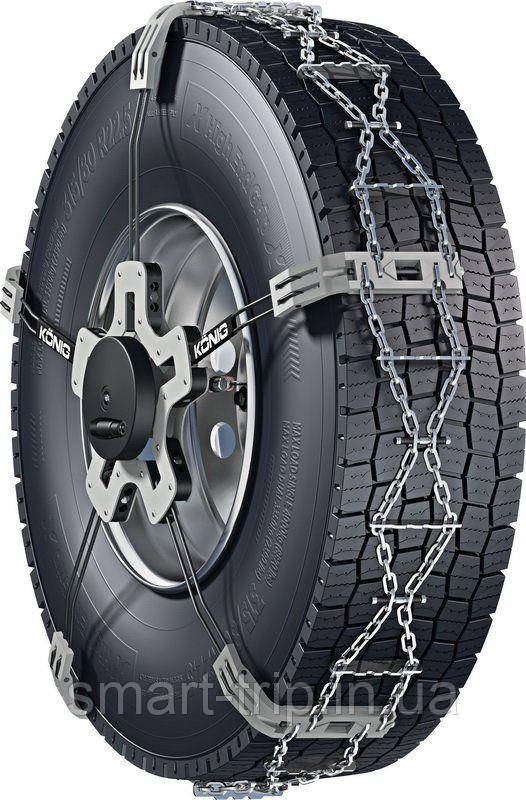
The video below shows how to install snow chains on the wheels (you can watch other videos on our YouTube channel).
Other articles in this section :
Anti-skid chains are special devices that, after being installed on car wheels, allow you to move comfortably on snowy and icy roads.
Snow chains must be fitted to the drive wheelset and must be selected to suit all wheel sizes.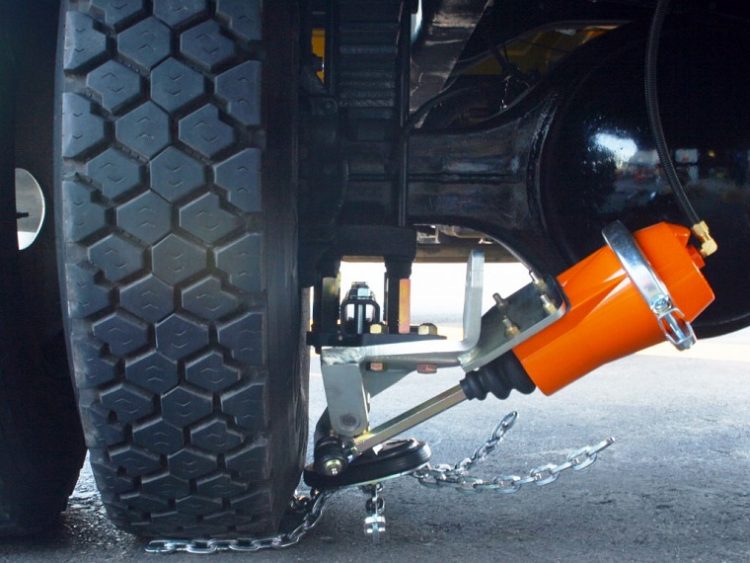 They must be made from the same material.
It should be noted that the installation of traction control chains on the vehicle does not allow it to move at a speed of more than 50 km/h, while fuel consumption increases significantly. But, such shortcomings are fully compensated by the patency and controllability of the vehicle on an icy or snowy surface of a winter road.
Contents
At the beginning of the 19th century, the American Harry Weed was the first to propose the use of chains on wheels as devices that prevent them from slipping when driving on snowy or icy roads in winter.
A similar idea was realized by the inventor when he accidentally saw how motorists of that time tried to wrap the wheels with ropes or tree branches in order to overcome impassability, which in 19century was the norm. In this way, durable and reusable chain devices were constructed by Widom.
The devices are so-called additional removable protectors. The mechanism of their work can be described as follows: due to the small size of the chain links, which is installed on the wheels, the force of their pressure on the ground increases many times, increasing the adhesion to the snowy road surface.
In simpler terms, the snow chain can be roughly compared to the blade of a steamer, which literally “presses” into snow and ice, allowing the vehicle to overcome problematic sections of winter roads with the least effort.
The sequence of mounting the chain on the wheel can be described as follows:
Remove the chains from the wheels in reverse order.
Most snow chains are designed to be installed on an already stuck wheel. However, experienced drivers in no case recommend doing this, since the wheel with the chain installed on it can completely “burrow”, and then the help of a tug will be required to pull the car out of the pit.
Remember: always put snow chains on the wheels just before starting off-road.
Here are a few points in which we describe some of the operational features of the chains: The permissible speed limit is always indicated by the chain manufacturer in its specification, therefore, before using the device, you should familiarize yourself with all its parameters, since road safety depends entirely on this. Neglecting the speed limit can lead to damage to the tires or breaks in the chains with their subsequent engagement with the elements and parts of the chassis. It is not difficult to imagine how this could end;