While carburetors no longer exist in modern-day vehicles, ATVs, smaller-sized motorcycles, and also specific tools like lawn mowers are still used them.
Over time, carburetors can gather a great deal of dirt, dirt, debris, crud, as well as grease. This can trigger blockages or obstructions that avoid the needed combo of gas and air from reaching the engine, which, consequently, stops the vehicle.
Less severe symptoms are slow-moving performance and also velocity, decreased mileage, in addition to overheating. If you drive with diesel, you might likewise experience black smoke from the exhaust pipe.
Cleaning the carburetor can normally get it working effectively once more. When you open it up for cleaning, it's also a possibility to replace any worn-out components such as gaskets and O-rings.
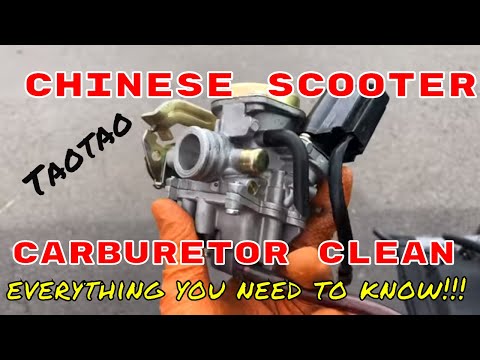
In this article, we explain exactly how to clean a ATV carburetor.
Table of Contents
Get these tools before you get started.
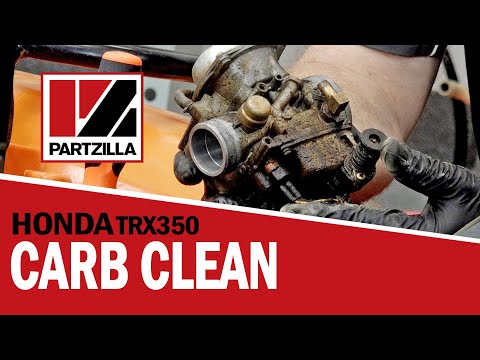
The first step is locating the carburetor and removing it from the ATV for disassembly as well as cleaning.
Your solution handbook must indicate where the carburetor lies. In the majority of ATVs, you need to raise the seat and get rid of the air box to access the carburetor.
Before you go any additionally, you need to close down the fuel supply to the carburetor. Adhere to the fuel line from the carbohydrate up until you situate the fuel valve shutoff. Turn it to the off setting.
Now you can remove the carburetor. Loosen up the tube clamp holding the carbohydrate in place with a screwdriver after that wiggle and also draw it out.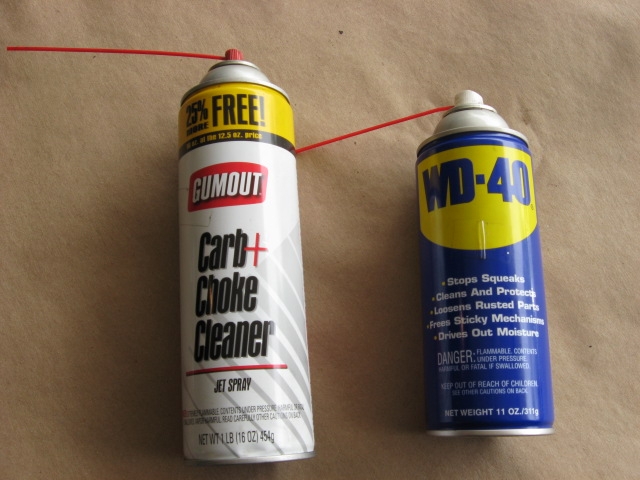
The carburetor is still connected to the ATV with the throttle cable. To separate it, loosen the leading cap. This will eliminate the throttle cable and also slide. Currently, the carb is completely totally free and you can move it to a suitable work surface.
Seek a surface with lots of light and also where you can securely place tiny components without losing them.
The float is the bottom part of the carburetor and is the first thing uncoupled when cleaning the carburetor. To remove the float bowl, loosen the 4 screws under the carburetor. Get rid of these screws with care because they remove really quickly. The float bowl can then be pulled out of the carbs. If you are not replacing the gasket be sure to not tear it. Cleaning the components will be dealt with later on so do not start cleaning yet.
Remove the float pin by pulling it out with a pair of needle-nose pliers.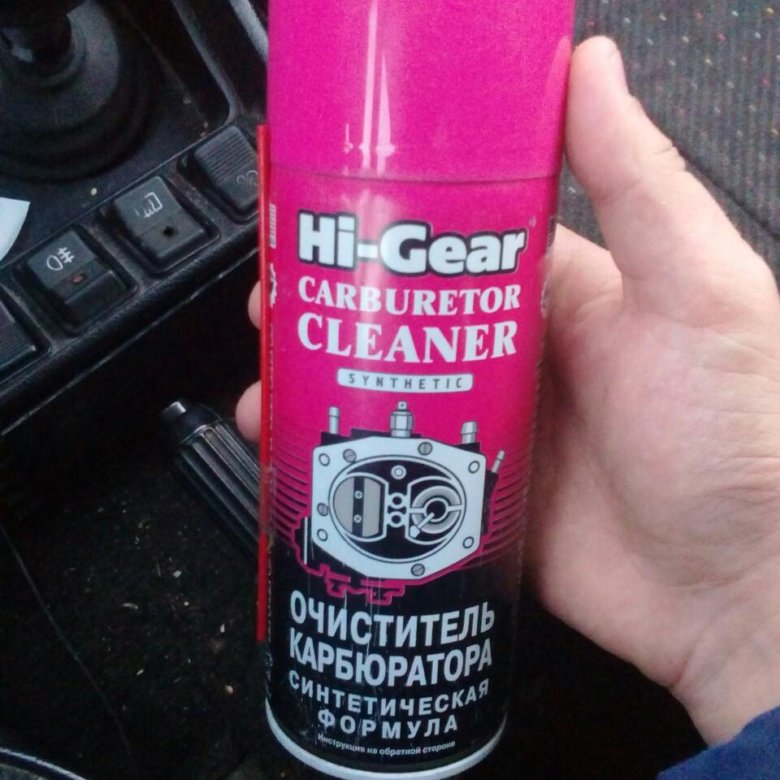 After the pin is eliminated, the float can be gotten rid of. In some carburetors, the needle will be hanging on the float as well as will bring out it.
This step will differ from carburetor to carburetor, yet the jets will certainly need to be gotten rid of. Some carburetors have some splash plates that needed to be removed, not all carburetors will certainly have these. Jets are screws that have an opening with the center of them which the fuel streams through to blend with air. Home plates need to be removed to get to the jets. The primary jet is short as well as fat; will have a hex head or a flat screwdriver head. The pilot jet is long and slim which will take a level head screwdriver to get rid of.
On this carburetor, the float needle is held in by a fuel splash plate. Remove this plate so the float needle can be taken out to be cleaned up.
The last step prior to cleansing the carburetor is removing the last parts from the outside.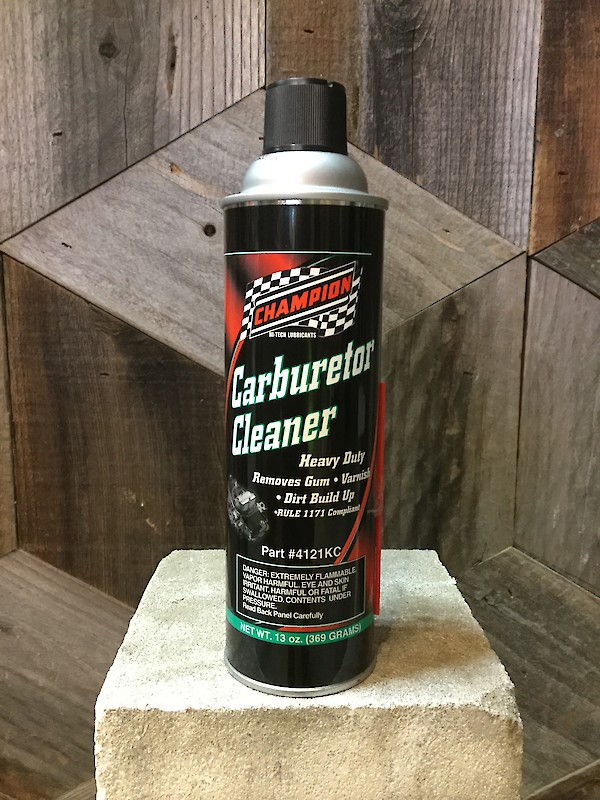 The air screw as well as the idle screw can be eliminated with a flat head screwdriver. They are located on the sides of the carburetor. The idle screw is the larger screw that changes the idle when the engine is idling.
Eliminate the air screw. The air screw is the smaller-sized screw that readjusts the airflow via the carb when the engine is running.
If the choke can be removed from the carburetor, remove it. Transform the top with a wrench and the choke like slide out.
Before cleaning the carb and parts, remove all gaskets and o-rings. The simplest way to cleanse the carburetor as well as the parts is to saturate them in a gallon of carb and parts cleaner, nonetheless the can is pretty costly for simply one use. Adhere to the guidelines on the can for cleansing. Parts can also be cleaned by spraying carb and also choke cleaner.
Be sure so use safety glasses, gloves are advised, for cleaning.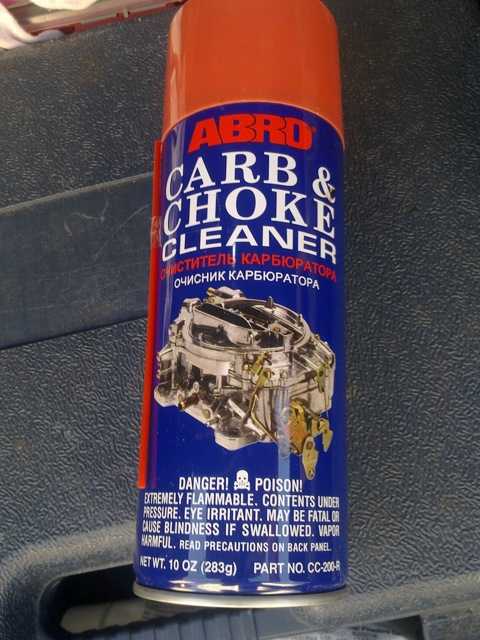 Components must be scrubbed with a cable brush and then splashed with carb and also choke cleaner. Splash the cleaner into the holes that the jets, air and idle screws, float needle, and choke came from. When cleansing the jets, make certain to spray cleaner into the holes. To make sure the jets are tidy, look through them right into the light to see if the hole is cleaned. If jets are not entirely tidy, blowing compressed air via the hole will certainly get rid of the remaining particles.
Make certain all particles are eliminated from the carburetor. Dry the carburetor and all components, the simplest way is with compressed air. Blow pressed air into all holes, as well as blow off all parts of the carburetor. After every little thing is dry, mount the new o-rings and also gaskets back into carb if you have them, otherwise, re-use the old one.
Reinstall the jets with a screwdriver. If necessary, replace the carb bowl gasket. Screw the bowl back onto the carb. Reinstall the carb on the ATV, reconnect all lines previously removed, and test for proper operation. If you find any leaks around the mating surface of the bowl to the carb, you may need a new gasket or some silicone sealant to seal the two together.
There are two ways to clean a dirty carburetor without taking it apart. One is to use a carburetor cleaner spray. Another is to soak the carburetor in the carburetor cleaner for several hrs.
A dirty carburetor will certainly create an engine to run rough, has poor fuel economy, and produce emissions that are not up to par.
There are a few typical sources of a dirty carburetor. One is if the fuel injectors are not splashing the correct amount of fuel at all times, which can cause the engine to run badly as well as create more carbon buildup. Another typical cause is if the air filter is not keeping the engine clean, which will enable dust and also dust to build up on the engine as well as the carburetor.
It is possible to spray carbohydrate cleaner while the engine is running, but this is not recommended as it can damage the engine.
Use vinegar as a carburetor cleaner fluid as opposed to spending on a carburetor cleaning fluid. If the cleaning is done on a regular basis as normal upkeep of the car, vinegar does a better task. It will certainly still benefit from periodic cleaning yet needs more effort with a cord scrub brush.
If you can not locate any kind of carb cleaner, brake cleaner will certainly work to cleanse your carburetor, however starting fluid works much better.
WD40 can be used to clean carburetors, but it is not advised since it can harm the parts.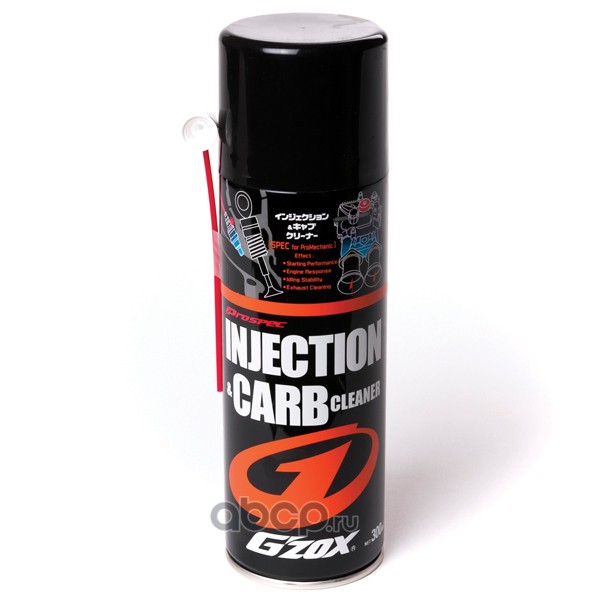
Normally, the problem of your ATV leaking gas into the intake manifold is caused by a carbureted engine. When this happens, it means the float is stuck or the nozzles are clogged. The solution to this problem is to clean the carburetor, fuel lines, and matching fuel system components.
If you are asking what can I make use of rather than carburetor cleaner, Brake cleaner is one more choice as opposed to carburetor cleaner. It is safe to make use of on the carburetor, and also is figured to break down oil and also grimes equally as carburetor cleaners are.
Why ATV Backfires When Revving? Best Ways To Solve 2022
Rodney L Herron
Rodney L is a technical writer and product consultant with over a decade of experience in the motor industry. Rodney is a fan of performance machines that run fast and loud and an expert in all things custom. His numerous articles and write-ups are available at our knowledge base. Whether it’s something wrong with your motorcycle or you are building a custom bike, you can trust Rodney’s experience.
Taking the carb out of the ATV is a troublesome task to a large extent. But sometimes taking out becomes necessary to identify the problems much quicker. But the carburetor is a delicate piece of machinery when talking about its working system.
When someone takes off the carb out of the atv for cleaning or to fix issues then a lot of small parts can fall off and finding them and putting them back in the right order is very critical.
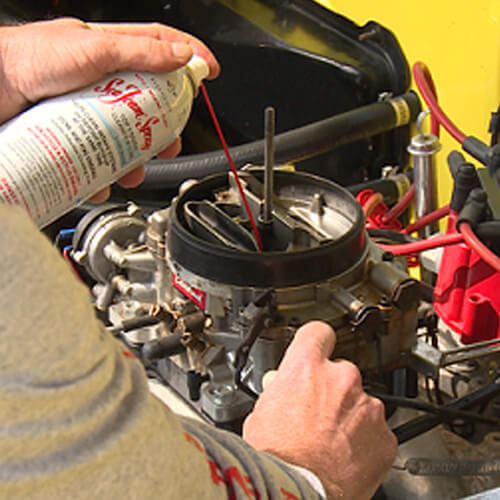
Without much fuss, carb can be cleaned with Spray without it being taken off. However , you will still need some cleaning tools , if dirt needs to be cleaned in more efficient way.
Cleaning the carburetor is very important, otherwise, it often shows problems. The carburetor is the part of the vehicle system where the fuel gets mixed with the air to get burnt so it is an essential portion of the vehicle.
If your ATV hasn’t been used for a long time the fuel will need replacement along with cleaning of the carburetor. If you don’t replace the fuel but clean the carburetor the vehicle will still show problems.
Often a lot of vehicle issues arise from an unclean carburetor but are not easily traced by the rider. The common problems of the carburetor can be identified if symptoms like overheating and backfiring take place. The overheating of the engine or the backfiring issues arise from the carburetor not being able to pass a proper mixture of fuel.
Most people might not know this but the carb of a motorcycle and ATV is much the same. Sometimes they might not exactly look like the reciprocal but you will be able to clean it easily if you follow the simple process each step.
There are a few cleaning supplies that will be required for proper carb cleaning without removing it.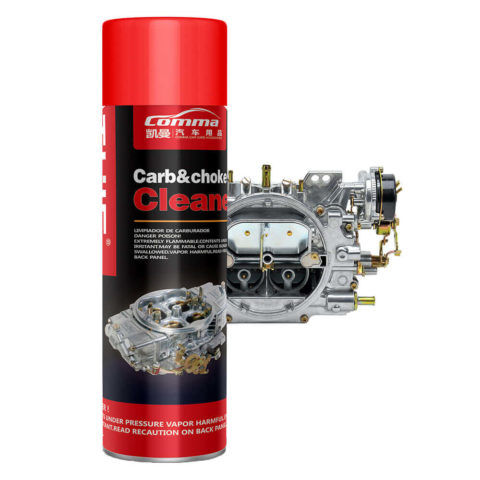 You will need a carb and choke cleaner of a good brand and a parts cleaner. You might want to grab a carb rebuilding kit as well for making the whole process much smoother and simpler.
Tools and first steps for carb cleaner
The question you are having is how to clean atv carb without taking it off is very obvious to ask because taking the carburetor off the vehicle every time cleaning is required can be very frustrating. So keeping some basic tools and knowing the process of how you can actually clean without taking off the carburetor is crucial. The simple tools which can help a lot for cleaning the carb yourself are as follows:
If someone tries to clean the carb by taking it off the vehicle then the person has to take care of the throttle cable and also the intake boots which is a complicated job. For cleaning the carburetor without removing it first you need to put aside the pod filters and air box present. Be worry-free because these parts can be easily fitted by you later on again in the appropriate spots.
Removing a few more parts of the carburetor is essential to have proper access to the main parts so that you can clean them thoroughly.
If you were thinking about how to clean atv carb without taking it off and guessing you can do it without removing any part at all then it’s not much possible. Removing the parts mentioned before will let you reach the butterfly valves that need to be removed as well.
Then taking off the bowl which you will find at the bottom is needed. A bolt in the center and a few screws towards the side of the bowl can be removed using a screwdriver that is going to let the bowl be free. Pull up the bowl carefully to have better access to the carburetor.
Checking and cleaningAfter checking the petcock which makes the gas run in the vehicle and turn it off it’s going to be time to move on for cleaning.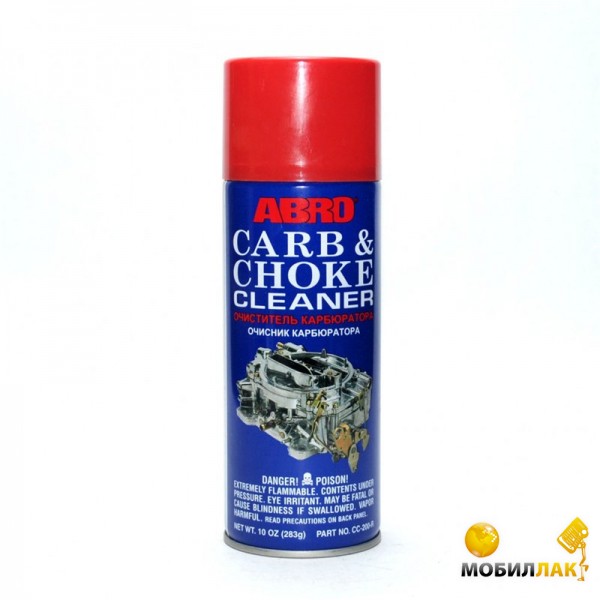 But before you step into the actual part of atv carb cleaning without removing it, you should keep some paper towels which should come useful. When you take the last part of the bowl off the base some amount of gas might leak.
Take your branded cleaner and spray it inside the region where the bowl was present. After the first spray, you can then take a break, the parts removal steps were not very easy so you deserve a break.
Have some patience and put in a few sprays in a gap of five minutes so that the dirt and old grime become worn. Use a piece of cloth or towel to clean off the dirt of every kind which would have become in a much softer state that would get off by itself or just a wipe of the towel will do.
Readjustments for carb and choke cleaner which is often neededAfter a few sprays in a period and wiping you should put the bowl back and put in the screws and bolts as well in the prior position. Then after putting back the airbox and other parts it will be time to check the ATV and start the engine.
Going for a spin with it will be the right move to understand the functioning and condition of the ATV. If the problems which you were having before cleaning are removed and the performance also improves then you should be feeling very lucky. This is because only by a simple procedure your ATV got like new by cleaning the carb without taking it off. If that doesn’t happen don’t worry at all it would just mean a little more hard work is required from you.
So get started by removing the airbox and other parts again followed by the bowl. Follow each step again to reach the main area of the carb. But after you take off the bowl you might notice some float-ups. These float-ups arise when there is gas present in the bowl and is present in a large quantity.
The vehicle system of ATVs is designed in a way that this kind of bowl state will automatically make the fuel valve close down. This kind of system is made so that the fuel valve doesn’t overflow. So the next task will be to remove the float-ups as well. A wrist pin you will be able to find that when pushed will totally make the float detach.
After you have successfully removed the float you will find a cylindrical type shaped object that will be connected to the floats by a tip of rubber. Remove the float and the cylindrical kind of object together, the rubber tip is an essential part for preventing overflow in the fuel valve.
Then clean the area again if you notice slight overflows. As long as the floats are out it is a smart decision to run a check on them. The right kind of test will be to make them float in the water, if they float then they are in fine condition to be used. Otherwise, you will have to get new ones.
A picture of an ATV carb cleanerCleaning the jets of the carbAfter you have taken the floats off, looking inside the carb you will find the jets and when you find them with sufficient lights it will be time to unscrew the jets. You will need to take them out so that you can check inside and clean them. There will be two jets present, one will be the prime jet and the other one will be a secondary jet. Now after the jets have come out of the carb it is important to check the inside.
If you can’t properly see through it that would mean they are clogged up.When comparing reasons for the carburetor to not function right, the most probable reason is found to be jet that is clogged up. Clogged jets also occur due to the use of the wrong gas which is not suitable for the type of ATV.
Ethanol gas is often the reason for clogged-up jets but there might be other reasons too. Make use of the carb cleaner in the same way in a gap of four minutes to make the jets clean. Experts recommend using branded carb cleaner, you can find the right product by checking if it contains chlorine or not.
This time spray the carb cleaner all over the place because the ATV carb is very much exposed this time. By spraying properly not only the inside but the outside parts of carb will make the carb function much better.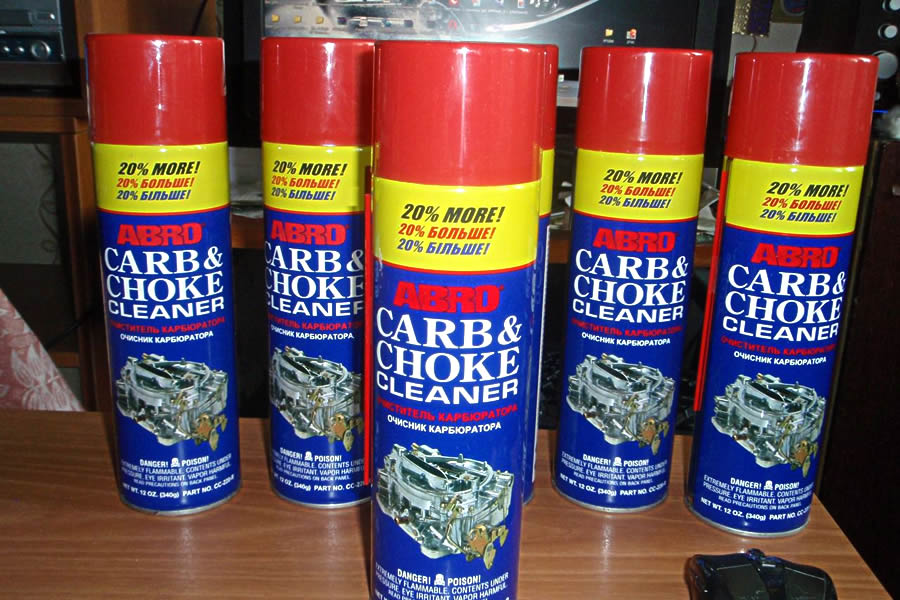 After you have completed the cleaning let the carb be open in the previous state and not install all the parts. Letting the carb cleaner do its work by reacting with the accumulated dirt is very important.
In the end, wipe with a clean cloth all over inside the carb. Then slowly one by one reinstall all the parts starting from the float to the bowl and also the air box and other parts left. But you can also keep the air filters unattached for the time being for testing the ATV. If everything seems fine after you take the atv for a ride you can put the air filters back again.
Picture of a carburetor systemIf cleaning didn’t fix the problems totally
Although cleaning the carburetor without removing the vehicle is not an extremely simple task, it isn’t as much as removing the carb kind of labor either. But even after cleaning the carb thoroughly if the carb shows signs of having problems then there might be some serious issues.
This would also mean that taking the carb out of the vehicle might be the only option left. Taking the carb out of the vehicle might seem like a scary task because of all the small and delicate parts that fall off. Losing such a tiny part like this can stop the functioning of your vehicle and that seems like a big risk to take.
But you will find a lot of resources from atv communities and mechanic forums to do it yourself. Some experts do recommend using an ultrasonic cleaner by repeating the same steps of taking off the parts starting from the airbox to the bowl and then placing the ultrasonic cleaner inside.
The ultrasonic cleaner has a heater present that heats up the solution and provides an excellent cleaning of the carb of your ATV. But all of the ATV carbs would not have the same size and therefore you might need to clean some parts separately. A carb rebuilding kit will be very useful if you are planning on cleaning the carb every time yourself. You can easily repair the gasket of the vehicle if you have the kit.
A type of carburetor being fixed for future useThere will be some common signs in the carb that you will be able to recognize while riding the ATV. These signs would tell you that the carb is in need of a thorough clean. The common signs would often be generated by the jets present in the carb and the results would be as follows:
If you have these kinds of issues then most of the time the unclean carb would be responsible for causing such problems in the ATV.
Sometimes the carb will also show difficulty in starting the engine of your ATV. If your ATV is running very lean due to the combination of fuel and air not properly happening then it might also be due to the presence of a lot of dirt in the carb. If there are fuel spills and overheating in the engine. Then it can be also considered as a sign of carb cleaning to be done properly.
ConclusionTaking off the carb can be very difficult for some riders themselves as it involves several issues which cannot be easily handled. Many would prefer cleaning the carb themselves by not taking the carb completely out of the vehicle. If you prefer to do it yourself from the start then following the steps already mentioned will help you in cleaning the carb yourself without taking it off.
By Milena Anderson Reading 3 min. Views 89
Short Answer
How to clean the carburetor on an ATV without removing it?
If the carburettor can be accessed from above, use a can of carburettor cleaner and a stiff brush. If the carburetor is not accessible from above, remove the air filter and blow out the carburetor with a compressor or air hose.
How long does it take to clean the carburetor on an ATV?
Cleaning the ATV carburetor can take anywhere from a few minutes to an hour or more. Features vary depending on the type of carburetor and its condition. However, cleaning typically involves removing all fuel and air from the carburetor and then cleaning it with soap and water.
What do you soak ATV carburetors in?
Carburetor cleaner, petrol or diesel.
What is the easiest way to clean a carburetor?
Carburetor can be cleaned with carburetor cleaner.
What are the symptoms of a dirty carburetor?
A dirty carburetor does not save fuel well, makes it difficult to start the engine, and can produce an unpleasant odor.
How do I clean a thickened carburetor?
There are several ways to clean a thickened carburetor. One is to use gasoline and a toothbrush to clean the inside of the carburetor. Another way is to soak the carburetor in a solution of water and vinegar for several hours.
Will sea foam clean the carburetor?
Seafoam does not clean up carbs.
Can wd40 be used to clean a carburetor?
WD40 is not a carburetor cleaner and will not work well with carburetors. Carburetor cleaners are specially designed for cleaning carburetors and are available at most auto parts stores.
How to clean the carburetor without carburetor cleaner?
There are several ways to clean the carburetor without carburetor cleaner. One way is to use a piston. Place the carburetor in the sink and fill with water. Place the piston on top of the carburetor and push and pull the piston until the carburetor is clean. Another way is to use a can of compressed air. Blow out the carburetor and clean it with a brush.
How do I clean a clogged carburetor?
There are several ways to clear a clogged carburetor. One of them is to use a piston. Place the piston on the carburetor and push and pull the carburetor until the obstruction is cleared. Another way is to use a vacuum cleaner with a crevice tool. Make sure the crevice tool is wide enough to fit around the circumference of the carburetor. Set the vacuum cleaner to maximum power and turn it on.
How to clean a thickened carburetor in a small engine?
The carburetors can be cleaned with a carburetor cleaner such as kerosene or petrol. Use a rag to apply the cleaner to the carburetor and then use another rag to clean the carburetor. Be sure to rinse the carburetor thoroughly with water afterwards.
Can carburetor cleaner be sprayed into the air intake?
No, the carburetor cleaner is not a safe air intake cleaner. This could result in engine damage and serious injury.
Can carburetor cleaner be sprayed into the spark plug hole?
There is no guarantee that the carburetor cleaner will do the job of cleaning the spark plug hole, as it may not be effective against the dirt and debris that may accumulate in this area. Also, using carburetor cleaner in this way can damage the engine or other components.
How often should carburetors be cleaned?
Carburetors should be cleaned regularly, usually every 3-6 months.
What can be added to the fuel to clean the carburetor?
There is no one-size-fits-all answer to this question, as the best way to clean a carburetor depends on the specific carburetor and fuel being used. However, some general tips for cleaning carburetors include using a fuel additive designed specifically for carburetors, using a carburetor cleaner, or boiling water and pouring it into the carburetor.
How to adjust the carburetor on an ATV? What to pay attention to? What are the signs of misuse of the device? About this today in our article. Using the proposed instructions, you will be able to set up the carburetor step by step without the help of specialists.
For stable operation of the ATV, it is necessary that the engine receives the optimal amount of combustible mixture corresponding to its rev range. Otherwise, the following problems may occur:
What should be applied in this case:
Important! Carry out tuning only when the carburetor is cleaned outside and inside, as well as when the engine is warmed up to operating temperature.

Note. The location of the bolts on each carburetor model may vary, so read the instructions that came with your machine.
1. Start the ATV and test ride. Wait until the engine has completely cooled down.
2. Check the condition of the spark plug. To do this, unscrew the cap and inspect the candle.
What to look for:
3. Unscrew the needle cover at the top of the carburetor. Pull the needle. This is the main element that regulates the supply of fuel to the combustion chamber, since the needle is connected to the gas trigger. When the trigger is pressed, the needle rises, slightly opening the hole for supplying the fuel mixture. This directly affects the growth of power and speed of the ATV.
4. Remove the cable, then press the needle to pull it out. The needle has 5 grooves and a retaining ring. By default, it is set to medium. The lower the retaining ring is located, the higher the needle is raised, which means that a lot of gasoline and little air is supplied. Accordingly, the higher the ring - the less gasoline and more air.
5. Reposition the circlip in the desired direction to optimize carburetor performance. Insert the needle into place.
6. Start the engine and press the throttle trigger. With proper adjustment, the engine should not stall from a sharp pressure.
And remember, you should resort to adjusting the needle only as a last resort, when adjusting the quality and quantity screw does not bring results.
The performance of a four-wheeler depends on the correct level of gasoline in the carburetor. An excessive amount will flood the candles, spill onto the ground and lead to unnecessary expenses. If there is too little fuel, the engine simply will not start.