The accumulation of windblown sand marks the beginning of one of nature’s most interesting and beautiful phenomenon. Sand dunes occur throughout the world, from coastal and lakeshore plains to arid desert regions. For hundreds of thousands of gear heads like us, these majestic dunes are best experienced from the seat of an ATV or UTV. Up to a quarter-million dune enthusiasts flock to Glamis during the winter holidays for the same reason—it’s unbelievably fun! If you’re new to the ATV/UTV lifestyle and haven’t made that first trip to the dunes yet, you’re missing out.
There are several tips, tricks and guidelines that can help you get the most enjoyment out of a weekend at the dunes. Here are things we’ve learned about riding the magical sand dunes on UTVs and ATVs.
KEEP SAND OUT AND FUN IN
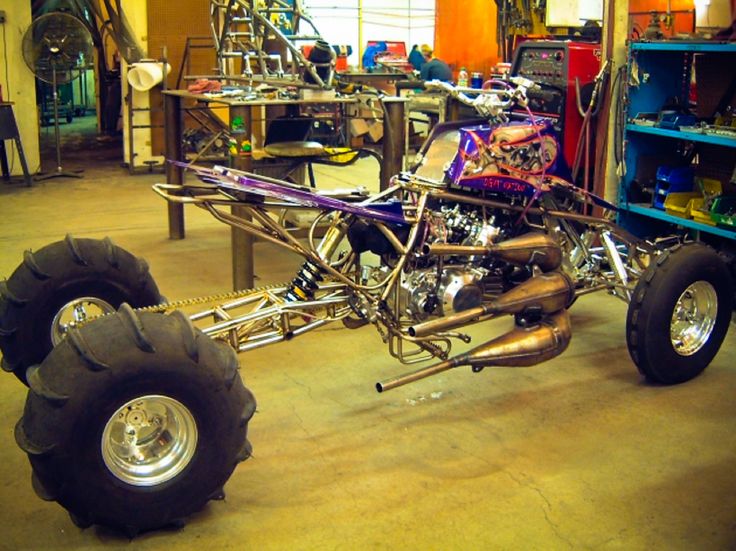
Sand can be hard on equipment if you don’t prepare for it. A successful weekend in the dunes should start with a little extra time in the garage. The sand will have your engine working harder as it spins the wheels looking for traction. If you run paddle tires, you will have traction galore, but sand will still make your engine work harder than under normal circumstances.
1.) Start with fresh oil. Your motor and transmission will be turning more rpm; give your engine the fresh oil needed to properly lubricate and protect it. If you’re riding a four-stroke— this is imperative—give it a fresh oil filter as well. If you’re riding a two-stroke, the oil will last a bit longer, but fresh gearbox oil will still keep your clutches and transmission in better shape longer.
2.) Dirt is the number one enemy of a healthy motor. In the dunes, loose particles of sand will be flying, and a properly serviced air filter is your only protection. Make sure that your air filter is properly cleaned and oiled. If it is a press-flange type, be sure to grease the flange as well. A properly oiled K&N filter with a filter charger skin works great at keeping sand grains out of your motor. There are mixed opinions about fabric-type filters in fine, silty conditions, but no one will argue their superiority in the sand. If your ATV is jetted to run without an air lid, try running a K&N Power Lid to get maximum airflow yet keep your air filter clean all weekend long.
3.) Give your OHV a good once-over. Check for anything that might come loose. Pay attention to cotter keys, etc. Before a dune trip, it’s also a good time to grease the swingarm pivot, suspension linkages and even the axle carrier. Removing the carrier and greasing it is often overlooked, but it is worth the extra effort.
4.) Weight is also a factor in duning. Heavy skid plates are obviously not necessary for duning, but you would be surprised at how much a belly-pan skid can help your UTV or ATV chassis slide instead of stick if you bottom off a jump. If you don’t have paddles, you might opt for lightweight, flexible stock tires over some of the heavier and stiffer aftermarket options.
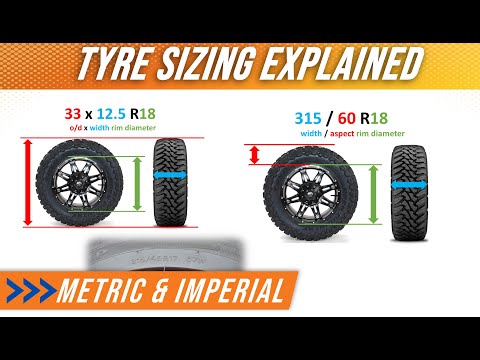
SAND TIRES, PRESSURES& WHEELS
Paddles are obviously the best way to get traction.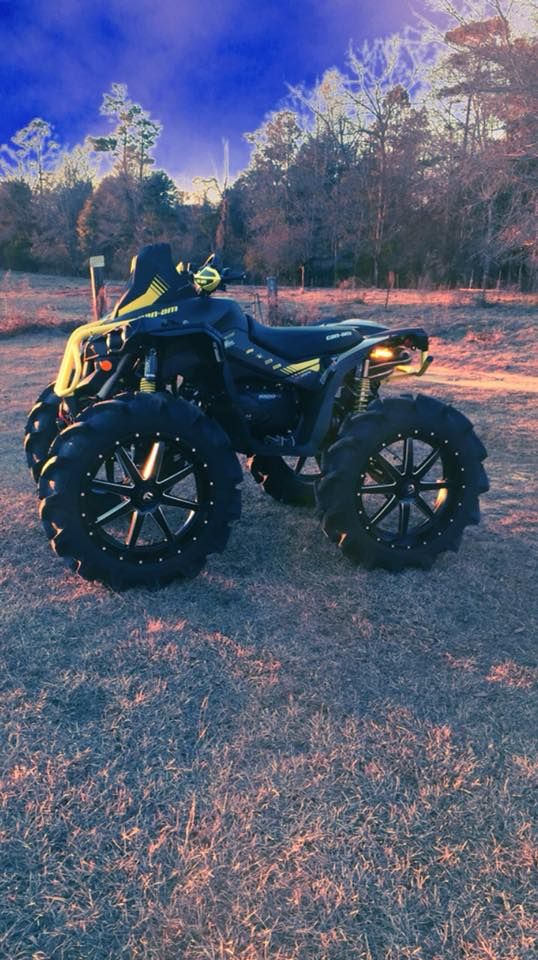 There are many different paddles, but some experienced duners actually prefer regular dirt tires. In the dunes, air pressure is the key to flotation. A soft, aired-down tire will float your quad or UTV on the sand, regardless of how much traction its knobbies or paddles grab. If you’re going to dune without paddles, you need just enough air pressure to keep your bead seated, and you will need enough momentum to keep your tires from digging into the soft sand.
1.) Stock, radial sport quad tires typically work better in the sand than stiffer and heavier aftermarket ones designed to perform in the rocky desert or on a motocross track.
2.) You can run an ATV tire down to about 4 to 5 pounds on a standard wheel for optimum flotation without debeading.
3.) With beadlocks, you can run even lower pressure, but make sure they are even from side to side.
4.) UTVs are heavier, but you can typically run them down to about 8 pounds before worrying about rolling the bead off under a sideload. Once again, beadlocks can help you safely go even lower.
5.) If you are running 14-inch wheels on your UTV, you are more likely to lose a bead under low pressure. You might keep 14-inch wheels closer to 10 pounds.
6.) If your dirt tires have a directional V-tread, such as the stockers on a RZR XP 900 or Wildcat, you can try flipping them to the opposite side and running them backwards. Using the V-tread similar to a paddle can help you grab traction.
SAND PADDLE TIRES
1.) There are two basic types of paddles: V-cup paddles and straight-cup paddles. V-cup paddles are designed to let the vehicle slide for carving bowls and playing in the dunes. Straight-cup paddles are designed for forward propulsion. If your passion is drag racing, hill-shooting or even just climbing the biggest, steepest dunes, straightcup paddles are for you.
2.) When selecting paddles, there are a few more factors that you need to consider—tire diameter, paddle size, and the number of paddles should all factor into your decision. The tire diameter directly affects your gearing as well as ride comfort. The number and size of paddle scoops should be chosen based on your available horsepower. A stock-motored quad will perform best with six to eight paddles, whereas a highly built motor will appreciate the extra bite of, say, nine to 10 paddles. Extreme drag vehicles might even do best with 12 to 14 paddles.
3.) There are two main options for front sand tires. Stock front tires will work fine, but they will throw a lot of sand back in the general area of your face. “Smoothy” or buffed tires were developed to eliminate the flying sand, but they make turning a real project. Smoothy tires should only be used for drag racing. They don’t have any bite to turn, but they offer very low rolling resistance and won’t throw sand in your face. If you’re going to be doing some serious duning, a ridge or Mohawk-type tire is the only way to go. A buffed front tire with a single rib that bites into the sand when you turn offers the best flotation, turning traction and ride.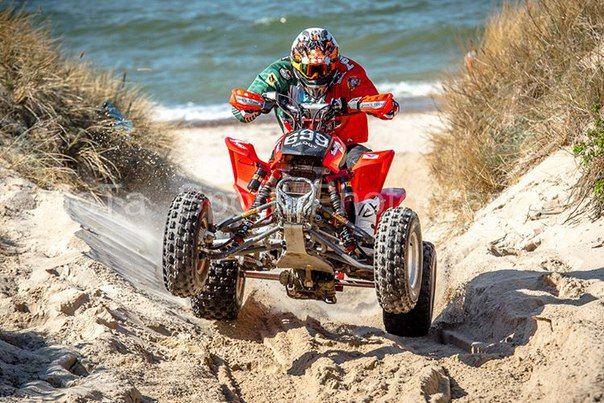
4.) There are many UTV paddle options out there as well. There are even special paddles designed to run on the front wheels in four-wheel drive. Many of these special front UTV paddles are made by shaving down a set of mud tires and leaving just a paddletype V down the center.
SAND DUNE E-TICKET TIPS
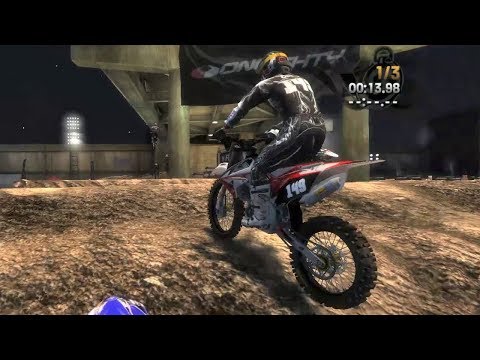
Once you are prepped and ready to ride, the rest is easy. The sand is one of the safest and most fun places you will ever ride, but follow a few basic rules to keep yourself safe. Always wear your safety gear, use a whip safety flag and dune sober. Few feelings rival the sensation of flowing from bowl to bowl in big dunes and riding walls that seem impossible. Each dune is different, and they change from minute to minute, so reading terrain and maintaining momentum are keys to a fun ride.
1.) Momentum is the key to successful duning. The bigger and/or steeper the dune, the more momentum you will need to conquer it.
2.) Make sure you have enough speed to clear the transition so you won’t high-center, but not so much that you go launching blindly off the other side, like Robby Gordon did on days one and three at the Dakar.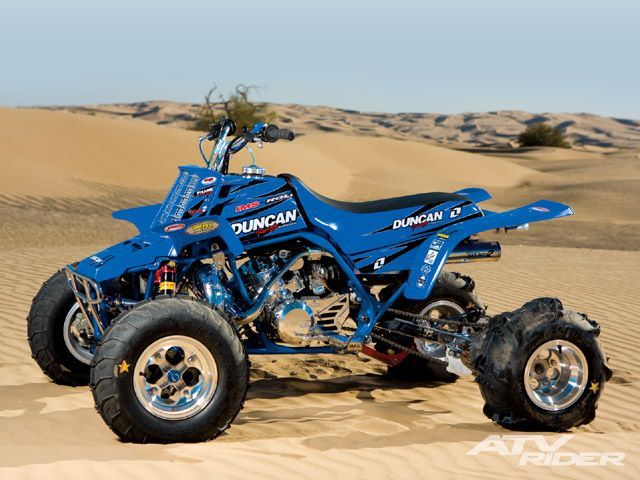
3.) Before you climb a big, steep dune, be sure to scout out a smooth transition. Holding it pinned and sticking it into a deep whoop or steep, a jarring transition can be painful and eat up all your momentum as well.
4.) When transitioning blindly from one dune to the next, you can cross at a 45-degree angle to lessen the abruptness of the drop. When doing this in a UTV, try to have the driver’s side toward the top of the ridge to help you see the other side as early as possible.
5.) When in doubt, turn out! When climbing steep hills, if you are running out of momentum before you will crest the top, turn around while you still have forward momentum to do so. You don’t want to dig in and have to dig it out by hand.
6.) If you do have to get off on a hill, get off on the uphill side of the machine and drag the front end down, then remount and try again.
7.) Sidehilling is another fun duning technique that requires throttle control and balance. While riding across a steep slope, let the rear wheels drop down, and use front-end control and throttle to navigate the hill.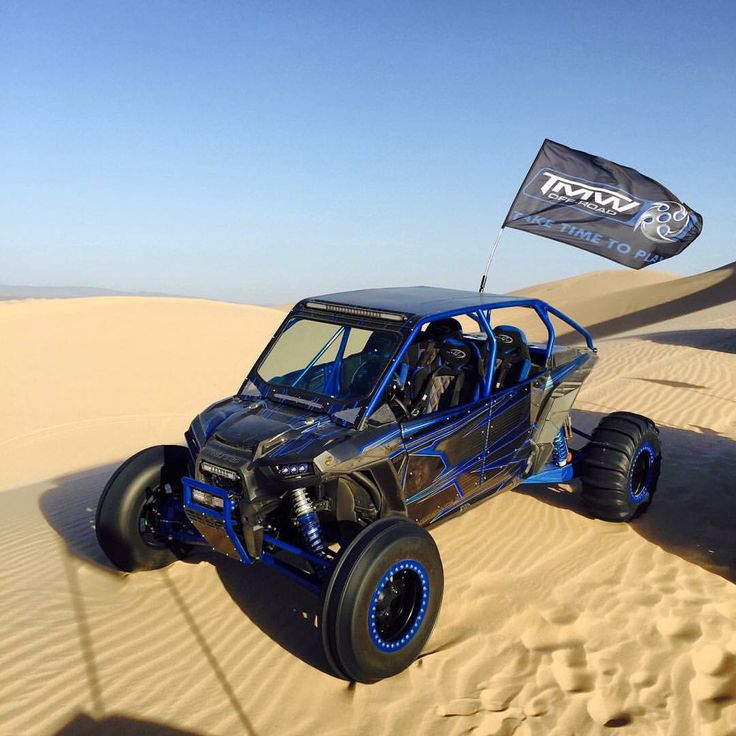 Side-slipping is a blast, and you need momentum to press you into the hill.
8.) If you like jumping, the dunes can form some amazing, natural jumps. Use a spotter to alert you of cross-traffic and pre-inspect your landing. Remember that the dunes are constantly changing. After a good night’s windstorm, that jump can be completely different in the morning.
RULES FOR SAFE DUNING
1.) Don’t pit race! For the safety of yourself and others, keep it under 15 mph within 100 feet of any camp, congregation or establishment. Regardless of where you go duning, there is plenty of open space to open it up without endangering somebody’s kids or pets.
2.) If you are new to the area, have someone experienced with riding the area give you the rundown. Make notes of landmarks and GPS routes to avoid getting lost in the future.
3.) Carry a tow strap and always ride with a buddy, if not a group. Each group should have a leader, sweep, shovel, tools, spare belt, flat-fix kit, drinking water and first-aid kit.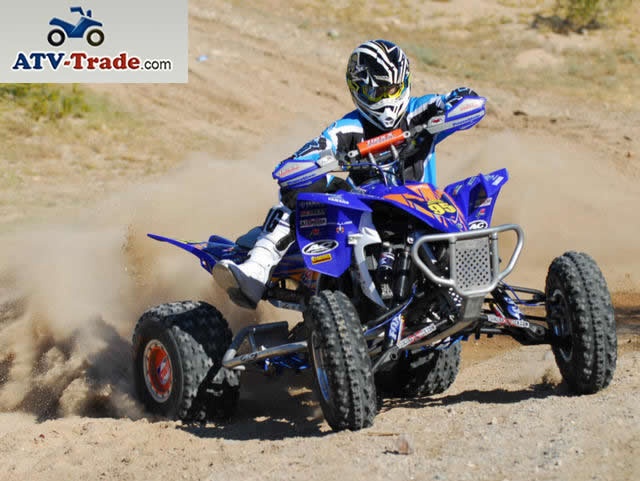 Radios are a good idea, as cell service is spotty in many dune systems.
4.) Know what’s on the other side. If you’re riding coastal dunes, they will typically drop off steeply, going away from the ocean, and have a safer transition when heading toward the water.
5.) Keep an eye out for witch’s eyes. These holes in the sand are caused by the wind and are not always easy to see. The wind can also cause short drop-offs that you need to keep an eye out for.
6.) Remember that the sun is harsh in the middle of the day, and it is harder to see transitions, G-outs or witch’s eyes. Try using yellow-tinted lenses for better depth perception and to cut glare.
7.) Riding dunes at night can cause vertigo, and it’s super easy to get lost. Only the most experienced duners should attempt night rides. Use accessory LED or HID light bars to show the way. You can tell a night-duner camp by the huge, wildly lit flags on the motor homes so they can navigate back to camp.
8.) Hydrate! By definition, dune systems are so arid that they sap the moisture right out of you, even in winter or at night
4. 6 out of 5 stars 127 ratings
Currently unavailable.
We don't know when or if this item will be back in stock.
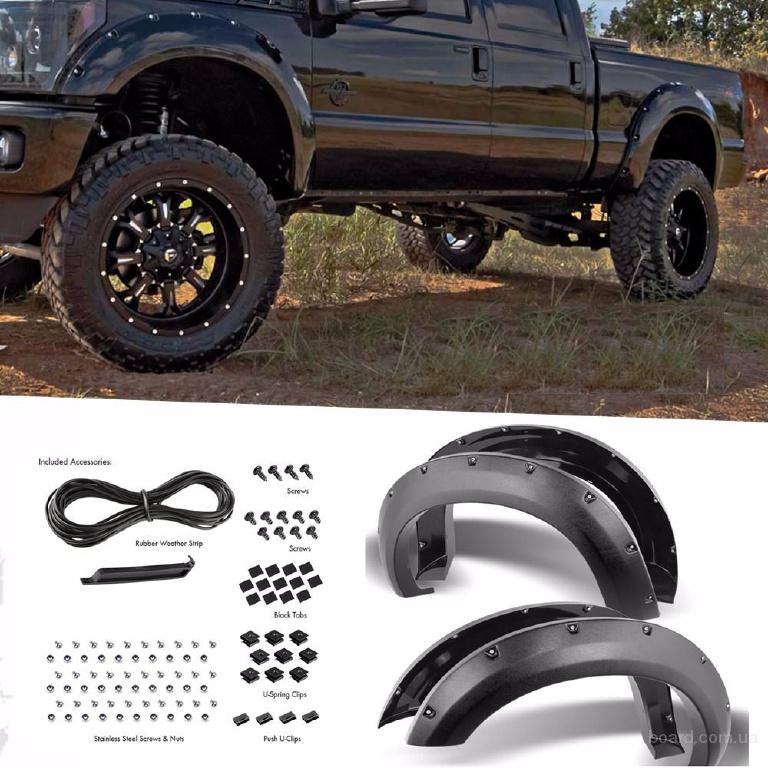
Size: 25x8-12 & 25x10-12
| Brand | HALBERD |
| Size | 25x8-12 & 25x10-12 |
| Rim Size | 12 Inches |
| Section Width | 8 Inches |
| Tire Aspect Ratio | 80 Millimeters |
| Load Index Rating | 43. 00 00 |
| Speed Rating | F |
| Load Capacity | 340 Pounds |
| Tread Type | Directional |
| Ply Rating | 6-Ply |
This fits your .
See more product details
Note: Products with electrical plugs are designed for use in the US.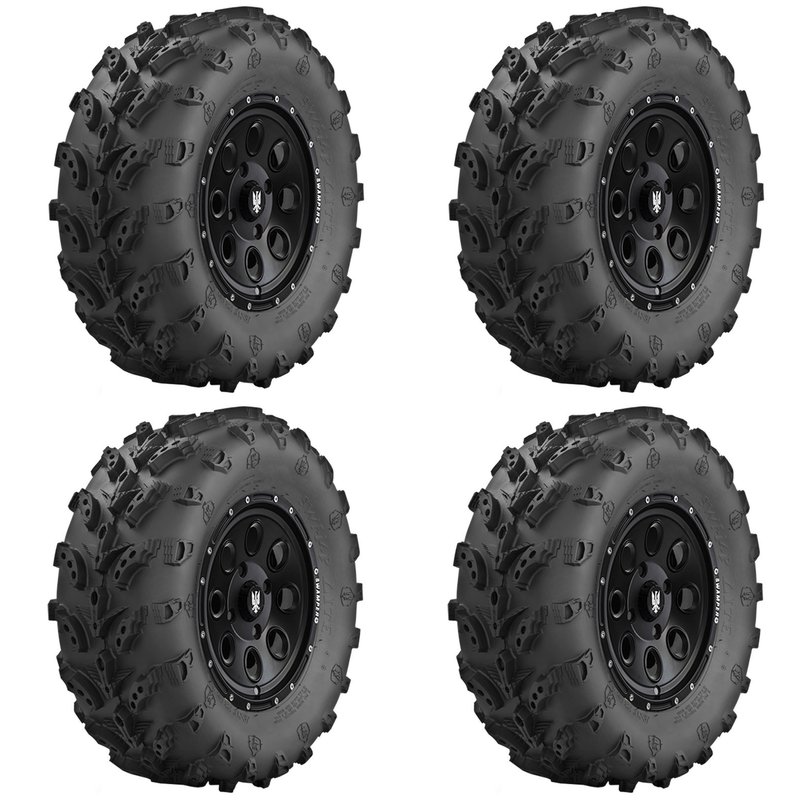 Outlets and voltage differ internationally and this product may require an adapter or converter for use in your destination. Please check compatibility before purchasing.
August 31, 2017
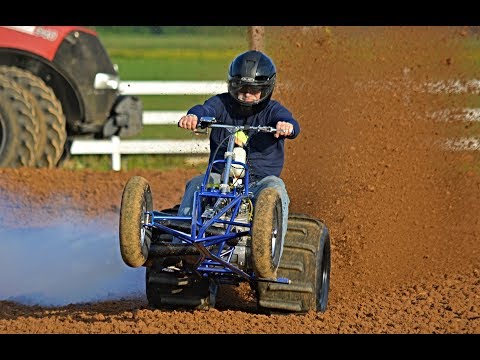
The ATV is a great technique, but every ATV rider must know the simplest steps to repair his "beast". These activities include tire puncture repair .
ATV tires are different from car tires. Low pressure quad tires , which increases the chance to puncture or cut the tire. Every ATV rider should have a puncture repair kit. ATV punctures are the norm rather than an emergency. And without tire repair experience, riding an ATV is very difficult.
When you notice leaks, you need to stop and start looking for a puncture. It is most convenient to look for a puncture by first removing the wheel, but the first stage can be carried out by dismantling the wheel.
If you are unable to locate the puncture, then remove the wheel and lower it into water, such as a puddle, lake, river. If the wheel is already heavily deflated, and the air is no longer coming out, then you need to pump it up and perform the described actions.
In the water you will immediately understand where exactly the air comes from
We take the wheel out of the water. Now you need a reamer, the tool helps to make the puncture surface rough on the rubber. This helps ensure a better bond between the adhesive and the rubber. We act like a file, only the effect is the opposite.
We take a tool to install the patch.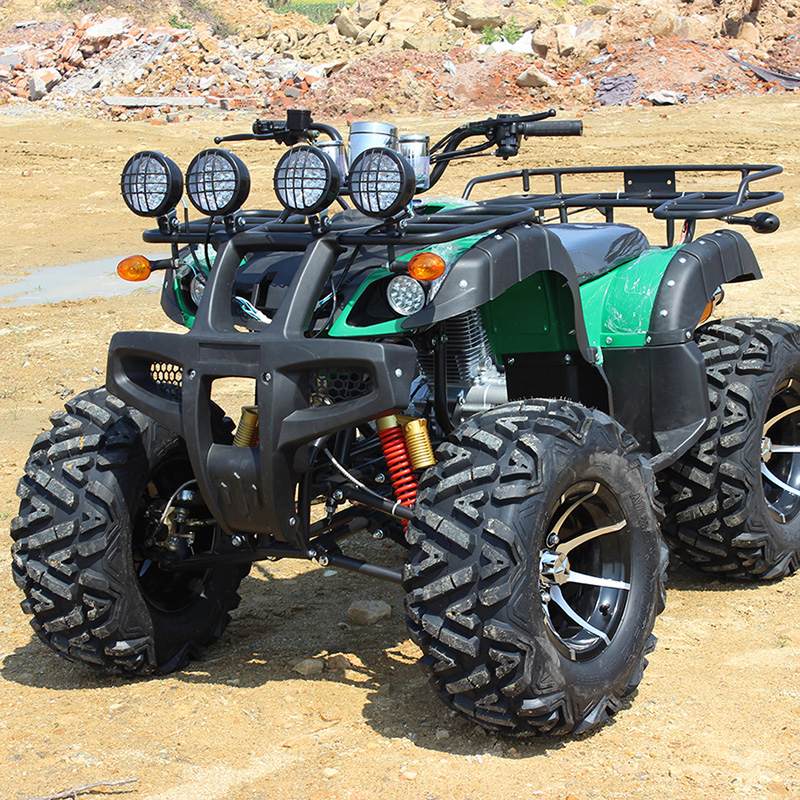 This stage is the most responsible.
We thread the tourniquet into the tool, it is desirable to thread it so that the patch has the same tips. We cover the patch with special glue. After that, we insert all this into the puncture site. insert into the tire halfway.
Now you need to quickly pull the tool out of the hole, but do not pull the patch with you. We install so many patches until the air stops coming out.
But before pumping, you need to let the glue dry a little.
After that, inflate the wheel, and when you are sure that the air is no longer escaping, but it is necessary to cut off the patch, leaving 3 millimeters of flagella so that the patch does not pop out while driving.
In the next article, we will analyze what to do with a tire side cut.
From time to time the quad is acting up and not behaving as you would like.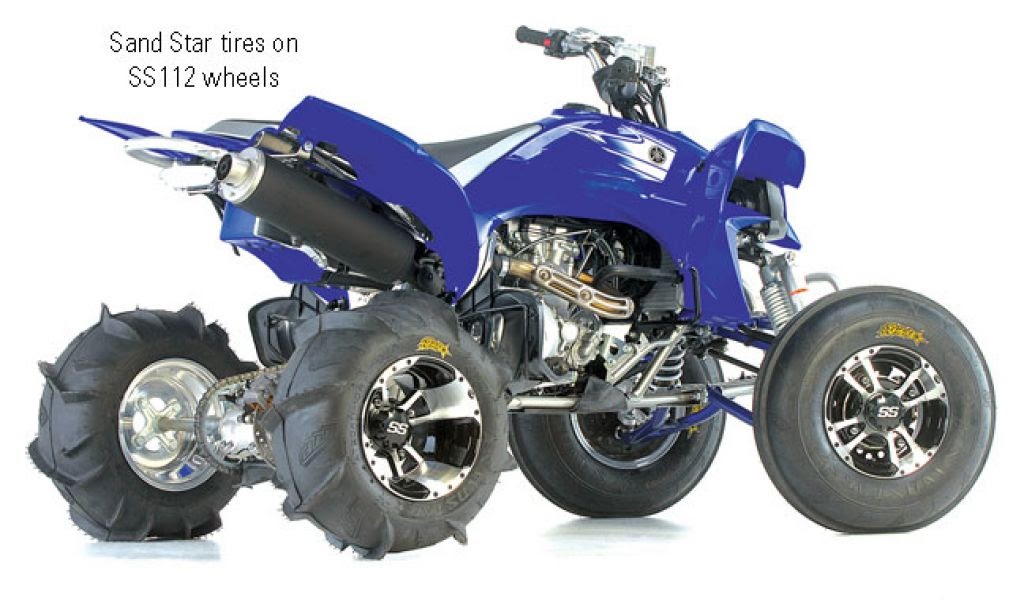 Nothing beautiful lasts forever, right?
One of the most common faults you may encounter is the ATV suddenly pulling to the left or right.
If you're lucky, your problem may have a simple solution)
Let's take a look at some of the most common causes of ATV pulling to the side, and of course, here we'll talk about how to get rid of these problems.
The most common problem that causes the ATV to pull to one side is the difference in rolling resistance due to different tire pressures. Also, the problem may be associated with natural wear or damage to various components of the chassis of the ATV and, as a result, a violation of the angle of the wheels.
So how do you determine what is causing problems when riding an ATV?
As you probably already understood, there can be several reasons.
To understand why an ATV wants to pull off the road and dive into a ditch when you really don't want to, you need to do a number of checks.
Although I don't have exact statistics to tell you which malfunction occurs most often, I still recommend that you start with what is easiest to check and fix before spending time and money on more non-standard and potentially more complex searches.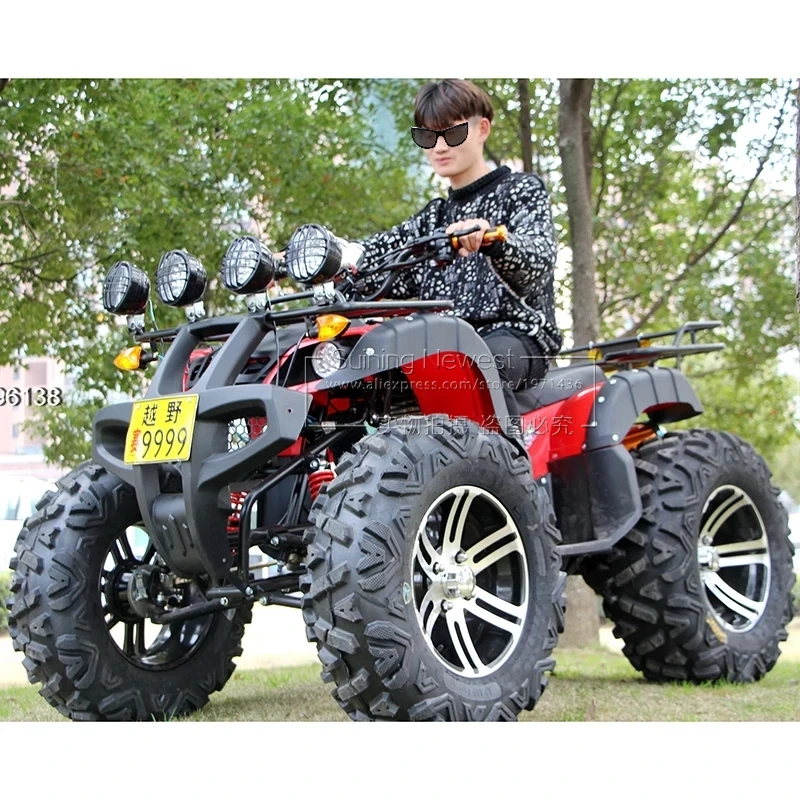
In my experience, the most common cause, and by far the easiest problem to check and fix, is uneven ATV tire pressures.
Let's look at what happens when ATV tires have different pressures.
A flat tire has a larger area of contact with the road surface than a normally inflated wheel, as a result of which the friction force, and hence the rolling resistance force, applied to such a wheel will be higher. The wheel will roll more slowly. The opposite wheel will run ahead and try to turn the ATV around the slow wheel. That is, if the ATV pulls, for example, to the left side, most likely, the fact is that the left wheel is lowered.
To solve this problem, you need to equalize the air pressure in the ATV tires. It is best to refer to the operating instructions, which must indicate the required air pressure in the wheels recommended by the manufacturer. The pressure in the wheels installed on the same axle of the ATV must be the same.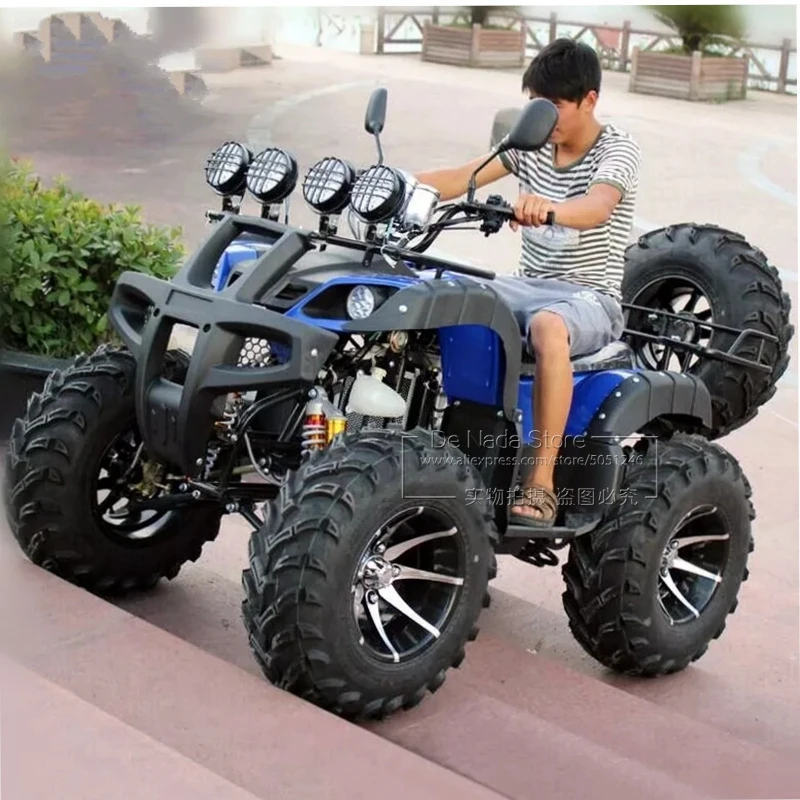
At the same time, you should be aware that due to the design features and weight distribution of the ATV, the tire pressure on the front and rear axles may differ.
Check with a good tire pressure sensor.
Most manufacturers complete ATVs with a set of tools and a sensor for checking air pressure in wheels, such as ATV Yacota SELA 200 , Yacota SELA 150 , Yacota Cabo 200 , Yacota Cabo 9000 9000, MOTAX 200 , MOTAX GRIZLIK and MOTAX RAPTOR .
ATVs MOTAX and YACOTA have these sensors in the standard tool kit. If there is no such device in your kit, I recommend that you definitely purchase it. A very slight difference in air pressure in the tires may well be the reason that the ATV pulls to the side when driving in a straight line.
The air pressure should be checked in both the front and rear tires. True, uneven pressure in the rear tires, most likely, will not be the reason for the withdrawal of the ATV from a straight path. Different pressure in the rear tires can provoke another malfunction - premature wear of the rear differential, due to the increased load on it. But this is a story for a separate review.
I always keep this inexpensive instrument in my tool kit, its accuracy is good enough to use.
Also make sure that the maximum tire pressure is not exceeded.
Over time, ATV wheels can wear differently, resulting in the diameter of one wheel being different from the diameter of another wheel. This can also cause the ATV to pull to the side.
To check if the front wheel diameters are the same, you can do a simple check: place the ATV on a level surface and use chalk to make a mark on the sidewall of each front tire at the lowest point.
Wheels must be pointing straight ahead, gear lever in neutral position. Roll the ATV forward until one of the wheels has made two or three revolutions and the mark you just made is back to the very bottom, to its original position. Look at the mark on the opposite tire. Ideally, it should also be at the very bottom. If this is not the case, the wheel circumferences do not match.
If the reason for the ATV pulling to the side lies in the difference in wheel circumference, then when driving to the right, the right tire should have a smaller circumference, and when driving to the left, the left one.
The circumference of the wheels can differ not only due to uneven wear, but also due to the difference in air pressure in the tires.
The wheel is like a balloon, the higher the pressure, the larger its diameter and vice versa.
For this operation, you need to lift the ATV, put it steadily on the supports so that all the wheels are in a suspended state.
It is very convenient to use a motorcycle stand to lift the ATV. If you do not have them yet, and you plan to service the ATV yourself, I recommend purchasing them.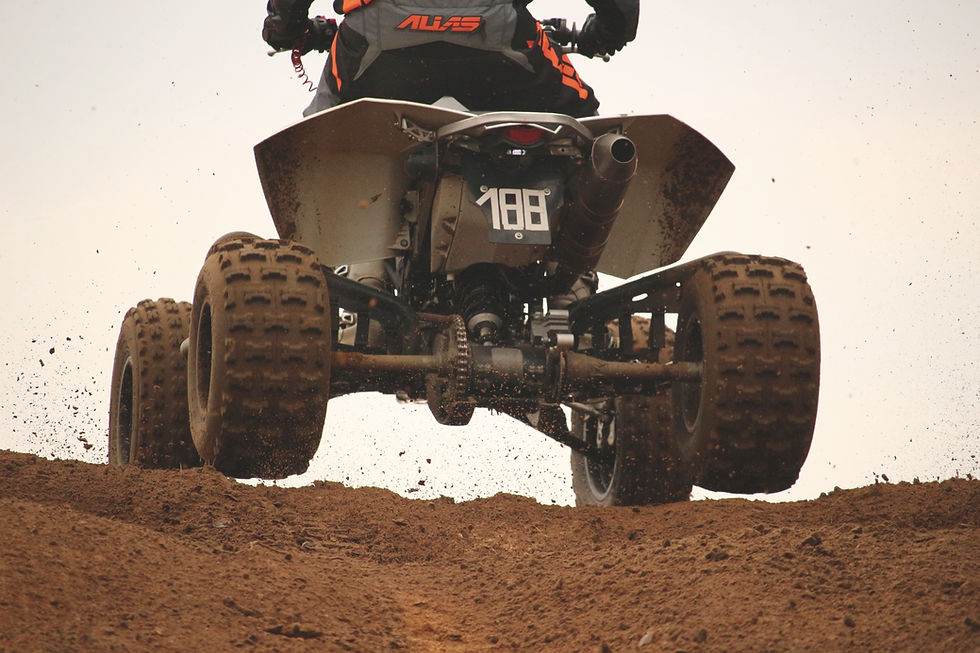 They are relatively inexpensive. Tackles will greatly simplify the ATV maintenance process.
Check that there is no excessive play in the ATV suspension and steering joints. Start with the tie rods and steering rack. This operation is more convenient to carry out with an assistant. Have an assistant move the ATV handlebars to the right and left, often and with a small range of motion. And you, in turn, keep your hand on the swivel, which are subject to verification. Check the steering tips and tie rods one by one. You will feel the excess play in the hinge with your hand. If the ATV steering wheel has excessive play, but the tie rod and steering tip are in order, then the steering rack itself or the steering shaft bushing may have play, which can also be checked by hand. The steering column bushing usually wears out over time. The same goes for the ball joints on the tie rods.
Tighten any loose bolts and replace worn parts. Worn parts can break soon, so replacing them won't be a waste of money, even if their wear isn't the reason your ATV pulls to the side.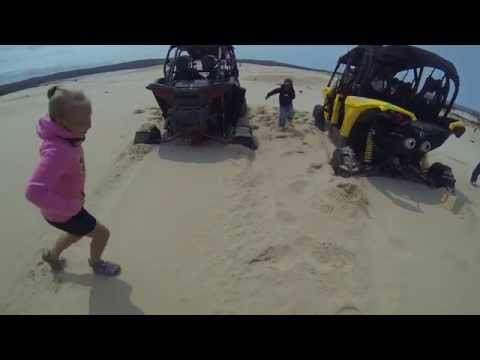
In addition, the wheel bearings must be checked for excessive play.
To do this, have a helper grab the top and bottom of the wheel and shake it while you check for play in the ball joints and wheel bearings.
Check how easy the wheels turn. The wheels should rotate freely, without noise and crackling. The presence of noise indicates wear on the hub bearing. And the tight running of the wheel is about bearing wear or souring of the brake pads. As we said, if one of the ATV's wheels is spinning at a slower speed than the other wheel, the ATV will pull towards the slow wheel.
If necessary, replace the bearings and service the front brake calipers. Sometimes the caliper is easy enough to clean, and sometimes you can’t do without replacing the brake cylinders or the caliper bracket itself.
Finish with suspension lubrication. Chassis of ATVs brands YACOTA , MOTAX , AVANTIS is equipped with special grease fittings through which you can easily lubricate the desired suspension unit. We have already told, in one of the reviews, using the example of a gasoline 125 cc ATV MOTAX T-REX , about the features of maintenance of the ATV suspension. Regular maintenance of your ATV will definitely prolong its life.
Control check three: checking the running gear for geometry violations.
If you use the ATV for active riding or sports, then it is possible that you have bent some part of the suspension on the next jump. ATV front suspension A-arms are especially prone to damage if you hit a stump or rock while riding. "Fast-growing" trees suddenly appearing in front of the ATV as you drive, a common story!)
A-arms are designed to absorb heavy suspension shocks and, through their integrity, retain more expensive and hard-to-find ATV parts that are more difficult, more expensive or even impossible to repair, for example, an ATV frame. It is not always easy to see if the suspension arm is bent or not. It happens that the levers do not have a symmetrical shape, because the ATV suspension was originally designed this way by the manufacturer.