Brian Tabor
How to/DIY
Brian Tabor
How to/DIY
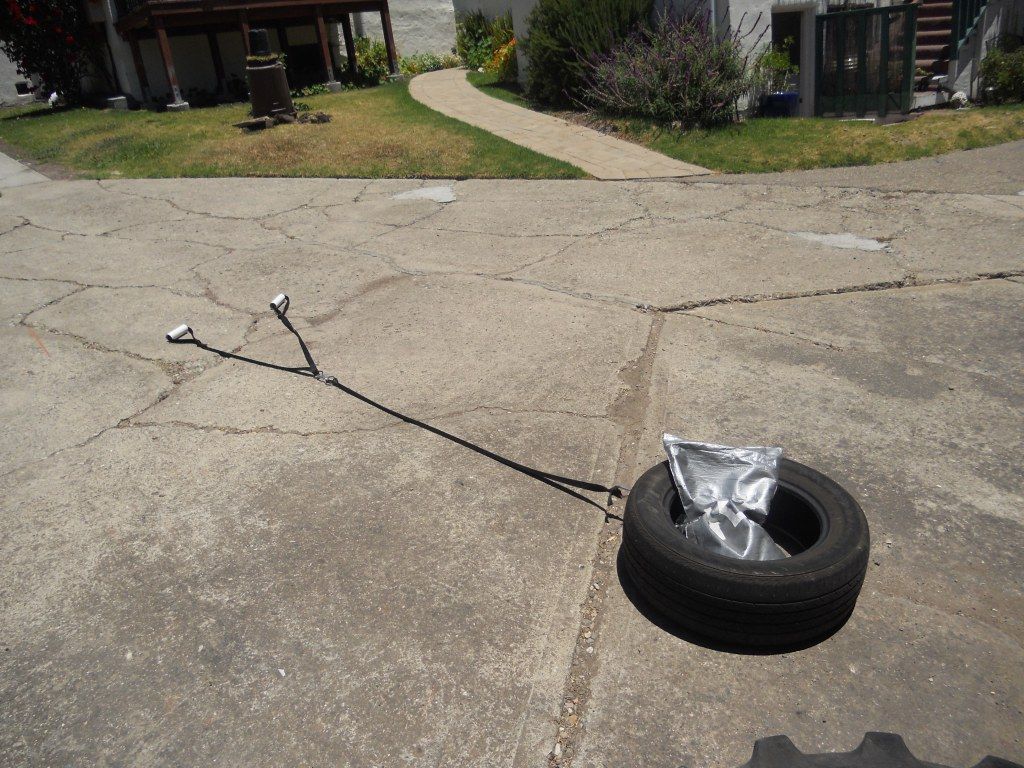
The DIY tire sled completed and ready for sled dragging. Now to add a strap...
I needed something to drag so today I set about making a tire sled. I took some pics along the way so you can make one too. Enjoy!
1 Tire (about a 20" diameter)
1 Utility knife
1 Screw driver
1 Large eye bolt, nut, and washer
1 rope or some sort of attachment to drag with
DOWNLOAD THE FREE EBOOK
Everything you need to make your own DIY tire sled for dragging.
I drove a few blocks and walked into a discount tire. The staff were friendly and happy to give me an old tire they were gonna have to dispose of anyway. Just make sure you get a tire with a diameter of about 20-21 inches. This will ensure weight plates fit into the tire well once its finished.
Step 2, CUT THE SIDEUse a box cutter t cut the tire sled for loading.
This is now the top side of your tire sled.
This is very easy. The utility knife goes right through the sidewall of the tire, no problem. Be careful not to cut yourself.
Step 3, PUNCH A HOLEMark a spot for the tire sled's eye bolt
Make the hole in the tire sled for the eye bolt
I used the utility knife to first slice a hole in the side of the tire. Then I used the screw driver to punch a hole through. The hole needed to be larger so I spent a good 5 minutes or so working the screw driver around to make the hole big enough to start threading the I bolt between the steel belts. If you have access to a drill that will work more easily.
Screw the eye bolt into the tire sled.
Thread the bolt through the tire sled fully.
With a good deal of force press the eye bolt into small hole you started and begin twisting. If the hole is large enough it will begin threading itself between the steel belts in the tire.
Step 5, THREAD THE NUTPace a large washer on the inside of a bolt to complete your homemade tire sled.
Place a large washer over the bolt and then thread the nut on tightly.
I haven't done this yet, but will likely just use my blast straps.
Step 7, GO DRAG A TIRE!Check out the Strong Made Simple Facebook page and post pics of your own tire sleds and dragging workouts.
GET CREATIVE WITH YOUR WORKOUTS WITH THE PUSH UPS & TACOS EBOOK
Click the button below to receive your free ebook.
DOWNLOAD THE EBOOK HERE
Tagged: DIY, equipment, exercise, fitness, How to, sled dragging, Strength, tire sled
Posted on: February 1, 2018 Posted by: Admin Comments: 0
Tags: build your own sled, building a tire sled, diy power sled, diy tire sled, harness for pulling tires, tire drag exercise, tire drag harness, tire pulling harness for people
Why you need a Sled:Sled dragging is a very effective option for all levels of athletes challenging your level of conditioning with minimal wear and tear on the body. (It is very easy on the knees, hips, and ankles, making it great tool for older strength athletes!) For younger athletes, it’s a great way to build the lungs and legs/hips with minimal coaching. Plus it does not require the high learning curve of a squat or the deadlift. Sled workouts are quick and efficient. In less than 20 minutes, an athlete can push their way to burning lungs and legs. In my opinion, it’s the bestoption for those without a bike, rower, or treadmill in their home gym arsenal.
Build It – For as little as $15, you could have the most badass piece of conditioning at your disposal
Buy It – Rogue Fitness and EliteFTS make steel sleds for $125 + shipping but you run the risk of upsetting your neighbors with the noise of steel on pavement
MATERIALS, TOOLS & BUDGET
***If you are lucky, a 45 lbs plate MAY fit on top of the DIY Tire Sled where the old rim was.
If you’re not lucky, plan on loading 25 lbs plates, or want a more secure surface for your weights, you will need to build a base with a loading pin.
NOTE: Diameter of the steel MUST be based on the diameter of your plates
approximately $15 – $60 based on your needs
DONE!
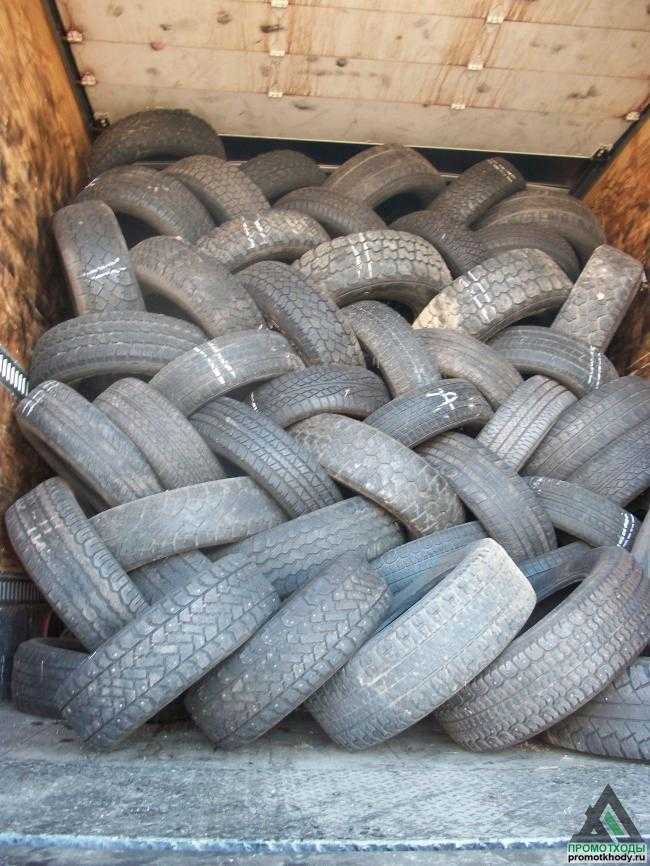
Ruffles - low pressure tyres. Usually these are large old tires of a tractor or truck, from which excess rubber has been “ripped off”.
As a rule, rims are made specifically for homemade all-terrain vehicles, but thanks to such wheels, any car will acquire the qualities of an SUV.
Encouragement allows you to overcome swampy, snowy and sandy terrain. They show themselves well in agricultural work: you can drive through plowed fields without damaging the soil.
Advantages of over purchased wheels:
+ low cost;
+ excellent grip on almost any surface;
+ relatively light weight;
+ low pressure;
+ no harm to surface soil layers.
Fracture GID
Disadvantages of :
- such wheels wear out much faster than usual, especially on asphalt;
- additional load on transmission and suspension parts;
- punctured more often than ordinary tires;
- a car on rims must be registered as an all-terrain vehicle.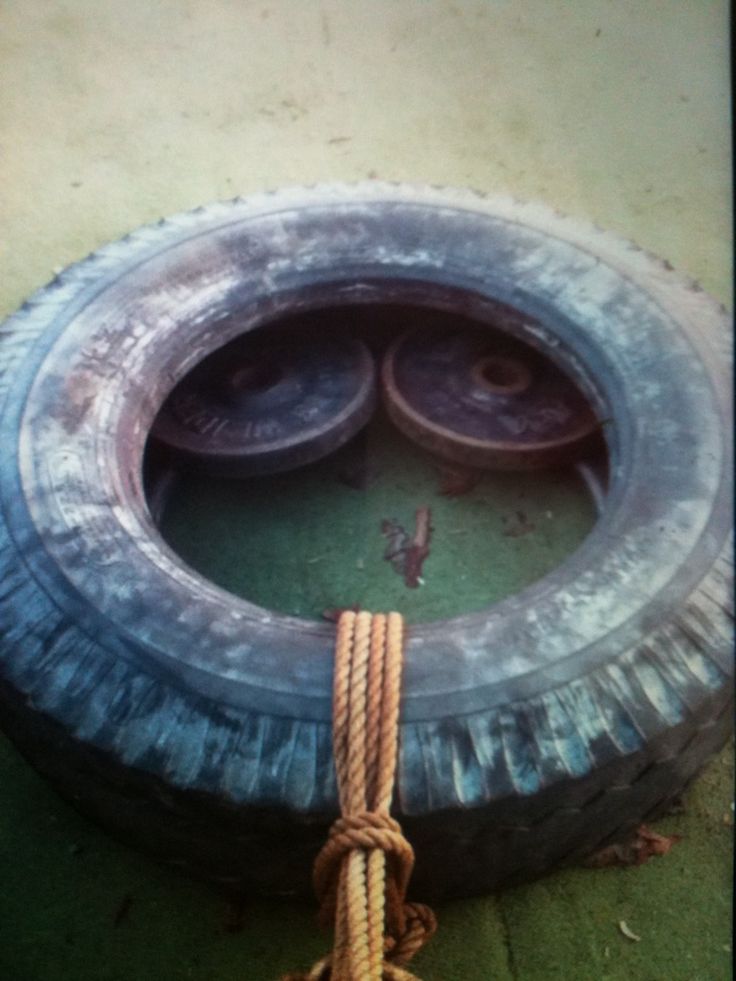
When making your own ruffs, you need to carefully consider the type of tread. The type of protector should be chosen depending on how and under what conditions you will operate the equipment.
For driving on rural roads fits self-cleaning tread.
To overcome swamps , the tread grooves need to be slightly lowered for good grip.
To move the on snow and sand , it is better to keep the pattern elements close to each other.
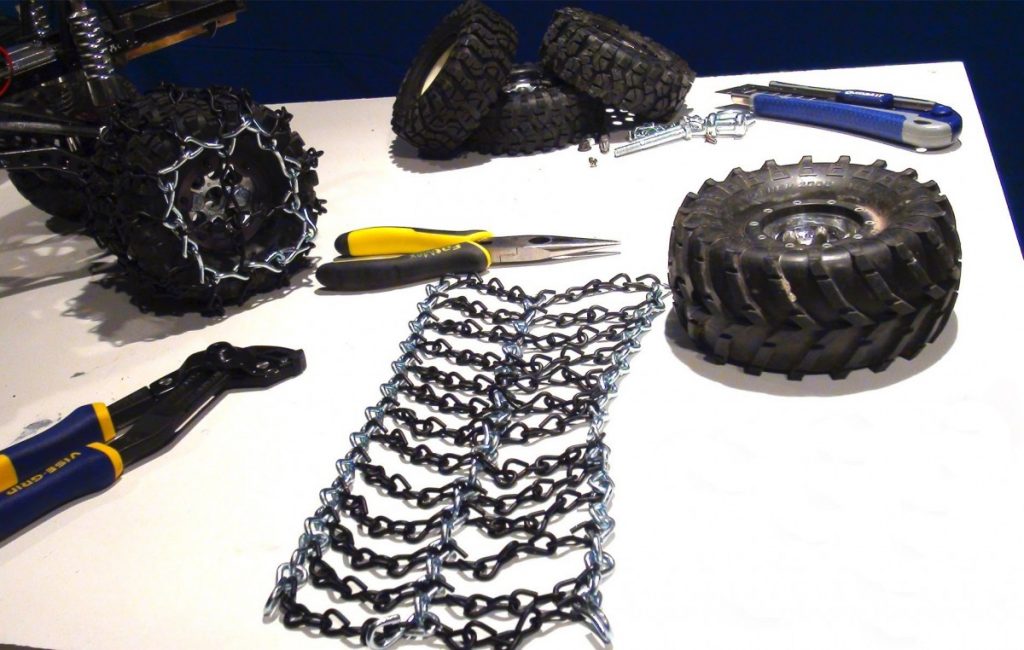
What do you need?
Preparatory step
1. Clean the tires from dirt and dry.
2. Mark the future tread pattern on the tire with a crayon or a marker.
3. There is a wire around the inner perimeter of the tire. We make an incision with a construction knife to stretch it.
4. We hook the wire with a hook, fixing the tire, and use a winch to remove it.
Peeling
1. Cut the tire according to the markup.
2. We pull off the exfoliated rubber with a winch, cutting it with a knife along the way.
3. Gradually peel off all the extra layers of rubber and cord, building a new tread pattern.
4. Clean the surface with sandpaper.
Installation of new rims
Wheel rims for puffers can be ordered or also made by yourself. Then you should install them.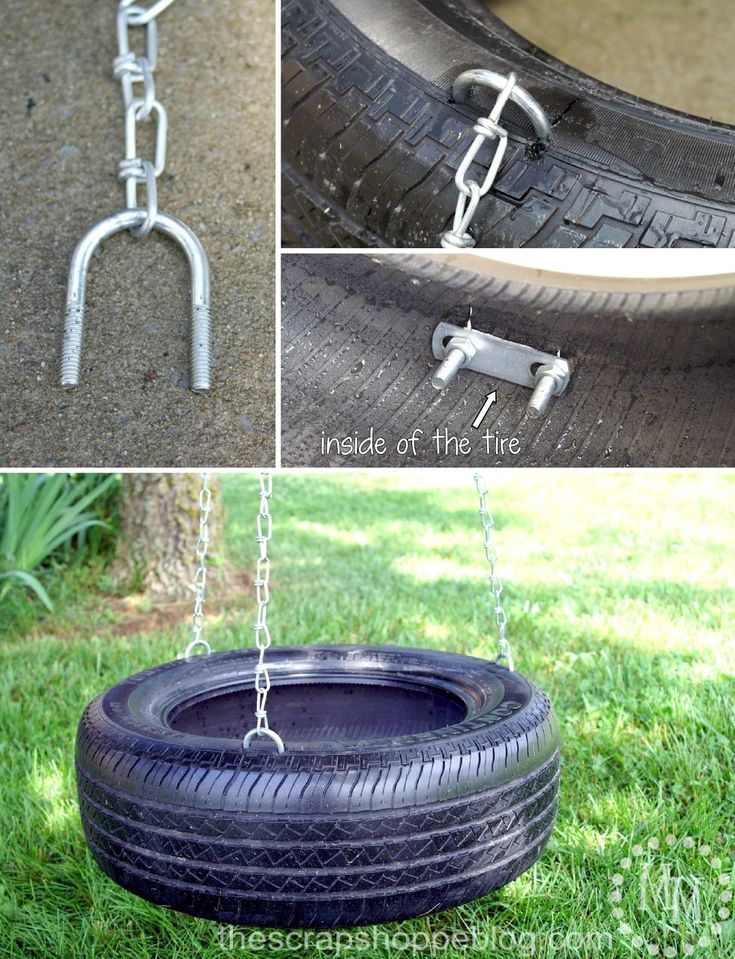
1. Insert the disc into the tire and coat the seats with polyurethane sealant.
2. Attach the beadlock ring and tighten the bolts evenly.
Finishing work
1. Inflate the tire.
2. Install on the car.
Peppers are an inexpensive replacement for low pressure all-terrain tires. To make them, you have to sweat, but they are able to turn even UAZ and Niva into real SUVs.
Interested in learning more about affordable ATVs?
Grizzly, Cayman, Guide - for any purpose in different price categories
Your name:
Your phone:
Comment:
Cheerful wheels - what is it, how to do it yourself?
12345 0 Number of votes: 5
The network of tire centers "SHINSERVICE" carries out the action "Prepare the sled in the summer". When buying a set of winter tires (4 pcs.), You will receive a tire fitting of these tires and storage until winter as a GIFT!
March 21 to November 30, 2022