Doing a wheelie on a quad might seem hard, but if you practice and do it right it becomes easy. If you use proper technique, doing wheelies on a quad can be done safely, and is a lot fun.
Wheelies can be dangerous, especially if you’re trying them out for the first time. It is important to take your time learning, and wear proper safety gear. A helmet and goggles, gloves, boots, long pants, and a chest piece are all recommended. For the best safety gear check out the recommended gear section of this site.
If you have proper safety gear and feel comfortable on your quad, then let’s learn how to pop a wheelie the right way.
You can learn and perform a wheelie on most any stock quad. You will usually see them mostly done on sport quads or racing/trick type quads. Even though they may look cooler, don’t think you can only pull a wheelie with a sport type ATV. You can pull a wheelie on any type of ATV with or without a clutch if you do it the right way.
Although it can be done on a stock quad, here are some things to consider for optimum setup of your machine.
Most of the time having a low tire pressure is ideal for stunts, tricks, and wheelies. Having your tire pressure lowered a bit will help with turning, balance, and traction. It helps with turning because your tires will squish more on whichever side you shift your body weight too.
When this happens it allows your quad to turn more easily in that direction. When the tire squishes, its diameter shrinks, allowing you to turn by just leaning from one side to the other.

Having that flat spot on your tires allows for more traction when trying to get up into a wheelie too. When more of the tire can make contact with the ground, you will get a better lift. Set your tires to an air pressure lower than stock to increase the flat spot where your tires touch the ground.
For normal trail riding I set mine to 5-6 psi and I can pull wheelies easily. If you want to set your tires specifically for wheelies, start with 3 psi and go from there. It’s best to try different things and see what works best for you.
Here is an article about ATV tire pressure if you want to know more.
Make sure your throttle isn’t loose, and that it operates smoothly without sticking. It can be dangerous to be up in a wheelie and your throttle gets stuck. Nothing special to do here except basic maintenance and make sure everything’s working the way it should.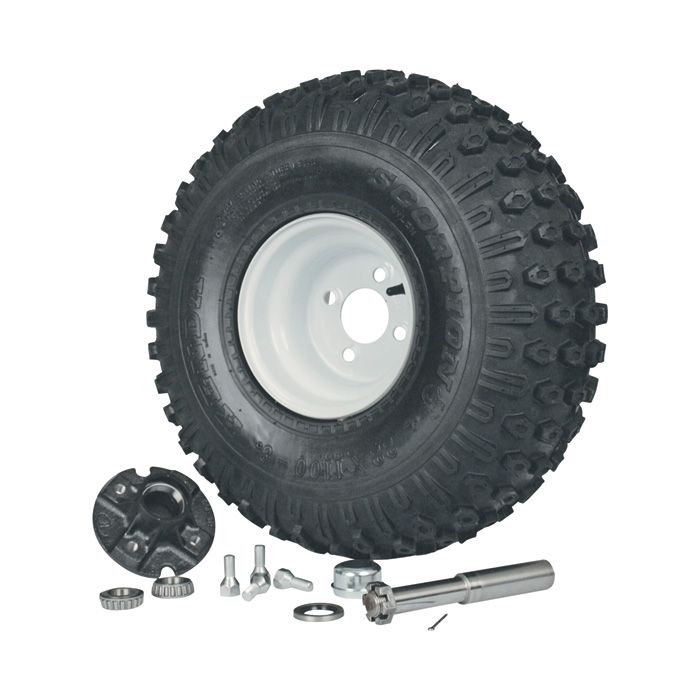
This is mostly personal preference. Just adjust your clutch so that you are comfortable using it. Leaving it stock is probably the best way to go for beginners, if you want to customize it a little for yourself that is fine too.
Some people want their clutch to grab and release real close to the handle bars. You will be pulling your clutch all the way in most of the time with this setup. Others want the clutch to engage with the slightest touch. It’s all up to the rider and what they prefer.
I like it somewhere in the middle, and that is how the machine comes from the factory. It works, that’s how it was made, so I’m good with it.
You probably don’t need to do anything special to your sprocket for pulling a wheelie. Most stock sport quads are fully capable of pulling up into a wheelie even in 4th or 5th gear.
However, if you want to you can change out the front and rear sprockets to different sizes. Usually known as ‘gearing up’ or ‘gearing down’.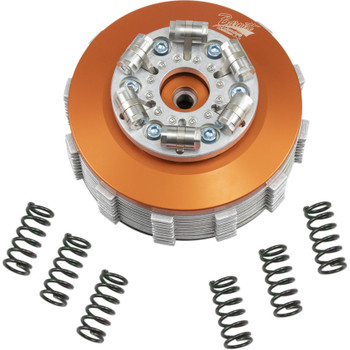 For the purpose of doing wheelies I would suggest gearing down. By installing a larger rear sprocket you are gearing down, which increases the final drive ratio.
This will reduce top speed but increase acceleration, which what you want to be able to pull up into a wheelie.
If you don’t want to hassle with all of that, don’t worry. Like I said, you can get most any stock quad up into a wheelie without any modifications.
The important thing here is to make sure your chain is adjusted to factory specs. A loose chain will cause you to make changes in the way you use your throttle to get into a wheelie. And having a sloppy drivetrain can cause other issues as well.
If you change out your sprocket, it is a good idea to change the chain out with it. It is best practice to let your sprocket and chain wear together. There is no need to go out and buy a special chain just to do wheelies with.
A grab bar is sometimes called a wheelie bar, and it’s the bar on the quad right behind the seat. You’ve probably used it to pick the ATV tires up off the ground to move it to the side. This is a fairly important piece to have if you plan on doing wheelies a lot. It will stop you from tipping your quad backwards onto yourself.
The idea behind this piece of equipment though is to have it but not need it. You should not consider your wheelie successful if you used the wheelie bar to stop you from getting hurt.
The only thing to do is to check it for cracks and bends. If your wheelie bar is damaged I would consider getting a new one. If you don’t have a wheelie bar, consider getting one, or be really careful.
You can find a grab bar for almost any quad at a reasonable price on Amazon, here is a link to get your search started.
You really don’t need any special modifications to your quad to do a nice wheelie. You could try some of the things I mentioned above if you’re having a hard time, but everything is just optional. Some people prefer different handle bars for added security and better control.
For doing wheelies getting an aftermarket pipe might be something to consider. You will get more low end torque which will help you when trying to lift into a wheelie. This is more helpful on lower powered quads like a 200cc. The higher powered quads won’t need the added benefit of an aftermarket exhaust.
The way you position yourself on the quad makes a big difference in how you do a wheelie. You should keep in mind the different body positions for what type of wheelie you are trying to perform. A few options are the sit down, stand up, split, and seat standing.
This is the most common type of wheelie, and the one most people try to do first. It seems easier because all the controls are easily accessible and you feel comfortable riding in this position. But I don’t recommend this position for beginners.
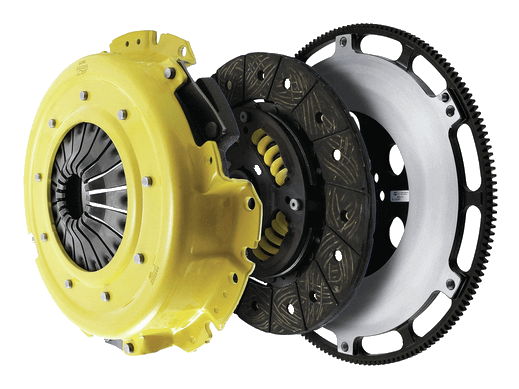
For beginners just doing a quick pull the front up and set back down wheelie this is good. It is a good way to get a feel for the machine, but I don’t recommend trying to ride a wheelie this way if you’re just starting out.
If you go too far back in the wheelie the quad can tip over backwards, and this is one of the hardest positions to hop off the machine in.
This is how I like to pull up into a wheelie. I spend a lot of my time riding in the standing position anyways, unless I’m going for long distance rides. I like having a clear view of whats ahead of me a better understanding of how high the front end is in a wheelie.
Start in a standing position with your hands on the controls and feet on the foot pegs.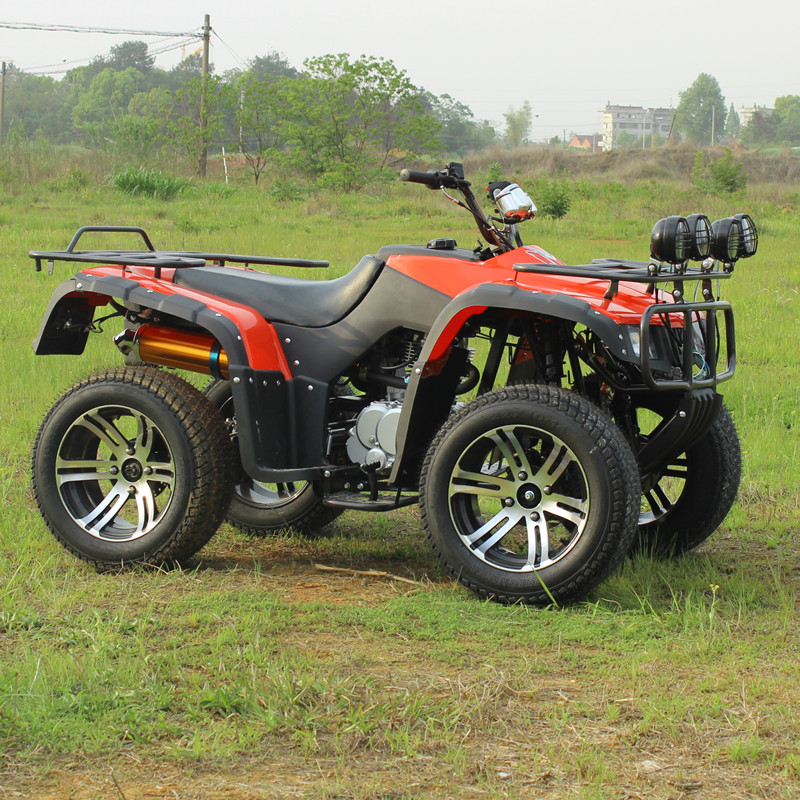 The controls, like the brake and clutch, can be a bit harder to reach, so you might get tired more easily in this position. Your legs will get tired faster while standing also.
If you tip too far backwards, it is easier to hop off in this position so I think it is safe for beginners. You also have more leverage to pull up with to get into a wheelie.
You would want a grab bar for this position. Stand with your right leg on the right foot peg, your hands on the controls, and your left foot on the grab bar. You could do something similar with your left knee on the seat. This is basically the standing position except with your left foot back on the grab bar.
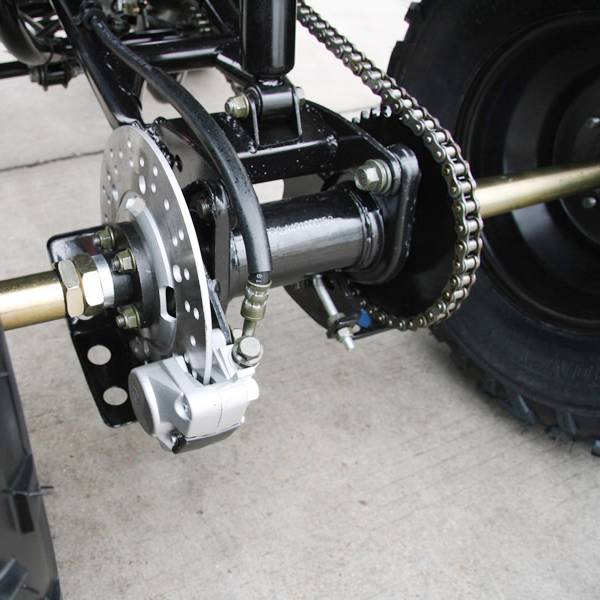
Jumping off in case of an accident is easy in this position, so I would say it’s safe for beginners to try. The gear shift can’t be used in this position so it’s not really good for long riding wheelies. But, for getting a feel for the quad and short or slow wheelies this is fine.
Be careful of your foot on the grab bar catching the ground when you wheelie. It can be dangerous and cause injury if your foot hits the ground and you get pulled off the machine. You can protect yourself by instantly lifting your foot off the grab bar, putting all your weight on the leg using the foot peg, if anything bad does happen.
In this position you are standing with both feet on the seat or grab bar with your hands on the controls. You will have no control over the rear brake or the gear shift so this position is definitely not good for longer wheelies. Stick to short pop-up wheelies with this one.

Although you won’t have access to your rear brake, it is as simple as hoping backwards and letting go to get off the quad in this position. I think it is safe for beginners to try, and you will see success quicker because of how easy it is to pull up the front into a wheelie.
Again, be careful that your feet on the grab bar don’t catch on the ground if you pull too far back into a wheelie. You can protect yourself by immediately getting your knees on the seat and getting your feet off the grab bar if anything bad does happen.
Once you find a position that works for you, you need to turn your focus to balancing your quad and your throttle control. Knowing how to use the throttle and finding the balance point will not only help you get into a wheelie, but will help you ride the wheelie longer. The balancing point is when you’ve pulled up into a wheelie and no longer need to accelerate anymore to keep the front end up.
Some people like to chop the throttle by quickly giving gas and backing off repeatedly. The idea there is that the machine will be given just the right amount of gas to sustain a wheelie.
I haven’t found that to be the case. In fact what I’ve noticed works best is to just use the throttle as smoothly as you can. I will give it a good amount of throttle to get the front end off the ground, and when I get to that perfect balancing point, I smoothly adjust the throttle down so I can hold the quad steady.
The balancing point will be different depending on your riding position because of your body weight. Speed and incline also play a role in where the balancing point is. If you are going slow, the balancing point will be higher up than if you were going faster.
At first, be ready to use your rear brake to bring the front end back down in case you pull up too much, at least until you learn where your balancing point is.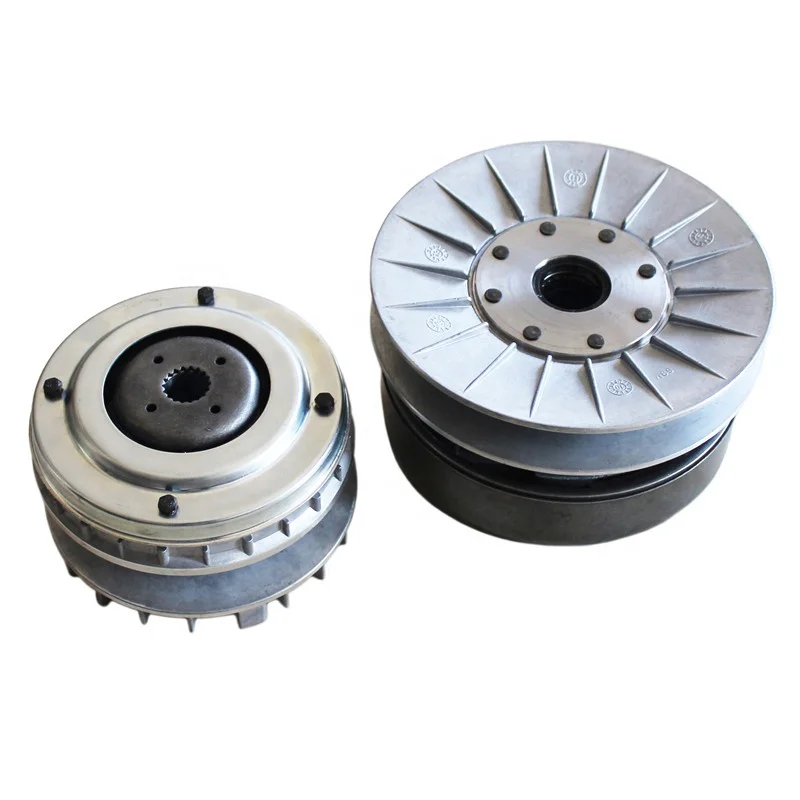 It really is something you have to find on your own through practice and experience.
The most important aspect of getting the front end up is speed. I don’t mean you need to be going fast to do it, I mean you need to get the front up quickly and smoothly. If you try to slowly bring the front up, you will end up needing to accelerate more than you wanted to.
Getting the front up will be easier depending on the quad, a sport quad for example, will be the easiest. You may have to hit the throttle harder or pull up on the handle bars more on smaller or utility machines, but it can be done.
You will be using the ATV’s engine power and the power of you pulling on the handle bars to lift the front end. Think of it as something like a brute force method. This is the most common method I use, and it’s pretty easy. It’s not all brute force, it takes a bit of timing, but it’s the easiest to master right away.
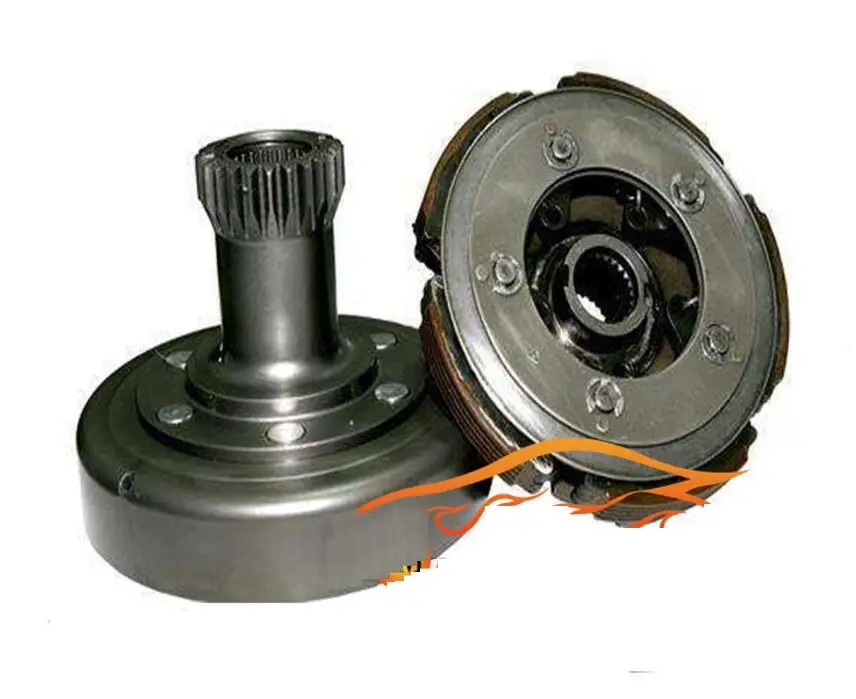
Just before you hit the power band and get that burst of power, let off the throttle slightly and then hammer it wide open while pulling up on the handle bars. You should be pulling up on the handle bars just as you get that burst of power from the engine. To help you out, you could pull your body weight back to add to the lift from pulling on the handle bars.
This will take some time to get used to. Every machine is different and every rider is different. Take it easy at first and be careful not to over do it by tipping the quad over backwards. Experiment a little before going full throttle and ripping the handle bars off the machine.
Using this method you will use the clutch to help you pull the front up more quickly and smoothly. Mastering this method will also allow you to more consistently get into a wheelie every time. This is usually done by more advanced riders. I really only use the clutching method when I’m at a dead stop, that way I can get into a slow moving wheelie if I want to.
The benefit of the clutch is the rear tires going from no power with the clutch pulled in, to having a burst of power sent to the wheels immediately. It helps get the front end up quickly even at low speeds, and if you do it enough, it becomes second nature.
I don’t recommend doing this method to beginners, get good at the traditional power method first.
This is the easy part, all you’re doing here is exiting the wheelie. I would recommend a few pointers to help make the transition softer on you and your quad though.
You want to make sure your wheels are straight when your front tires touch back down. If your tires aren’t straight it could jolt the quad sending you in a direction you don’t want to go, or worse, you could lose you grip and end up in a dangerous situation.
Sometimes there isn’t much time to plan and think about exiting the wheelie. If you forget everything else, just remember, wheels straight and hold on.
Shifting is the same in a wheelie as it is normally. Smooth transitions from one gear to the next using the clutch. You shouldn’t have to switch gears anyways. Once your in the wheelie, maintain throttle control and balance to keep riding the wheelie. If you want to accelerate while in a wheelie though, you will need to switch gears.
I don’t recommend switching gears and accelerating your wheelie for beginners. Get good at balance and keeping your wheelie at the same speed first. Then move onto accelerating wheelies if you want to.
To do an accelerating wheelie, get the front end up like we talked about above. But this time keep the front end low, like near the lower end of the balancing point. This is helpful because for the next part you need to accelerate up to just before your quad needs to shift.
Right before you need to shift get your quad higher, a little passed the balancing point. Doing that will give you enough time to make the shift without your ATV’s front end coming down out of the wheelie. Release the clutch smoothly while giving a little throttle to keep the machine up in a wheelie.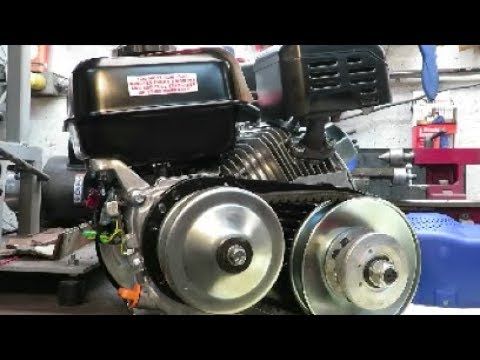
The main thing to focus on here is smooth deliberate transitions. You shouldn’t feel rushed, and you should have a feel for the quad throughout the process. That will help you compensate after the shift to keep your front end in the air. I typically stay in the same gear when I pull a wheelie. It’s a lot less to worry about and more fun I think.
You should never need to use your rear brake to keep yourself up in a wheelie. It is good to know when to use the brake though. I would say other than finding the balance point and throttle control, the rear brake is the most important thing for pulling off a wheelie. If you don’t properly use your rear brake when you need to, you could end up damaging yourself, or worse, your machine.
The problem here isn’t how you use the rear brake, you would use it just like you would on the ground. The trouble is remembering to use it at all. A lot of people panic if they pull up to high into a wheelie.
You want to keep your foot ready to hit the brake before your grab bar hits the ground. If you have to bail off the ATV to save yourself that’s a different story. But most of the time, hitting the brake instead could have saved you the hassle.
To practice using the rear brake, you could keep popping up into little wheelies and use the brake to come back down just to get used to it. I did this when I first started learning and it helped me remember to keep my foot ready to brake.
Using slight pressure on the brake can help you stay in that perfect balancing point to ride out long wheelies too. If you start to feel like you are tipping past the balancing point, apply a little pressure to the rear brake to bring you back. After a while, you will learn to use the throttle and brake together to keep you up in a wheelie longer.
You got up in a wheelie, great! But now how do you turn? Even though the front tires are up in the air, it is possible to still steer your quad. It’s not all that difficult either really. I talked a little about this in the tire pressure section above.
You will use your body weight to steer the quad. By leaning your body weight to the left or right of the machine you can get your quad to move in that direction. You have to anticipate when and where you will want to turn because the quad doesn’t usually turn immediately after you lean. Start your lean a little before you actually want to start turning.
If you want to, you can still turn the handle bars to help you steer. I’ve had people tell me it works like the rudder of a boat, but I doubt it works that way. The main benefit in using the handle bars is to help you lean. You still need to lean to turn, but using the handle bars may help you lean off to the side a little more.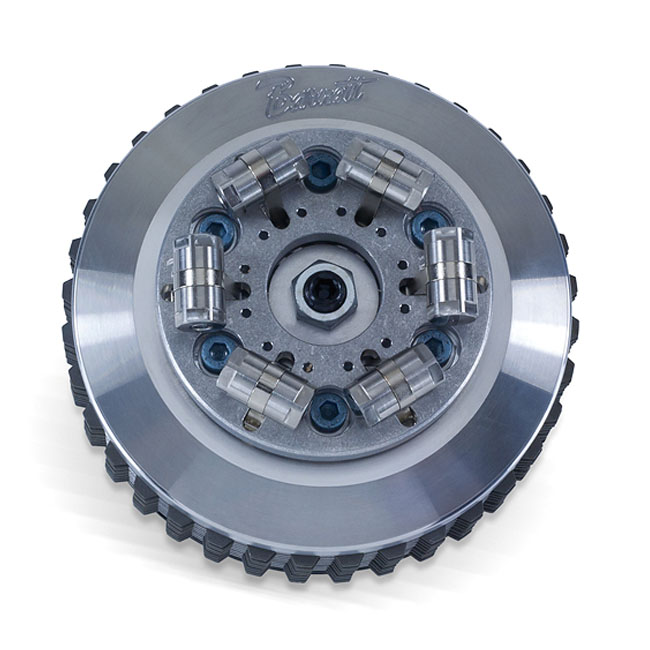
Alright, now that you’ve got all the steps we can put them together to pull off a wheelie. After you’ve decided what body position you want to be in, you need to know what gear you want to pull up in. When I first learned, I used 2nd gear. For me it was easier to find the power band, and in 1st gear the balancing point was higher so it made me nervous. The higher gear you’re in, the faster your going, the lower the balancing point will be. Find a gear and speed you will be comfortable with.
Now, let off the throttle and punch it right away while pulling up on the handle bars. This will lift the front end up. Remember, keep your foot ready to hit the rear brake just in case. Now that the front tires are up, you want to get to the balancing point as soon as you can. Stay on the throttle until you reach that point. This is the hard part, getting into the balance point will be the hardest part of a wheelie for beginners.
Slowly ease off the throttle as you approach the balance point. I can typically stay in the balancing position using only a quarter to half of the throttle. Once you’re in this position it’s all about staying there. Keep in the balancing position by using the throttle and your body weight to make adjustments. For me, this was the funnest part about doing wheelies. Once I could get into a balance, I loved to see how long I could stay there.
When you’re done with your wheelie, it’s time to lower the front end back down. Keep your handle bars straight and slowly let off the throttle. When your tires are a couple feet from hitting the ground, give the quad some throttle to make an easy smooth landing.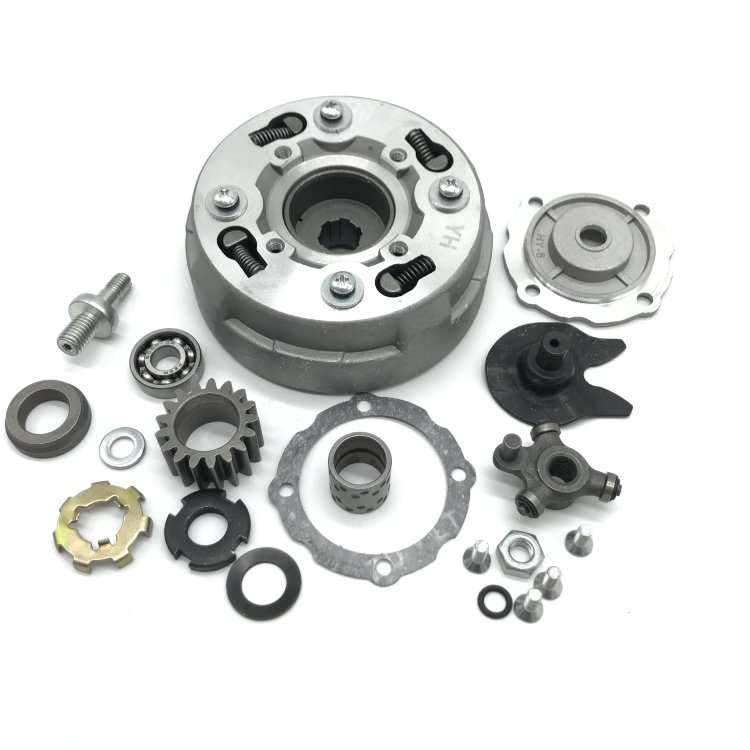
You aren’t going to read this and all of a sudden be able to pull off amazing wheelies for miles. This stuff takes practice and patience. For some people it can be hard at first, just take it slow and over time you will see improvements. When you start to see improvements, it can be addicting.
Doing tricks like this on an ATV can be dangerous. I always recommend you wear proper safety gear when trying things like this on your ATV. A helmet and goggles, gloves, boots, long pants, and a chest piece are all recommended.
For the best safety gear check out the recommended gear section of this site. Better safe than sorry.
If things go south on you and you think you need to hop off the machine, do it. It’s best to never get into that situation in the first place though. Get a feel for your quad first, and don’t try anything that is above your abilities. Learn the right way, and you will be pulling wheelies in no time.
Sharing is caring!
by Matt Powell
Table of Contents
Wheelies are always so fun to watch! I love seeing guys that can ride for thousands of feet on their back wheels while going 40-50mph or just ride the slow wheelies around a small patch of dirt. Wheelies are a staple in any ATV or dirt bikers arsenal of tricks that show off their prowess. The longer you can ride a wheelie, the more you understand the delicate balance that is required to truly master this seemingly simple technique.
There are 4 simple steps you need to know to learn how to wheelie an ATV and they are: have the right body position, popping the front wheels up, using the throttle and rear brake for control, and steering the wheelie.
Just like any technique you want to learn on an ATV, this one will take practice but once you get these simple fundamental steps down, you will be on your way to becoming a master at wheelies. Not only are they cool to watch but they are SO MUCH FUN to do.
**Warning: Make sure you have you riding gear on for safety because this can be a dangerous trick to try for the first time, or even for an experienced rider. Check out the gear I personally recommend for the best gear.
As with all of my articles, I want to stress the safety aspect and be very clear that you need to wear safety gear when riding ATVs, period. When attempting stunts, this is no exception because you will more likely get hurt learning to do a stunt before you do when you are riding around. But relax! As long as you practice safe riding habits, will have tons of fun! Now let’s get you popping wheelies!
**Tip: Make sure your rear tires have an equal amount of air pressure in them. This will help you maintain a straight line when wheelie for any decent amount of distance.**
One of the first things to focus on is body position. You want to make sure you have the correct body position so that when you have two wheels in the air, your body maintains a good balance point for the wheelie. The balance point is that perfect spot in between your wheelie being too high to maintain without bringing it down and too low of a wheelie causing you to set the ATV back down on four wheels.
If your body is positioned too far back the ATV will tend to want to tip backwards too much causing the wheelie to end too soon because you had to stop it, or it will result in a crash.
If your body is too far forward then you will have to over power your wheelie and you won’t have the right balance to maintain the wheelie for long, or you will be using too much throttle to maintain the wheelie and not have the proper balance point, causing another crash by tipping backward.
As the name implies, you are sitting on the seat a little further back than the mid section of the seat. Sit down wheelies are just a bit tougher to get started and maintain a wheelie versus the stand up variation. This wheelie will produce less stress and fatigue on your body and allow you to ride for a much longer distance once you master it though. All your controls all are easier to get to, which makes this an ideal wheelie to be able to shift gears in. The downsides of a sit down wheelie are that you will need to be able to get the front end up much higher in order to maintain the balance point.
**Note: The sit down wheelie will make it harder for you to jump off the bike should it roll back too far and tip over. **
**
Stand up wheelies are easier to for most people because you can see over the handlebars and see where you are going much better. Once you reach that balance pointed I talked about, it doesn’t seem like you have to get the quad as high. This wheelie is different than the sit down wheelie because you are in an almost completely different position. Your hands are on the controls and your feet are on the pegs in normal position but you are in the standing position. You will get fatigued faster using this method and it may be harder to use your feet to hit the brake and shift levers but it will be easier to push away should it start to tip over on you. There are several different variations of stand up wheelie.
The Split – The split is a standup wheelie but you have your left leg either on the back of the seat or on the grab bar. This allows you to have better control over the quad and lets you really see exactly how high the front wheels are. You also still have access to the rear brake which is crucial for maintaining a longer wheelie.
Standing on the Seat – This is similar to the split, but both feet will be either on the seat or in the grab bar. You can achieve much lower wheelies with this stance since almost all of your weight is to the back of the ATV. The disadvantages to this position are that the gear shifter AND brake are not able to be reached. You are basically stuck in one gear until you learn to transition one foot to shift.
Both the split and the stand on the seat variations make it super easy to just step off the quad should it tip too far backwards.
Popping up the front wheels IS the wheelie and there are a couple ways to do this. For both sit down and stand up variations you are going to have to give the ATV extra throttle to get those front two wheels off the ground. Once the wheel are high enough to reach that balance point, it is all about maintaining.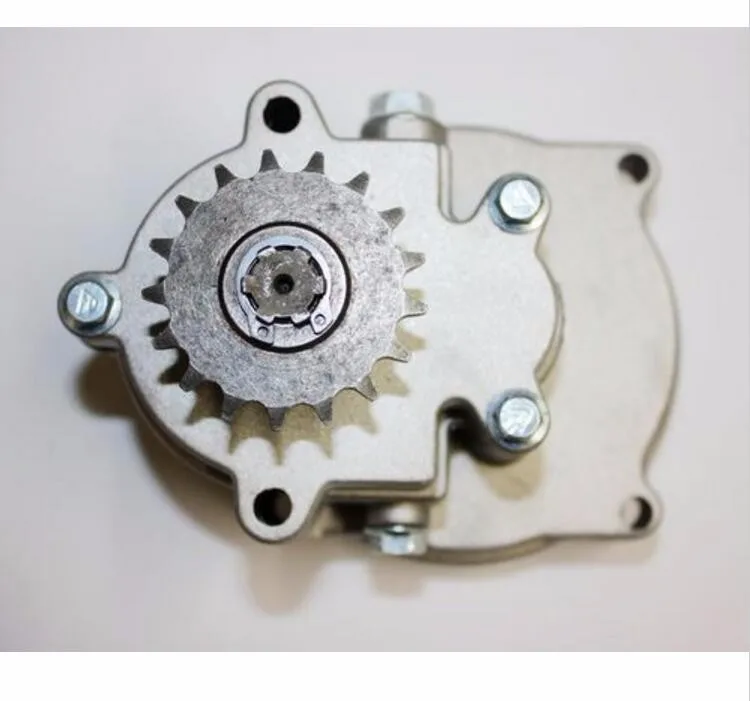
Depending on your ATV engine size and the torque you can get, you may only need to use one of these techniques. These two methods are clutching and powering methods.
Powering – Powering uses the engines power and the torque of the wheels in order to boost your front wheels into the air. Using the power method is good for wheelies when you are already at speed. Simply let off the throttle a bit, then jam the throttle again while simultaneously shifting your weight back and pulling on the handlebars. Once the wheels pop off the ground, they will continue to rise. When you get them high enough to reach the balance point, let off the throttle a little bit and find that sweet spot and try to maintain a smooth riding wheelie by keeping the throttle even. After a few tries you will know about when to let off the throttle and just ride. Both sitting and standing variations can be powered into.
Clutching – Clutching is a bit different but this allows you to get those wheels up quicker and maintain a slower wheelie.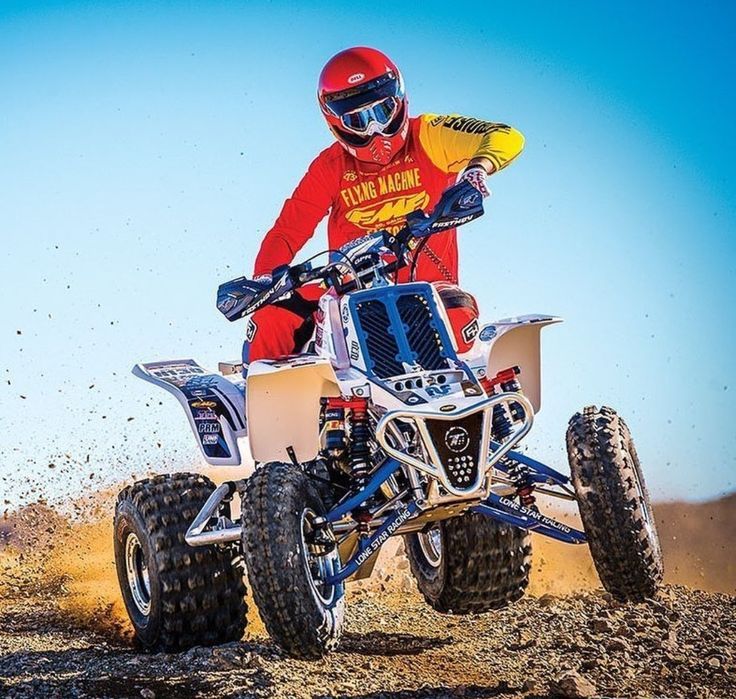 With this method, you can do a wheelie from a stopped position with ease. All you have to do for this method is pull the clutch in, rev the throttle a bit (this takes a bit of practice to perfect), and pop the throttle out while still giving the throttle a mash. Once you hit the balance point, you just need to find that sweet spot again.
Throttle is going to be the key component in starting AND maintaining a smooth looking wheelie. When powering or clutching the wheels up, you need to make sure that once you hit the balance point that you find that sweet spot and MAINTAIN the throttle as best as you can. Constantly blipping the throttle the tapping the rear brake will make your wheelie bob up and down and is not fun to see. It shows a lack of control over the machine and we want to look like pros! Minor adjustments to throttle will always be needed but don’t overdo it.
The rear brake is your second best control method while in the wheelie. Just a slight tap of the rear brake and the front wheels will start to dip back down. If you see that you are starting to tip backwards too much, just tap the rear brake to find your balance point again. If you are tipping even further, hit that brake a bit harder. You can also use the rear brake to set the front end down after you are done with the wheelie, or just pull in the clutch and the decrease in rpm will set it down.
**Note: Be sure you straighten your wheels before setting the quad back down so you can continue on the path you were going. You don’t want to have your wheels jacked to one side when you touch down and the quad jerk and throw you off or flip over.**
Steering the wheelie is probably the simplest part. Again, make sure your tire pressure is even in your rear wheels before you start. Now that you are in your wheelie, cruising down the road, just shift your body to the left to steer left or right to steer right.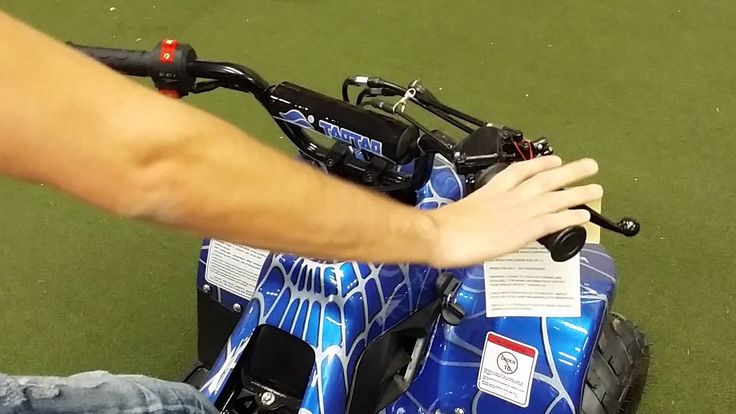 Once you are done turning, just lean a little in the opposite direction to straighten yourself back up and recenter your body.
Some people shift during their wheelies but you really should never have to because once you hit that balance, you can maintain throttle and speed for as long as you want, essentially. For those that may want to try to shift, it is done just like regular driving. Make sure it is a smooth transition from clutch back into the throttle. Now let’s get out there and see those front ends popped up! Stay safe!

To start an electric start engine, turn the ignition key to the ON position, press the brake and press the green electric start button for no longer than 5 seconds.
ATVs usually shift automatically—the shift lever is used to shift up, down, neutral, reverse, and select park mode.
To start or increase speed, you need to press the thumb of your right hand on the throttle. The gearbox must be in the “H” or “L” position. The middle finger of the right hand rests on the front brake lever while driving, and the middle and index fingers of the left hand rest on the rear brake lever.
Also on the steering wheel there are buttons for turning on the four-wheel drive and locking the differential. Four-wheel drive will be needed when driving off-road, slippery roads, transporting goods and towing. A differential lock is needed so that the wheels of the ATV spin synchronously - for example, it will help to drive out if one of the wheels is stuck in the mud, and the second remains on a stable surface.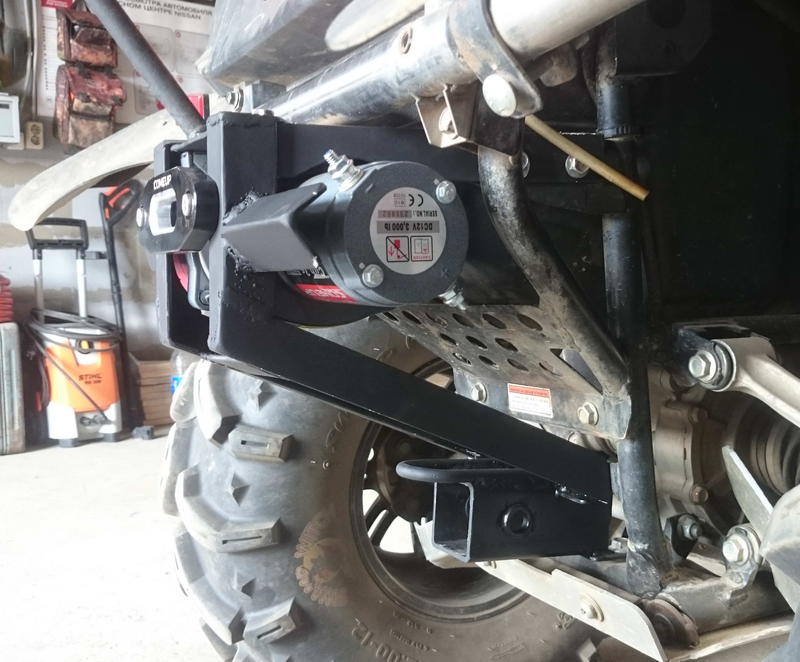 When the lock is off, in such a situation, only the wheel that is stuck will spin.
Whether it is possible to turn on the four-wheel drive and blocking on the go and at what speed - should be indicated in the instruction manual. At the same time, regardless of the model of the ATV, the lock cannot be turned on after a jam, since the differential gears must engage without load.
1 - ignition key. 2 - starter button. 3 - light switch. 4 - signal.
1 - throttle lever. 2 - switch 2WD / 4WD. 4 - fuse.
1 - throttle lever. 3 - 4WD / LOCK differential lock switch. 4 - fuse.
Standing up makes it easier to avoid the ATV tipping over by shifting your body weight. There are 3 main racks:

The worst stance is when the back is tense, the person leans on his hands, and his legs are straight. In this case, the body does not absorb shocks and shocks, and the bones, intervertebral discs and joints experience a strong load. In addition, control over technique worsens and fatigue increases.
middle rack
A-pillar
rear pillar
Climbing involves shifting into low gear, landing in the front strut and moving at medium engine speeds. It is impossible to sharply press the gas when driving up a slope or mountain - there is a risk of rolling over.
When stopping in the middle of a hill, start carefully, as a sudden start will be followed by tipping over. If the ATV rolls backwards, you need to press the front brake lever, and after stopping, turn off the engine, put the equipment on the handbrake, turn around manually, slide down and try again.
To descend, you need to take the rear rack and shift into a lower gear. In order not to roll over, brake should be simultaneously front and rear brakes. To avoid skidding, you can not change the trajectory of movement and speed abruptly, as well as brake too hard. It is better not to touch the gas lever when descending.
To drive downhill, shift into low gear and shift your body weight towards the top. Don't hit the gas hard and don't brake hard. You can also fall when making a sharp turn.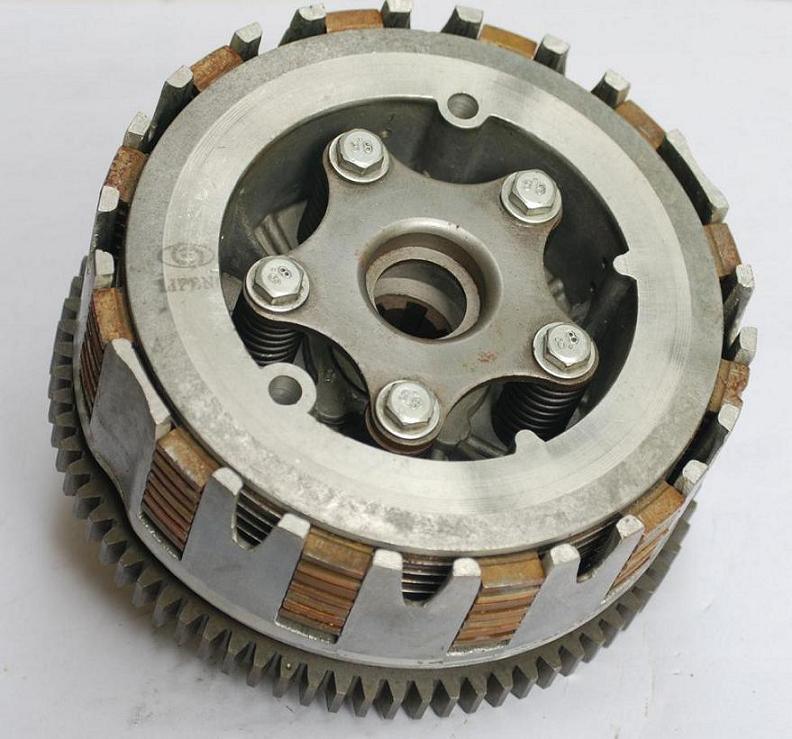 If the slope is steep and the ground on it is slippery, it is better not to risk it.
To enter a tight turn, lean on the outside footrest and tilt your upper body inward. On slippery surfaces, shifting forward will improve handling, and shifting back will improve the grip of the drive wheels with the road.
Before driving into deep mud, you need to make sure that there are no logs, large stones and other obstacles in it, and the soil is not marshy. You should drive smoothly, without sharp pressure on the gas lever. At a slow speed, high engine speeds should not be allowed - the wheels will begin to slip and dig deeper. If the ATV has sunk deep into the mud, after releasing it, you need to dry the brakes with a few clicks on the levers.
To estimate the trajectory of the ATV in advance, you need to look into the distance and not fix your eyes on any one object.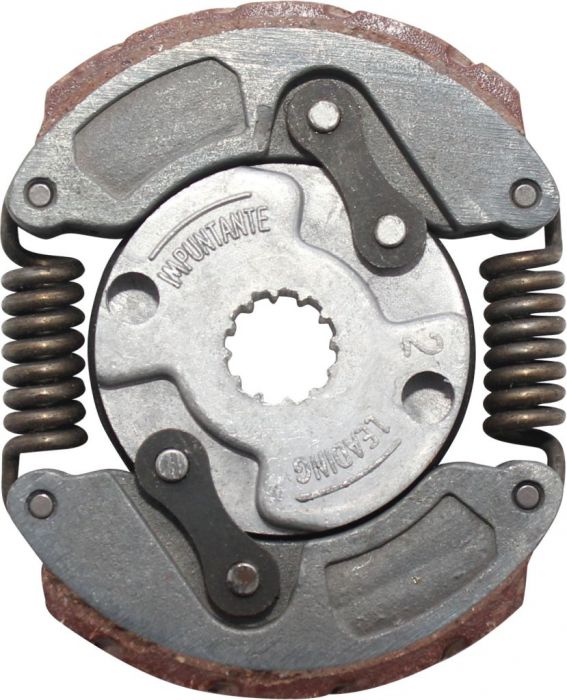
It is not necessary to drive into steep mountains and hills unless absolutely necessary, because if you lack experience, you can, for example, press the gas too hard or allow the engine to stop - both errors lead to a rollover.
ATV requires special equipment. It will protect against getting wet, hypothermia, wind and dirt, and will also reduce the risk of injury after a fall or collision.
Content
You can start learning to control an ATV with a child-type four-wheeler. Even though it is considered childish, it is just right for a beginner. The first step is to ensure safety, so riding without a helmet is not recommended.
Start key. If there is a variator, then we check the neutral, press the brake, start and forward. For those who have never driven an ATV, we can say that there should be no difficulties. The issue of gear shifting has already been resolved, so the driver only needs to add gas, brake in time and choose a route.
The latter will not cause any problems either. Large wheels, impressive ground clearance and elastic suspension allow you to move both on country roads and in the absence of them. A children's ATV will easily fit as a convenient vehicle for small outings in the country or in the forest. This device will appeal to short drivers and the fairer sex.
There are some peculiarities. Due to the short wheelbase, the ATV is subject to vertical accelerations, so driving at high speeds on badly broken rough terrain is fraught with a fall. A four-wheeler can simply throw the rider out of the saddle like an enraged stallion. And one more small minus - having mastered the dimensions and control, do not rush to open the gas to the maximum. Otherwise, the rear wheels break into slip. In a slippery turn, the rear axle can easily overtake the front axle. On bumps, such a slip can end with a rollover followed by a fall.
Driving a sport ATV is very different from driving a recreational or utility four-wheeled ATV. The main difference is the manual transmission. Depressing the clutch with your left hand and shifting gears with your foot can be confusing for a person familiar with driving a car or who knows how to drive an ATV with an automatic transmission.
Most of all, this technique will appeal to motorcyclists who do not want to leave the motocross tracks in winter. In addition, when starting from a place, it is necessary to carefully dose the gas. Otherwise, with a sharp release of the clutch lever, you can not only put the ATV on the rear wheels, but also roll over. Despite the mono-wheel drive, this ATV in many situations does not save in front of serious off-road and will not yield to its all-wheel drive counterparts.
Having become adept at driving this rather specific technique, you can easily overcome not only specially prepared tracks, but also ordinary country country roads at high speeds.
The touring quad is a bit more complex than its kids counterpart because it has four wheel drive, a more complex CVT, and is bigger. However, this does not make him clumsy. He is still very cheerful and fun rides.
Relatively powerful engine, four-wheel drive and transmission variator allow you to cope with dirt roads of varying degrees of brokenness and off-road with almost no difficulty. However, the increased dimensions compared to the children's counterpart, both in length and width, are not a problem when driving over rough terrain.
Each type of ATV has its own right to exist. A children's four-wheeler is more suitable for children, a walking one is suitable for anyone: all-wheel drive, amazing comfort will cope with any situation. Well, sports is more suitable for those who have gasoline in their blood.
Have you tried quad biking yet? And how quickly did you get comfortable with the controls? Leave your comments.
More about extreme driving and other tips for car enthusiasts:
Source
Any wheeled vehicle - from a bicycle to a multi-ton truck - has a transmission in its device: a system that transmits rotation from the engine to the wheels. The operation of the transmission - and therefore the speed of driving - can be controlled by shifting gears.
Gear shifting is organized differently in every mode of transport. In the article below, we will tell you exactly how to shift gears on ATVs, and what gearboxes are found on such equipment.
Gearboxes for ATVs can be of two types:
Rarely and mostly in older models, but other variations can be found. For example - "automatic" with the ability to manually shift gears.
Manual ATVs are a little more difficult to drive (at least at first, until you get used to it), but you can more accurately select the appropriate mode. And vice versa: CVT "boxes" are much easier to operate, they are easy to master for a beginner who gets behind the wheel of an ATV for the first time. But on the other hand, with active driving along a route with variable difficulty, riding a CVT will be a little less convenient.
For example: you are driving on a flat packed dirt road on H, and you see a large stretch of muddy road ahead with deep mud (or a steep slope, or bumps, or stones). You will have to come to a complete stop and shift to L, drive through mud, and come back to a dry road, come to a complete stop again and shift back to H. , like motorcycles, and a manual clutch lever on the handlebar on the left.
The foot lever device can be of two types:
The switching itself is carried out in the same way as on motorcycles: the ATV itself (power, weight).
CVT gearboxes are much more common on ATVs. The clutch in them does not need to be squeezed out, and the “mode” of driving forward is selected from two (most often) options: in high (suitable for driving on an easy route) or in low (for difficult sections, steep climbs and towing) gears.
An important difference from driving in a manual transmission: switching between L and H is carried out only when the ATV is completely stopped, with the brake applied. To select a mode, move the knob to the desired position. Switching between L and H on the go is impossible.
The rest of the gears - park, neutral and reverse - of course, are also included when the ATV is standing still.
Source
If you need to make a climb, remember the following precautions:
When turning or crossing hills, incorrect actions can cause you to lose control of the ATV, as well as to roll over and as a result receiving severe injuries. If possible, avoid driving on hillsides and avoid crossing hills. Please follow the instructions in the owner's manual for your ATV. If the situation does not allow to avoid this, then follow the following precautions:
NOTE: If you realize the ATV is starting to tip over, get off the ATV as soon as possible on the uphill side.
When descending a slope, remember the following precautions:
WARNING: When descending a slope, mountain or any other hill, drive at low speed. High speeds can cause loss of control of the ATV and result in injury to the driver.
Not all ATVs are designed to cross a body of water. The ATV quad is designed, but the depth should not exceed the bottom level of the footpegs. Remember to take precautions when crossing water:
NOTE: Do not drive your ATV through deep water with fast currents.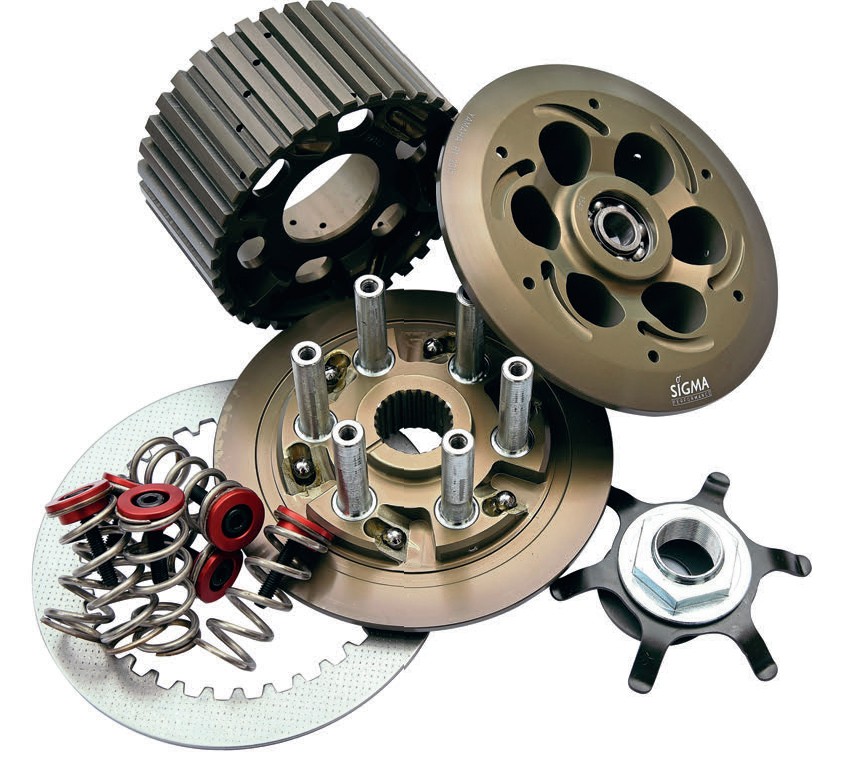 You can not make sharp turns or stops, switch speeds abruptly while in the water.
We hope that after reading these tips, you remember the main thing and you will not have problems when driving. Well, if they arise, then you will remember what you read and will be able to put it into practice. Remember that proper control is possible only with a technically sound ATV. In our store you can always buy high-quality spare parts for ATVs at very competitive prices.
Correct load distribution is important. If the ATV is overloaded or the load is improperly carried, it may cause a malfunction in the control system and cause the ATV to lose control, and the braking system may also fail. Be sure to take precautions when transporting cargo. Before you get behind the wheel of an ATV, be sure to know the basic rules for driving an ATV. In this article, we will cover basic information about ATV control that you may find useful.
Each ATV is designed to carry or tow a specific weight and amount of cargo. Always read the weight distribution stickers carefully and never exceed the stated weight. Place the load as low as possible. If you have to cross hilly terrain, you need to slow down on curves and bumps to maintain control stability.
Turn the handlebars in the direction you are going to turn, tilt the upper body inward, resting your weight on the outer footboard. This simple technique will allow you to change the balance of traction between the wheels, therefore making a turn smoothly without jerking. The same must be done when turning back. Attention! Master the turning technique only at low speed, then at medium and then at higher speed.
Turning too fast or at too sharp an angle can cause the ATV to tip over, resulting in serious injury. Never turn at high speed and avoid sharp turns.
When riding on slippery surfaces (wet roads or in freezing weather), be sure to observe the following precautions: stationary wheels, otherwise wheel slip may damage the transmission drive.
WARNING:
Lack of attention on the road can lead to serious consequences. Remember, never slam on the brakes if the ATV skids. If possible, avoid driving on slippery surfaces. Reduce speed when making sharp turns.
Source
Like any auto and motorcycle equipment, an ATV has the ability to work in two transmission options - automatic and mechanical. For this class of equipment, each of the gearboxes can have its own pros and cons, so before choosing the model you like, pay attention to the type of transmission.
The main task of an ATV gearbox is to transfer torque from the engine to the wheels as accurately as possible. The second important task of the transmission is to adjust the number of revolutions of the wheel by increasing the gear ratio.
That is, the faster you want to move, the higher you have to shift into gear. In the case of an automatic-type gearbox on an ATV, you still have to change gears, in particular, engage in reverse or choose between 2D or 4D drive.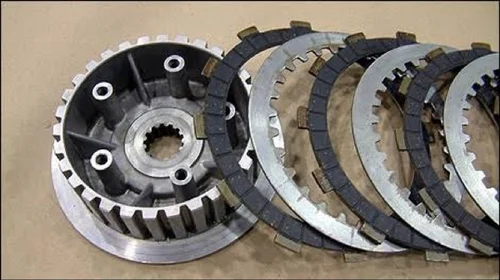 In low-cost models, including those made in China, the equipment is equipped with an automatic transmission, but more expensive sports ATVs are equipped with a fully manual transmission.
The mechanics are identical to the standard motorcycle and allow the rider to more accurately feel the moment of shifting gears at the optimum pace. As a result, such sports ATVs have better power and maneuverability. And when you're on the track, the power can be reduced by adjusting the gearing. And finally, the last advantage of a mechanical sports transmission is the ability to enter corners more comfortably. But try not to change gear directly during the turn, in which case you will lose balance. The 150cc gearbox is usually made as simple as possible, so you can not hope for excellent sensitivity and smoothness. The main advantages of mechanics on an ATV can be considered:
Also, shifting gears on such a gearbox is much easier than on a motorcycle, because such a technique has 4 wheels, which means that all the emphasis can be placed on gear shifting control. The movement on the mechanics is carried out similarly to other vehicles in the manual transmission, only when driving to a hill, you will have to simultaneously hold the clutch and brake.
Therefore, if you select a model for the most dynamic and confident operation, pay attention to the type of transmission, mechanics will be the best choice.
Whereas manual ATVs are more for real racers and power lovers, the automatic transmission is more relaxed. The principle of its operation is similar to a car, where your task is only to shift gears. Automatic transmissions are most common on utility vehicles, the main feature being the choice between high and low gears. If you want to go fast, you will have to turn on high speed, but the disadvantage will be weak power. Conversely, at high power, the box will limit top speed. Buying an automatic shift ATV gearbox is recommended for kids or beginner riders who want to get comfortable and get used to the movement.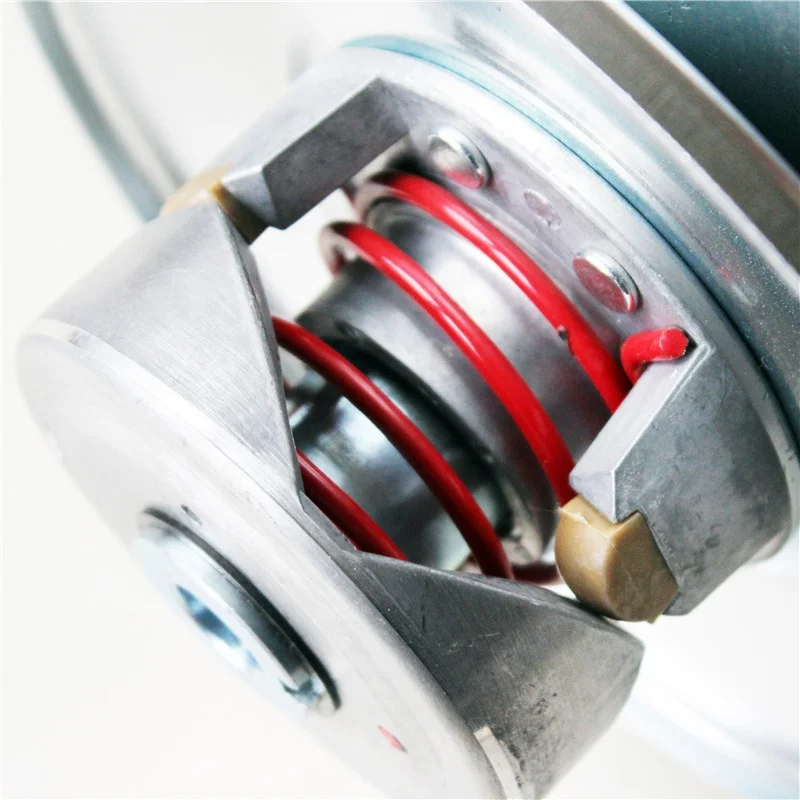
Let's give an example of the operation of a mechanical box, because it may differ in operation from other equipment. The main component is the gearbox, its power is transmitted from the second shaft with the variator pulley to the third shaft - the intermediate one. It is he who allows the box to continue working, transferring force to the last 4 shaft with the wheel mounted on it. All the described design details are located inside the protective casing, and the constant presence of oil in the system allows to increase the lifespan.
Try to keep an eye on its level, otherwise the transmission will break down soon. If you choose 250cc ATVs, the price with cardan will be a little different from others. In any case, you will have to consult with the seller, who will select the ATV for your needs.
The manual transmission is most commonly found on sport ATVs and works similarly to the transmission on a motorcycle.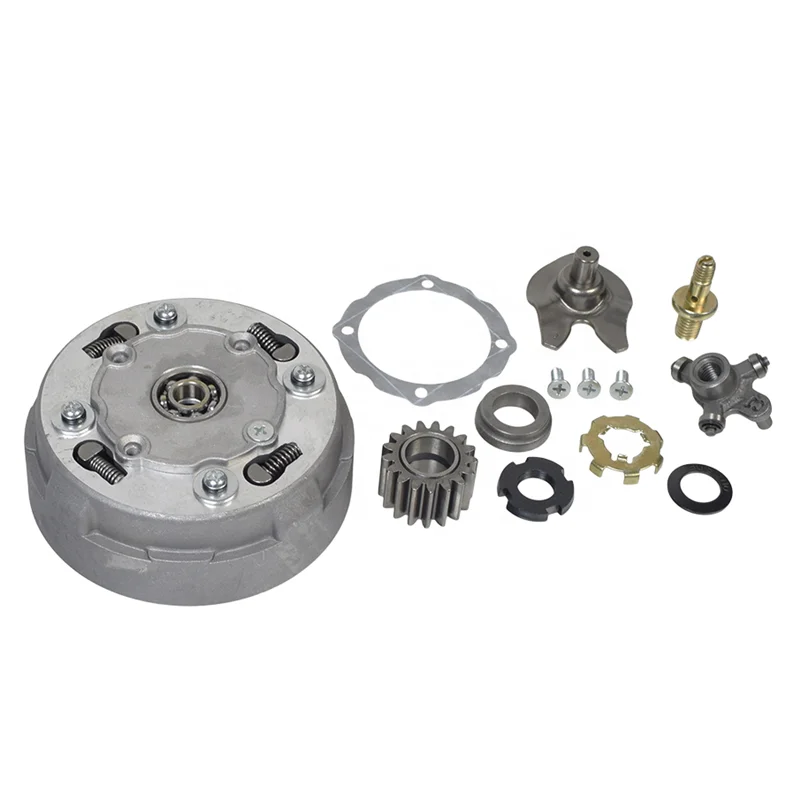 The advantage of a manual transmission is that it allows riders to have more precise control of the machine by keeping the engine at optimum speed to get maximum power when there is good traction and less power when there is no traction. The manual transmission also helps you get in and out of corners well, but keep in mind that shifting gears during the corner itself can throw the car off balance.
Learning how to change gears on an ATV is easier than on a motorcycle, because thanks to the four wheels, you don't have to constantly keep the car in a state of balance. The rest of the gearbox works in the same way. In order to move off you will have to use the clutch and gas levers and the gear selector. And if you start on a slope, then you will have to use both the lever or the brake pedal at the same time.
On most ATVs, the brakes are controlled in the same way as on a motorcycle: the pedal on the right controls the rear brake, and the lever on the right on the handlebar controls the front brake. Most often, drivers use the brake pedal, since they need to press the gas lever to start, but the technique depends on the specific conditions.
Many side-by-side ATVs also use a manual transmission, but they operate more like driving a car. The pedal on the right is the gas, the pedal on the left is the clutch, and the shift lever is either on the floor or on the steering wheel, allowing you to change gear without taking your hands off the wheel.
The automatic transmission takes over the task of changing gears, and it works the same way on ATVs as it does on cars. Most often, an automatic transmission is installed on utility ATVs, it also allows you to choose between high and low gears. In high gear, the ATV can move at high speed, but its power is low, while in low gear, the speed is very limited, but the power of the machine increases, which allows it to carry or tow loads.
The same type of transmission is prevalent in the design of children's and youth ATVs, which allows young riders to focus on driving the machine, not shifting gears.
If you can't decide which type of gearbox is right for you, look at the rest of the ATV you need and let the designers make the decision for you.
Please read this manual carefully before riding your ATV. It contains important safety and usage information. Based on the requirements of general safety, you are responsible for the safe driving of the vehicle. It is not possible to warn against all permissible damage associated with driving a vehicle, so you should always use common sense.
1. Persons over 16 years old and weighing less than 111 kg are allowed to drive the ATV. Children under 16 can only ride as passengers.
2. Always follow the instructions of the instructor!
(It is not recommended to ride the ATV in shorts and/or shirts, short sleeves). It is also necessary to wear eye protection (protective mask or goggles).
4. One of the main safety features of is your correct position on the ATV :
5. Control of the ATV :
Right hand, thumb - throttle.
Right hand, all fingers except thumb - front brake lever.
Left hand, all fingers - left handlebar.
Right foot - rear brake pedal.
Left hand gear change. Sequential L-H-N-R-P (Low, High, Neutral, Reverse and Park) when the ATV comes to a complete stop with the rear brake lever or pedal depressed.
6. To start the engine, turn the ignition key to the “ON” position, depress the brake pedal, press the electric start button on the steering wheel and hold until the engine starts, no more than 5 seconds.
7. Make sure the path is clear of obstacles (people, other quad bikes and motor vehicles, etc.) before starting :
8. Remember basic hand signals :
Signals given by the instructor:
Always duplicate signals of the head ATV.
If you need to stop (frozen helmet glass, hands, etc. ) do not wait for the group to stop. Raise your left arm up and/or call attention with a horn (to stop those following you and the instructor) and come to a gentle stop. After stopping, wait for the instructor in order to conduct additional briefing, continue traveling as a passenger with an instructor or a more experienced tourist, or find another way out of the current situation.
9. When crossing roads, bring the ATV to a complete stop and make sure the road is clear of vehicles. Then cross the road at right angles to the direction of travel on the crossed road.
10. Distance while driving 40-50m .
11. Maximum speed – 40 km/h .
. Attention. Do not do anything that could damage the ATV or impair your safety.
It is prohibited:
9000 gas - for example, on a steep slope or when making a sharp turn. Due to the high center of gravity, small width and short wheelbase, the equipment easily stands on 2 wheels. At the same time, a fall, even at low speed, threatens with fractures. Therefore, after buying an ATV, you need to familiarize yourself with the basics of control.
To start an electric start engine, turn the ignition key to the ON position, press the brake and press the green electric start button for no longer than 5 seconds.
ATVs usually shift automatically—the shift lever is used to shift up, down, neutral, reverse, and select park mode.
To start or increase speed, you need to press the thumb of your right hand on the throttle. The gearbox must be in the “H” or “L” position. The middle finger of the right hand rests on the front brake lever while driving, and the middle and index fingers of the left hand rest on the rear brake lever.
Also on the steering wheel there are buttons for turning on the four-wheel drive and locking the differential. Four-wheel drive will be needed when driving off-road, slippery roads, transporting goods and towing. A differential lock is needed so that the wheels of the ATV spin synchronously - for example, it will help to drive out if one of the wheels is stuck in the mud, and the second remains on a stable surface. When the lock is off, in such a situation, only the wheel that is stuck will spin.
Whether it is possible to turn on the four-wheel drive and blocking on the go and at what speed - should be indicated in the instruction manual. At the same time, regardless of the model of the ATV, the lock cannot be turned on after a jam, since the differential gears must engage without load.
1 - ignition key. 2 - starter button. 3 - light switch. 4 - signal.
1 - throttle lever. 2 - switch 2WD / 4WD. 4 - fuse.
1 - throttle lever. 3 - 4WD / LOCK differential lock switch. 4 - fuse.
Standing up makes it easier to avoid the ATV tipping over by shifting your body weight. There are 3 basic stances:
The worst stance is when the back is tense, the person leans on his arms and legs are straight. In this case, the body does not absorb shocks and shocks, and the bones, intervertebral discs and joints experience a strong load. In addition, control over technique worsens and fatigue increases.
C-pillar
A-pillar
A-pillar
To climb, shift into a low gear, take the front strut and drive at medium speed. It is impossible to sharply press the gas when driving up a slope or mountain - there is a risk of rolling over.
When stopping in the middle of a hill, start carefully, as a sudden start will be followed by tipping over. If the ATV rolls backwards, you need to press the front brake lever, and after stopping, turn off the engine, put the equipment on the handbrake, turn around manually, slide down and try again.
To descend, you need to take the rear rack and shift into a lower gear. In order not to roll over, brake should be simultaneously front and rear brakes. To avoid skidding, you can not change the trajectory of movement and speed abruptly, as well as brake too hard. It is better not to touch the gas lever when descending.
To drive down a slope, shift into low gear and shift your body weight towards the top. Don't hit the gas hard and don't brake hard. You can also fall when making a sharp turn. If the slope is steep and the ground on it is slippery, it is better not to risk it.
To enter a tight turn, lean on the outside footrest and tilt your upper body inward. On slippery surfaces, shifting forward will improve handling, and shifting back will improve the grip of the drive wheels with the road.
Before driving into deep mud, make sure that there are no logs, large stones and other obstacles in it, and the soil is not marshy.