4 Comments
Categories Car Care by Editor
“This post contains affiliate links, and I will be compensated if you make a purchase after clicking on my links.”
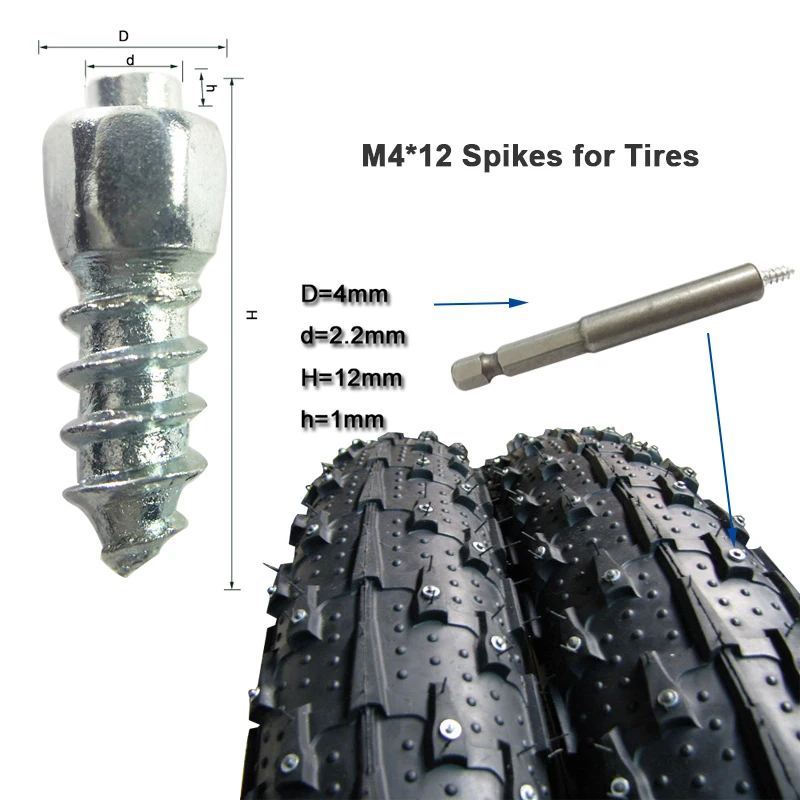
During winter, if you pay attention, you will see many cars have studs on the tires. As you may know, driving during winter, especially in snowy weather is hazardous because the roads are slipping and wet. So, you need to equip your car with special tires for winter only. Or at least, you must provide your tires with studs.
In our experience, the studs are a more popular option. It will help to create extra grip and traction for your tires and ensure you a safe driving, especially when you need to accelerate or decelerate or stop the car.
Ok, so the thing is winter’s gone, and summer is coming. So how to remove studs form tires? Is it easy to do at home, or should we bring our car to the garage? We think just with a little experience; you can completely finish these tasks at home as long as you follow our instructions in this article.
10 Year Anniversary Sale – Up to 50% off of thousands of tires
Valid through July 18, 2022
Available at SimpleTire.com
Contents
For your more information, winter tire studs are for stud winter tires only. And it will help your tires with more traction in some winter conditions. The studded tires can provide you with a superior grip on snowy and icy roads.
Recently, no-stud tires technology is trendy. However, no-stud winter tires can only provide traction based on their enhanced wintertime grip. In other words, no-stud winter tires have a unique design to interact with the icy road. But in some cases, stud tires are more helpful and safer.
It is because the stud tires do not only interact with roads and road conditions but also can dig in frozen precipitation like an anchor. So, once you accelerate or brakes, you will take full advantage of the winter tire and studs. That is why many people choose stud tires.
Why do we need studded tires
Before finding more about how to remove studs from tires, we think you should pay a little attention to how to stud tires first.
So, you will individually insert each stud on tire surface using a “stud gun.” Of course, you have to add these studs into preset locations, or you will destroy your tires. That is why not all tires are stud. So don’t try with standard tires.
One thing you should note is stud sizes are varied. The manufactures will have a particular format for each of their studs set. So you should check with the tires manufacturers care about the tires and the size of studs to understand it clearly.
So, this is the most essential part of this article: how to remove studs from tiers: quick and simple steps. You only need to follow the five steps below:
Don’t try to remove studs from tires, which is still in your car. Trust us, it is a nonsense jobs because it will make your task more difficult. And after all, we bet that you still have to remove tires from your car if you want to finish the job.
You can use a tire iron or a jack to uninstall the wheels. In this step, you should have a type of mount to place your car on so it will be safe when you do something with the wheels off.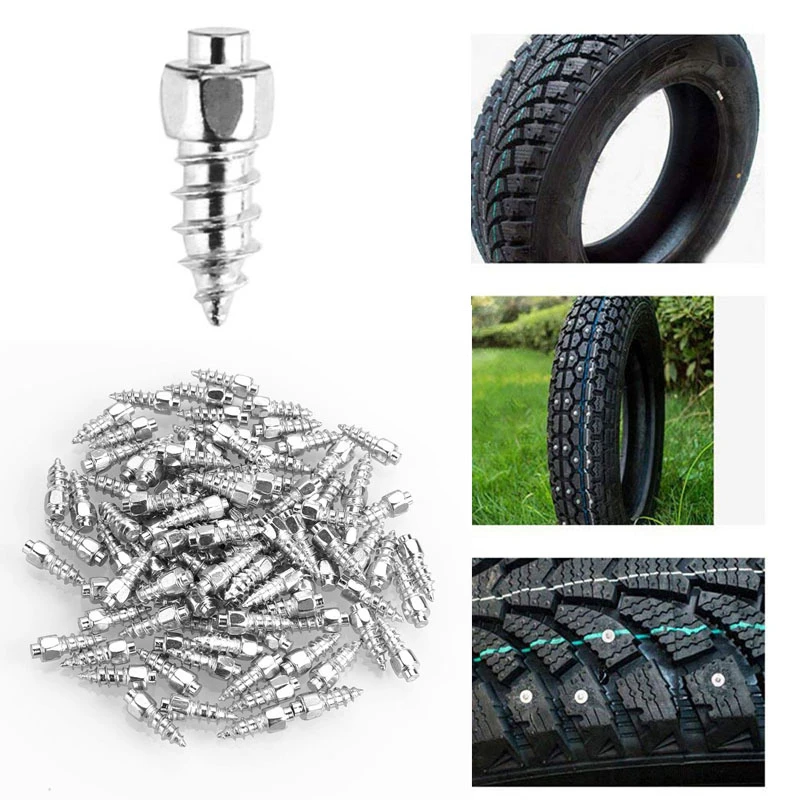
So, we’ve done with the first step to removing studs form tires. Let’s come to step 2!
To help you remove studs form tires quickly, you need to lubricate the studs first. You will find about 80-100 studs on each tire, and you have to lubricate them all.
It could be best if you can use the similar lubricant that you use for tires mounting. It is because other types of oils may lead to an adverse effect on the tires’ materials.
This step is the must-have step because it will make your following steps easier so that you don’t need to use much force or destroy your tires.
How to remove studs from tires?
In this step, you can use a pair of pliers. Pliers are the most popular and easy-to-find tool in this case.
So, what you need to do using your pliers to grab the top of the loosen stud, twist, and pull it out from your tires. And you need to repeat this process to remove all studs on all your tires. It will take time, but except for it, we found that there is no other way out.
So, you understand how to remove studs from tires. But it is not all the part; you need to check the tires before installing it in your car again. So, let’s come to step 4.
After removing all of the studs on your tires, it is necessary to implement a task called “post-stud removal maintenance.” It means that you have to check your tires to see if there is any puncture or not. So, you can check it by using one of the following methods:
If you can’t find any bubbles or holes, you can clean the tires and fill it with air, following the manufacture suggested air pressure.
How to remove studs from tires?
So, you need to mount tires back in your car.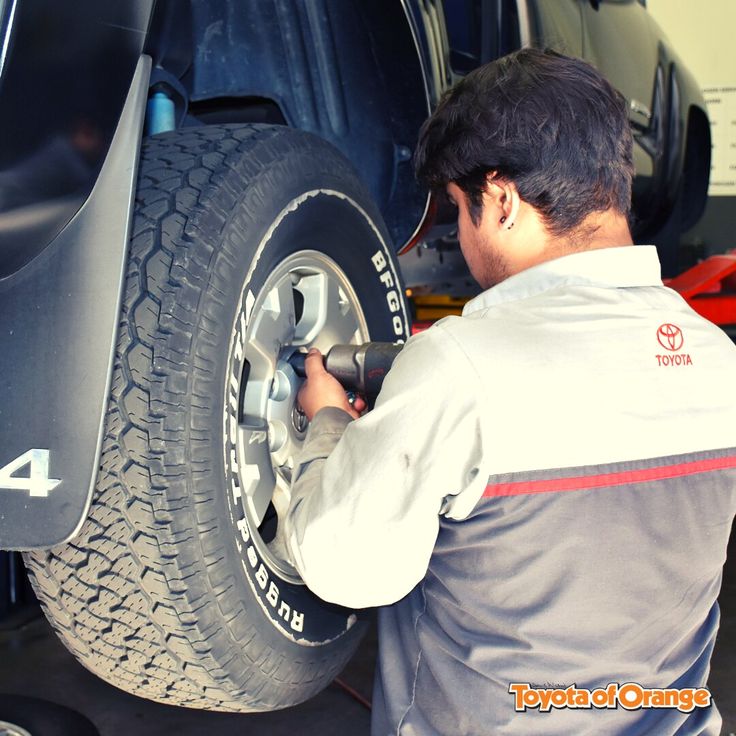 Then take your vehicle off from mounting place. And then you should start a weekly maintenance for about two-three weeks to make sure that there are no slow air leaks.
So, above is all information about how to remove studs from tires: quick and simple steps. When owing a car, we suggest that you should have a little knowledge about these takes so you can finish it at home. You know, it is not cheap to take your car to the garage all the time.
We hope that it could help you to finish the task. If you have any question or comments or tips, please feel free to leave a comment and share with us!
Are you looking to remove the studs from your winter tires to drive on them in the summer? It’s a quick and relatively inexpensive job at any tire shop, but you can take out the studs at home and save some money.
We’ll walk you through all you need to know about how to remove studs from tires, including the tools you’ll need for the job. Once you’ve done it, you’ll be relieved you didn’t spend money on getting your studs removed by a professional.
Here’s how to take out studs from your tires. It should take an hour or two. The total time you’ll spend depends on how tight the studs are and your experience with removing wheels and putting them back.
Car shops use a specific stud removal tool to take studs out with the least amount of force possible and without damaging the tire. If this is not something you’ll need in the future, though, save a little money and use a tool you already have around the house.
You can use either a small flathead screwdriver or needle-nose pliers. If you don’t have either of these, you can use a small knife, but you must be extra careful not to puncture the tires. It’s safer for first-timers to use a tool like pliers that lift the studs instead of digging them out.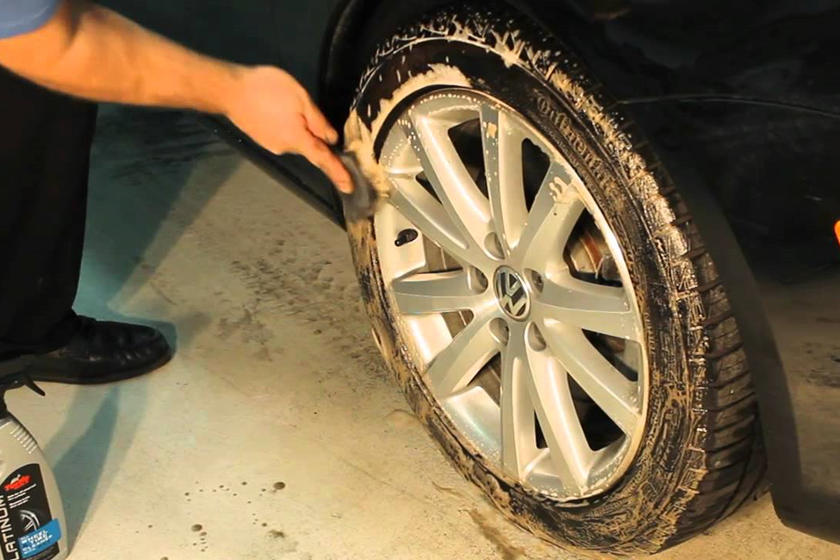
Some people choose to work on their tires while they’re still on the car, but it makes the process unnecessarily complicated. It can also be more dangerous, and you would need to move the vehicle to reach the entire tire.
Taking off the wheel will give you more room to work and allow you a better grip on the studs. Use a jack to keep your car supported. Using a lug wrench, remove the wheel and support it on the ground.
Many people find the best position is to keep the wheel upright between their legs. This way, you’ll have plenty of room, and you’ll be able to use your upper body strength.
Putting some lubricant in the studs helps you loosen the rubber and get the tire studs out with less effort. You don’t need to buy anything at a store; a spray of soapy water on your tires will do, or apply some dish soap directly onto the tire, undiluted.
Avoid greasy lubricants and WD-40 since they can make your tires slippery on the road and put you in danger.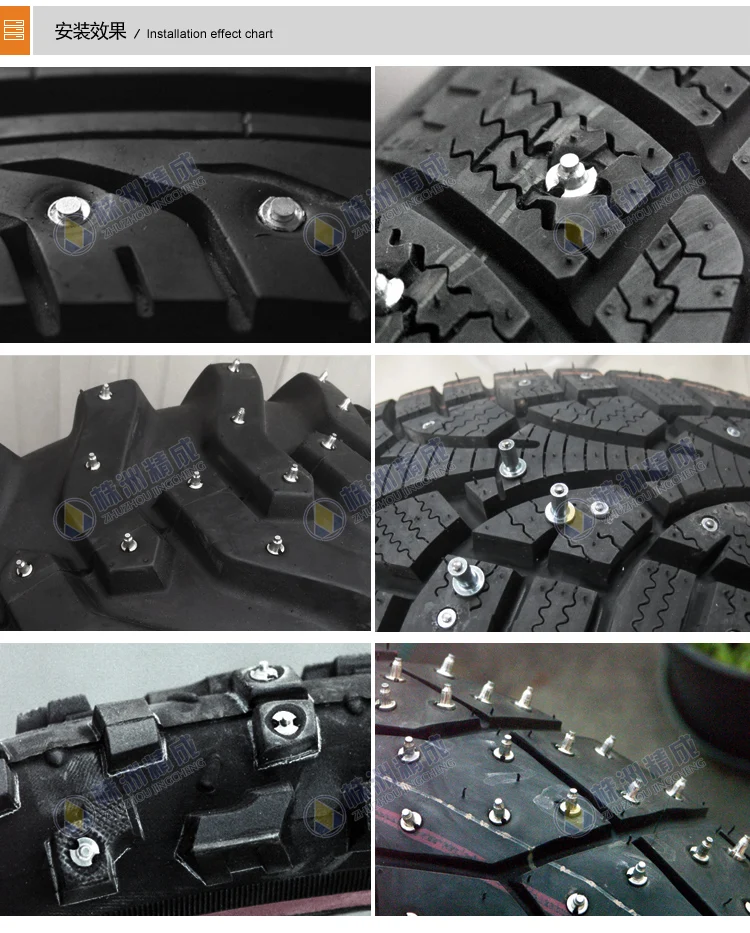 They can stick to the rubber, making it hard to wash these chemicals out. These types of lubricants can also deteriorate the rubber of the tire over time.
Apply some lubricant directly on the tire and grab your tool of choice. This is how to proceed to take out the studs, depending on which option you’ve picked:
With pliers, grab the stud by the tip and lift it. A narrow pair of electrical pliers will be ideal for this job.
It’s possible that the stud won’t come out easily because the bottom is embedded inside the tread. In that case, you can try pushing the stud down before pulling, and twisting gently to loosen it up.
A stud removal tool has a round tip designed to go around the stud to lift it off. To use it, you only need to place it on the tire and drive the tool gently under the stud. Then, twist it slightly and push to the side to pop the stud off.
Note that the studs are often surprisingly deep inside the rubber, especially on massive SUV and all-terrain tires.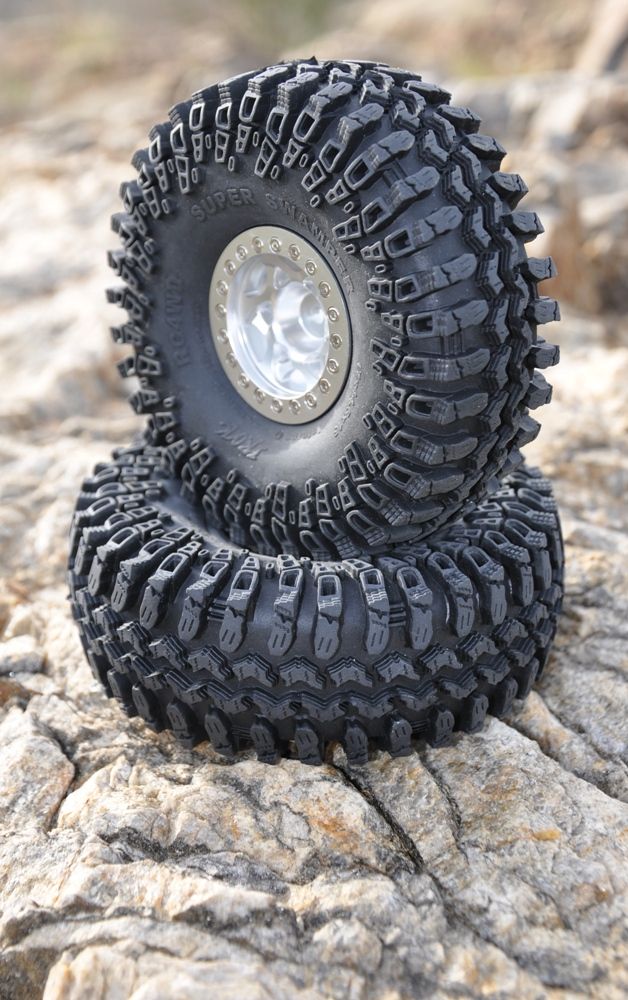 You must insert the tool quite deep while being careful not to harm the tread too much.
If you’re working with a screwdriver or small knife, insert the tip alongside the side of the stud until you get to the bottom. You should notice when you reach the edge of the stud. Then, turn the tool to a 45-degree angle to get it under the edge. Lift it carefully to pop the stud out.
This technique may take a bit of practice, but you’ll get it after a few tries.
 Check the Tread
Go around the tire before you put the wheel back on the car. Ensure there are no punctures or other damage to it, and that the air pressure is normal.
If you suspect punctures in the tire, you can check it. Spray some more of that soapy water you used as a lubricant directly on the tread. Apply some pressure and see if any bubbles are forming on the surface.
This check is harder to perform on truck and SUV tires because their tread blocks are deeper. In these cases, you also have the option to submerge the wheel in water as a simple way to test if any air comes out.
It’s time to put the wheel back on, move on to the next one and repeat the process. When you’ve finished, remember to secure the lug nuts properly.
You shouldn’t drive with studded tires in the summer. While they give you traction and improved grip on snow and ice, they’re not ideal for when the weather gets warmer.
The rubber on winter tires is softer and maintains its elasticity even in low temperatures. They are too soft for the summer, though, and the tread will wear out faster when it’s warm.
Manufacturers design winter tires, studded or not, with large tread blocks for traction with sipes to keep them flexible. They also have deep channels to help water flow out. This makes them better for those rough conditions when you need extra grip.
Studded tires are noisy on the road, and using them all year round will impact your fuel-efficiency.
Also, the studs eat through the roads. This is why some states will not allow studded tires on their roads during the summer, or at all. Before you travel to a different state in your car, make sure its laws accept your tires on its highways.
Removing studs from tires is one of the cheaper things to get done at a tire shop because it’s such a straightforward process.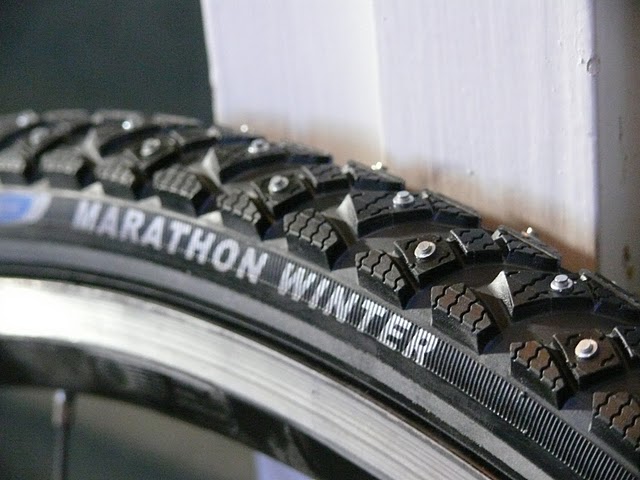 It shouldn’t cost you much more than $30 to $40 for an entire set of tires.
No, you should never try to replace the studs on a studded tire. It’s also best to get only new tires studded to ensure their safety. The studs will adhere to the tire best when the rubber is fresh, and there’s no debris on it.
Tires lose air pressure when the temperature drops in the winter because air packs into a smaller space when it cools down. It doesn’t mean your tires are losing air and is usually nothing to worry about, but you may want to pump some more air into the tires in the winter.
Depending on the specific conditions you’re driving in, the studs on your tires should last about 20,000 to 30,000 miles. Top tire brands may have studded tires that last double this time. When the studs are worn, check the tread to make sure it’s still deep enough to be safe to drive on after removing the studs.
Yes, studded snow tires result in fewer miles out of a full tank. This is why, if you live in a state with winter weather, having two sets of wheels is actually a money-saving option. You’ll get more out of your gas and your tires by using the weather-appropriate set for each season.
Usually, a studded snow tire will have around 60 to 120 studs. They’re placed in two rows along the shoulder blocks of the tire. The exact amount of studs depends on the tire manufacturer and model, so you’ll have to check your tires to know exactly how much work is waiting for you.
Yes, it is fine to remove studs from tires to use them in warmer weather. However, don’t try to restud them or use the tire when the tread is too worn.
So, you’re all set to go to work and get those snow tires ready for summer roads. Grab a stud removal tool, some pliers or a screwdriver, and don’t forget to use some soap as a lubricant to loosen up your tire studs.
Learning how to remove studs from tires is relatively easy and doesn’t take much time. You’ll get the hang of it after your first couple of studs.
Remember that you should only stud new tires, and that it’s not safe to stud your tires again after removing the studs.
(
Updated:
25/01/2022
)
Article content
During operation, the winter set of tires wears out actively, loses grip, loses elasticity at low temperatures.
The studs wear off and fall out due to deformation. With such damage, manufacturers recommend changing tires to new tires in order to prevent an emergency, to prevent skidding on an unstable winter road. However, in a situation where metal cutters are damaged on new tires, it is not necessary to install a new set. It is enough to restore the studding.
Re-studding winter tires is a standard procedure used to improve the performance of tires. It improves grip on icy surfaces, improves driving safety in cold weather.
Due to the design, the studs stop working even on new tires. If the tire wear is uneven, the cutters become dull, stop grabbing on an icy road, or become higher than the tread. This leads to the fact that they are pulled out during sudden braking or wheel slip. In this case, a new kit is not needed, since it makes sense to stud.
This process can be done by hand or with a tool. Before re-completing, it must be taken into account that the installation of spikes should be carried out 2-3 months before the onset of the winter period. The process is influenced by technology, the rubber must be dried before operation, after which a mandatory run-in must be carried out. Only if the conditions are met, you can get the desired effect - the spikes do not deform and do not fly out.
Studding winter tires can be done in several ways. There is an initial and repair (repeated) method. The initial technology involves the operation of non-studded tires, which can be equipped at any time if necessary. Re-studding is a do-it-yourself procedure for installing new incisors to replace the lost ones. Self-installation increases the working life of the wheels, improves safety.
Despite the advantages of the method, there are restrictions that prohibit the repair of worn tires. If they are ignored, this will lead to poor-quality re-recovery and will not give a result.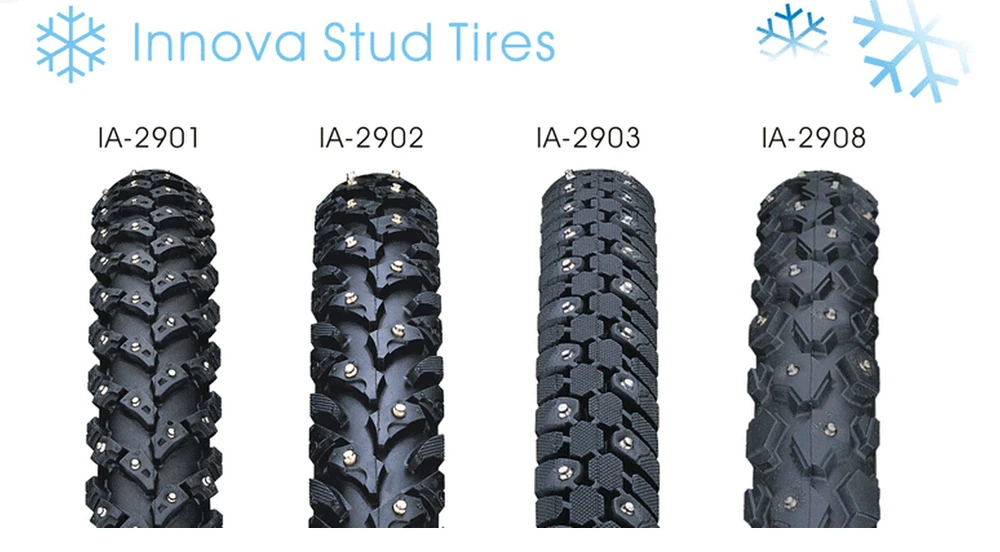
Mounting studs on a winter tire is done in cases where:
Do-it-yourself reassembly of cutters is not allowed if:
Before making repairs, decide if you need additional studding or if it is better to replace the set of wheels.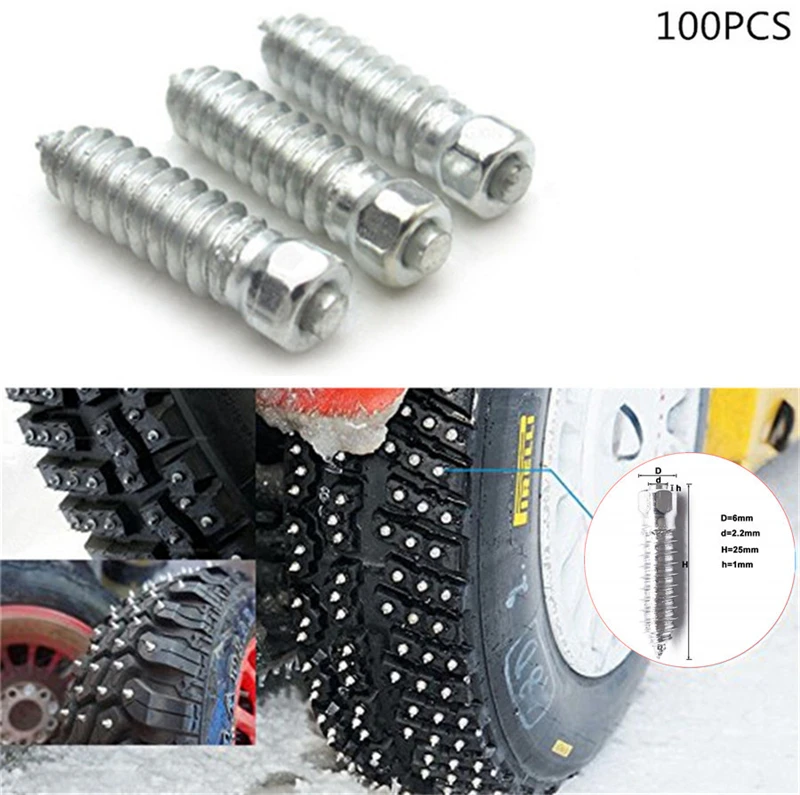 Only having determined the relevance, one should start work and re-install the metal elements.
Winter Drive protection
Tires Goodyear UltraGrip Arctic 2 SUV
Winter Drive Protection
Rating:
4.5
Tires Goodyear UltraGrip 600
Winter Drive Protection Sound Comfort
Rating:
4.5
Tires Goodyear UltraGrip Ice Arctic
Winter Drive protection
Tires Goodyear UltraGrip Arctic 2
Winter Drive Protection Sound Comfort
Rating:
4. 5
5
Tires Goodyear UltraGrip Ice Arctic SUV
Winter
Rating:
4
Tires Goodyear Cargo UltraGrip 2
There are several ways to reposition the incisors. Repair is done with a tool or with your own hands. In the first case, studding is used with an air gun, which pushes the edges of the winter tire at the desired angle. In the second case, the tire is equipped with conventional spikes, installed with a screwdriver and a hammer. The first method of re-studding is correct and guarantees the result. It involves the preparation of tires, cleaning the tread from contamination with compressed air.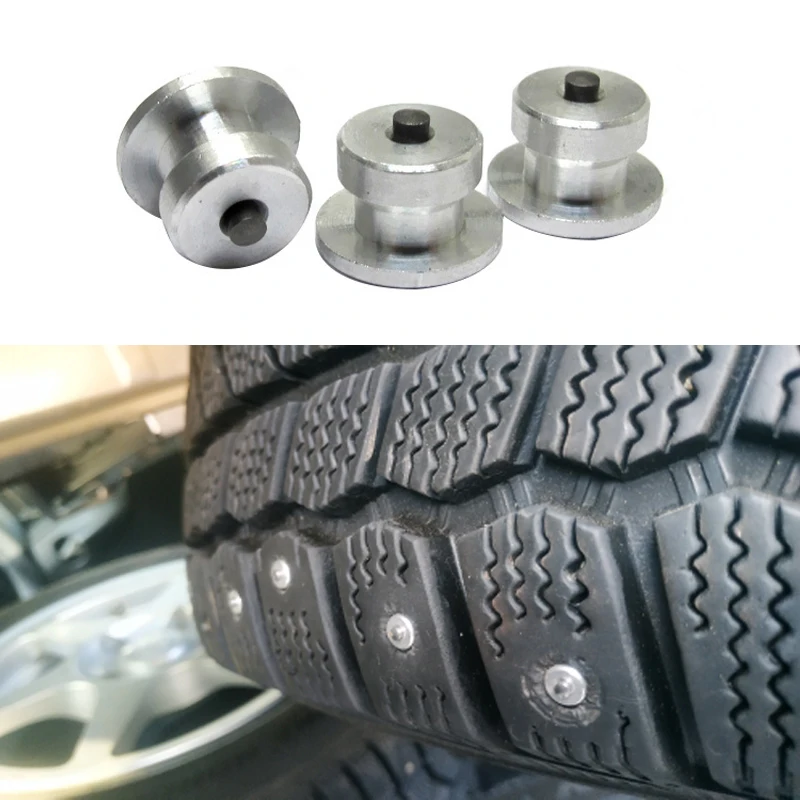 This avoids the distortion of metal elements, their rapid loss.
It is possible to repair a winter tire in several stages, it is enough:
Installing metal cutters instead of worn ones improves the car's handling on the road, grip on slippery surfaces, and reduces the braking distance. New spikes prevent skidding on the car, reduce the likelihood of slipping when accelerating. Restoration of worn tires ensures safety on the road.
However, the method has weaknesses. Due to the installation of metal cutters, noise from the wheels increases, vibration increases when driving on asphalt and other hard surfaces. The disadvantages completely repeat the disadvantages of any winter kits, which are inferior in smoothness and noiselessness to summer tires. Despite the shortcomings, the tire has more positive aspects and is recommended by manufacturers to increase the life of the wheels.
Find Goodyear tires for your car
It can be a shame when most of the tread height of winter tires is still preserved and performs its functions perfectly, and half of the studs have already fallen out of their sockets. Is it time to throw out the tires or can they be restored? Some motorists prefer to install new spikes on winter tires with their own hands.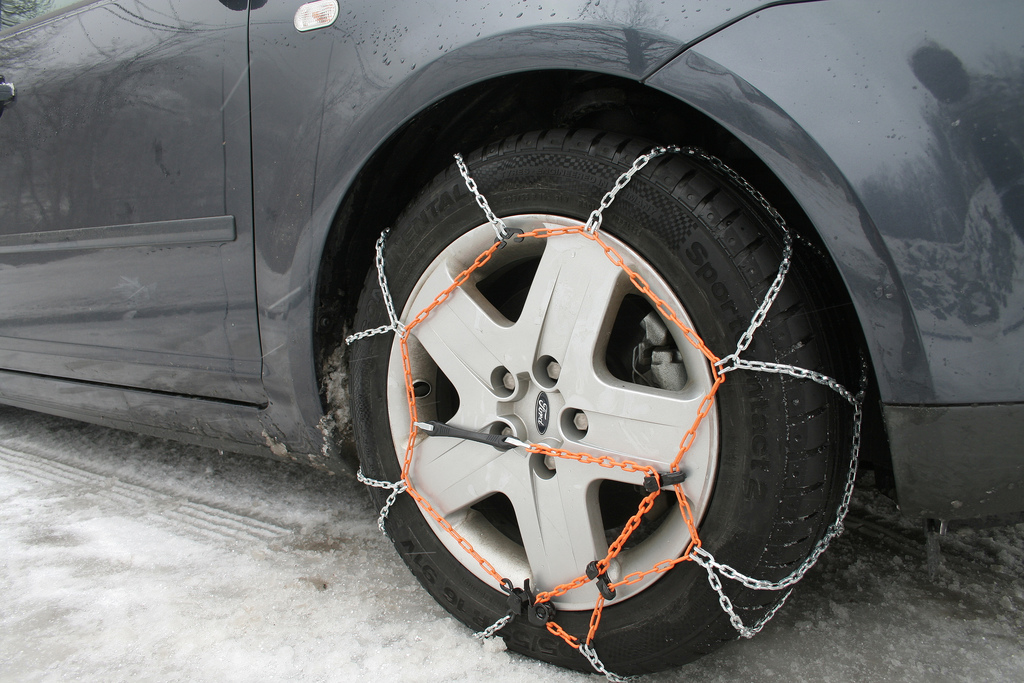 Self-studding tires allows you to use high-quality materials and reduces material costs for the purchase of new tires. 9Studs They are divided according to the following parameters:
When choosing elements for studding, consider: riding speed, driving style, tire characteristics, tread height. When re-studding, pay attention to the size of the attachment points of the dropped spikes, as a rule, the sockets are slightly broken: it makes sense to use a larger diameter of the products. "Native" spikes will not stay in broken sockets.
Installing stud elements at home is easy, you must follow these rules:
 3 mm. This criterion is taken into account when choosing the height of the stud elements.
 We recommend watching a video about tires using repair spikes:
To install spikes on winter tires with your own hands, you need:

Tires can be studded in three ways:
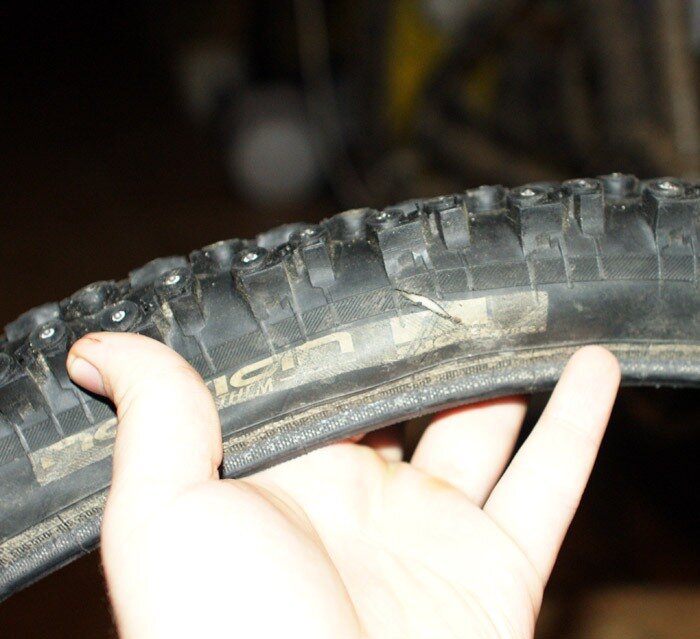
Consider the process of studding tires without special holes for studs. It is quite laborious, it is performed as follows:
The installation of stud elements in tires with special holes for studs is carried out in a similar way, while labor productivity increases several times. There is no need to make special holes in the tire for attaching spikes.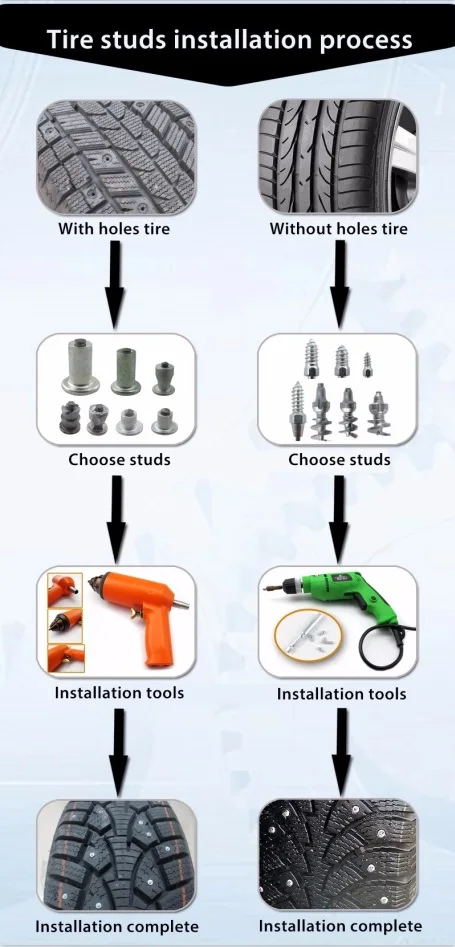
Do-it-yourself studding of winter tires is used for re-studding and re-studding of tires. The studding process makes it possible to equip winter tires for individual vehicle operating conditions. Restudding prolongs the life of tires, makes it possible to restore them.
Tires that have worn or loose studs are suitable for the above jobs. To replace missing or worn studding elements, special products are used. They have an enlarged head, so they can be installed in broken mounting sockets. The sequence of repair work when studding tires is not much different from the methods of primary studding of rubber. It has only one difference: before installing new spikes, you need to clean the sockets from particles of dirt, dust, and remnants of old spike elements.
Studding or re-studding of winter tires can be done at home. does not require special skills. When using high-quality component materials for studding, you can significantly increase the life of tires.