Changing out an ATV axle is a pretty routine job. All ATVs will need this done at some point in its life. With the rough terrain most riders take their quads on, there’s bound to be a bent axle problem sooner or later.
Sometimes you need to change the axle out because it got bent, sometimes people want to get a longer axle installed to widen the stance of their quad. Either way, the process is the same.
These steps are universal for any ATV cv joint axle change, but each quad is a little different. If you’re ever in doubt about one of the steps, it’s best to check your users manual. But first, lets go over the warning signs that your axle is actually bad and needs replacement.
The first thing to watch out for is a clicking or popping noise that you can hear while riding. This noise is most likely heard during tight corners or taking tight turns. This is a fairly common noise to hear if your cv joint axle is wearing out and needs to be replaced.
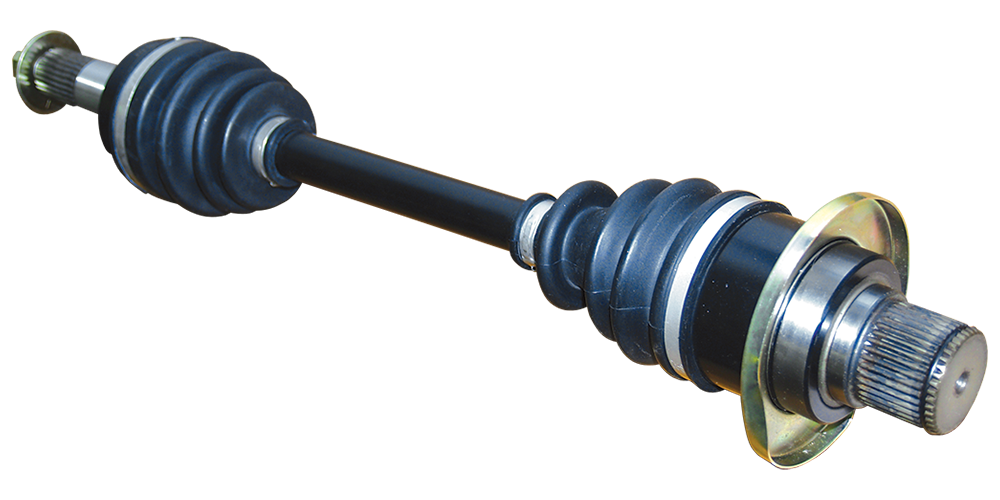
Physically get done and look at the axle itself. If it looks bent or dinged up enough that you can see a curve in the axle, it probably needs to be replaced. Check the boots and cv joints for wear or breaks as well.
If you feel a vibration or shaking when riding, it could be your axle is bent. There are a number of other issues that would cause a shaky feeling though. If a shaking or wobbling while riding is your only warning sign and the axle doesn’t look bent, I would check out my Common Reasons An ATV Will Shake article before swapping out the axle.
Now lets look at the tools you need and the steps to take to change out your ATV axle.
You will also want to wear safety glasses and gloves when working on your ATV. You may need a new cotter pin for the axle castle nut and penetrating oil and cleaner if the axle is stuck on there.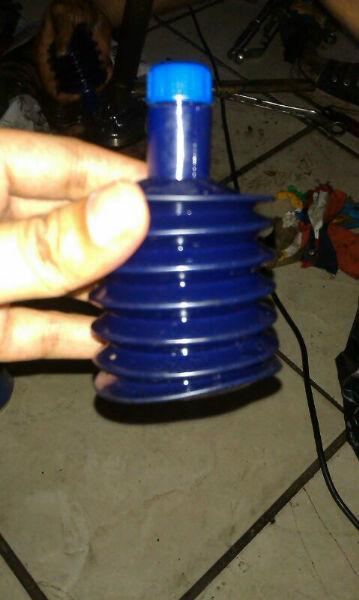
Lift the quad off the ground and place on jack stands or something very sturdy. You will be pulling on the lifted machine in later steps and don’t want it to tip.
Get the lug nuts off and remove the wheel. It is easier to loosen the lug nuts before jacking up the quad. You can put the lug nuts back on the hub after the wheel is off if you’re worried about loosing them.
You might have a plastic cap covering the castle nut that you will need to remove first. Take the cotter pin out of the castle nut and remove the castle nut. It’s ok if you have some one hold the brake down to prevent the axle from rotating while you take off the castle nut.
The brake caliper is usually held on by two bolts, remove those and pull the caliper off the rotor. You don’t need to take the caliper apart any further than this. Simply zip tie it up out of the way and avoid letting it hang or putting strain on the brake line.
This is a good stage to check if you need to replace your wheel hub bearings. You will need to remove all the same parts and get to this point to do that job anyway, so why not if it needs it do it now.
If you try to rotate the hub bearing assembly and notice it wobbles or is grinding, check out my ATV Wheel Hub Bearing Replacement article to get more info about that. Now remove the hub.
This will allow you to move the A-Arms when you get to that step. Just remove the cotter pin if you have one and remove the bolt holding on the bottom of the shock. This is only required if you need to remove the bottom A-Arm bolt to move it out of the way, usually only need on front axle changes if you have to remove the tie rod ends from the steering knuckle.
To remove the bottom A-Arm bolt, simply take out the cotter pin if you have one and remove the nut holding it in place.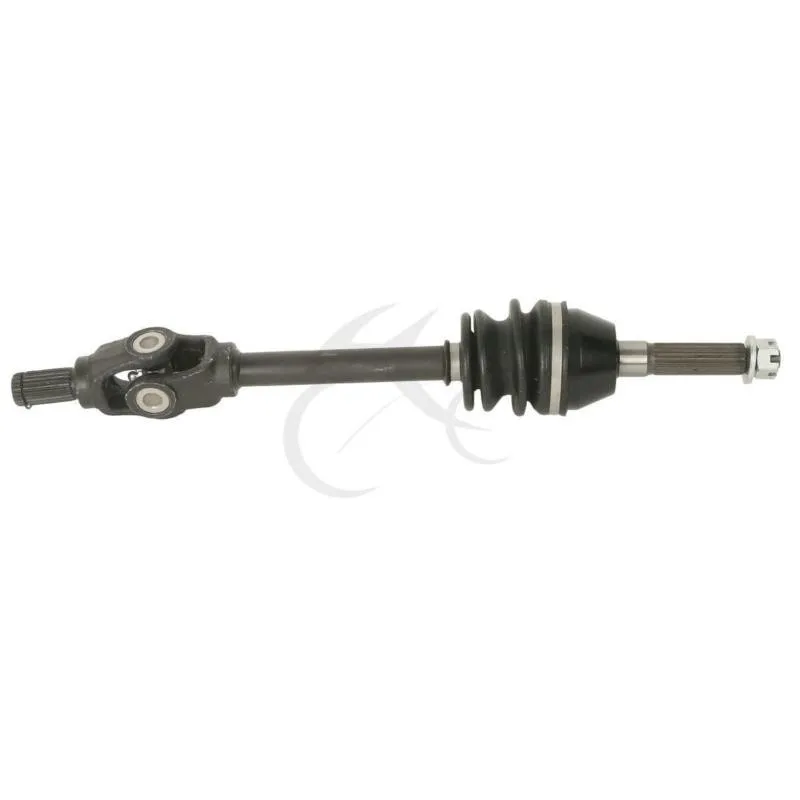 You need to pull the bottom ball joint out of the steering knuckle in order to get the axle out.
To remove the steering tie rod end the same steps apply. Remove the cotter pin if there is one and remove the bolt. You may not need to do this step depending on your machine, and this is also only required on a front axle change.
The main goal here is to get the steering knuckle or rear knuckle off the axle.
To remove the axle from the differential you will need to play with it a bit. A lot of times these axles can stuck on there and you may need to use some penetrating oil to make it easier.
Just give it a swift quick jerk on the axle to pull it out. This step is easiest done when you lower the bottom A-Arm and raise the top A-Arm and steering knuckle out of the way. Now it’s time to install the new axle.
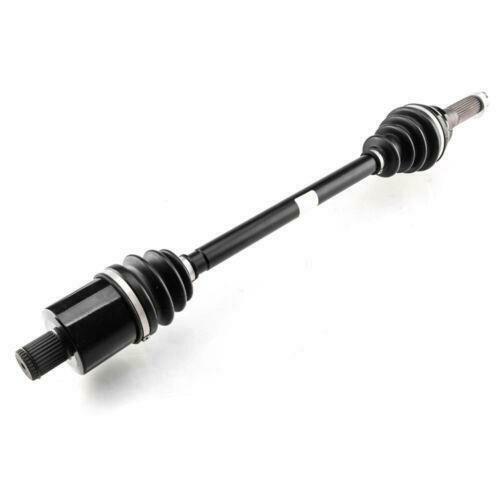
Get the new axle and line up the splines with the differential before pushing the new axle into place. It’s a good idea to grease up the splines on the the new axles before installing.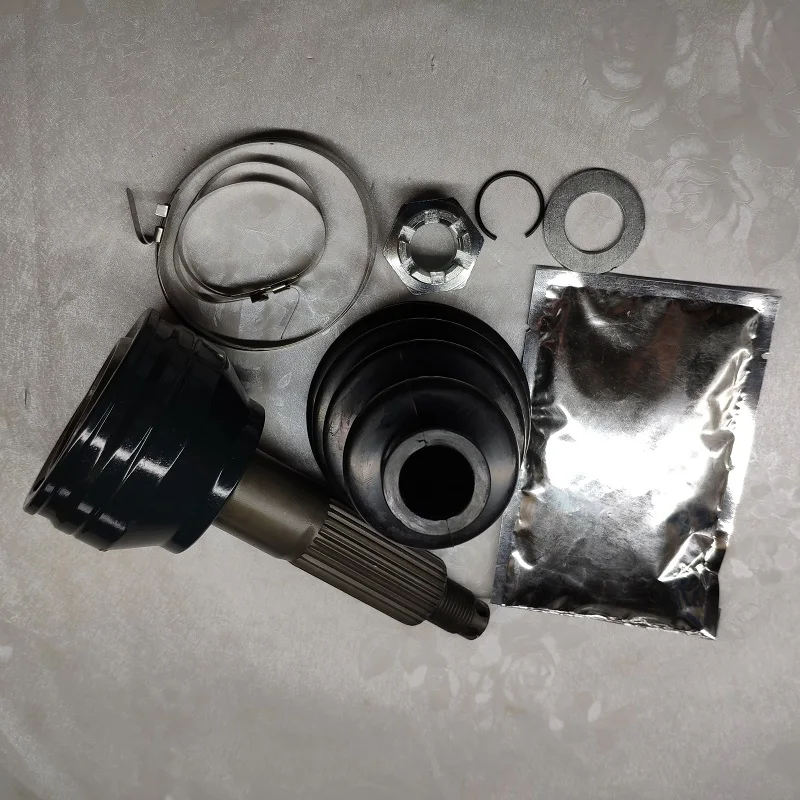 Anti-seize grease will work just as well.
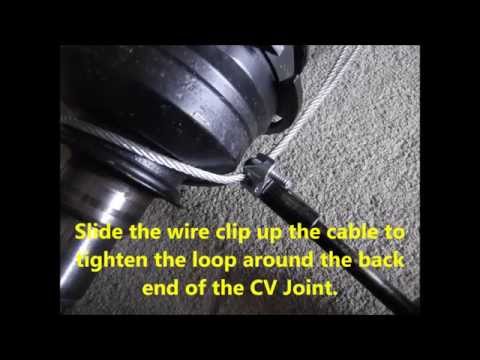
You may need to hit the end of the axle with a rubber hammer a couple times to get it seated in all the way properly. You should hear and feel it click into place nicely. You can give it a little tug to make sure it seated the right way.
This step is pretty straight forward, you want reinstall everything in the reverse order you took it apart. Get the steering knuckle or rear knuckle back on the axle, bolt the tie rod ends and A-Arms back together, and bolt put the lower shock bolt back on.
Now put the hub back on with the washer if there was one and the castle nut with a new cotter pin. Put the wheel back on and take the machine off the jack or jack stands.
With any maintenance efforts that involve removing the tie rod ends or anything to do with the steering, it’s a good idea to do an alignment afterwards. Especially if you were installing a longer axle to widen the stance of your ATV.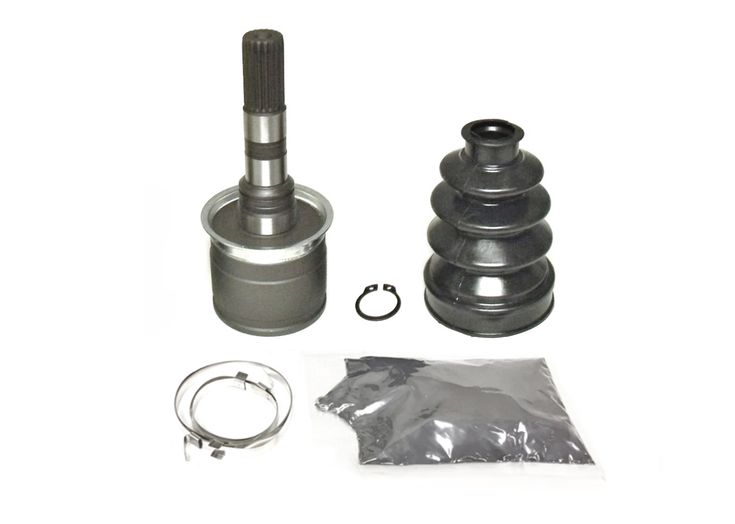
An alignment may not so crucial if you really only ride at lower speeds, but not getting one done can cause your tires to wear unevenly and cause extra wear to other parts of your machine.
To do an ATV alignment check out my How To Do An ATV Alignment article for the step by step process on how to get it done the right way.
That’s it! Those are the steps to replace the axle on your ATV. If you don’t know where to start the search for the replacement axle, I would try your local ATV parts store or Look At ATV Axles on Amazon. You can usually find the parts cheaper online, just make sure you get the right part for your make and model.
Sharing is caring!
Most ATV riders will at some point need to replace their machine’s axles. This how-to guide is intended to show you that this repair can be done as a DIY project, saving you professional labor costs and even enhancing your overall ATV experience.
The steps we provide below are general in nature and are not meant to replace the instructions found in your OEM owner’s manual. Different brands may have different torque specifications and axle mounting configurations. When in doubt, follow the OEM instructions.
Please read these instructions thoroughly prior to working on your vehicle to prevent damage and/or injury from occurring. These axles come with a sure-lock mechanism designed into the inner joint which requires special handling in order to be properly removed and installed into the casing.
If all goes well, this procedure should take an hour start to finish, even if it’s your first experience.
Do not use any form of mechanical force when removing the inner joint from the gearbox or damage may occur. We recommend that sure-grip work gloves be worn while working on your vehicle.
Front Axle Removal & InstallationRear Axle Removal & Installation
 Raise your machine so that the wheels are off the ground with a jack. Make sure you have a reliable jack that can take the sideways pull required to remove the axle. Use wheel blocks to secure the ATV.
 Also, ensure your ATV is secure and will not fall off the jack. Holding onto the axle shaft, give it a few swift tugs, and it should come free. You may need to push in first. There’s a snap ring holding the axle into place, so it could take a little force to remove the axle.
 You’ll know it’s in position when you hear and feel it click. Give the axle a slight tug to make sure the clip is locked into place.
We encourage you to use caution on your first ride to ensure your axle has been properly installed. Happy riding!
 Remove the cap. Then use needle nose pliers to remove the cotter pin on the axle nut securing the hub. To remove the axle nut, you may need to have someone press and hold the brake to provide the resistance you need. Use a socket wrench (typically 27 mm) to loosen the nut. Remove any washers as well.
 You may need to remove the lower shock bolt to allow the trailing arm to move out far enough.
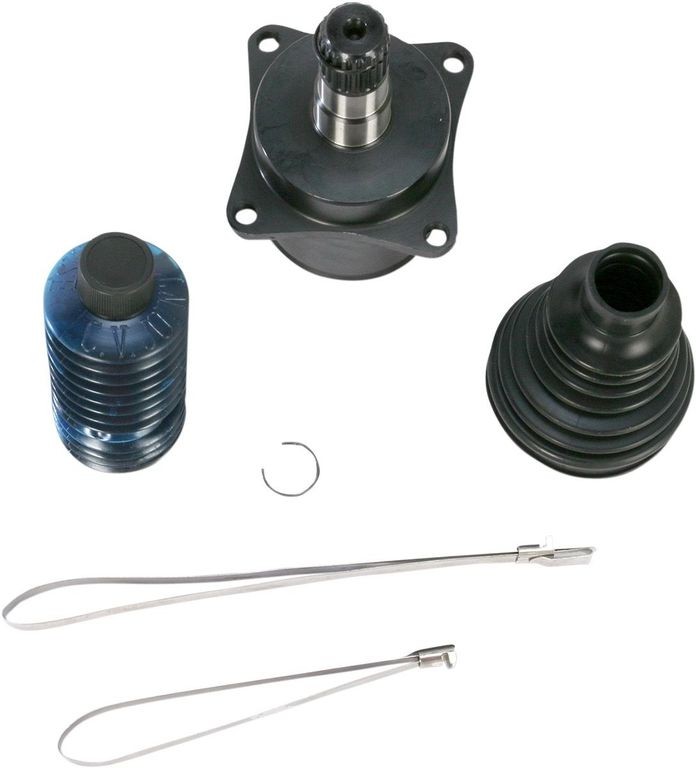 Put some grease or anti-seize on the inner splines. Then, insert the axle into the casing, lining up the splines.
 Reinstall the brake caliper onto the rotor and thread in the new fasteners.
We encourage you to use caution on your first ride to ensure your axle has been properly installed. Happy riding!
Our axles are designed and intended for use as OE-replacement axles only. These axles are not warranted if installed improperly, a modification has been made to include a lift kit, the installation of over-sized tires, or if racing or performance enhancements are made to the engine other than the OE design. Read our full warranty policy here.
- End of Procedure -
Return to all Repair & Install Guides
Most ATV riders will at some point need to replace their machine’s axles. This how-to guide is intended to show you that this repair can be done as a DIY project, saving you professional labor costs and even enhancing your overall ATV experience.
The steps we provide below are general in nature and are not meant to replace the instructions found in your OEM owner’s manual. Different brands may have different torque specifications and axle mounting configurations. When in doubt, follow the OEM instructions.
Please read these instructions thoroughly prior to working on your vehicle to prevent damage and/or injury from occurring. These axles come with a sure-lock mechanism designed into the inner joint which requires special handling in order to be properly removed and installed into the casing.
If all goes well, this procedure should take an hour start to finish, even if it’s your first experience.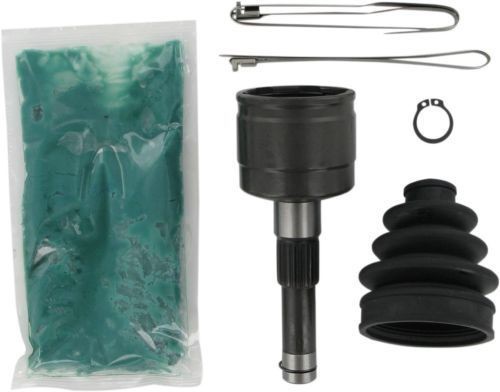
Do not use any form of mechanical force when removing the inner joint from the gearbox or damage may occur. We recommend that sure-grip work gloves be worn while working on your vehicle.
Front Axle Removal & InstallationRear Axle Removal & Installation
 Remove the upper steering knuckle joint from the bearing carrier to free the lower carrier assembly. Swing the carrier assembly down and back, carefully working the axle from the spindle. Since models vary, consult your service manual for their recommendations.
Note: Depending on the make and model of your ATV (and the extreme angle of the axle), you may prefer instead to remove the upper sway link connection and lower shock mounting bolt to move the shock up out of the way and swing the carrier assembly up rather than down to gain enough clearance to free the axle. Or you may choose to remove both the upper and lower ball joints, along with the tie rod end to remove the knuckle completely.
Remove the upper steering knuckle joint from the bearing carrier to free the lower carrier assembly. Swing the carrier assembly down and back, carefully working the axle from the spindle. Since models vary, consult your service manual for their recommendations.
Note: Depending on the make and model of your ATV (and the extreme angle of the axle), you may prefer instead to remove the upper sway link connection and lower shock mounting bolt to move the shock up out of the way and swing the carrier assembly up rather than down to gain enough clearance to free the axle. Or you may choose to remove both the upper and lower ball joints, along with the tie rod end to remove the knuckle completely. You may need to push in first. There’s a snap ring holding the axle into place, so it could take a little force to remove the axle.
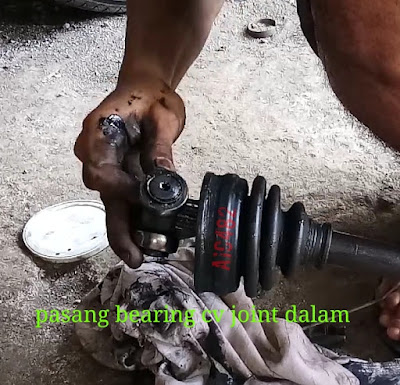 Give the axle a slight tug to make sure the clip is locked into place.
We encourage you to use caution on your first ride to ensure your axle has been properly installed. Happy riding!
 Remove the cap. Then use needle nose pliers to remove the cotter pin on the axle nut securing the hub. To remove the axle nut, you may need to have someone press and hold the brake to provide the resistance you need. Use a socket wrench (typically 27 mm) to loosen the nut. Remove any washers as well.
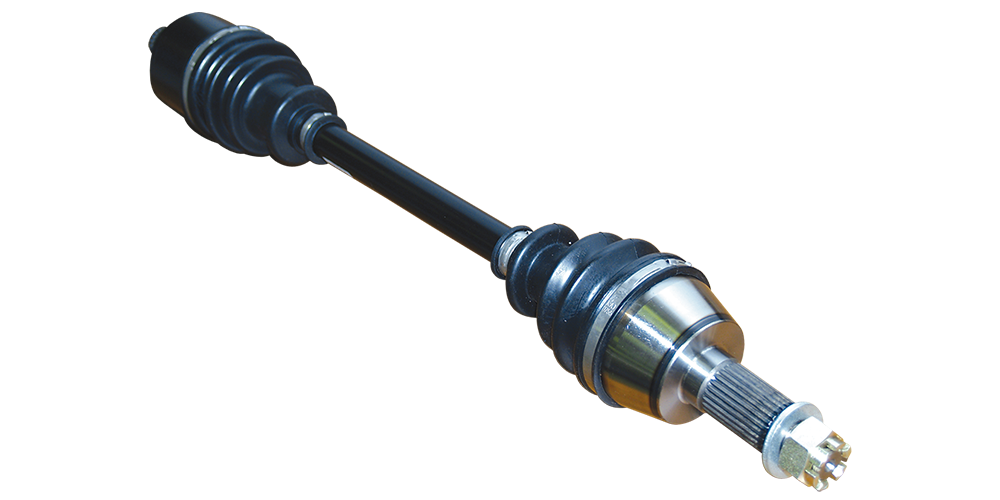 You may need to remove the lower shock bolt to allow the trailing arm to move out far enough.
 Put some grease or anti-seize on the inner splines. Then, insert the axle into the casing, lining up the splines.
 Reinstall the brake caliper onto the rotor and thread in the new fasteners.
We encourage you to use caution on your first ride to ensure your axle has been properly installed. Happy riding!
Our axles are designed and intended for use as OE-replacement axles only. These axles are not warranted if installed improperly, a modification has been made to include a lift kit, the installation of over-sized tires, or if racing or performance enhancements are made to the engine other than the OE design.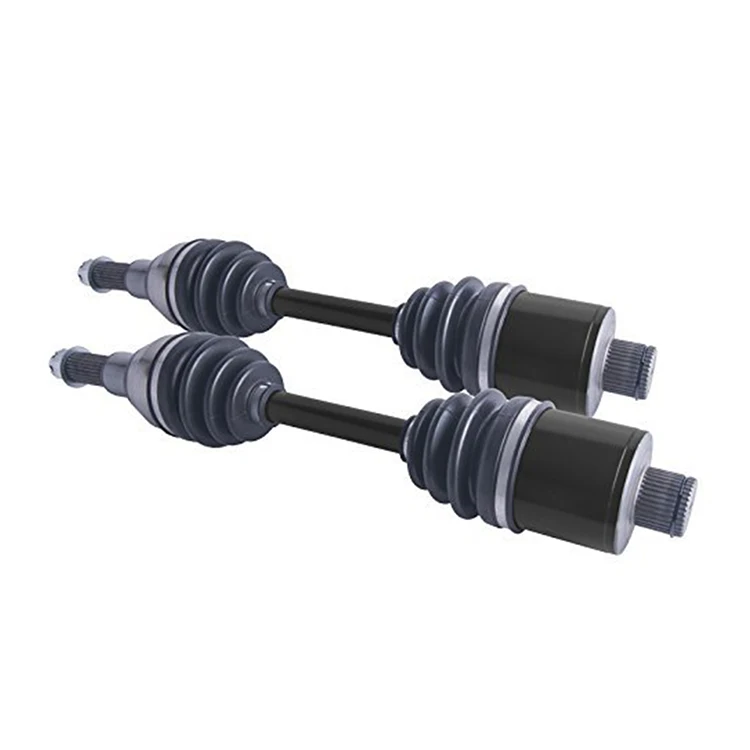 Read our full warranty policy here.
- End of Procedure -
Return to all Repair & Install Guides
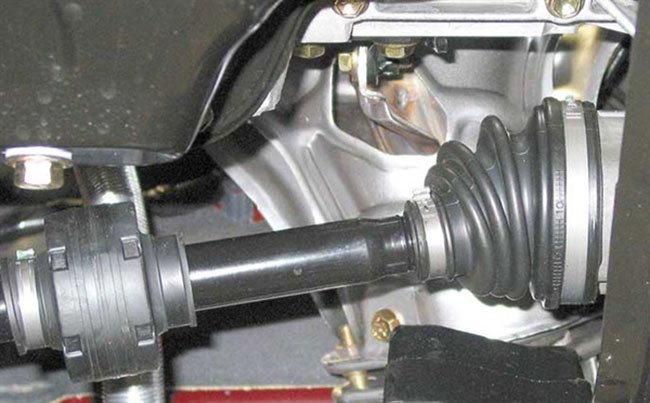
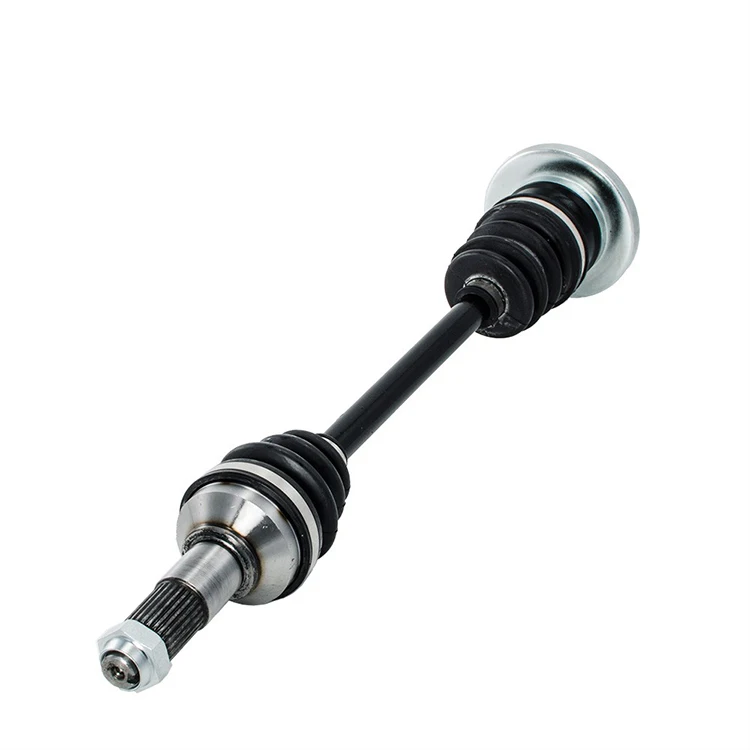
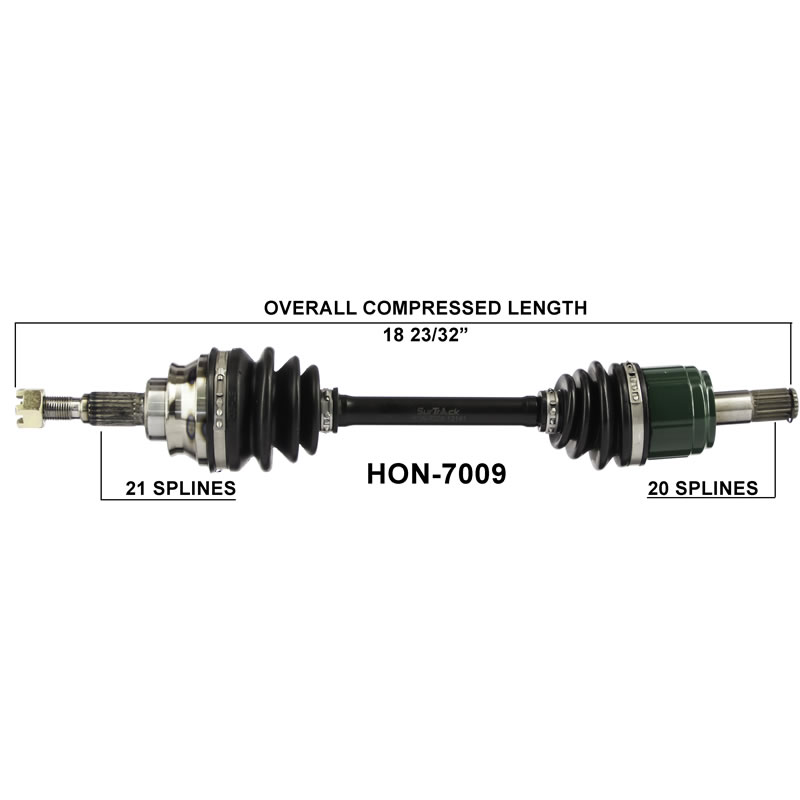
CV joint (constant velocity joint - approx.) or in the people just a "grenade", designed to transmit torque to the wheels of the car. CV joints are internal and external, and the devices themselves are quite simple in technical terms and consist of a ball bearing that rotates across its axis.
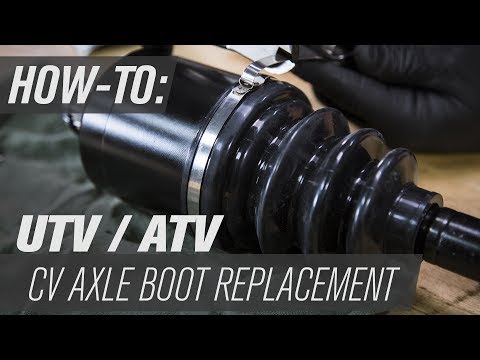
In the video, the replacement of CV joints for Lada Kalina:
Breakage of the CV joint on Lada Kalina is a very common occurrence, and torn anthers become the main reason for its failure. Because, along with dust and water falling under them, the lubricant turns into thick dirt, and it is no longer able to fully perform its functions.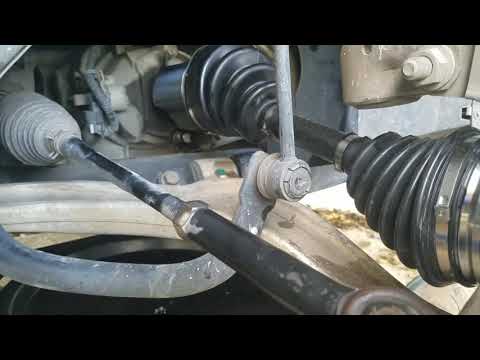
In the process of replacing the outer CV joint
Replacing the outer or inner CV joint is not very difficult and is within the power of any motorist who has at least once repaired a car with his own hands. And in order to make the repair easier and faster, it is necessary to prepare the following tools:
After you are convinced of the malfunction of one or another CV joint, you can start working.
Unscrew the bolts marked with a red marker from both sides.
Applying not strong blows, the CV joint will leave its place
If an internal CV joint is supposed to be replaced, then work from 1 to 6 should be performed in the same way, after which, using a mount, we remove it from the gearbox and take out the whole assembly.
We take out the inner CV joint assembly with the axle shaft to the vise where we clamp them and dismantle them.
Assembly of all parts should be carried out in the same order of removal, however, there are some nuances in these works.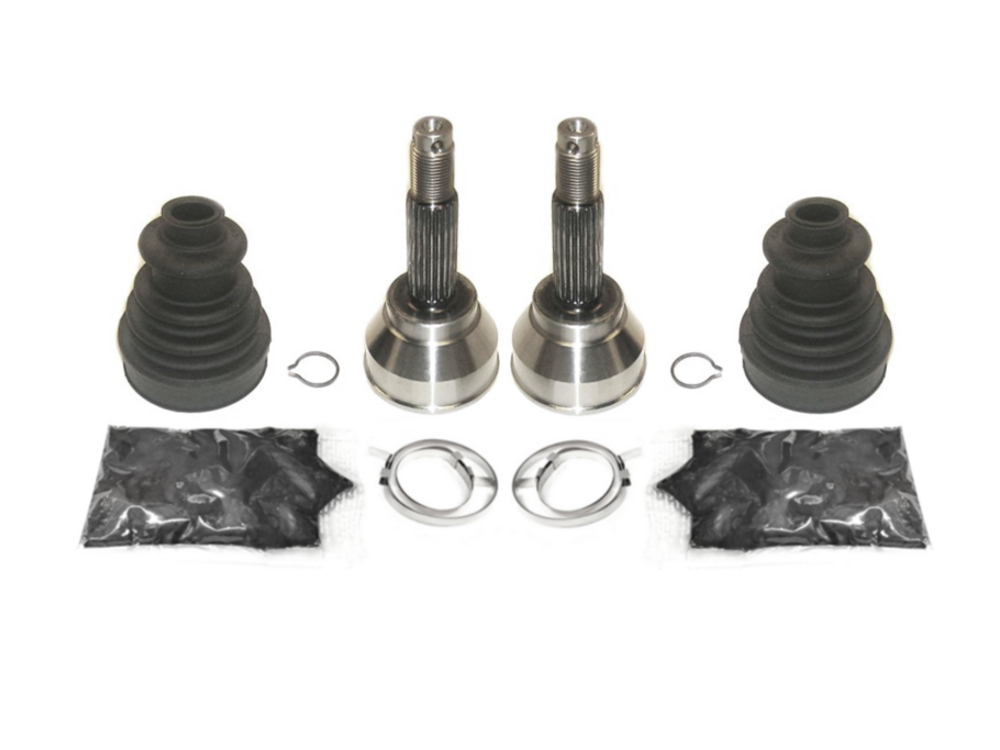
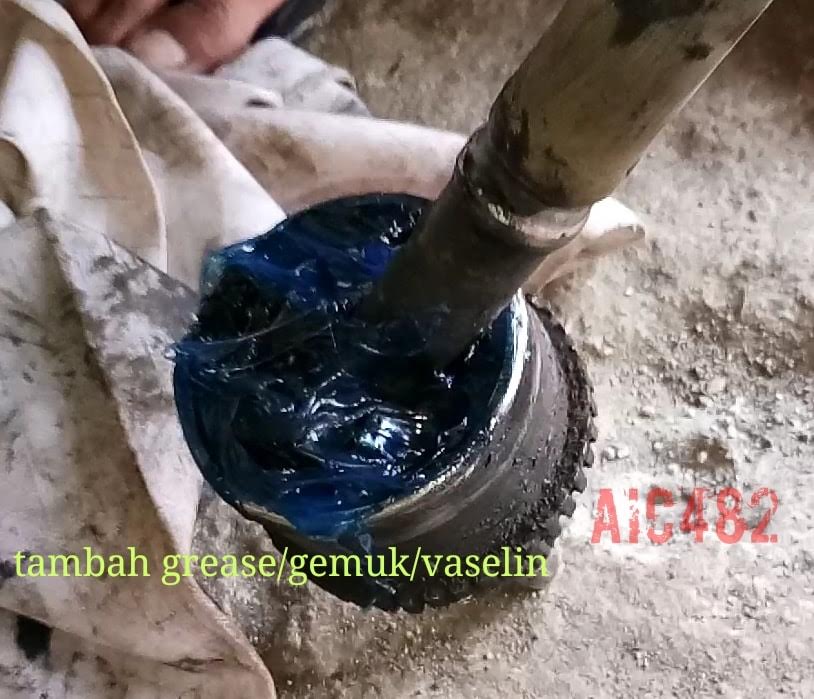
New grease added to the CV joint
The whole work of changing the CV joint with the correct course of work will not take more than 1.5-2 hours. You can check the quality of the work performed immediately after the repair. If you start driving on the wheels turned to the side, and there will be no crackling, squeaking and noise, then the repair was done by you correctly and the car can continue to be safely operated.
The first signs of a faulty grenade are crunches in the area of the front wheel when the wheels are inverted when starting to move. When the fault is started strongly, the noise appears at less significant loads.
The duster starts to "scrabble"
In order to prevent such a breakdown in advance, the anthers should be inspected from time to time from the outside for cracks and integrity in general.
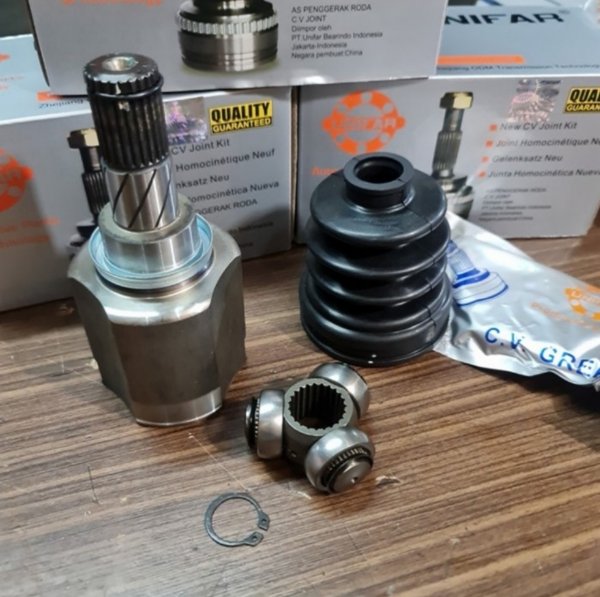
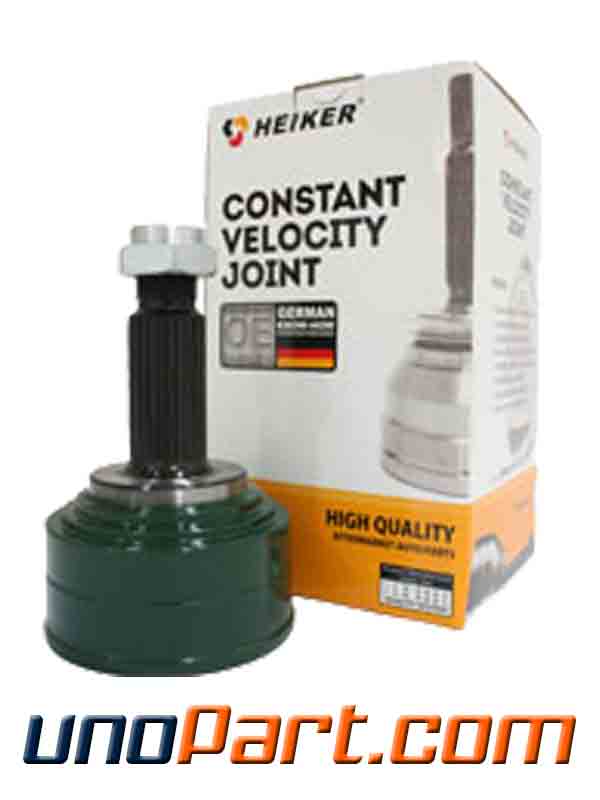
SHRUS in original packaging. Usually inside the package of a grenade manufactured by VIS
Among car owners there was no consensus on the choice of one or another brand of constant velocity joint, however, clear leaders stand out:
CV joints, which are sold in the store in kits, have lubrication, anther, and all necessary clamps in their kits. Pay special attention to this fact so as not to overpay for additional spare parts and accessories.
I had to change more than one CV joint. Of course, I had to tinker with the first for a couple of hours, because I didn’t really know all the subtleties, but the subsequent ones changed almost with my eyes closed.
I bought a grenade for viburnum. The assembly comes with the grenade itself, a palnik and clamps. You can change it in an hour without hurrying, you can do it faster. But where to hurry in such a matter.
Today we publish a video tutorial on replacing the outer and inner CV joints on Kalina.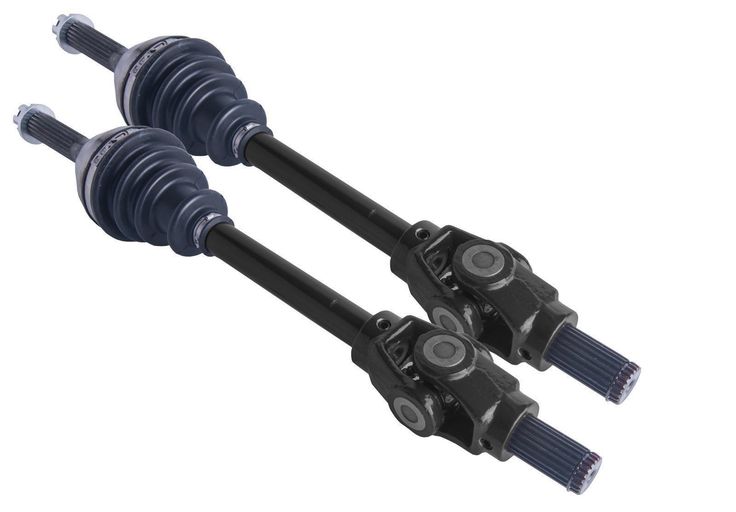 All the work was done on the example of dozens, but the process of repairing Kalina is absolutely no different. At first I wanted to describe everything in a photo report, as I usually do, but I decided that it would be more interesting to watch the video for you, and it was easier for me to do all this than to shoot every step of the work.
- Vice
- Hammer
- Punch
- Head for 17 and 19 and 30 mm
- Collar
- Crowbar
- Ball joint remover
Replacing the CV joint with Lada Kalina
The procedure will be posted below.Recall that in the previous article we considered how to paint headlight masks on Grant with our own hands.
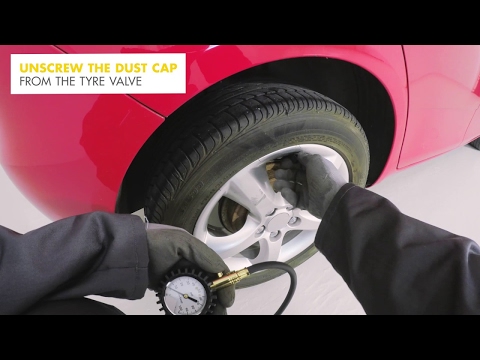
1. First of all, we tear off the hub nut of the front wheel, after prying off the dust cap.
2. We also loosen the wheel bolts and lift the car with a jack, unscrew them to the end and remove the wheel.
3. Unscrew the nut securing the ball pin of the steering tip and use a puller to press it out.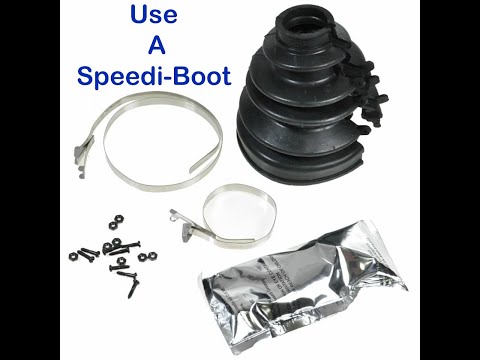
4. Remove the two ball joint bolts.
5. Unscrew the hub nut to the end.
6. Pull the entire front suspension assembly together with the strut back, thereby freeing the outer CV joint.
7. To release the inner one, use a pry bar to pry it out of the gearbox and remove the entire drive assembly to the end.
8. It is more convenient to knock down the CV joints in a vice, after removing the clamp and turning the cover inside out.
Do-it-yourself replacement of the outer and inner CV joints on Kalina has been successfully completed. Enjoy the result!
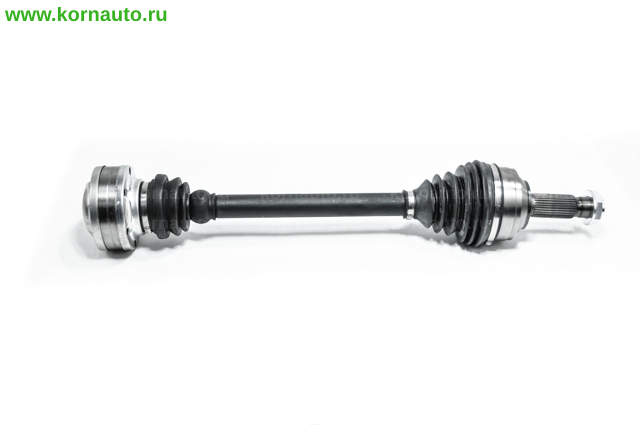
A constant velocity joint (CV joint) is a node through which torque is transmitted from the transmission unit to the drive wheels. This device is popularly called a "grenade". There are both external CV joints that directly engage with the wheel hub, and an internal CV joint that is adjacent to the gearbox. Between themselves, both hinges of one side of the car are connected by a metal pipe, and the assembly of the whole structure is called a semi-axle. It happens that malfunctions appear, so many drivers are interested in how to change.
The SHRUS device is not particularly complicated. The assembly includes a housing, anther and a bearing, the separator of which is capable of rotating at different angles to the axle shaft, providing the possibility of transmitting rotation when the wheels are turned out by means of the steering, therefore, using the tips, you can figure out on your own how to change the CV joint.
The video demonstrates the procedure for replacing the CV joint in the chassis of Lada Kalina:
For models of domestic origin, including Lada Kalina, the failure of the hinge we are considering is a fairly common case. The most common factor causing the breakdown of this assembly is a torn anther. This is due to the fact that dirt and moisture get into the working area of the hinge, washing out the bearing grease over time, which causes wear and loss of functionality. And the outer CV joint needs to be replaced.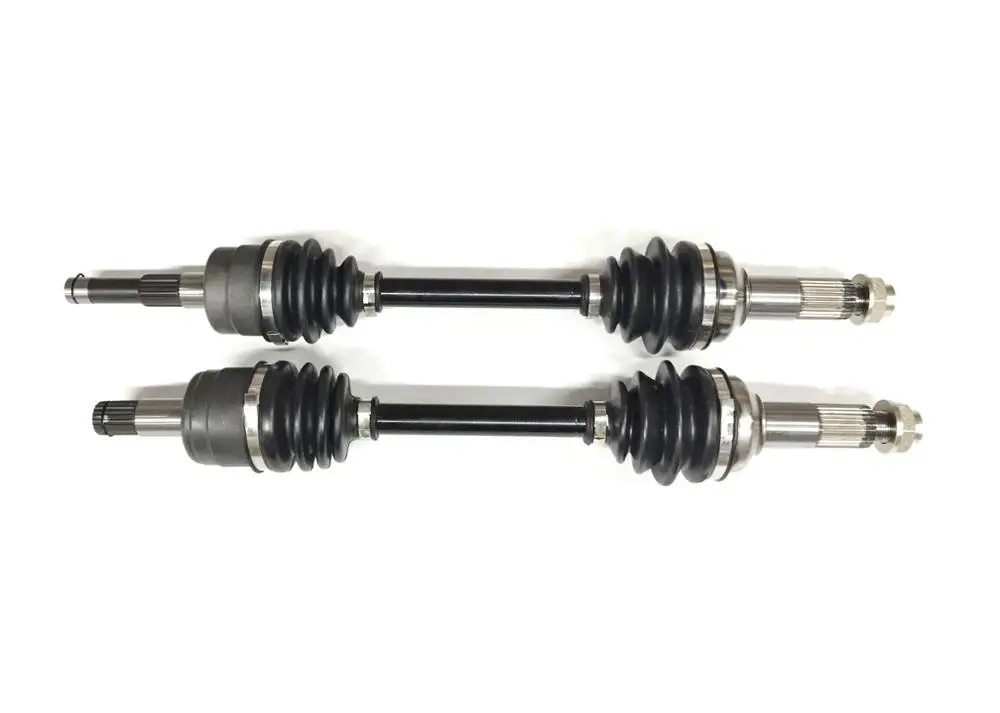 This procedure can be done by hand.
The very replacement of the outer CV joint, and if the inner CV joint is changed in Lada Kalina, does not cause any particular difficulties for the owners. In order for the work to be performed correctly, it will be necessary to involve the following set of tools and auxiliary means:
The process should be started if there is full confidence in the failure of the specified node. Replacing the outer CV joint step by step if you do it yourself.
 7 is similar, and then, using the mount, we remove the shaft of the designated CV joint from engagement with the side gear in the transmission differential. Before such manipulation, drain the oil from the box. Remove the axle shaft as an assembly, after which we perform the necessary disassembly steps, etc.
 The entire list of assembly manipulations in the car Lada Kalina is carried out in strictly reverse order. During the procedure, it is necessary to take into account some nuances.
The owner of LADA Kalina will spend no more than 3 hours of his time to complete the list of replacement actions. We check the correctness of the installation of the hinges. To do this, we start off on a car with the wheels turned out as much as possible. We observe the absence of a crunch and other characteristic sounds from the side of the axle shaft. Now you know how to change a faulty CV joint.
The primary factor indicating the wear of the “guarantors” is a crunch when the LADA Kalina car starts intensive movement on the wheels turned out by the steering wheel and in this case the grenade needs to be replaced. If the hinge has significant wear or breakage of the separator, then such a sound effect will appear even with negligible loads. Further movement is not allowed! Grenade replacement is inevitable.
Here, the opinions of the owners of Lada Kalina are divided in terms of preference for a particular manufacturer. However, practice has shown that the following brands have acquired the largest number of positive reviews: VIS, GNK and GLO.
Most CV joint kits sold by sellers in a specialized network of automotive products for LADA Kalina cars immediately include the required amount of lubricant and boot with clamps. We recommend that you pay attention to this aspect in order to protect yourself from overpayment during the acquisition.
please tell me what are the nuances when removing the outer grenade to replace the anther? what is needed for this, what tool? do without a hole?
full drive automatic 2003
thanks in advance!
p. s. did he change it himself on the VAZ nine, is everything the same with the liana?
They wrote on the forum several times: it is not always easy to remove the CV joint, sometimes you have to use a grinder to remove the old CV joint, but after that, of course, you have to change the CV joint. Initially, the manufacturer does not provide for replacement, and according to the instructions, the boot of the outer CV joint must be changed through the inner CV joint, i.e. removing the inner liner.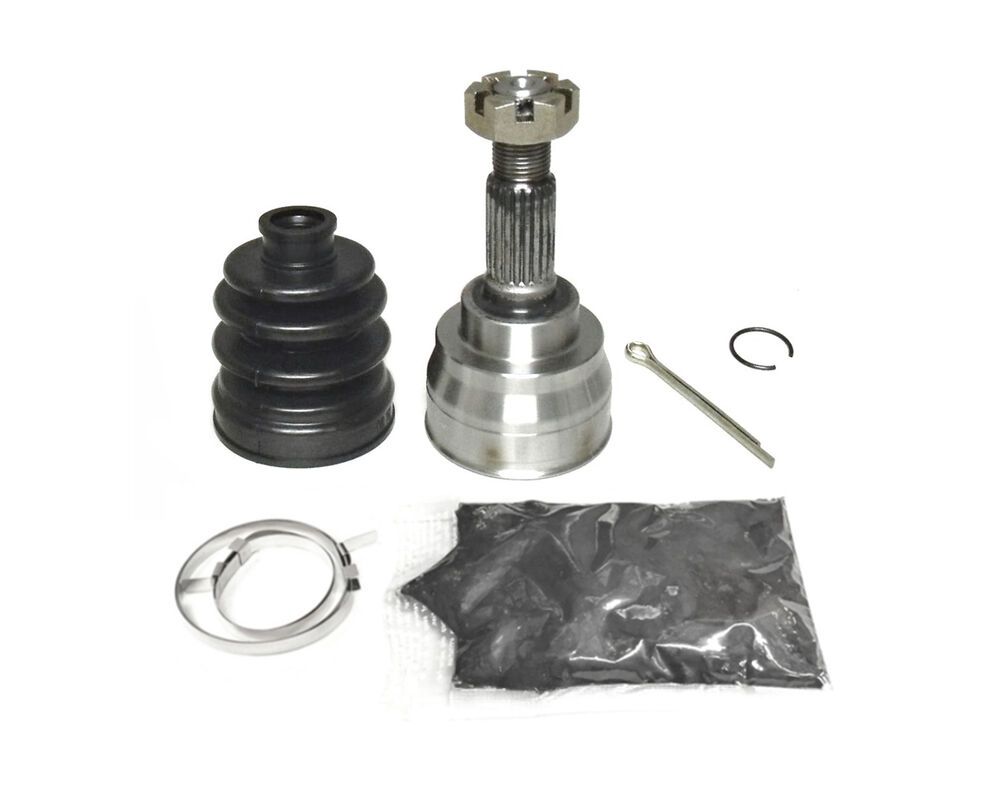 But nobody does that, as far as I know.
Can you knock it out with a reverse sledgehammer on the spot? Or is it possible to remove the drive with a ponsti and knock out a grenade?
larchik1986 wrote:
Can you knock it out with a reverse sledgehammer on the spot? Or is it possible to remove the drive with a ponsti and knock out a grenade?
Click to expand.
..
be sure to remove the shaft, otherwise you will also break the seals in the box, then they will start to leak.
And how to pull out the drive? Remove the big collar from the inner grenade and just pull it out?
larchik1986 wrote:
And how to pull out the drive? Remove the big collar from the inner grenade and just pull it out?
Click to expand.
..
No, it is better not to dismantle the internal CV joint, but to remove the drive completely, i.e. from the box. Just pull it lightly and it will pop out of the box. On the right shaft of the manual transmission is an intermediate shaft with an outboard bearing. It is unlikely that it will be possible to pull off the inner CV joint from this promshaft, so it is better to remove it together with this shaft, after unscrewing the bolts securing the outboard bearing from the engine. Then simply remove the entire shaft assembly from the box.
Some oil may leak out - substitute a container. First, clean the place around the inner CV joint a little so that less dirt gets into the oil during leaks. To reduce oil leakage, do not jack both sides at once, but only one, so that the box is tilted in the opposite direction, then less oil will flow out, or even not flow at all. If the oil is clean, then pour it back through the filler plug. You can fill in a new one if you want.
Reactions: 1 person
Thank you very much! Is it the same procedure for an automatic transmission?
Yes, only there is no outboard bearing and industrial shaft, everything is simpler - just pull out the drive. Do this carefully, as well as then insert the drive back into the box carefully so as not to damage the seals. If possible, buy new oil seals and replace them at the same time - it will be more reliable. But it is not necessary, although it is recommended to change the oil seal when pulling out the drive so that the oil does not leak later.
Reactions: 1 person
KASiK wrote:
Yes, only there is no outboard bearing and industrial shaft, everything is simpler - just pull out the drive.
Do this carefully, as well as then insert the drive back into the box carefully so as not to damage the seals. If possible, buy new oil seals and replace them at the same time - it will be more reliable. But it is not necessary, although it is recommended to change the oil seal when pulling out the drive so that the oil does not leak later.
Click to expand...
Thank you so much! now you can safely change
KASiK wrote:
, be sure to remove the shaft, otherwise you will also break the seals in the box, then they will start to leak.

Click to expand...
Well, I don't know, Volodya! To replace the boot, at least internal, at least external, not like the shaft, the CV joint from the box, I don’t even remove the wheel! He removed the clamps from the inside, took out the retaining ring, if it was, unfastened the ball joint and moved the wheel to the side along with the trunnion so that the tripod came out of the case, then removed the retaining ring and the tripod from the shaft and change the anthers, better both!
sanich72 wrote:
took out the retaining ring, if it is
Press to open.
..
can you elaborate here? what kind of stopper? where is? how to shoot properly?[DOUBLEPOST=1465329891,1465329690][/DOUBLEPOST]
sanich72 wrote:
then removed the retaining ring
Press to open...
and here please explain in more detail![DOUBLEPOST=1465329932][/DOUBLEPOST]
larchik1986 wrote:
here is it possible in more detail? what kind of stopper? where is? how to shoot?
Click to expand.
..
This ring sits outside the tripod body and prevents the rollers from coming out of the slots! I shot on Baleno like that, it’s there, on Liana, I don’t know, maybe it’s not there at all, it’s not a problem to remove it, I picked it up with a sharp object and took out
sanich72 wrote:
This ring is inside the body of the tripod from the outside and does not allow the rollers to come out of the grooves! This is how I filmed on Baleno, it is there, on Liana - I don’t know, maybe it’s not there at all, it’s not a problem to remove it, I picked it up with a sharp object and took it out
Click to expand.
..
will it be visible (if there is one) when I fold back the inner boot?
The second ring - fixes the inside of the tripod on the shaft - remove - also not a problem[DOUBLEPOST=1465330323,1465330254][/DOUBLEPOST]
larchik1986 wrote:
will it be visible when I fold the inner boot?
Click to expand...
Of course! but it may no longer exist! I don't have it on Pradik at all
sanich72 wrote:
Second ring - fixes the inner part of the tripod on the shaft - remove - also no problem
Press to open.
..
Is the principle of this ring the same as on all outer grenades?[DOUBLEPOST=1465330498.1465330400][/DOUBLEPOST]
sanich72 wrote:
Of course! but it may no longer exist! I don't have it on Pradik at all
Click to expand...
clearly thanks for the tips!
larchik1986 wrote:
is the principle of this ring the same as on all outer grenades?
Click to expand.
..
In the outer grenades, the ring unclenches itself, and here is the usual stopper without problems! The main thing is to stock up on lubricant for the tripod, it has its own
sanich72 wrote:
The main thing is to stock up on lubricant for the tripod, they have their own
Click to open...
I didn’t know about this either (I thought there was only one CV joint grease for internal and external grenades), but what kind of grease to buy for a tripod?
Exp.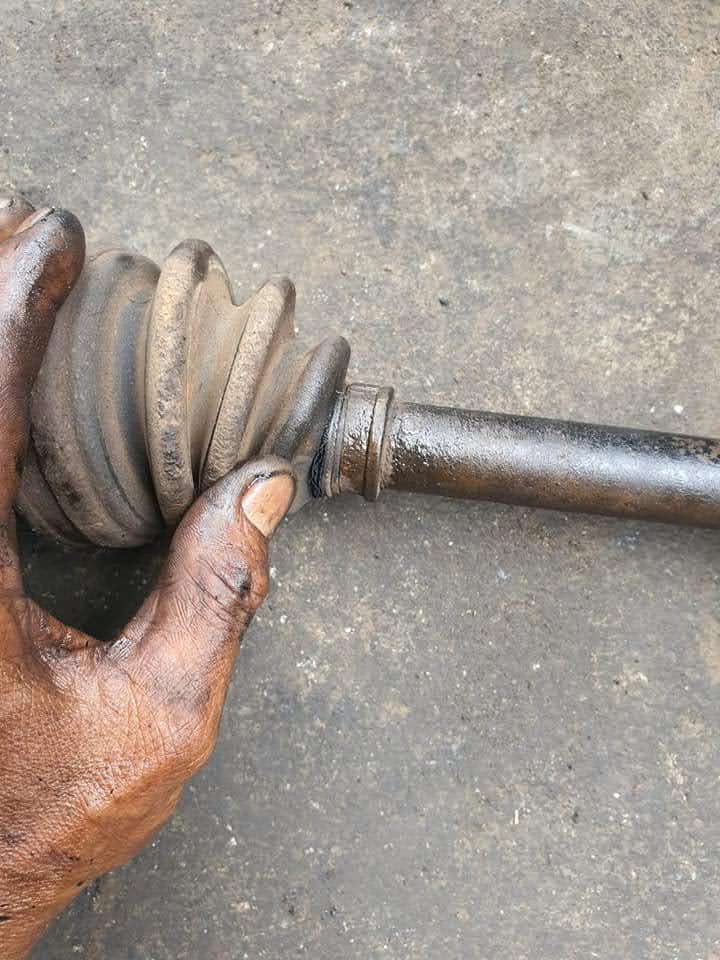 Price
Price
2 days 105 r.
VMPAUTO 1807
sanich72 wrote:
Exp. Price
2 days 105 r. All offers and analoguesClick to expand...
damn Thank you! really the best forum, sanich72 last question where to click to send you and KASiK ten times thanks!?
larchik1986 wrote:
damn Thank you! really the best forum sanich72 last question where to click to send you and KASiK ten times thanks!?
Click to expand.
..
You still don't have enough messages to press thanks! probably only through a moderator :friends:
I don't have a lot of messages yet I'll type in time!
I have been registered on this forum for a long time, just before there was a Suzuki wagon (which I am not particularly enthusiastic about!)
Another moment remembered! Before unfastening the ball joint, turn the steering wheel in the opposite direction until it stops, so that it is easier to pull the rack to the side
sanich72 wrote:
Another moment remembered! Before unfastening the ball joint, turn the steering wheel in the opposite direction until it stops, so that it is easier to pull the rack to the side
Press to open.
..
clear.
sanich72 wrote:
Well, I don't know, Volodya! To replace the boot, at least internal, at least external, not like the shaft, the CV joint from the box, I don’t even remove the wheel! He removed the clamps from the inside, took out the retaining ring, if it was, unfastened the ball joint and moved the wheel to the side along with the trunnion so that the tripod came out of the case, then removed the retaining ring and the tripod from the shaft and change the anthers, better both!
Click to expand.
..
Sanych, you are right as always. I know about this method, but I did not recommend it based on my own negative experience on the Passat. I'll explain why. I took the tripod out of the inner CV joint, but I didn’t remember which tripod roller in which place of the CV joint glass, and I didn’t figure out how to mark it, because. everything is lubricated there. Then he put it back on guess. After a couple of weeks, the joint cracked. As I later suggested and the masters confirmed, I did not hit the rollers in the previous places, and the wear there apparently was a little different already, so the CV joint began to wear out faster.
Theoretically, it shouldn't affect that much, but... it happened. Therefore, if you do this, it is better to somehow mark the position of the tripod in the glass of the CV joint, in order to put it back in the same place, so as not to regret it later, suddenly, like mine, it starts to die.
And be careful when reassembling so that the dirt around does not get inside the CV joint, otherwise I also sorted it out twice because of the dirt.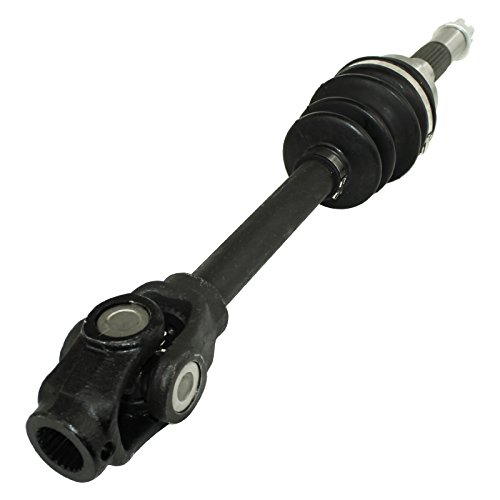 It is better to clean everything around in advance a little. And the stopper on the tripod may or may not stand - it depends on the manufacturer and design, even the originals sometimes did not. Well, when assembling, try not to shake the glass of the inner CV joint too much, so as not to damage the oil seal.
Good luck.
Last edit by moderator:
Reactions: 1 person
today I received a grenade duster from the firm sensa and immediately went to change it:
decided to do as advised by KASiK for which many thanks to him and sanich72!!!
1) loosened the central nut on the hub and the wheel nuts;
2) jacked up the car as there is no pit (repaired in the country) removed the wheel;
3) unscrewed and removed the engine protection;
4) unscrewed the ball pin bolt;
5) unscrewed and tilted the stabilizer link from the stabilizer
6) unscrewed the hub nut, turned the steering wheel to the right;
7) using a crowbar, pulled the lever down, thereby releasing the ball pin;
8) with the help of a mount, carefully pulled the inner CV joint out of the transfer case (by the way, the oil did not leak, apparently I
lifted the car high, although I prepared for this, I wiped everything around from dirt)
9) took the drive from the side of the inner grenade to the left, pulled the outer grenade out of the hub, all the drive in his hands!;
10) the first thing I did was to thoroughly wash the axle shaft from dirt
11) removed the boot from the outer CV joint, it immediately became clear that it was not removable, I had to disassemble the inner one, remove the stopper
, remove the old one and put on a new duster ( BTW NEW
)
12) )
0137 kashiyama !
Spent about 4.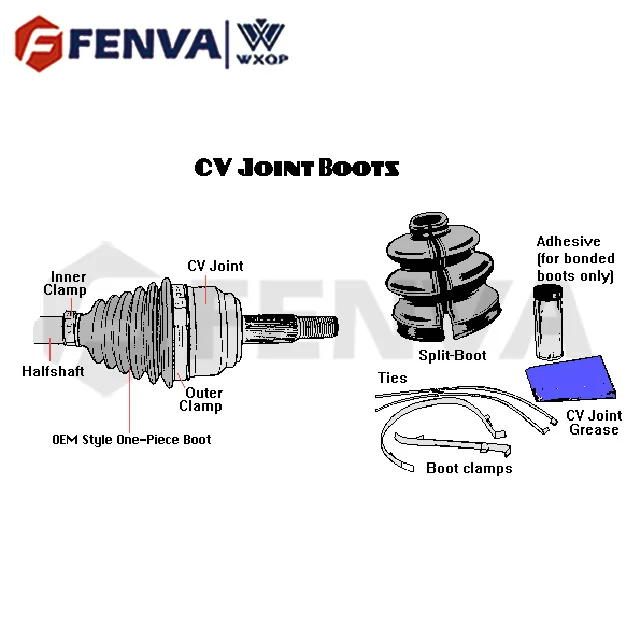 5-5 hours on everything.
Once again I want to thank cacik and sanich for the tips!
Reactions: 2 persons
FELLOW!!!
Excellent report!
I'm glad that everything worked out. As they say, the eyes are afraid, but the hands are doing
Good point:
larchik1986 wrote:
carefully pulled the inner CV joint out of the dispenser 9 using a pry tool0003Click to expand.
..
One day a customer, without thinking, firmly rested the crowbar against the box body in order to remove the CV joint from the box, and not only took the CV joint out, but also broke the box body. So be careful, friends, do not overdo it in this moment!
KASiK wrote:
One day, one client, without thinking, carefully rested the crowbar against the box body in order to remove the CV joint from the box, and not only took out the CV joint, but also broke through the box body.