Have a flat tire? Wondering if you should replace it or get it repaired? While a patch is not the same thing as buying a brand-new set, it is a much cheaper option.
Everyone knows flats are a part of owning a car, but not everyone knows how to fix this problem. Driving on a flat is not an option, and using your spare is not long-term. If you want a durable option for cheap, a tire patch is the way to go.
But how long does a tire patch last? Will a DIY fix last the same amount as a professional patch job? Before deciding to get your tire patched, read this guide on tire patches.
A patch and plug repair can last around seven to ten years if installed correctly by a professional. A patch by itself will not last as long but is more reliable than driving on a spare.
The answer to ‘how long does a tire patch last’ depends on the type of repair. Here are the most common types of patches or repairs:
There are many ways to repair a damaged tire, as long as the damage is not too bad. A patch is one method that works for leaks or small gashes anywhere in the center of the tread area. It will close a hole by sealing the rubber.
A patch can last 7-10 years if repaired by a professional. The Tire Industry Association emphasizes professional repairs are safer since technicians have the training and tools to complete the job efficiently.
Another way to repair a tire is to use a plug. This method is much less reliable but is a good option if you need to get somewhere to do a better repair. A plug repair can last up to 25,000 miles.
Yet another way to fix your flat is to do a patch-plug repair. This repair combines both a patch and plug to create a long-lasting solution. This method is better and safer than either getting your tire patched or plugged.
A patched tire should be safe to drive on for a reasonably long time. However, a patch-plug combination repair will be even safer to drive on for more extended periods.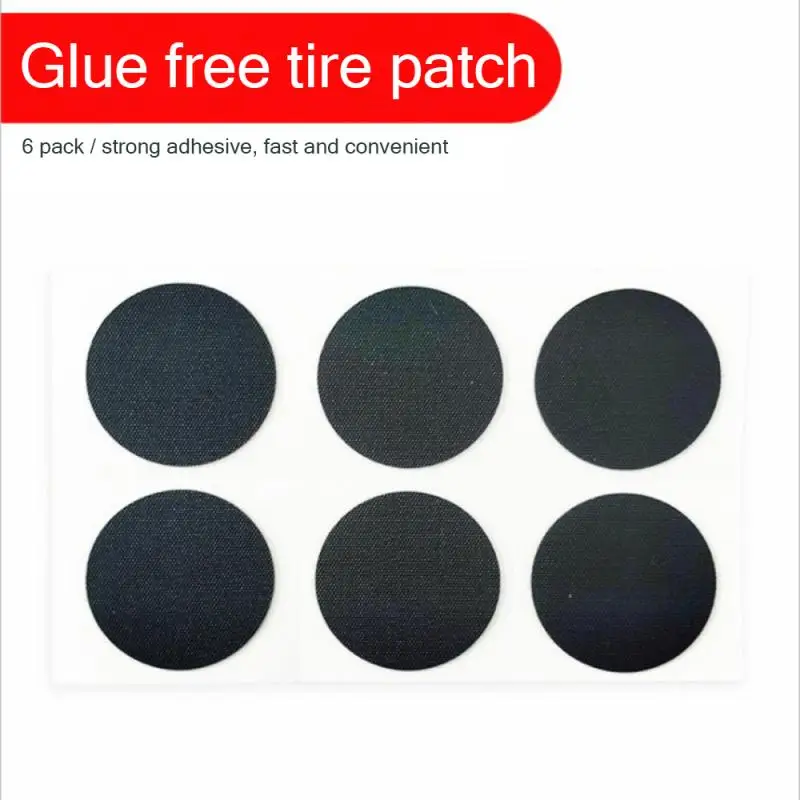 Be aware that doing the repairs yourself could make it unsafe to drive on.
Having the repairs done by a professional is the best way to guarantee safety. Repairing it yourself until you can get it to a professional is fine if you cannot see a professional right away. Using your spare until then is also a safe option until you can get the tire repaired professionally.
The answer here depends on how old the tire is when you get it repaired. The National Highway Traffic Safety Administration (NHTSA) recommends buying new tires every six to ten years, regardless of tread wear and repairs. This means that a patch repair will only make a tire as new as before the repair.
If you have to repair a fairly new tire, a patch and plug combination done by a professional should make it good as new. However, if done incorrectly, it may need replacing very soon. So make sure you get your repairs done professionally!
While a patch can last a very long time, it is not a permanent solution to a flat. For a more permanent solution, get a plug and patch combination repair. A combination of the two repair methods can last up to ten years, which is when you should replace all tires regardless of wear and tear.
Patches will dry instantly. However, a proper repair should take at least thirty minutes. The reason is that with a proper repair, you have to take the tire off the vehicle to inspect it for further damage.
If it takes less time than this, then the procedure is incorrect. Make sure the person performing the repair checks both the inside and outside tread for damage. Otherwise, you may end up having to get another repair.
What repair method is best for you? Before buying a new tire to replace your flat, make sure you consider these cheaper options. As you can see, choosing which repair to get is not exactly straightforward.
When asking how long a tire patch lasts, it depends on the type of fix. A repair could last for a decent amount of time, although the patch or patch-plug repair would last the longest.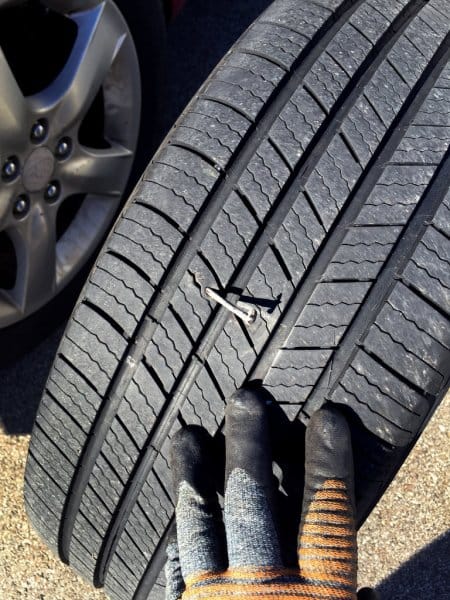 Both methods cost about the same amount, so you don’t have to worry about money when choosing which repair is best for you. Whatever you decide, make sure you get your tire repaired as soon as possible!
When traveling for a long time, tires will appear damaged, and the most common problem is tire puncture. In this case, tire patching is an effective method that helps save both time and money.
So, how long does a patched tire last? Patch tires typically have an average lifespan of 7-10 years or more. This number is only approximate if you follow the procedure correctly!
The next section of the article will analyze more deeply for you to have more detailed and helpful information. Let’s check it out!
How Long Does A Patched Tire Last?If a tire is patched and repaired according to standard procedures, it can last for 7-10 years. Depending on the use of different one patching methods, the time is not the same, but it is not too much difference that the distance exists.
To use it for a long time, you need to keep quite strict rules, such as avoiding collisions in dangerous places, not driving too fast, and not patching the top twice. It can cause the car to have more severe speed problems than a sudden explosion that is dangerous in traffic in the long run.
The advice is to go to a reputable maintenance center to have the staff consider the most suitable car repair plan.
Types Of Repairs And Their DurationThere are three ways to patch tires to ensure safety standards when performing.
PatchThe way to increase the success rate when patching the car is to observe closely and determine the wound’s correct position.
This process takes about 20-30 minutes, and it can take longer depending on the severity of the wound. According to the manufacturer, the shelf life ranges from 7 to 10 years.
PlugNext is to use the plug to repair the tire. The method essence is to use an adhesive that can be to the size that fits the hole to prevent gas leakage to the outside. However, car tire companies do not agree with the above usage.
Over time, factors from the environment air cause the tire and plug to change, losing the protective shield so that the wound will return to its original state.
The corrosion of oxygen causes the loss of the steel belt, destroys the structure, and causes the separation to be dangerous for the user.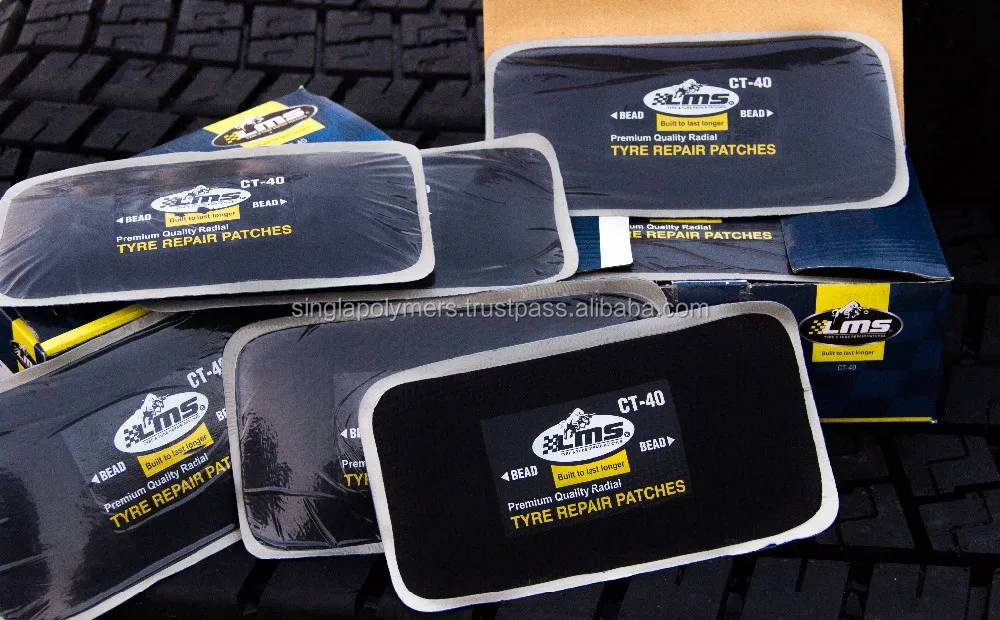
Combining patching with both methods increases the success rate of the repair. The way to do it is quite a lot of steps, perform the following stages:
Thus, both plugging and patching the rubber will ensure airtightness at the wheel, which experts recommend is the most robust reinforcement method.
Watch this video for extended:
Is It Safe To Drive With A Patched Tire?There is no need to worry too much about safety when driving with patched tires.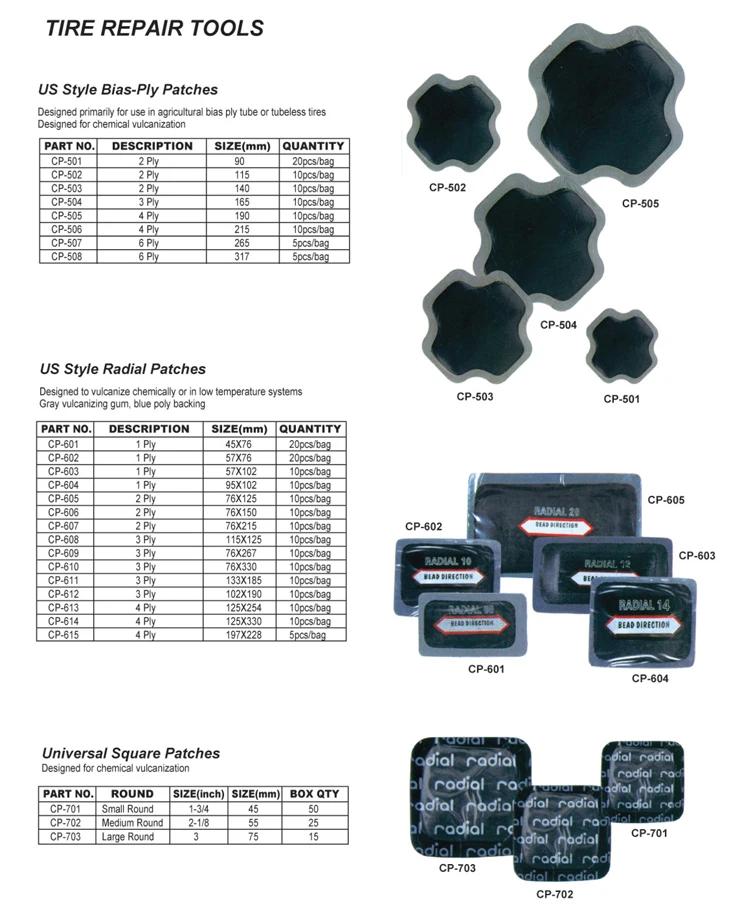 Instead of opting for a long run on a spare one or a flat tire, we can confidently tell you it’s a lot more secure.
Once patched, it will return to function as a regular one even when traveling on rough roads.
However, to be longer and safer, we recommend limiting. If you often drive at fast speeds, you should change new tires to be sure.
In addition, instead of repairing it yourself or going to the centers with professional skills to get the best support.
Are Patched Tires Good?The answer is yes. While not entirely comparable to a new one, it will be better when traveling on a flat or spare tire.
The patched model has wholly prevented the risk of gas entering the interior, restoring the functions of a regular wheel for at least five years. So don’t worry, feel free to use the wheel like that.
Can A Tire Be Patched Twice?If the gap between the holes is not less than 16 inches, it is possible. However, car manufacturers still recommend that you do not patch more than twice, fix the location too close to each other to ensure as much safety as possible.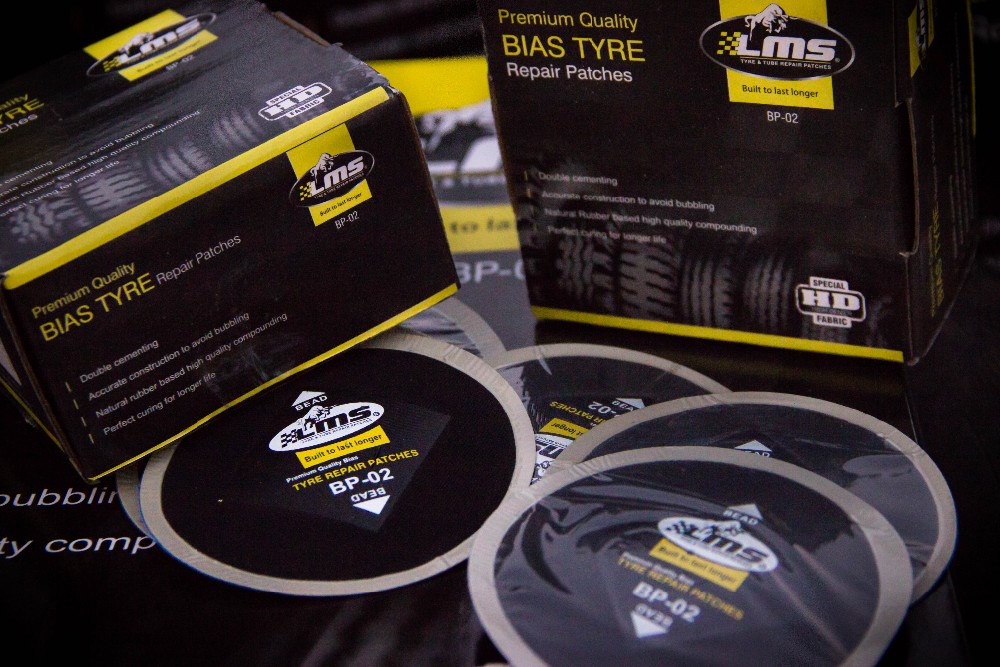
At regular intervals, please observe whether the used one has a condition of inflated or damaged in time to prevent it.
How Fast Does The Patch Dry?The patches will dry quickly; leave on for about 30 minutes to check for peeling. If this process is less than the above hours, one is that the glue you are using is not good, the other is that the method of patching is incorrect.
It is necessary to carefully check the condition of the inside and outside after the patch is done. Otherwise, you will have to lose money again.
ConclusionThere will be many ways to deal with a punctured tire; whether you change a new one or have a patch are all great ideas. But if you can choose, the second way sounds better.
Although changing tires is the best thing to do to keep the car moving safely, the patching method can save time and ensure enough quality factors.
In the above article, we have provided you with the necessary information related to the problem of patching tires. Hopefully, the above article will provide all the required information. Thank you for reading!
June 9, 2017
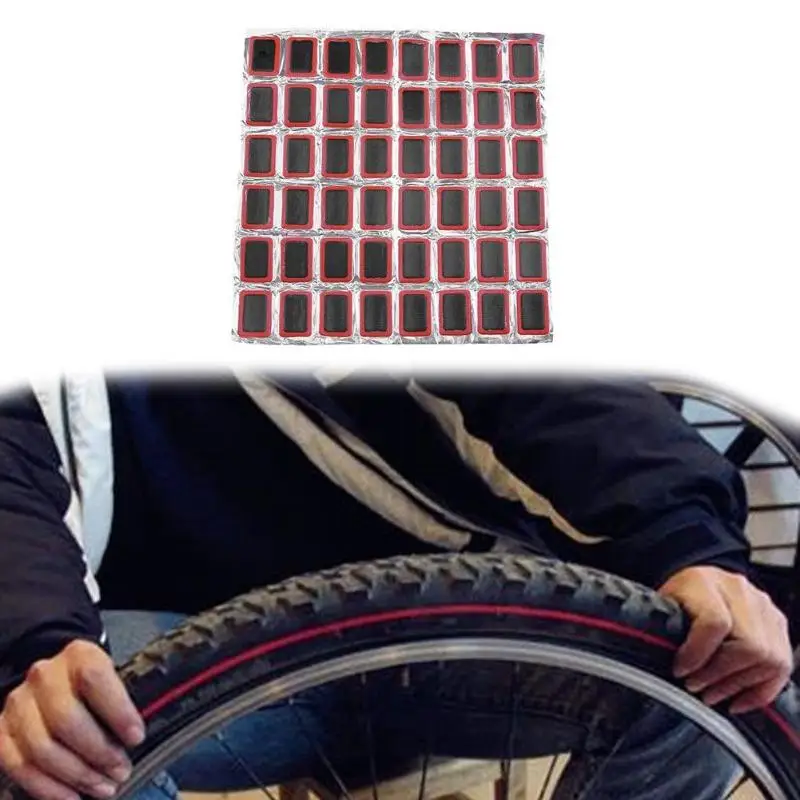
A puncture of a wheel (more precisely, its chamber) always happens suddenly. If trouble has overtaken you near the house or any other housing, it is not so difficult to find tools and seal the puncture site. If there is a bike service or shop nearby, they will always tell you how to change the camera on the rear or front wheel of the bike, and for a fee, they will do everything themselves. But if the puncture occurred in nature, far from any benefits of civilization, you will have to rely only on your own strength and the available repair kit.
When traveling far from civilization, your own repair kit is the only thing that will help with a puncture.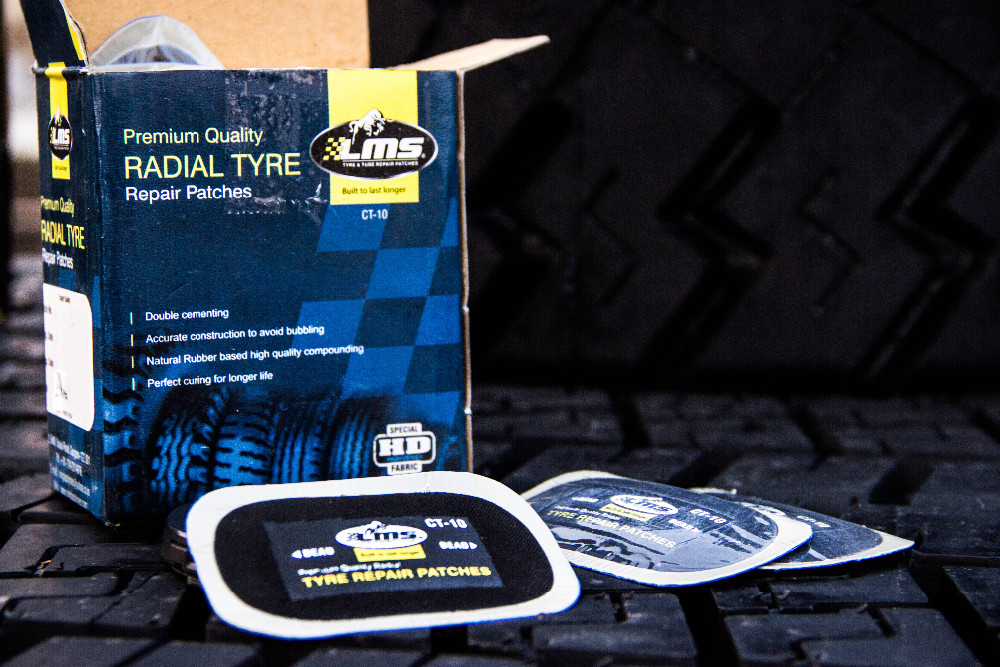 You need to select it carefully.
And then an unpleasant moment came - the bicycle wheel was punctured. You should start with a visual inspection of the tire. In some cases, if the hole is very large, it helps to immediately determine the puncture site. For convenience, this place can be immediately marked with a pen, marker, piece of charcoal, chalk, or in any other suitable way. Even if the intended location of the hole is found, it is still recommended to fully check the entire wheel, clearing it of debris. It may well be that there are several punctures.
After inspection, remove the wheel (using the appropriate wrench from the repair kit). Now you need to remove the tire from the rim and get the camera out of it. It will be difficult to do this without the side rails included in the repair kit described above. It is necessary to insert the beads between the tire and the rim and pull them, gradually removing the tire. Removing the inner tube is usually easy, but if the tire is too stiff, it may be necessary to re-use the beads in the same way, only now they will need to be inserted not between the rim and the tire, but between the tire and the inner tube. If at the previous step the alleged puncture site has already been found and marked, it is recommended to additionally mark the same area on the camera. More clearly, how to remove or change a tire with a camera on a bicycle, is shown in this video:
When the camera is removed, you need to find the puncture site on it. If it is already checked, it will be easier to search, but you still need to check the camera completely. To do this, you need to pump it up and by ear determine where the air comes from. If the hole is large enough, then this is not difficult to do, but if it is very small, you will have to act differently. You will need a container of water. It is most convenient to use a basin, but it is difficult to find it in the field. In this case, any body of water is suitable: a river, a lake, a reservoir, etc. You need to place an inflated chamber in the water and check where the air bubbles come from. This is the puncture site. It is important to remember that for repairs, you must first allow the camera to dry. But that's not all. While the chamber dries, it is recommended to carefully check the inner surface of the tire. There may be glass particles, thorns, and other similar elements that made a hole in the chamber and can make a new one. They need to be removed.
Once the hole is found, there is no other option but to patch or change the bike tube. With the replacement, everything is simple: we take out the broken camera, change it to a new one and install it back. But with a patch, the situation is more complicated. First of all, it is necessary to carefully process the puncture site and everything around it with sandpaper. A rough surface will allow you to better fix the patch. Now dripping glue. One drop is enough, which should be rubbed with a thin layer around the hole in a radius of about 2 cm. Then the glue should be allowed to dry a little and repeat the same procedure several times until the glossy glue layer becomes matte. Only now you can glue the patch. If they are available in different sizes and it is not clear what the actual size of the puncture is, it is better to take a larger patch. After the glue has dried, it is recommended to pump up the chamber to check if there are any other holes and if the patch is not letting air through. If everything is fine, you can install the camera in the tire and put the latter on the wheel rim.
There are a few tricks to make repairing a bicycle tube puncture more comfortable.
Tire repair not possible. They can only be replaced with new ones. On the other hand, they rarely break through enough to require replacement. Usually tires are changed as they wear out, when the tread is completely worn out. Less often, replacement is required in cases where tires are badly damaged due to punctures, impacts, exposure to chemicals and other factors. But the camera can be changed less often. She is able to survive a very large number of punctures, but after another hole, when there is no living place on her, it is still better to replace her. You will also have to change the camera if the nipple is damaged, in which case repair is also impossible.
To summarize: when traveling, especially over long distances, you should always have a complete repair kit with you and remember the tricks that we have described in this article.
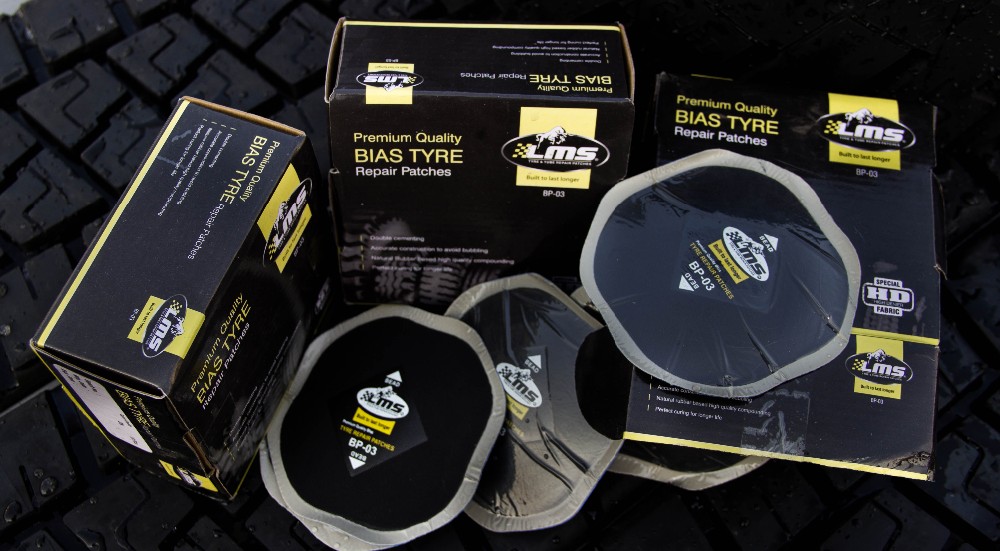
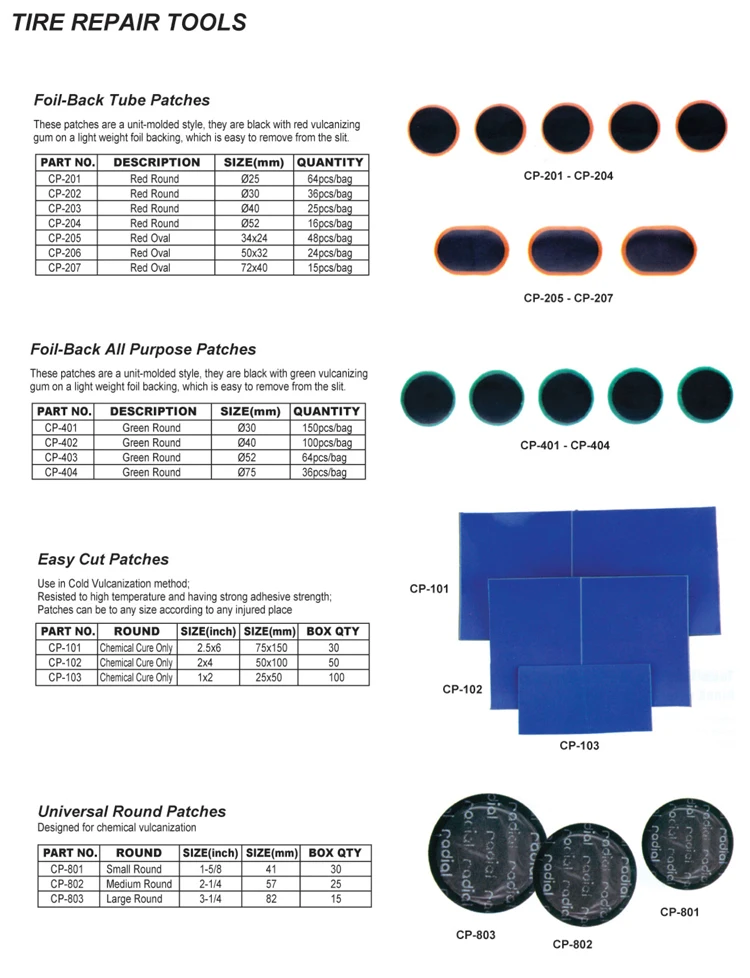
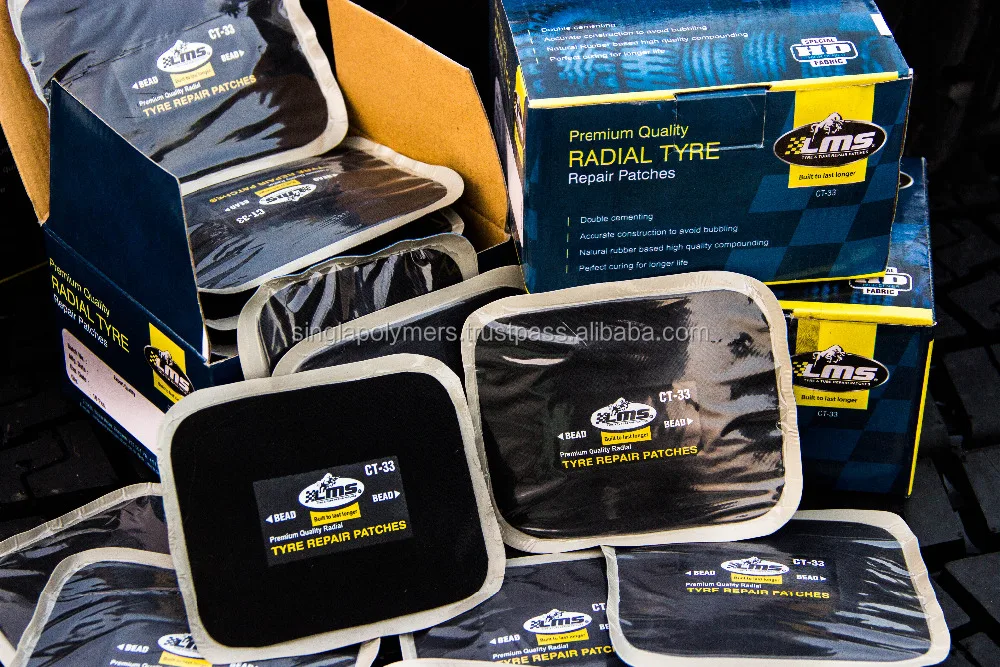
Tire side cut is a common type of tire damage. Repair of tire cuts is carried out using a patch and a patch with a cord thread by cold and hot vulcanization. Patches are made multi-layered to increase reliability and provide the necessary quality of repair. Also note that patching a side cut (usually difficult) may be the only option available in some cases.
We offer an extended catalog of high quality tire and tube repair patches. It is important to bear in mind that chamber patches are intended exclusively for the repair of automotive chambers. Such patches are devoid of cord, they can be used to repair any type of camera.
In turn, to eliminate punctures and small cuts in tires, universal or cord patches are used. These patches allow for both tire and tube repairs. This is the versatility of patches of this type.
Art.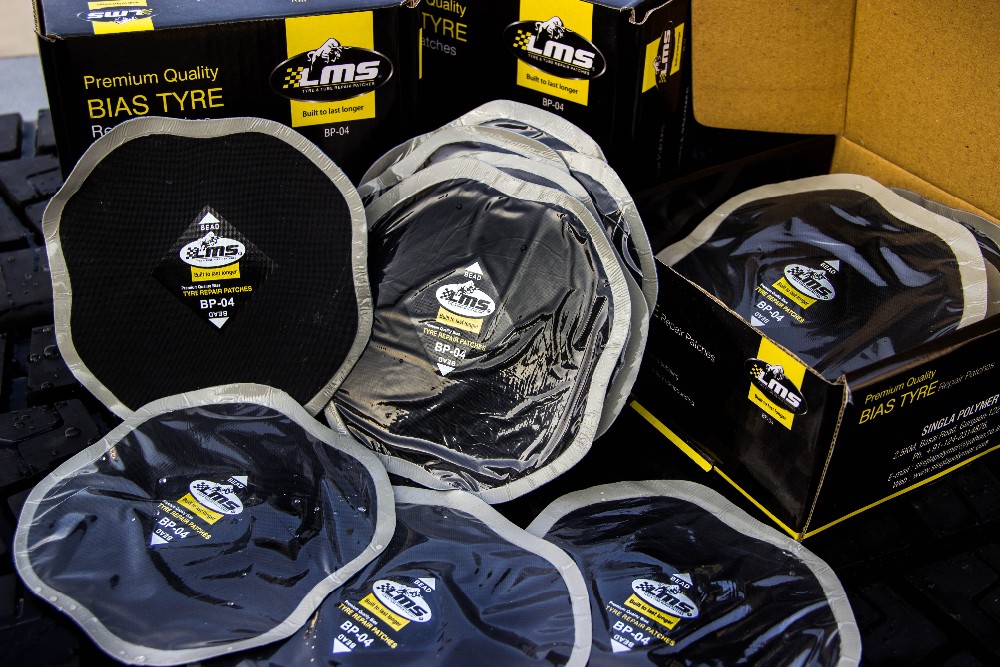 | F-25 (package) | 25mm | 200 | 318 |
|---|---|---|---|---|
| F.32.P.200. | F-32 (package) | 32mm | 200 | 450 |
| F.37.P.200. | F-37 (package) | 37mm | 200 | 618 |
| F.42.P.200. | F-42 (package) | 42mm | 200 | 848 |
| F.52.P.100. | F-52 (package) | 52mm | 100 | 618 |
| F.57.P.100. | F-57 (package) | 57mm | 100 | 701 |
| F.62.P.100. | F-62 (package) | 62mm | 100 | 933 |
| F.72.P.100. | F-72 (package) | 72mm | 100 | 1302 |
| F.82.P.50. | F-82 (package) | 82mm | 50 | 843 |
Art.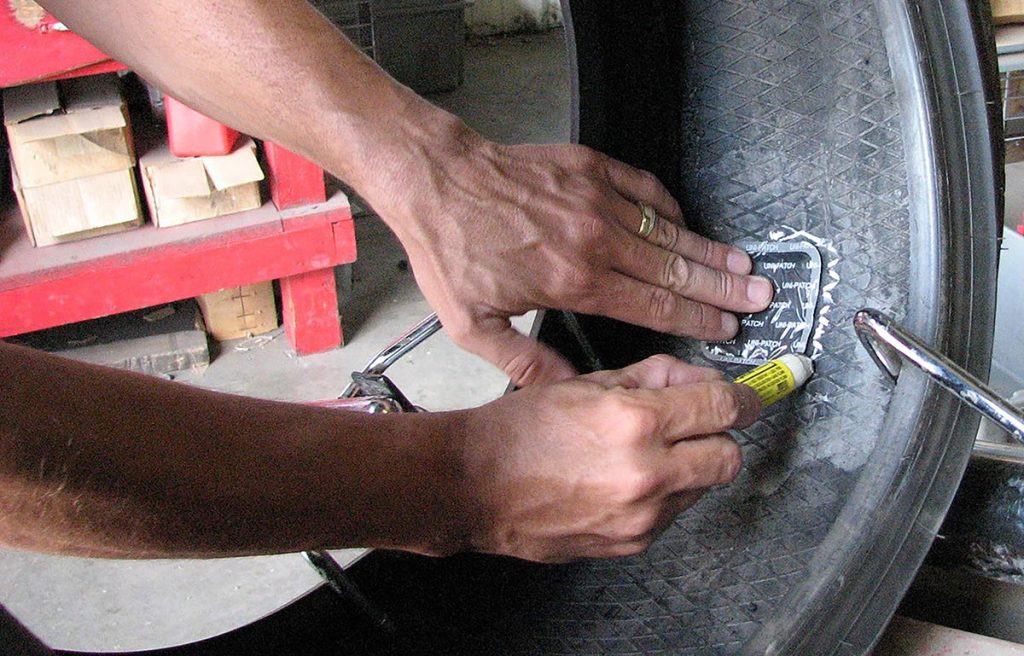 | O-1 (package) | 24x36mm | 200 | 453 |
|---|---|---|---|---|
| O.2.P.200. | O-2 (package) | 30x43mm | 200 | 701 |
| O.3.P.100. | O-3 (package) | 37x57mm | 100 | 625 |
| O.4.P.100. | O-4 (package) | 46x80mm | 100 | 933 |
| O.6.P.50. | O-6 (package) | 57x115mm | 50 | 1004 |
| O.7.P.50. | O-7 (package) | 70x150mm | 50 | 1,360 |