Spend $10 and 15 minutes in your garage and save hours repairing and patching flats. Slime Tire Sealant is a lifesaver.
RATING: Exceptional
MSRP: $10
BEST FOR: Everyone! Spend $10 and 15 minutes in your garage and save hours repairing and patching flats.
View on Amazon
PROS:
CONS:
Flat tires are a pain. Not only are they frustrating for kids and parents, they often sideline a bike for weeks. Fortunately, preventing flats is as simple as spending $8 at Walmart (or $10 on Amazon) and 15 minutes in the garage. Tire sealants is essentially a fiber-filled “slime” that coats the inside of a bike tube to quickly and efficiently repair and prevents flats.
In most cases, Slime only needs to be added to a tire once and prevents flats for essentially the life of the tire or tube.
In the four years we have been using Slime in our kid’s bike tires, we have only experienced one flat after our son rode through a field of thorny weeds. Honestly, with all the bike riding that gets done around here, I can’t imagine life without tire sealant! The most widely available brand is Slime and is sold at Walmart, Target, most automotive parts store and Amazon. You only need about 2 oz. of slime per 12″ tire, so the 8 oz. bottle sold in the bicycle section is sufficient for two bikes. If you have several bikes to seal, consider heading over to the automotive department where the Slime tends to be cheaper by the ounce.
In order to add the Slime you will need to remove all the air out of the tire, so be sure to have a bike pump nearby before you start.
The inner valve of the tire stem valve must first be removed before you can add any slime.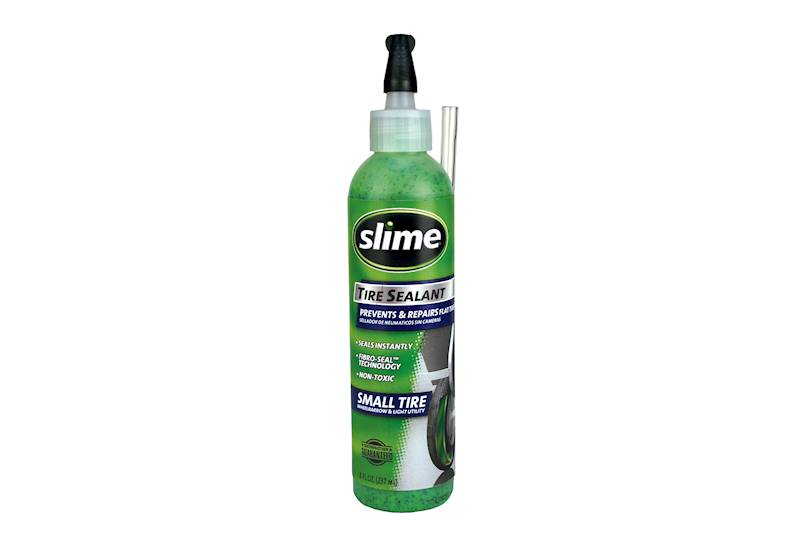 While it sounds daunting, it is actually quite easy to remove using the included tool.
Once the valve is out, it’s time to add the Slime. You will need to add about 2 oz. to a 12″ tire (1/4 cup) and about 2.5 oz. for a 16″ tire. For larger tires a chart is given on the back of the slime container.
Once the Slime is in place, use the tool to re-insert the core. Next, inflate the tire to the correct PSI (listed on tire sidewall) and then spin the wheel to allow the Slime to evenly distribute throughout the tire.
Repeat steps with the second tire and then you are ready to ride. Slime does not require any waiting period, allowing the bike to be used right away.
FTC Disclosure:Affiliate links are included in this review. No monetary compensation was provided for this review. The product reviewed was purchased by Two Wheeling Tots and not supplied by the manufacturer.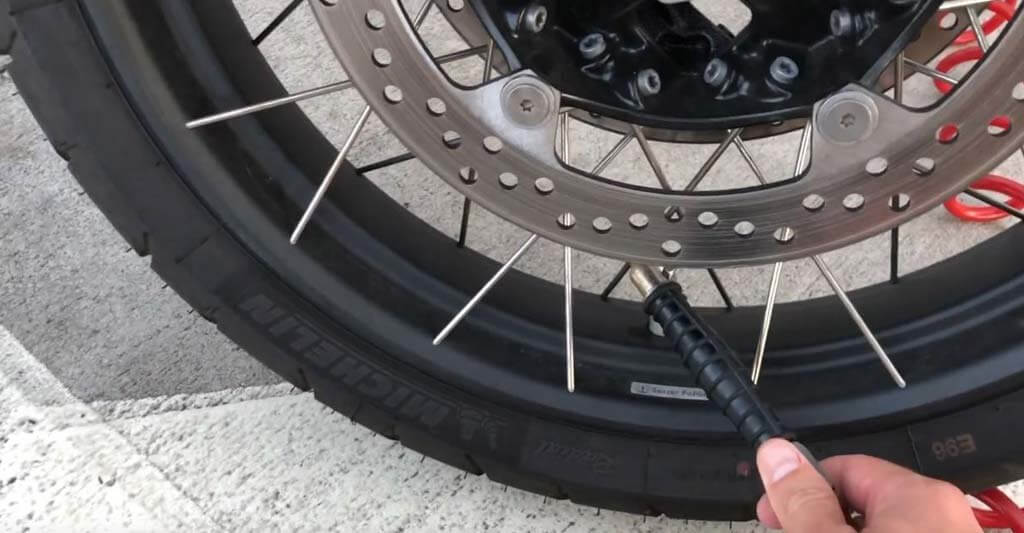 All opinions and images are that of Two Wheeling Tots LLC. All content and images are copyrighted and should not be used or replicated in any way. View our Terms of Use.
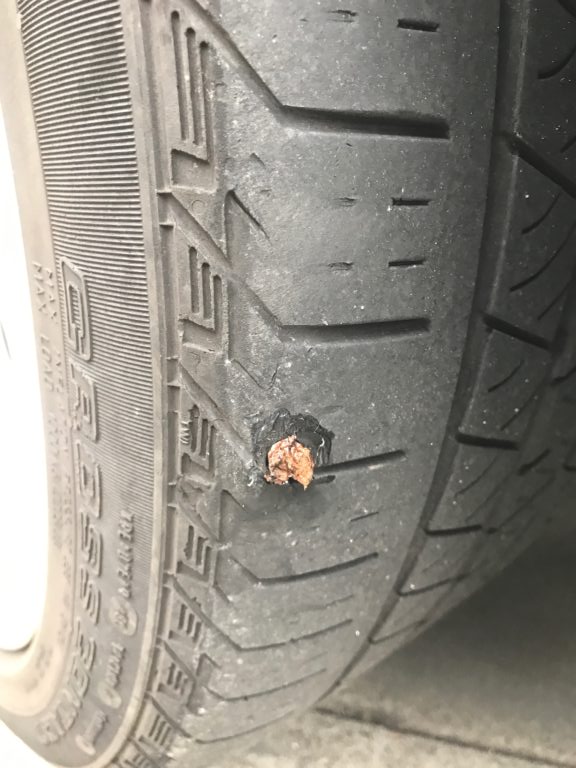
There are many, many ways that a bicycle tire can go flat. Thorns, goat heads, glass, nails … bicycle rides are literally littered with hazards for your thin bike tires. Fortunately, Slime Tube Sealant can prevent and repair flat bicycle tires instantly for up to two years.
Installing Slime Tube Sealant into your bicycle tires is simple and fast. Watch this short installation video below, or scroll down for step-by-step photo instructions. No more flats!
Step 1: Position the tire Slime can be inserted with the valve stem located in any position, but it works best if you position the valve stem so it sits in the upper half of the tire.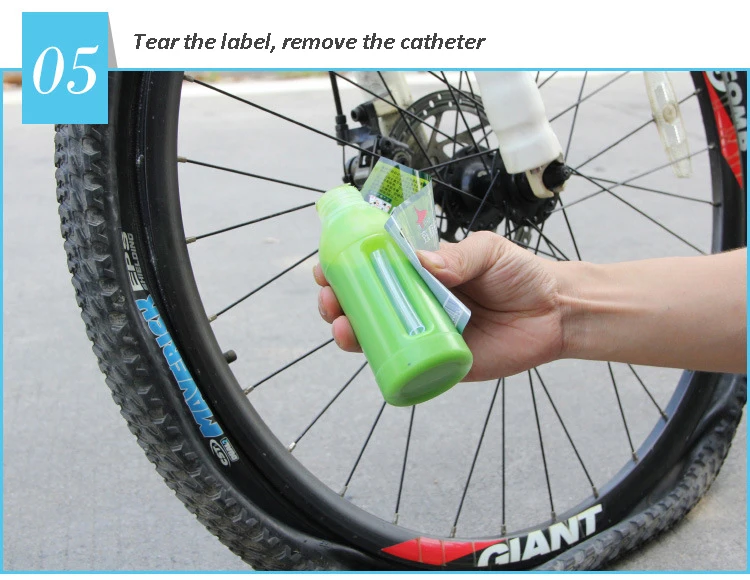
The black cap on your bottle of Slime is a valve core removal tool. Twist it off the bottle and use the knobby tool in the center to engage the valve core.
If you have Schrader valves: Take the valve cap off your valve stem. When you look inside the top of the tire valve stem, you will see a metal cylinder in the very center. This is the valve core and it needs to be removed in order to install Slime. Slowly twist the tool counter-clockwise to remove your valve core.
If you have Presta valves: Using your fingers, gently twist the knobby ball near the top of your valve core to remove it. CAUTION: Not all tubes have removable valve cores. If your valve cores are fixed (they won’t twist off), then you will not be able to install Slime (we recommend our pre-filled, self-sealing Slime tubes instead).
You will know you are successfully removing the valve core when air starts hissing out of your tire.
Step 3: Deflate Your TireYour tire must be as flat as possible to inject the Slime. Allow the air to slowly escape from the tire and set aside the valve core (you will need this piece again later).
Locate the thorn, nail or other offending object that caused your tire to go flat. If possible, remove it from the tire.
Unscrew the white cap from the top of the bottle, peel off the white seal and then re-attach the white cap.
Remove the clear tube from side of the bottle and attach one side to the top of the white bottle cap. Attach the other side to the valve stem on your tire. The white tube fits perfectly over Schrader valves. If you have Presta valves, we recommend you attach a Presta valve adapter to the white tube for a tighter fit.
Squeeze in the appropriate amount of Slime. You can use the chart on the back of your bottle to determine how much Slime you need, or you can use our Slime calculator. In general, bike tires need 4 oz. of sealant each. If you are using the gallon product of Slime, then one pump equals approximately 1 oz of Slime.
When it comes to bicycles, you can inject the sealant directly into the tube before inserting the tube into the wheel, or you can inject the sealant into a tube that is already pre-installed into the wheel.
Remember that little valve core you removed in Step 2? Time to put it back in! Using the same black tool from the cap of the bottle (or your fingers if you have Presta valves), screw the valve core back into the valve stem by turning clockwise until tight. If any Slime has oozed out while installing the valve core, simply wipe away with a cloth.
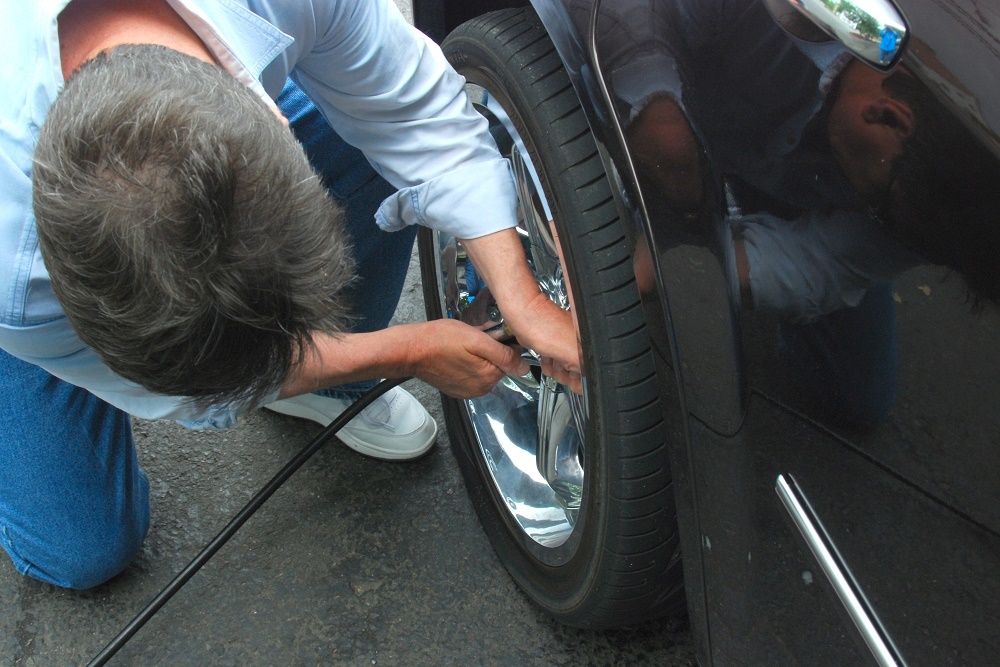
Using your favorite tire inflator, air up the tire to the recommended air pressure. You can find this measurement range listed on the sidewall of your bicycle tire.
To properly spread the sealant around the inside of your tire, spin the tire quickly a few times.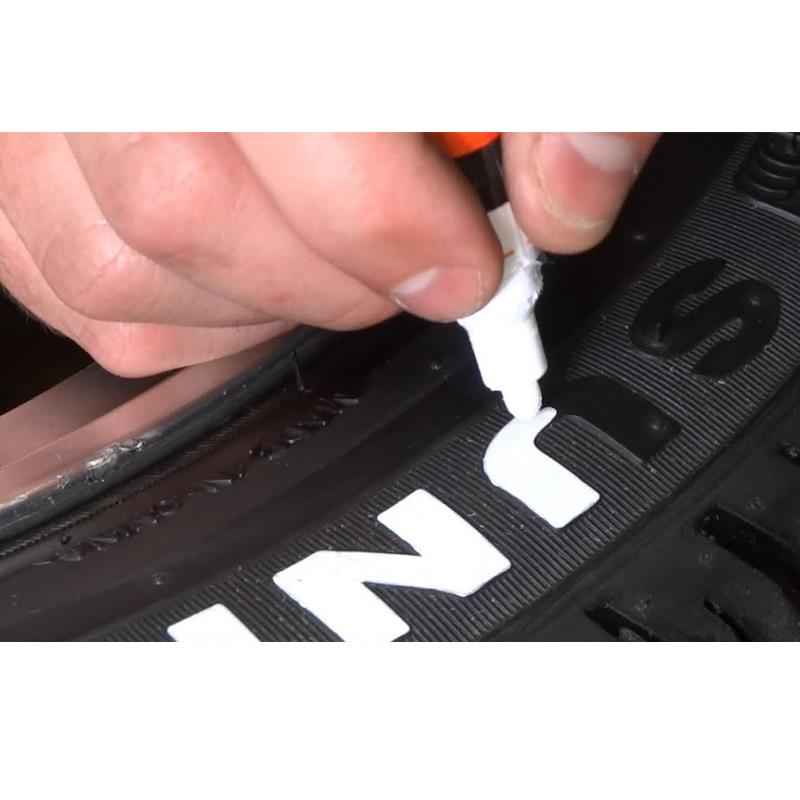
Congratulations! You have successfully installed Slime and repaired your flat tire!
Not interested in installing Slime sealant yourself? Or stuck with fixed Presta valve cores? Don’t worry, you can still prevent flats for two years! Simply install Slime pre-filled tubes (extra-strong because there is Slime inside!).
When buying a bicycle for themselves, many do not even think about the fact that the convenience and comfort when riding it is achieved by properly selected tire pressure. The service life of the bicycle, the speed of riding, the degree of tire wear, safety, control of the two-wheeled friend depends on how the wheels are inflated.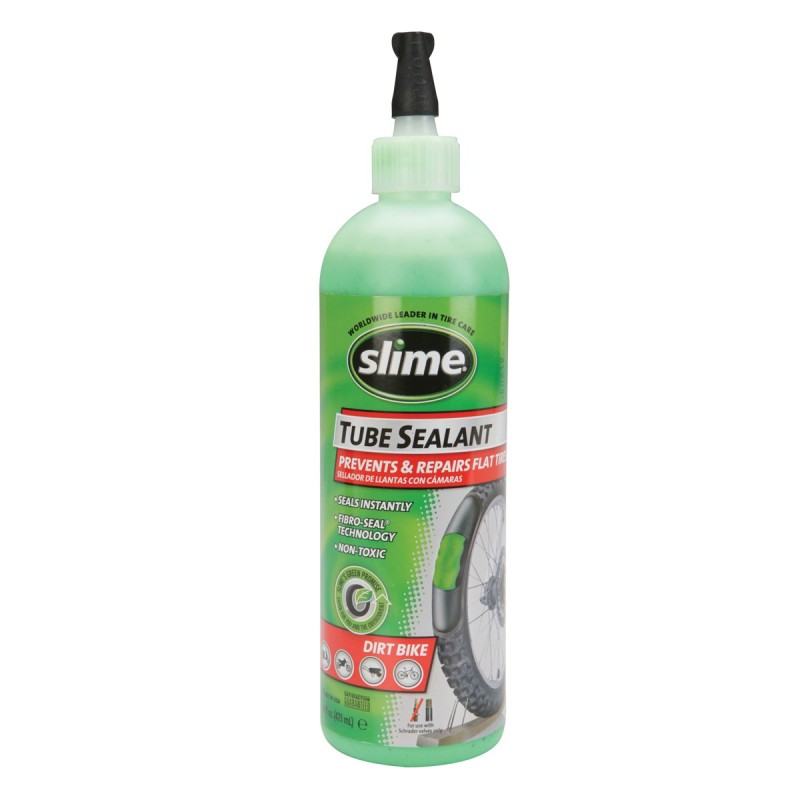
Many cyclists believe that inflating the tires is only necessary for a good bike ride. However, flat tires have a wider area of contact with the road, which means that grip will be better, but it will be very difficult to accelerate to a speed of 30-35 km / h on such tires.
When inflating your tires, you should always consider the type of terrain or surface you will be driving on. If the walk is supposed to be on an asphalt road, the tire pressure of the bicycle should be close to the maximum allowable value. Elastic wheels on a flat surface will provide a smooth rolling and high speed of movement.
For cross-country riding with unpaved paths, it is better to set the tire pressure to medium tolerable, so that you can ride long distances in comfort and convenience. At high pressure, the grip of the wheel with the road will be minimal, respectively, all holes, pebbles, and bumps on the road will be sensitive.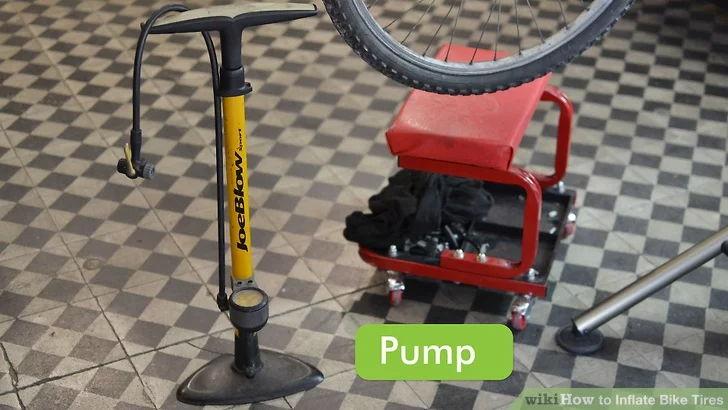 And with flat tires, the likelihood of damage to the wheel or puncture of the chamber increases.
In order to protect yourself on the road, as well as to keep the bike or its individual parts intact, you need to know exactly the lower and upper limits of permissible values, to what pressure the bicycle wheels can be pumped.
Information about tire pressure gives you an advantage when cycling:
Forget the old "grandfather" way to check the wheel with finger pressure. No need to rely on tactile sensations, trying to feel with your hand the degree of rubber penetration on the tire. The air leaves the wheel gradually, through the pores in the rubber. Within 2-3 weeks, the pressure decreases by 0.1-0.2 atmospheres, but you cannot determine this with your fingers. The exact value at any time will help determine the pressure gauge that every cyclist should have in his arsenal. With its help, it is simple, with a minimum error, the level of pressure in bicycle tires is measured. A pump with a pressure gauge (floor or manual) will become an indispensable tool for cyclists.
There are three standard values in which bicycle tire pressure is measured.
kPa = 14.504 PSI
All these units are used to some extent - in different countries, by different manufacturers. For residents of Russia and the post-Soviet space, the change in bars is more familiar, since this unit is clearly associated with the pressure of the 1st Earth's atmosphere at ocean level. In America and Western Europe, a popular unit is PSI, as they actively use pounds and inches in measurements. Pascals are the least used unit of measurement, but the most modern. Some bicycle manufacturers write data on the wheels about the allowable pressures in all three systems.
Manufacturers indicate on the sidewall of the tire how many atmospheres to pump the bicycle wheels. Specifies the range within which the owner of the "iron horse" determines the desired values, depending on the specific factors of riding his bike. Values in the range are labeled from min to max, in two or all three dimensions. Numbers up to 10 are atmospheres (or BAR), tens-hundreds are PSI, and six-digit values \u200b\u200band with the prefix “k” / kilo are Pascals.
When inflating a tire, you must strictly follow the manufacturer's recommendations and try not to go beyond both the minimum and maximum pressure levels indicated on the tire. Moreover, it is better to leave a small margin of 0.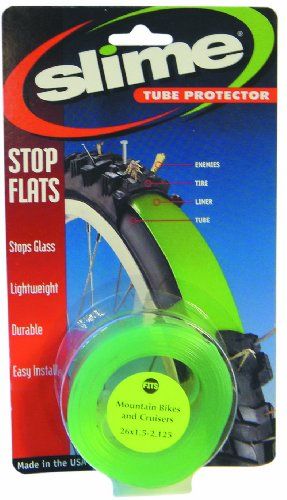 2-0.5 BAR, both in one direction and in the other, so that the tire does not burst.
The pressure in the wheel is kept by the tire, not the tube, so there is no single standard for its value. There are several significant factors that determine how much you need to pump the wheels on a bicycle.
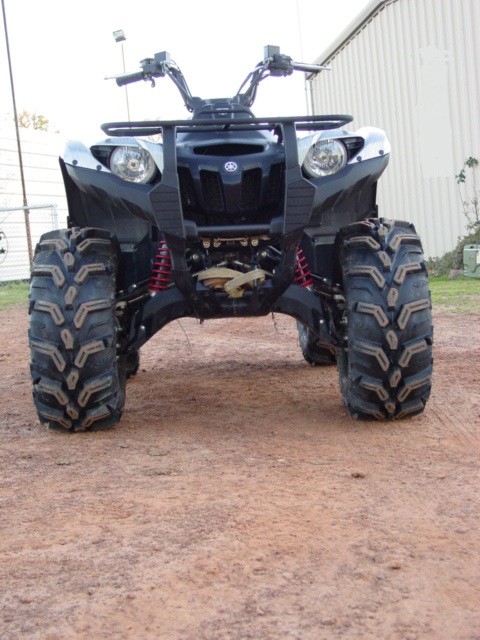
Tire type is determined by the surface of the track that the cyclist will predominantly ride on. Accordingly, the level of inflation of the bicycle wheel will be different. There is a direct dependence on the roughness of the tread and the width of the wheel - the more lugs and the wider the wheel, the lower the pressure should be. Empirically, cyclists quickly determine how many atmospheres should be in the tires of their bicycle
Many cyclists do not think about the fact that air temperature affects the pressure level in bicycle tires. From the course of school physics, we recall that when heated, bodies expand. This means that in hot sunny weather, the pressure inside the air chamber will increase without additional pumping. Conversely, on cold winter days, a decrease in tire pressure is quickly felt due to low temperatures. So, when going for a bike ride in the cold season, the pressure indicators need to be adjusted a little higher than usual, and in the summer heat, let the air out a little. It is worth noting that when going on a bike ride, you should always take into account the weather conditions.
It is important to consider the load on the bike created by the weight of the rider, especially the fact that most of it is on the rear wheel. Therefore, the degree of its pumping should be slightly higher than the front, the optimal difference is 10%.
To calculate the optimal tire pressure for a bicycle, given the weight of its rider, you can use the table:
Rider weight (kg) Pressure (atmosphere) Pressure (PSI)
The nature, riding style and type of bicycle also affect tire pressure. Buyers who prefer an active pastime often opt for mountain bikes with 26-inch wheels, which ride well both on city streets and in rough terrain.
To understand to what pressure to inflate the wheels of a bicycle, it is necessary to take into account the features of both the bike itself and other, at first glance, weightless factors. For example, weaving threads on a tire, rim thickness, driving style. The likelihood of a tire coming off a wide rim is much less than a narrow rim, because a wider rim will hold the tire better than a thin one. Mountain biking already by its name suggests the presence of a difficult surface on the track, with possible obstacles and bumps. The driving style is more aggressive than on a smooth, calm trajectory, it obliges you to increase the tire pressure to a level slightly less than the upper limit.
The diameter of the wheel will also affect the selection of the optimal pressure value, since the larger it is, the higher the volume of air pumped will be. However, for mountain bikes it is not so important whether the wheel diameter is 26 or 29 inches, it is much more necessary to pay attention to the parameters of the rider's weight and the type of track.
There are no hard and fast rules about how much you need to inflate the wheels on your bike. There is common sense, experience, practice. Manufacturers can recommend certain values, but only the owner himself will determine exactly which road he will ride, in what weather conditions he will drive, take into account his weight parameters or not. The decision, what pressure in the wheels will be ideal, is sure to be found.
The world does not stand still. Every year, innovations and innovations appear and disappear, aimed at increasing comfort and optimizing labor costs. For almost 150 years, pneumatic tires have been used on a wide variety of vehicles, which with each generation are getting more and more perfect design and materials. But the main problem of classic tires - the possibility of a puncture, was almost completely overcome only recently, with the start of the use of wheel sealant. In the bicycle industry, this problem has always been the most acute, since bicycle tires cannot be too thick, therefore they are the least protected from damage.
Bicycle Sealant is designed to reduce or virtually eliminate tire maintenance associated with hand-sealing punctures and cuts. As a result, with active skiing, it is possible to save dozens of hours per season, and along with time, nerve cells are saved, which, as you know, are not replenished.
So what is Bicycle Sealant ? What are the sealants? What sealant to buy? These and many other questions will be answered in this article.
The purpose of the sealant is to quickly and permanently seal the damage in the tire. Ideally, the puncture remains completely unnoticed and does not affect the driving process in any way, unlike classic wheels without anti-puncture fluid, when the puncture must be sealed anyway in order to continue driving. The effectiveness of a sealant is directly dictated by its composition.
Composition bicycle sealants are latex, gel and others. Often manufacturers are reluctant to share the composition of their products, but sometimes they do indicate what their sealants are made of. By indirect signs, you can determine what type the existing bicycle sealant belongs to. So, if the liquid is translucent and resembles liquid sour cream or jelly in consistency, then this is most likely a gel sealant. If the composition is white or painted in some whitish color, and the consistency is closer to the characteristics of water, then you most likely have latex sealant . Additional additives can greatly affect the properties of the finished product, therefore it is better to learn about the consumer qualities of a sealant from more experienced cyclists or directly from sales consultants.
Bicycle Sealants are divided into three groups: Tube Sealants , Tubeless Sealants and Universal Sealants.
Typically, chamber sealants consist of a thick, gel-like base and small, hard synthetic particles or fibers that seal punctures. They are quite durable and can serve from six months to a whole season. Usually, the chamber sealant works for the same period as the chamber itself, where it is poured. Can seal punctures up to 2 mm. In a tubeless system, such sealants are of little use, since they do not completely dry out and do not close up the puncture.
tubeless sealants are often thinner and contain liquid latex. The principle of their work resembles rubber glue, which hardens upon contact with air and securely seals the damage in the tire. Due to their high fluidity, they do not work well in chambers. But such sealants dry out faster, and they have to be topped up from time to time. Such compounds can seal punctures and cuts up to 4 mm.
General purpose sealants that work equally well in tube and tubeless systems. Of course, it strongly depends on the specific composition, but the general trend is as follows.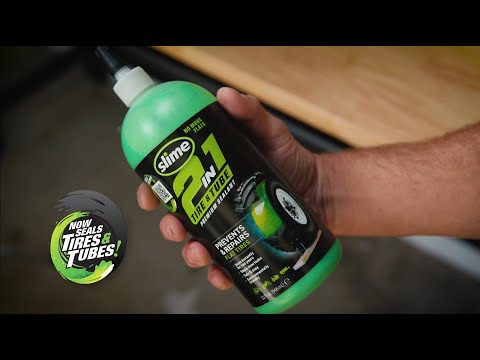
Efficiency. First of all, we are interested in how the sealant will seal the damage to the tire or tube, how quickly and whether it is reliable enough. The second important factor is the maximum size of cuts that anti-puncture sealant can handle. So, with punctures from kavunts, the simplest composition will also cope, sometimes even just pure water. And cuts from 4 mm, especially on the sidewall, are the most difficult task that single compositions with extreme properties can do.
Durability. How long a portion of sealant can last after pouring is also an important factor. In addition to saving money, it is worth considering the fact that over time the properties of the mixture may disappear, the sealant may dry out or irreversibly delaminate into fractions. This should be monitored so as not to be at the most inopportune moment with empty wheels.
Wide range of operating conditions.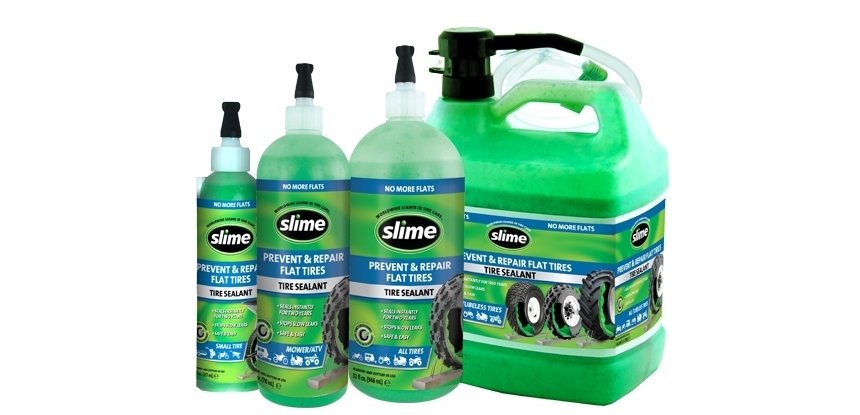 Sometimes you have to use the bike in extreme heat or, conversely, in sub-zero temperatures. If the conditions go beyond the allowable values, then the properties of the sealing composition may be lost. Some water-based formulations may lose performance at low temperatures. Typically, the manufacturer indicates the operating temperature range on the packaging. Athletes or just cyclists sometimes use CO2 systems as an emergency repair tool. If you intend to inflate the wheels in the same way, make sure the sealant is compatible with carbon dioxide.
There are many sealants for tubes and tubeless systems on the market. And which composition is best for you depends on your riding mode and the conditions in which you operate your bike. So, if you ride a bike a couple of times a month, and the routes run mainly along asphalt park paths, then there is absolutely no point in buying tubeless racing sealant. In this case, the chamber version of the wheels with chamber sealant inside is best suited.
For competition, the most “evil” sealant composition is usually used, which can seal cuts up to 5 mm. But the disadvantage of this choice is the high speed of its drying. Therefore, it is necessary to add sealant to the wheel more often - once a month or two.
The answer will depend on the sealant you use, the climate you live in, the number of punctures, and the design of the tire. Hotter, drier climates will require more frequent addition of sealant, approximately every two to three months, while cooler, wetter climates may extend this period to approximately six months. If you are surrounded by conditions with an abundance of thorns, and you notice that the sealant periodically splashes out of the wheels, then by itself, you will have to top up more often.
Some cyclists use standard tubeless tires that are not designed for tubeless use. This is not recommended by the manufacturer, as they do not have an additional thin rubber layer that does not allow the composition to evaporate and helps the sealant do its job. As a conclusion, it will be necessary to add anti-puncture fluid more often, and the sealing efficiency may be insufficient.
We do not recommend doing this. The composition of different mixtures includes different main and auxiliary substances, which may interact poorly with each other. Only at your own peril and risk, you can mix or add sealants of the same composition, but it is better not to experiment. No one guarantees the performance of a mixture of different types of sealants.
The minimum sealant should be poured into a road tire 30 ml, into a MTB tire 60 ml. But in order for the composition to work optimally, the following recommended ranges apply: for highways 30-60 ml, for gravels 40-80 ml, for MTBs 60-120 ml, for pluses and fat bikes 120-200 ml. The consistency of the anti-puncture fluid should also be taken into account. So a thick sealant envelops the inner surface of the tire with a thicker layer, and in order to remain a working supply of liquid, it should be poured a little more.
A layer of sealant in a rapidly rotating bicycle wheel is distributed in a narrow strip around the circumference. And the more sealant you add, the wider this strip will be, and the more efficiently it will work. There is no upper limit on the amount of anti-puncture fluid, and by pouring more than recommended, you will increase the stability of its operation and the intervals between topping up. However, this way you will carry extra weight with you. You decide.
Special measuring syringes are available for this, such as the milKit Compact system or the simpler TSI-1 Park Tool. However, none of them are perfect, and in the case of a tubeless system, the easiest way is to manually disassemble a small section of the tire on one side and assess the condition of the sealant.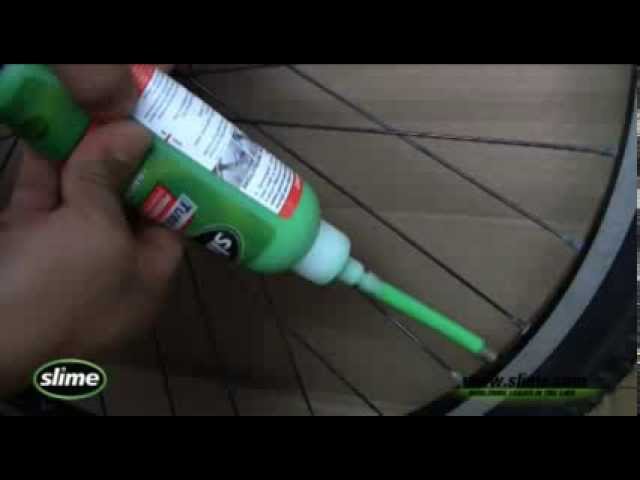 If the liquid has changed color or become more watery, this is a sign that you need to replace it, or simply add a new portion of sealant.
The second, even easier way is to remove the wheel and give it a good shake. If you do not hear the sound of the sealant splashing inside, then it should definitely be topped up. If a knock or rattling is heard, then the sealant has probably dried up and crumpled to “something”. In this case, you should disassemble, clean the wheel from the inside, and add the missing sealant.
With chamber sealant, you may not hear splashing due to the low fluidity of the fluid. The need to add a new portion may arise if there is a problem of constant deflation of the wheel.
With a tubeless system, the easiest way is to remove the tire on one side and pour the required amount of anti-puncture fluid into the resulting window. In order not to disassemble the wheel, you can try pouring sealant through the valve stem. But for this you will need a special key to unscrew the spool, a bottle with a spout and a piece of tube of the required diameter. Often such a kit already comes with a bottle of sealant. All you need is to tightly connect the tube to the bottle spout and the valve stem by unscrewing the valve itself.
A more drastic way of refilling is with a large volume syringe and a thick needle for blood sampling. Gather the required amount of sealant into the syringe, pierce the tire in the thickest place (preferably through the tread spike) and squeeze the sealant into the tire. You should be careful, as the increased pressure in the tire can escape through the syringe and stain everything around with the contents.
The sealant is added to the chamber in one of the ways: through the valve stem (as in the previous version), or through a hole in the chamber itself, which must be sealed. In any case, be sure to shake the bottle of liquid well to distribute the settled microparticles and fibers in its volume.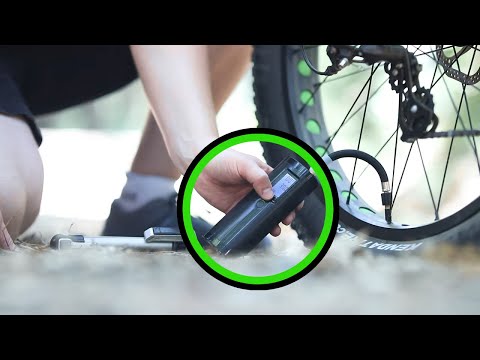
You may sometimes see wet spots on the surface of your wheels, as if the tire is sweating. There is no need to worry, this occurs due to a certain porosity of the tire material. Some sealant formulations and bicycle tire models are more prone to wet spots. It should be borne in mind that such a phenomenon will require more regular topping up of the sealant.
Wipe the stained item quickly using a damp cloth or paper towel. A cloth with mild soapy water can help. If the sealant is left to dry on clothing, it will be much more difficult or even impossible to remove the contamination. In the event that, due to a puncture, the sealant gets on the bicycle frame, the best option is to soon sprinkle water on the contaminated area. If the sealant could not be removed immediately, then a non-aggressive household detergent or brake cleaner can be used.
In the last decade progressive mankind pays more and more attention to the ecological footprint of human life. Since a bicycle is one of the most environmentally friendly vehicles available to a modern person, it would be relevant to find out how toxic bicycle sealants are. In short, low toxicity. Latex in the open air decomposes by 80% in 6-8 months. Synthetic-based gel sealants are usually made from substances and materials used in cosmetics, toothpaste, pharmaceuticals, and therefore their toxicity is quite low.
In addition to the base, manufacturers add additives to their products that extend the life of the mixture and increase efficiency. Everything is not so clear with this point, since most developers add plastic particles and fibers for this. The impact of microplastics on ecosystems is not yet fully understood and there is no clear conclusion. But many manufacturers are aware of the danger of contamination and use biodegradable materials in their products. So, for example, Panaracer uses crushed walnut shells as microparticles, and Peaty's sealants use cellulose-based granules.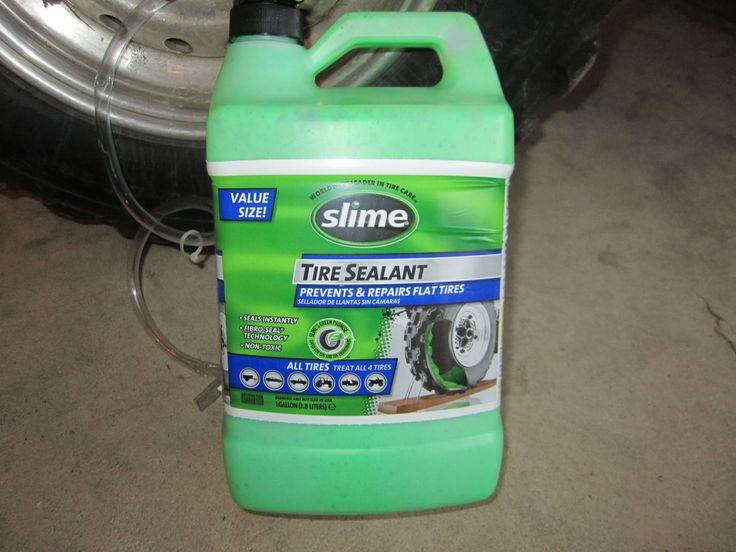
It is worth noting that the use of chamber sealant extends the life of the chamber, and as a result, fewer chambers will have to be produced and eventually discarded. And tubeless tires eliminate the need to manufacture tubes altogether, and thus, by their very existence, improve the ecological footprint.
More than twenty years have passed since Bicycle Wheel Sealants were first introduced . Over the past ten years, the market for tubed and tubeless bicycle sealants has grown tenfold. Through experiments, manufacturers selected new compositions and formulas, improved the performance of the finished product. And now we can choose from a wide range of sealants available. Let's try to analyze common sealants in Ukraine.
Hutchinson is the largest French manufacturer specializing in rubber products. Many global automakers cooperate with the brand, and products are also supplied to many industries, including the aviation and space industries. The range also includes a wide selection of MTB and road tires. And although sealants are far from the main product of the company, but the deepest immersion in the subject of rubber products allows us to assert that Hutchinson PROTECT'AIR MAX sealant has the highest qualities due to the use of the best latex and stabilizing components. And the experience of use by many cyclists proves it.
The Israeli company Joe's No-Flats, sensing a gap in the market for bicycle sealants, initially focused on the production of them. In the assortment you can find both latex and latex-free and ammonia-free sealants for different riding modes. For example, Joe's Super Sealant classic latex compound is great for both tube and tubeless applications, plus it's compatible with the CO2 system. In competition and high-stress mode, Podium Sealant and Elite Racers Sealant will perform better, as they seal cuts up to 4 mm much faster. But you have to pay for the speed of work with a slightly reduced service life - the composition dries faster.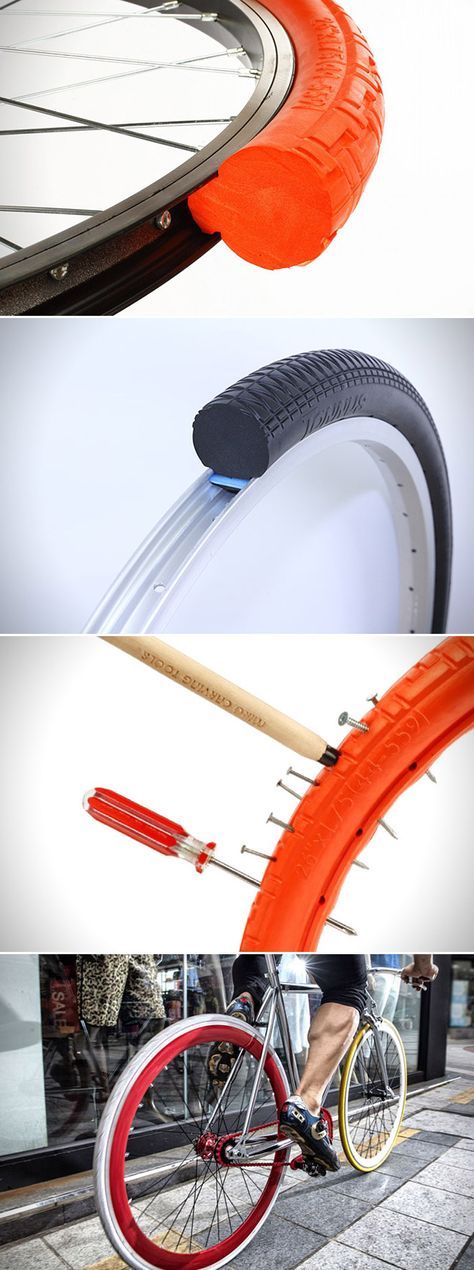
For road bikes and gravel bikes, there is Joe's Road Leader Sealant, which works great up to 130 psi. Those who care about sustainability will love ECO Sealant, a tubeless, latex-free and ammonia-free sealant. It is absolutely harmless in application, and does not cause allergies. For tube systems, Yellow Gel is a gel-based sealant with synthetic fibers and E-Bike Commuter Gel for e-bikes and recreational bikes.
The Swiss engineers at MilKit put all their precision and precision into their tubeless sealant. The result is an effective product of the highest quality. The composition of the sealant includes non-allergenic synthetic latex without ammonia. The sealant is suitable for both MTB, gravel and road. Compatible with the CO2 system and perfectly seals cuts up to 5 mm.
Like many other leading caulk manufacturers, Stan's NoTubes was founded as a result of the founder's frequent tube punctures.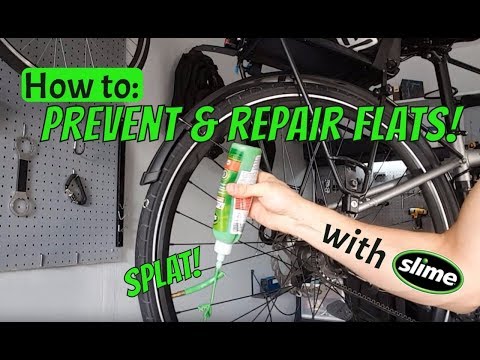 As a result of research and development, Tire Sealant sees the light of day. The composition includes natural eco-friendly latex, antifreeze and small synthetic particles. The composition perfectly shows itself in the fight against standard punctures, works in frost down to -35˚C degrees and does not dry out the whole skiing season.
Racers benefit from improved Race Sealant formula with more clogging particles. The number and size of crystal particles suggests filling the tire only through the bead, since the nipple can immediately become clogged. As a result, punctures and cuts up to 4 mm are sealed almost instantly.
Slime Tire Sealant is successfully used not only for bicycles, but also for other types of wheeled vehicles. The patented formula does not harm the environment and effectively copes with punctures up to 3 mm. Sealant is designed for universal use but performs best in chambers. Features a wide operating temperature range from -37˚C to 82˚C, record-breaking durability and fast puncture sealing with Fibro-Seal® fibers.