JavaScript is disabled. For a better experience, please enable JavaScript in your browser before proceeding.
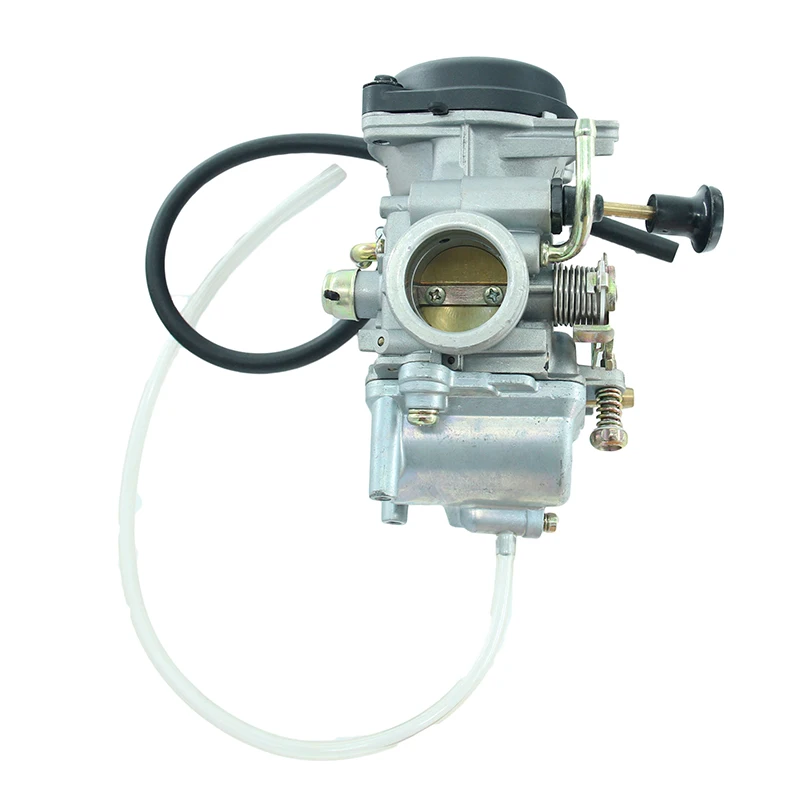
Does anybody here know how to adjust one of these? I have one on my 87 Suzuki 230 Quadsport that I can't get it to want to idle very good. Any ideas? Thanks
I'm not sure on that particular model, but I used to have a Honda 250r fourtrax which might be similar. The first thing you might check is your reeds. If the reeds are shot then the fuel won't get into the piston evenly. If the reeds are good then head to the carb. Start with the main jet. It sounds like it may be running to lean. To much air not enough fuel. Go up one size on the jet and see how that goes. I know that the jets for the honda were fairly inexpensive. 2 or 3 bucks a piece. Make sure you do all this with a good spark plug if its a 2 stroke. Also if it is a 2 stroke you make look at running a hotter plug.
Like I said I don't have experience with bike but, hopefully this will get you started in the right direction. Let us know what you find.
Deadcell,
Foulshot made some good points.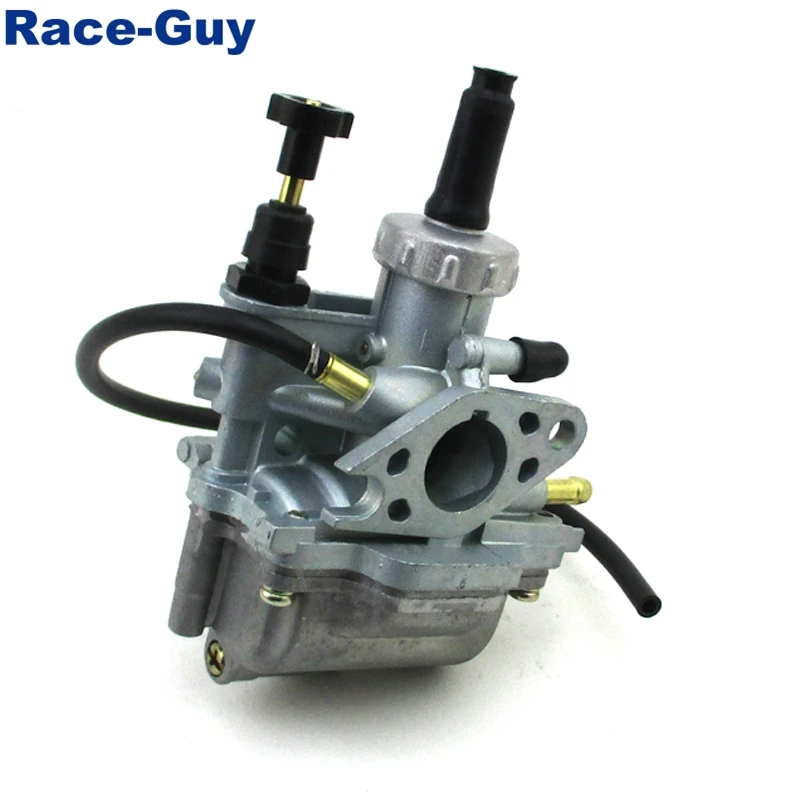 first a couple of questions. Do you have an in-line filter on the gas hose from tank to carb. If not, get one. If so, replace it. Second, Removing the carb is really easy. Though I have not worked on any suzuki's I have played with many honda's and yamaha's. Alot of times just removing the bowl and throttle neddle, and giving it a good cleaning will do wonders. If you have replaced the muffler or air filter with an aftermarket unit then you will most like need to replace the jets with larger ones ,as foulshot said,. The idle adjustment should be a small screw with a spring on the side of the carb. If you try to adjust it, make sure the bike is warmed up good before you do. Other adjustment screws on the carb are fairly easy to adjust, but you would be smart to get a manuel and do it the right way. Anyway good luck, hope this helps.
EVAN III
Well its a 4stroke not a 2 so I don't think it has any reeds.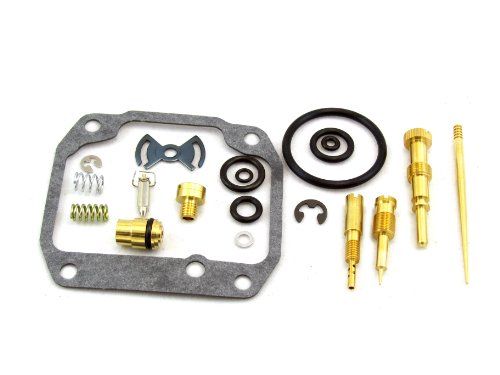 And the folks I got it from left it setting up for about 5 or 6 years and gas in the carb had turned into varnish. It took 2 days of cleaning and soaking to get it clean. There is one big screw on the side of the carb that sticks out alot, its the idle screw. Only problem is, no matter how much I turn it in, the bike still won't idle. Or either I turn it in all the way and the bike idles at about 2000rpm. Which is way too high. I don't know what else to do. its clean as a pin inside and out. It should run good, but it just won't idle like its suppose to. I'm open to any and all suggestions at this point. Thanks
Deadcell, wanted to throw in my two cents worth. I have just rebuilt a Suzuki LT160 Quadrunner. ON the same side of the carburetor of the idle screw is the air screw. Looking from the shifter side, you'll see the idle screws. Down and to the left is teh air screw. The air screw is kind of inset. The service manual on mine says to turn the air screw until it bottoms out and then back it out two full turns. Then adjust your idle screw. I bottomed out my idle screw and backed it out one and a half turns when initally doing it just to start somewhere. You should be able to adjust the idle screw only from that point. Hope this helps. Let me know. I am new to th forum as of tonight or would have posted earlier. Good Luck!
BigSwad, Thanks for the help and welcome to JHP!
Hope you enjoy your time here.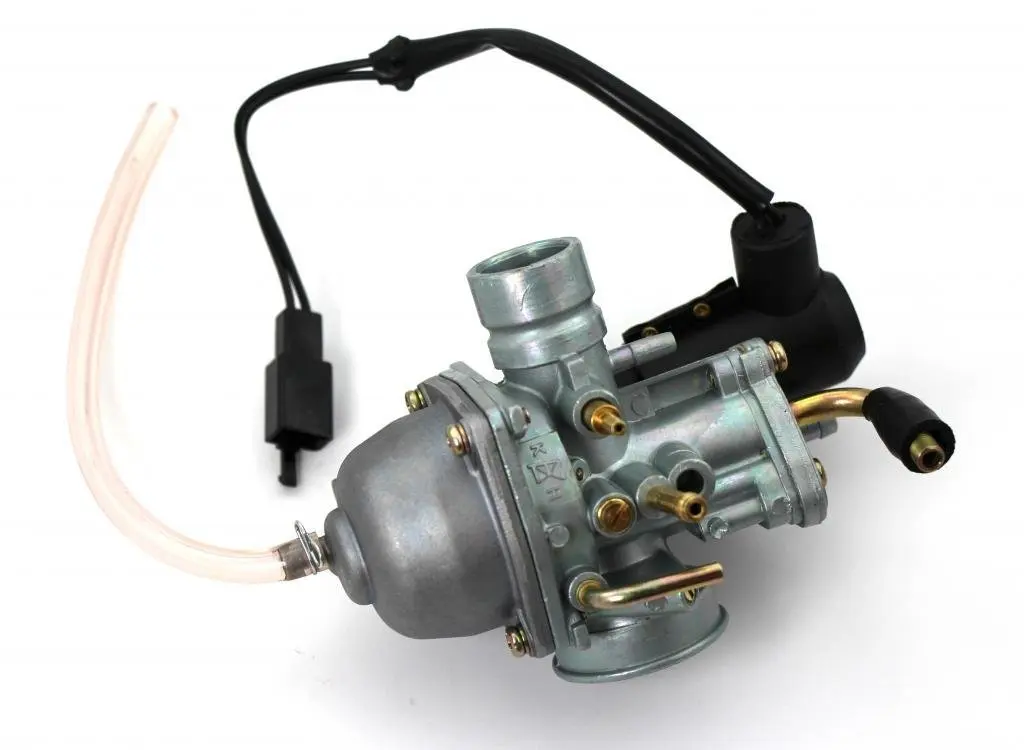
Thanks Foulshot! Glad to be on board. I like Jesse grew up hunting in MO and I have since moved to TX. The person I lease from out in west texas guided me to this site. We had been talking about game cameras, as I had just purchased a nontypical DC-100. It has been working well but wanted to add another, just couldn't justify the cost. He told me about this site so here I am! Just been doing a lot of reading the past couple of days. I appreciate the warm reception and hope to join in on more discussions.
You must log in or register to reply here.
Share:
Facebook Twitter Email Share Link
Top Bottom
ATV Carburetor Adjustment involves tuning your ATV’s carb for maximum performance.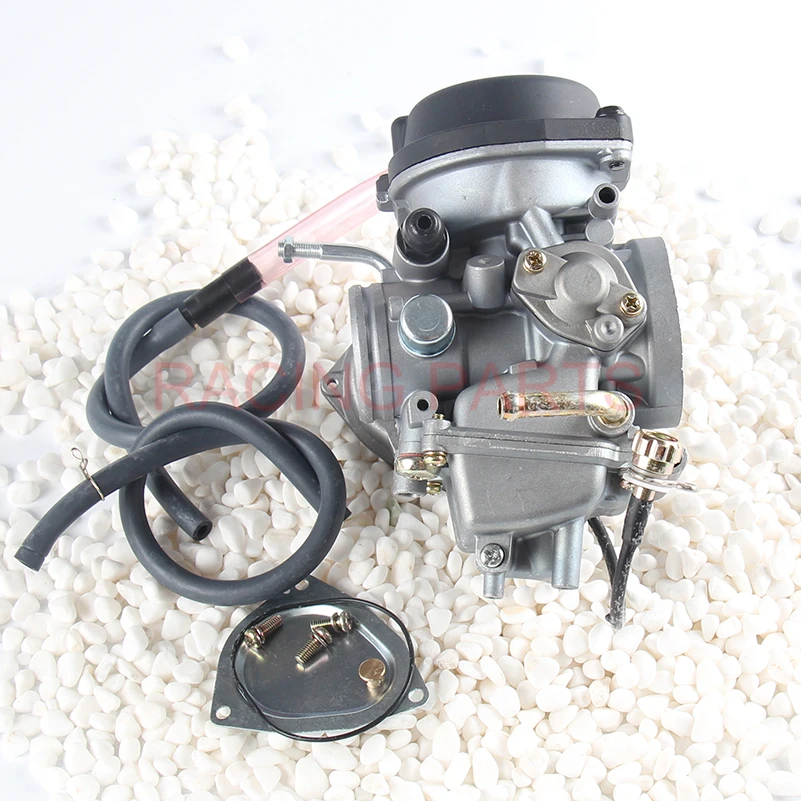 How do I know my jetting is off? My ATV bogs down a lot, is jetting to blame? I have performance parts, what now? These are all common questions so lets get you up to speed on ATV carburetor adjustment.
You can tune your own ATV jets and avoid common jetting mistakes if you understand some jetting basics, explained below. A comprehensive installation guide will come with the jetting kit you purchase for your make and model of ATV so instead this guide will focus on explaining the basic principles of how ATV jets work. How jetting works…
#1 – The first thing you need to remember is that ATV jetting refers to throttle position, not engine rpm. Each jet is effective for a specific throttle position range. The pilot jet, or pilot screw as it is sometimes referred to, controls the flow of fuel between Idle speed and about one eight of wide open throttle (WOT). The needle jet controls the flow of fuel from the one eight position up to about the three quarter throttle position. Lastly your main jet controls the flow of fuel between the three quarter and wide open throttle positions.
#2 – The second thing you need to know is that aftermarket performance parts will change your jetting requirements. Increased engine performance usually means an increased demand for fuel so learning ATV carburetor adjustment techniques is important.
Other factors that affect jetting are rev limiters, altitude and fouled plugs if your jetting is off. Altitude directly affects engine performance because the higher you go from sea level the thinner the air gets.
The pilot jet, also referred to as pilot screw, controls carburetor fuel/air mixture between Idle and 1/4 throttle. Turning the screw IN makes the fuel/air mixture leaner. Turning the screw OUT makes the fuel/air mixture richer. Lean means less gas, rich means more gas.
Every jet is identified by a number and that number relates directly to the size of the opening inside the jet. Again smaller is leaner, larger is richer. When jetting your carb if you find that you need to turn the pilot jet all the way in to improve response then you likely need to switch to a smaller number of screw.
If on the other hand you need to turn it more than 2.5 turns out you likely need a larger numbered screw. When your engine bogs down at the smallest increase in throttle position your pilot jetting is likely too rich.
The needle jet and its needle controls the fuel/air mixture from the 1/8th throttle position all the way up to the 3/4 throttle position. The needle within the needle jet is a long tapered pin. As you increase the throttle position the pin pulls out of its jet allowing the fuel/air mixture to become richer. There are several different shapes and diameter of needles/needle jets but the needle jet is often left alone during tuning as it doesn’t affect idle or top end performance. The same rich/lean characteristics apply as with the pilot screw..jpg)
The main jet controls the fuel/air mixture from 3/4 throttle position up to wide open throttle. Again the main jet is numbered and a larger number indicates a larger hole and a richer mixture. A stock engine will perform well with a stock main jet but once engine performance parts are added its likely that you will need to revisit at least the main jet of your carburetor. Different performance part combinations will create different demands from your carburetor. Anything that increases horsepower will also increase fuel demand.
All the performance parts in the world won’t improve performance if you don’t tune your carb. If you have a rev limiter in place you may need to tune or upgrade that as well because a rev limiter will tend to bog down the engine at full throttle. Make sure to follow the instructions included with most jetting kits.
Now that you, hopefully, understand a bit more about the basics of how ATV carburetor parts work these are the steps to take if you’re in a jam on the trails.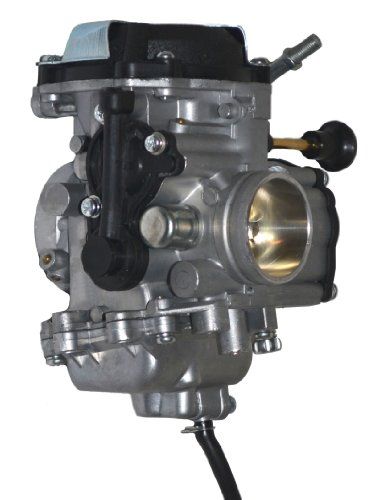 Blockage, damage, fuel contamination, mud in the air intake system and other conditions can cause your ATV carburetor to be unable to deliver the right amount of fuel to your ATV engine. You always want to tune your ATV carburetor at home or in the shop but that’s not always possible. If you’re in a jam, this is what you can do.
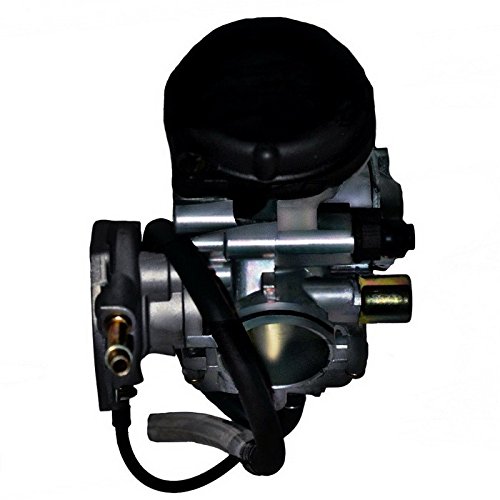 This is not attaching the carburetor to the engine, it’s going to turn freely if you adjust it.
 You can continue to adjust it a bit until the engine sounds better and runs without hesitation. If you turn it too much you will eventually flood the engine with too much fuel and this will make it bog down and be hard to start as well. A flooded condition will require time for the fuel to evaporate.
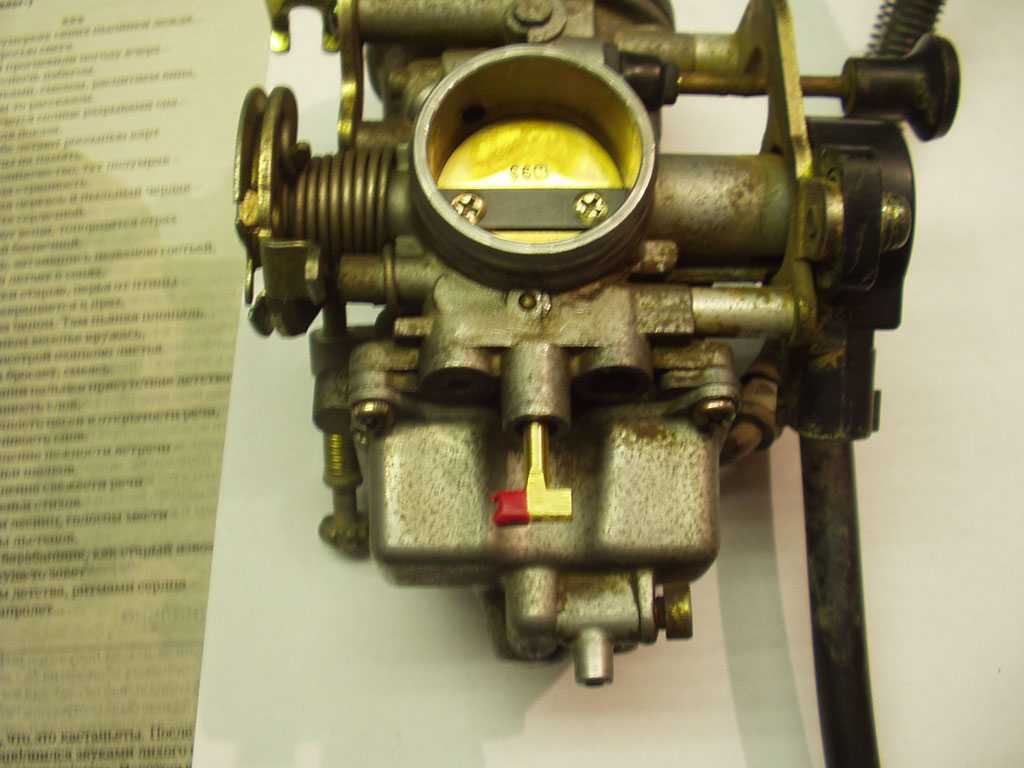
Carburetor jets control the amount of fuel which is mixed with air inside the throttle body of your carburetor. This carburetor jet size chart shows you how effective each jet is at specific throttle levels. A Pilot jet is effective at idle speed up to 1/4 throttle(low-range). A needle jet is effective from 1/4 throttle to 3/4 throttle(mid-range). A main jet is effective from 3/4 throttle up to wide open throttle(top-end).
See also
When diagnosing a carburetor or tuning problem look at the jet responsible for the range in which the problem is occurring.
ALWAYS follow the manufacturer’s specifications whenever possible. Jet size is usually stamped onto the jet itself, typically in milimeters(mm), ranging from small to large. Changing a carb jet for a smaller sized jet will reduce fuel flow. Likewise, installing a larger jet will increase fuel flow and may help a performance engine run more smoothly. Note: an engine that runs rich is less likely to sustain heat damage than and engine that runs lean.
I hope that this carburetor tuning guide helps you understand how jets work so that you can best dial in your ATV for maximum performance(and fun!).
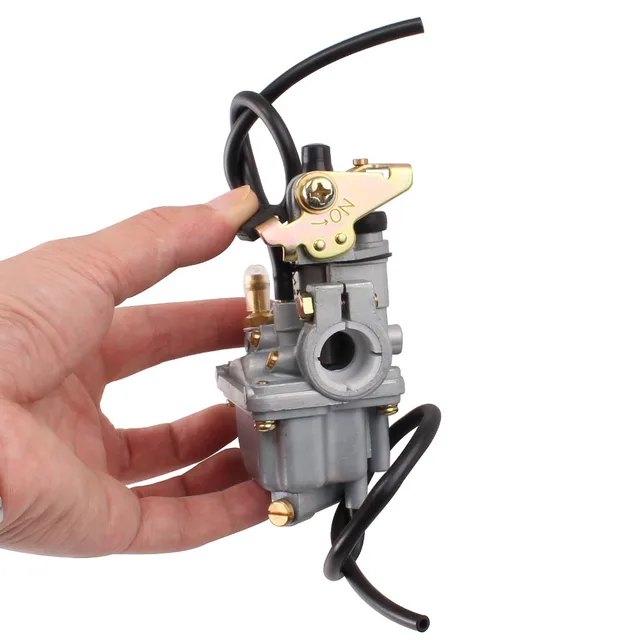 Note: compressed air is extremely helpful in clearing obstructions.
Carburetor jets become clogged naturally over time and a periodic carburetor cleaning is required. Always consult with your ATV owner’s manual for specific maintenance instructions. Always check the fuel lines, filter and gas tank for contaminants and clean as required at the same time to avoid further clogging.
The majority of carburetor problems are a result of blockage and worn out parts. Troubleshooting a clean ATV carburetor is also much easier than troubleshooting a dirty carb. Typical tools required include a flat head screw-driver, compressed air, an 8mm wrench and carburetor cleaner. Note: Some gaskets and plastic components will swell if exposed to carb cleaner so remove these prior to use.
In order for the ATV to work like a clock, the rider needs to regularly carry out a complete maintenance of the equipment. And a key element of maintenance is ATV carburetor adjustment. Over time, the system starts to work incorrectly, which increases fuel consumption, worsens dynamics and other problems appear. So how do you adjust an ATV carburetor?
The operation and life of the engine directly depends on the quality of the fuel mixture. The carburetor is responsible for the preparation of the composition, but after prolonged use of the equipment, the settings “go astray”. This results in:
Many riders who decide to buy an inexpensive ATV simply do not spare the technique and ignore this procedure. But even if you plan to change your device in 1.5-2 years, adjustment is needed. The reason for this is increased fuel consumption. A quad with an untuned carburetor "eats" 30-40% more gasoline, and these are tangible costs.
So how do you adjust the carburetor on a Chinese ATV? For this you need:
However, it is important to remember that all adjustments are made only with a "clean" carburettor. This means that the rider needs to remove all the dirt from the node and flush the system to remove condensation and sediment from it.
Note: Just before adjusting, the engine must be warmed up to operating temperature.
To set the carburetor idle speed, the float chamber must first be cleared of fuel.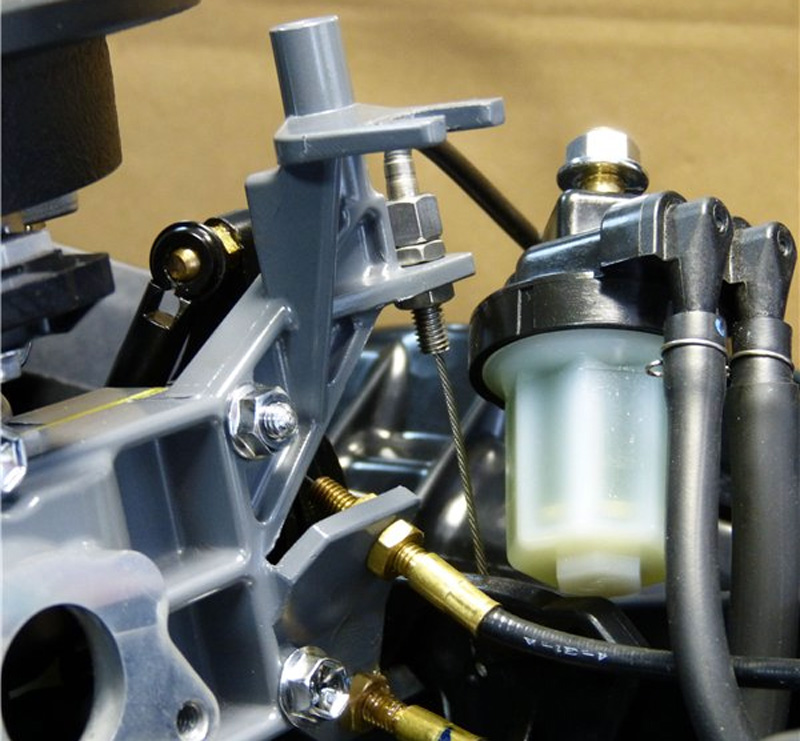 To do this, start the ATV, close the fuel cock and wait until the machine stalls (5-10 minutes). To speed up the process, you can take a little ride on the quadric. Of course, gasoline can be drained, but in any case you will have to warm up the device, so the first method of "removing" gasoline is more effective.
Then:
 Focus on sound. The engine should run smoothly, without strain.
 Read the manual before adjusting the carburetor on a 125cc ATV to be sure. Remember that the location of the bolts is different in different devices, so read the documentation in advance.
To evaluate the quality of the fuel composition, make a test run. After that, unscrew the candle, and evaluate its condition. If it is:

Also look out for these “symptoms”: damaged tip (electrode failure), oil deposits (damage to rings and caps), chips and inclusions (sign of motor failure).
To adjust the mixture you need to twist the needle cover and pull it out. To get the needle, pull out the cable. After that, move the ring in the required direction (lower - more air, but less fuel and vice versa). Then start the engine and make sure it doesn't stall.
The last step in adjusting the 125cc ATV carburetor is adjusting the petrol level. To do this, you need:
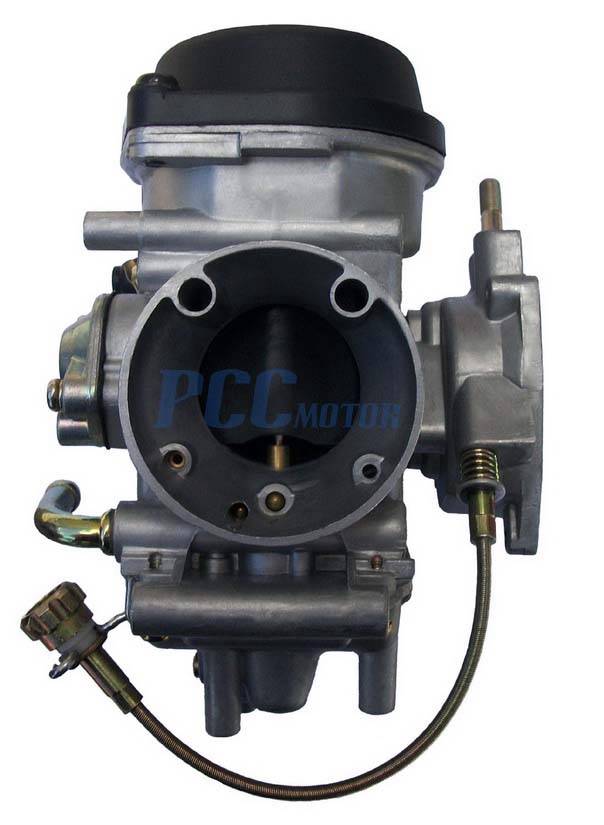
Note: Adjust as carefully as possible as system components are very fragile. Ideally, carburetor tuning should be done by a specialist.
06/16/2020 20318
carburetor adjustment Before the procedure, remember that when changing such parts as the cylinder, filters, muffler, the old carburetor settings will be invalid and you will have to adjust again. It is also extremely important to adjust the jets already on a warm engine. The process is carried out by the following steps:
The Japanese Suzuki Sepia scooter is considered to be a fairly popular model in Russia and other countries, in particular because of its attractive appearance and simple design of the engine and other parts. But problems with this scooter are quite frequent, due to malfunctions of such components as the CPG, carburetor and variator. It is important to carefully monitor their condition in order to prevent damage. As for the carburetor, the Mikuni carburetor is used here, Suzuki Sepia is ideal for a carburetor model that is used on other vehicles. In particular, you can see a similar model on the equally famous Suzuki Adress scooter. The carburetor is characterized by simple design, good quality and the ability to quickly adjust. But judging by the frequent problems of the owners, it will be extremely difficult to set up the carburetor for optimal operation of the scooter, the whole procedure will have to be carried out exactly according to the indicated rules. If you own a Suzuki Sepia, get ready to clean the carburetor often, because its location is so inconvenient that the carburetor gets clogged with dust very often. Below is the carburetor setting option.
Suzuki has always produced high-quality equipment that has become one of the best on the market.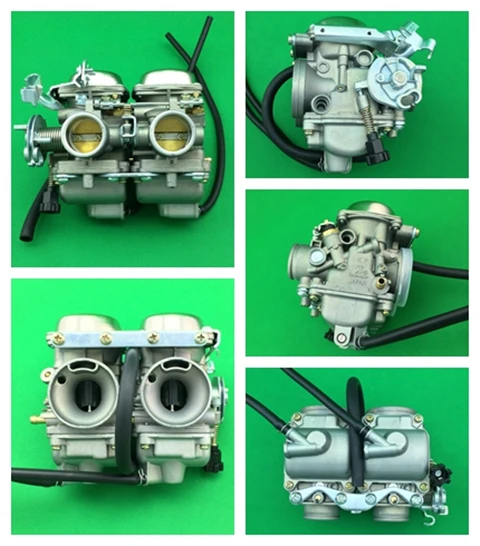 And when the excellent Suzuki Lets scooter came out, the manufacturer saw great potential.
Then it was the Lets model that opened the model range of the company's scooters, which gave it unprecedented popularity. The scooters were durable, stylish, and great for youngsters. With proper performance, the model could reach speeds of up to 60 km / h, which is the norm for this type today. Like all vehicles, the Suzuki Lets 2 suffered from a few shortcomings.
Today's Suzuki Lets 2 are quite high quality, because for all its long existence the moped has received a number of improvements and modifications. The Lets model has acquired a fairly simple air-cooled engine and 2-stroke operation. It was the two-stroke modifications that were much better than the 4-stroke ones, because they had a simpler design and worked faster than their competitor.
The Suzuki Lets 2 moped had one important drawback of the engine - a high level of noise. Despite this, he was wildly popular. With a thrust of 7.3 Nm, the driver could make sharp starts or take one passenger with ease.
The world first learned about the Suzuki Lets 2 back in 1996. In those days, the Japanese had already made a high-quality scooter, the design of which was soon taken by other manufacturers. But the company did not finish this, and further at 19In 99, a new modification of the Suzuki Lets 2 New was released. Its main difference was new forms, a streamlined design and excellent lighting technology.
Like any other Japanese scooter, the novelty has high-quality and strong plastic with smooth lines. In general, the whole design of the moped is very well thought out, because any necessary part can be easily reached. The manufacturer also took care of transportation, so a small basket was installed in front and a large luggage compartment under the seat. A helmet can easily fit in there.
The company has always made understandable and informative technology, so the dashboard has fuel gauges, an odometer and even a “check engine” indicator. Tuning Suzuki Lets 2 is quite simple, because the very design and construction of the model allows for a minimum of modifications. For the most part, this is a plus, because the Suzuki Lets 2 is quite simple and practical, large external tuning will only be a minus for it. To improve the technical characteristics, you can install a different variator belt and play around with the weight of the weights on the scooter. If you choose the optimal weight, your vehicle will be able to accelerate to 75 km / h.
Suzuki Lets 2 repair is also simple and affordable, because spare parts for it are almost the most popular on motorcycle markets today.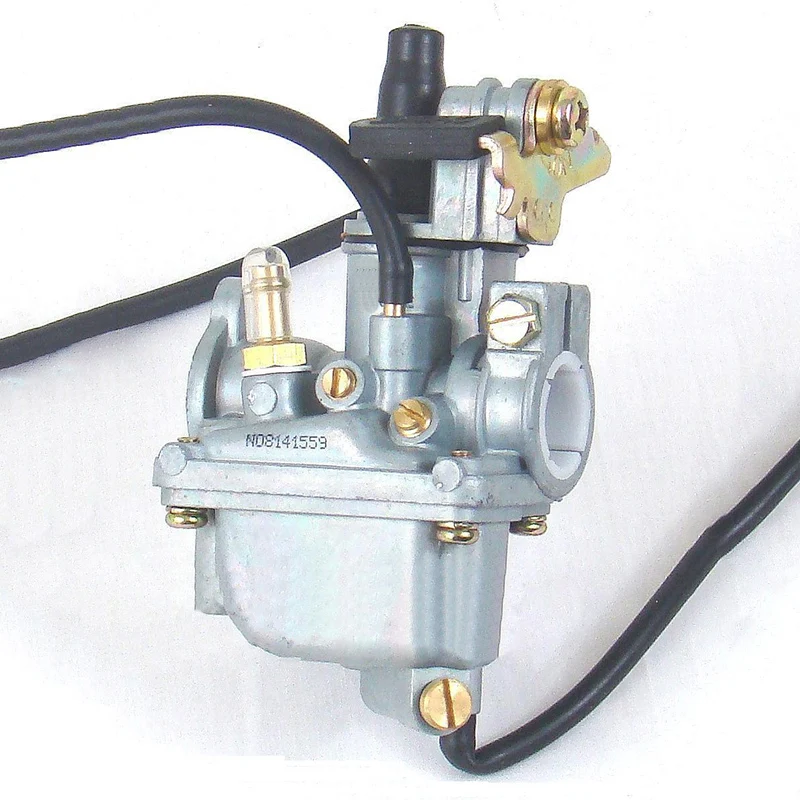 You can choose from Chinese, Taiwanese or original Japanese parts. It is strongly not recommended to buy Chinese spare parts, because they will harm your scooter in the first place. The best option would be to buy Taiwanese parts.
Scooter bought used. y, but the owner assured of its quality and reliability. Everything turned out to be so, despite the mileage of 2,000 km, I got a very frisky machine. I tested it a little for maximum speed, and so in the first test, the Suzuki Lets gave out 55 km of maximum speed.
I also checked it for load capacity, and to be honest, for its dimensions, the scooter is a real beast. Once I rode with my wife and a whole bag of potatoes, but the iron horse showed itself perfectly. In my situation, the average fuel consumption was 2.5 liters / 100 km. The only thing I didn't like was that the headlights were too weak, the road was hard to see at night.
The peculiarity of this carburetor is the absence of a mixture quality jet, it is adjusted here by raising or lowering the retaining ring on the needle. If you notice that the mixture is too lean, you will have to install the ring 1 or 2 grooves higher, respectively, the rich mixture will be when you install the same ring on the 4th or 5th stage. The center position on groove 3 indicates the standard throttle needle setting. With the right settings, the scooter will have good traction, speed and fuel consumption according to the specified characteristics.
During the adjustment process, the scooter carburetor needle is adjusted, the position of which affects the proportions of the air-fuel mixture, as well as a number of other adjustments.
Adjustment of the scooter carburetor needle is performed during the adjustment process
Each adjustment operation has a different effect on engine operation and fuel preparation:

The carburetor on a 2t scooter is slightly different in design and does not fit a 4t engine. The question of how to set up such a device worries all owners of two-stroke machines.
Most Chinese models have a fairly simple carburetor with no unnecessary adjustments. The enricher here is mechanical, although if you are tuning a scooter or you have a Japanese model, the enricher can also be electric. In order to use the mechanical option, you must first pull the trigger on it, and then try to start the equipment.
Adjusting the 2t scooter carburetor is easy but requires some patience. In order to carry it out, you will need to disassemble the carburetor: first you need to unscrew the top cover. The needle is fixed in it with a bracket, it must be pulled out. The quality of the mixture is regulated in exactly the same way as described above. A feature of the two-stroke system is that the needle affects the quality of the mixture only in a certain position..jpg) If the throttle valve is raised to the maximum, only the main fuel jet will be responsible for the fuel mixture. Sometimes the idle system interferes with it. Depending on which carburetor you have.
If the throttle valve is raised to the maximum, only the main fuel jet will be responsible for the fuel mixture. Sometimes the idle system interferes with it. Depending on which carburetor you have.
For cold starting, use a starting enricher, which must be closed after the engine has warmed up; Simply put, it's suction. In such carburetors, the fuel level plays an important role. It is also regulated by mechanical intervention in the operation of the float chamber. It is configured in the same way as in the four-stroke version. In fact, the carburetor for 2t engines differs from models for engines on a 4-stroke scooter only in jets and some other parameters, but it works similarly, and therefore it is regulated in the same way.
Also in the carburetor there is a jet that is responsible for the amount of air, located under the cover. The jet is located in the air channel, so when you turn the screw, the throttle rises and the air flow increases.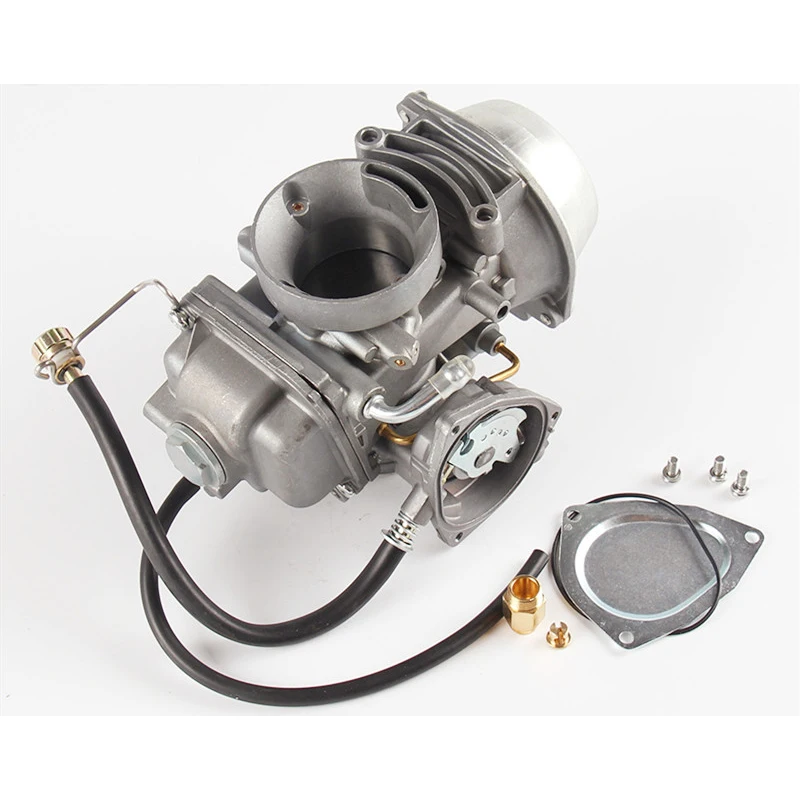 At the same time, engine speed increases.
Adjustment is carried out as follows:
Having bought a motorcycle, scooter or other motorcycle equipment, owners have to get acquainted with the operation and adjustment of their main components. One of the important elements of a two-stroke or four-stroke power unit is a carburetor, which is responsible for supplying fuel to the combustion chamber and mixing gasoline with air in the required ratio. Many do not know how to adjust the carburetor on a scooter using an adjusting screw. Such a need arises if the device does not start well, shows an increased appetite, or the tachometer needle indicates unstable revolutions.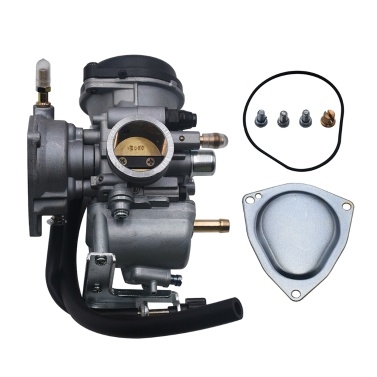
Contents
how to install the carburetor of Suzuki scooter let's
2
tell me how to adjust the carburetor
suzuki sepia scooter as is
carburetor as in the photo
Dmitry (Katya) Mikuni. there, the air adjustment is outside the adjusting bolt, but the fuel is inside the screw under the cable cover on top, I don’t remember exactly, but in my opinion 3-4 turns back after full winding
Vitaly (Mickey) screwing the screw under the cable cover, gasoline is adjusted on this carburetor needle
Alex (Esther) The needle adjusts the measured fuel consumption inside the screw under the hood. This is an air nozzle. They must regulate the stability between the consistency of fuel and air. (If installed correctly, the scooter will consume as much gas as specified in the evo properties) of gas, and it will run out a very rich mixture, which is very disadvantageous. And if you back off the screw one hundred percent, a very bad mix of fish can be deployed on the running board to spin the wheel, but the fisherman's power won't sit down, hit the throttle and stall!
READ Clutch Oil Change Haldex Skoda Yeti
Alex (Esther) Disassemble the carburetor.
Dmitry (Katya) Sori confused fuel with air
Sergey (Unmesha) And where is the idle adjustment bolt? Tell me Dmitry,
Sergey (Unmesha) Where is the adjuster tension bolt Tell Alex
Alex (Esther) with the outside world
Andrey (Galayudha) Please leave a photo as a quality appearance! I just don't know, but I'm looking for a reason why the moped won't start!
Alex (Esther) https://suzuki-sepia.clan.su/publ/5-1-0-78 see here
Victor (Rashish) I'm going through everything now, but I have one problem - insane fuel consumption , I drove about 15 km and ate 3.5 liters with me.
Suzuki Lets Carburetor Cleaner Lets 2
.
My second channel. I'm on VK.
Who knows what the problem is, tell me that there may be similar problems. It hurts freaky
carburetor . There is also a 2nd carburetor, so there is no adjusting screw at all. If anyone knows how to set it up, please post.
Alex (Esther)
READ How to Adjust the Carburetor on Alfa
Ilya (Munir) Dmitry, but where is the fuel bolt.
Dmitry (Katya) Fuel bolt. it is a kind of plastic cover where the cable is attached to the valve.
Ruslan (Webber) changes piston engine stubbornly; it works like a piece.
Yuri (Gjurd). this is a big fuel consumption in my native Mikuni, how many needles are out of adjustment, I tilted the float a little, checked for more overflow, I comply with the vacuum standards, tell me who has come across and at least reduced consumption somewhat
Alexander (Balamani) Hello. Here is the mannequin on the cable. I understand the needle. But after a thorough renovation, it switches to a gas floor. I think the mixture is rare or rich
Alexander (Balamani) The guys used to deal with this garbage for me, but today I found everything and the tax and charged the battery. So ask a question. To save costs, replace the main nozzle. The one under the needle for 0.6mm hole
Tags: how to adjust the carburetor
on scooter
Suzuki Let's Go
2
Maxim licks, sucks dirt and that's it.
READ How to Remove the Gas Tank Door Ford Mondeo 3
Denis 1. Study the operation and design of this carburetor and all its systems. 2. Buy the necessary tools. 3. Buy the app. spare parts, including erasers, etc. 4. I have experience in repair and adjustment of carburetors. PS But for you it's nonsense.
Irina, I fully agree with the above. I dare add that the reason may not be in the carburetor at all. Therefore, you should still have an idea about the operation and structure of the car. You can study courses and work in a car workshop for several years. And you will succeed. It's very simple.
Tuning a Suzuki Sepia carburetor is impossible without using an idle. It regulates the number of revolutions, where when the screw is tightened, the speed indicator increases and the wheel spins independently without a throttle. When the idle screw is loosened, the scooter will start only when the speed is added with the throttle handle. It is advisable to set up this jet last, that is, first we set the quality of the mixture, the needle in the throttle valve, if necessary, the air screw, and then we adjust the idle speed.
In this diagram you will find the location and detailed designation of all electrical components of Suzuki Let's 2 scooters, and you can also determine the purpose of any of the wires in the electrical supply system.
Each wire is color coded to match the one on the scooter harness. Each item of Suzuki Let's electrical equipment is labeled and signed.
The scheme is made entirely in Russian and allows even an inexperienced scooter to understand it without difficulty.
If the details of the instructions are not clear to you and you cannot figure out and fix your breakdown yourself, you can use the comments field of our site, or register on the forum (the second option is more preferable).
You can also read other articles on the topic:
help me figure out the Suzuki let's 2 scooter with the battery there is a spark without it no I can't find the reason isai replied: July 11, 2013 at 23:49
Hello, as I understand it, you start, then you remove the battery, and the spark passes, i. e. he's dumb! there is only one reason - there is no battery charging, here you first need to call the relay, it is under the beak, the tester is in the diode position, there are 4 contacts they do not ring between themselves and the ground, then the relay is intact, but if they show resistance in any position, then the relay 1 died then you need to call the wiring, if the relay is whole, see diagram
help me figure out the suzuki let's 2 scooter i have speed protection when the food is more than 40 does not go and starts resetting how to remove the protection this light starts flashing when driving and turns off the engine
Hello everyone. Guys, please tell me which belt suzuki lets 2 butterfly, otherwise I bought it with a belt that is not native. Belt new but slipping
Terraflops replied: April 23, 2014 at 08:14
belt suzuki lets 2 16.5×664
Good afternoon! I have a question. I bought a moped, Suzuki Lets 2, honestly, no less honest owner, the scooter started and worked, but after the last start, it stood for 1.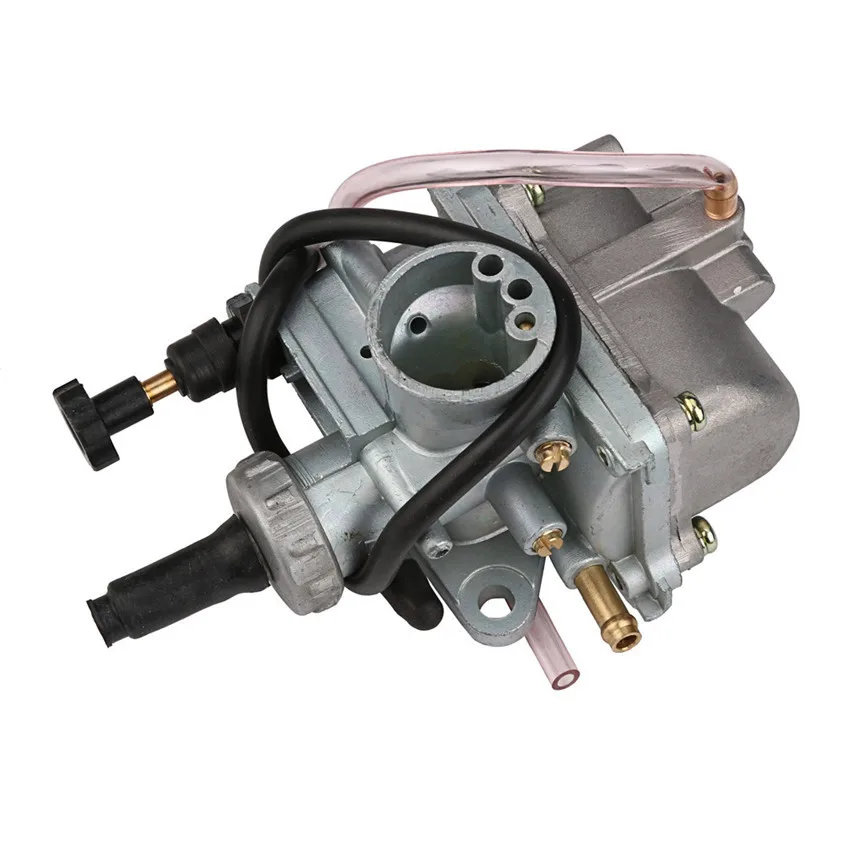 5 years. I dragged it to the garage, dismantled the plastic, spilled everything I needed with WD, contacts with a contact cleaner, connected the car battery, since my own naturally sat down, but there was no reaction from the button. Moreover, after turning the key, the turn signals do not work, the signal does not work, the brakes do not light, but when the key is turned, somewhere in the middle position, the red lights come on, oil felts, speed limit felts, it is not clear. If you start it with a kickstarter, then the headlight lights up during scrolling, but there is still no spark, so it does not start. I changed the fuse just in case, the candle is brand new. What else to watch? so visually, all the wiring is intact. The scooter generally arrived from Vladivostok outwardly in perfect condition. Thanks in advance.
Maxim replied: September 5, 2015 at 21:39
you don't have enough power, try pulling the kickstarter more than once, but several times, if it doesn't work, throw a toggle switch on the wiring to the headlight, when you start, turn off the headlight, when you start it you can turn it on
Oleg replied: April 24, 2021 at 11:12 am There is no such amperage. The wiring may be on fire. If there is no fuse..
The carburetor is an important component of an internal combustion engine, responsible for preparing the air-fuel mixture and supplying it to the working cylinder in the required ratio. A scooter engine with an out of adjustment carburetor may not function properly. The stability of revolutions, the power developed by the engine, gasoline consumption, the reaction to turning the throttle, and also the ease of starting in the cold season depend on the correct setting of the engine power device.
An important component of the internal combustion engine is the carburetor
This component is responsible for the preparation of the air-gasoline mixture, the concentration of the components of which affects the nature of the power plant. The standard ratio is 1:15. Leaning the mixture to a ratio of 1:13 ensures stable engine idling. Sometimes it also becomes necessary to enrich the mixture, maintaining a ratio of 1:17.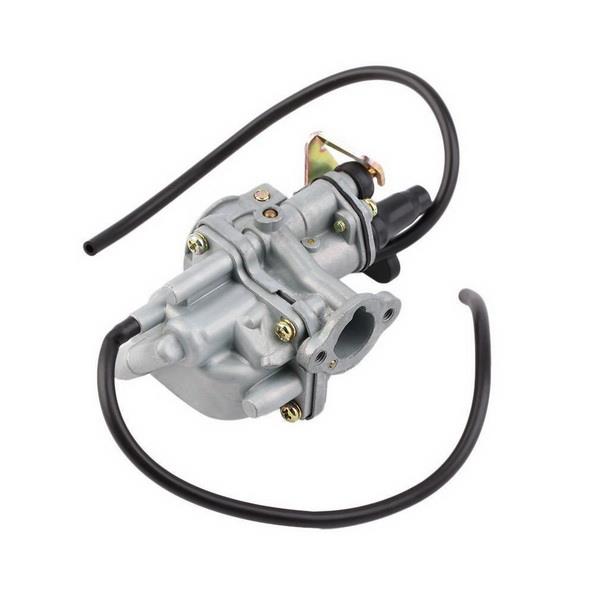
Knowing the structure of the carburetor and knowing how to adjust it, you can ensure stable operation of the engine on two-stroke and four-stroke scooters.
A properly tuned carburetor ensures easy and quick starting of the vehicle engine, as well as stable engine operation, regardless of the ambient temperature. Any carburetor is equipped with jets with calibrated holes, a float chamber, a needle that regulates the cross section of the fuel channel, as well as special adjusting screws.
The tuning process involves turning a special screw clockwise or in the opposite direction, which causes, respectively, the enrichment or depletion of the working mixture. Adjustment measures are carried out on a warm motor. At the same time, the carburetor assembly must first be thoroughly washed and cleaned of blockages.
Want to sell faster? Learn how
Kyiv, Darnitskiy Today 02:15
Motorcycle parts and accessories » Motorcycle parts
2 463 UAH.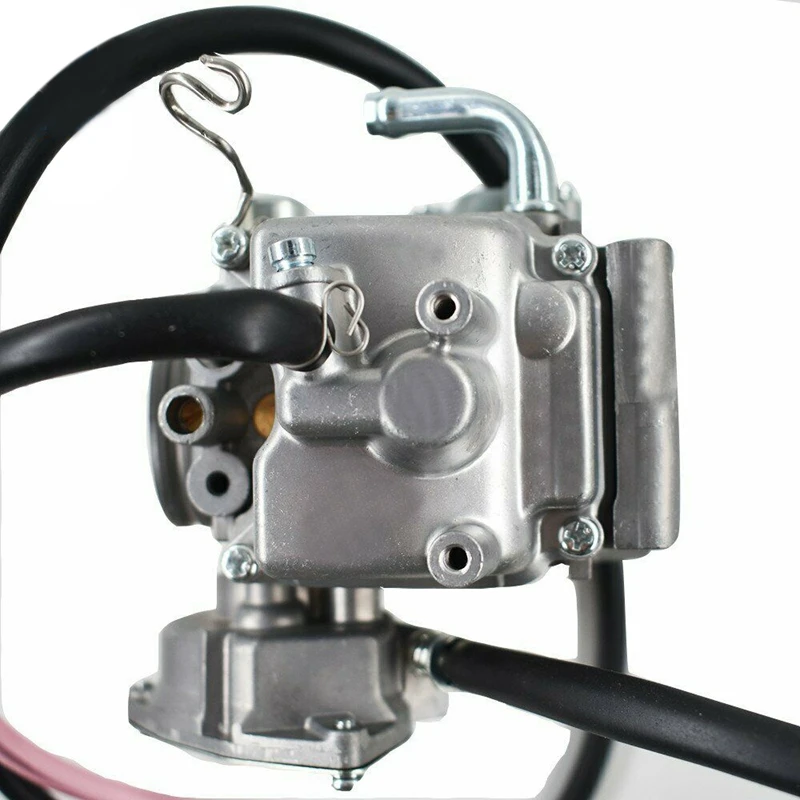
Kyiv, Darnitsky Today 02:14
Motorcycle parts and accessories » Motorcycle parts
UAH 2 463
Kyiv, Goloseevsky Yesterday 20:00
Motorcycle parts and accessories
250 UAH
Motor parts and accessories
340 UAH
Motorcycle parts and accessories » Motorcycle parts
500 UAH
Vinnitsa, Leninskiy Yesterday 10:37
Motor parts and accessories » Motor parts
116 UAH
Motorcycle parts and accessories
75 UAH
Motorcycle parts and accessories » Motorcycle parts
Guaranteed to receive the goods or money back to the card More..jpg)
344 UAH
Motorcycle parts and accessories Motorcycle parts
519 UAH
0003
UAH 2,500
Motor parts and accessories
200 UAH
Motorcycle parts and accessories » Motorcycle parts
Guaranteed to receive the goods, or money back to the card More.
UAH 399
Motorcycle parts and accessories
UAH 1,200
Motorcycle parts and accessories » Motorcycle parts 9
Michazuki (10.