You cannot enjoy an ATV ride without trustworthy brakes. That being said, brake issues are a common trouble spot, which is why it’s important to know how to repair or replace your brake lines. Brake lines can corrode inside and out, causing a lot of problems, including safety issues when you are out for a ride.
The biggest issue in dealing with ATV brake lines is working with the hydraulic system. Changing a brake pad or disc is fairly simple, but when you get into brake line repair and replacement, you’re looking at something more complex. We have a handful of tips to make your repair job easier.
Often, people will try replacing components like pads, rotors, and drums when they are having brake issues. However, it could very well be the brake line that is the problem. Today’s ATVs usually come with inexpensive, rubber lines as the stock option from the factory.
These brake lines are not bad, but they may not be exactly what you are looking for in terms of performance. Regardless of the lines installed on your ATV, you will typically need to replace them annually.
Make sure that your brake lines are the right size for your ATV. Consult your owner’s manual for assistance if need be. You will also be able to choose different fittings and potentially even custom colors for your brake lines. The material matters, too, for instance, upgrading to stainless steel braided lines for greater durability.
You will need to be prepared to collect any brake fluid coming from the system, so get those pans ready. Perform brake line replacement as swiftly as you can without cutting corners.
Usually, your ATV will have a master cylinder for the front brakes up on the handlebars and another cylinder for the rear brakes. Some have a master handlebar cylinder for both front and rear brakes. Consult your manual to understand the specific layout of your machine or find the master cylinder by tracing the brake lines from the brake caliper.
Remove the bolts holding lines in place and get your drain pans in position before loosening banjo bolts on the calipers. Once you have done that, the lines will drain via gravity. You can hasten this by removing the reservoir cover. When everything is drained, pull the old line from the reservoir and through the frame, noting how the line is routed.
Lay out your new lines. Route them through the same way the previous lines were installed. Attach to the reservoir using crush washers on each side of the line fitting to prevent leaking, and do the same on the calipers. As you attach hardware, be sure you are meeting the torque recommendations from your owners manual.
Then, fill the brake system with fluid again. Start at the reservoir and watch to make sure the reservoir does not empty.
ATV brake systems are hydraulic, which means they use brake fluid to function properly. Sometimes, that fluid needs to be removed or bled to remove trapped air or to replace the fluid. When you are completing a brake line repair or replacement, chances are good that air will get into the lines. You’ll need to bleed the system.
To bleed the brakes, you will need a jack, a wheel nut tool, a hex or Phillips bit, and a wrench for the bleeder. You will also need someone to press the brake lever. Finally, you’ll need more brake fluid.
Jack the ATV up, remove the wheels for better access, and take the cap off the reservoir. Clean the cap, then top up the fluid, ensuring that it never drops below the minimum. Put the cap back on, then pump the lever or foot pedal a handful of times, keeping the lever active with a friend’s help. Open the bleeder valve, which will allow brake fluid out, watching until there are no bubbles coming out of the bleeder.
After you have installed your new ATV brake lines, it is time to break them in. Take your ATV for a gentle, light ride, using the brakes but not too much. Let the brakes cool down regularly and keep an easy touch on them. This helps ensure everything is where it should be and should flag any remaining issues to you as the rider.
Your brake lines may have come with specific information about how to properly break your brakes in. Follow their protocol if it differs from this one. Every manufacturer knows how their products perform best.
Repair your ATVs brake lines but be patient and do so carefully. Safety is critical. And when you take the time to break your brakes in, you will enjoy greater longevity and effectiveness from your machine.
Disclaimer: While we endeavor to keep the information on our blog up to date and correct, Maxtrade (Coolster) makes no representations or warranties of any kind, express or implied about the completeness, accuracy, reliability, suitability, or availability with respect to the website or the information, products, services, or related graphics contained on the website for any purpose. Any reliance you place on such material is therefore strictly at your own risk.
|
|||||||||||||||||||||||||||||||||||||||||||||||||||||||||
| Top |
ATV brakes are a basic safety system and should work perfectly. And if you notice the slightest slippage or decrease in the efficiency of the nodes, the system needs to be checked. Therefore, let's figure out how to pump the brakes on an ATV and diagnose all the components.
The first fluid change is recommended as soon as the rider has purchased the ATV. The fact is that many manufacturers fill in the cheapest composition, which does not have a high operational resource.
After buying a used ATV, you also need to service the brake system: change the fluid, check the hoses and pads. Remember that during the operation of equipment, moisture and air enter the composition. This leads to the formation of corrosion and even freezing of the liquid in winter. For example, if the composition contains only 3% water, its operating temperature drops from 230 to 165 degrees.
You need to figure out how to pump the front and rear brakes of an ATV even in case of their “failures”. If the lever has lost its elasticity, then air or moisture has accumulated in the system, which has affected the characteristics of the fluid.
Before you adjust the brakes on your ATV, have the necessary tools ready. To bleed the system you will need:
 It is best to take a bottle and a tube from a dropper, which can be connected to a drain fitting. Thus, the spent composition will not get on the parts of the ATV.
 It is worth noting that in order to pump the ATV, you need a partner who will clamp the brake lever. If there is no assistant, you can fix the position of the brake lever with a belt.
Bleeding the brakes scares many motorists. However, the procedure itself is very simple, so even a novice ATV rider can handle it. The rider only needs:
 Before you bleed the front brakes on your ATV, make sure you have access to the caliper. If you can’t get to the node, you need to remove the wheels.
  Such pumping is performed until the lever becomes elastic.
 This procedure is carried out for all calipers (front and rear). But if the brakes on the ATV do not pump, then you need to find places in the system where air accumulates and eliminate them.
Experienced motorists recommend using only high-quality brakes that are suitable for specific temperatures. This means that for summer and winter you need to choose different compositions.
Riders also advise:

Also buy a spare brake. If the documentation indicates that 0.5 liters of fluid is needed to bleed the system, buy 1 liter of the composition. The fact is that the recommended volume is indicated based on the experience of specialists. A novice ATV rider can spend more brakes.
19.02.2021 3920
Buying a reliable ATV is great. But in order for it to be really reliable and not fail at the most inopportune moment, it must be regularly serviced, and in particular, the brakes must be bled after the repair of the elements of the brake system.
To bleed the ATV brakes yourself, you will need the following tools:
ATV's brake circuits operate from the front and rear brakes. The first is located on the frame of the vehicle, and the second is on the steering wheel.
To complete this procedure, and Linghai ATVs are no exception, you need the help of a friend. Bleeding the rear and front brakes of the ATV is as follows:

Checking if the ATV's brakes have been bled correctly is quite simple, just press them. If you feel a moderate hardness, then everything went well, and if they are still soft, then this means that air has entered the brake system. To get rid of it, slightly loosen the brake hose fasteners.
Among the most common breakdowns of the brake system of an ATV, it is worth highlighting:
If your ATV's disc brakes are deteriorating, it is recommended that you bleed them by changing the brake fluid. Preliminary check all elements of the brake system for serviceability and absence of damage in order to exclude the possibility of their wear. If any part of the ATV is still out of order, then it should be replaced with a new one.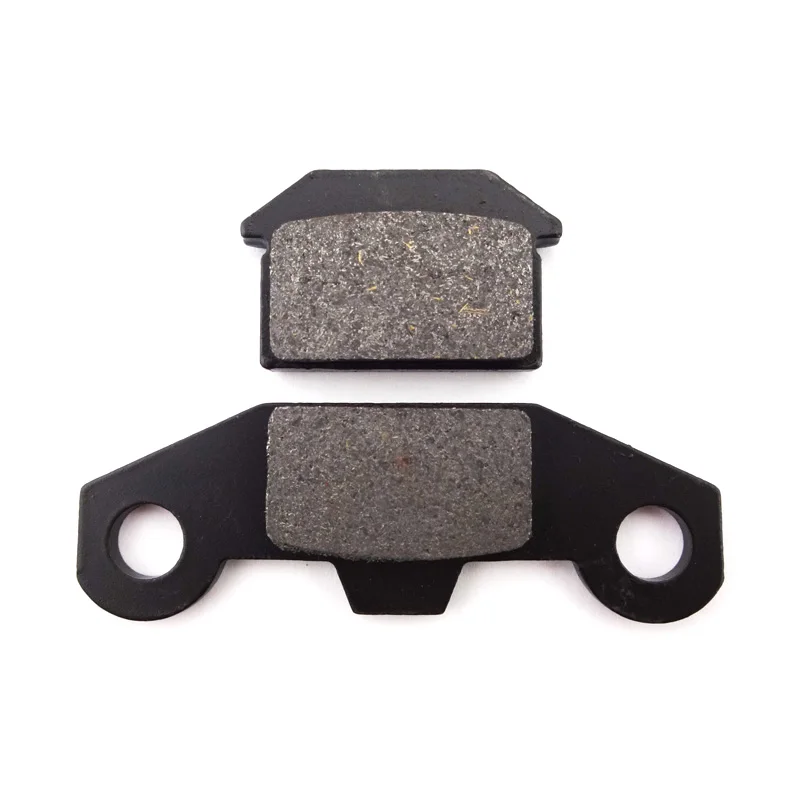
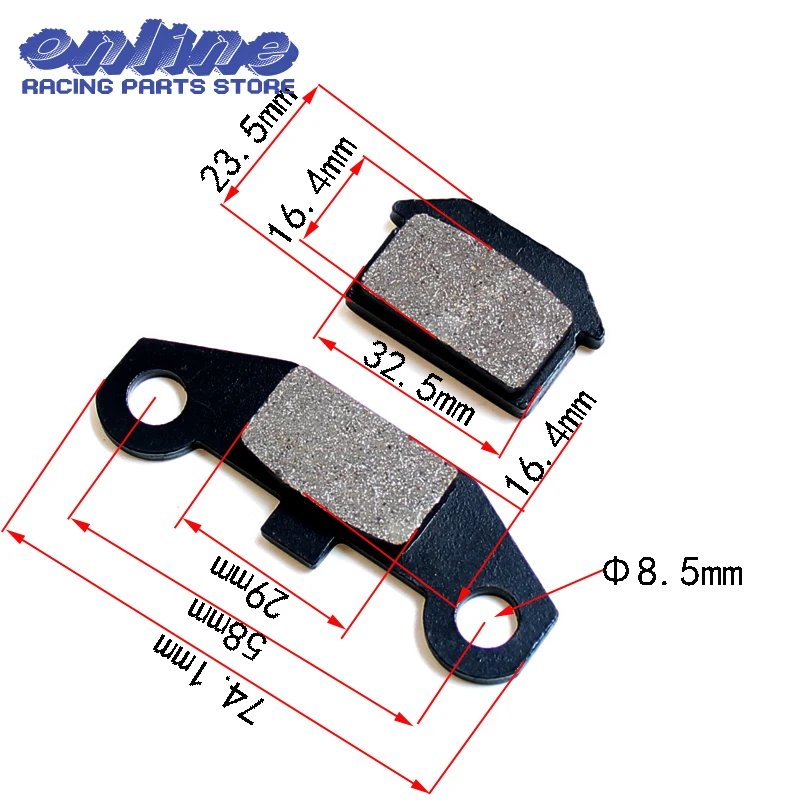
Brake pads break more often than other functional motorcycle components because they are made of composite materials instead of metal. The pads can be replaced both independently and by contacting a service center. Quite often, the brake calipers of the ATV also break. With sudden braking, they overheat, which negatively affects the service life of this component. In order not to have to repair the brake calipers too often, it is recommended to change the oil regularly. Sometimes calipers from OKI are put on ATVs, but before that they need to be somewhat modified on a milling machine. A good option if the original calipers cannot be repaired.
Bleeding the brake system on children's ATVs is the same as on full size motorcycles. The main thing is to choose a high-quality and reliable brake fluid that will cope with its task at a decent level.
The most wear and tear-prone component of a child's ATV is the brake pads.