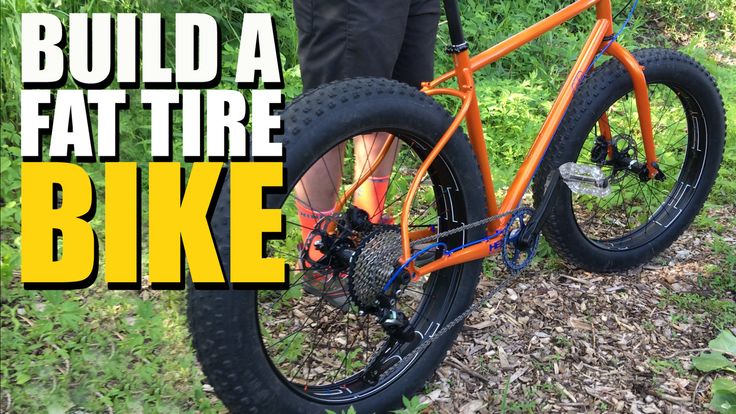
Update: While we originally featured Mongoose brand bicycles in this post for their low price and wide availability, their lawyers responded indicating that their bicycles are not tested for the added load of a motor and batteries and should not be used for e-bike conversions. We have replaced these bicycles with good alternative options, but which are slightly more expensive.
Update 2: We did it – here’s our $700 DIY Fat Tire Ebike
Electric bicycles are great for recreation, allowing you to take in the sights and explore trails without working up a sweat. If you want to ratchet up the fun even more though, you’ll definitely want to try a fat tire electric bicycle. With their exaggeratedly wide tires, these bikes open the door to a wider ranger of terrain and an even more comfortable ride. From beaches to muddy trails and even snow, fat tire electric bicycles can conquer nearly any type of riding.
While there are a number of commercially available electric fat tire bikes to choose from, you can actually save money by building your own. By going the do-it-yourself route, you can also choose the exact components that are right for you. Let’s take a look at a few different ways you can build your own custom fat tire electric bicycle.
The first thing you’ll need is a basic level of handiness. You don’t have to be a mechanic, but as long as you’re comfortable turning a wrench and have the necessary skills to swap a flat tire on a bicycle, then you’re probably ready to build your own e-bike.
Next, you’ll need three basic components:
These are the three pieces to the puzzle, and they allow you to customize your fat tire e-bike to fit your own specific needs.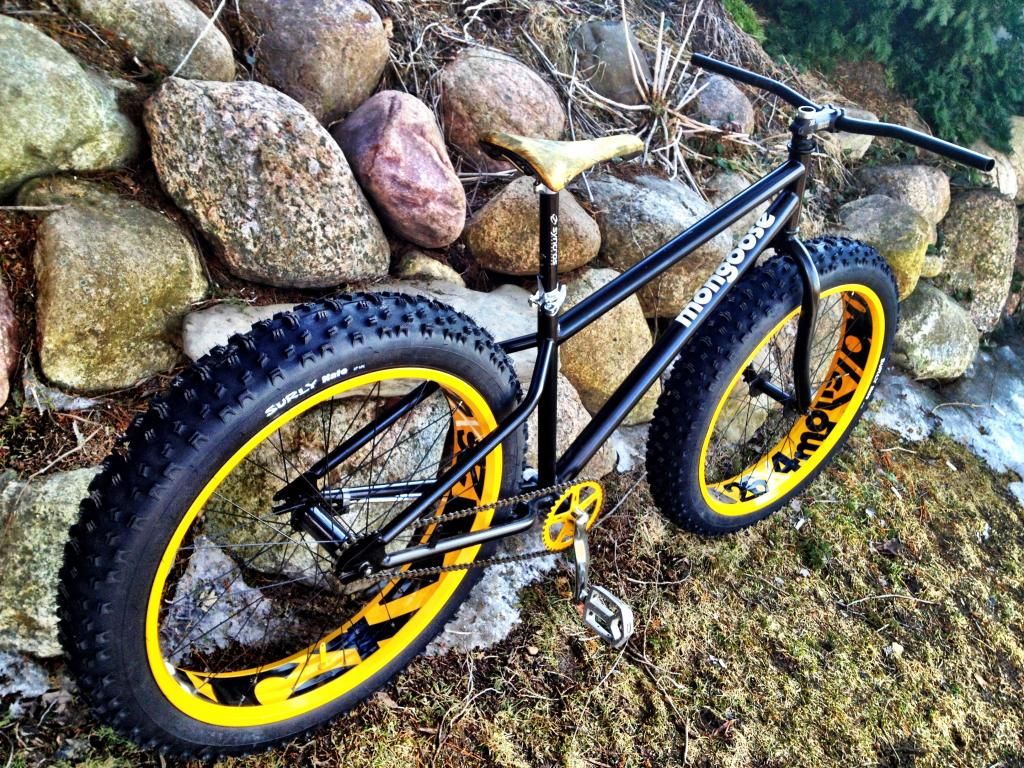 Each of these components are available with different quality levels as well, which will effect the build quality, cost and safety of your e-bike.
The most common question I hear about DIY electric bicycles is “What’s the cheapest I can spend on an e-bike conversion for?”
I always shudder a little bit when I hear this, because “cheapest” and “good” rarely go together. However, I like to give people a range of options, which is exactly what I’ll do here. I’m going to layout three options, or recipes, for building an electric fat tire bike. These bikes will be something of a “good, better, best” situation, starting with the cheapest option and then adding higher quality, better features and additional cost.
Here we’ll look at the absolute, rock bottom, dirt cheapest way to build your own electric fat tire bicycle. This will absolutely provide you with a fun fat tire e-bike, but the main sacrifice here is the quality of the donor bike.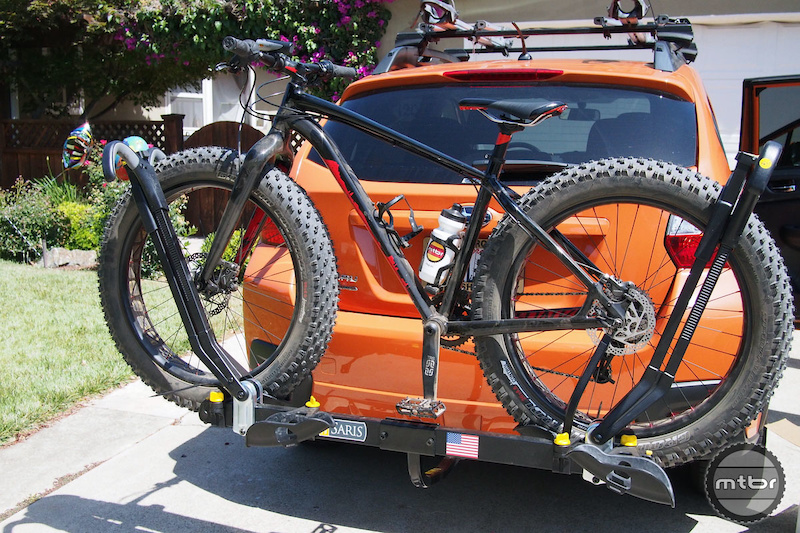 It has no fancy features like gears, suspension or even handbrakes. Want to stop? Channel your inner 10 year old on a BMX bike and simply pedal backwards.
For that reason, I recommend this option for use only off-road or maybe in bike lanes. But due to the lack of hand brakes, I wouldn’t ride this on the road with cars. This option is mostly for fun on open ground.
Ok, now that we’ve got that out of the way, let’s see the parts.
The fat tire bike
We’ll start with this beauty, a Krusher Men’s Dynacraft 26″ fat tire bike ($258.99). Nothing fancy, just a bike with giant tires. It will work fine for our purposes, though people usually complain about the uncomfortable seat. You might want to toss a cheap gel seat cover over it.
The electric bicycle conversion kit
For this bike, we can use either a front or rear wheel motor. Front motors are often a bit cheaper, so we’ll go with one of those on this budget build.
We’ll can select a 1 kW front wheel fat tire electric bicycle conversion kit ($209.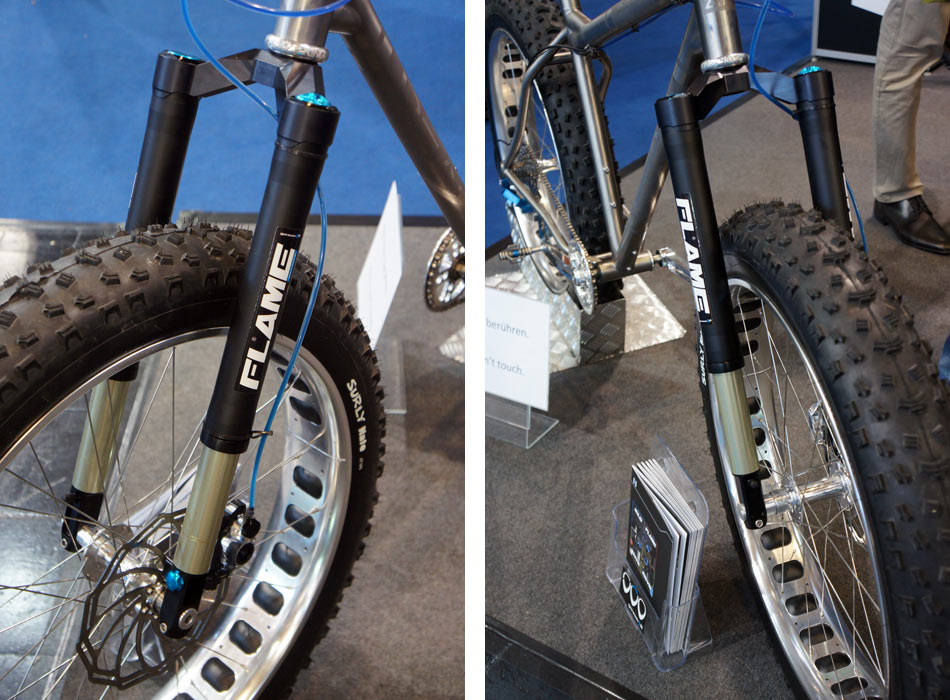 90). This kit should get you up to ~27 mph (43 km/h). The speed and power of this kit will definitely be fun on a fat tire bike, but both are usually not street-legal in most states, so remember that this is an off-road e-bike.
Also, note that this is a lot of power to put in that front bicycle fork. Since the fork is steel and not aluminum or magnesium, it will probably be alright, but just to be safe, it’s not a bad idea to add a torque arm to help secure the motor from spinning in the fork.
The battery
The last component we’ll need is a battery. Since our e-bike conversion kit is designed for 48V, we also need a 48V battery. This 48V 15Ah battery by Vpower ($179 + $79 shipping to US) should do the trick. It’s not the highest quality battery I’ve ever seen, but it will drive our e-bike and the price can’t be beat, which is the goal of this particular e-bike recipe. We’ll look at higher quality batteries for the next couple builds.
Putting it all together
The actual conversion process is surprisingly simple. Start by flipping the bike upside-down and removing the front wheel. Pull the tire off the wheel after letting the air out of the inner tube, then transfer the inner tube and tire over to the motor wheel. Pump the tire up and then place the motor wheel back into the bike, tightening down the axle nuts and adding your torque arm if you so choose.
Bolt, zip tie or otherwise connect the controller box to the bike frame, and bolt the throttle onto the handlebars after removing the handle bar grip on the right side.
Connect the wires from the motor and the throttle to the controller. You can also install the brake levers if you’d like, but remember all they do is cut the power to the motor, since we don’t have actual hand brakes on this bike.
It is possible to add regenerative braking to the front of the bike using the motor, but you’d have to swap out the controller in your kit to a new one with a regenerative braking function. Doing so might mean that the connectors won’t match exactly, which would require some custom wiring on your part to make the connectors fit each other.
Lastly, mount the battery onto the bike, either in a bag, on the rear rack, or in a custom mounting box that you can build yourself. Then connect the battery’s positive and negative wires to the controller’s positive and negative wires.
Now you can flip the ON switch for the battery and give the throttle a slight twist while lifting the front wheel up in the air, where it should spin gloriously. If it isn’t spinning, just check your wires and make sure everything is connected to the matching connector.
You’ll probably want to zip tie the wires down to the frame, or you can even get fancy and add spiral wire wrap for a more professional appearance.
The total cost of this barebones build is $726.89, which is ridiculously little for a 27 mph fat tire e-bike. If you want to step it up a notch though, we can do a bit better with a slight bump up in quality of the components. Let’s look at that option next.
For just a little more money, we can build a fat tire e-bike that I’d be much more comfortable on. The first thing to upgrade is the bike itself.
The fat tire bike
For this middle of the road option, we’ll upgrade to the Polaris Wooly Bully fat tire bike ($279), which gives us front and rear disc brakes as well as 7 gears to choose from. Those gears will come in handy if the battery dies and we want a prayer of pedaling this behemoth back home.
The electric bicycle conversion kit
Now that we have real brakes, we aren’t stuck with a front wheel conversion kit. Let’s go with a similar style 1 kW fat tire e-bike conversion kit, but with a rear wheel motor ($208.99 + $23 shipping in US). The rear wheel motor will perform better, giving us improved traction and handling.
The battery
We have some room to upgrade here as well, which is good, because the battery is probably the single most important part of an electric bicycle. For this build, we’ll use a “Dolphin style” frame mounted 48V 11. 6Ah battery ($429.99). Even though the capacity is a little lower on this battery than our previous budget battery, the cells are higher quality Panasonic cells and should last longer while providing more power. Plus this style of battery case easily mounts and locks to our bike, saving us from having to MacGyver a custom solution.
Putting it all together
The conversion process is essentially the same as in the previous budget bike above. You’ll remove your old rear wheel, swap the tire and inner tube over to the hub motor wheel, then reinstall the hub motor wheel. You will also need to transfer your gears from the old wheel over to the motor though. This can be done with a freewheel removal tool, or if you want to get creative, with common hand tools (not the recommended method).
Next mount your controller and throttle, followed by your battery. The battery will bolt onto the frame where the water bottle holder normally sits.
Lastly plug in all of your connections and you’re ready to ride!
The total cost of this build is $940. 98, and results in a fat tire e-bike that I would be more confident riding due to the addition of handbrakes and a higher quality battery.
I’m still trying to keep these e-bikes affordable, so this isn’t the absolute nicest possible fat tire e-bike, but its the nicest of the three options here. We could keep increasing quality and features all day, but at a certain point it just isn’t worth the cost anymore. This e-bike is about the most I’d pay to get good quality results on a budget.
The fat tire bike
For our nicest fat tire electric bike option, we’ll upgrade to a nice GMC 26″ fat tire electric bicycle ($401.84).
The electric bicycle conversion kit
Instead of using a hub-motor kit for this e-bike, we’ll use a mid-drive motor instead. This will give us both a lower center of gravity and the ability to use all of our gears with electric power, which is great for hill climbing or riding slower through sand and snow. I’d recommend either a 750 W Bafang BBS02 ($749) or a 1,000 W Bafang BBSHD ($679).
The battery
For this e-bike, I want to go with a very high quality electric bicycle battery, so I’ll choose a 50V 17.1Ah triangle battery from EM3EV ($566.70 with shipping to US). This battery is one of the best constructed e-bike batteries I’ve ever seen, and even comes with a triangle mounting bag – the same bag I use to hold the battery on my personal e-bike.
Putting it all together
The conversion process when using a mid-drive motor is a bit more complicated. It’s much easier to see it performed than to explain it, so I recommend watching the install videos. Essentially, you need to remove the pedals, pedal cranks and bottom bracket assembly from the bottom of the bike and replace it with the motor and the pedal cranks that come with the motor.
Then you’ll add the triangle frame bag and insert the battery. Finally, you simply connect all the wires to the throttle, motor and internal controller. Now you’re ready to ride!
This would be a really awesome e-bike for tough off-road conditions or city commuting, where you could hop curbs and barely feel it under the 4″ tires. The total cost for this conversion comes in at between $1,647.54 and $1,717.54, depending on which mid-drive motor you choose.
Even though I’m a big fan of the DIY method, there are still a lot of great retail fat tire electric bicycles out there. So if you want to get riding right away, you might consider skipping the part where you get your hands dirty and instead jump straight to the unboxing.
There are some decent yet cheap fat tire e-bikes, such as the GoPlus 26″ fat tire e-bike ($729.99) or the Ecotric 20″ folding fat tire e-bike ($790). The folding option is nice for those that don’t live right next to their desired fat tire bike playground and need to put the bike in their car, but the smaller wheels can make the ride a bit harsher. These are also both 36V 350 W e-bikes, so don’t expect the speed or acceleration to be overwhelming.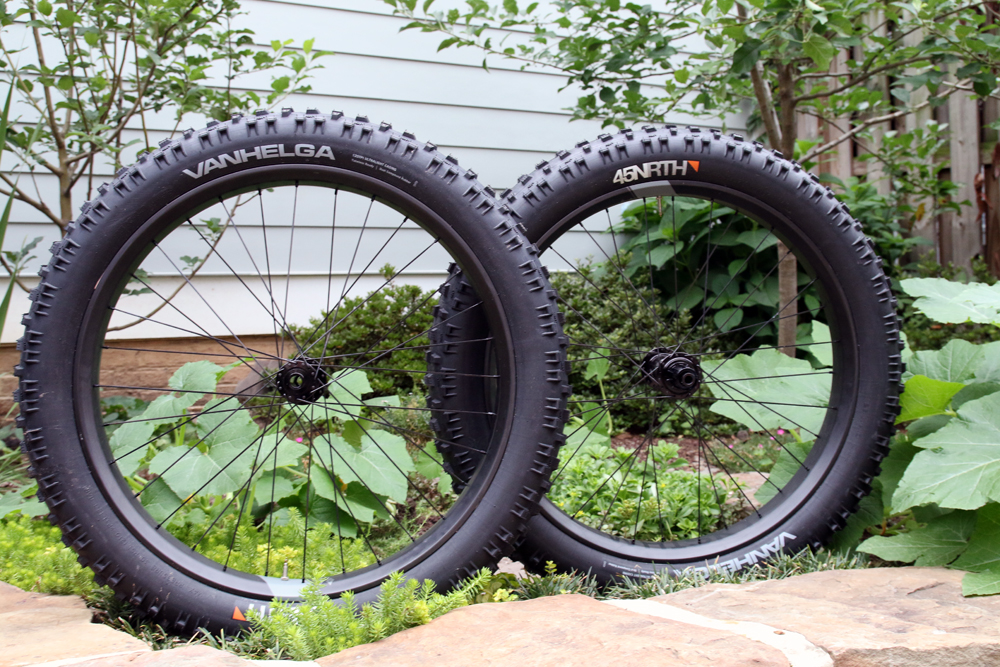
You could bump up the power slightly to Ecotric’s 500W 26″ fat tire e-bike ($980) for a little more excitement, but you’ll still have a 36V battery which limits the top speed and acceleration.
For real power and fun, you’ll want to look for a 48V option, such as Cyrusher’s 48V 500W 26″ fat tire e-bike ($1,639) or just throw caution to the wind with their upgraded 48V 1,000W ($2,139) version instead.
Have you ever ridden a fat tire electric bike? Let us know what you thought in the comments below!
FTC: We use income earning auto affiliate links. More.
Stay up to date with the latest content by subscribing to Electrek on Google News.
You’re reading Electrek— experts who break news about Tesla, electric vehicles, and green energy, day after day. Be sure to check out our homepage for all the latest news, and follow Electrek on Twitter, Facebook, and LinkedIn to stay in the loop. Don’t know where to start? Check out our YouTube channel for the latest reviews.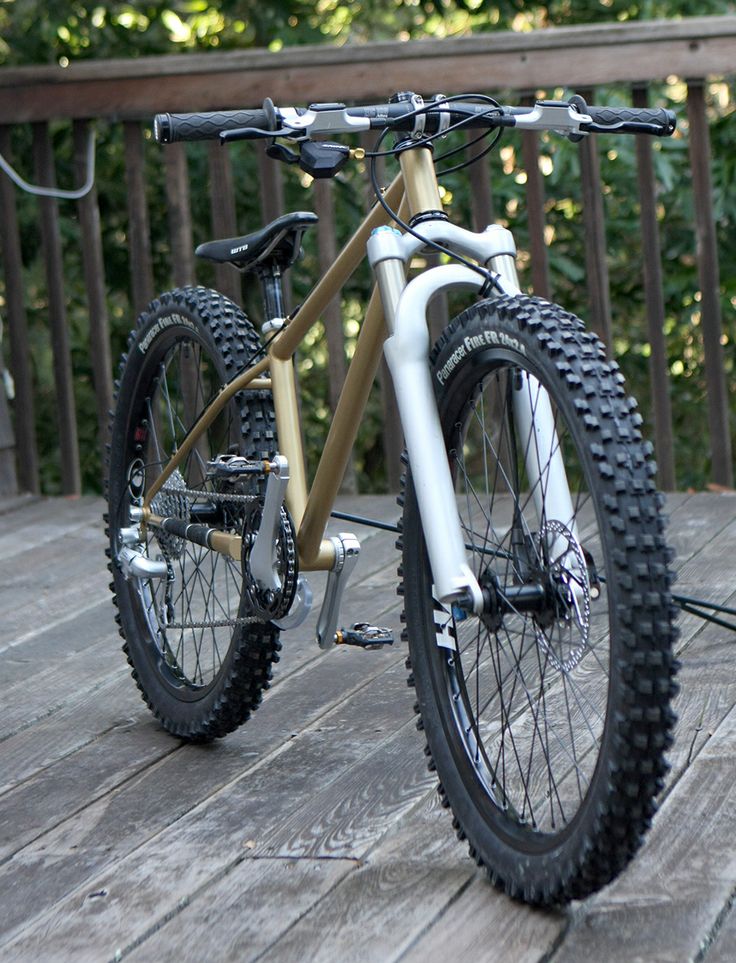
Fat tire bikes are bicycles with enhanced tires that provide more traction, object-level clearance, and flotation than typical mountain bikes. Fat tire bikes are popular with winter riders because they can ride in snow or sand that would stop a regular bicycle. Many people view fat tire bikes as more comfortable to ride than regular bicycles because the larger tires provide a smoother ride. The origins of these bicycles are unclear. It's possible that early iterations of the bike simply used two standard bicycle tires on the front and back wheels.To build a fat tire bike, start with the right size bicycle frame. This is the ultimate guide to fat tire bikes and everything you should know about building a fat bike. Let’s dive in.
So you want to build your own fatbike frame? That's awesome, but it's also a lot of work. You need to know that this is a project that will take a lot of time and patience, but the good news is that there are plenty of ways to cut corners.
One of the first decisions you'll have to make before beginning is what material to use for your frame. Aluminum, steel, titanium, and carbon fiber are all options. If you have access to cheap scrap metal, you can start by cutting out the tubes, shaping them with a grinder, and bending them with a brake. For most people, this will be the cheapest option.
A fat bike fork is a key component for a successful fat bike. Fork building is a favorite of many bike enthusiasts because it is a way to add onto an already favorite bike. In order to build a fat bike fork, you will need to gather the necessary tools and materials. The process of building fat bike forks is very similar to the process of building any other type of bike fork. It is important to first purchase or salvage suitable forks for your frame before beginning the process. Some forks are not suitable for this project. Ask yourself whether the forks are made of steel, aluminum, or carbon fiber. After you have purchased or salvaged forks, begin by cutting down the forks so they are the same length as the frame. If the forks are steel, it is important to sand them down so they are smooth. You can do this by using sandpaper, wire wool, or sanding discs.
So you've bought a fat bike and now want to build bike wheels? To build bike wheels you'll need some bike spokes. The spokes should be of the same length and the thickness should be about 3/32". You'll also need a spoke wrench to tighten the spokes onto the nipple, and a nipple wrench to tighten the nipple to the hub. First, take the spoke and put it aside. Take the nipple and stick it into the hub until it's almost up to the top of the slot on the side. It's easier to keep the spoke and nipple aligned if you're near the top. Now take your spoke and drape it over the nipple. Make sure the end of the spoke dangles over.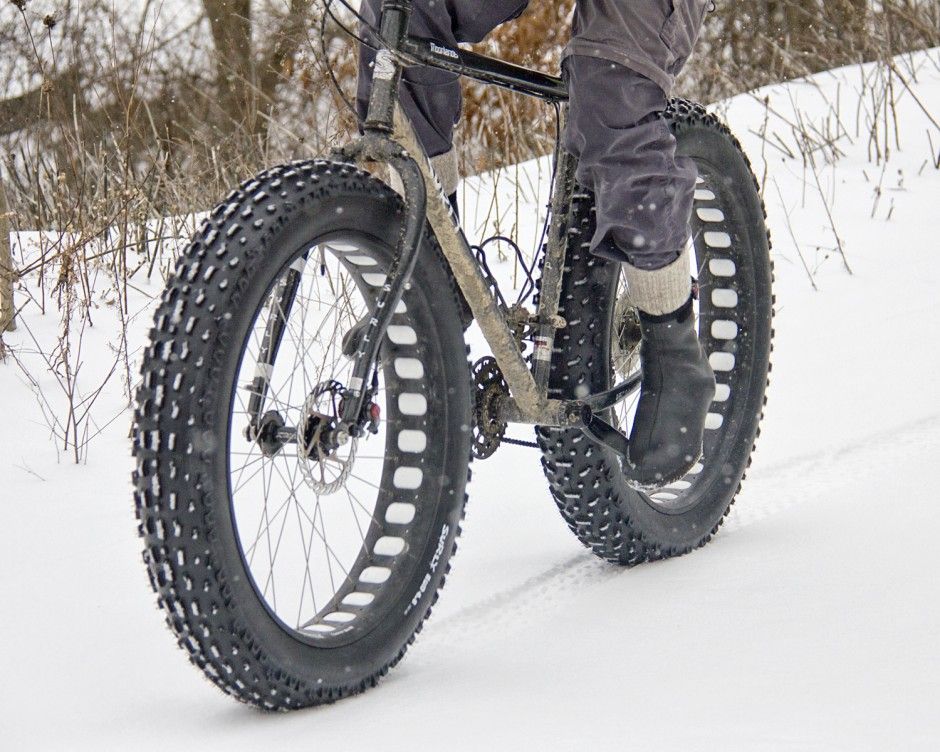
Unfortunately, many people don’t know how to build a fat bike wheel or how to keep it running smoothly. Fat bike wheels are heavier than regular bike wheels because they are made with large tires that are inflated to high pressure. This makes the bike slower but better for off-road biking. To build a fat bike wheel you need to remove the tire from the rim, install the rim tape, put the tire back on the rim, inflate it, and then cut the excess rim.
When people are getting ready to start riding bicycles, the first thing they need to do is assemble the bike. Before assembling the bike, be sure to wear protective gear, including a helmet, gloves, and eye protection. It is also necessary to wipe off the bike with a damp cloth or towel before starting assembly.
Using your Allen wrench, loosen the handlebar bolts. With the handlebar set to the lowest position, secure the handlebars to the bike frame by inserting bolts into the top of the handlebars to secure it. Insert bolts into the bottom of the handlebars to secure the handlebars to the bike frame.
Insert bolts into the bottom of the handlebars to secure it. Next, attach the front wheel. The front wheel is the farthest wheel from the ground. Once you have attached the front wheel you can ride your bike!
Building a fat tire bike can be a lot of fun, but that doesn't mean it's an easy task. Follow these tips to ensure that you have a good time, don't break your new bike, and finish the job quickly. Make sure to use the right tools. For example, if you are working with metal, you will need a metal cutting saw. If you are working with wood, you will need a drill or a saw of some kind. Find instructions on the Internet. It never hurts to have instructions for what you're doing - it can help you not get frustrated, and it will give you a better idea of what you're going to do.
For all of you who are looking for a great way to get around town or maybe just spice up your daily workout routine, there are some fantastic options out there for electric fat tire bikes.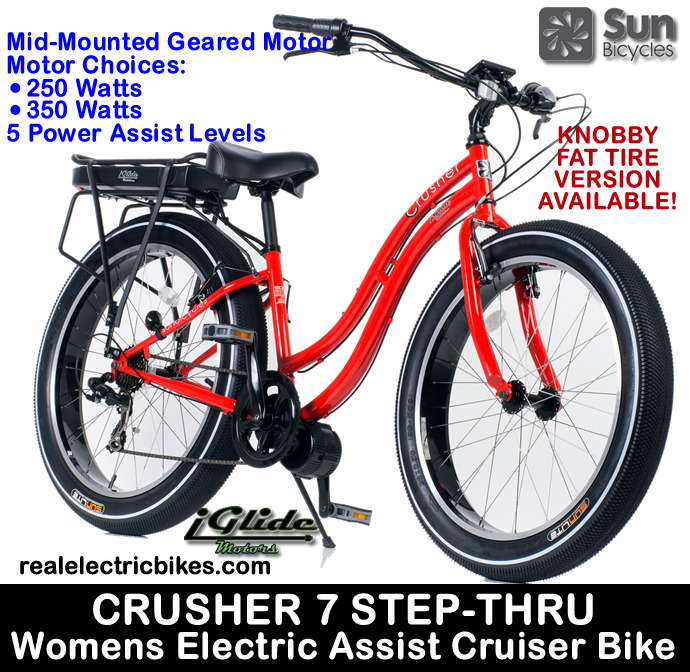 These electric bikes are, of course, powered by electricity so they are very quiet and eco-friendly, but come in all different shapes, sizes, and styles. There are nearly limitless customization options available for riders who want to create their own unique fat tire electric bicycle. It is important to start with the bicycle itself because that is what will be powering your e-bike. Bicycles come in many different styles, various fat tires, but there are two main types of bicycles that are used for e-bikes. The standard bike is the most affordable and easiest to start with.
For example, fat tire electric bikes with batteries are a great way to get around the city and other nearby areas. They are a great way to exercise and keep active while out and about. They can be used for other things as well, such as trips to the store; however, if you plan on using your electric fat tire bike as an everyday vehicle, it is recommended that you at least register it as a moped. Doing this will allow you to use it as an everyday vehicle and still be able to avoid insurance and auto registration. Fat tire e-bike usually have a wide range of features and battery life. It is important to go over these features and battery life before purchasing one.
If you're a mountain biker, you probably know that fat tire biking is the fastest-growing segment of the sport. Fat tire bikes, also known as plus bikes, feature tires 3.8" wide or larger. They tend to be designed around the idea of riding on sand, snow, and other soft terrain. With all their cushion and traction, fat tire bikes can provide a more enjoyable and comfortable ride than traditional mountain bikes.
We hope you enjoyed our blog about how to build a fat tire bike.
As you can see, fat tire bikes are a great way to get out and enjoy the great outdoors.
We hope we were able to help you get started on building your own bike and we look forward to seeing all of the beautiful places you decide to take your bike!
Fat bikes are the trendiest bikes out there - and for good reason. They’re versatile, lightweight and can tackle almost any terrain, whether it be snow, sand or mud.
Fat bikes are the ultimate adventure bikes and the booming trend has meant that we’re seeing more and more fat bikes in our local and regional stores.
The mountain bike has wider, bigger tires that give the bike more stability and make it easier to ride. This bike has a specific purpose, and the tires are made to make it easier for the user to ride. Now, let's look at fat tire bikes. These bikes are designed for two different purposes: For people who ride in the snow, and for people who ride for fun. These bikes have tires that are even bigger and thicker than the tires of a mountain bike.
Yes, fat tire bikes are good for beginners. The reason behind this is that fat tire bikes provide more stability than other bikes. You can ride them on pretty much any terrain without much trouble. Since these bikes are sturdy and stable, they are also comfortable and allow you to ride for a longer period of time. Fat tire bikes also have a lower center of gravity than other choices in the market and in turn, provide a heightened level of security and control to the rider. They are also comfortable and provide you with a better ride.
Fat tire bikes have gears. They have a different gearing system from road bikes. Fat tire bikes have a large wheel in the back that rolls more slowly. It has a smaller wheel in the front that rolls around more quickly. In technical terms, this is called a gear ratio. Gear ratios on a fat tire bike are different from road bikes. To get a higher gear on a fat tire bike, you can either pedal more slowly or add a little more pressure to the tires.
ABOUT THE AUTHOR
Olivia Poglianich
Content Strategist
Olivia Poglianich is a nomadic brand strategist and copywriter in the ski and snowboard space who has worked with brands such as Visa, Disney and Grey Goose.
Her writing has taken her all over the world, from a Serbian music festival to a Malaysian art and culture event. Olivia is a graduate of Cornell University and is often writing or reading about travel, hospitality, the start-up ecosystem or career coaching. Her latest interests are at the intersection of web3 and communal living, both on and offline.
Fatbike (from the English Fatbike), literally translated as “fat bike”, got its name because of the very wide wheels, the tire width of which is from 3.8 to 4.5 inches. Despite its exoticism and low prevalence, the bicycle is quite popular due to its unique driving characteristics.
Large wheels allow the fatbike to ride on almost any surface: rocks, sand, swamps, tall grass or snow. nine0003
Fatbike was created in Alaska by Mark Grunwald.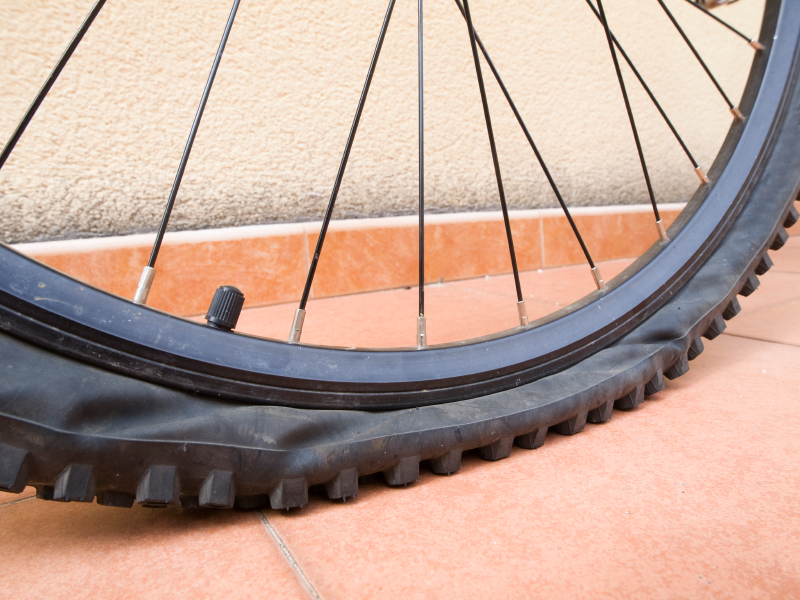 Hence the main purpose of this bike is high snow flotation. Mark is also the originator of the term "fatbike". Three-inch tires stretched on 80mm rims to a width of about 3.5 inches.
In fact, a fat bike is the same mountain bike. Attachments - switches, brakes, cassettes - are exactly the same. But, let's see what is so special about it that others do not have.
All-terrain and versatility of this mode of transport is achieved through the use of different tire pressures - from 5 PSI (very soft wheels), to 30 PSI (feel like a stone).
At low pressure, the wheels "absorb" all the bumps, as if "spreading" over the surface. nine0003
But, this ride has its drawbacks: pedaling becomes harder, as well as entering the turn. But you can easily go where other bikes can not do it.
If such a "superpower" is not required at the moment, you can increase the pressure in the tires, and then the wheels of the fatbike will behave in the same way as the wheels of a conventional bicycle, with standard inflation.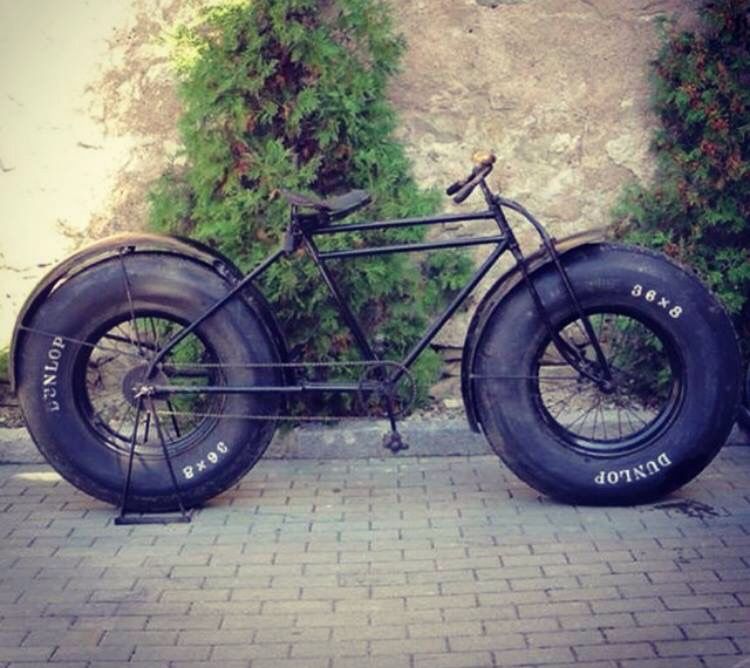
There are single speed fatbike models. As a rule, these bikes have a rigid fork. With such wide wheels, the ride is very smooth, so there is not much need for additional shock absorbers. nine0003
Fatbike weight ranges from 14 to 17 kg. The heaviest thing about a fatbike is the wheels. Rubber weighs 1300-1500 g, rims are about 1000 g each, the chamber is 450 g, the rim tape is 140 g. Together with the spokes, the bushing comes out to about 3300 g per wheel. Despite the large wheels, the ride of a fat bike is almost the same as a regular mountain bike, and thanks to the same transmission, it is easy to choose the right gear ratio for a comfortable ride.
As for the fenders, they are not made specifically for fat bikes. You can do it yourself by sawing an ordinary wing in half and installing a spacer in the middle. Or use wide DH fenders like the SKS GRAND D.A.D. and SKS GRAND M.O.M. nine0003
There are about 20 manufacturers of such bicycles and their accessories.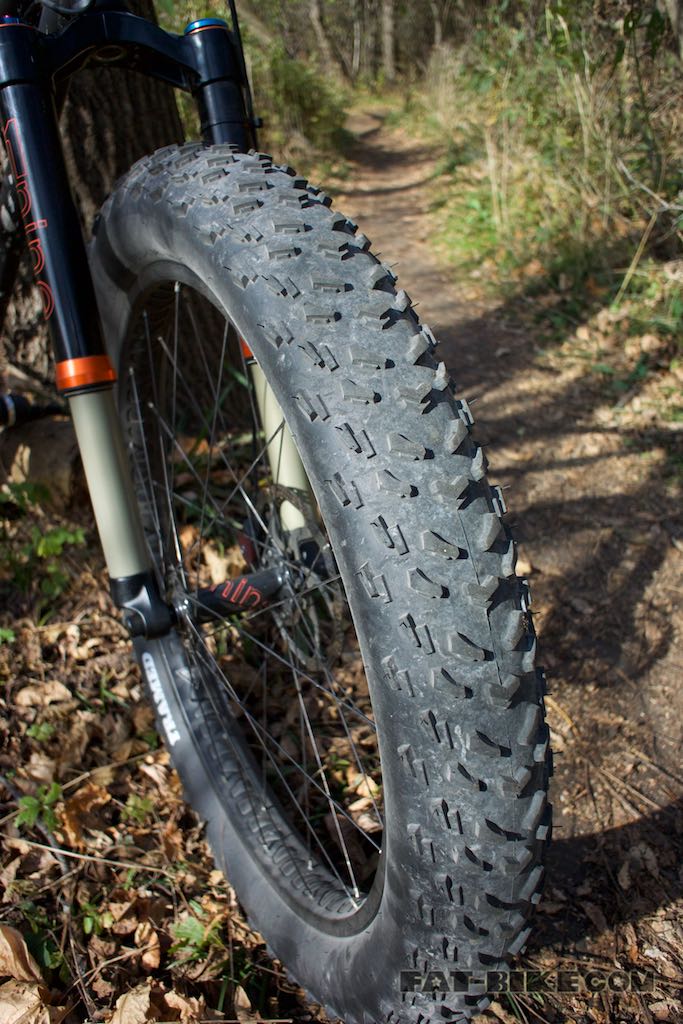 Some of these firms are engaged in the individual manufacture of frames and forks according to the dimensions or drawings of the customer.
Here are the most popular ones:
The first company to mass-produce fat bikes. Located in the USA. The frames are made exclusively from chromium molybdenum, which ensures high strength and corrosion resistance. There is practically no fat bike from other manufacturers, wherever there is at least one spare part with the Surly logo. nine0003
The second major manufacturer of fat bikes, has 3 frame models in its arsenal, two made of aluminum - MUKLUK 2 and MUKLUK 3 and one model made of titanium - MUKLUK Ti. This brand and Surly are owned by the same tire manufacturer Innova.
American manufacturer of good quality bicycles.
USA, Alaska. Manufactures bicycles and accessories for them. Frames are made of aluminum and are lightweight and durable. nine0003
The first European manufacturer of fatbikes. Sports products.
Fatbikes have appeared relatively recently in Russia. The main suppliers and manufacturers are Norco, Trek and Eltreco.
Eltreco differs from the rest in that the price of fat bikes is much lower compared to other manufacturers. In addition, in the Eltreko model range, there are also electric fat bikes - a completely new trend among bicycles of this type. nine0003
In recent years, major fatbike trips in Russia have become more frequent. In April 2013, three cyclists from St. Petersburg successfully rode fatbikes for 310 km in the snow along the Chukchi coast of the Arctic Ocean.
There are competitions for fatbike riders such as the "Pugsley World Championships" in Decorah, Iowa. The race is held in February, on a track covered with snow.
nine0002 So, as we can see, fatbike is an independent type of bicycle. It can be considered as a subtype of mountain, with its own specific design and application features. As it was said at one forum - "an all-weather guide for unity with nature."
 No matter what anyone says, but still a fatbike is not a very simple bike, and even on a relatively flat surface it requires effort to move on it, not to mention extreme situations when you have to drag it on yourself. On the other hand, a fatbike always leaves you a chance to continue riding where you need to be guaranteed to carry the notorious simple bike. All that is required of you, in order to enjoy riding a fat bike even in such conditions, is to shift into the right gear that will provide this opportunity. nine0003
New articles:
New Electric Bicycles 2020
2019 Electric Bicycle Trends and Novelties
2019: Features of the
e-bikeDo I need a license to ride an e-bike?
E-bike parts
 Fat Tire Off-Road Bike Frame Compilation
 Today's post is dedicated to frames and framesets for self-assembly of off-road fatbike (fatbike). This is a bike with wide wheels measuring 26x4 ... 5 ". Such wheels with low pressure allow the bike to pass where a normal mountain bike would immediately get stuck. This is primarily snow in winter, but in summer such a bike can ride on sand, swampy terrain and high grass.0003
In my opinion, suspension forks and frames for fat bikes are an extra design feature, thick wheels already perfectly absorb all the bumps in the road surface. Therefore, we will consider only rigid options.
Get the price
Despite the fact that carbon is the best material for self-assembly, aluminum frames for fat bikes open the selection. Just because it's affordable.
The frame is the most common: straight head tube, threaded bottom bracket, rear wheel for eccentric, external cable routing. Of special stages - fastening under the footrest and seatpost clamp. nine0003
Size one - 16.5" / 42 cm, for short riders.
Ask for price
Another inexpensive aluminum option. It has a familiar design with a straight top tube. And a size of 17" for heights up to 175 cm
The frame design features a reinforced double tube on the bottom bracket and a 120 mm straight head tube with a 44 mm diameter. The seatpost used is 27.2mm in diameter.
Weight of frame only 2.2 kg. The color is only black. There are customer reviews from the Russian Federation. nine0003
Ask for price
Moving on to carbon framesets (frame + rigid fork). A set from Winowsports for axles on two wheels (the width of the rear drops is 197 mm), on the frame there is internal cable routing. Warranty 2 years.
Weight of the frame in size 18 1280 g.
You can buy both a frame and a frameset. Moreover, the frame comes in three sizes 16/18/20", you can choose according to your height. The geometry is on the product page. Custom coloring is also available.
Ask for price Extended kit
A fairly popular frameset from ICAN based on the SN01 carbon frame. Fits wheels up to 26x4.8" 197mm wide drops.
Frame for axles on wheels. BSA type bottom bracket 120mm wide. Has threaded fender mounts.
Frame weighs 1298g, fork with carbon fiber stem 495g. There are three sizes to choose from: 16/18/20". Comes with a quality steering wheel.
Ask price
Carbon (T1000) frame with a nice modern design from Airwolf. Fits 26x5.0" wheels on axles and is Di2 compatible. Plus the frame is fairly light at 1408g on average. 16/18/20" and several bright color options besides matte/glossy carbon. Includes headset, seatpost clamp, axles and quick release conversion. Warranty two years. nine0003
Get Price
We can't ignore the manufacturer BXT, they have reliable and durable frames. This T800 carbon frameset is quite light: 1356g ±50g (for size 16). Fits 26x4.8" wheels on axles, 197mm rear dropouts. Fits 160mm disc brakes.
Includes headset, seatpost clamp and aluminum axles.
Only a couple of 16/18" sizes to choose from but but a huge number of frameset color options. nine0003
Call for Price
This carbon (T700) frameset has a 100mm wide bottom bracket but 197mm wide rear drops, will fit wide tires up to 4.8".
Frame weight 1520g and forks 540g Detailed geometry is on the product page
There are three color combinations to choose from and only a couple of frame sizes 17/19"
Get price
The idea of electric conversion of a fatbike is not new, and to implement it, Chinese engineers are producing a specialized carbon frame. A removable battery is harmoniously integrated into this frame. And the frame looks futuristic due to the lack of a middle tube.
Wheels 26x4".
On this frame you can assemble an all-terrain vehicle with wide wheels and a rear motor-wheel (250-750 W). The list of motors is in the description of the lot.
Find out the price also a frame for assembling an electric powerful fatbike.This is a specialized frame for the most powerful serial central motor Bafang G510.Here is a frame with rear shock absorption (shock absorber 185x50 mm), but here it will not be superfluous - the motor power at the peak is 1.5 kW.0003
Carbon frame for wheels up to 4.8" wide with 197x12 mm rear axle. Integrated battery case (48 V, 14 Ah) in the frame.
2 year warranty. Available in three sizes 16/18/20".
I hope this selection of bike frames for building a DIY fatbike was helpful and you will choose the one that suits your taste and budget.
Happy shopping! Don't forget to apply AliExpress coupons and discounts.
Major TV and home appliance manufacturer Hisense recently introduced a number of new products. One of these products was the accumulator cyclone vacuum cleaner Hisense HVC6134W from the Hi-Move IV line.