It sounds like a tough job. How do you remove and replace a car tire on a rim? But, if you own a bicycle, you may be familiar with the process because its just about exactly the same.
The main difference between changing car tires and bike tires that are on rims is how easy the bike tire is to work with. While you can more or less twist the bike tire on and off with minimal tools and effort, removing the tire of a car, in the same way, might seem impossible.
That seeming impossibility disappears quickly when you arm yourself with the right removal tools for the job. And when you do, you can save money by swapping your winter tires for summers, and vice versa. Here are the steps to follow to change an automobile tire on a rim.
 The idea is to get the entire section of the tire between the pry bars over the outside edge of the rim. When you do, it should be easy to pry the remainder of the first edge of the tire over the edge of the rim.Turn the tire and wheel over. The edge of the rim should be outside the edge of the tire. Lift the rim until its bottom edge hits the top edge of the tire. Similar to how what you did on the first edge, get one pry bar into place between tire and rim and use the other to work around the tire.
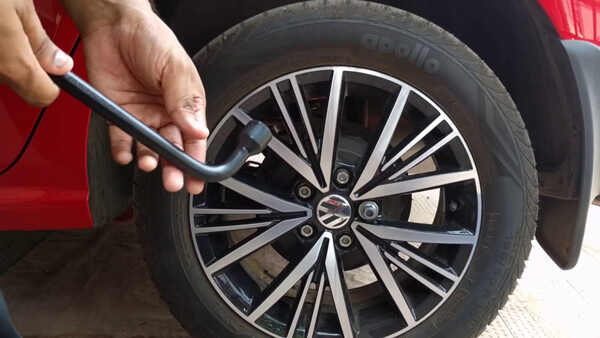
You may still need to get the wheels balanced at an auto body shop, tire shop or service centre. But at least you won’t be paying for the entire job.
If you enjoyed this post, check out our recent article about how to boost a car.
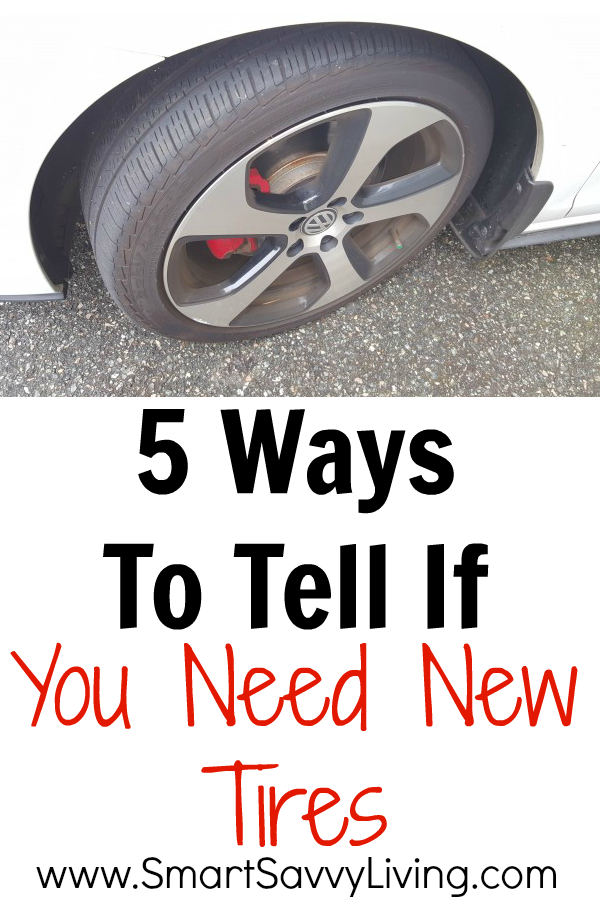
This entry was posted in DIY, News, Tips. Bookmark the permalink.Tires are just as crucial as the engine when it comes to maintaining your car’s safety and performance. At some point, however, tires wear out and this compromises the car’s efficiency, especially in traction and braking ability which can potentially lead to fatal road accidents.
If any of your tires exhibit a pattern of excessive wear, it’s about time you change them. Changing tires involves taking off the rubber tread that is tucked inside the wheel’s rim, a grunt work that many would rather pass and hand to a mechanic.
But what if we tell you, popping the bead out of the rim is not too much of a mundane job if you are armed with the in-depth information on how to do so. Doing your own tires will save you a lot of money from costly repairs that should be otherwise spent wisely spent on other car-related maintenance.
With few hand tools and tricks, you can remove the bead off the rim yourself. But the easiest and quickest way to do it is by using a tire-changing machine. This article will cover both of these methods.
Prying the tire loose from the rim might sound intimidating especially if you are a novice or new to tire maintenance. But you don’t really have to be an auto mechanic or expert to do the task. All you need is the right tools, basic mechanic skills, and know-how. The following is an easy guide to carry out the goal.
What you will need:
● Lubricant (Alternative: liquid dish soap or oil)
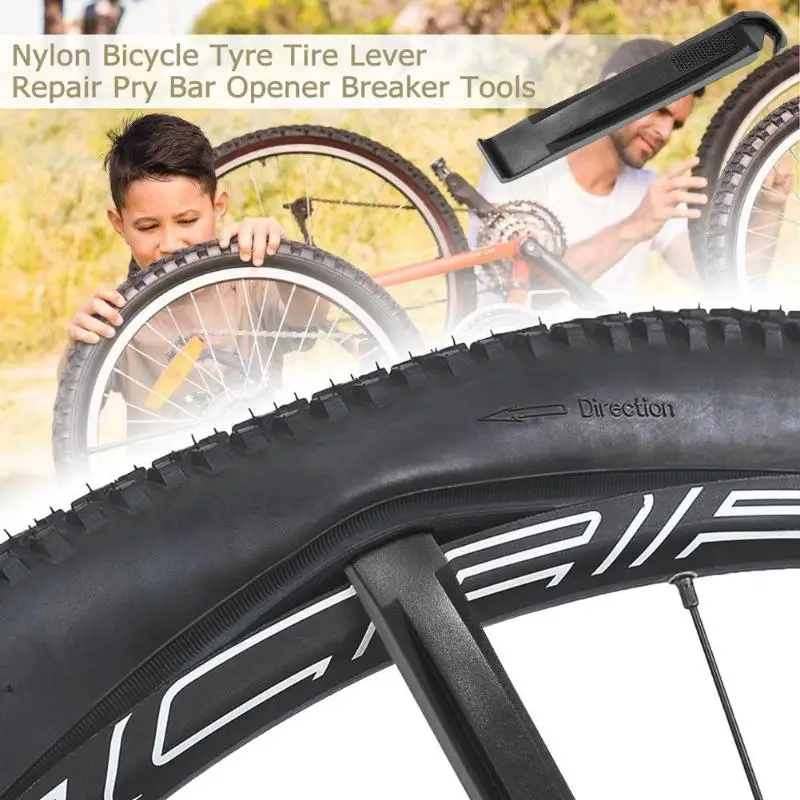
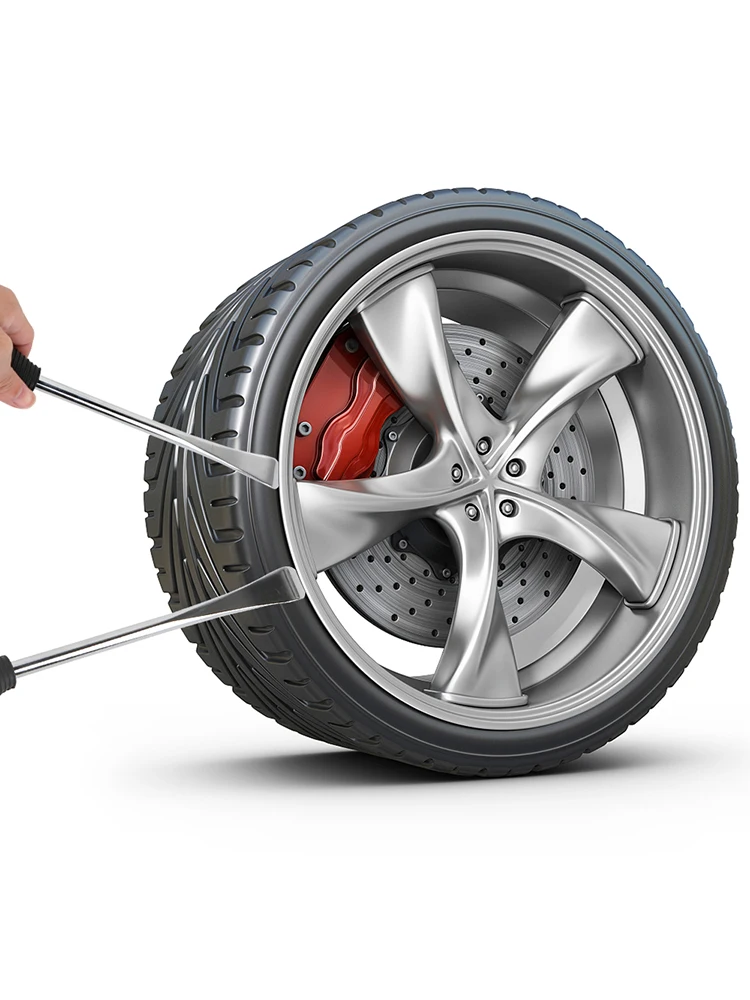
● Crowbar, Prybar, Tire Levers, Tire iron (any of these)
● Presta or Schnader or any Valve Core Removal Tool (Alternative: Pliers)
● Screwdriver
● To break the bead manually, you need either one of these things: a Jack, a Knife or any other sharp cutting tool, a vehicle
● Optional: Tire Bead Breaker, Tape
The Procedure:
 The air cap or valve core is a small pressure sealing device made of either rubber or metal cylinder located on the core which is where the tire is inflated from. You will need a Schrader or Presta valve tool to extract the air cap from the rim.
Thread the tool inside the valve stem and twist it in a counterclockwise direction. This should loosen and remove the cap off the tire. Then release and allow the air to exhaust.
A valve core removal tool is a small metal that resembles a small screwdriver. It is a handy tool that is relatively inexpensive and often available in a set for different valve sizes like that of the Awpeye 4 Pack Valve Core Remover Tool.
 There are three methods and tricks you can use to break the bead bundle between the bead and the rim.
● Drive and run over the tire you are working on. The aim is to force the rubber down so its easier for the bead to pop out. Hence when driving your vehicle over the tire, make sure that it is the rubber part you are driving onto and not the metal rim. You may need to run the car over it a few times to break the rubber part.
● Put the whole weight of the vehicle on the tire via suspension. The method involves raising the vehicle using a jack and partially lowering it. Once the vehicle is lifted, place the tire underneath the jack. Adjust the jack and lower the vehicle onto the bead part of the tire. Warning: Do not attempt this method if you are new to the process of car suspension unless there is an expert or professional supervision. The procedure requires lifting a car and working underneath it which is can be really dangerous to you and to your vehicle especially if you don’t know what you are doing.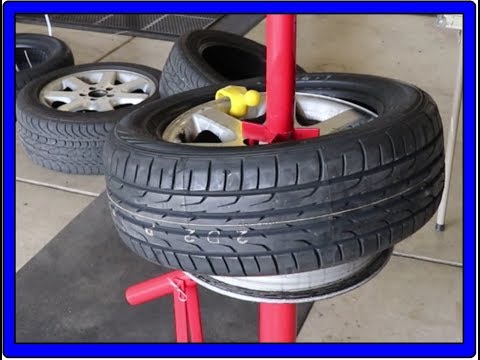
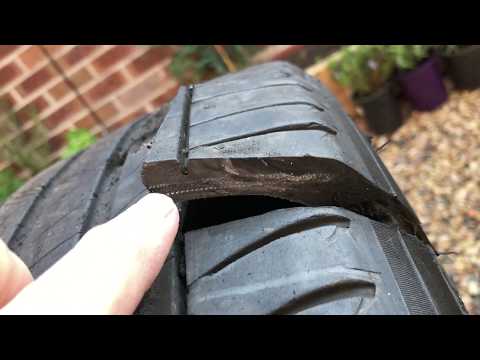
● Cut the bead off the rim. You can cut through with it using a saw blade or a drywall knife. To cut it, follow the seam running alongside the bead, carefully not touching the metal rim. Be cautious as you cut because you don’t want to damage the metal rim To avoid the blade veering towards the tread, insert a wooden towel in the sections that are already cut.
If you are really having a hard time with the bead, you can easily get away with a bead breaker tool. A tire bead breaker is a handy tool designed to dismount the innermost diameter of the tire interfacing the wheel. The operation is so fast and easy it’s basically like opening a canned good! It’s also the safest way to de-bead without damaging the rim. To make the most of your purchase, invest in a well-designed bead breaker like that of BeadBuster XB-450. To date, this is the most affordable and efficient bead breaker.
 Once you have managed to break the bead, grease the edge around the rim as well as the bead by applying the lubricant. This will prep the area when prying the tire later on. You will find it easier to pop the bead off the lip of the rim easily once everything is lubricated. Use as much as a lubricant as necessary. To avoid accidentally scratching the metal easily while prying, you can also tape the edge of the rim prior to lubrication.
  At this point, it is only the bottom half that is loosened, you still have to work on the other half of the tire. So to do this, flip the wheel over on the other side and pry in the wheel off in the same fashion as you were prying in step 4. Use as many pry and screwdriver alongside lubricant as necessary.
If you find taking a tire off a rim by hands too much of a task, time to pull out the big weapon. A tire changing machine skips most of the lengthy process of manually separating the tire from the rim.
Note that the tire changing machine we are referring to differs from that of the actual heavy-duty tire changing equipment technicians used in the shop. The manual tire changing machine is a rather portable and handy tool that requires no power hookups to operate. While the machine will mostly do the job, you will still need the help of a few hand tools.
What you will need:
● Plywood Board (Alternative: any strong wood surface that is at least ¾ inches thick)
● Manual Tire Changing Machine
● Tire Changing Rod (Alternative: any metal rod or tube with a pointed tip)
● Screwdriver
● Bolts (preferably 5 inches long and ½ inch wide)
● Presta or Schnader or any Valve Core Removal Tool (Alternative: Pliers)
● Marker or Pencil
● Lubricant (Alternative: liquid dish soap or oil)
● Optional: rug or paper
The Procedure:
 Using a marker, trace the machine’s base on the platform. Do put a mark on the holes or the location of the bolt as well.
Some prefer a block of concrete as a base because they are sturdier and stable. Others drill the machine directly on the floor. But note that you will need a mason drill to engage the bolts into hard cement. Nonetheless, the bolting process is the same as with the wood material.

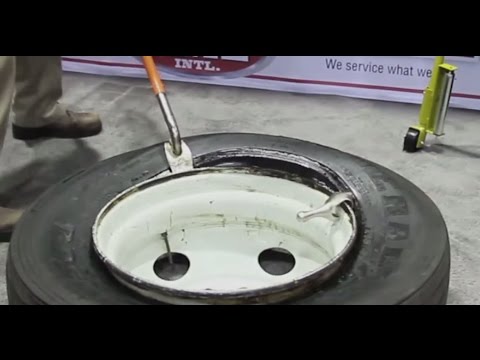
 You will use it to expose the rim of the tire. Start the process by sticking the rod’s pointed end into the rim-tire joint. Using your hand or your foot, apply pressure on the wedge by pushing it down. This will gradually exposed the rim.
 To avoid scratches on the rim while inserting the rim, you can wrap a rug or any cloth (a paper may do) around the spoke.
 Apply generous amount lubrication as necessary.
You may not be able to pry a certain section in one shot and that is fine. If this happens, simply go back by lifting the foot pedal using your foot to turn the rod counterclockwise.
Related video:

This article has thoroughly discussed the process of disengaging the tire from the rim and now it’s your turn to take the wheel. Sure, the entire process of changing your own tire– from removing the wheel of the vehicle to fitting new tires might seem lengthy and complicated but hey at least we have taken down one of its processes, namely removing the tire off the wheel. Doing your own tires will save you money and soon enough, you will be reaping the satisfying feeling of your hard work.
Motorists often change rubber - either from summer to winter, then from winter to summer, then when buying new tires, then with damage and punctures. Tire replacement is usually entrusted to service stations. But, in order to save money or for other reasons, motorists can master this procedure on their own. To replace rubber with your own hands, you need a wheel wrench, a pair of mounting blades, a jack and a car pump. However, without knowing some “secrets”, it is difficult to replace a tire on your own. We'll talk about the tricks of replacing a tire now.
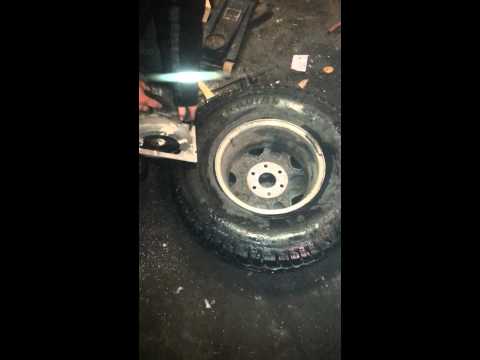
First, remove the old tire from the rim. To do this, raise the car with a jack, unscrew the fixing bolts with a wheelbrace and remove the wheel from the car. Lay the wheel on the ground with the valve up, remove the nipple from the valve and let the air out of the tube or tire (if the tire is tubeless). After that, “drown” the valve inside the tire and stand with your feet on the wheel so that the sidewalls of the tire are wrung out from the rim. Sometimes the tire "sticks" to the rim and you have to make an effort. After you managed to wring out the sidewalls, insert the mounting spatula into the gap between the rim and the sidewall of the tire. Working with two mounting blades, bring the sidewall of the tire out of the wheel rim, and pull out the chamber into the resulting gap. In the same way, bring the other sidewall of the tire through the same rim, and remove it from the disk. Be careful not to damage the disc. Particular care must be taken with a fragile alloy wheel.
Before installing a new tire on a rim, check its condition - carefully inspect it for defects and damage, make sure that the tire and rim fit each other in size. Also check the condition of the disk, for mechanical damage, the absence of dirt and rust, wear of the rim flanges. Remove the old balance weights and the old valve if the tire is tubeless.
When fitting new tyres, remember to take into account the color markings and indications on the tyre. Namely, the recommended direction of rotation, which is usually indicated by an arrow on the sidewall of the tire. For an easier and more gentle installation of the tire, you need to apply a special lubricant or soap solution to its bead and bead heel. Don't over-lubricate or the tire will slip on the rim!
Mounting the tire on the rim is carried out in the reverse order with respect to dismantling, that is, first one sidewall is put on the rim of the rim and, if it is a tire with a tube, then the tube is inserted, while its valve must enter the hole in the rim.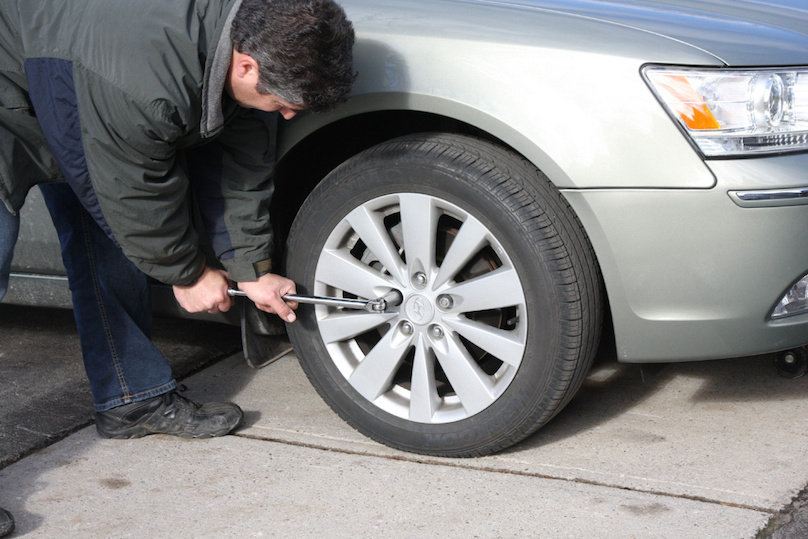 After that, the second sidewall of the tire is put on.
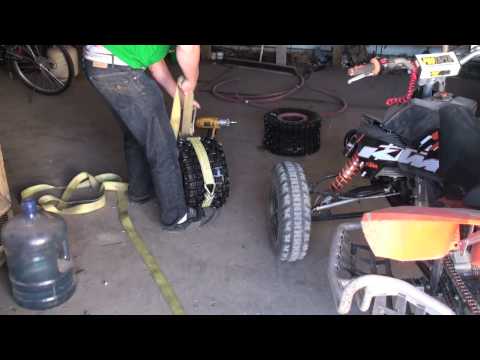
If the tire is tubeless, then the task is more complicated. Unfortunately, it will not be possible to inflate it with a conventional hand or foot pump or even a car compressor until the tire beads “sit” tightly on the rim, since the air will simply go out into the gap between the tire and the rim of the disc. But there is a way out!
To solve the problem, inflate any car wheel to 3.5 - 4 atm., remove the hose from the pump, put one end of this hose (the one without a fitting) directly on the valve of a freshly mounted tubeless tire, after removing the nipple from the valve , and put the other end of the hose, equipped with a fitting, on the “pumped” tire. At the moment of putting on the fitting, a large portion of air will enter the empty tubeless tire and "put it in place" on the disk. The beads of the tire will sit firmly on the rim, and the tire can now be inflated in the usual way. At service stations, special compressors with volumetric receivers are used to inflate tubeless tires, but, as you can see, you can solve this problem yourself, at home.
Do not forget that after installing a new tire, the wheel must be re-balanced.
For the normal operation of the car, it is periodically necessary to replace and install high-quality tires. This is an almost simple process, but not all motorists can handle it, especially for beginners.
Replacement is usually carried out for certain reasons:
To carry out competent work on replacing rubber, it is necessary to follow the recommendations and rules. Otherwise, it can lead to a wheel out on the track and a serious accident.
First of all, you need to know that the tires to be installed must comply with the general dimensions and characteristics recommended by the car manufacturer. There may be small differences, but not more than 2%.
General properties and dimensions are specified in the vehicle's instruction manual. If these are not available, use the recommendation of the car dealer.
The next step is to find out the load index of the tire being installed, as well as the speed characteristics. They should not be less than the parameters specified in the instructions from the manufacturer.
Tires can be replaced with higher index values, but not with lower requirements. Typically, indexes are indicated in the operating instructions for the car.
Next, analyze the air pressure characteristics of the tires. The indicators must be completely identical with the factory settings.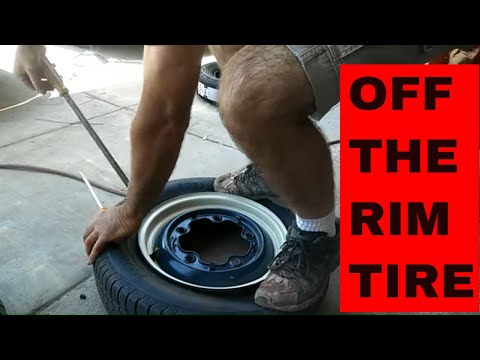 Otherwise, the wheel may be severely deformed and burst when driving a passenger car.
If the tires are over-inflated or, conversely, have less air, this will negatively affect the stability of the vehicle and its high handling characteristics. Tire pressure indicators are indicated in the operating instructions for the car.
Now let's highlight another important rule that beginners and experienced car owners should use when installing a complete set of tires: when purchasing sets of tires, you need to make sure that the characteristics of the landing and offset of the disk correspond to the factory parameters of the vehicle.
If these properties do not match, then this will negatively affect the handling of the car and quickly lead to deformation of the car suspension. General departure and landing characteristics are specified by the tire manufacturer and the factory where the vehicles are produced.
On any type of passenger car, the front tires are most often deformed, since most passenger vehicles have front drive axles. Accordingly, the rear wheels on them are subject to less wear.
Many owners often try to regularly change the front tires, and leave the rear tires for a few more seasons.
But in this situation, every car enthusiast should know that the absolute indicators of safe and reliable driving will only be achieved by using all 4 tires with the same tread.
Therefore, it is recommended to replace all sets, not just the front wheels. Because the vehicle loses high control, resulting in poor suspension performance.
Naturally, tires are expensive products and not everyone can afford to regularly replace products, especially in a complete set.
In such a situation, you can divide the installation of tires into two stages. To begin with, the front tires are replaced and after a certain period of time the rear tires are installed. However, all processes are recommended to be performed only with identical pairs of tires.
It is also not recommended to tighten the process of mounting the rear rubber.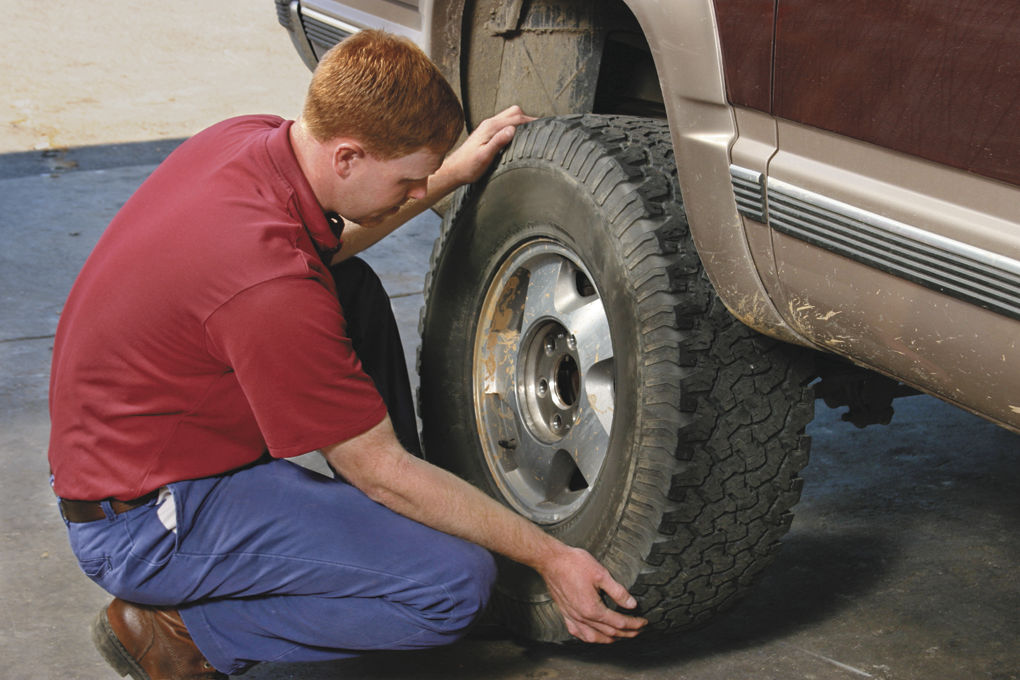 Since at the time of driving a car, the level of risk of skidding on the rear axle increases.
If the installation of new tires has to be done urgently due to deformation of the old ones, then you should know a certain rule. Regardless of the model or brand of tires, the thickness of all four treads must be identical to each other.
If only one tire is damaged and cannot be repaired, at least a pair of new ones should be used.
Only one damaged tire can be replaced if the set is brand new and has only been driven a few hundred kilometers.
In this situation, the owner of the vehicle can purchase only one similar tire and install it instead of the damaged one, without fear of losing the quality of control and safety while driving.
When a motorist has traveled more than 1000 km, it is no longer possible to change only one tire. The protectors wear out quickly enough, and balance will probably be lost when installing only one new one.
It is not recommended to allow a situation where the thickness of the tire tread on one of the axles has different indicators, because the balance and high-quality control of the vehicle are lost.
Immediately before installing a new tire on the rim, a detailed check of its condition is required.
First of all, it is recommended to carefully inspect the tire for possible defects or small microcracks, and also to make sure that its dimensions correspond to a cast or stamped wheel.
The disc is checked for serious defects, warping, and rim and rim wear. It is recommended to remove additional weights balancing the wheel and valve at the time of replacing the old rubber. This procedure is performed only in the situation when the tire does not have a chamber.
When installing a new tire, it is advisable to take into account the marking in the form of colored marks applied to its surface. They indicate the main direction of rotation in the form of an arrow on the side.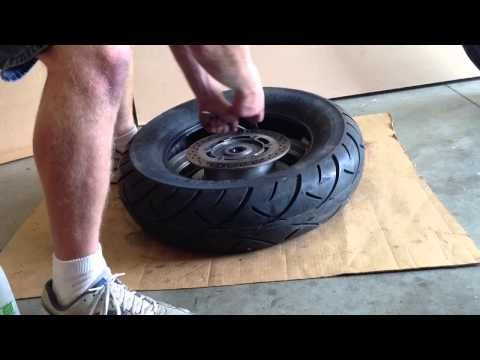
Easier and easier mounting of the tire is directly related to the application of individual spots on its beads or the use of soapy liquid. However, do not overdo it with lubrication, as the rubber will begin to slide on the disc rim.
Installation of new rubber on the disc is carried out in the opposite direction with respect to dismantling. First you need to put the tire on one side of the disc rim, and then insert the inner tube. Moreover, the valve should fall into a small hole in the rim. The next step is to install the second sidewall of the rubber.
If the tire has a chamber, then a simple procedure is followed. First, you should inflate the tire with a pump or compressor with a certain pressure level that does not exceed the norm.
Thus, the tire fits well on the rim, after which the air pressure should be reduced to the desired parameters. Here it is important to take into account the fact that the pressure is measured at the moment when the tire is installed on the wheel, subject to the car weight.
For tubeless tyres, this process is a bit more complicated. A simple pump for pumping or a special compressor cannot be used until the rubber beads are completely leaning against the disc rim, since air actively penetrates through the gap between it and the tire.
You can use an alternative method: inflate the vehicle tire to four atmospheres. Then we remove the hose and install one of its ends on the valve of the mounted rubber.
First unscrew the nipple and insert a part of the hose with a special fitting into the inflated tire.
Then, once the nipple is installed, most of the air will enter the tubeless tires and set them in place by stabilizing the pressure. At car service stations, original compressors with large receivers are used to inflate wheels.
However, this task can be done by yourself, if you show a little skill and logic. Also, do not forget that after installing new rubber, the wheel is balanced.
Every owner and experienced motorist knows that the front tire should be changed at the very beginning.