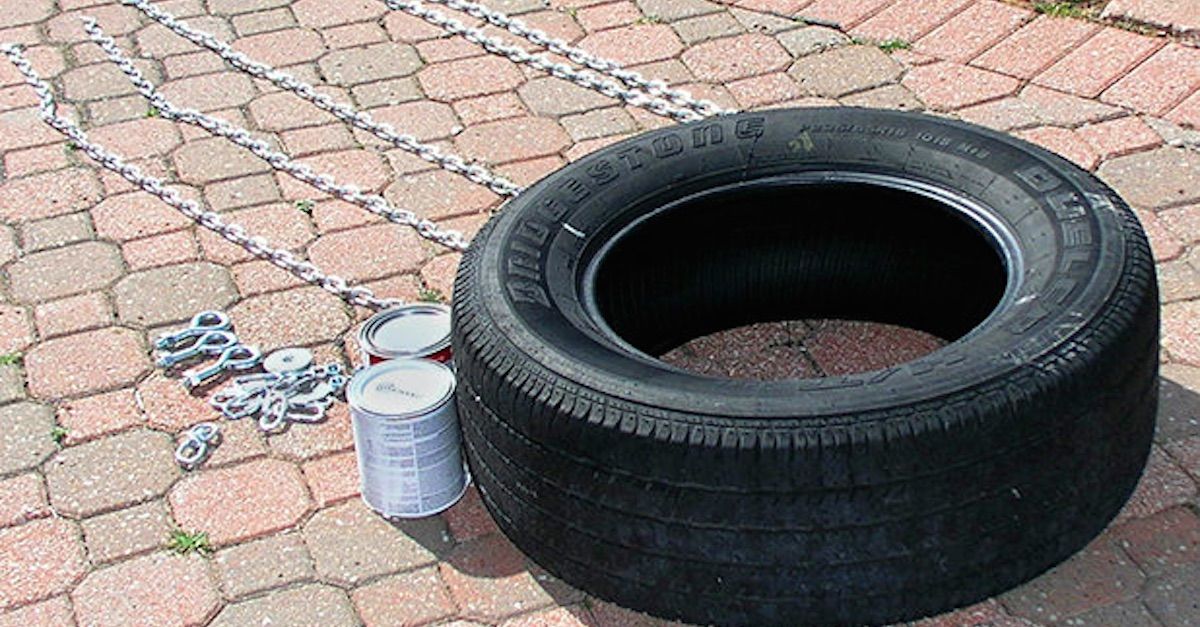
During my last tire change, I decided to make a guide on how to change a dirt bike tire at home. Changing a dirt bike tire can be a pain and is avoided by most riders, but when using the right tools, it can be done with ease and will be no harder than an oil change. For as long as I’ve owned dirt bikes, I’ve always changed my tires. I was too stubborn to pay a shop and I always wanted to work on my bike myself. I remember buying my first set of tire irons and promptly destroying the inner tubes on the first few tire changes and cursing myself as it would have been cheaper if I did bring it to a shop.
Now to change a dirt bike tire takes about 20 minutes and don’t think twice about it. It’s kind of nice to be able to mount your tires as soon as they get to your door or to swap out used tires for different riding or to flip tires around to use the sharp edge on both sides of the knobs. The following is my step by step guide for changing a dirt bike tire, from unmounting to re-installing on my 2014 KTM 450 SXF swapping out a Dunlop Geomax MX32.
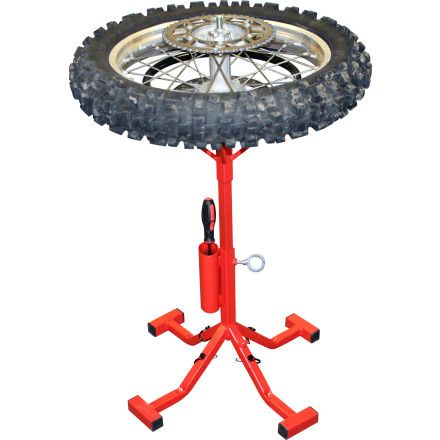
Over the years, I’ve accumulated all the tools I need to change a dirt bike tire. I started off with the 2 curved tire irons and then onto the 3 spoon type after learning a couple of tricks to make changing easier. After struggling and thinking “There’s got to be an easier way to do this!,” I found out about using a Bead Buddy, tire stem puller, tire changing lube, and lastly, a dedicated tire stand. Here is a post where I talk about all the tools I use.
The tire I’m swapping out and putting on are both Dunlop Geomax MX32 front tires. I had and extra set laying around that only had a couple of races on them. I’m also reusing my Bridgestone Ultra Heavy Duty Motorcycle Tube.
Some other items are Rim Strip Tape, Baby powder, and tire mounting lube. I ended up using some tire black spray for mounting lube in a pinch, but you can get mounting lube specific for using on tires and also window cleaner can also be used, although it evaporates quick and can dry up on you sometimes.
Rim Tape
The first step to change a dirt bike tire is to unmount it. To unmount the front wheel, put your bike on a stand or a motorcycle lift to lift the front wheel off the ground. Remove the axle nut, and then loosen the 4 axle pinch bolts. To remove the axle, you can use a T-wrench or a ratchet extension to push the axle through the fork lugs.
After setting up the wheel on a tire stand, you will need to deflate the tire and disconnect the inner tube and rim lock. Use the valve core tool to pull out the valve core and keep it out for the rest of the unmounting.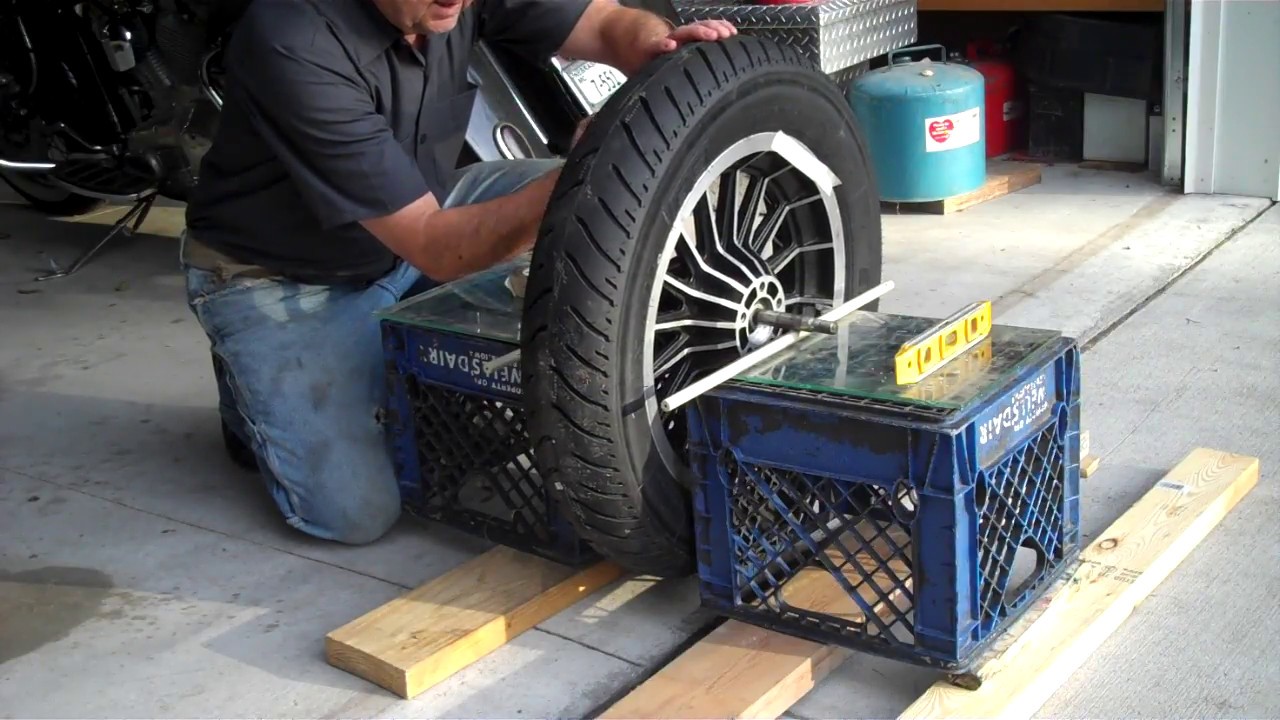 Taking out the core lets the inner tube compress completely. If you just deflate the tire by pressing on the valve, the inner tube will still contain some air and will make unmounting the tire harder. After taking out the core, remove the valve stem nut. For the rim lock, you just need to back the nut off but you don’t need to remove it. After loosening it, press down on the rim lock to make sure it moves freely.
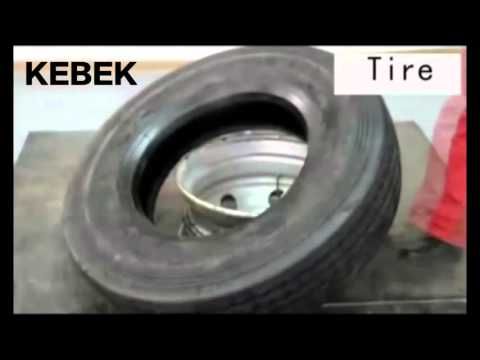
Now you are prepared to unmount the tire. The first step is to pop the tire off its bead.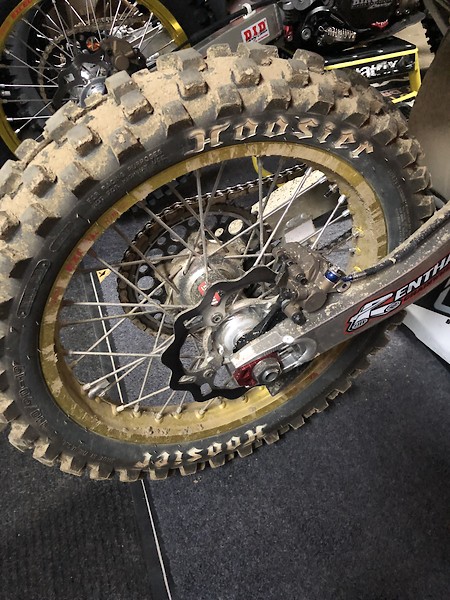 What you are trying to do is to drop the bead of the tire into the center of the rim. The rim is U shaped and by dropping the bead into the center, it lets the tire move so you will have a little more room to pull the bead over to the outside of the wheel. Start by loosening the tire near the rim lock. Hold down the rim lock so the tire can drop behind it. You can spray the tire with some tire lube if it’s sticking.
This is the toughest part to change a dirt bike tire. Use plenty of tire lube and take your time and work on small sections at a time. Spray the tire and rim with plenty of tire lube and start at the section of the tire at the rim lock. Insert the tire irons about 4 inches apart from each other and work a small section at a time. Getting the first section of the tire over is the hardest part, but once you get it going, the rest of the tire will slide right over.
With one side off, flip the tire over and repeat. You want to pull both sides of the tire to the outside of the wheel.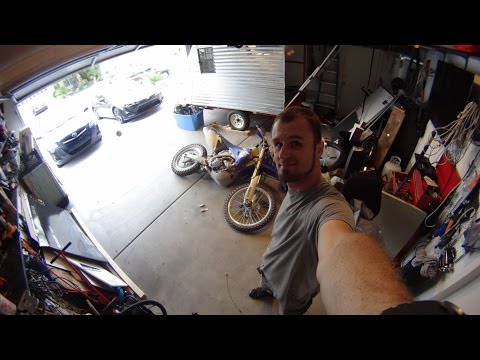 When both sides of the tire on the outside of the wheel, push the wheel down into the tire and pull the wheel through the middle of the tire.
Check to make sure the rim tape is in good shape and hasn’t broken in any spots, dirt, and dust can get in the tire and acts like sandpaper on the inner tube when riding. With standard tubes, it’s a good idea to replace the inner tube at each tire change. With extra heavy duty inner tubes, you can get a couple of tire changes out of them before they wear thin. I run Bridgestone heavy duty inner tubes and will usually go 3-4 tire changes before replacing them.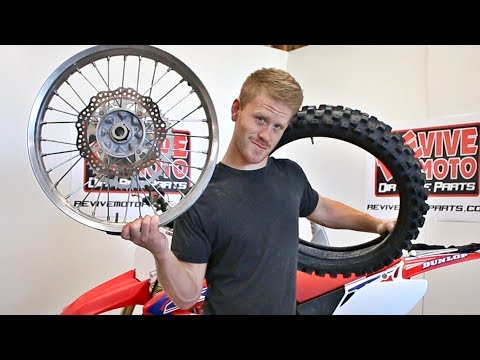 Inner tubes wear just like tires and start to ball up and thin out after so many hours.
Clean off the inner tube and make sure the tire is free from sand or other debris. If you are mounting a new tire or re-using an old one, one tip is put a little bit of baby powder into the tire before adding the inner tube. The baby powder will act as a dry lubricant between the tire and inner tube and will help with rubbing and friction wearing the inner tube thin. Add a small amount the tire and rotate the tire around to spread it out. Also, you will notice on tires there will be a mark, a yellow circle in this case. This marks the light side of the tire. You should put this marker near the valve stem and rim lock.
Depending on the size of your wheel, you might need to use a valve stem puller to get the valve stem through the hole in the rim.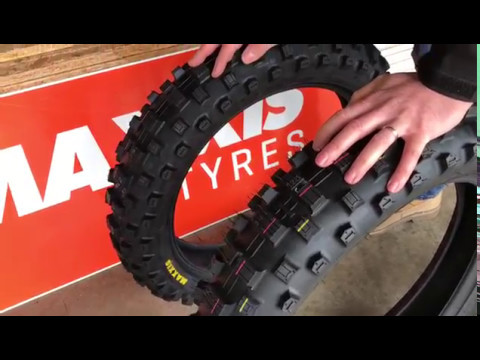 The tool is fairly cheap and will save you some scraped up hands. Once the valve stem is pulled through, tighten the valve stem nut to hold the tube in place. After that, re-insert the valve stem core.
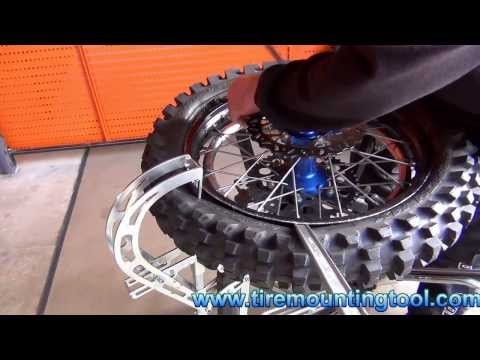
Mounting the tire is a little different then unmounting when you change a dirt bike tire. You can get half the tire on using the 2 long curved tire irons. You’re going to want to set the tire bead between the rim lock and the rim. This allows the tire bead to sit in the lower drop center which helps the tire to be pulled over. You can work most of the tire onto the wheel using a tire stand, but the last section I find easier with the tire on the ground and using your knee to hold the tire in place.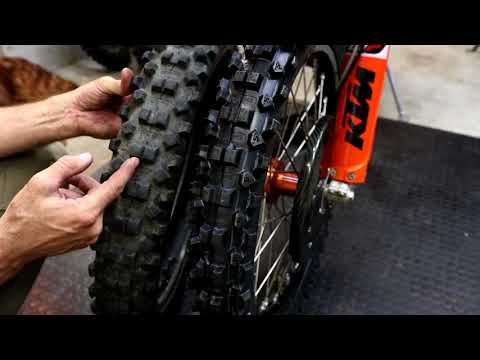 Reach through with the curved end of the tire iron and lift the last section over the rim.
This is where having a bead buddy and a good set of tire irons comes in handy. Starting at the rim lock, push the tire down into the drop center of the wheel. Make sure the rim lock is out of the way and hold the tire down with the bead buddy. Work the tire around with the tire irons taking small sections at a time near the end. The last section is always the toughest so use plenty of lube and work it in small sections.
Final steps are to tighten down the valve stem inflate the inner tube to set the bead.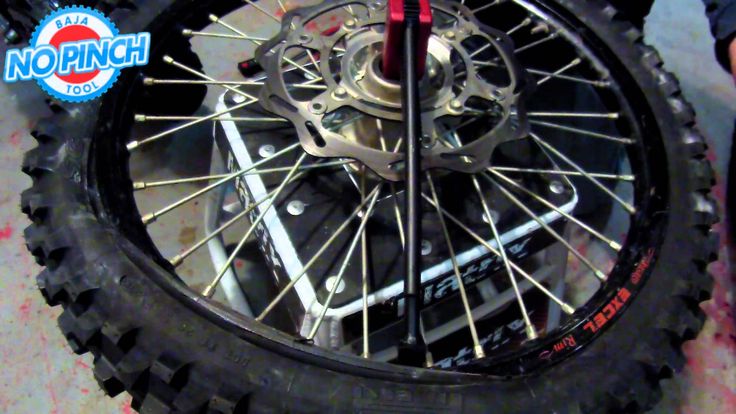 You will have to over-inflate the tire to get the bead to “pop” on. You can run a finger around the rim edge to feel that the tire is fully seated. After the bead sets, deflate the tire to 12-15 psi and tighten the rim lock.
The last step to change a dirt bike tire is mounting the wheel. Pretty straight forward but with one tip. Use a flat blade screwdriver to spread the brake pads. This will help to keep the fork from spinning while you try to get the brake disk lined up.
Written By: Riley (and 5 other contributors)
Difficulty
Moderate
Steps
14
Time Required
30 minutes
Sections
1
Flags
1
If it’s time to change the rear tube and tire of your dirt bike, follow this guide. This includes pulling the tire off the bike, tearing it down, and re-mounting it.
12mm Wrench
Available for sale on Amazon
Buy
Valve Stem Core Tool
Available for sale on Amazon
Buy
No parts specified.
First pull the cotter key out of the axle that holds the tire on. Then pull the nut off of the axle.
Edit
Edit
The bolt is off the axle already so use a rubber mallet to beat the axle out of the wheel. After the axle is far enough through, you can pull it out the rest of the way with your hands.
Edit
The wheel is now off. Now you should take the valve core out of the tire with a valve core tool, and release all the air. Use a size 12mm wrench and take the nuts off the valve stem, and the bead lock. Which is the other thing in the rim with a nut on it besides the valve stem.
Edit
Do not take the nut all the way off of the bead lock, Just make sure it as loose as possible.
Edit
After all the air is gone you need to break the bead loose on both sides. Just push down so the tire goes away from the rim.Then spray soapy water in between the rim and tire all the way around on both side. Then take the tire iron and wedge it between the rim and tire. Once wedged use leverage from the rim to pull the tire up and away.
Edit
Then take the dirt bike tire iron and wedge it between the rim and tire.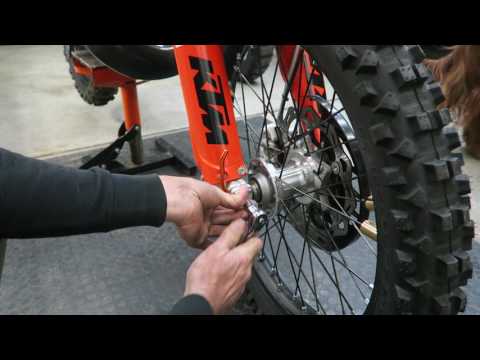 Once wedged use leverage from the rim to pull the tire up and away.
Edit
Once you have it pulled go about 5 inches down the rim and use the same leverage idea. Once you have it pulled away take the first spoon out and move 5 inches again and wedge it again. Repeat this step until one side of the tire is off the rim.
Edit
If you are actually changing the whole tire repeat this to pull the rest off the tire off. If not pull the tube out of the slit that you have made by pulling the half of tire off.
Edit
Put the new tube in the tire. put the valve stem through the hole in the rim then put one of the nuts on it.( not the bead lock.) Add a little bit of air to the tube.(the less you use the better off you are.)
Edit
Now do the same method of leverage, but put the tire back on.( Be extremely careful to not pinch the tube between the tire spoon and the rim.)
Edit
Once the tire is back on the rim add more air this should push the bead lock out. Now you can put the nut back on the bead lock as well.(do not tighten yet.) make sure the tire is at the correct pressure and everything looks good, now you can tighten down the bead lock, and the valve stem. After the valve stem is tight put the second nut on.
Edit
Now the tire is ready to go back on. When putting the tire back on make sure the spacers are in the correct areas. make sure the chain is on the sprocket. Lastly, make sure the break disc is inside the break pads.
Edit
Remember when I told you to mark where your tightening blocks where? This is where that comes into play. Align the blocks to their original spot, then tighten the nut on the axle. Now you are done, and your bike is ready to ride.
Edit
Almost done!
To reassemble your device, follow these instructions in reverse order.
Conclusion
To reassemble your device, follow these instructions in reverse order.
Cancel: I did not complete this guide.
6 other people completed this guide.
with 5 other contributors
Badges: 5
+2 more badges
View Statistics:
Past 24 Hours: 6
Past 7 Days: 55
Past 30 Days: 325
All Time: 16,360
Contents
Bicycle wheels: mounted on the frame on the fork dropouts, the rear on the chainstay dropouts.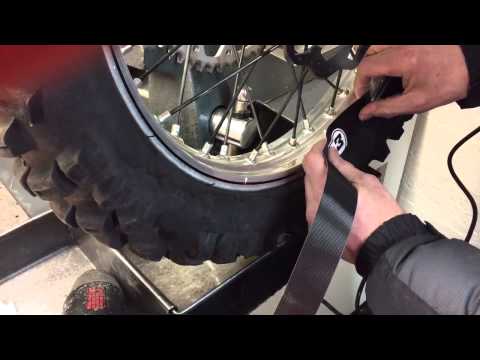 Repair, cleaning and lubrication may require their removal. There is no need to bring the bike to the service for this occasion, since everyone can remove the wheel from the bike right at home.
Why do I need to remove the wheels? As a rule, these are bushing bulkheads, spoke and rim repairs, bike cleaning and the notorious tire change.
Before proceeding with the removal of the wheel, the bike must be placed “upside down” on the saddle and handlebars. Previously, all accessories - mirrors, headlights, a bell, decor elements - should be removed so as not to interfere with work and simply not to damage them. It is advisable to put a soft cloth under the sensitive shifters so that they are not damaged by the weight of the bike.
Briefly remove the front wheel as follows:
Release the brakes so that you can easily remove the wheel without damaging the system.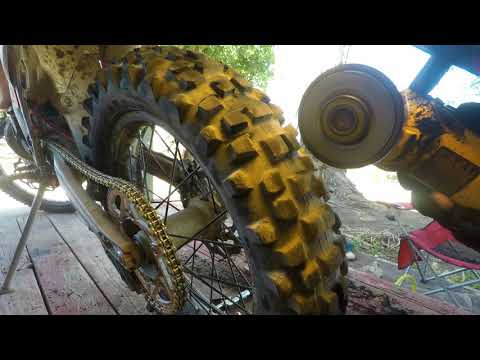 To do this, compress the connecting arc and unscrew its fastening with a hex wrench. Now the brakes are free. An alternative option is to remove the pads from the brake mechanism, however, after assembling the wheel, they will have to be adjusted again.
This is how the v-brake is released.
Wheel mounting on a bicycle is presented in two versions - 15 nuts and an eccentric. To remove the axle from the dropouts on the nuts, you will need two keys - one will act as a worker, and the other as a lock. Unscrew one nut counterclockwise while holding the opposite one.
What can be used? Traditional open end wrenches or box wrenches. The second option is even more convenient and easier to grab the nut. Adjustable wrenches with wide lips are not recommended for work, as they can “eat” the corners of the nuts.
With an eccentric it is much easier - loosen the bolt and lift the locking lever. If the spring is not sufficiently weakened and the lever does not rise completely, unscrew the bolt harder. Actually, removing the wheel at home is as easy as shelling pears.
This section covered the topic of removing with V-brakes. It is even easier with discs, and even more so with single speeds with a foot drum on the rear hub. There is one limitation with a disc brake system with hydraulics - do not keep the bike upside down for too long, as the tubes will become airy. That is, the wheel was removed and the bike was returned to its normal state for the duration of the repair or other manipulations.
A flat tire on the move is an unpleasant phenomenon that can occur anywhere. It can even go down at home. You can’t ride, you have to change the camera, tire or all together. You can contact the service for a solution to the problem, but in addition to money for a new consumable, they will also take work. And why spend extra money and strain the master when all the manipulations for removing and installing tires can be done on your own? Consider how to disassemble a bicycle wheel and assemble a tire. You will also have to remove the tires and put them back on when straightening the rim or replacing the spokes.
To work, you will need special plastic pliers or two small shoe spoons. It is undesirable to use screwdrivers, as they can damage the rim.
How to disassemble the wheel:
Disassembly by installers
Now, when there is a new set or the wheel is repaired, you need to put the tire back on or bead it:
 5 atm so that it takes a rounded shape and does not break.
 It's so easy to rim the wheel with your own hands.
The process of installation in its rightful place is exactly the opposite of dismantling:
Wheels can only be put on the bike with tires, otherwise it will not work to put the tires on the rims.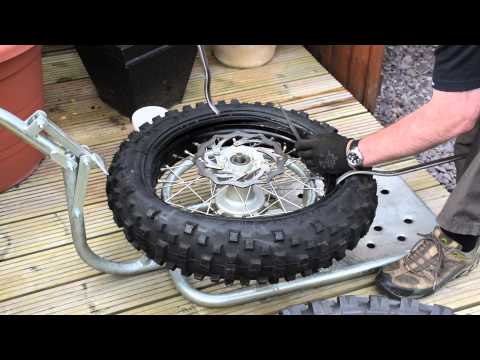 "Forward" on an inverted bike - back, look at the top. The arrow, paws and other indicators should point in this direction.
On rear dropouts, the position of the axle relative to the chainring can fluctuate, and its distance affects the chain tension. The optimal position is recommended by the manufacturer, “all the way”. It is worth noting that the dropout adjustment of the rear wheel is valid for models with one gear and bicycles with a planetary gear.
Tightening nuts. Sometimes the mounts are equipped with additional washers-stoppers against scrolling the axis. If the manufacturer provided for this, we must install them. Next, the nuts on both sides are slipped on manually. Again we take two keys: on one side the nut is fixed, on the other hand it is twisted. Then go to the other side and tighten the mount until it stops. The technical passport for the bike indicates the tightening torques for the fasteners. Following these guidelines will ensure uniform force distribution and optimum geometric integrity.
Torque wrench
Eccentric lock:
The locking lever must move with some force and fall freely to the end. If it folds too easily, you need to tighten the bolt, if it does not fall, loosen it.
The wheel removal procedure is the first step to correcting defective rims and replacing tires on a bicycle. Changing tires or temporarily removing them with your own hands is just as easy, just give a little space and time.
How to remove the rear wheel of a bicycle, in theory, all cyclists and cyclists know. And here's what to do in conditions close to combat, when there are 35 minutes left before the train's departure, and the rear wheel has flattened 10 kilometers from the station . .. I advise you, dear colleagues and readers, to always carry with you, except for a gentleman's set of hexagons, montazhek, "teflon", a pump and a spare chamber, a rag and a package of wet wipes. Believe me, holding the handlebars of a bicycle with clean hands is much more pleasant than dirty ones.
So, you feel an urgent need to remove the rear wheel of the bike. To start, throw the chain on the smallest rear wheel sprocket. Remove anything from the handlebars that might break when you put the bike upside down. Remove the backpack from the trunk, if it is, of course, there. Disengage the rear brake if you have rim brakes (V-brake). If you are big and strong, just put the bike upside down. If you are of a more delicate build, do this in two steps: first put the bike "on the left side", then take the frame and front fork and turn it "upside down". Open and loosen the eccentric or unscrew the fixing nuts, make sure that the wheel “goes” (perhaps the disengaged brakes will not be enough, you will have to release the pressure in the chamber).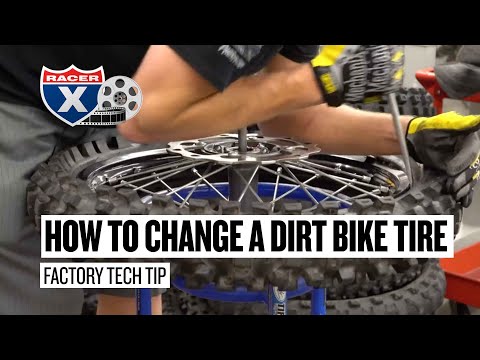 Using a cloth, grab the rear derailleur by the frame, pull back the chain to free the sprockets; With the other hand, pull the wheel out of the dropouts - the “lugs” of the rear stays.
After you have done all the necessary manipulations with the removed wheel, it must be returned to its native rear triangle. We insert the wheel between the feathers, while the sprockets should be inside the chain ring. Gently (again, through a rag) we tilt the switch frame to the steering wheel so that the chain loosens and the wheel “falls” into the dropouts; at the same time, we make sure that the chain wraps around the small sprocket of the gear block, and then goes into the switch frame (you can just press on the wheel, but it’s not always possible to find the right angle the first time). If you have disc brakes, check the disc's entry into the caliper slot (a device that, when you press the brake lever, clamps the disc with brake pads).
Make sure the wheel axle is fully seated in the dropouts on both sides. Make sure the chain is in the correct position. Spin the pedals; if you notice that the wheel is rubbing against the frame, correct the misalignment. Tighten the nuts, close the eccentric. Turn the bike over, apply the brakes, make sure that the pads are properly aligned with the rim and that the rim is firmly clamped. If necessary, pump up the wheel, set the position of the brake pads. You can collect the tool, hang a backpack, fix the removed bells and whistles on the steering wheel and hit the road.
If you are not interested in how to remove the front wheel of a bicycle, you can read no further. But believe me, removing the front wheel of a bicycle yourself is no less exciting than the rear. The principle is similar - remove, unfasten, turn over, open, loosen, blow off; reverse actions don't involve fiddling with the chain. The front wheel can be removed and put in the position of the bike "lying on its side". Be sure to check the entry of the axle into the dropouts and the operation of the brakes! The main thing is not to forget to wipe your hands afterwards! And then why do you carry with you this unimaginable burden - a package of wet wipes .