Delivery options and delivery speeds may vary for different locations
Sign In
or enter a zip code
Email * Password *
REPAIR & HOW TO
MAINTENANCE
TROUBLESHOOTING
GUIDES
TIPS & TRICKS
ALL ARTICLES WATCH VIDEOS ABOUT US SHOP PARTS CONTACT US
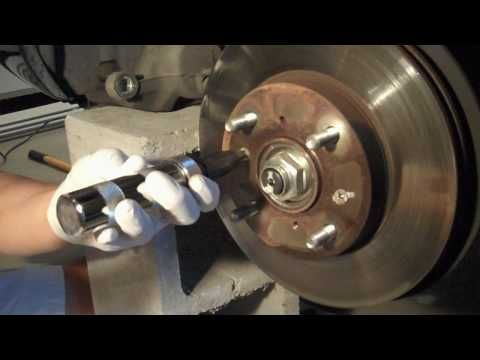
Replacing the rear brake shoes on a Rancher 420 Honda ATV requires some disassembly on the rear wheel in order to get to the brakes.
Because of the extra work it takes, you might as well do as much as you can while you’re in there, including replacing the O-rings and seals that keep water and dirt out of the housing. Watch the video above and follow the steps below to learn how to replace the rear brake shoes on a Honda Rancher TRX420 ATV. Use our Honda Rancher 420 rear brake diagram for additional reference.
Step 1. Put the ATV on a jack and remove the 17mm lug nuts on the right rear wheel, followed by the wheel itself.
Step 2. Remove the castle nut and cotter pin that hold the hub in place.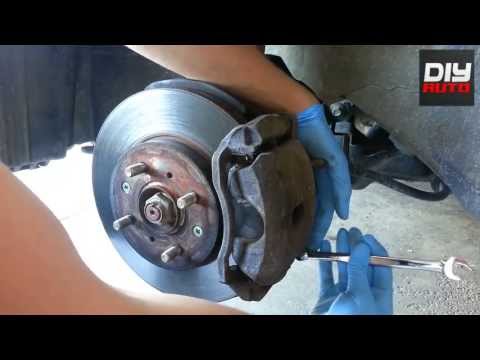
Step 3. Remove the 30mm castle nut and the hub.
NOTE: Use something to hold the hub in place. A pry bar can be used, but you’ll need to wrap electrical tape around the studs or replace the lug nuts to protect the threads on the wheel studs.
Step 4. Use a marker to draw a line across the two bolts under the hub. This helps get the bolts back to the same torque when reassembling everything.
Step 5. Remove the pinch bolts. Don’t lose the small washer behind the pinch bolts.
PRO TIP: Have someone apply the rear brake to keep the axle from turning. These bolts can be tough to loosen, as dirt and moisture in the threads can cause them to almost seize up. Use penetrating oil to help break the bolts free.
Step 6. Remove the two 12mm bolts holding the plate that protects the brake assembly, followed by the plate itself.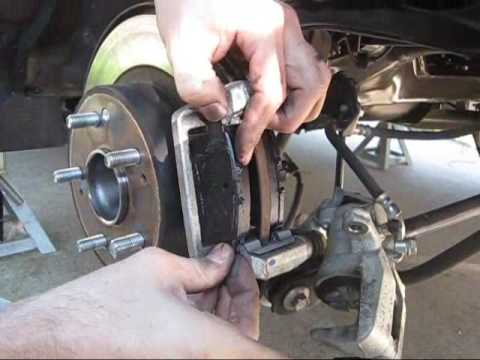 The bolts are underneath the plate, in the front and back.
Step 7. Remove the large washer in the middle.
Step 8. Remove the six 8mm bolts holding the outer housing in place. Use a flat-blade screwdriver to pry the housing off.
Step 9. Back out the brake adjusters by loosening the wingnuts counterclockwise to give yourself more room to work inside the brake drum.
Step 10. Remove the brake drum.
NOTE: You can pry a little bit at the brake drum, but be very careful, as the aluminum bends easily.
Step 11. Clean up the axle and the inside of the brake drum with contact cleaner.
Step 12. The brake shoes are held in place by a plate that rides on top of two studs. Two cotter pins keep the plate secure on the studs. Remove the cotter pins so you can pull the plate away.
Step 13. Walk the two brake pads off of the studs by leveraging a flat-blade screwdriver behind the plates.
Step 14. Use contact cleaner to remove brake residue from the back of the brake drum.
NOTE: Wrap a towel around the axle to avoid getting contact cleaner inside the bearing. The contact cleaner splashes back, so wear safety glasses to protect your eyes.
Step 15. Use a screwdriver to pry loose the dust seal around the axle.
NOTE: If you just want to replace the brake shoes, skip ahead to Step 17.
Step 16. Replace this dust seal with a new one by re-packing the new seal with grease, then positioning it by hand around the axle. Use a soft-blow hammer to drive the seal into place until it’s flush.
Step 17. Add a little grease to the studs that the new brake shoes ride on inside the drum.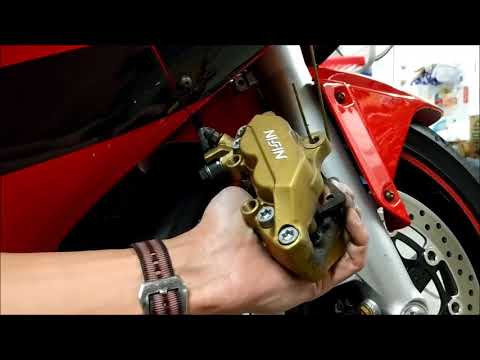
NOTE: Don’t overdo it on the grease, as grease in the wrong place in brakes will inhibit their performance.
Step 18. Install the new brake pads by pulling them apart to get the holes in the pads to line up with the studs. The other side of the pads ride on the dark colored tab on the left between the two semi-circular pads.
PRO TIP: A soft-blow hammer might work here to walk the shoes onto the studs.
Step 19. Replace the plate over the two studs, then replace the cotter pins through the studs that hold the plate in place. There is one cotter pin for each stud. Once they’re in place, bend them to secure them.
Step 20. Apply a little grease to the inside opening on the brake drum, where the axle passes through. There are splines in this opening, and greasing them now makes it easier to disassemble later on.
Step 21.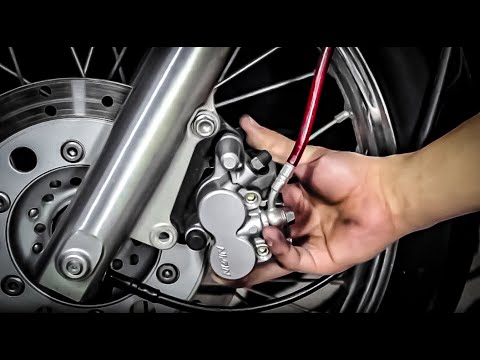 Pry out the seal on the outside of the drum in order to replace it.
PRO TIP: This may not be necessary on your unit, but with all the work required to get to it, it’s best to just replace it.
Step 22. Position the drum by sliding it onto the axle, then slide the seal ring into place.
PRO TIP: Use the washer to press the seal into position.
Step 23. Grease the outside of the collar.
Step 24. Remove and replace the O-ring around the outside of the brake drum. Use a pick tool to lift it out of its groove, then replace it and apply a little grease to the O-ring and the surface on either side of it.
Step 25. Replace the seal in the outer cover. Position the cover face down resting on a couple of blocks to create a gap so you can push out the old seal with a punch.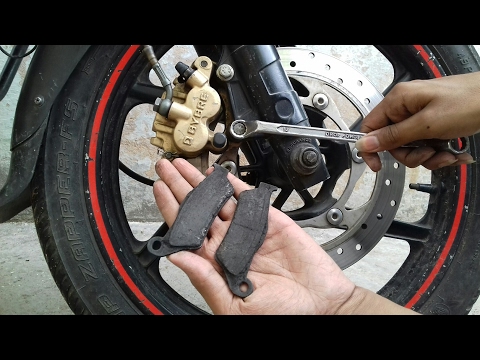 Flip the cover over and seat the new dust seal in with a soft-blow hammer.
Step 26. Grease the outer cover to get it ready to install. Pack grease around the opening where the axle passes through, then apply a light coat of grease around the inside rim of the cover.
Step 27. Slide the cover into place, then reinstall the six 8mm bolts that hold it in place.
Step 28. Slide the large metal washer into place, followed by the smaller washer that sits in the middle of the larger plate.
Step 29. Install the pinch bolts. Tighten the inner bolt (the one closest to the cover) to 29 foot-pounds.
Step 30. Reinstall the outer pinch bolt and torque it to 94 foot-pounds. You can use the special tool setup above, or reinstall the hub, hand-tighten the castle nut, spin a couple of lugs in place to protect the threads on the studs, and wedge in a prybar to prevent the axle from turning.
Step 31. Tighten the 30mm castle nut to 101 foot-pounds. Leave the prybar wedged in to keep the hub from turning. Next, replace the cotter pin. If the holes don’t line up to insert the cotter pin, give the castle nut a little more torque, then bend the cotter pin to hold it in place.
Step 32. Reinstall the plate underneath the rear brake housing. It’s held in place by two 12mm bolts.
Step 33. Tighten the wingnuts clockwise until you have about a half-inch of play up at the brake lever. Next, adjust the hand brake to match up with that adjustment.
NOTE: It’s important to give yourself some play in the brakes. Otherwise, they could be engaged and heat up, which can prematurely wear or seize them up.
Step 34. Replace the wheel, then tighten the lugs to 47 foot-pounds and you’re done.
 5oz.
5oz. body
Delivery options and delivery speeds may vary for different locations
Sign In
or enter a zip code
Email * Password *
REPAIR & HOW TO
MAINTENANCE
TROUBLESHOOTING
GUIDES
TIPS & TRICKS
ALL ARTICLES WATCH VIDEOS ABOUT US SHOP PARTS CONTACT US
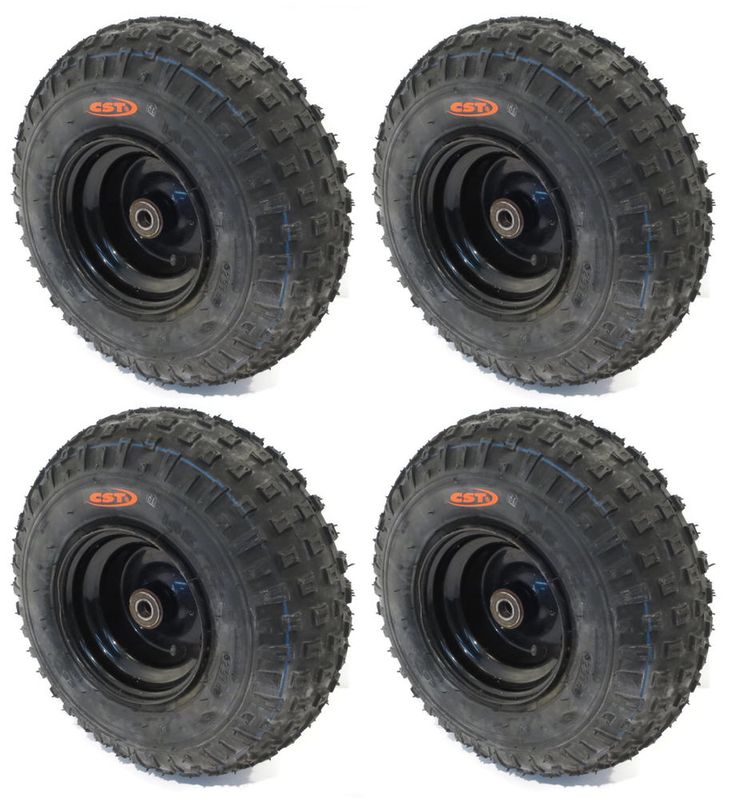
Replacing the front brakes on a Honda ATV is routine maintenance, and the Honda Rancher 350 brake shoes kit includes all the parts you need to get the job done.
Watch the video above and follow the steps below to change the front brake shoes on a Honda Rancher TRX350 ATV.
Tools and Parts - Honda Rancher 350 Front Brake ReplacementStep 1. Remove the front wheel
Step 2. Use pliers to remove the cotter pin in the center of the hub.
Step 3. Use a 27mm socket to remove the axle nut in the center.
Step 4. Remove the plug on the drum.
Step 5. Spin the drum so that you can see the notched brake adjusters in the plug hole. Use a flat-blade screwdriver to pry against these, and turn them to draw the brake pads in so you can remove the drum.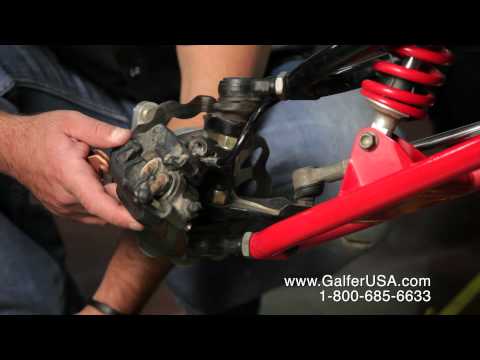 Once you’ve done one, spin the drum around to do the second one.
Step 6. Remove the hub, which should pull right off.
Step 7. Locate the two clips, one underneath each brake shoe, and use your thumb to push in on the clip while using your pliers to turn the pin. This allows you to remove the clips.
Step 8. Remove the brakes shoes. Two springs hold them together over the cylinders. Lift up on one of the shoes to allow them to be removed from the cylinders. The other shoe will hang loose on the springs as you pull them away.
Step 9. Clean up the inside of the drum and braking surface with a wire brush and some brake cleaner.
NOTE: Wear a mask to avoid breathing in any brake dust.
Step 10. Add some waterproof grease to the rubber seal on the inside of the drum to keep dust and other contaminants out.
Step 11. Lay down the brake shoes lettering up, and hook the first spring into the holes for them in the shoes. For the second spring, position it so that the spring is closest to the opposite shoe.
Step 12. Install the shoes with the springs facing away from you and into the hub. Notches on top of the cylinder allow you to hang the top shoe in place while you pull against the spring tension on the lower shoe to position it over the notches on the bottom of the cylinders.
NOTE: The coiled section of the spring is positioned on the end of the cylinder without the adjuster. This is why they were set opposite to each other in the last step.
Step 13. Replace the retention springs by threading the pin through the back plate and placing the spring over the pin. Next, turn the pin clockwise to lock it in place. Repeat this process on the bottom for the other retention spring to hold both shoes in place.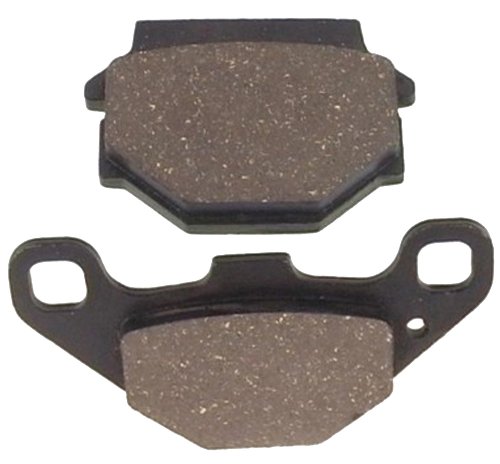
Step 14. Apply some grease to the spindle before replacing the drum.
Step 15. Check the assembly to make sure the springs are set opposite the adjusters, the retention springs are in place, and the shoes are aligned over the cylinders.
Step 16. Replace the drum by pushing it over the spindle to get it into place, then putting the dust plug back on.
Step 17. Replace the axle nut and torque it to 58 foot-pounds. Make sure it’s aligned so that you can put the cotter pin through to secure the nut.
NOTE: Don’t worry if you have to give the axle nut a little more torque to line up the holes for the cotter pin.
Step 18. Replace the cotter pin, and bend one end up around the front of the axle bolt and one end back.
Step 19. Replace the wheel, then repeat the process on the other side and you’re done.
body
Podolsk,
15 km Simferopol highway To contacts
#service #brakes
7 years ago
It is recommended to change the brake pads every 5000-6000 km. Replacement intervals are very conditional, because. There are many manufacturers of pads, and they are all of different quality, plus everyone has a different driving style. Pads need me when 1-2mm remains. The quality of the pads affects not only the durability, but also the braking performance. There are a number of verified companies (EBC, SBS, DP, Ferodo, Versah). Now Chinese pads have appeared on the market, we refrain from commenting.
The principle of replacing pads on all motorcycles is almost the same.
Rear brake calipers are more varied. Sometimes the replacement of the pads requires partial unscrewing of the caliper:
Do not forget to bleed the brakes after changing the pads. If you forget, the first few clicks on the brake levers will be idle. On the road, this can lead to an accident.
Motorcycle Brake Pad Replacement
209 614
1 749
0
Recommend
Studded Rubber Magazine F4i ZX6R R6 CBR GSXR stunt bike review Magazine Training Motocross Enduro - Video School French Stunt Romain Jeandrot
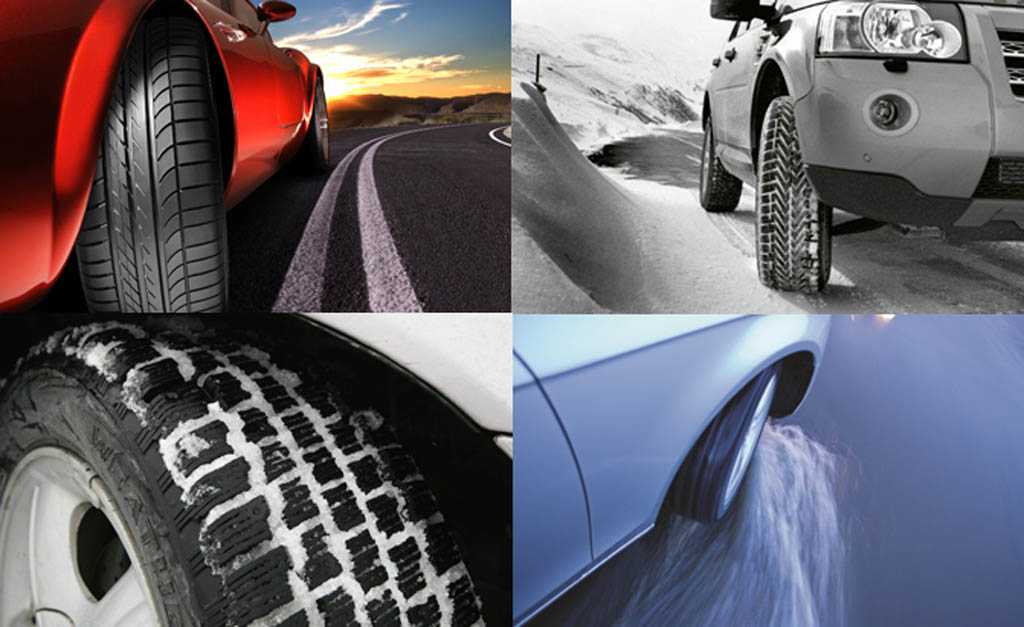
 The main causes of squeaky brakes.
 The problem of grinding when braking affects every motorist from time to time. Still - a lingering whistle when braking, scares and alarms. But is it always necessary to immediately go to the nearest service or even call a tow truck for this? In most cases, yes. In any case, the squeak of brakes (pads) is a sure signal of a malfunction of one of the most critical components of the car, which is directly related to your safety. Let's try to sort out four main reasons - why do the brakes squeak on the car?
Brakes creak not only when braking, but also during the trip.
Brake pads are equipped with special metal “petals”, when the pad surface is erased during operation, the “petal” touches the disc and there is a nasty rattle of the brakes. This is done on purpose - for a reliable indication that it is time to replace the pads. In addition, some cars have a special sensor - a signal light, and if it is necessary to replace the brake pads, it lights up.
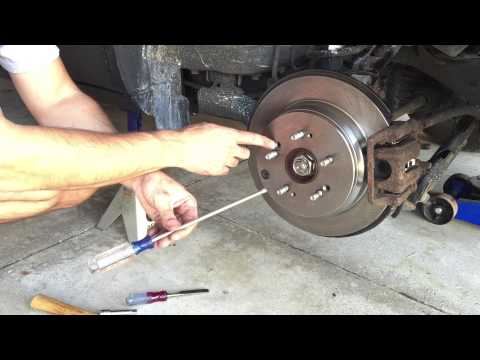
How can I check if my brakes are squeaking due to wear?
If your car has disc brakes, you can simply try to turn the steering wheel all the way to the side and shine a flashlight on the block, you can “by eye” determine the thickness of the block. If the thickness is more than decent, and the brakes creak while driving, you should immediately contact the service station. If it seems difficult for you to determine the thickness of the pads by eye, immediately contact the nearest service for checking the wear of the pads.
The thickness of the pad is easily determined "by eye".
The pad thickness is easily determined "by eye".
Brake squealing (pads) occurs due to their vibration.
When braking, a strong vibration is naturally created in the area of \u200b\u200baction of the pad and brake disc, while squeaks and even lingering “squeals” occur. Usually, in order to avoid extraneous sounds, a special “anti-creak” plate is installed between the pad and the caliper piston, which absorbs vibration.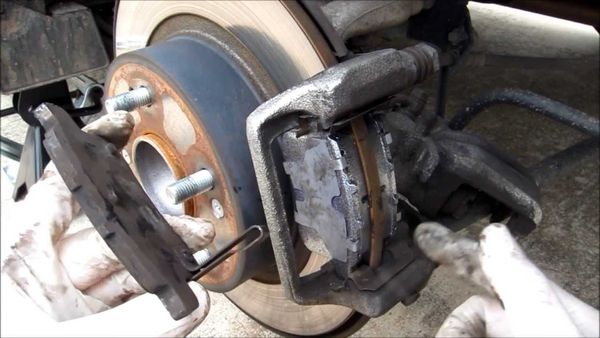 It happens that in some service stations that are not entirely clean at hand, such gaskets are simply lost or thrown away on purpose so that the client would sooner come to them with a new problem - the whistle of the brakes and changed almost new pads.
It happens that the old plate has rusted and collapsed, but the new one is not included in the set of pads, and it had to be ordered with a separate article. The advice here is simple - if you recently changed the pads in the service station and the brakes started whistling again, then just contact another service to make sure that the work was done exactly with all the requirements.
New pads creak, what should I do?
In addition to the lack of an “anti-creak” plate, there are other reasons why new, just replaced, pads start to squeak disgustingly. Firstly, you should pay attention to the quality of manufacture of the pads themselves, it is necessary not to save on such an issue as the brake system, and take only original consumables.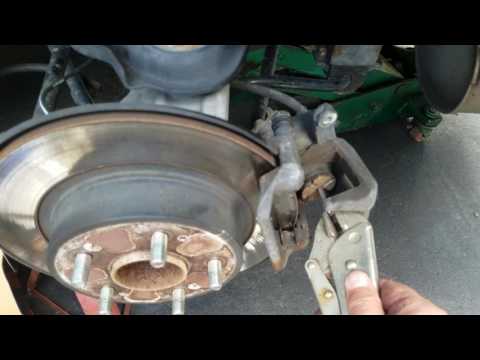 It happens that the pads just need to be properly rubbed in, and after a couple of days (usually up to a week of intense driving), the squeak will disappear on its own.
If the whistle of new pads does not disappear for a long time, this is a good reason to go to the service station, because. there is very little chance that the problem with extraneous brake noise will be solved by itself.
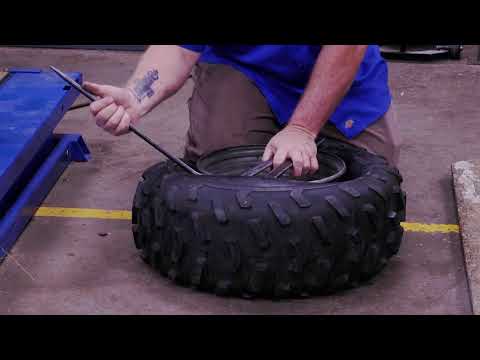
Drove into the mud and the pads began to creak!
Another classic problem is brake screeching - liquid mud or clay, getting into the working surface of the brake pads, dries out and makes terrible sounds - from creaking to a drawn-out howl! Therefore, if you encountered the problem of squeaking after a trip on the road (left the federal highway to a local road somewhere in the outback). It is necessary to remove the wheel, rinse it well, clean the caliper and brake system elements (except for the friction surface) with a metal brush, and then use a special tool for cleaning brake discs.
The pads are fine, but the brakes still squeak.
The pads can whistle if they have lost mobility in the caliper, that is, they have “soured”. In this case, lubrication will help, do not laugh, lubrication for the brakes. And not one, but two and both are anti-creak. For the operation of the “floating” caliper, it is necessary to lubricate the guide pins of the caliper with a thin layer of Liqui Moly Anti-Quietsch-Paste (article 7656, red). And not on top of the old grease, but by carefully removing the old and degreasing the surface with Schnell-Reiniger (article 1900). The caliper grooves into which the pads are inserted also need to be thoroughly cleaned and lubricated with Liqui Moly Bremsen-Anti-Quietsch-Paste (item 7585, blue). To complete the service, it is worth cleaning and degreasing the brake disc itself using Schnell-Reiniger (article 1900). All these simple measures keep the brake mechanisms in a constant tone, and the howling, squeaking or grinding of the brakes no longer emit!
For more details on brake care technology, see the special section on brake system maintenance.