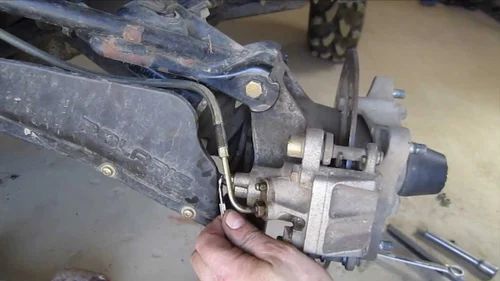
You cannot enjoy an ATV ride without trustworthy brakes. That being said, brake issues are a common trouble spot, which is why it’s important to know how to repair or replace your brake lines. Brake lines can corrode inside and out, causing a lot of problems, including safety issues when you are out for a ride.
The biggest issue in dealing with ATV brake lines is working with the hydraulic system. Changing a brake pad or disc is fairly simple, but when you get into brake line repair and replacement, you’re looking at something more complex. We have a handful of tips to make your repair job easier.
Often, people will try replacing components like pads, rotors, and drums when they are having brake issues. However, it could very well be the brake line that is the problem. Today’s ATVs usually come with inexpensive, rubber lines as the stock option from the factory.
These brake lines are not bad, but they may not be exactly what you are looking for in terms of performance. Regardless of the lines installed on your ATV, you will typically need to replace them annually.
Make sure that your brake lines are the right size for your ATV. Consult your owner’s manual for assistance if need be. You will also be able to choose different fittings and potentially even custom colors for your brake lines. The material matters, too, for instance, upgrading to stainless steel braided lines for greater durability.
You will need to be prepared to collect any brake fluid coming from the system, so get those pans ready. Perform brake line replacement as swiftly as you can without cutting corners.
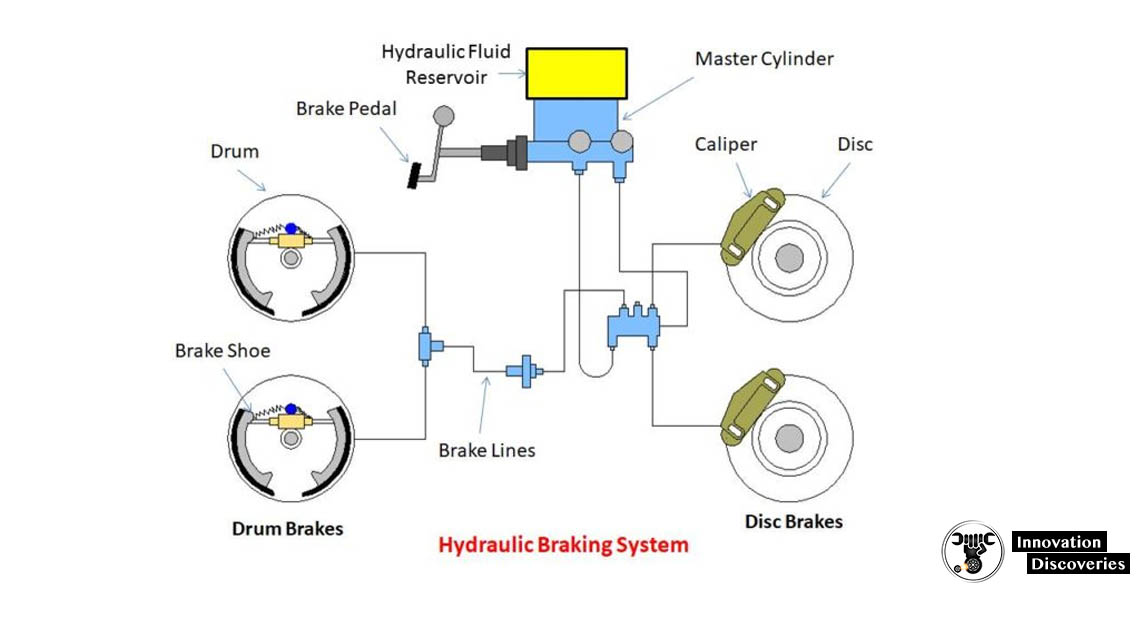
Usually, your ATV will have a master cylinder for the front brakes up on the handlebars and another cylinder for the rear brakes. Some have a master handlebar cylinder for both front and rear brakes. Consult your manual to understand the specific layout of your machine or find the master cylinder by tracing the brake lines from the brake caliper.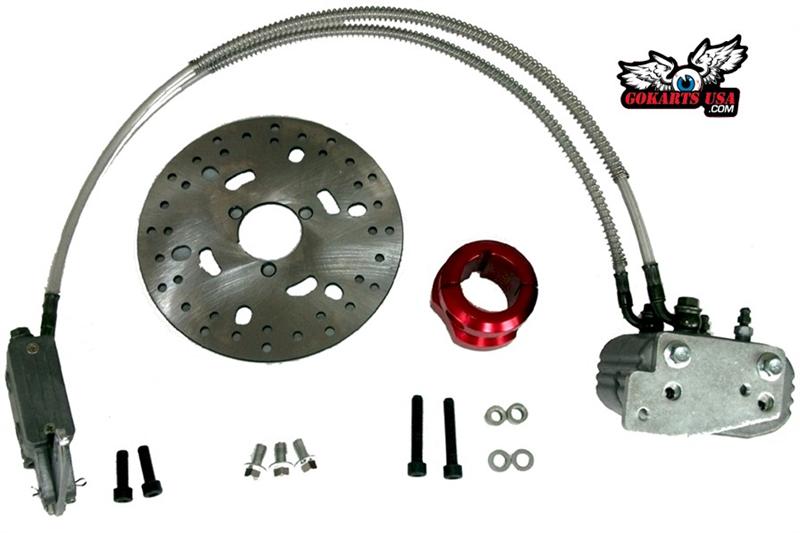
Remove the bolts holding lines in place and get your drain pans in position before loosening banjo bolts on the calipers. Once you have done that, the lines will drain via gravity. You can hasten this by removing the reservoir cover. When everything is drained, pull the old line from the reservoir and through the frame, noting how the line is routed.
Lay out your new lines. Route them through the same way the previous lines were installed. Attach to the reservoir using crush washers on each side of the line fitting to prevent leaking, and do the same on the calipers. As you attach hardware, be sure you are meeting the torque recommendations from your owners manual.
Then, fill the brake system with fluid again. Start at the reservoir and watch to make sure the reservoir does not empty.
ATV brake systems are hydraulic, which means they use brake fluid to function properly. Sometimes, that fluid needs to be removed or bled to remove trapped air or to replace the fluid. When you are completing a brake line repair or replacement, chances are good that air will get into the lines. You’ll need to bleed the system.
To bleed the brakes, you will need a jack, a wheel nut tool, a hex or Phillips bit, and a wrench for the bleeder. You will also need someone to press the brake lever. Finally, you’ll need more brake fluid.
Jack the ATV up, remove the wheels for better access, and take the cap off the reservoir. Clean the cap, then top up the fluid, ensuring that it never drops below the minimum. Put the cap back on, then pump the lever or foot pedal a handful of times, keeping the lever active with a friend’s help. Open the bleeder valve, which will allow brake fluid out, watching until there are no bubbles coming out of the bleeder.
After you have installed your new ATV brake lines, it is time to break them in. Take your ATV for a gentle, light ride, using the brakes but not too much. Let the brakes cool down regularly and keep an easy touch on them.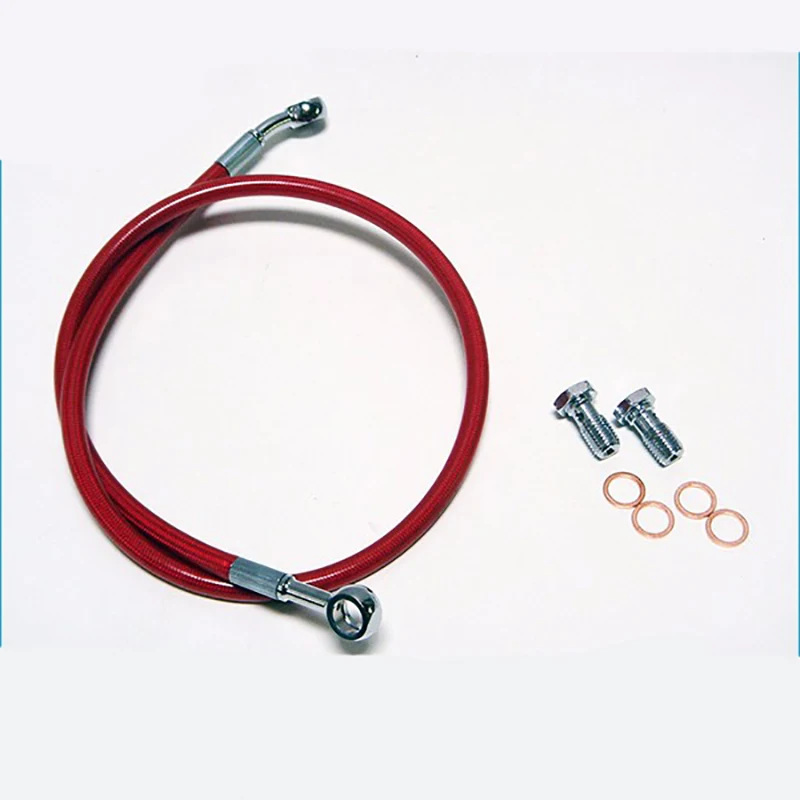 This helps ensure everything is where it should be and should flag any remaining issues to you as the rider.
Your brake lines may have come with specific information about how to properly break your brakes in. Follow their protocol if it differs from this one. Every manufacturer knows how their products perform best.
Repair your ATVs brake lines but be patient and do so carefully. Safety is critical. And when you take the time to break your brakes in, you will enjoy greater longevity and effectiveness from your machine.
Disclaimer: While we endeavor to keep the information on our blog up to date and correct, Maxtrade (Coolster) makes no representations or warranties of any kind, express or implied about the completeness, accuracy, reliability, suitability, or availability with respect to the website or the information, products, services, or related graphics contained on the website for any purpose. Any reliance you place on such material is therefore strictly at your own risk.
Hey y'all,
In the process of freshening up the brake system on my 69' Cuda that has sat for a while and prior to reassembly I'd like to run some type of cleaner or solvent thru the lines. Was planning on disconnecting the lines at the calipers and rear brakes and introducing the cleaner followed shortly thereafter with an air blast at the MC connections.
There's also an OEM proportioning valve and Line-Loc in the system which leads me to two questions:
1) As I obviously don't want to introduce any contaminants into the system is there a preferable product to use that won't leave any harmful residue.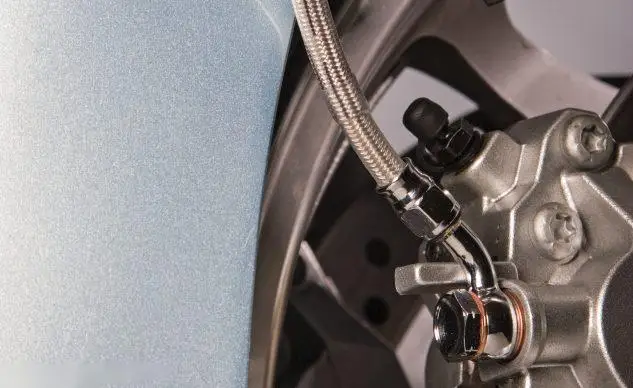 I've got sea-foam, Gumout and plenty of brake cleaner here but just a little curious as to which would be best.
2) Also I think I can flush the lines without disconnecting at the proportioning valve and Line -Loc but can't admit to being certain about this.
I WOULD NOT use any solvent//any kind of solvent will probably destroy the piston seals in the master cylinder /calipers/wheel cylinders or the o rings in your proportioning valve /line lock.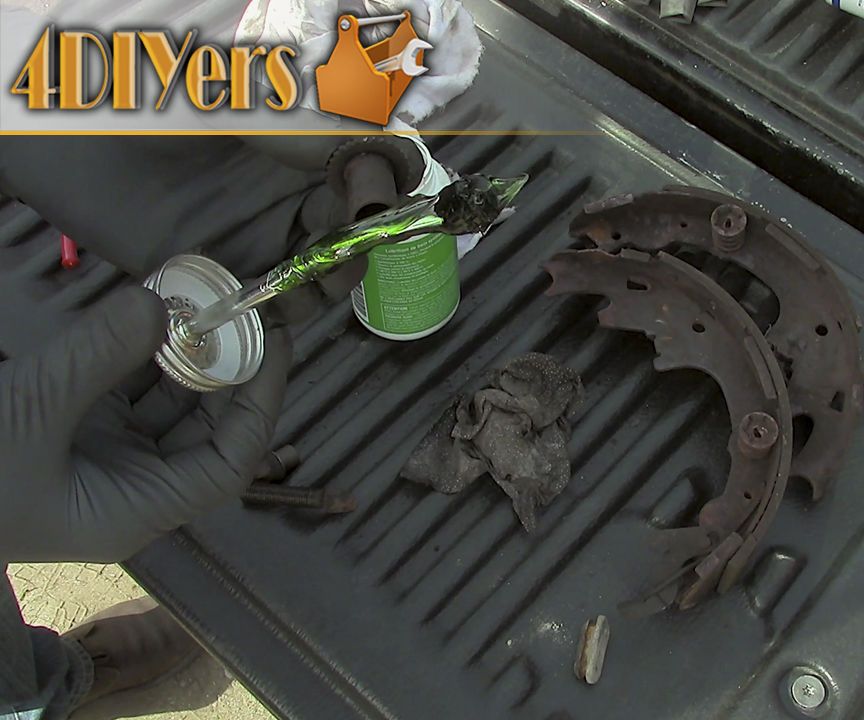 ... brake fluid itself is a good cleaner//fill the system let it sit a few hours and flush with brake fluid...It will absorb any water in the system..
Last edited:
alcohol
Brake fluid. New, clean fluid...........
Hemioutlaw said:
Hey y'all,
In the process of freshening up the brake system on my 69' Cuda that has sat for a while and prior to reassembly I'd like to run some type of cleaner or solvent thru the lines. Was planning on disconnecting the lines at the calipers and rear brakes and introducing the cleaner followed shortly thereafter with an air blast at the MC connections.
There's also an OEM proportioning valve and Line-Loc in the system which leads me to two questions:
1) As I obviously don't want to introduce any contaminants into the system is there a preferable product to use that won't leave any harmful residue. I've got sea-foam, Gumout and plenty of brake cleaner here but just a little curious as to which would be best.
2) Also I think I can flush the lines without disconnecting at the proportioning valve and Line -Loc but can't admit to being certain about this.
Click to expand...
Denatured alcohol.
Use brake clean in a can aerosol format. That’s what it’s made for. Then blow dry after. Wait a day before filling with fluid to allow any possible residual pools of brake clean to evaporate in case some was left after blowing with compressed air.
Well not surprising but as usual nobodies in agreement on what to use .....Ha
For the folks that recommended using brake fluid itself it's without a doubt not going to cause any problems other than how the hell do I introduce it back into the system (brake lines) when its not under hydraulic pressure. .. I've already got one of those little pump oil cans and a super small funnel but i've yet to attempt it preferring to elicit at least a days worth of responses and opinions prior to flushing.
Ideally the aerosol based brake cleaner with the plastic spray tip would be the easiest and the cans I have clearly state that they are residue free but nowhere on the can does it mention actual flushing of lines...
To the internet I go and actually found an Alarming article (Welders Pay attention) on the active ingredient in Brake Fluid combining with Argon to form Phosgene which is Deadly.
Be Extremely Careful When Using Brake Cleaner!
Internet consensus: Use Alcohol, Brake Fluid or Brake cleaner.
Back to square one so guess i'll just hook the lines to my new MC and try gravity bleeding it with Brake fluid.
Gravity works. On most brake systems.
Brake cleaner is to clean/degrease external brake components, like rinsing off brake dust from backing plates.
Will remove oil from the shoes to some extent.
Denatured alcohol is one, brake fluid is the other.
considering the consequences of using anything other than brake fluid,i would stick with what actually belongs in there.
To add,suck out everything from master cylinder and start with fresh.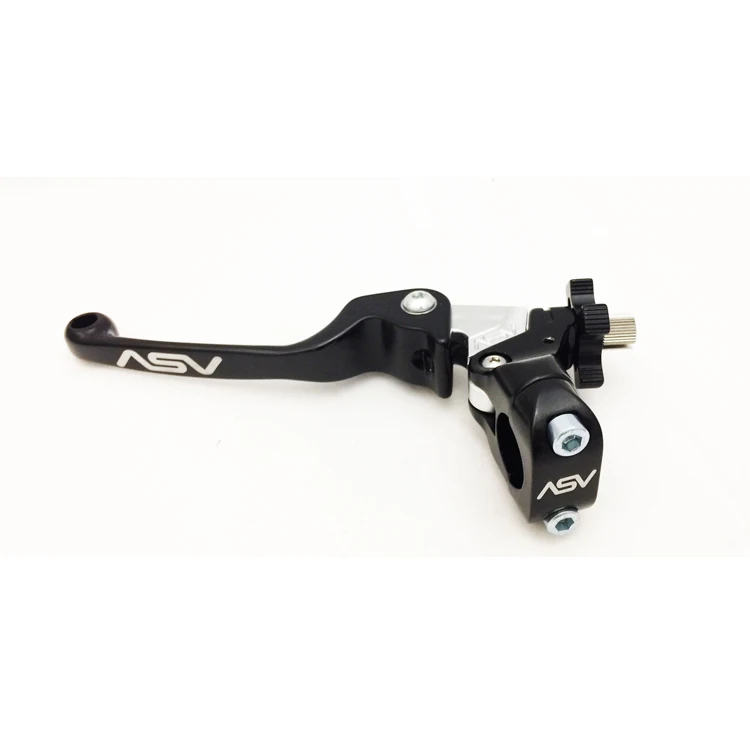
With front disc brakes,squeeze calipers in,and then remove fluid from master.gets rid of a lot of fluid. Less fresh fluid needed to flush afterwards.
a friend has a coleman stove fuel tank he uses, and flushes from bottom up. Fill tank, pump it up and away you go.
Hemioutlaw said:
Well not surprising but as usual nobodies in agreement on what to use .
....Ha
For the folks that recommended using brake fluid itself it's without a doubt not going to cause any problems other than how the hell do I introduce it back into the system (brake lines) when its not under hydraulic pressure... I've already got one of those little pump oil cans and a super small funnel but i've yet to attempt it preferring to elicit at least a days worth of responses and opinions prior to flushing.
Ideally the aerosol based brake cleaner with the plastic spray tip would be the easiest and the cans I have clearly state that they are residue free but nowhere on the can does it mention actual flushing of lines...
To the internet I go and actually found an Alarming article (Welders Pay attention) on the active ingredient in Brake Fluid combining with Argon to form Phosgene which is Deadly.
Be Extremely Careful When Using Brake Cleaner!
Internet consensus: Use Alcohol, Brake Fluid or Brake cleaner.
Back to square one so guess i'll just hook the lines to my new MC and try gravity bleeding it with Brake fluid.

Click to expand...
the day is not over
a piece of silicone hose in fresh container of brake fluid on one end and a vacuum bleeder at the wheel cylinder/caliper
Children's ATVs are equipped with a number of protective options (control, speed limiter, bump stop). But the main safety element of an ATV for a child is the brakes. Therefore, it is important for parents to regularly check the system and change its components in a timely manner. And for this you need to figure out how the brake pads for a children's ATV are mounted, and when they need to be changed.
Brake pad wear can be determined by eye. If the element is worn out badly, then it is time to replace it. But for this you need to disassemble the caliper, so it's easier to focus on other "symptoms".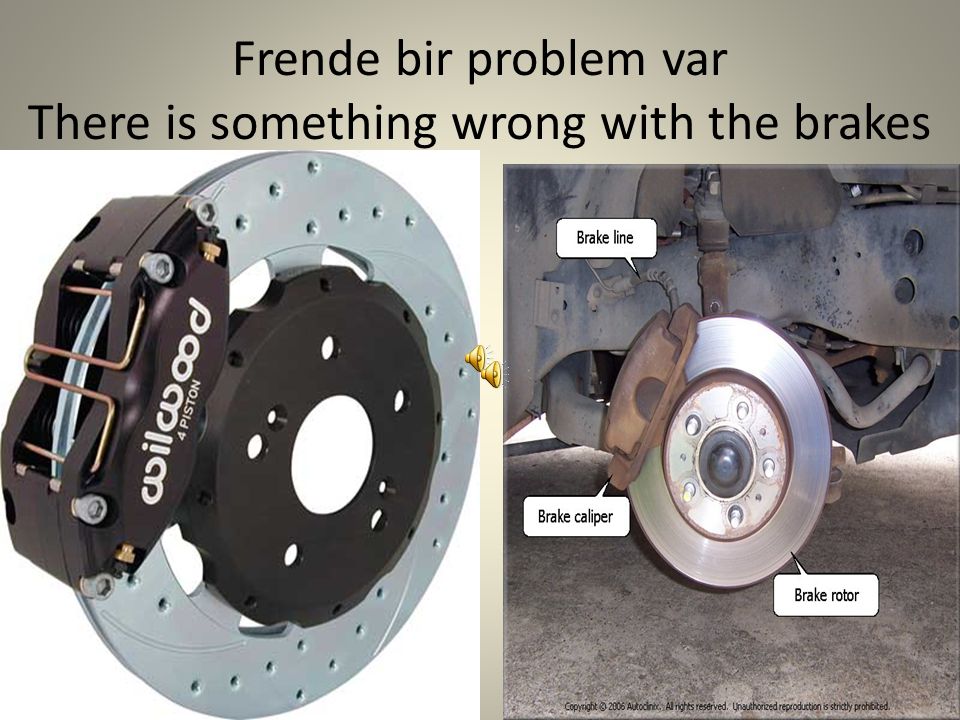 If you notice that:
Such signs occur both due to the natural wear of the pads, and when they are damaged (crack, chip, etc.).
It is recommended to check the system 2 times a season or every 350-450 km. Of course, the brakes of children's vehicles are not subjected to significant loads, but even minor damage to the pads can lead to a deterioration in their performance.
To change the pads, you will need a Kids ATV Brake Kit. On average, brake pads for two-piston calipers cost between 200-300 UAH. (set of 2 pieces). However, such parts “live” for a long time, on one set you can skate more than 1000 km.
Another option is to make your own pads. To do this, you need a friction material that is suitable in thickness. Blanks are cut out of it, which are turned and polished. Given the low power of children's devices, such crafts serve no worse than factory products.
Tools you will need are wrenches to remove the wheels and calipers, a hex wrench, and a screwdriver (to push the piston in).
To change the pads, jack up the ATV and remove the front wheels. The rear caliper is usually located in the center of the axle, so it is not necessary to remove the wheels. After that you need:
Note: If the system has not been serviced for a long time, rubber boots should be purchased and replaced in advance.
Also, after replacing the pads, it is necessary to pump up the system. To do this, press the brakes several times until they become elastic. Also apply the brakes and try to roll the quad to check the operation of the system.
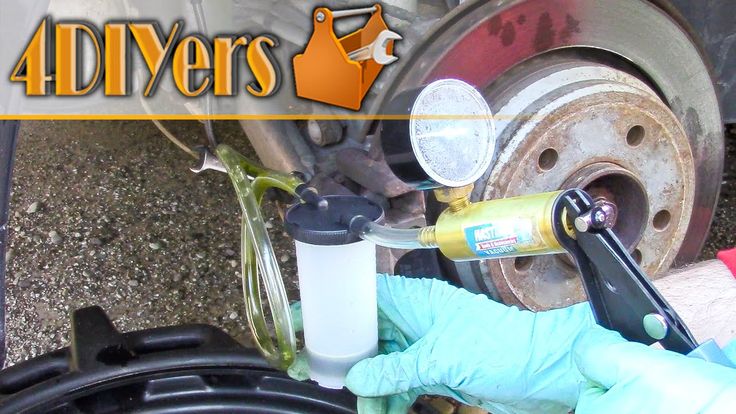
After installing the pads and servicing the calipers, it is important to bleed the brakes on your child's ATV. To do this, you will need a screwdriver, a wrench, new fluid (0.5 l), a hose and a bottle to drain the old composition.
The procedure is as follows:

Important: When the pedal “falls” during pumping, it is important to tighten the fitting so that no air enters the system.
The final stage of maintenance of the brake system is the cleaning and lubrication of the levers on the steering wheel and pedal (hinge). Your task is to check the condition of the nodes and remove dirt from them.
Let's start with levers. They must be completely removed, cleaned and treated with a penetrating lubricant. After applying the product, wait 5 minutes until the spray turns into a liquid.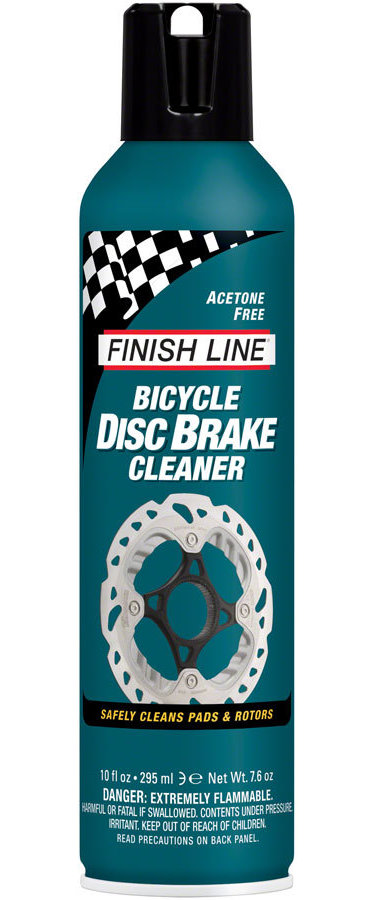 After that, you need to lubricate the mounting bolts and install the levers on the steering wheel.
Then unscrew the brake foot bolt, clean the hole and apply grease to the fastener. Thread sealant is applied to the bolt before installing the pedal.
11/16/2020 1356
At the beginning of the next season, the main thing is to properly re-mothball your favorite all-terrain vehicle that has stood for several months. To do this, you need to carefully check the status of all nodes and systems.
We'll tell you exactly how to prepare an ATV for the season.
Next, we'll tell you exactly what to do.
The plastic elements of the body may have cracked in the previous season, and this may not have been noticed before conservation. The leather or leatherette of the seat could also crack, and the filler could come out from under the cover. It is better to fix such defects immediately (lay the filler inside, sew the seams apart or apply a patch) - otherwise the holes will increase, and the upholstery will have to be completely tightened.
The seat and body are inspected after washing the ATV, so that all surfaces are clean
Engine oil more than 1000 km in difficult conditions. If the oil was changed before conservation, you need to check its level: is it gone.
Grease : Inject through all injection points. Usually they are on movable hardpoints. But it is better to look at their exact location in the instructions for the ATV.
Antifreeze : we measure the level in the expansion tank (usually it is visible under the front left fender) - if it has fallen below the minimum mark. You need to check it only on a cold engine (before starting it, or 10-15 minutes after stopping).
Brake fluid : check the level - if it has fallen below the minimum mark. Usually ATVs have two brake fluid circuits: for the front brakes and a common one. The container for the front circuit is located directly on the handlebar, next to the brake lever. The "common" reservoir is usually mounted under the rear left fender.
Spark plugs : we take it out of the engine (to do this, remove the engine compartment shield) and inspect. If there is soot or plaque, they are replaced. In general, spark plugs are rarely changed, approximately every 6000 km. If this mark is very far away, they can not be checked, since access to them is usually very inconvenient.
Air filter : inspect, if clean, leave. It is usually located under the seat, covered with a lid.
Oil filter : if the oil changes, the filter also changes. It is located on the left side, under the protective cover.
Fuel filter : inspect after checking the gas tank. To get to it, you need to remove the left side of the lining and the left engine compartment cover. If the tank is clean or has been filled to the top, the filter will likely remain clean. In this case, it can be returned to its place. If it has not been changed for a long time, the tank has not been filled with gasoline or there are traces of corrosion on the walls of the tank, the filter must be replaced.
Drain the old gasoline and fill it with fresh one.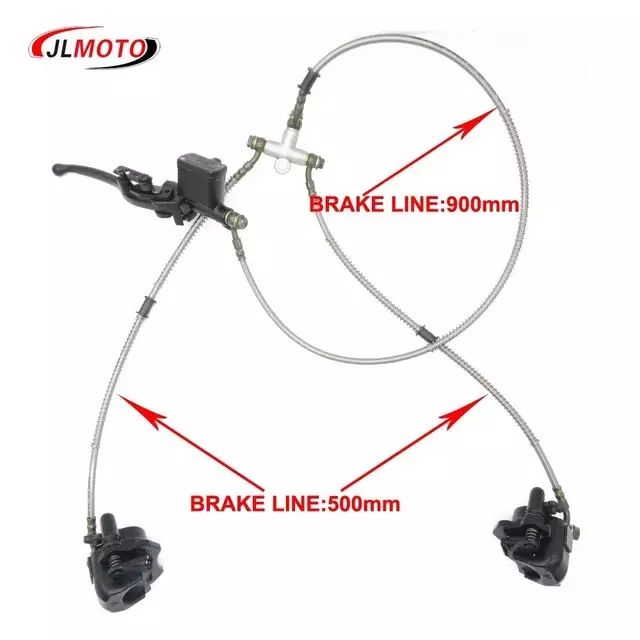 If, before conservation, gasoline was filled not under the neck or was not filled at all, and the tank was empty all winter, it must be examined with a flashlight: is it clean inside? If there are signs of corrosion on the walls, and flakes of sludge or any other dirt are visible at the bottom of the gas tank, the fuel system will have to be flushed.
For flushing, you need to completely drain the “wintered” gasoline, fill in fresh fuel to the edges of the gas tank and start the engine so that it disperses along the entire highway. After that, remove the cap from the tank, add gasoline if necessary. Then we also drain this fuel and again inspect the walls of the gas tank again. If rust remains, most likely the tank will have to be removed and washed more thoroughly.
Check charge and recharge if necessary. You also need to inspect the terminals, cable lugs and the battery case itself - if there is any plaque on them. If there is, we clean it with a sponge with a solution of water and baking soda.
The ATV battery is located under the seat
Engine : check if there are any oil leaks.
Drive : belt - check for integrity, chain - for rust. We also check the tension and tighten if necessary.
Radiator : Remove the grille and blow it out with a vacuum cleaner or compressor. If it is heavily soiled (for example, fluff, leaves, dirt) after the previous season, wash it under pressure.
Wheels :
Suspension, ATV stands on a flat surface without slopes : alternately press on the ATV from the top in front and behind, and then over each wheel separately - check if there is any play, if the shock absorbers work normally. When pressing on either side, this part should rise and fall evenly without swaying.
Suspension arms must be intact: no corrosion, dents, bends, cracks, holes
Suspension, ATV raised by jack or lift0144:
If something was removed from the ATV before conservation (for example, the battery, the protection of the levers and the bottom), we install everything back.
When the external inspection of all parts is over, the parts are installed in their places, all technical fluids and consumables are replaced - you can finally start the ATV.
For the first time after winter, this must be done with particular care. The sequence is:
 We also look at the exhaust: it should be almost transparent and not smell like burning. Each of the deviations (unstable idling, opaque exhaust) can have several causes and solutions, so we will not list here.