Let us sing a song of praise to our motorcycle helmets! Their primary purpose is to sacrifice themselves to protect our noggins. When you bang your head, their outer shell crushes to spread out and lessen the force of the impact before the soft EPS liner compresses to mitigate G-forces before they reach your delicate brain. But that’s not all helmets do. They protect you from abrasion in a slide, keeping your face pretty, and they absorb all manner of small impacts from juicy or stinging bugs to pebbles that your riding buddy’s sticky rear tire kicks up to face level. On the inside, their padding helps keep you comfortable by wicking away sweat while doing its best to limit noise and protect your hearing.
Shop for Microfiber Cloths here
Shop for S100 Detail & Wax here
Shop for Motorex Helmet Cleaner here
All of this means that you need to care for the lid that cares for you. The exterior should be cleaned and polished regularly. Special care should be taken on the delicate surfaces, particularly the visor. The interior has its own set of needs. The intimate contact it has with your face and scalp means that the liner absorbs your oils and sweat, leading to the dreaded helmet funk. However, with a little love, you can keep your helmet looking and smelling great for years, extending the useful life of the most important – and often most expensive – pieces of protective gear many motorcyclists own.
The key ingredient for removing hardened bug impacts and other goo is a wet soapy cloth and patience. Soak and soften. Wipe clean. Repeat until the bugs are gone.
When it comes to your helmet’s exterior, there are two levels of cleaning. The first is a quick post-ride cleaning/wipe down. The second, we’ll call a deep cleaning that you do a couple of times a season.
For a quick cleanup, it’s hard to beat S100 Detail & Wax plus a microfiber cloth.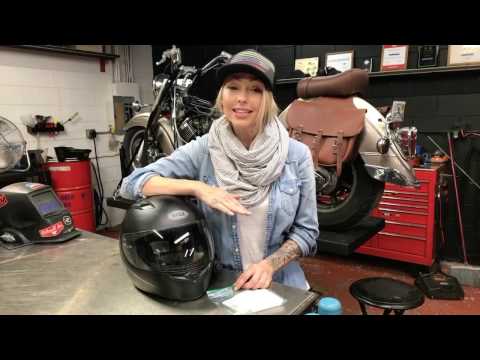
To keep your helmet clean and not allow the dead bugs to harden and possibly etch themselves into your helmet’s finish, we recommend a quick post-ride cleaning. Often, just wetting a paper towel or microfiber cloth and laying it over the goo for a minute or two will be enough to soften up the debris. Then use a cloth/towel or two to gently scrub the surface until it shines. Stubborn crust can be removed by using a motorcycle-specific cleaner, like our current favorite S100 Detail & Wax. Do not use harsh chemicals. Window cleaner and dish soap are too strong for use on your helmet. Window cleaner, in particular, can dry out and accelerate the aging of your helmet’s surface. If you ask the people who maintain helmets for a living, the Arai and Shoei support at racing series, they’ll tell you that they just use water and elbow grease.
A deep cleaning of your helmet starts out in a similar fashion with placing warm, wet microfiber cloths over the helmet’s exterior to soften the dirt. Start by removing your visor. We’ll wash it separately. If your helmet is extremely dirty, like a mud-covered off-road helmet, don’t be afraid to hold it under running water to flush away the biggest chunks of dirt. (Just be sure to remove any electronics, such as helmet communicators first.) Wiping built-up dirt off a helmet – even with a wet cloth – could scratch the finish. Don’t worry if you get the interior wet, it will dry out, and you can assist it with a fan (never a hair dryer).
Use a soft-bristled toothbrush or Q-Tips to clean hard-to-reach places on the helmet.
Using microfiber cloths soaked in water and a mild soapy solution (baby shampoo works great), wipe away the dirt. Rinse the cloth frequently. Cruft caught in vents or visor seals can be removed with a soft-bristled toothbrush or Q-Tip. Once the helmet’s surface is clean, dry it off with a clean microfiber cloth. If you want to make sure the helmet is easier to clean in the future, you can give it a coat of carnauba wax or do it in a spray-on manner with S100 Detail & Wax.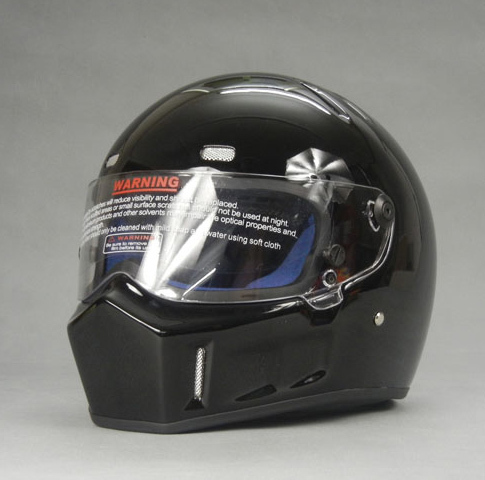
The visor gets special treatment because some manufacturers use special coatings on the interior to prevent fogging, and cleaning this with harsh chemicals could render it useless. With warm weather and mild soap on your fingers wet the visor and then clean it with the lightest touch possible. Rinse it with warm water, and dry it with a clean microfiber cloth.
Make sure that you have lots of soap and water to clean your visor. It cuts through the bug guts and acts as a lubricant between your fingers and the visor.
If your faceshield uses a Pinlock Visor, you’ll want to wash it the same way, but you’ll need to be even more careful with the easy-to-scratch surface of the Pinlock. Do not dry it with a cloth, though. You can blow the excess water off with a hair dryer set to cool and then let it air dry before remounting it on your face shield.
The easiest way to clean your helmet interior is to remove the liner and padding (if possible) and place it in a mesh garment bag.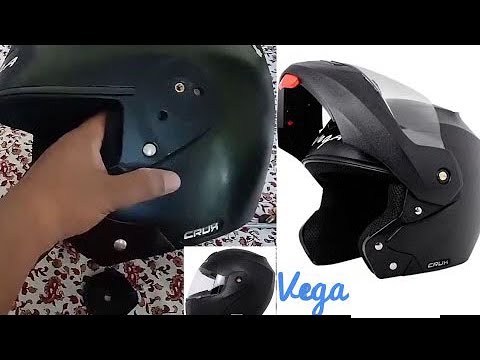 Then place it in your washing machine on the most delicate setting and wash with Woolite. Take it out of the machine immediately and let it air dry. If you want to speed it up, use a fan to blow air across it. Never use a hair dryer because it could damage the glues holding the liner and padding together.
You can wash your helmet’s liner in mild soap in your washing machine on its most delicate cycle. The mesh garment bag helps to protect the parts. Do not put the liner in the dryer or expose it to other sources of heat.
If you can’t remove the helmet liner, you can still clean the interior, but it will take significantly longer to dry. You’ll need clean cloths and a bowl of mild soapy warm water. Remove any liner components that you can. Also, remove any electronics, like a communication system. Then with the soapy cloth, begin to scrub the interior of the helmet one section at a time. Don’t be afraid to saturate the liner as you scrub it. After each section is cleaned, scrub it out with clean cloths saturated with clean warm water. You want to get all of the soap out of the liner and the padding. Don’t be afraid to really saturate the liner with clean wet rags as the final step.
Using lots of warm, mildly soapy water, scrub the interior liner of your helmet. Then rinse until soap suds no longer bubble up from the liner when it is compressed.
To dry the helmet interior, press the liner and padding with clean dry cloths until no more water comes out. Then place the helmet in a place with good air circulation to dry. Helmet manufacturers recommend that you not leave them in the sun to accelerate the process. Instead, put the helmet in front of a fan to increase the airflow over it.
Finally, a word of warning about helmet interiors. Only use cleaners that are specifically manufactured for helmets, but be careful, some cleaners are for the exterior only. So, make sure you’ve got the right type of cleaner. We are quite fond of Motorex Helmet Cleaner. Also, don’t be tempted to deodorize by wiping the interior with dryer sheets.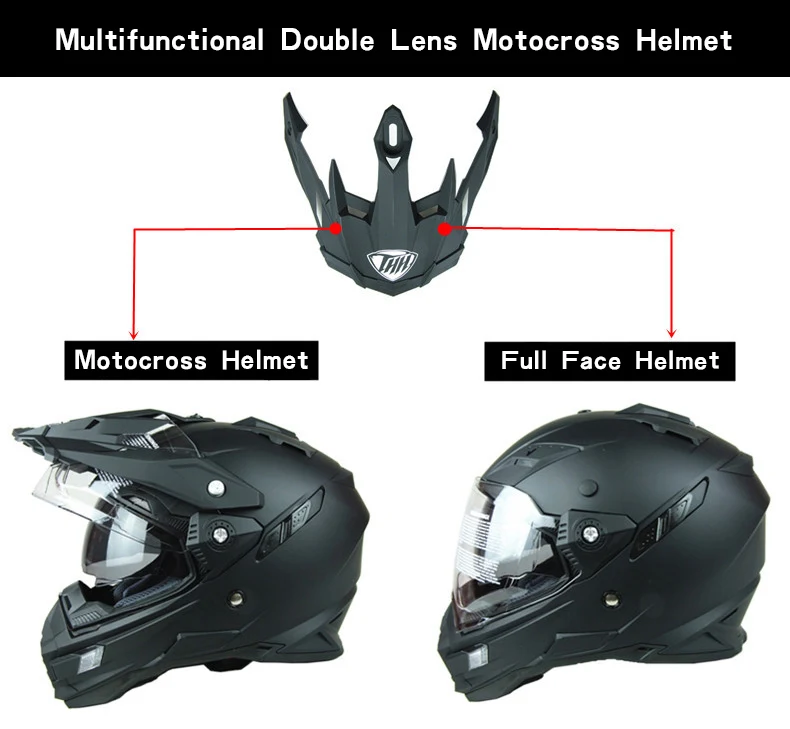 It may smell good, but these fabric softeners contain chemicals that may irritate the skin in the concentrated form they are in on the sheets.
The fan will help speed up the drying of your helmet’s interior without damaging it, like a hair dryer could.
If you take care of the interior and exterior of your helmet, you can keep it looking new for many years. We certainly don’t want to ride around in a ratty-looking helmet, and we’re pretty sure that nobody wants to stick their head in one that smells like old socks. Go ahead and clean your helmet today.
Shop for Microfiber Cloths here
Shop for S100 Detail & Wax here
Shop for Motorex Helmet Cleaner here
We are committed to finding, researching, and recommending the best products. We earn commissions from purchases you make using the retail links in our product reviews and other articles. Learn more about how this works.
Your helmet is the single most important piece of safety gear you own as a motorcyclist, so it’s important to take care of it.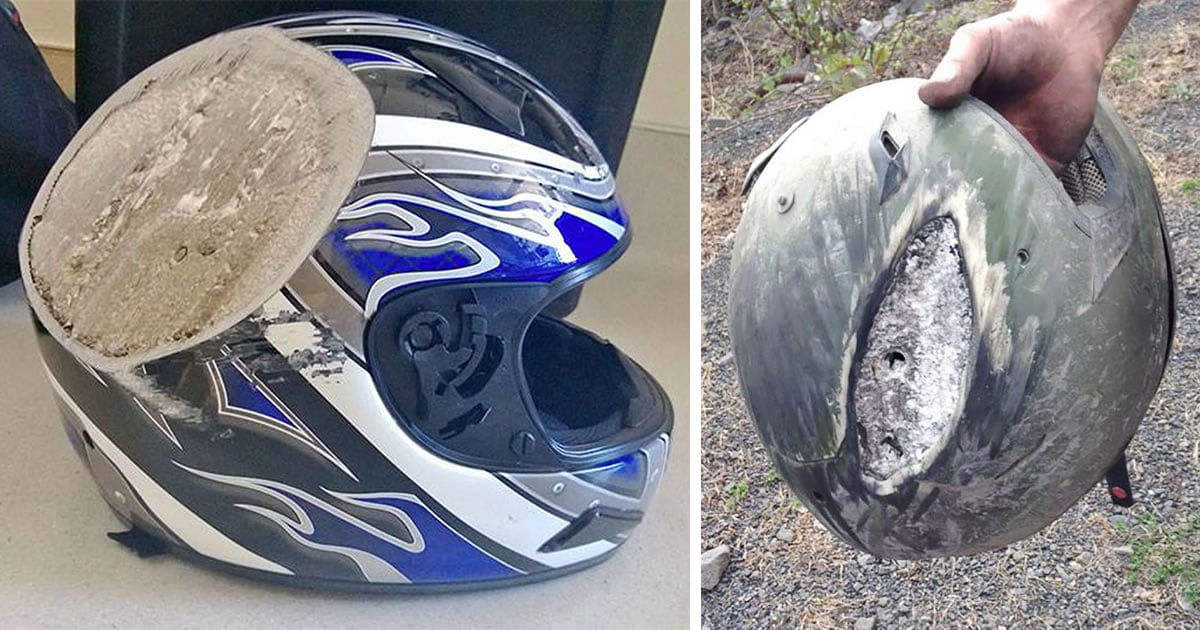 And whether you just flew through a swarm of gnats or your helmet’s lining is starting to get a little funky, one part of proper motorcycle helmet care is cleaning your helmet when it needs it.
In this article, we’ll give you a quick overview of how to keep your motorcycle helmet clean. The process is a relatively simple one that experienced and novice riders alike can do at home with some standard household supplies, and the same process can also be used for other powersports helmets like ATV helmets.
Why Clean Your Helmet?The visor and outer shell of a helmet come in contact with all kinds of dirt, grime and debris. From insects to soil to rainwater, your helmet takes it all—and one look at a well-used helmet will tell most people why cleaning is so necessary.
The inside of a helmet can get pretty gross as well, since it’s constantly in contact with your skin, hair, sweat and breath when you’re riding. Thus, a good helmet cleaning should include both the inside and outside of the helmet.
First, get the things you’ll need to clean your helmet. A typical list includes:
You can also use one of the many motorcycle helmet cleaning products available on the market. However, note that there are some things you should not use to clean your helmet because they can damage it, including:
Set up your helmet in a place where you won’t mind splashing some water around, like a kitchen or garage. You’ll also want to find the owner’s manual for your helmet and keep it at the ready since some steps in the process work differently for every individual helmet.
Remember to remove any external devices or accessories you’ve added to your helmet, like a motorcycle helmet intercom system or motorcycle helmet speakers. (If you have a Cardo Systems product, you can find out how to safely remove it in your Cardo owner’s manual.) If you’re washing an ATV or dual-sport helmet, remove the peak as well.
3. Remove and clean your helmet’s interior lining.If your helmet has a removable liner like most helmets today, all you’ll need to do is pull the lining and cheek pads out (taking note of where everything goes) and wash them. You can either use your washing machine (on a delicate cycle, using gentle detergent), or you can hand wash them using warm, soapy water. Let your pads and liner air dry rather than putting them in the dryer.
If your helmet’s liner is not removable, you’ll have to wash your helmet all at once. Using a tub that’s big enough to submerge your helmet in, mix up some warm water and baby shampoo and then dunk your helmet for several minutes at a time to allow the water and soap to penetrate the lining. Scrub gently with a microfiber cloth, rinse thoroughly and then let it air dry.
First, put a warm, damp microfiber cloth on top of your helmet and leave it there for at least 30 minutes to help loosen any caked-on gunk. Then, use another damp microfiber cloth to gently wipe down the helmet’s exterior until it’s clean. Use a toothbrush to reach hard-to-get places and, at the end, apply a coat of automotive wax to your helmet to help keep it clean in the future.
5. Clean your face shield, sun shield and vents.Your face shield and sun shield can also easily get fouled with dirt and grime, so take the time to gently wipe them down with a soft cloth. Don’t scrub them with anything abrasive, as you might scratch the visor.
If you have a pinlock shield, take special care to read the manufacturer’s cleaning instructions, as they can be easily damaged during cleaning if you’re not careful. If your helmet’s vents are clogged, give them a quick blast from an air compressor and a good cleaning with a cotton swab.
When you’re done, reassemble the pieces of your helmet. Make sure that you’ve thoroughly dried the nooks and crannies with a microfiber cloth—you don’t want moisture accumulating inside the helmet.
If you’ve been putting off cleaning your helmet, find an hour or two on a weekend and get it done. The process will go more quickly than you expect, especially if you put on your favorite music or TV show—and you’ll have a sparkling-clean helmet waiting for you when you’re done.
A few simple steps to give your helmet a pristine look.
Helmets are a must for any motorcyclist and we use them every day. Dust, sweat, insects caught at speed are not the most necessary things. Therefore, we will tell you how to get your helmet in proper shape. By the way, have you ever read the instructions for your helmet? Everything is detailed there as well.
But we will try to describe all the actions again. Moreover, caring for a helmet does not require any special skills. The only thing that could come in handy is a special stand for a helmet, but if there is no stand, this is not a hindrance. Go!
First, the helmet must be disassembled. It is better to do this on a clean table, with a supply of free space on it. It will be possible to remove the visor, otherwise it will interfere. Remove the helmet lining: it is usually attached to the inner surface with buttons and sometimes with Velcro. Gently and without using force, unfasten the cheek pads, then the central “cap” and the strap-clasp lining and other lining, if any. Try to remember the disassembly sequence - this will help you quickly assemble the helmet after cleaning.
And now all this needs to be washed. To do this, it is better to use something that is guaranteed not to irritate your skin: the ideal option is baby shampoo. Do not use washing powder or soap, they have a strong smell and do not rinse well. Gently wash all the “innards” of the helmet with your hands and rinse them several times in clean water to remove any shampoo residue.
Yes, but you need to dry the linings first. It is better not to use a hair dryer and hot towel warmers - hot air can melt parts. The simplest thing is to leave the lining to dry overnight on a regular dryer. Once everything is dry, assemble the helmet in reverse order.
Use only special helmet cleaners!
While the lining dries, work on the exterior of the helmet. Please note that it is best to use a clean, soft, lint-free cloth for cleaning. Microfiber cloths are ideal. If you don't have special helmet cleaners on hand, just cover the helmet with a warm, damp towel for 5 minutes. You can do the same with eyes. During these few minutes, dirt drops and midges will get wet and can be easily removed. Just wet the towel again and thoroughly wipe the entire outer surface of the helmet. It is recommended not to wipe matte helmets, but to clean them with sweeping movements. Air intakes can be cleaned with cotton swabs.
If you don't have special helmet cleaners on hand, just cover the helmet with a warm, damp towel for 5 minutes.
Never use glass cleaners! Your visor is made of special plastic and coated with an anti-fog coating on the inside. Clean the visor with warm water, and special visor cleaners can be used on the outside of the visor, but never on the inside of the visor. It can only be wiped with a damp microfiber cloth.
By the way, check and, if necessary, tighten the visor fasteners on the helmet. They are also easy to clean from dust with a cotton swab.
Before polishing, dry the helmet completely with a dry, clean towel. For polishing, use only special tools, for matte helmets there are tools. Do not use household "kitchen" chemicals - otherwise you risk damaging the surface.
It's simple!
How do you clean your helmets, and how often do you do it?
Toggle Nav
Usually, the care instructions for motorcycle helmets are given in the instruction manual for the helmet. Here we provide general information on the care of motorcycle helmets. These tips are universal for all types of helmets and will come in handy if you do not have instructions.
You can buy a suitable helmet in our online store, including delivery. Always available all types of helmets from open 1/2 to modular.
Rinse the helmet shell and visor with warm water. Try not to wet the inside. Wash the outside of the helmet with soap. DO NOT use chemical or oil-based detergents as these products may damage the coating of the helmet. Use only a soft cloth, soap and water when cleaning your helmet.
Some helmets have removable interior trim (lining) that can be removed and washed. Whether the lining is removable or not - check the instructions for your helmet.
Removable lining elements can be washed and washed with soap or mild detergent. Please note that the lining should dry naturally, i.e. without the use of various drying devices. DO NOT DRY IN THE WASHING OR DRYER!
To clean the lining of motorcycle helmets with non-removable liner, use a special helmet cleaner that thoroughly cleans and deodorizes the inside of the helmet. Such a tool can be purchased from your helmet dealer.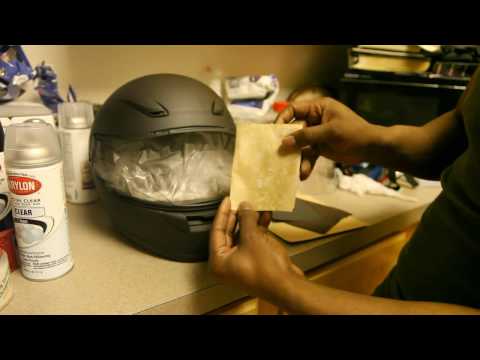
While all helmets generally meet strict safety standards, sometimes a helmet needs to be replaced.
Replace your helmet immediately if it has been impacted. The helmet is designed to withstand ONLY ONE IMPACT. As a result of the impact, the body of the motorcycle helmet can be imperceptibly damaged and lose its properties, and the shock-absorbing layer under the body can also be damaged. Any impact in an accident or a fall from a height of more than 1 m is enough to damage the helmet.
Even if the helmet has not been damaged, it should be changed every 3-5 years depending on the intensity of use. This is because materials are subject to aging and lose their properties over time.
To reduce the risk of personal injury and to prevent damage to the helmet:
- Never adjust the helmet buckles while moving, only do so after a complete stop.
- Never drop your motorcycle helmet.