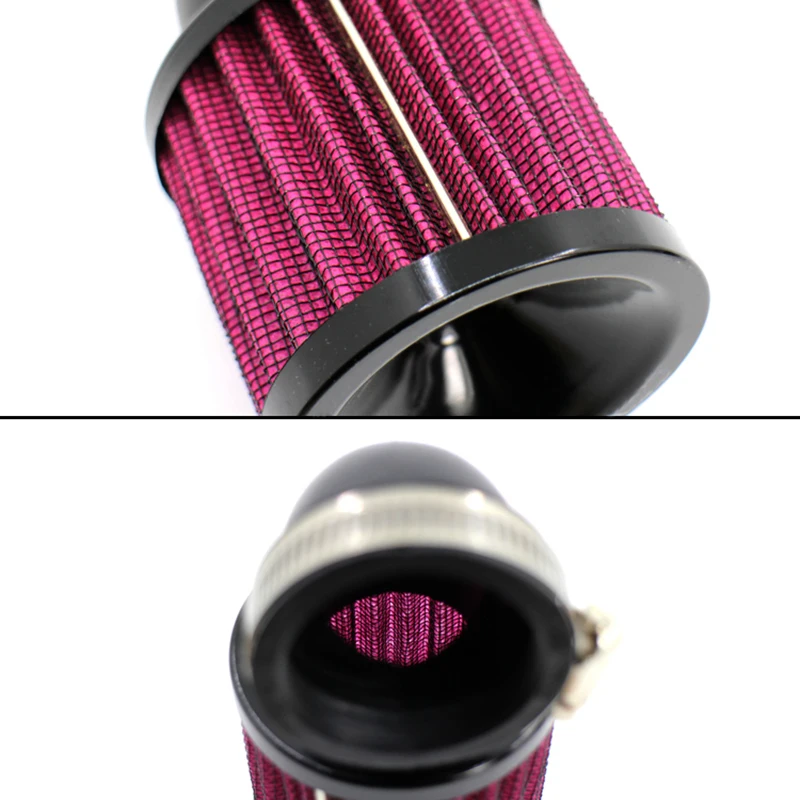
Whether you just bought your first ATV or you want to know to take care of the one you already love, you'll need to learn how to clean an ATV air filter to maintain its performance and extend its life. If you want a well-running machine, you must have a clean air filter. Find out everything you need to know here.
You can fairly easily clean your ATV air filter yourself, and you'll want to do it yourself because it needs to be done frequently.
An ATV air filter typically needs to be cleaned every 1-3 rides, depending on your ATV make and model and where you ride it.
Check your owner's manual for general rules about when to clean the air filter. The interval will be measured in riding hours and you'll need to log those. If you struggle to track your riding hours, you can purchase an hour meter. You might want to go this route if you don't ride often.
If you ride your ATV in the sand, you should clean your air filter after every ride, regardless of the general interval. A filterskin will protect your filter from the full brunt of dust.
To keep it simple, you can check your air filter after every ride and see if it looks dirty.
Hours' long riding, particularly in dusty areas, could max out your filter mid-ride! But you don't have to call it quits. Come prepared with extra filters so you can change your filter, keep riding, and clean them later.
ATV are the core piece of riding gear for off-road riders
Find out the best look for you
ATV air filters can be made of paper or foam and you should purchase an ATV filter cleaner specific to the type you have.
Don't use gasoline or another flammable liquid to clean your ATV filter as they can damage the glue in the filter.
And if you've already heard you need to oil your air filter, don't use motor oil. You'll need a special foam filter oil.
If all this sounds confusing, you can purchase ATV filter cleaning kits containing everything you need.
Image from www.atv.com
Clearly, you've got to find the filter before you can clean it. Look no further than right under your seat.
Paper air filters are the simplest. Just take water and your cleaning solvent and gently scrub. You don't want to use any abrasive brushes, forced air, or rough scrubbing. Rinse it thoroughly. When it's clean, let it air dry completely before placing it back in the ATV. Some cleaning kits come with a rack to hold your filter and provide optimum air flow while it dries.
Wear gloves to avoid exposure to toxins and carcinogens, and carefully wash your filter in water and foam filter cleaner. You'll basically want to do little more than gently squeeze the filter to move the water through and eliminate excess water before drying. Make sure you've rinsed it thoroughly. Let it air dry completely before using.
While your filter is air drying is a great time to clean the air box (the thing you took the filter out of). Place a clean rag in the intake hole so you don't push dirt and objects further into the system. Wipe out any dust or grease and remove any debris or foreign objects from the box.
If you've got a foam air filter, it has to be oiled to collect the dust and debris. Wait for it to be completely dry before oiling. You can either massage the oil directly into the filter with gloved hands or place the filter and oil in a plastic bag and massage or roll the filter around in the oil until it is thoroughly covered. You want even coverage. Filters with many layers will require that you massage the oil into the layers.
Remove heavy deposits of oil, if there are any, and let the filter dry for 30 minutes or as long as it takes for it become tacky.
Apply a little waterproof grease to the sealing rim of the filter and place it in the air box.
You can purchase a pre-oiled foam filter to eliminate this step.
Image from www.atv.com
Don't try to speed up the drying time. The filters must air dry and be completely dry before use. That doesn't mean you can't ride though. Purchase extra filters so you change to a fresh one (already oiled, if it's foam) and get back outside. You will need to clean the air box, at least partially, during the change.
SPEEDMASTER-ZIP Graphite
with central zipper
857 EUR
Explore all
Your ATV needs clean air to perform well. The air filter is its first wall of defense against dust. Do you know how to clean and change ATV Air Filter?
A clean air filter keeps your ATV running well and helps you avoid future engine problems. But not all air filters need to be replaced; some can be cleaned and reused. In both cases, it is important to understand your filter type and how to go about maintaining them.
For the engine to run, it requires the correct mixture of fuel and air. The intake system feeds your engine with air. Air is not always clean, and especially with ATVs that run on all types of surfaces, harmful particles can enter the intake system. The only barrier that stands between destructive particles and vital engine components is your air filter.
Nearly all expert ATV mechanics believe that air filters that are not cleaned for long periods become weak. Dust and miniature particles can seep through weak air filters and harm your ATV engine. Why give these harmful particles a chance? Instead, cleaning your air filter on time will increase its efficient life.
Whether you are more into dirt tracks or sandy beaches, there are a lot of benefits you can reap by paying attention to cleaning your air filter.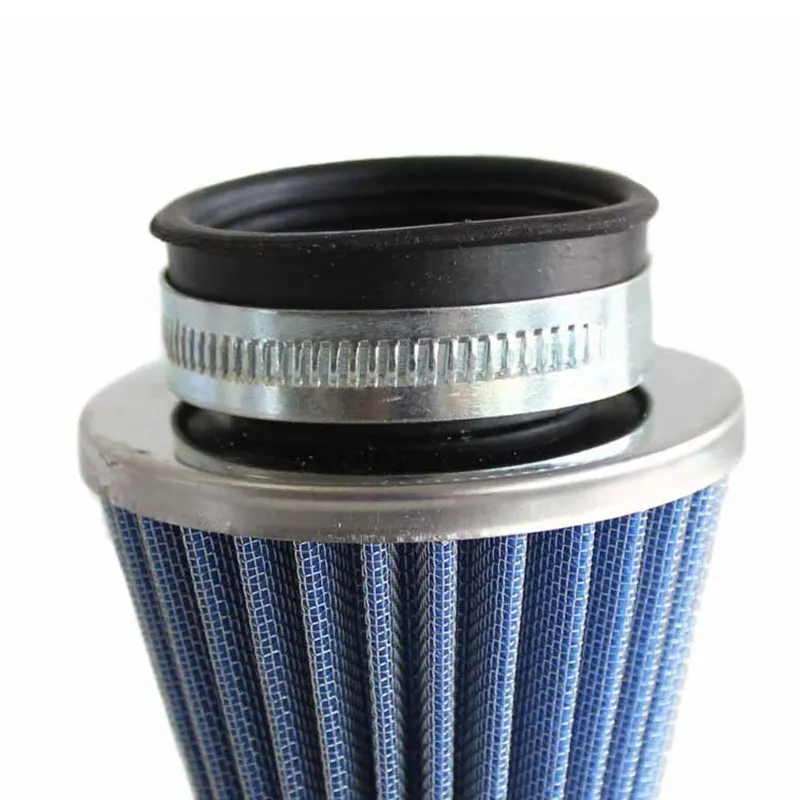 Here are a few of them:
A clogged air filter will not allow air to pass through freely. Less air entering the engine means losing out on horsepower. Like most riders, you will want to squeeze every HP out of your ATV because nobody likes an underpowered ATV.
A clean air filter allows your engine to swallow as much air it requires to provide you with the maximum power output.
Having a clogged air filter usually means having more debris and dirt entering your engine. Often, some of these particles can end up in your ATV’s engine oil. Contaminated oil does not work to cool and lubricate as it should and can cause engine wear.
With ATV engines running at high speeds, even a small amount of dirt in the combustion chamber can cause significant engine wear. Everything from the cylinders, pistons, and valves can get scratched by loose debris. A clean air filter stops unwanted particles from entering the engine and helps keep it clean on the inside.
As a rule of thumb, you are required to clean your air filter after every 50 hours of running. But, if you like to go for rides on dirt roads or in sandy conditions, you might need to clean your air filter every other ride.
We asked some ATV experts and mechanics, and they all said that there is no set time, but you can never clean your air filter too often. If you can do it after every other ride, you should do it.
With all the functions it goes through, your ATV air filter is sure to get dirty. Here are some faults that are linked to a bad air filter that you need to look out for:
With time, you get used to the natural sound of your ATV engine. But sometimes, you might hear coughing sounds or notice vibrations in the engine. These are symptoms of a damaged spark plug. A dirty air filter can also damage a spark plug and cause the engine to start misfiring.
One of the leading causes of ATVs becoming gas guzzlers are dirty air filters.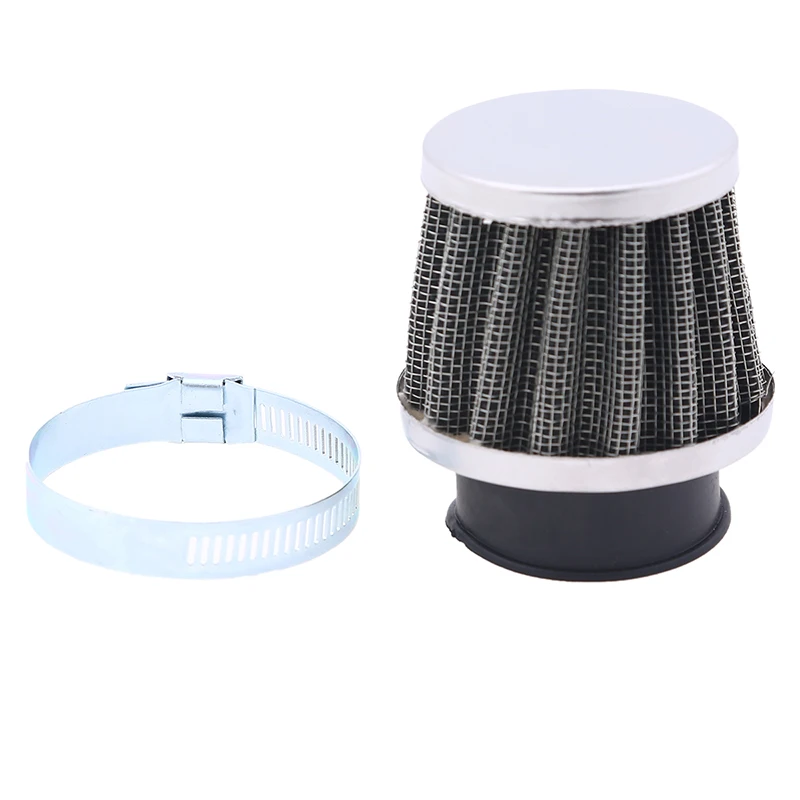 If you notice that your ride has started to burn more fuel than it used to, it is time to clean or replace your air filter.
Sometimes, the smoke will smell of gasoline. When there is an insufficient supply of oxygen, some of the fuel goes through the engine unburnt. The culprit of unburnt fuel is often a clogged air filter that prevents adequate air from reaching the combustion chamber.
The first step to cleaning an air filter is checking the type of air filter installed on your ATV. Most ATVs come with a foam filter, which is easy to clean and reusable.
If your ATV has a pleated paper filter, it can be airbrushed to remove dust and debris. But in this case, you will be required to replace your filter more often. It would be best if you did not wash your paper filter.
Once you know the filter type, you will need to buy the correct products that best suit your filter type.
● Plastic or rubber gloves – Protect your hands from harsh chemicals
● Cleaning Solution - Depending on how deeply you want to clean, you can select from a range of solutions available in the market or online.
● Oil Treatment - Filters need to be treated after cleaning. You can find a good oil treatment spray to make your job easier.
● Buckets for cleaning the filter.
● A Tray for cleaning the airbox.
Start by pouring the cleaning solution into the bucket. Then dip and gently rub the filter in the solution. As you do this, you will begin to see oil and gunk breaking down into the solution. Once you are sure that all debris has been removed, transfer the filter to another bucket of clean water
Rinse the filter in clean water and check for any damages or tears on the filter
Once properly rinsed, you will need to dry the air filter. It is best to set it aside in a clean place and let it air dry. Please do not attempt to use any shortcuts like a clothes dryer or hairdryer on the filter as it will damage the foam. Wait for the filter to dry completely.
Just like you removed the debris gently, you will need to oil the filter carefully. It is important to evenly coat the surface with oil. The layer of oil helps stop smaller particles from passing through the filter. Make sure to take your time with the filter and don’t rush the process.
Once properly oiled, squeeze the filter to remove any excess oil. You will now need to let it rest again for a few hours to allow the oil to dry.
Before installing the filter back, you will need to wash the inside of the filter box with soapy water and a rag. Make sure to remove the plug, drain out all the water, and dry the box before installing the filter.
You cannot be sure of the air filter’s condition just by looking at it. It is easy for small particles to be trapped deep in the air filter, away from your eyes. Following the notion of better safe than sorry, take the precaution of cleaning the filter. If you frequently ride on silt beds and sand, you will want to clean your filter every other ride
Cleaning or replacing an air filter but leaving the air box dirty will contaminate the filter again quickly. All you need is a rag and some soapy water, and you can make your airbox free of harmful particles. Make sure to let the box dry before installing the filter back in.
Gasoline seems to work wonders when it comes to foam filters. But it is important to remember that in addition to removing gunk and contaminants, gasoline also breaks down fibers in the filter. The result is a clean but damaged air filter that will not serve its purpose completely.
There is nothing worse than twisting and wringing the filter. These twists and turns can easily tear the foam and fibers in the filter. If you need to remove any excess oil, it is better to squeeze it firmly and maybe give it a little shake. But do not EVER wring an air filter.
Most ATVs use a reusable foam filter, but some models use a pleated paper air filter. Most paper filters can be airbrushed to blow off the debris but cannot be cleaned thoroughly.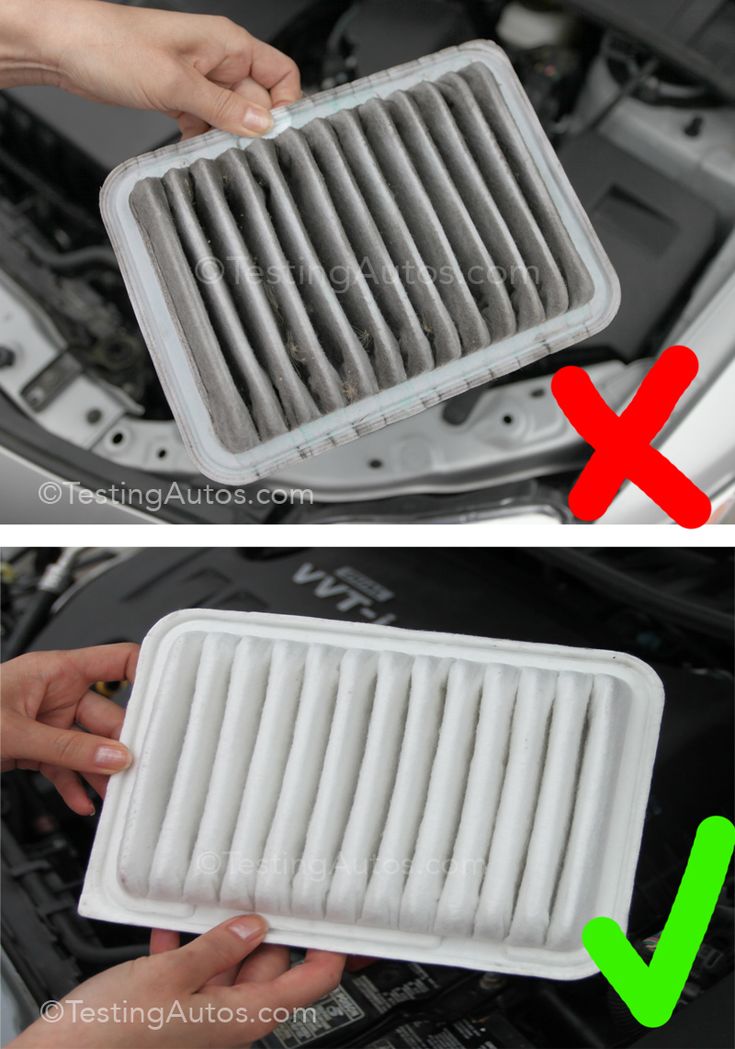 It is not recommended to clean a paper filter, and it should be replaced at correct intervals to keep your ATV running smoothly.
Foam filters are reusable and last much longer than paper filters, but they too have a lifespan. You must inspect the filter closely during every cleaning service and look for any wear and tear or obvious damages. If you do find something unusual, it is time to replace your foam filter. Do not use broken air filters as even little damages defeat their main purpose of filtration.
Remember, the air filter is an important component that governs a lot regarding engine performance and life. You must pay the right amount of attention to it; clean or replace it as required, and your ATV will thank you for letting it breathe fresh and clean air.
For combustion, gasoline in the carburetor chambers must be mixed with oxygen. Oxygen enters the carburetor, passing through the air filter, and the gasoline-air mixture enters the combustion chamber of the ATV engine.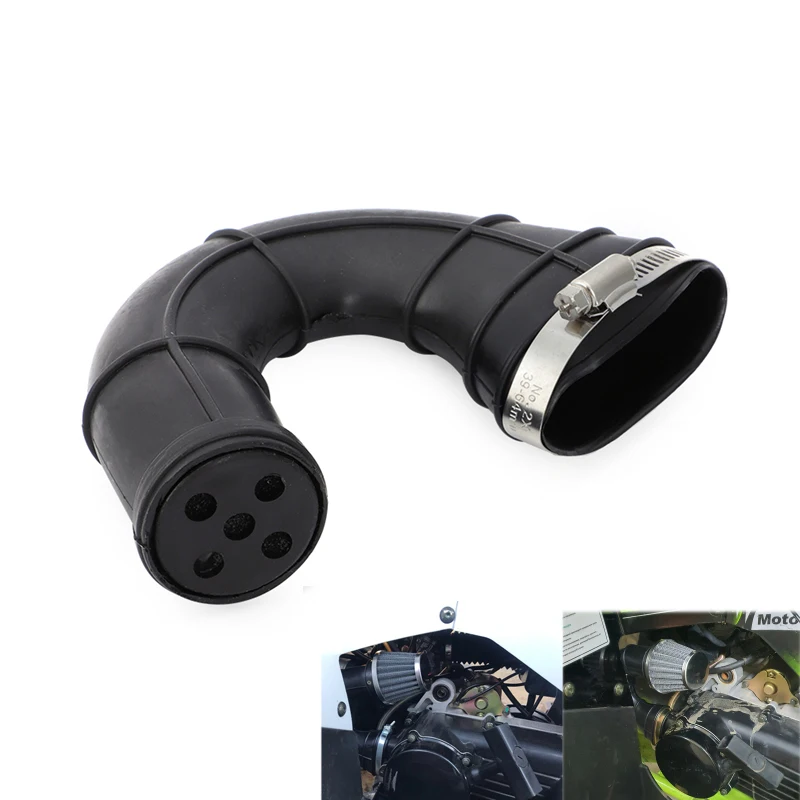
Let's imagine what happens when the air filter is clogged: less air enters the carburetor, the fuel mixture is enriched with gasoline, fuel consumption increases, there is a loss of power at low speeds, carbon deposits increase in the combustion chambers, there are difficulties in tuning the carburetor.
The main source of air filter clogging is dust. An ATV is an off-road vehicle, and therefore it is not difficult to imagine what happens to the air filter after 500 km. run.
Of course, it all depends on the driving style, and it is very difficult to find an average mileage after which you need to pay attention to the air filter. I can only say that cleaning the filter should be done as often as possible, because the health of the ATV engine directly depends on this.
After trips - swims, checking the air filter is mandatory.
During operation, you will calculate the sequence of checks yourself, based on your driving style.
The air filter housing on an ATV is usually located under the seat, the cover is attached with 4-5 bolts. We need to unscrew the bolts, remove the cover and remove the filter element.
The filter is usually made of foam and impregnated with a special liquid. There are also dry filters made of paper (blowing with air under pressure or changing to new ones), but, as a rule, very rarely, so we'll talk about washing and cleaning the foam air filter.
Basically, 3 cleaning methods are used:
When using any of these methods, after washing the filter element, do not forget to clean the air filter housing itself from contamination.
1) Flushing the filter with special liquids (rarely used due to high cost)
2) Flushing the filter in gasoline. It is very simple to perform, pour 0.5 liters of gasoline into the container, immerse the filter in the container, rinse and wring out. Repeat the procedure several times. Then dry the filter and saturate it with a special agent or ordinary two-stroke oil, transmission oil is also suitable. The downside of this procedure is that some types of foam rubber are exposed to gasoline, breaking down, foam rubber in the form of small pieces gets into the carburetor and, accordingly, gives us a lot of trouble disassembling and cleaning the carburetor.
3) Washing the filter with water and powder or any dish detergent. The most humane method for foam rubber 🙂 and, as practice shows, this method allows you to most effectively get rid of pollution.
Stir the powder or detergent in water, carefully wash the filter, then rinse it thoroughly in running water. Next, the filter element must be dried and impregnated with a special liquid or two-stroke or gear oil.
Cleaning is, of course, good, but do not forget that the filter sometimes needs to be changed. Inspect the filter for damage, tears, disintegration and shrinkage of the foam. Keep an eye on the condition of the air filter, and may the health of your ATV engine come with you.
"Blade attachment. ..
..
Disc brakes... "
A dirty air filter on a scooter significantly enriches the fuel-air mixture, as a result of which the scooter loses power, increases fuel consumption, deposits in the combustion chamber and muffler (if the scooter is two-stroke), the scooter is unstable.
To avoid such problems, it is recommended to clean the scooter's air filter regularly. Depending on the model of the device, as well as the operating conditions of the scooter, flushing can be carried out at intervals from 500 km to 2000 km. What does this mean? For example, the scooter is operated in rural areas, where the concentration of dust on the roads is especially high, and the air filter is located close to the road surface, near the wheel itself. Naturally, it will need regular cleaning every 500 km and subsequent impregnation with a special compound (if the filter is foam rubber).
However, if the scooter is used in a metropolis where there is quite a bit of dust, where roads are washed regularly, and the filterbox suction pipe is located in a protected place (for example, as on Honda Lead scooters), even after 2000 km, the concentration of dust in the foam element will not be sufficient to create significant resistance to the passage of air flow to the carburetor, provided that the lid of the filter box is hermetically sealed. The tightness of the contour determines the presence and quality of the gasket between the two halves and the quality of the tightening elements, usually self-tapping screws.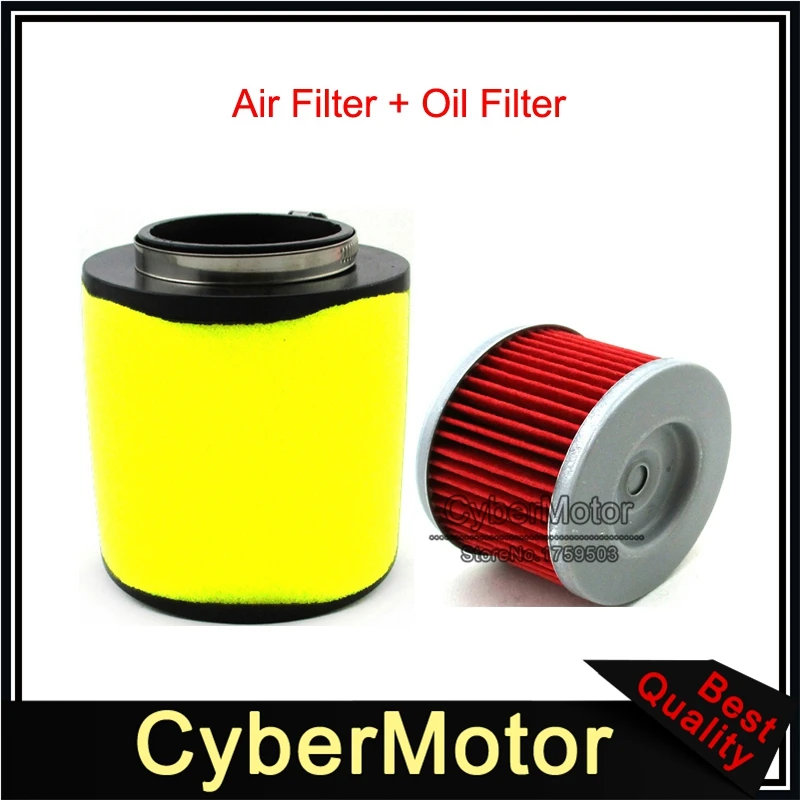
It is important to know that some models of scooters are equipped with paper filters that cannot be cleaned and only need to be replaced with similar ones. Sometimes it is possible to choose for these models an analogue of a foam rubber filter with an identical throughput.
0003

So, you have removed the scooter foam filter element, determined that there is no obvious damage.
Proper rinsing can only be carried out in gasoline or in ordinary warm water using detergents (dishwashing detergent or washing powder). Now you can also buy a special tool for washing foam air filters.
Consider each item separately:
Pour a small amount of petrol into a separate container. The filter must be thoroughly washed in it, and then rinsed in clean gasoline. After that, squeeze carefully. This method allows you to install the filter on the scooter without pre-drying. It is enough just to treat it with a special impregnation or engine oil, more about this in paragraph 3.
This method is also effective. The foam element is washed in warm water using washing powder or dishwashing detergent. After that, rinse thoroughly and wring out. Then the filter must be dried until completely dry. It is not allowed to dry it with the use of hair dryers, and even more so, technical hair dryers.
After cleaning and drying the filter element, immediately before installation on the scooter, it must be impregnated with a special impregnation in cans or engine oil. This allows fine dust particles to stick to the filter surface and not pass further to the carburetor and CPG. Moreover, the foam air filter on a scooter without pre-impregnation does not even perform its functions by half, this is important to know.
If you use a special spray-on impregnation, which can be purchased at any auto supply store, it is enough to cover the entire surface of the filter element with a thin layer. This liquid is very sticky and reliably captures even the smallest particles of dust.