One of the most annoying things to find when you go outside to ride your ATV is gas sitting on top of your motor, transmission or pooled on the ground. Typically you can smell it well before you even make it to your four wheeler or dirt bike and you know what you’re getting yourself into.. Some trouble. If you have any sense of do-it-yourself work, then the fix for this gas leak is relatively easy and can be done in 15 minutes with the right parts. Let’s begin!
The first step in fixing a leak, is finding where it is coming from. You don’t want to replace the seal on the bottom end of your carb just to find out you have a cracked gas filter. For the purposes of this write up, we are going to assume the gas is leaking from the petcock on your gas tank. More often than not, the issue originates from either the carburetor (see here for fix) or the seal on your petcock.
Symptoms
Gas on top of your carburetor or pooled on your transmission.
Less gas in your tank!
Test
Here is a simple test you can do to check for the leak. With gas in your tank, flip your petcock to ON. Wipe the petcock with a clean rag so that it is completely dry. Go inside and grab a drink. Check the petcock for fuel dripping, if so you’ve found the cause of the gas leak.
Drain the gas in your tank by removing the gas line to your carburetor and inserting it in a clean bucket or in a gas container. Turn the petcock ON and let the gas drain completely from the tank. Alternatively, you can remove the gas tank from the quad and then then pour the gas out of gas filler inlet. Typically, four wheelers have a plastic cover over the gas tank to keep it protected which will need to be removed first. All 3 of my ATVs have had a 4 to 6 screws holding the cover on the tank. At least 2 at the hood, 2 under the seat or the back of the cover, and then most utility quads have 2 screws I the sides of the cover. Once removed you should be able to see the bolts/screws holding the tank onto the frame of the ATV. Remove these screws and you should be able to remove the entire tank. Most air filter boxes will share the same space as the gas tank, so you may be required to remove it to remove the tank.
Now that the tank is removed, we can locate the source of the leak. To start, remove the petcock valve from the ATV and inspect the seal. Depending on the age of the ATV, there will likely be some deterioration of the seal between the petcock and the tank. 9 times out of 10, the seal is not working properly which is letting gas escape and drip onto the ATV or floor. The other place to check is inside the valve itself. If the gasket around the valve ball is damaged, this may cause gas to leak past the valve and into your carburetor or (rarely) through the face of the petcock valve. In the photo to the right, the arrow denotes to the valve seal and the circles denote the screws needed to be removed to check the valve ball and seat.
You have two options when replacing a bad valve seal. You can replace/fix the seal or purchase a new petcock valve. Price-wise, there is little difference unless you already have some RTV sealant (free), otherwise a new petcock will set you back less than $10 in most circumstances (See New Petcock Valves Here). To fix your existing seal, pick up some RTV from your local auto parts store. RTV is often used for auto parts sealant and is resistant to gas, oil and heat, so it is perfect for this fix.
Step 1: Remove the old gasket and clean the mating area on the gas tank and the valve. While RTV is gas resistant, existing gas or chemicals on either surface will prevent proper curing of the sealant and may create a leaky seal.
Step 2: Apply a bead of RTV to the petcock valve seat creating a solid gasket around the outer edge of the valve. See photo to the right. Ensure that the bead has no breaks which which prevent a seal around the entire valve.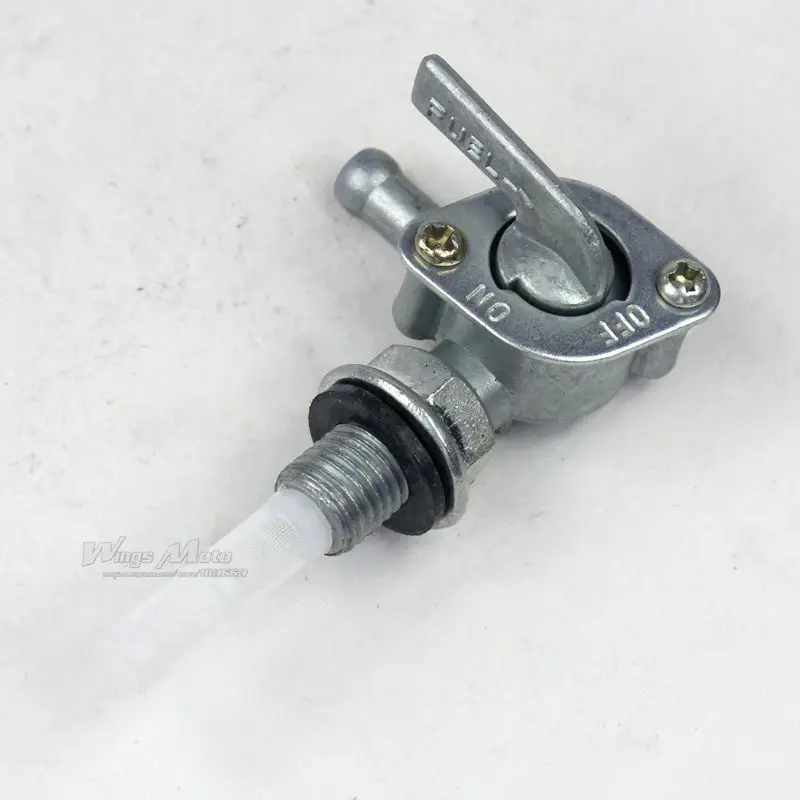 If needed, you can use your finger to smooth out the RTV to ensure adequate coverage.
Step 3: Reconnect the petcock valve to the gas tank and tighten screws to factory specs. Remove any excess RTV that seeps from the sides of the valve with your finger and a paper towel. Wait at least 24 hours before adding gasoline back to the tank.
Once the gas tank has been reinstalled onto your ATV and you have allowed 24 hours for drying time, refill the gas tank. Turn the petcock valve to ON and check for immediate leaks in the seal. Allow about an hour and check again for any gas dripping. If done correctly, you should be the proud owner of an ATV that no longer has a gas leak from the petcock valve! Go out and enjoy a ride. You earned it!
ATV Riders Forum > Sport ATV Model Information > Honda TRX 400EX & 400X ATV Info > fuel petcock problem
PDA
View Full Version : fuel petcock problem
Sparky_20
08-27-2007, 08:50 PM
i went to start up the quad today and it wouldnt run. I checked for fuel and I can only get fuel on the reserve position. I tried blowing air into the petcock with it in the "on" position and no gas will flow. What can I do besides replace it?
project400ex19
08-27-2007, 09:00 PM
Yeah mine did that for a while, just run it in reserve, im not sure what the problem is exactly, but it will run in reserve the same as it will on "on". It isn't going to hurt anything running it on reserve.
fastredrider44
08-27-2007, 09:01 PM
just be sure to always have plenty in the tank.;)
EX LONERIDER
08-27-2007, 09:15 PM
did you remove it from the tank and inspect it or just did a visual? if you didnt remove it, do so and check that nothing in the pivot is in the way and blocking it. then take some solvent and clean the inner screen... try running some oil through it too. mine sticks a little bit when it sits.
Sparky_20
08-27-2007, 09:59 PM
ill take the tank off tomarrow and drain all the gas out and look at the petcock.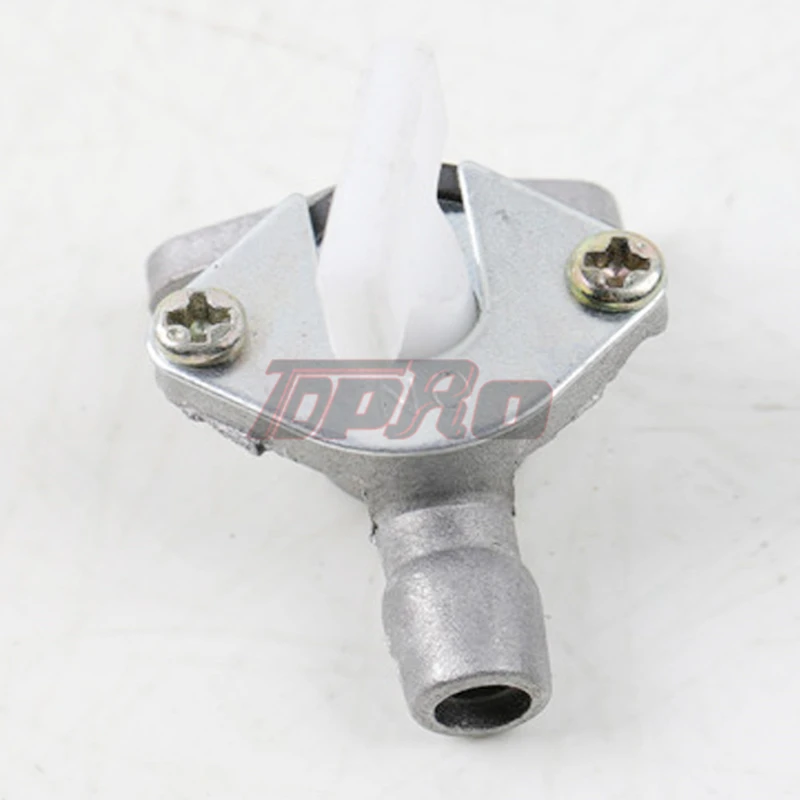 Im about to sell the quad so i want it to work perfectly
Sparky_20
08-28-2007, 10:36 PM
well, i took the gas tank off and removed the petcock today. The screen is free and clear and it looks as if the petcock is riveted together. If I turn the tank on its backside then fuel will run out if its in the on position, just not when its mounted to the bike. It will run out fine from the reserve position. I checked with honda and the new petcock is like 70 bucks! any other ideas?
project400ex19
08-29-2007, 07:36 AM
ebay, or sell as is, just let the seller know that it will run on reserve.
NacsMXer
08-29-2007, 08:24 PM
I was having the exact same issue with the petcock on my 400. I took it out of the tank, the screen looked pretty clean like you said. Anyways, I took the screen out completely and shot carb cleaner through every crevice while moving the petcock through all the positions. I then shot the heck out of it with compressed air from a blow gun in every position.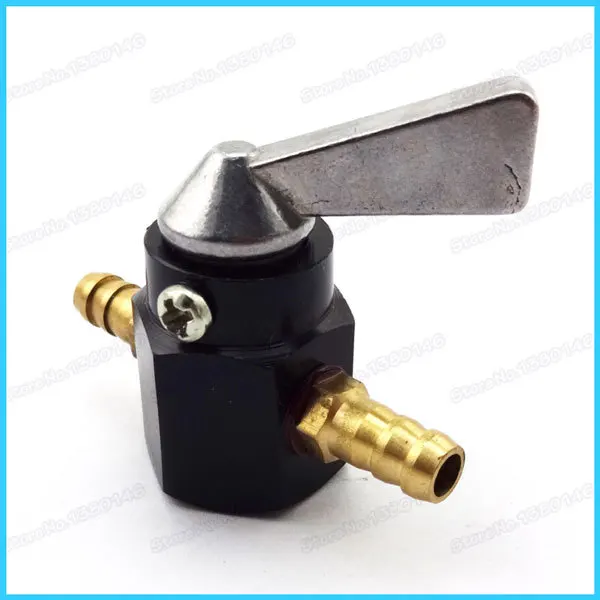
I never identified what the problem was but something had to be obstructing the "ON" circuit as gas would only trickle out in that position before I cleaned it.
I'd say try cleaning very thoroughly like I did because it solved my problem completely.
86 Quad R
08-30-2007, 07:55 AM
oddly enough. i've seen a slime type buildup develope in and around the petcock area, stopping up the system. as mentioned, ya can remove the plastic screen allowing better access for blowing it out with compressed air.
Sparky_20
08-30-2007, 11:40 PM
i replaced it and all is well now. Thanks for the input.
86 Quad R
09-04-2007, 07:24 AM
for future reference you can take those petcocks apart and clean them. over the weekend i worked on one that had the same problem.
very easy to do provided ya have a tap -n- die set.
JOEX
09-04-2007, 02:50 PM
Originally posted by 86 Quad R
for future reference you can take those petcocks apart and clean them. over the weekend i worked on one that had the same problem.
very easy to do provided ya have a tap -n- die set.
Why the need for a tap and die set?
86 Quad R
09-04-2007, 02:55 PM
because with the 400ex. the indicator/retainer plate that holds the selector switch in place is held in place with rivots. in order to re-fasten the assembly you'll need to drill and tap for screws.
the older generation pet cocks of this type were servicable and could be taken apart.
JOEX
09-04-2007, 03:02 PM
Originally posted by 86 Quad R
because with the 400ex. the indicator/retainer plate that holds the selector switch in place is held in place with rivots. in order to re-fasten the assembly you'll need to drill and tap for screws.
the older generation pet cocks of this type were servicable and could be taken apart.
Thanks:)
I've been wanting to take mine out to clean it.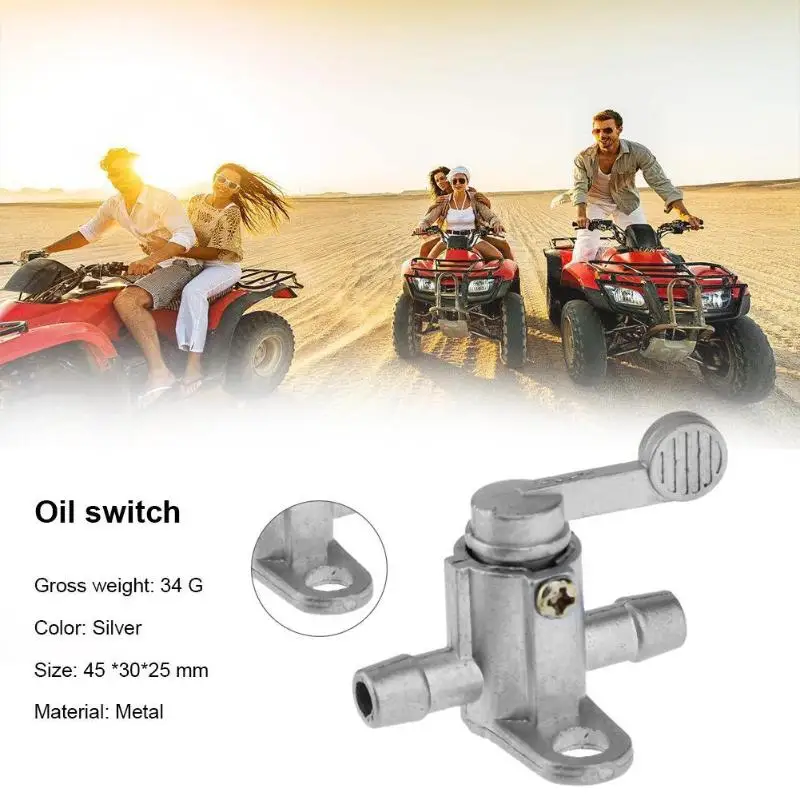 Hopefully I wont have to take it apart.
Powered by vBulletin® Version 4.2.1 Copyright © 2023 vBulletin Solutions, Inc. All rights reserved.
Every housewife dreams of an ideal home - cozy furniture, modern home appliances, beautiful dishes and sparkling taps in the kitchen and bathroom. Agree, even the most expensive repairs in the bathroom or in the kitchen will simply fade if faucets covered with unsightly lime stains appear against the background of the original plumbing and elegant crockery. How do you clean a bathroom faucet and what products can make a faucet look like it just arrived from the store? You will find answers to these questions in our article.
It's no secret that mineral impurities in tap water affect the hardness of the water environment and contribute to the formation of lime scale on pipe fittings.
To avoid lime deposits, follow the simplest rules for the operation of household plumbing, namely:
Recommended item
Imprese Grafiky mixer tap ZMK041807080
Available
View: single lever | Type: mixer | Material: brass | Purpose: shower |
These simple methods will help you avoid limescale problems and keep you healthy.
Before starting the procedure, you should read the following recommendations:

Compliance with these simple rules will help your plumbing to keep a decent appearance for a long time.
Proven methods for cleaning faucets include:
To get the desired result, it is worth stocking up on a pair of protective gloves and patience. Consider each of the proposed methods and choose the most suitable for yourself.
Recommended product
Imprese Kucera faucet 15105
3 reviews
In stock
View: single lever | Type: mixer | Material: brass | Purpose: shower |
The recipe is quite simple: ordinary table vinegar (9%) and water, mixed in equal proportions. It is necessary to moisten a napkin in the prepared solution and wipe the entire surface of the mixer. Then rinse the faucet with warm water and wipe dry.
Solving the problem of how to wash the taps in the bathroom and in the kitchen, you should pay attention to a somewhat unusual, but very effective way to use the same vinegar. You should heat the vinegar, without bringing it to a boil. Dampen a cloth and wrap it around the faucet, leave it like that for one hour. Then rinse its surface with running water and wipe dry. The result will pleasantly surprise you.
This method of cleaning the faucet will take longer than the above, but its effectiveness is worth it. Prepare a solution consisting of warm water and citric acid (ratio 1:4). Unscrew the mixer and put it in the solution overnight. Then rinse under running water and wipe dry.
A familiar bar of ordinary laundry soap, familiar to us since childhood, can work wonders in cleaning faucets from limescale and stains, without requiring special material costs. Grate the soap (preferably marked 72%) with a grater. While stirring the chips in the water, bring the dissolved soap to a semi-liquid state. Put some baking soda in there. Dip a napkin into the prepared solution and wipe the faucet. Leave it like this for an hour, then rinse and pat dry. If you are wondering how to clean a chrome faucet, then you will not find a more effective and gentle way.
Works well on greasy stains, fresh limescale or soap streaks with regular baby soap. The algorithm of actions is very simple: rub a wet soft kitchen sponge with soap and wipe the contaminated places. Rinse with warm water, do not forget to wipe the faucet dry.
Recommended item
Imprese Lesna mixer 55070
2 reviews
Out of stock
View: single lever | Type: mixer | Material: brass | Height, mm: 338 | Purpose: for kitchen |
This is a fairly rare method for cleaning bath faucets, for example. However, the housewives note an excellent result from such a simple method. Make a compress with cola and put it on the contaminated area. The acid, which is part of the soda, will effectively remove plaque and soap stains without leaving any marks on the surface.
Chrome faucets look equally royal in the bathroom and in the kitchen. They will serve you for years, thanks to the strength of the material. However, their appearance requires constant care, as unsightly lime stains are especially noticeable on their sparkling surface. The main thing in caring for such plumbing parts is not to let them get very dirty. The more lime scale is visible, the more effort should be put into cleaning the faucet. And this can damage the surface and irreparably spoil the appearance. Ordinary laundry soap will do an excellent job of cleaning chrome faucets.
All of the above folk methods are suitable for cleaning nickel-plated faucets. Laundry soap with the addition of edible salt remains an indispensable cleaning agent. However, there are a few tricks you can use to make your nickel-plated faucets sparkle.
A regular window cleaner and a tissue will do the job. Apply window cleaner to nickel-plated surfaces using a spray bottle and immediately wipe it dry with a cloth. With regular performance of such simple actions, the original appearance of your taps will remain for a very long time and their global cleaning may simply not be necessary.
Recommended product
Mixer Imprese Odlove T-15300
1 review
Out of stock
View: single lever | Type: shower system | Material: brass | Height, mm: 1100 | Purpose: shower |
ANALIS IMPRESE ODLOVE T-15300 in the presence of
Impresse Bila SMEDA T-15086 New
Write Review
Available0020 Imprese Nova Vlna T-15135
Write a review
In stock
Imprese T-15084
2 reviews
In stock
 However, over time, due to contact with water and moisture, they fade and lose their original luster.
 A mixture of vinegar, salt and flour effectively cleans bronze faucets and restores them to their original appearance. To make the mixture, you need to mix one tablespoon of flour, salt and 6% vinegar. This mixture is applied to contaminated areas with a damp cloth, and then washed off with warm water. The final step is wiping with a clean, dry cloth.
A darkened bronze mixer brings ordinary tomato paste back to life. Cover the stains on your faucet for half an hour and then rinse with warm water. The result will pleasantly surprise you.
Linseed oil is an excellent anti-tarnish and darkening preventative for bronze faucets.
An ordinary lemon, cut in half and sprinkled with fine salt, will return bronze faucets to their former radiance and beauty.
Chicory powder has proven itself well in cleaning bronze mixers. The cleaning composition, consisting of three tablespoons of chicory and warm water, is applied to contaminated places, then washed off and the surface of the tap is wiped to a shine with a soft, dry cloth.
If these folk remedies do not help in the fight against plaque and stains, then a special paste - Trilon-B - will come to the rescue.
Recommended item
Imprese Daicy mixer 55009-U
4 reviews
In stock
View: double lever | Type: mixer | Material: brass | Height, mm: 343 | Equipment: connection to water filter | Purpose: for kitchen |
The shelves of household chemical stores are filled with all kinds of faucet cleaners. In order to use them correctly, it is necessary to carefully study the recommendations for their use. Looking for how to clean chrome from plaque? Both bleaches and removers are not recommended, or your faucet surfaces will be permanently damaged. It is preferable to choose liquid products, since they do not contain abrasive particles and cannot spoil the aesthetic appearance of plumbing parts. Don't mix different cleaners or you'll run into a new problem - how to get dark stains off the faucet. Be sure to use protective equipment when cleaning faucets with household chemicals to protect yourself from burns and other damage to the skin.
Thus, it should be noted that there are many ways to give kitchen or bathroom faucets their original shine and beauty. For this, both improvised means and household chemicals are suitable. However, special attention should be paid to the regular maintenance of plumbing parts, which will avoid the appearance of plaque and will contribute to the long life of taps and faucets.
You left your ATV in the garage on a trip or out of town, and when you return a few weeks later, you can't start it anymore. Common situation? Even after adding a spark and fresh fuel, the engine only stops for two to three seconds. What could be the effect? After all, before the ATV, he had no problems: it was enough to pass a periodic thorough inspection.
Don't panic: in this case, you can say with almost 100% certainty that the problem is only in gasoline, and not in ATVs. Like any hydrocarbon gas, Gasoline mixture is volatile and should not be relied upon for long periods of time. Some of its fractions evaporate, and the remaining gasoline liquid loses its ability to ignite and is no longer a fuel mixture. So your ATV didn't want to ride after a long break.
No response starter after turning the key
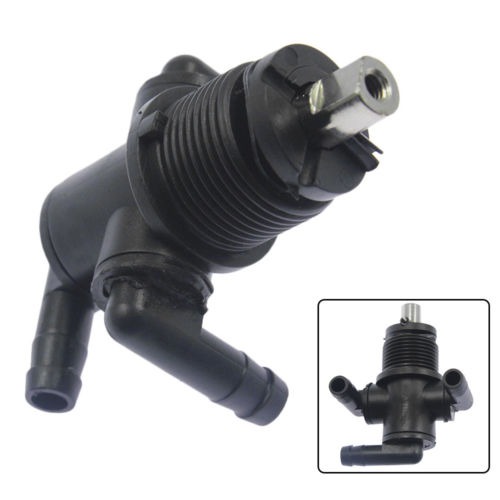
 If so, the secondary fuel filter is clogged and needs to be replaced. If not, remove and clean the faucet.
  Check the tightness of the spark plugs and, if necessary, the engine compression. If it's still too low, check the heads, pistons and cylinders.
Bendix is broken or after inspection the starter rotates in the wrong direction in the wrong housing, the latches are connected upside down: have the mechanics check the starter (they will do this without removing it from the motorcycle).
ATV stalls : Starter relay clicks but engine does not start
Loose starter cord or short circuit due to broken wire: check connection, remove rust, check current with multimeter.


