All Terrain Vehicles (ATVs) are designed to be ridden in the wettest, muddiest, and dustiest conditions, and most ATV owners have no difficulty getting their quad bikes dirty. But after the fun ends is when the hard part of owning an ATV starts — cleaning your quad and getting it back to its former shiny glory.
If you want to keep your ATV’s plastic parts looking like new, you need to adopt a cleaning and protection routine from day one. By following these few simple steps, the tedious job of cleaning your quad will be a lot easier. If your ATV is white, some additional steps may be needed to keep its original color and shine.
If your ATV is covered in caked-on mud and dirt, an important first cleaning step is to presoak it. This simply involves using a hose to spray your quad with an intense spray of water and leaving it to soak. Try to get the spray into all the smallest recesses. Use your hands to get rid of any big chunks of stuck-on grass and mud.
The next step is to blast off all the loosened dirt. Using a pressure washer is the simplest and most thorough way to do this. If you don’t have access to a pressure washer, you can use a hose with a nozzle turned to its most powerful setting. Clean off as much dirt and grime as you can, to make the rest of the cleaning easier for yourself.
Use a good automotive cleaner and a sponge to scrub all of your quad’s surfaces, paying particular attention to the plastic parts and the seat. For any rough or difficult-to-clean parts of your ATV, use a stiff brush to remove tough dirt. The detergent will help to get rid of any oily stains.
There are different ways to dry your quad, depending on what you have to hand. If the plastic is still wet, the heat of the sun and a lint-free cloth work really well. If you have access to an air compressor, it not only dries your ATV’s plastic surfaces but can also get into all the nooks and crannies that you can’t reach with a cloth. This helps to prevent rust spots developing in hard-to-reach areas where water can sit in pools.
Many ATV owners think polishing the plastic is a step too far for a vehicle that’s going to get covered in mud next time out. But if you want to keep your quad looking great, or at least try to reduce the faded and scuffed-up appearance of plastic surfaces, you shouldn’t skip polishing.
Once your ATV is dry and free from water spots, use a specially designed plastic polish on all the plastic areas. You simply spray it on and buff it until the surfaces shine. However, don’t use the polish on your seat, as you might find yourself sliding off the slippery surface on your next ride.
If your ATV is white, it might need some extra cleaning because even the smallest bit of dirt will stand out on white plastic surfaces, causing the white to become discolored. Take these additional steps to restore your quad to bright white.
Fill a large bucket or bowl with one part water and one part bleach. Remove small white plastic parts from your quad and soak them in the bleach-water mix. For the larger parts, soak paper towels in the bleach solution and cover the discolored plastic with them. Be sure to wear gloves when using bleach.
Alternatively, you can buy automotive spray-on bleach products. Either way, leave the solution on the plastic for a while. Wipe the surfaces with a soft cloth, then spray them with a pressure washer or hose and nozzle. Afterward, dry the parts and admire your shiny white ATV.
To make your ATV’s plastics easier to clean, you could treat them with a good-quality plastic sealant spray before you go riding in the mud. The protective coating helps to repel water and mud. Instead of sticking to the plastic, muddy water will sit in beads on the surface. Your quad will still get dirty when you hit the muddy trails, but it makes it much lighter work of the cleaning afterward.
Before you use the sealant, your ATV must be thoroughly cleaned and dried to ensure the sealer will stick properly to the surfaces. Also, make sure you read and carefully follow the product’s instructions for use so that you get the lasting finish you want.
After that, it’s a simple job to apply the sealer to all plastic parts components you want to protect. Leave the sealer to sit for a couple of minutes, then buff the treated areas with a dry rag or a micro cloth to remove excess spray and bring your quad’s plastic surfaces to a shine.
The sealant is safe to use on all body surfaces, but you should avoid spraying the product on the engine or electrics. Also, you need to consider that some sealants, especially if they’re silicone-based, can make your handlebar grips and seat slippery, so it’s advisable not to coat those parts with the product.
As we mentioned above, you shouldn’t use polish or sealant on your ATV’s seat. Although these products will make your seat shiny, clean, and protected, they will also leave it slippery, making your next riding adventure potentially dangerous.
For cleaning and protecting your seat, the best product to use is a degreaser. It will remove the mud and water stains to leave it looking like it just left the showroom. Most degreasing products will do the job. You just need to ensure it’s compatible with vinyl and won’t damage the seat.
Following these easy steps will help keep your ATV looking its best. If you have any other tips for cleaning and protecting your quad, please let the team at Rydell Auto Group know, and we’ll pass them on.
Tags: ATV Detailing, Washing ATV
Posted in
Grand Forks Car Wash, Grand Forks Detail Center |
Comments Off on How Do You Get Mud Out of ATV Plastic?
JavaScript is disabled. For a better experience, please enable JavaScript in your browser before proceeding.
1 - 20 of 31 Posts
1 - 20 of 31 Posts
 Please consider creating a new thread.
Top
Plastic products are widely used by man in many areas of activity. A significant amount of utensils, as well as various parts and objects, consists of this material. Frequent use invariably entails the problem of the appearance of various stains. Not always traditional methods can get rid of them. Modern materials require more gentle methods. Before proceeding with any manipulations, you need to know how to remove stains on plastic?
Contents
This material is used to make a wide variety of items.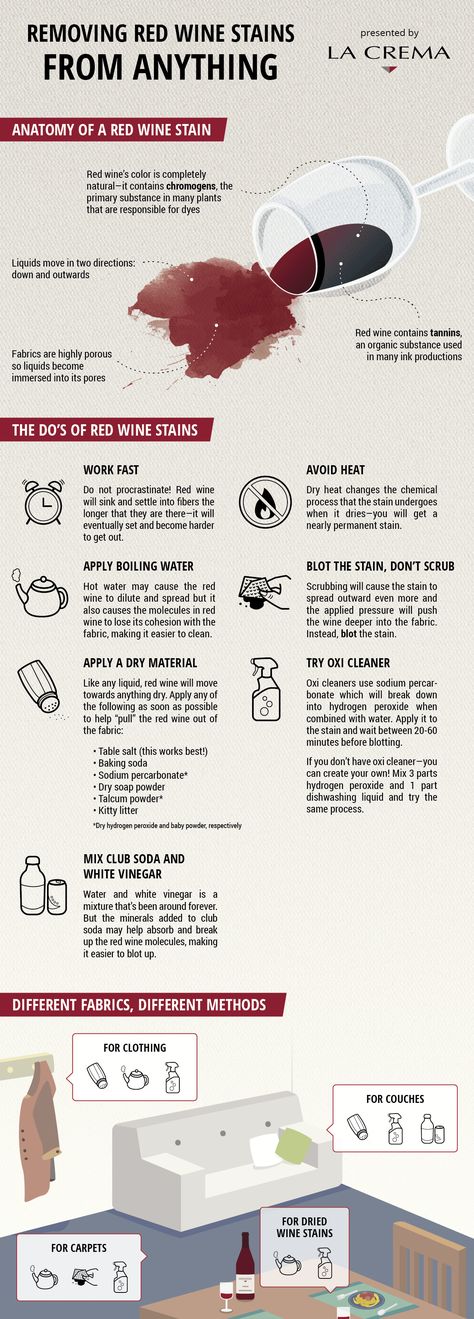 Stain problems may occur for:
Plastic utensils get stubborn stains from food or drink residues during use. They are usually difficult to get out. Most often, a variety of solvents are used for removal. Many of the purchased products are abrasive. The labeling of the product to be cleaned and the substance itself can determine whether it is appropriate to use them. Effective solvents can be made by yourself from improvised means.
If you are interested in how to remove a stain on plastic left from a dish, then you can use ordinary baking soda. The advantage of the method is that the substance is not caustic and easily washed off. It is enough to dilute a tablespoon of soda with water to the consistency of a paste. Apply to stain and rub gently. Rinse the dishes with plenty of water.
Soda can be diluted with lemon juice. This is another handy product that cleans the plastic surface very effectively and gently.
Deeper stains are effectively removed with a mixture of baking soda and vinegar. The dissolving effect of baking soda is activated by the vinegar and helps to penetrate deep into the stain. The dishes to be cleaned are placed in hot water, where 15 grams of soda and a tablespoon of vinegar are poured into a cup of water. The dishes are soaked for 1.5-2 hours. Problem areas are washed with a soft sponge or cloth.
If, after the procedure, the stains faded, but did not completely disappear, a soda paste should be applied.
Very many owners prefer to finish the kitchen with plastic panels. The choice is due to the ease of care of the material. In most cases, it is sufficient to wash off any stains formed in the usual way. Manufacturers offer a wide range of special fluids.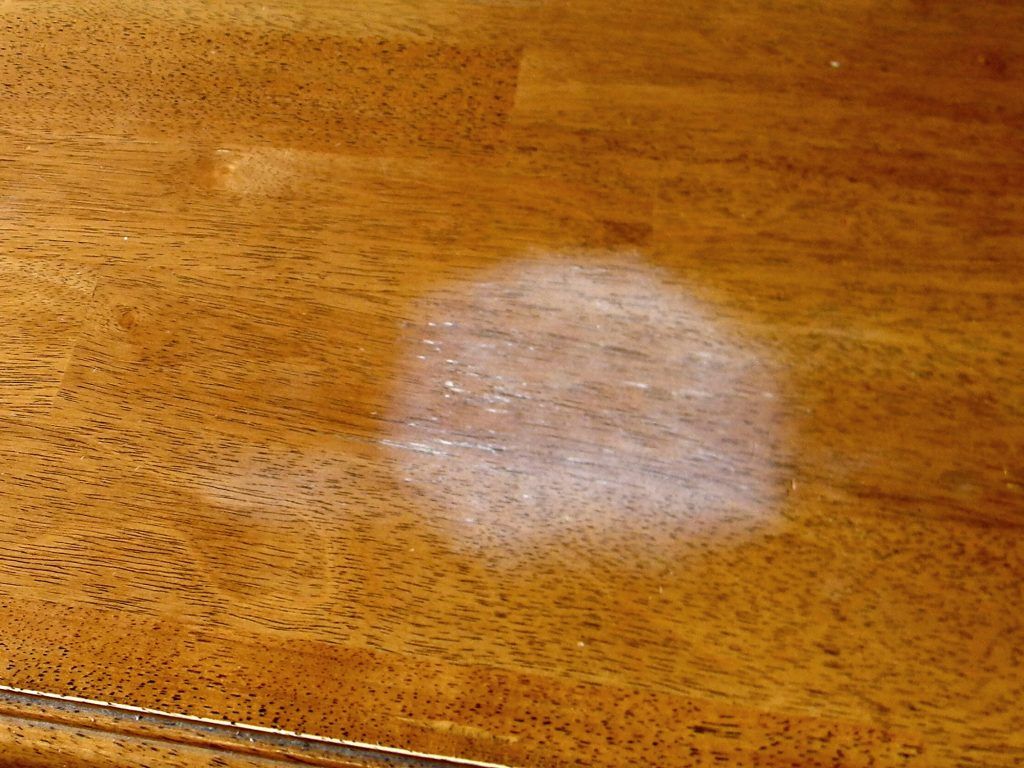 Most often they are placed in a container with a spray bottle. Easy to apply and effectively remove fat.
However, in some cases contamination of unknown origin appears. To know how to remove stains from plastic that did not appear as a result of external influence, you will have to examine the material from the inside. To do this, in a place hidden from direct view, pollution is removed with a sharp object. If as a result the stain disappears, then the problem can be considered solved. If it appears again, it is most likely caused by the poor quality of the material. In this case, the pollution penetrates inside and spreads from the inside. Such manifestations can be removed if the panels are completely changed. Conventional cleaning products only lighten the surface. The spots themselves continue to grow.
Most living quarters are equipped with plastic door and window structures. Their popularity is due to the high noise and heat insulation.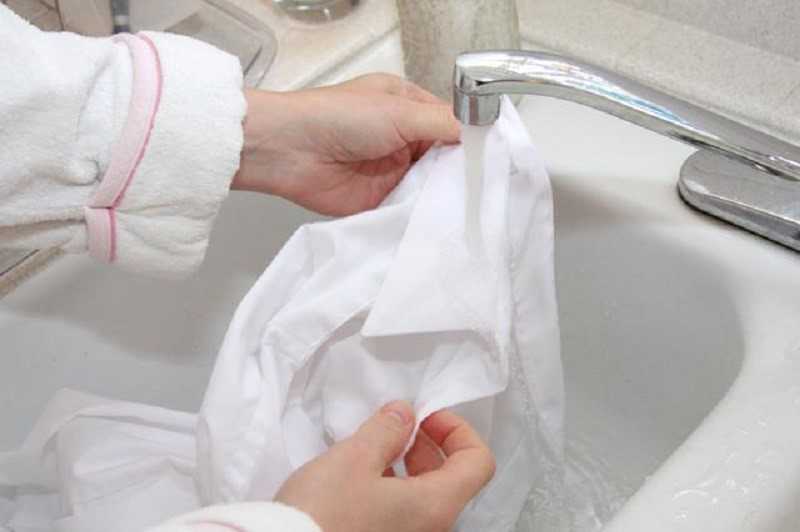 Their advantages are obvious, but there are also disadvantages. In particular, designs, depending on the quality, can quickly lose their attractive appearance and dazzling whiteness. As a rule, the material fades in the sun and the question arises, how to remove yellow spots from plastic?
As a preventive measure, it is enough to regularly clean the window sill from dust. For an ordinary living room, this is enough. Wet cleansing is required at least once a week. It is enough to use the usual dishwashing detergent, dissolved in warm water. If dusty work is carried out in the room, industrial facilities that pollute the environment are located nearby, then close attention should be paid to the window sill.
Settling dust or soot will have to be washed off regularly using chemical solutions. It is much more difficult to get rid of yellow spots, especially if it is the result of sunburn. In this case, you will have to remove and polish the surface of the window sill. This is handled by abrasive cleaners.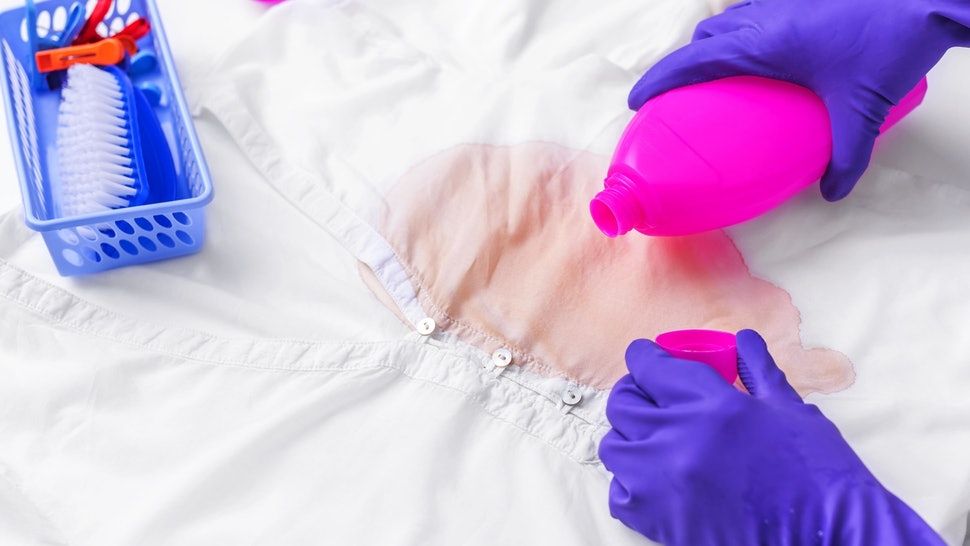 It is enough to apply the powder on the stain and rub vigorously. It is important to note that the polished surface will turn into a matte finish.
The chemical method is more effective. To do this, it is necessary to apply a special substance to the surface to clean the plastic. Their peculiarity is that it is used on non-woven surfaces. It is recommended to moisten the cloth in the solution and apply in one direction. The peculiarity is that the fabric itself also should not have a relief surface. This will eliminate the appearance of specific patterns and return the original attractive appearance.
Sometimes the surface of the window sill gets stained as a result of penetration of mounting foam or plaster. The peculiarity of the foam is that it must not be removed from the surface until completely cooled to avoid smearing. But even in a cooled state, it leaves traces that are very difficult to remove in the usual way. Plaster, on the other hand, has the peculiarity of eating into and leaving behind yellowish spots.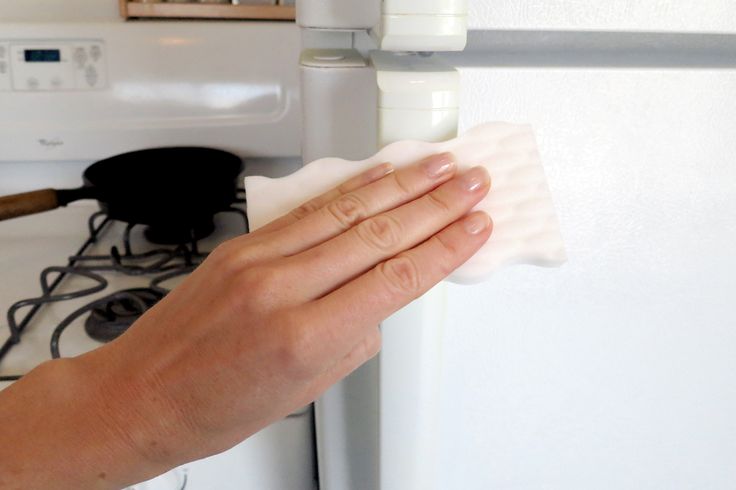 They are removed, like foam, with the help of powerful abrasives. The substance is applied directly to the stain. It is left for a while and wiped with a regular sponge. After that, wipe the window sill with a clean, damp cloth. It is important to remember that it is often not recommended to use such products, as they are potent and can contribute to fading of the surface.
Very often plastic surfaces fall victim to children's art. In particular, it is very difficult to get rid of drawings made with a pen. Those who have experienced this problem know how pasta eats. It is important to note that conventional methods do not work, but can be effectively removed with a regular match. To do this, the head will have to wet, and then rub the stain until it disappears. It is enough to wash off the resulting stains with soapy water.
Most often, manufacturers, making furniture for children, prefer plastic.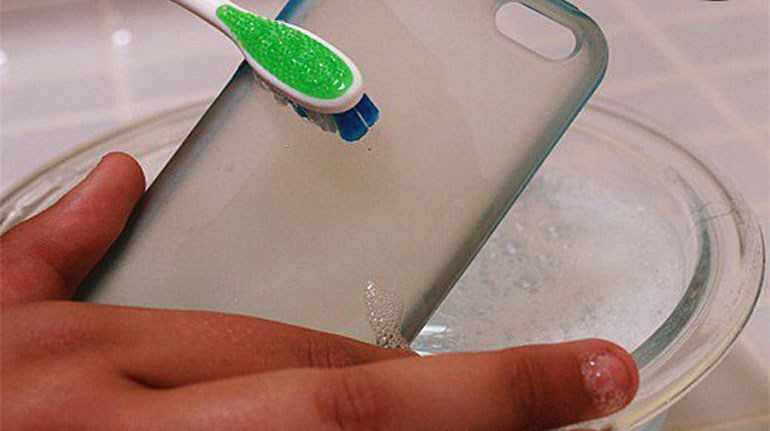 The advantage of this material is easy maintenance. However, in use, surfaces can develop stains that are difficult to remove. If food residue is easy to get rid of, then it is more difficult to say goodbye to paint stains. Often, even water-based gouache can be quite hard to eat. If conventional methods do not help, you can turn to cosmetics. They lend themselves easily to makeup removers. It is enough to rub the problem area with a cotton swab dipped in the solution. Leave for a few minutes and wipe with a clean cloth.
Plastic surfaces are unfortunately very easily soiled. The advantages of this material include ease of care. If you know how to remove stains from plastic of various origins, you can live and enjoy its benefits.
autogeekonline.net
roads. How to get rid of traces of this road chemistry easier and faster?
Maxim Stroker
One of the "chips" of the summer season, in addition to stuffiness overboard and insects sticking to the windshield, has always been road bitumen. There are two main reasons, as the AvtoVzglyad portal once wrote. Firstly, it is in summer that heat-loving road builders prefer to repair and build tracks, generously using bitumen (tar). It is often poured so that it is under the wheels, and then on the bodies of cars. The second reason for the summer "bitumen formation" on the wings, doors, bumpers and hoods is the heat. The summer sun softens asphalt concrete and melts bituminous-gravel "patches" in the roadway, and the wheels of passing vehicles spray black slurry.
To some extent, you can minimize the amount of bitumen arriving at your car. To do this, you need to reset to the minimum possible speed if you are driving along a section of the route spilled with bitumen. The distance to the vehicle in front should be kept more. Especially if a truck looms in front of you, and even without “mudguards”. Another tip - try to move not along the rut in the asphalt (it is more fluid), but in parallel.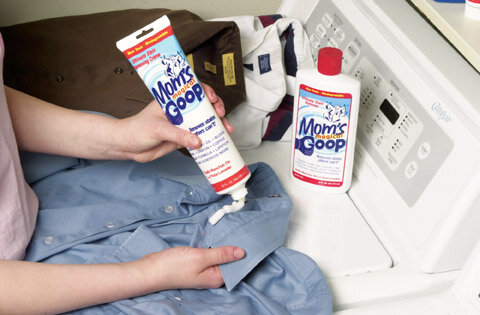 Well, try to minimize maneuvering. The more often and at a greater angle the front wheels turn on the “bitumen-prone” section of the road, the less drops of black resin will fly from them onto the thresholds, front doors and fenders.
krasnodar-n1.ru
What to do if bitumen still left its black marks on the body of your car? It is best to fight him in hot, in every sense of the word, traces. That is, start eliminating immediately, as soon as you notice black drops and smudges. And it is desirable if the car will stand in the sun at the same time - in order to further soften the road resin. In such a situation, it is not necessary to rush headlong to the store for the appropriate auto chemicals. Fresh bitumen can be completely removed by using ... ordinary sunflower oil or margarine! It is necessary to apply oil to the contaminated surface with a cloth or some kind of swab and wait a little until it dissolves the bitumen. There is no need to rush to erase the hated black spots.