Nothing equates to the thrill of blazing down rocky paths, mud, dirt, snow, or even ice while riding your ATV (All-Terrain Vehicle). It can be even more enjoyable when your ATV is customized to meet your own personal requirements. With a customized ATV, you experience a deeper sense of pride for your ride. If you’re looking forward to upgrading the performance or the appearance of your ATV, here are four ways you can customize it to your liking.
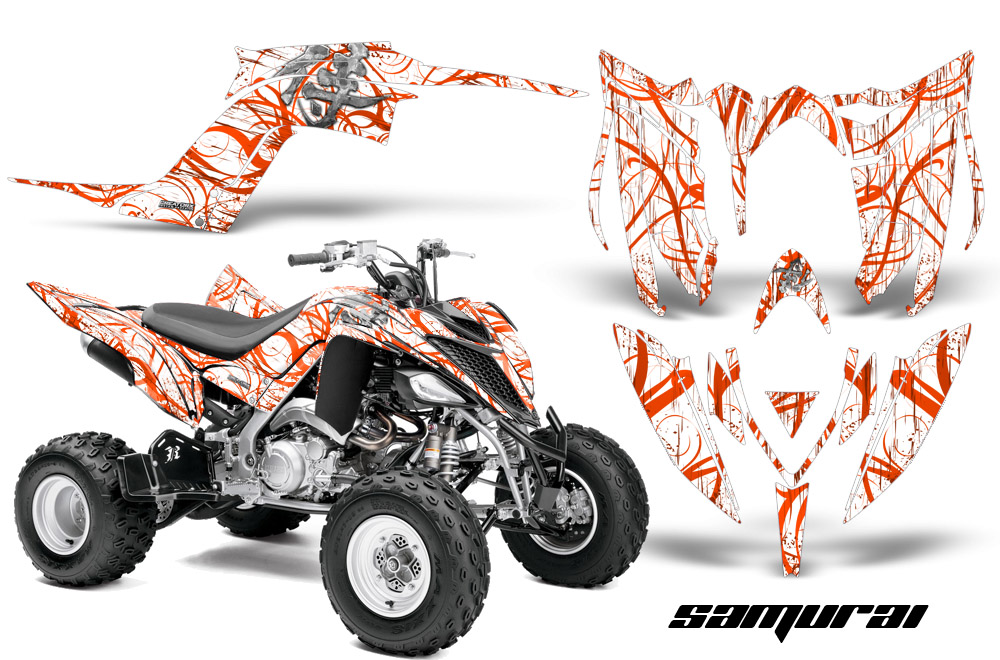
The paint and decals on your ATV make a statement about you. You might not consider this so much when buying your first ATV, but it is important. Customizing your ATV with your favorite paints and decals is a great way to showcase your personality. Swapping your ATV’s colors is just one way to get started to make your vehicle unique and appealing. You may consider putting decals on your ATV, including graphics of your name, logo, or racing number. You can also come up with your own decals for a more personal touch.
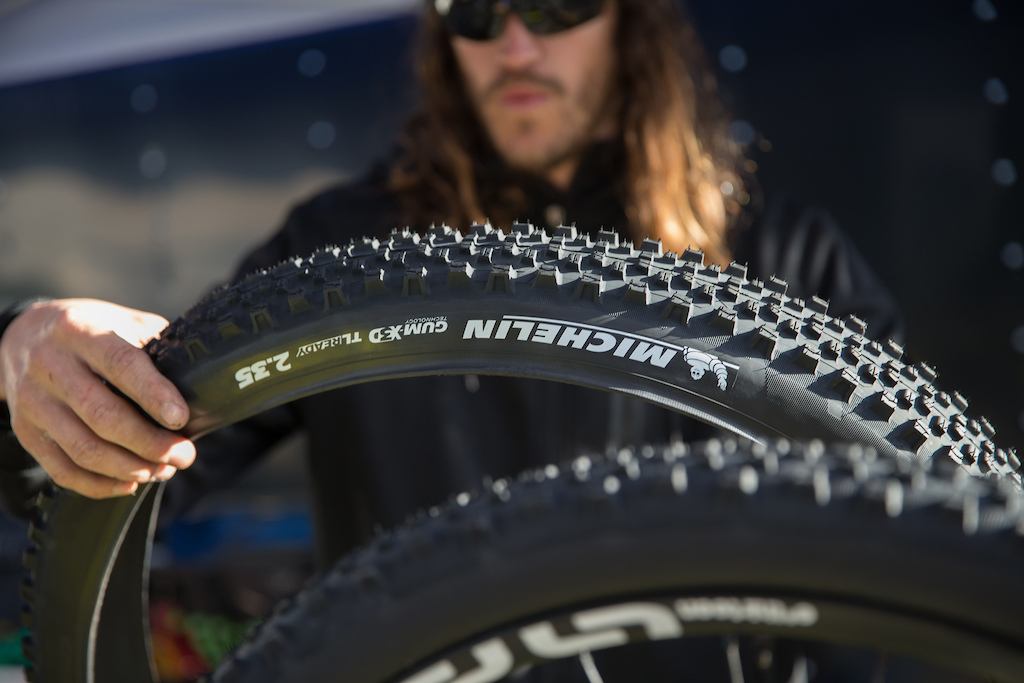
Your ATV might be a powerful machine, but it’s the tires that make it an all-terrain wheeler. While ATV tires are designed to handle most terrain, they might still not be able to handle extreme conditions. Therefore, if you’re an adventure rider looking to create a custom ATV, the wheels should be among the first things you consider. You can replace the existing tires with ATV tires that allow you to roll over extreme conditions such as over sand, ice, and rocky terrain.
Many ATV riders buy their vehicles to experience the fun and adventure of rough terrain conditions. In that regard, having an effective, well-maintained ATV brake system is crucial for your safety. In most scenarios, ATV enthusiasts prefer installing aftermarket braking systems. With well-customized brake systems, you can comfortably enjoy riding even through steep cliffs without worrying about brake failures.
Most ATVs come with traditional bulb lights, which are incomparable to the much more powerful and efficient LED light bulbs. According to XK Glow, LED bulbs and signal lights enhance visibility, safety, and style for your ATV or motorcycle. Lights are available in a wide array of options, including LED headlights, taillights, fog lights, and stylish license plate frames.
If you love rising with the dawn and riding until it’s dark, a powerful LED setup would be great for your visibility while riding through rough terrain in the dark. Additionally, with the right resources, you can also exercise your creativity and build your own set of LED lights that meet your specific needs.
As an adventurous person, owning and riding an ATV feels really exciting. It’s even more fun going the extra mile and customizing the rig to meet your specific requirements. The good news is that there are plenty of customization options to choose from, with the above being top of the list.
Nothing compares to the excitement of crashing through riverbeds or charging down rocky slopes on your ATV.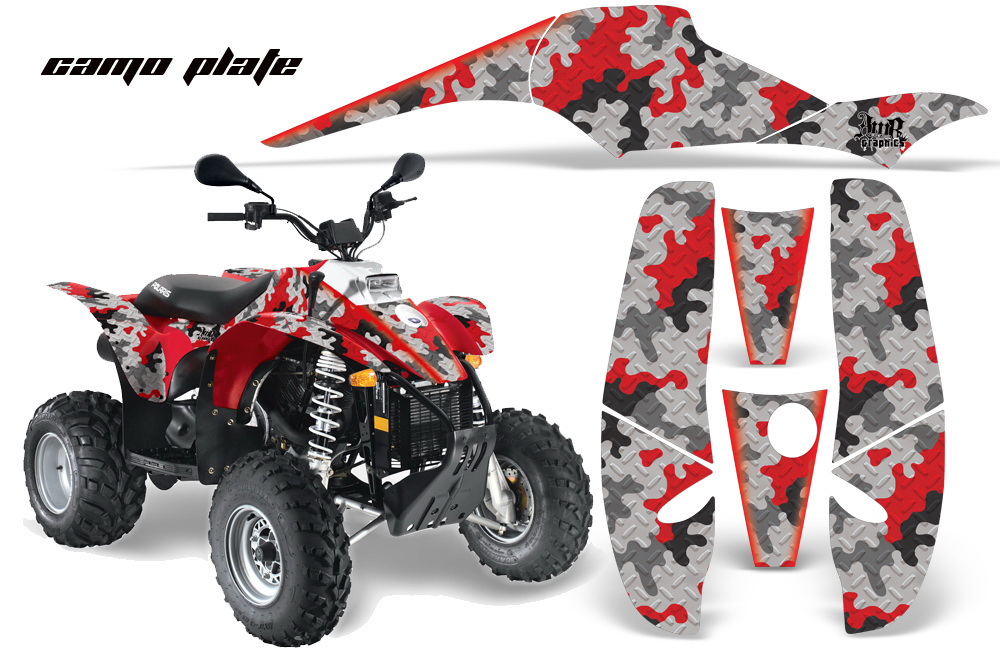 But you might be surprised at how much more fun you can have with a quad that has been customized to better suit your needs! Here at Nielsen Enterprises, we believe you deserve to have a vehicle that looks and feels like your very own. That’s why we created the following guide to help you customize your ATV.
When you’re ready to shop for ATV upgrades and accessories, come check out our selection at Nielsen Enterprises. Our service department would be happy to help with installation. We proudly serve the Chicago area from our dealership in Lake Villa, IL.
You can transform every trail ride into a fashion show by giving your ATV a custom look! This is a great way to showcase your personality and stand out from the crowd. A fresh paint job is the perfect place to start, and you can decorate your ATV with decals for a creative touch. Choose logos and graphics from your favorite powersports brands and dealers, or design your own custom decal to express your personal style.
LED light bars provide a much more powerful and efficient light source than your ATV’s standard bulb lights. This is an easy upgrade that enhances your safety and visibility while giving your ATV a more unique appearance. You can even build a custom setup that caters to your specific needs, whether you want to see farther up the trail or get some extra peripheral vision.
An ATV windshield is another great accessory that adds to your safety. Windshields can serve to reduce drag, lessen fatigue and muscle strain, protect you from the elements, and deflect dirt and debris kicked up from the trail ahead. A windshield really comes in handy if you plan on doing any riding in wet weather!
Your ATV is a powerful machine overall, but your tires are the real MVP when it comes to off-road performance.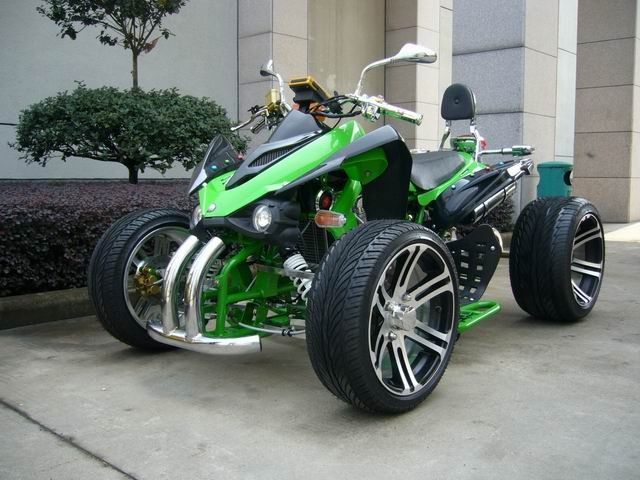 Most ATVs come standard with all-purpose tires designed to deliver good traction on a variety of terrain types. If you have a preferred terrain type, you will probably want to swap out your stock tires for a more specialized set. If you love nothing more than splashing through the muck, opt for mud tires. For powering over dunes, sand tires are your best bet.
Riding your ATV is a full-body workout, and riding all day can leave you feeling sore and exhausted. Thankfully, there are many custom seats, covers, and backrests available that are designed to enhance your comfort on long rides. Some seats upgrades give you a more ergonomic riding position, while others simply provide more cushion. Some can even be paired with a passenger seat.
If you use your ATV for camping or utility work, a cargo box is an absolute must-have. Your cargo box gives you the option of packing tools, hunting and camping gear, food and water, and emergency supplies.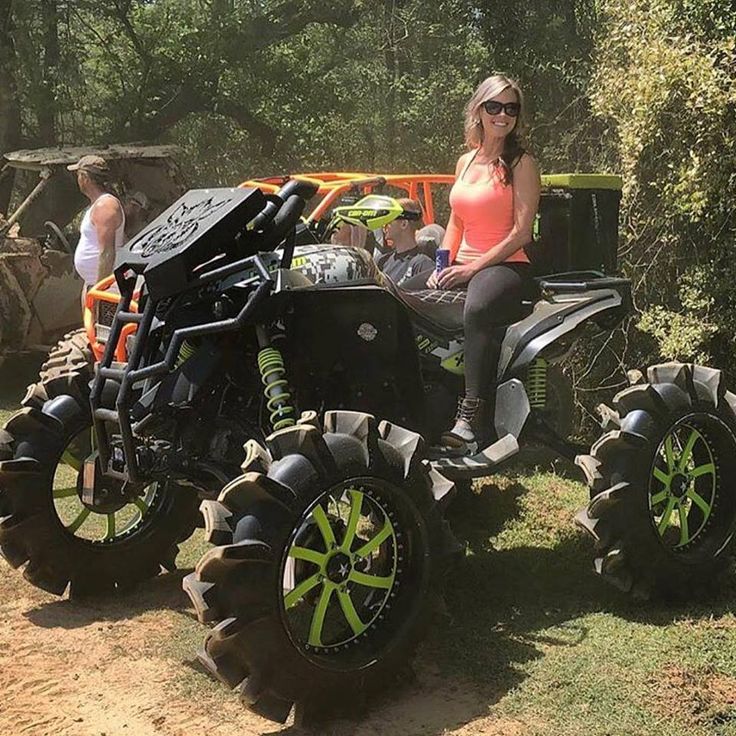 Most cargo boxes can be locked with a key for security and peace of mind.
We hope this guide has inspired you to customize your ATV! If you’re looking to start from scratch with a brand new quad, head over to Nielsen Enterprises. You can browse through a wide variety of ATV models at our dealership in Lake Villa, IL. We welcome customers all the way from Milwaukee, WI.
To start an electric start engine, turn the ignition key to the ON position, press the brake and press the green electric start button for no longer than 5 seconds.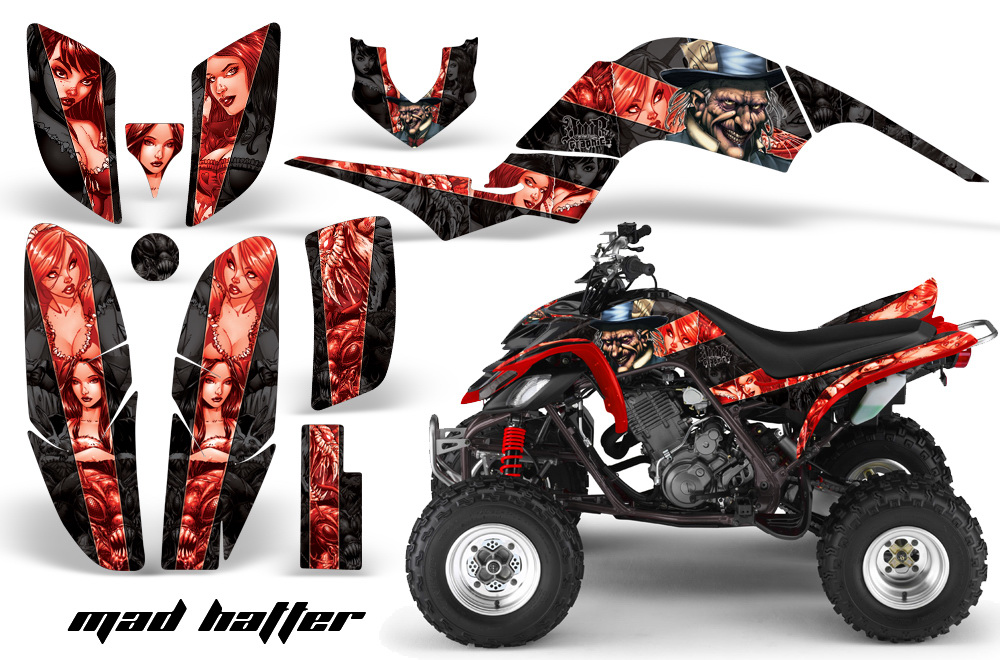
ATVs usually shift automatically—the shift lever is used to shift up, down, neutral, reverse, and select park mode.
To start or increase speed, you need to press the thumb of your right hand on the throttle. The gearbox must be in the “H” or “L” position. The middle finger of the right hand rests on the front brake lever while driving, and the middle and index fingers of the left hand rest on the rear brake lever.
Also on the steering wheel there are buttons for turning on the four-wheel drive and locking the differential. Four-wheel drive will be needed when driving off-road, slippery roads, transporting goods and towing. A differential lock is needed so that the wheels of the ATV spin synchronously - for example, it will help to drive out if one of the wheels is stuck in the mud, and the second remains on a stable surface. When the lock is off, in such a situation, only the wheel that is stuck will spin.
Whether it is possible to turn on the four-wheel drive and blocking on the go and at what speed - should be indicated in the instruction manual. At the same time, regardless of the model of the ATV, the lock cannot be turned on after a jam, since the differential gears must engage without load.
1 - ignition key. 2 - starter button. 3 - light switch. 4 - signal.
1 - throttle lever. 2 - switch 2WD / 4WD. 4 - fuse.
1 - throttle lever. 3 - 4WD / LOCK differential lock switch. 4 - fuse.
Standing up makes it easier to avoid the ATV tipping over by shifting your body weight. There are 3 main racks:
 The body is maximally shifted back, arms and legs are extended, the head is tilted towards the steering wheel.
 The worst stance is when the back is tense, the person leans on his hands, and his legs are straight. In this case, the body does not absorb shocks and shocks, and the bones, intervertebral discs and joints experience a strong load. In addition, control over technique worsens and fatigue increases.
middle rack
A-pillar
rear pillar
To climb, you need to shift into low gear, take the front stand and drive at medium engine speeds. It is impossible to sharply press the gas when driving up a slope or mountain - there is a risk of rolling over.
When stopping in the middle of a hill, drive off carefully, as a sudden start will be followed by tipping over. If the ATV rolls backwards, you must press the front brake lever, and after stopping, turn off the engine, put the equipment on the handbrake, turn around manually, slide down and try again.
To descend, you need to take the rear rack and shift into a lower gear. In order not to roll over, brake should be simultaneously front and rear brakes. To avoid skidding, you can not change the trajectory of movement and speed abruptly, as well as brake too hard. It is better not to touch the gas lever when descending.
To drive downhill, shift into low gear and shift your body weight towards the top. Don't hit the gas hard and don't brake hard. You can also fall when making a sharp turn. If the slope is steep and the ground on it is slippery, it is better not to risk it.
To enter a tight turn, lean on the outside footrest and tilt your upper body inward. On slippery surfaces, shifting forward will improve handling, and shifting back will improve the grip of the drive wheels with the road.
Before driving into deep mud, you need to make sure that there are no logs, large stones and other obstacles in it, and the soil is not marshy.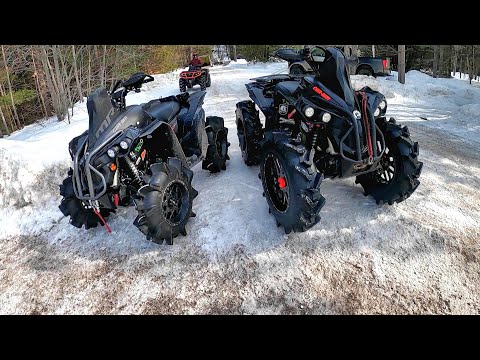 You should drive smoothly, without sharp pressure on the gas lever. At a slow speed, high engine speeds should not be allowed - the wheels will begin to slip and dig deeper. If the ATV has sunk deep into the mud, after releasing it, you need to dry the brakes with a few clicks on the levers.
To estimate the trajectory of the ATV in advance, you need to look into the distance and not fix your eyes on any one object.
It is not necessary to drive into steep mountains and hills unless absolutely necessary, because if you lack experience, you can, for example, press the gas too hard or allow the engine to stop - both errors lead to a rollover.
ATV requires special equipment. It will protect against getting wet, hypothermia, wind and dirt, and will also reduce the risk of injury after a fall or collision.
How to adjust the carburetor on an ATV? What to pay attention to? What are the signs of misuse of the device? About this today in our article.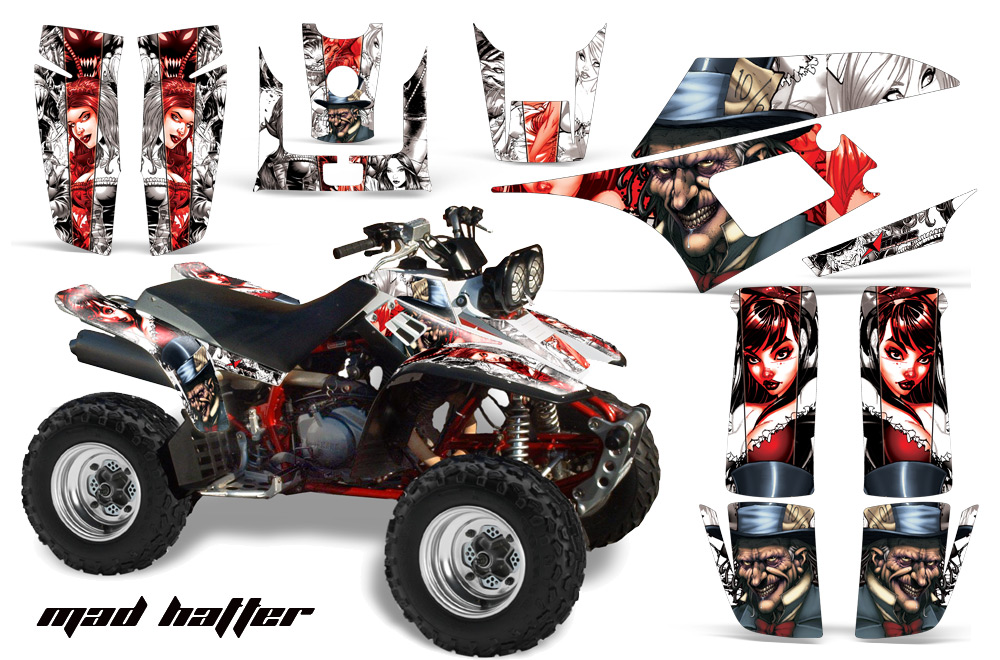 Using the proposed instructions, you will be able to set up the carburetor step by step without the help of specialists.
For stable operation of the ATV, it is necessary that the engine receives the optimal amount of combustible mixture corresponding to its rev range. Otherwise, the following problems may occur:
What should be applied in this case:
Important! Carry out tuning only when the carburetor is cleaned outside and inside, as well as when the engine is warmed up to operating temperature.
Note. The location of the bolts on each carburetor model may vary, so read the instructions that came with your machine.
1. Start the ATV and test ride. Wait until the engine has completely cooled down.
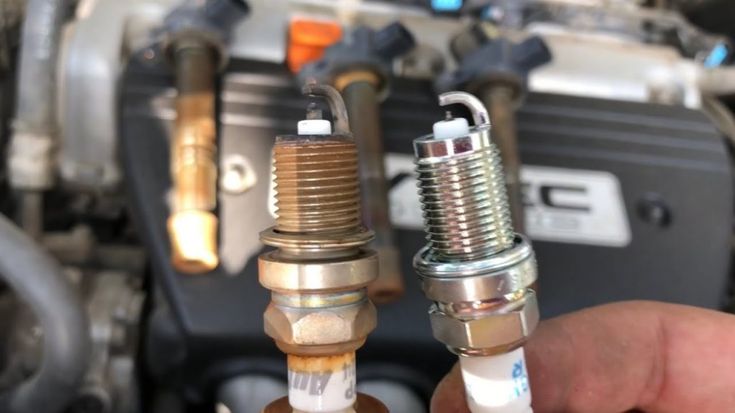
2. Check the condition of the spark plug. To do this, unscrew the cap and inspect the candle.
What to look for:

3. Unscrew the needle cover at the top of the carburetor. Pull the needle. This is the main element that regulates the supply of fuel to the combustion chamber, since the needle is connected to the gas trigger. When the trigger is pressed, the needle rises, slightly opening the hole for supplying the fuel mixture. This directly affects the growth of power and speed of the ATV.
4. Remove the cable, then press the needle to pull it out. The needle has 5 grooves and a retaining ring. By default, it is set to medium. The lower the retaining ring is located, the higher the needle is raised, which means that a lot of gasoline and little air is supplied. Accordingly, the higher the ring - the less gasoline and more air.
5. Reposition the circlip in the desired direction to optimize carburetor performance. Insert the needle into place.
6. Start the engine and press the throttle trigger. With proper adjustment, the engine should not stall from a sharp pressure.
And remember, you should resort to adjusting the needle only as a last resort, when adjusting the quality and quantity screw does not bring results.
The performance of a four-wheeler depends on the correct level of gasoline in the carburetor. An excessive amount will flood the candles, spill onto the ground and lead to unnecessary expenses. If there is too little fuel, the engine simply will not start.
How to optimize the fuel supply