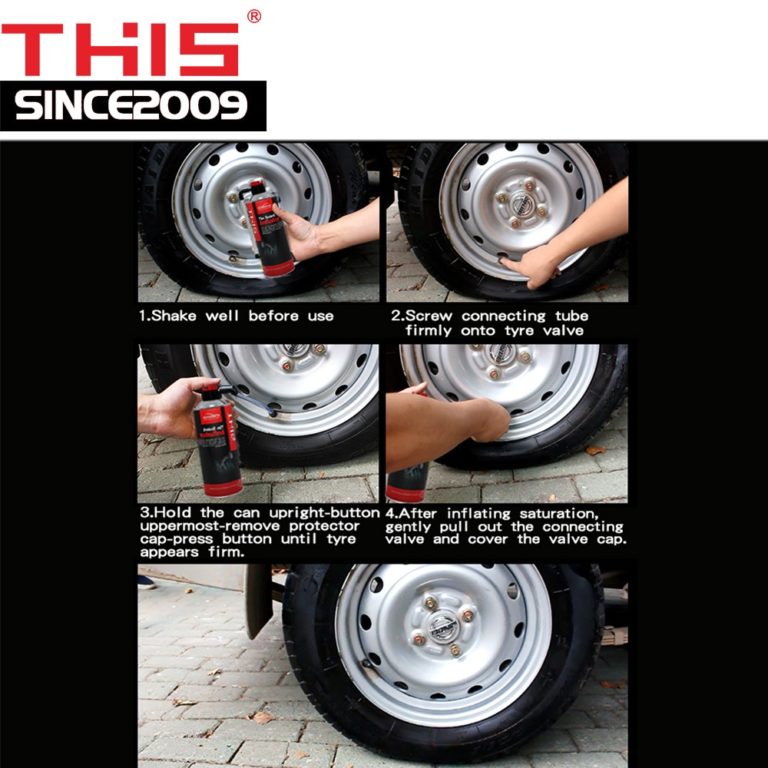
While not a permanent fix, Fix-a-Flat can get you back on the road long enough to get to a repair shop.
If you’ve ever heard the dreaded popping sound that indicates a flat tire, then you know how frustrating it can be to have to fix a flat tire while you’re out on the road. Vehicles almost always have a spare tire, but depending on the damage, there might be an easier solution that doesn’t involve a jack and a lug wrench.
Fix-a-Flat is an aerosol water-based sealant that seals punctures, inflates tires in a pinch, and won't prevent the tire from being repaired by a professional shop. It comes in several options based on your tire size, including compact, standard, large, and extra large. Determine which product is best for use on your vehicle and keep a bottle in your car for emergencies.
Though this is a popular solution for flat tires, keep in mind that it won’t work in every situation. Here's our instructions on how to use Fix-a-Flat for car tires.
No spam · No long forms · No fees
Find insurance savings (100% Free)
Step 1: Pull over or get to a safe location. The first thing to do if you think you might have a flat tire is to get your vehicle to a safe location.
You don’t want to drive very far on a flat tire, but you should avoid hazards and fast-moving vehicles that could cause an accident.
Step 2: Examine the tire. Flat tires can be caused by road debris or other objects, or by excessive wear.
Your tire could just be leaking air, or it might have gone completely flat. Look for the source of the air leak or damage to understand what the best solution is.
Fix-a-Flat can only be used if the damage is relatively minor and the hole or tear isn’t greater than ¼ inch.
MORE: Car hand signals in case of emergency: the basics
If you do notice a flat, using Fix-a-Flat to travel a short distance (under 100 miles) or for a short period of time (three days or less) can help avoid a costly tow.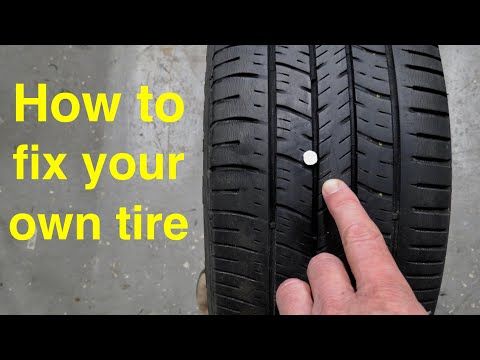
Step 1: Have a can of Fix a Flat in your vehicle. It’s a good idea to carry a can of Fix-a-Flat with you in your vehicle to use in a pinch.
While it doesn’t work for all situations, it can be helpful for emergencies and unexpected flat tires when the nearest town is several miles away.
Step 2: Unscrew the cap on the tire valve. You will be applying Fix-a-Flat through the valve on the flat tire.
Step 3: Shake it up. Before using Fix-a-Flat, you need to shake the can vigorously. After shaking the can well for about 30 seconds, unscrew the tire valve cap and screw the nozzle of the can onto the valve. The can should be in an upside down position as the plastic nozzle is screwed on in a clockwise direction.
Step 4: Secure the Fix-a-Flat nozzle to the tire valve. Once you connect the can’s nozzle to the tire valve, you will be able to hear the air moving into the tire.
An entire can of Fix-a-Flat is intended for a single flat tire only, so don’t plan on reusing it.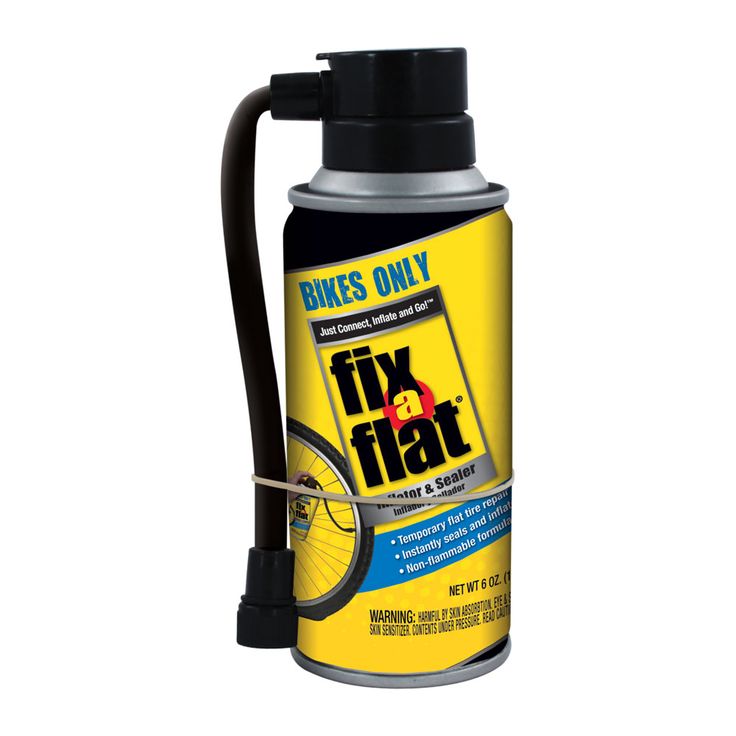 You will keep this connection until the can is empty.
Step 5: Disconnect the nozzle and replace the cap on the tire valve. Once the can is empty, you may remove the nozzle and put the cap back onto the tire valve.
Step 6: Drive away. It’s essential to resume driving as soon as possible to ensure that the Fix a Flat product is dispersed within the tire.
Step 7: Check to see if the tire’s rim has left the ground. If it has, you should immediately drive the vehicle between two and four miles to allow the sealant to fully spread and for the tire’s pressure to increase.
If the tire’s rim is off the ground but the tire’s air pressure is still low, fill the tire to the automaker’s suggested air pressure.
You can find the recommended PSI for each tire in the owner’s manual of your vehicle. This information can also usually be found inside the driver or passenger’s side door or along the interior of the trunk.
Use a tire gauge to check the air level of the flat tire, and add air using an air pump if needed.
MORE: Is roadside assistance worth it if I'm a fairly handy mechanic?
The use of Fix-a-Flat should be reserved for emergency use only. You’ll still need help to get the tire repaired or replaced.
Do not drive your vehicle if, after using Fix-a-Flat, the tire’s rim does not lift up from the ground. Call your roadside service provider or for a tow to a repair facility. After use, take the tire to a repair center to be repaired or replaced as soon as possible before three days have passed or 100 miles have been driven.
In addition, be sure to let your repair shop know if you used Fix-a-Flat before they attempt to repair the tire so it can be cleaned up correctly. If you have a tire pressure monitoring system (TPMS), check your service manual before use. While Fix-a-Flat notes that the product will not damage a TPMS system, it should be cleaned off properly with water by service professionals to ensure it continues working properly.
Always maintain personal safety when dealing with a flat tire, and assess the situation before acting on a possible solution.
Key Takeaway: Though useful, Fix-a-Flat is only a temporary emergency fix, not to be used for longer than 100 miles, or three days. It also won't work for every problem, so familiarize yourself with your vehicle and potential repair options.
A flat tire can be stressful and inconvenient, but it doesn't have to mean waiting for a repair truck or getting a tow if you have some Fix-a-Flat. But what happens if you're too far to make it to a repair shop, or if your last can of spray just doesn't solve the problem? In that case, you'll want Jerry.
This car super-app can ensure your car has towing coverage, comprehensive coverage, and all the car insurance coverage you need. Just answer some questions and Jerry will generate affordable quotes from 50+ top providers for you to compare, paperwork free.
MORE: What happens if I get a flat tire in a rental car?
Fix-a-Flat works by using both a liquid sealant and air. When you use Fix-a-Flat, air forces the sealant into the tire, and the liquid sealant foam plugs any holes in the vehicle. The air continues to fill the tire until you can drive it again.
We only recommend using Fix-a-Flat on a tire as a temporary solution. If you find yourself needing a tire repair, you should only use Fix-a-Flat to get to your destination, and then to a repair shop. You should only use it for a maximum of 100 miles or 3 days.
RECOMMENDED
Judith switched to Progressive
Saved $
725
annually
Alexander switched to Travelers
Saved $
834
annually
Annie switched to Nationwide
Saved $
668
annually
Foam-filling skid steer tires is considered a safe option as doing so gives more durability, traction, and strength to the tires. To fill foam in the tires, you can either take the DIY approach or get a mechanic to do it for you.
The better option is to go to a mechanic. But if you want to do it yourself, pay attention to the tire and closely observe till the point foam starts to leak out from the valve stem portion.
What's In This Guide?
 The wood or cloth is for the mess created with the foam filling.
 What Are Foam Filled Skid-steer Tires?
Foam-filled tires are a type of pneumatic tires that were introduced to replace air-filled tires. Because the air-filled tires run the risk of going flat due to a wide gamut of reasons, the foam-filled tires do not go flat.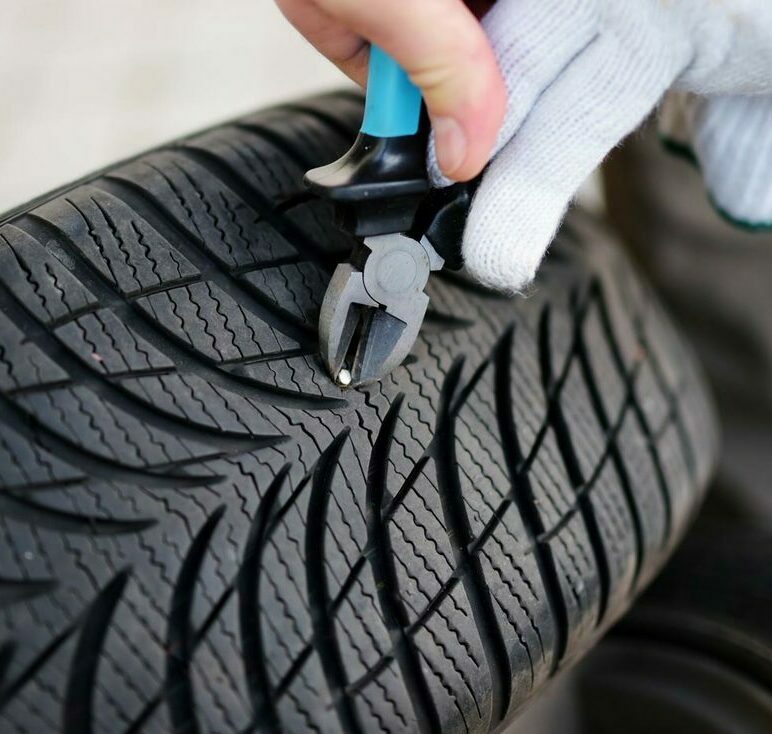 They also provide the same benefits as air tires in terms of traction, performance, and mileage without the part where the tires can get punctured.
Plus, the foam fill tires will also not lose air pressure. We use foam filled tires on skid steers due to their ability to perform well even in harsh conditions. Skid steers will majorly run on rough roads filled with pebbles, rocks, dirt, etc.
So, we prevent changing and repairing any damage caused to the tires due to such terrains using foam fill tires. In addition to these benefits, the foam-filled tires are better at maneuvering, and they bring efficiency into the operations, especially in the kind of work done by the skid steers.
Foam-filled tires give more stability to the skid steer, which is good. But some might argue that they also provide the extra weight, which can lead to mileage issues. Additional vehicle stability offers better control in rough terrains, which is difficult to obtain with air-filled tires. Hence foam-filled tires provide better footing to the vehicle.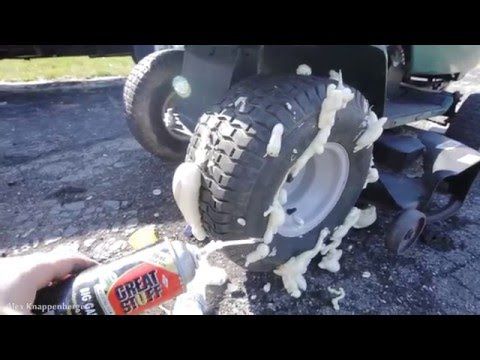
However, the same extra weight on the tires reduces their lifespan relative to the air-filled skid steer tires. Added to this, if the vehicle is working in rough terrains continuously for a longer period with foam fill tires, the speed of tires losing their grooves and tread increases.
To sum it up, foam fill tires bring extra stability that contributes to the driver’s safety, reducing the tire’s lifespan.
Polyurethane is used to create the foam that takes up space inside the tires. Thus, giving the tire puncture resistance plus more stability along with the weight. Due to the usage of polyurethane, foam fill is also called polyfill.
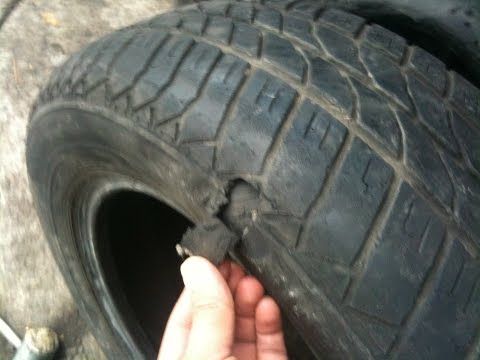
The weight of foam-filled tires depends on the volume of foam added to the tire, which further depends on the size of the skid steer tire. Two of the most common skid steer tires have the following dimensions;
 5
5Based on these dimensions, the weight of one foam-filled 10×16.5 tire will be 130 pounds. So for four tires, the total weight added to the skid steer is 520 pounds, just for the tires. The same for a 12×16.5 tire will be 205 lbs, and for four tires, the total volume of foam required will be 820 lbs. This is what gives extra stability to the vehicle and makes it a better choice for rough terrains.
The short answer would be no. For one, the skid steer tires are nothing like car tires. These are the big boys we are talking about, and handling them is easier said than. We understand that taking the skid steer to the mechanic is also a task, but going to the mechanic is the safer route.
Foam is not bad for tires per se. Yes, it makes the tires heavier, and it won’t bulge or bend under pressure. In some situations, this can cause some trouble with driving due to gripping issues.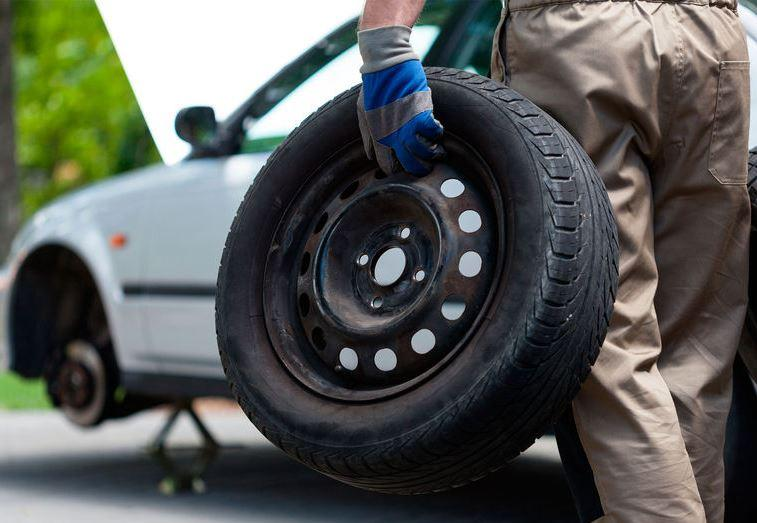
The only downside to filling foam in the tires is that they are practically junk after they wear out. You cannot use them in other places, at least not easily. Plus, the tires will be heavier than other bald tires, which may be used in other places.
But performance-wise, foam is not bad for tires. If anything, it improves the tire’s life span as there won’t be any puncture issues.
Yes, the process is safe. As long as you are following the proper process, things will go smoothly. However, the problem may arise after replacing the tire on the vehicle because we have heard cases when tires went flat right after bringing the vehicle down.
It depends on the tire and the cost of the container, and its capacity. As discussed above, one 10×16.5 tire requires 130 lbs, and one 12×16.5 tire requires 205 lbs of foam. Depending on the volume required (approximately 24. 5 gallons for one 12×16.5 tire), you can calculate the cost.
Yes, the US FMCSA regulations Section 393.75 mandates that the tire can be filled with materials other than air including silicone and polyurethane.
Over time, any villager and summer resident gets a lot of various wheeled vehicles that require constant attention and care, including the repair of pneumatic tires and their regular inflation. And it often happens that at the most necessary moment the wheels of turn out to be flat. And as technology ages, this happens more and more often. For example, these troubles began to haunt me constantly, and especially often in winter, in the most severe frost. And that's even worse.
To fill the wheel tire with foam, you first need to drill several holes in the rim with a diameter of 10 mm ...
Finally, I got tired of it, and I solved the problem radically - I “pumped up” the tire not with air, but with polyurethane foam. I first tried filling the tire with foam through the nipple hole. It turned out, but not entirely successful - in some places, due to traffic jams, air sacs remained unfilled with foam. In addition, a significant part of the foam from the hole of the nipple squeezed back.
But the trouble is the beginning! After trying several different options, I eventually found a way to fill the tire with foam without plugs or air pockets. To do this, I drilled several holes 010 mm around the circumference of the wheel disk in such a way that the tube from the foam can freely enter into them. Before starting to fill the tire with foam, it is necessary to prepare several wooden plugs-pegs (according to the number of drilled holes in the disk), which should fit tightly into these holes and prevent the foam from breaking free.
Insert the canister tube into any of the holes drilled in the disk and start the foam supply.
As soon as the first traces of foam that have reached it appear in the adjacent hole, we stop the supply from the can and immediately plug the first hole of the plugs tightly with a peg. After that, you can start feeding foam into the next hole. Then to the next...
In the same way, you can fill the tires of any other wheeled equipment, such as a garden cart, with foam.
Fill the tire with foam as follows. We insert the tube of the can into any of the holes drilled in the disk and start the flow of foam. As soon as the first traces of the foam that has reached it appear in the adjacent hole, we stop the supply from the can and immediately plug the first hole tightly with a peg. After that, you can start feeding foam into the next hole. Then to the next. The last hole, as a rule, no longer needs to be foamed, and as soon as foam appears from it, you just need to plug it with a peg plug. With this sequence of filling, air sacs usually do not remain.
The process of self-vulcanization of the foam inside the tire - in a closed volume without air access - takes a little longer than under normal conditions. The operation of foam-filled wheels can be started no earlier than in a day.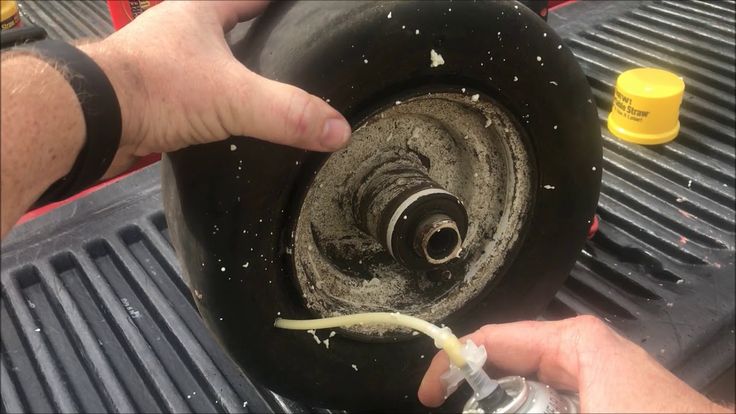 And with a large volume of tires, it is better to wait at least two days.
I have been using this technology for filling tires with foam for more than 10 years, and the first foamed tire is still working properly today, although I use it without any discounts both in winter and in summer. For several years, one of the wheels of my old truck was filled with foam. It no longer made sense to repair this wheel in the traditional way, and after filling it with foam, I drove it for quite some time, however, at low speed and for short distances, mainly in the village. The motorcycle that I use for trips to the forest for mushrooms has been running on foam tires for many years.
Initially, I had doubts about the durability of tires filled with foam, but over the years I have become convinced that without air access, the foam does not break down at all and serves reliably, especially where high speeds are not needed. It is also noteworthy that lugs can be easily fixed on foamed wheels, and using the most common screws with nuts or screws for this. This is especially true when operating equipment in winter for driving on snow-covered roads or off-road.
Author; Vladimir Mikhailovich Legostaev0009
Rate this article:
(26 votes, average: 4.4 out of 5)
Share with your friends!
There is not always a way to call a tow truck, and driving on a flat tire, “chewing” the rubber and killing the rim is at least uncomfortable.
The very first replacement of rubber on a motorcycle or scooter gives reason to think - what is better in terms of quick repairs: tubeless ones that do not require wheel disassembly to eliminate a puncture, but leave the rider helpless if, along with damage, it “led” and flattened the edge of the disc? Or chambers - allowing sealing almost ring breaks (if only there were enough patches), but requiring the removal of rubber from the rim for this? The unequivocal answer is no. Few classics, straights or tourers today remain "loyal" to tube rubber models: tubeless tires are lighter, softer, warm up and cool down faster thanks to simplified heat transfer. In sports, more precisely - enduro and motocross, chamber - on the contrary, prevail: only spoked wheels can "play", withstanding strong alternating loads during landings and impacts.
The nuance is that a tire with a chamber can be put on any spoked or cast disc, and a tubeless one can only be placed on a cast one, because only it can ensure tightness. Tube – can be installed in a tubeless tire as an emergency measure. In case of major damage to the sidewall, cracks or curvature of the edges of the rim, this will make it possible, after pumping up the wheel, to reach the nearest tire service (and there already - straightening, balancing and other maintenance according to the rules). True, for such a focus, it is advisable to take a camera with a face value one less than the diameter of the disk, otherwise it will create folds inside that will rub for a couple of hundred kilometers. The resource of such a “treatment” is large - until the next puncture, like a new one.
It depends on the magnitude of the damage whether it will be possible to eliminate it on your own, or whether you will have to “surrender” to the motorized tow truck. In tubeless - holes up to 5–6 mm are patched, in chambers - as much as there is enough glue and patches, the main thing is the condition of the tire. To determine the extent of the disaster - find a place where you can safely stop without violating traffic rules (where it is prohibited - you will have to sacrifice tires and drive on).
If the wheel deflates slowly, and the object that pierced it is still inside, you can try to carefully drive to the tire shop. A completely deflated "pancake" will have to be resuscitated on the spot, or - remove the wheel and take it to the service.
To find a hole in a tubeless tire, if it is very thin and not immediately visible, the wheel must be pumped up, slowly pouring water - bubbles will go.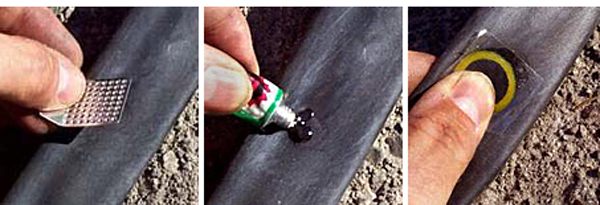 In place, tubeless tubes can be “harnessed”, or filled with sealant inside, without removing from the motorcycle.
With the second type of tires - more difficult. A torn balloon must be removed from the tire to detect a defect and seal. In a good way, the wheel must be removed from the motorcycle and disassembled on a clean, flat, hard base. Suppose such a “patch” can be provided even off-road, but how to remove the wheel on a motorcycle if it does not have a central stand? And shooting is not required. The motor must be carefully laid on its side, after making sure that the faucet is closed, gasoline does not flow out through the tank cap (antifreeze does not flow from the tank if the motor is “dropsy”), and removing the plastic or wardrobe trunk with fragile contents (if any).
You will have to unscrew the wheel from the motorcycle only if you need to replace the tire, or it is decided to patch the tubeless tube with a “fungus”. In the absence of a central stand, this will also have to be done on a lying bike, or - make this stand from improvised materials (bricks, stump, car jack), placing them under the crankcase protection from below, the central tube of the frame, the duplex jumper (but not under the plastic, itself engine crankcase or attachments!), under both footrests - if they are not folding, or - under the pendulum. Before removing the rear wheel on a motorcycle, the front fork must be loaded with something, or an even higher lining is made.
In a motorcycle tire fitting shop, tubeless tubes are repaired by cold vulcanization. They are removed, disassembled, the puncture site is cleaned from the inside, degreased, lubricated with glue and a calibrated “fungus” patch is inserted into the hole from the inside. The fungus itself is a thin plate of rubber with a “leg” tube in the center. The leg - by the guide wire is dragged through the hole of the damage, and the "hat" seals it.
After half an hour - you can put the tire back. The reliability of such a repair is high, the patch does not cause a significant imbalance, the service life of a sealed tire does not decrease.
This method is also applicable on the road, the main thing is to have the necessary equipment and materials with you:

The fungus repair procedure does not require much experience. The main thing is to keep it clean, fully clean the place where the patch fits, let the glue dry slightly to a dull finish and press (roll) the surface of the fungus with high quality, expelling all the air between the layers. If necessary, you can degrease the place before gluing with gasoline, but without the rest of the above, it will not be possible to fully carry out repairs.
The compressor is sometimes replaced by a small cylinder of compressed air or carbon dioxide. Unlike a mechanical pump, it will immediately create a “throw” of pressure, pressing the tire beads against the rim flanges (in emergency cases, even a fire extinguisher was used to pump flat tubeless wheels). When connecting the compressor, start the bike's engine before you start inflating the tire - let it idle. Otherwise, the motor can "land" the battery, and you will not start.
Manometer - needed for control. It is undesirable to pump over the repaired tire. It is recommended to "inflate" 0.2 atmospheres less than the nominal value. Inflating too little is also bad: a flat tire has a larger contact patch with the road, so the place of a fresh patch will deform more.
“Burning” a tubeless tube and sealing its internal cavity through a nipple are quick, simple methods that do not require special skills. To repair the damage, you only need the materials themselves, and how to pump up the wheel.
Now in Moscow, and not only, 6-5 varieties of cans with a sealant are sold - a quickly hardening "liquid rubber", with a volume of 800 to 250 ml.
Applying "Anti-Puncture" is simple: put a tube with a fitting on the nipple of the camera, turn the can over, and hold the button according to the instructions. Then - pump up the wheel, cleaning the nipple from the foam, roll it, making a full turn to distribute it.
The sealant is blown out with air into the puncture hole and clogs it, solidifying. After 20 minutes - you can go. Reliability of repair is high. Resource - until the next puncture.
If you have a compressor, start immediately pumping up the wheel, so it will be easier to work with a puncture, insert a patch, and it will swell faster.
Procedure:

You can go in 5 minutes, you just need to make sure that it doesn’t descend anywhere else.
Outwardly identical, repair kits for harnessing wheels can differ in price by almost half. This variation is explained by different configurations - one will have only three items, the other - six or seven.
A complete tubeless tire repair kit contains:
Regardless of the cost, you need to choose a kit in which the harnesses will be reinforced, and the awl - with a deep spiral winding (notch), and not a “needle file”. Inserting a flagellum is sometimes easier with a regular thin screwdriver. If there is no glue in the kit, or it has dried up, the flagellum is moistened with gasoline.
At motorcycle service stations and car services, holes in the chambers are closed by hot vulcanization: a layer of raw rubber is applied to the cleaned, fat-free puncture site and, after squeezing it well, it is heated with a special “iron”. Iron - burns, layers - are fused into a single whole. Reliability of repair is high. The resource will be almost like a new one.
Cold vulcanization (patching) - used if the workshop is not equipped with a vulcanizer. In this case, the quality of the service and the reliability of the repair will depend on the accuracy of the master. For the convenience of gluing, the camera is completely removed in the service, but, I repeat, this is not necessary. It can be repaired on the spot in the same way (there are no other options except for replacing the camera), but without removing it from the motorcycle.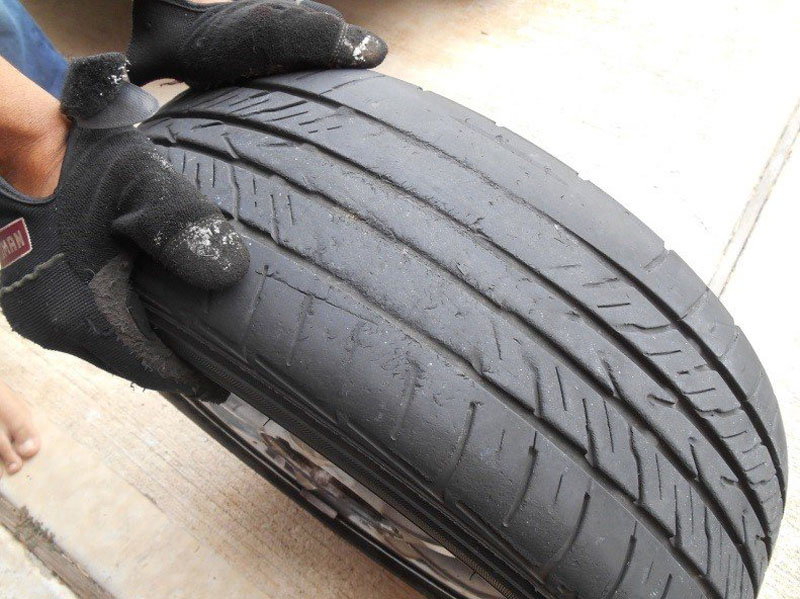
This can only be done if you have two metal mounting blades. At least one, the second can be replaced with another flat tool. You can still disassemble the wheel with a wide screwdriver and a “family” key wrapped with electrical tape. But this is only as a last resort, otherwise you can damage the cord.
Sequence of work:
 Let the glue dry for a minute.
 The fencing must be carried out twice as carefully and more slowly than dismantling, lubricate the side with water or soap, “help” more with your hands, otherwise there is a risk of picking up the edge of the chamber with a spatula and tearing it.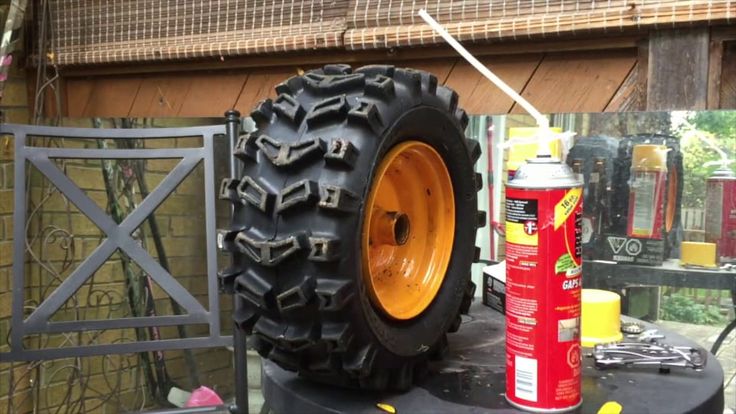
Important! If the wheels of the motorcycle are equipped with tow bars - before pressing the tire bead from the rim, you need to loosen this tow bar! But do not unscrew the nut completely, do not disassemble to the end.
A standard “first aid kit” (a set for repairing classic motor rubber) contains only patches and glue, so it is advisable to supplement it yourself with a piece of “skin” or a needle file. You can degrease with gasoline, or apply a little glue first and wipe off immediately, rolling up the dust with it.
Now there is no shortage of specialized motorcycle workshops not only in Moscow - in all major cities there are motorcycle helpers who help motorcyclists directly on the track, or tow to where you can quickly change the camera, or patch the tubeless correctly, so that there is no trace left. Where there is a guarantee.
Self-replacement of a tire on a motorcycle requires a certain physical condition, and for the first time - a “kilometer of nerves”. At the service station, instead of you, automation will “sweat”, which will not lock up the board and will not scratch the disc coating with a spatula. The main thing is to do it quickly (if you need to go urgently, the price sometimes does not matter).
Repair at the service - may be the only possible one if, due to driving on a flat tire, the tire nipple is turned and torn off. Especially if he flew off and got lost, but there is no spare. In mototiremontazhke - there is always a set of consumables for any wheel diameter. In the same place, in extreme cases, you can buy a new tire, or a used dokatka.
In addition to the patch, for normal operation of the wheel, balancing must be ensured. This is generally a useful procedure during any change of rubber, otherwise if there is a strong imbalance, the wheel bearing will inevitably break due to vibrations, and the hands will quickly get tired and “buzz” after long rides.
The first couple of tens of kilometers - do not drive, go at the speed of the stream.