As an Amazon Associate we earn from qualifying purchases made on our website. If you make a purchase through links from this website, we may get a small share of the sale from Amazon and other similar affiliate programs.
Getting a flat on your lawnmower tire can be such a pain. And repairing the tire can be even more of a pain! There are plenty of options to find out how to fix a tire online, but the sheer amount of options from YouTube to forum sites may cause a headache.
To help ease your brain from ensuing headaches, I have compiled a list of three ways to repair a tire and the types of equipment you will need to repair your tire. This will put you on the right track.
For every tire, including lawnmower tires, there is a point of no return when a tire cannot be repaired. It is essential to know the difference between what can be fixed and what cannot be fixed. That’s why this article has a section dedicated to what tire damages and mishaps cannot usually be fixed using these three repairing strategies.
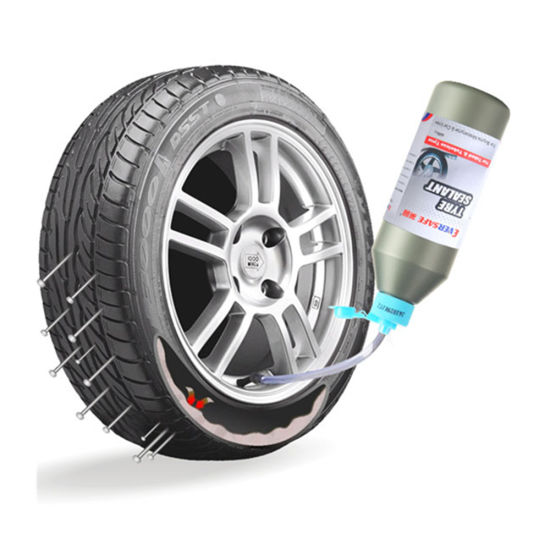
If there’s a small hole caused by an impaled object on your tire, one of the best ways to repair it is by using tire sealant.
Using sealant to repair a lawn mower tire is ideally a straightforward process. But there are a few different types of sealant to choose from, so knowing the right one to choose is vital.
Pressurized sealants cost around the $6-12 range, so you won’t have an empty wallet trying to look for one. Pressurized sealants are cheap and only made for one-time use.
Liquid sealants, which pour into the valve stem of a tire wheel, cost a little bit more, around $9-12. You will need a compressor or portable tire inflator for the liquid sealant to work correctly.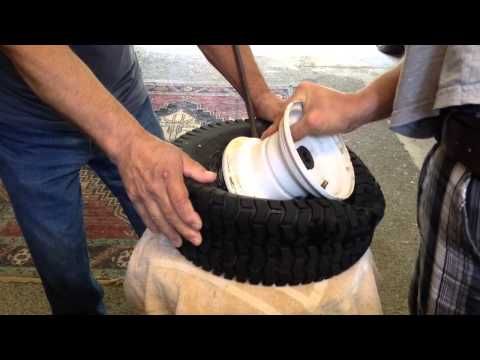
Tire sealant kits come with a compressor, and they can cost in the $30-80 range. I would recommend getting a sealant kit over the other options. The kit provides the compressor that liquid sealants need and inflates the tire unlike what most pressurized sealants claim they do.
If you need recommendations on what type of tire sealant is the best, check out Consumer Reports’ tire sealant review page. Consumer Reports gives excellent micro-reviews on which sealants are capable of filling 2.4 mm and 5.8 mm tire holes. They also list the price of each sealant, so you don’t have to look it up.
Before you do any work, DO NOT pull out the object that is causing the hole in the tire at first. This will cause the sealant to be unable to seal the hole. You can pull the object out of the tire after applying sealant, as shown in the directions later.
Some sealant bottles may come with a chart to tell you how much sealant you should use for the size of the tire you’re fixing. Make sure you look at the chart to see how much sealant you should use or else your tire will not have enough sealant, and the leakage will happen again.
Tools Needed:
Directions

This video here from TireJect explains the process step by step.
 com
comA tire plug kit is another way to fix a hole in your tire. Usually, tire plug kits come with a reamer/plug tool, some plug wires which block the hole, and some contact cement.
To plug a tire, the tire needs to be removed from the car, so a floor jack is necessary. Here are some of the tools you will need to patch up the tire.
Tools:
If you don’t have a tire repair kit, make sure to have these individual items on hand:
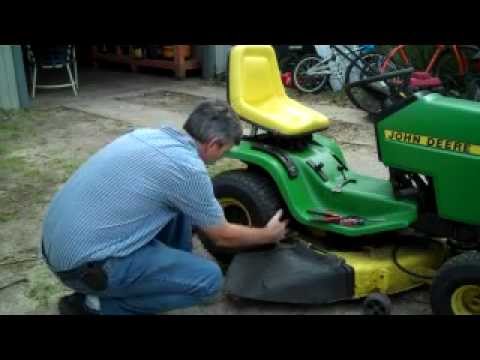
Removing a Tire from a Lawn Mower
To plug the tire, you’ll first need to take it off the lawn mower. Follow the directions below to ensure you properly remove the tire, which will also help make sure it goes back on properly.
Directions:
Now that the tire has been removed from the mower, it is time to patch the tire using a tire plug kit.
Directions:
 The air from the leak will make bubbles from the soapy water, showing you where the leak is.
Helpful hint… I have seen videos on YouTube where people have poured the contact cement on the plug after inserting the plug in the plug tool. This also works.
This video here expains the process quite well:
Reinstalling the Tire
Patching a tire is considered the most efficient way to truly repair your damaged tire and can usually fix larger holes than plugs and sealant. The reason why patching a tire is considered the most efficient is because patching doesn’t just check the outside of the tire, but the inside as well.
When a tire has a hole in it and begins to lose air, the sidewall starts to deteriorate, leaving black dust from the sidewall on the inside of the tire. This can be prevented by patching a tire.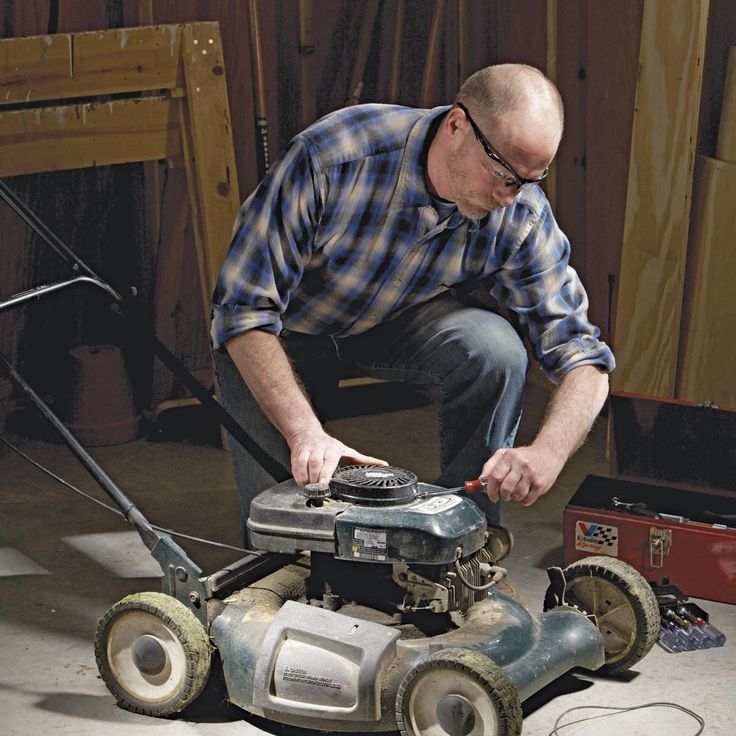
If you plan on patching a tire, prepare yourself. Patching a tire is easily the most challenging tire job out of the three ways to repair your tire in this article. You know the saying: hard work produces the best results.
But, the sidewall itself can’t be patched. Any damage to the sidewall itself, whether it’s from an outside source of weakening from within, will require a new tire.
Much like using the tire plug kit, patching a tire requires a floor jack to remove the tire from the lawnmower. Patch kits take things one step further, though. Removing the rim of the tire is a crucial step. You will find out how to do so here!
Tools Needed:

To save you some more time, we’ll start these directions after removing the tire from the lawnmower. Look back at the directions for “Removing a Tire from a Lawnmower” to learn how to do that properly.
Directions:
 Put your foot on the rim of the tire to hold it still.
Helpful hint: Not all bead breakers are the same. Some may require a hammer to break the bead while some do not.
Directions:
 This may take a few tries to get the hole to a size large enough for the plug to fit in, so do not stop at just one push inside the hole.
Lawn mower tires tend to last five years. Sealants, Plugs, and Patches are all perfectly fine ways to repair and expand your tire’s life expectancy (though I believe patching to be the most efficient).
But, there are points where tires have reached the point of no return. Car owners need to know when that point has been reached. Look below for more details!
To check for dead tread, insert a penny into the groove with Lincoln’s head right side up. If you can see all of Lincoln’s head, you should probably replace your tire.
You can fix a flat lawn mower tire on your own, as long as it’s not too far gone. Using sealant, plugging, or patching a lawn mower tire are each effective in their own right. It’s essential to fix the flat tire before any permanent damage is done.
The sidewall can become damaged if there’s a leak in the tire, and that is not a DIY fix. Keep an eye on your lawn mower tires and be ready to replace them about every five years.
Are you a landscaping enthusiast and want to help me grow Landscapingplanet.com? I am looking for writers! Just send me an email at [email protected]
If you’ve had a lawn mower for more than a couple of seasons, chances are you’ve had a flat tire. In this article, we’re going to tell you how to get a flat tire back on the rim and how to change a tire if you need to.
With our step-by-step guide—lawn mower tire flat & off the rim? Here’s how to fix it, you’ll be back to cutting your lawn in no time.
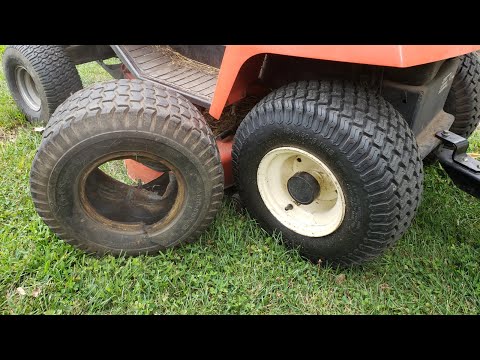
A tire that’s slipped off the rim is never a wanted sight!Using simple tools and a few helpful tricks, you can get your tire back on the rim or replaced. With a little effort and minimal cost, your mower will be ready to go again.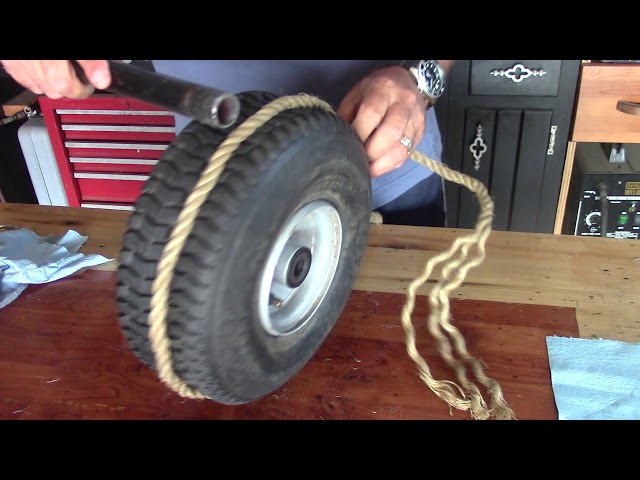
Want to know how to get your lawn mower tire back in working order? Let’s get stuck in.
For this repair, you’ll need a few tools. And if you need to replace the tire, a few more. For both repairs, don’t forget your safety gear. Here, we’ve listed what each job requires:
Not all flat tires are created equal. Sometimes a flat caused by a very slow leak or just time can simply be reflated. And it will last a good while until next time. But sometimes a flat causes the tire to come off the rim of the wheel, and this requires a more complicated fix. And in the worst case, with a damaged or worn-out tire, you’ll need to replace it.
No matter if your tire is just off the rim, or needs replacing, we’ve got you covered. Here is our step-by-step guide to fixing a flat on your lawn mower. Steps 1, 2 and 3 are required for both fixes. After that we’ve split the instructions depending on whether you’re putting it back on the rim (steps 4a to 7a) or changing the tire (steps 4b to 10b).
I know it’s obvious, but we’re nothing if not complete. Make sure your mower is on a flat surface. Then turn off the mower and remove the ignition key. It’s a good idea to chock the wheels as well.
What might not be so obvious, is that we highly recommend you remove the spark plug cable as well. Removing the cable means there is no chance of the blades moving while you’re fixing your flat. It’s never wasted time to do things safely.
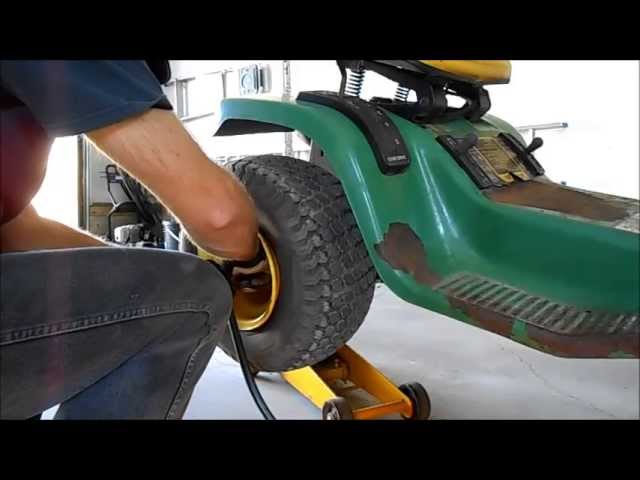
In order to get to your tire, you’re going to need to jack up the mower. Any jack will do as long as it’s rated for more than the weight of the mower. We would recommend fixing your flat on a hard surface, driveway, garage or shed. But, if your mower is still on grass, and you’re using a bottle jack, you’re going to need to put wood under the jack to stop it from sinking into the grass.
Jak up the mower so your tire spins freely. You want enough height to make it easy to get your hand underneath the tire. Once you’ve reached the required height, support the mower with a jack stand.
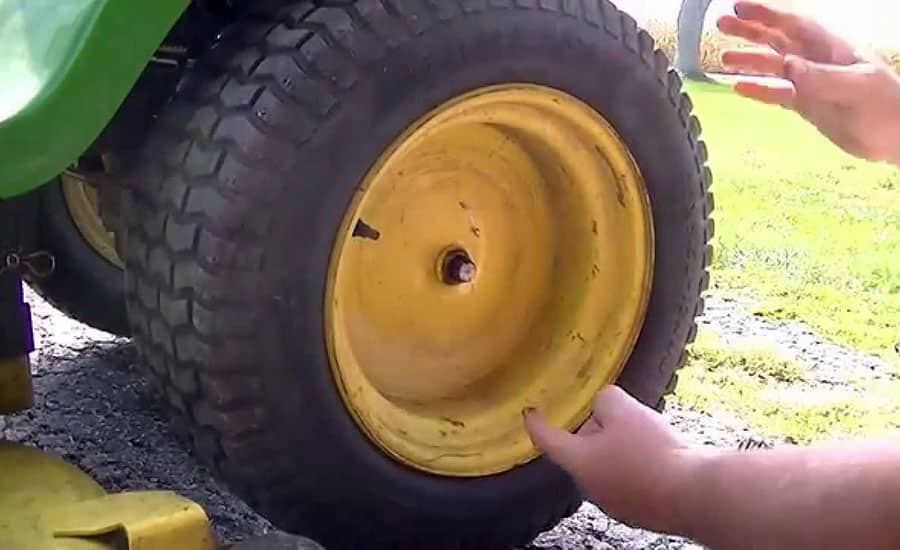
You need to check the tire for obvious damage, holes or sharp objects. If it helps, put a little chalk mark on the tire. Carefully roll the wheel round, inspecting both side walls and the surface for damage. When your chalk mark comes back around, you know you’ve covered the whole tire.
If you can’t find any obvious holes or damage, and the tire is not completely worn out, you can try putting it back on the rim, inflating it and seeing if it holds.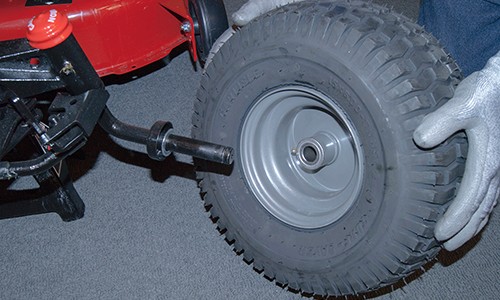 If the tire is punctured, ripped, or completely worn out, you’re going to need a replacement.
These days most mower tires are tubeless. That means there is no inner tube inside the tire that holds the air. Instead, the air is held inside the tire by a seal formed between the tire bead and the rim.
In order to refill a tire where the bead has come off the rim, you first have to create a seal between the bead and the rim.
The easiest way to do this is to apply pressure to the surface of the tire. This pushes the bead outwards and helps create the seal you need. On used tires, it’s usually not possible to do this by hand. So instead, we can wrap a ratchet strap or a rope around the tire and use that to help.
Get your ratchet strap around the tire and ratchet it a few times to apply pressure. This pushes the middle of the tire down and the sides outwards.
Once you’ve applied a bit of pressure, try pushing the sidewalls near the rim. If the bead seems solid against the rim, you can start adding some air and seeing if you have a seal.
If air still escapes from the sides and the tire won’t inflate, ratchet a couple of times on your strap and see if that helps. Once you have a seal, inflate the tire enough to keep the pressure on the bead so that you can remove the strap.
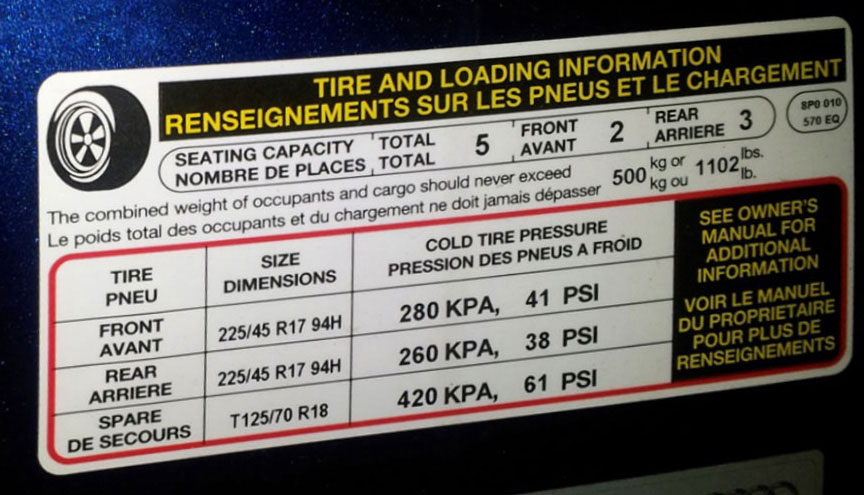
After removing the strap, you can continue to inflate the tire. The optimum tire pressure will be on the tire wall. And that is the number to aim for. Usually it’s between 15-40psi and often around 20psi.
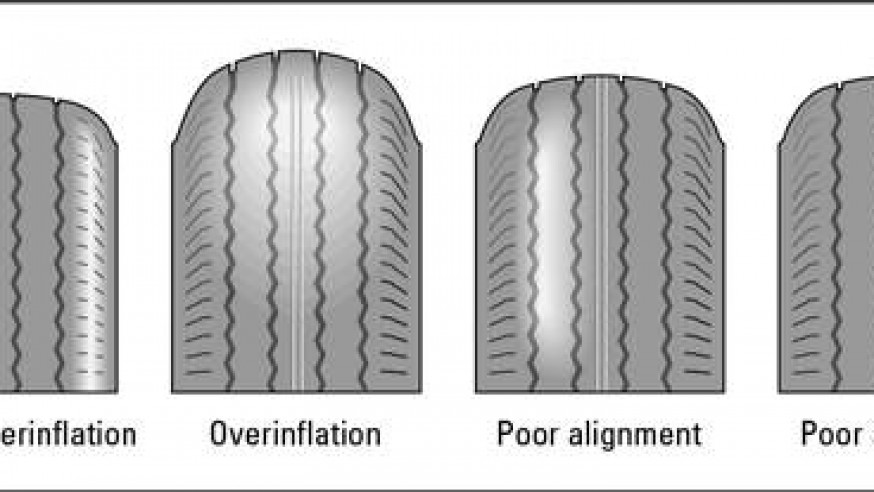
Make your to check the tire and inflate to the right pressure.Make sure you check your tire and inflate to that pressure. Under or over inflating can increase tire wear, decrease grip, and increase the chance of a puncture or blowout.
That’s it, your tire is back on the rim and fully inflated. Re-insert your jack and raise the mower enough to remove the jack stand.
Lower the mower back onto all its wheels. We recommend letting it stand for a few minutes before moving it. This way you can wait and see if your tire will keep pressure.
Once your happy everything is working, don’t forget to reconnect the spark plug wire and remove any chocks on the other wheels.
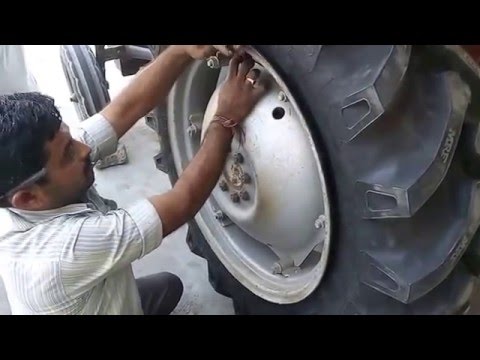
So, you’ve inspected the tire and decided to replace it. Now you need to remove the wheel. Take off the axle cover if there is one. Underneath will be a retaining ring. Use a slot screwdriver or pliers to pull it off.
Now you can remove the washer and pull off the tire. Beyond the tire is an inner washer. It’s best to pull that off as well. Make sure you put your two washers and the retaining ring somewhere safe. It’s really annoying to find you lost one when it’s time to put the tire back on.
Take the tire and lie it flat with the valve facing upwards. Remove the stem cap and use the stem core removal tool to unscrew and pull out the core.
Push down on the tire to dislodge the bead. Using a couple of slot screwdrivers, pry the tire up and off the rim on one side. Take your time. Pry a little of the bead up, slide another screwdriver next to the first and pry a bit more. Continue around the rim until the whole side is free. Flip the tire over and do the same again so that you can pry the tire completely off the rim.
While you’ve got the rim separate, give it a clean. Removing any dirt and grime will give a better seal between the new tire bead and rim.
Now it’s the reverse procedure from removing the tire. Using your slot screwdrivers (and make sure there are no sharp edges that could damage the tire) pry one side of the tire onto the rim. Flip it over and pry the other side on.
Flip your tire vertical again and find your compressed air. With a new tire, and not attached to the mower, it shouldn’t be necessary to use a ratchet strap or rope to get the bead to seal.
Push down a little on the tire and start to inflate. The bead should seal. Once you’re happy you have a seal, re-insert the valve stem core.
With the valve stem in, you can continue inflating the tire to the optimum tire pressure. Remember to check the optimum pressure on the tire wall and only fill to this value. As we said above (step 6a), over or under inflating a tire is not a good idea.
Using the reverse procedure from taking off the wheel, you can now re-install it. Find your washers and the retaining ring.
Put the back washer on first and then slide on the wheel. Add the front washer. Using pliers, put the retaining ring back on the axle and then replace the axle cover.
That’s it, you have a new tire. Re-insert your jack and raise the mower enough to remove the jack stand. Lower the mower back onto all its wheels.
Once your happy everything is working, don’t forget to reconnect the spark plug wire and remove any chocks on the other wheels.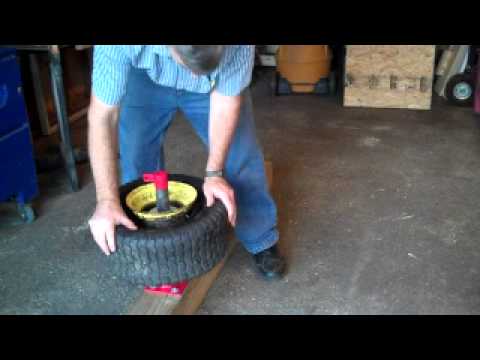
Well done! You have fixed your mower tire and are ready to get back to your lawn.
I hope this guide has been useful to you. Whether you’ve put your tire back on the rim or replaced it completely, following our step-by-step guide should get your mower back on the grass in no time. Happy mowing!
If your lawn mower has a flat tire, there are several ways you can fix the problem. First of all, you need to determine if the tire is really flat. you can try to fix it. Here are four steps you can follow to fix your lawn mower tire:
 This will help increase their size and make them more flexible so that they are easier to repair.
 Repairing a lawn mower tire can be done by following these simple steps:
There are several reasons why a lawnmower tire can deflate.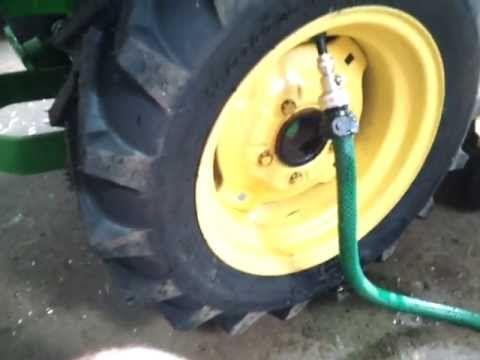 One common problem is that the air inside the tire compresses over time, causing air pressure to be lost and eventually failure. Another potential cause is a tire sidewall puncture or tear, which can allow water and debris to get inside and damage the inner rubber layer. mechanics. In any case, there are a few simple steps you can take to fix a flat lawn mower tire without taking it in for repair. First, try inflating the tire with an air pump to its maximum pressure. with a brush or vacuum cleaner. Finally, replace the crushed tube with a new one and inflate it again until the proper pressure is reached. e.
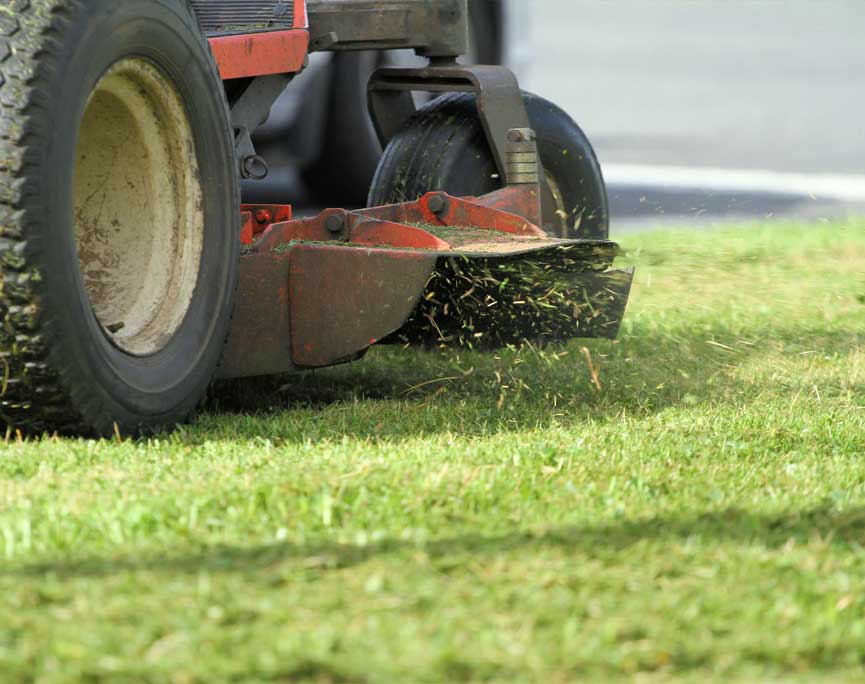
If you notice that your lawn mower cuts like it used to, the problem might be one of its tires. Here are some tips to fix a flat tire on your lawn mower:
4 Inspect the wheels for cracks or other damage that could cause they can reduce traction when cornering, which can cause you to lose traction when you try to roll over (called "wheel lock").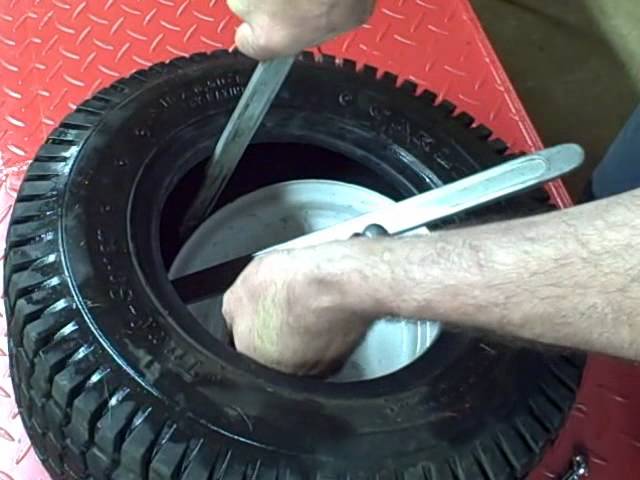 If necessary, have a qualified mechanic replace cracked or damaged wheels with new ones that are properly protected from moisture and corrosion (using special wheel sealant).
5 Park the mower in a location where it will not be exposed to extreme weather conditions such as strong winds or heavy rains to help prevent wear and possible damage caused by items that do not meet normal operating conditions.
How to fix a lawn mower tire:
When it comes to lawn mowers, one of the most common problems is a flat tire. If you notice any of the following symptoms, it might be time to replace your lawn mower tire:
- Your lawnmower is not mowing as well as it used to.
-The blade seems to be stuck in one place or does not turn freely.
- You hear a lot of noise when you try to start the mower.
- Your tire's tread has worn significantly.
If any of these symptoms are present, it may be time to change the tire on your lawn mower. Here are some tips on how to fix a flat lawn mower tire: 1) Check tire pressure regularly. Low air pressure can cause problems with both traction and engine performance. 2) Replace worn blades. Over time, the blades wear out and become less effective at cutting grass.
Yes, you can change the mower's tire yourself. The process is quite simple and only takes about an hour. Here are the steps:
 If rubber is still attached to the tread, cut it off with a knife before removing it from the rim.
 One option to purchase a replacement lawn mower tire is to visit your local hardware store. Another option is to find a retailer online that sells lawn mower tires. Some retailers sell wholesale lawn mower tires while others may only sell lawn mower tires. certain brands. It is important to check the size and type of lawn mower tires you need before purchasing.
Replacing a lawn mower tire can be expensive. The cost of a new tire typically ranges from $30 to $60 depending on tire size and type. In addition, wheel bearings may need to be replaced if the wheel is damaged. If the lawn mower has been in an accident, you may also need replace other parts such as the frame or engine. In general, a lawn mower tire replacement can cost anywhere from $100 to $300.
There are a few things you can do to fix your lawn mower tire yourself. First, make sure the blade is sharp and properly adjusted. Second, check for debris or rocks in the wheel bearings. Finally, if the tire is completely flat, it is best to take the lawn mower to a repair shop. However, there are many simple fixes that can be done at home without requiring the lawn mower to be taken to a repair shop. Here are four tips:
 Before starting the mower, remove any obstructions with a small screwdriver.
 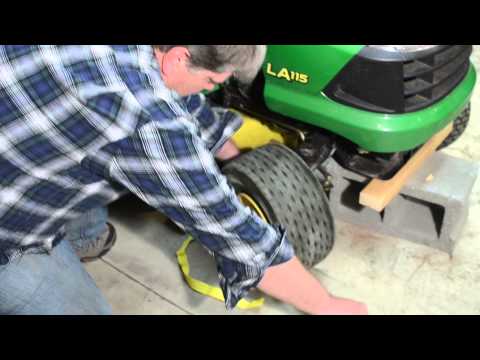 myself..
 Most lawn mowers have tires that can deflate. However, not all lawn mowers have the same type of tires. Some lawn mowers are equipped with inflatable tires, while others are solid rubber. deflate. If your mower has an inflatable tire, you should only replace the tire if it has deflated.
If your lawn mower's tire is flat, it may just need to be replaced. However, if you notice any other problems with your lawn mower, such as difficult starting or excessive noise, it may be worth taking it to a mechanic for further inspection.
There is no big trick to changing tires on Chevy cars, but because the cars are big and heavy, it takes some effort and some precautions. Unlike some manufacturers, the Transport company publishes free PDF files with instructions for owners on the Internet, so the information is always available. Chevy says vehicle emissions are rare, so you may experience slow leaks. Checking your air pressure regularly will keep slow leaks from sneaking up on you and give you time to get vehicles to the dealer before resorting to jacking.
Contents
Under the hood:
How to fix a flat tire on a dirt bike
Remove the axle bolt from the tire and remove the tire from the motorcycle. Lay it on a mat or towel on the ground, lower the sprocket.
Use a crowbar to pry the side of the tire off the rim.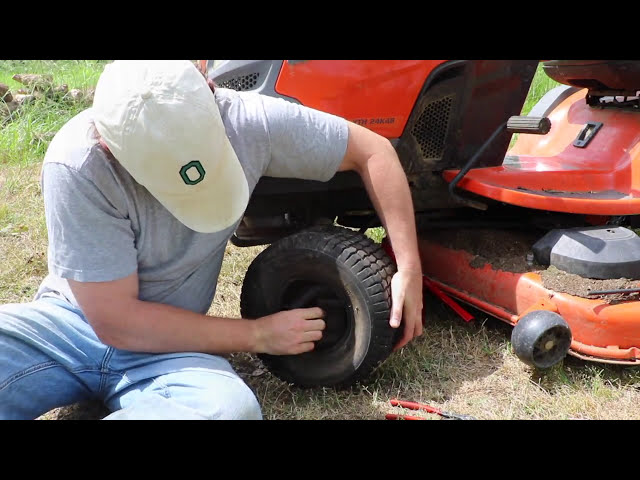 Be careful not to scratch or dent the rim.
Pull the old destroyed inner tube out of the tire. Discard it as it cannot be used again. Dirt bike pipes are quite thin and weak, and once they have a hole or crack, they cannot be effectively repaired.
Insert the new tube into the tire and rotate it until the valve stem lines up with the hole in the rim. Make sure the rim pad is still in place and in tact.
Use the crowbar again to push the side of the tire back onto the rim. Be very careful not to pinch the new tube.
Raise the tire and pour soapy water on both sides directly into the rim. This will allow the tire to pop onto the bead.
Inflate the tire to the desired hardness. Make sure the tire fits on the bead on both sides.
How to fix a flat tire in the suburbs
Get on level ground. Never attempt to change a tire unless the Suburban is on level ground.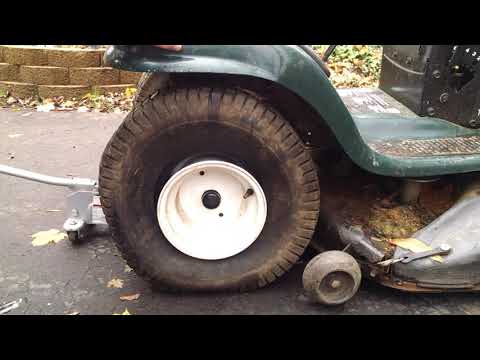 If you are unable to drive a short distance to ground level, seek assistance. If the Suburban rolls off the jack while you are trying to change a tire, you could be seriously injured or killed.
Secure the car. Once you are on level ground, set the parking brake firmly and place the shift lever in the P (Park) position. If your Suburban has four wheel drive, make sure the transfer case is in drive gear and not in neutral. Turn off the engine and leave it off. Get the passengers out of the car. Position the wheel blocks in front and behind the tire opposite the tire to be replaced. For example, if you are changing the right rear tire, put blocks on both sides of the left front tire.
Get a set of tools from your storage. You will find storage under the storage tray that is inside the vehicle on the left rear wheelhouse. Raise the tray by pulling your finger down under the jack symbol. The jack, tool kit and wheel blocks are held in place by two nuts and one knob. Remove them to access the tools. If any of the tools are missing, get help.
Remove the spare wheel from the storage compartment. First, open the lift access cover, which is located on the rear bumper, to the right of the license plate. Inside the access hole, insert the ignition key into the spare wheel lock, turn it clockwise, then pull the lock straight out.
Next, connect the two jack handle extensions, then insert one into the matching hole in the wheel wrench handle, forming a T.
Then insert the open end of the extension into the lift access hole and secure it tightly to the lift shaft. Turn the wheel wrench counterclockwise to lower the spare wheel to the ground. Continue turning until there is slack in the winch rope.
Pull the spare wheel towards you, then tilt it towards the bumper so you can reach it.
At the end of the lifting cable there is a tire retainer and a guide pin. Pull down the guide pin, align the retainer with the cable, and thread the entire assembly through the center hole in the wheel. Position the spare wheel next to the tire to be replaced.
Loosen but do not remove wheel nuts on a flat tire wheel. If your vehicle has a cover that covers the lug nuts, carefully move the chisel of the wheel wrench back.
Position the jack on the frame behind the flat tire where the frame sections intersect. If the front wheel is flat, you will only need one of the jack handle extensions. If the rear wheel is flat, you will need two. Once the jack is in position, turn the wheel wrench clockwise, raising the vehicle high enough to remove the flat tire.
Remove the loose nuts and then the flat tire. Clean the bolts of debris and rust, then install the spare wheel on the hub. Tighten the lock nuts evenly by hand. Lightly tighten one lug nut and then loosen the one opposite it. Continue tightening the lug nuts in a criss-cross pattern until the wheel is snug against the hub. Tighten the nuts with the wheel wrench. When all mounting nuts are tight, turn the wheel wrench counterclockwise to lower the vehicle. With the spare wheel on the ground, finish tightening the lug nuts.
Gather your tools and flat tire and store them in the car. Do not drive a long distance on a flat tire and do not use four-wheel drive. Take the flat tire to your dealer or repair shop as soon as possible and have it repaired or replaced.
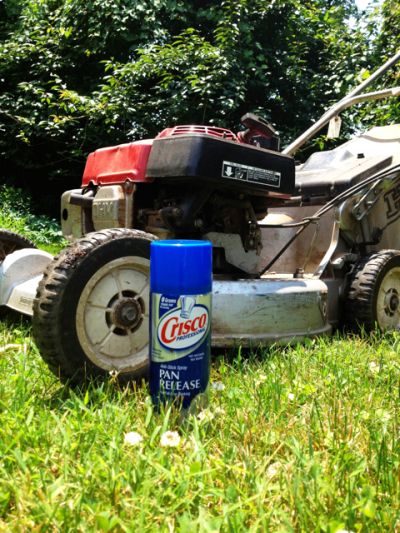
How to fix a flat tire with fire
Raise the tire off the ground using a vehicle jack. Follow the instructions for the type of socket you are using.
Spray the aerosol lubricant into the tire where it separates from the rim. Quickly turn the tire around a few times to spread the lubricant over the inside of the tire.
Use a lighter to gently ignite the lubricant spray by placing the flame near the tire bead. As a result of explosive ignition, it is necessary to quickly expand the tire and put the bead back on the wheel.