Your tires are where the rubber meets the road – literally – when it comes to the safety and performance of your car. That means, if your tire is leaky, you could be putting your safety at risk.
A leaky tire causes low tire pressure, which can decrease fuel economy, and put you at risk for a blowout. It also decreases the ability of your car to handle properly, making it more difficult to respond to emergency situations or drive in inclement weather.
In this article, we’ll discuss how you can diagnose and fix slow tire leaks. Don’t just ignore that low pressure sensor – check out this guide!
The Most Common Causes Of Slow Tire LeaksThere are three common issues that cause slow tire leaks. Let’s discuss each one of them now.
If your valve stem is damaged, there will be a slow and constant leak. This leak could come from either the body of the valve, or the base of the valve, where it meets the tire.
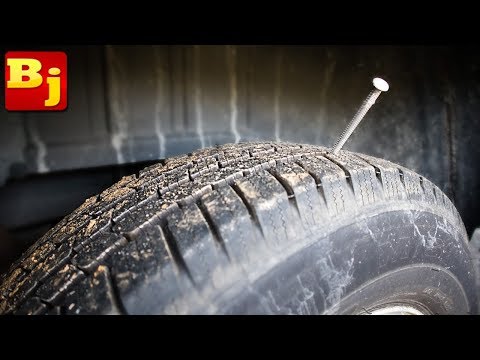
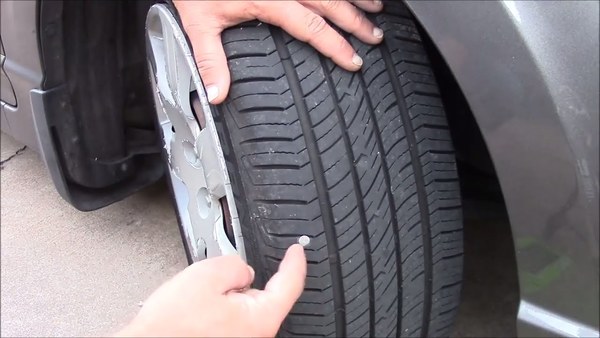
Contrary to popular belief, puncture damage usually doesn’t lead to an immediate flat tire or blowout, in most cases. This is because the object usually remains lodged in the rubber, preventing air from leaking quickly.
There are a few ways you can diagnose a slow tire leak
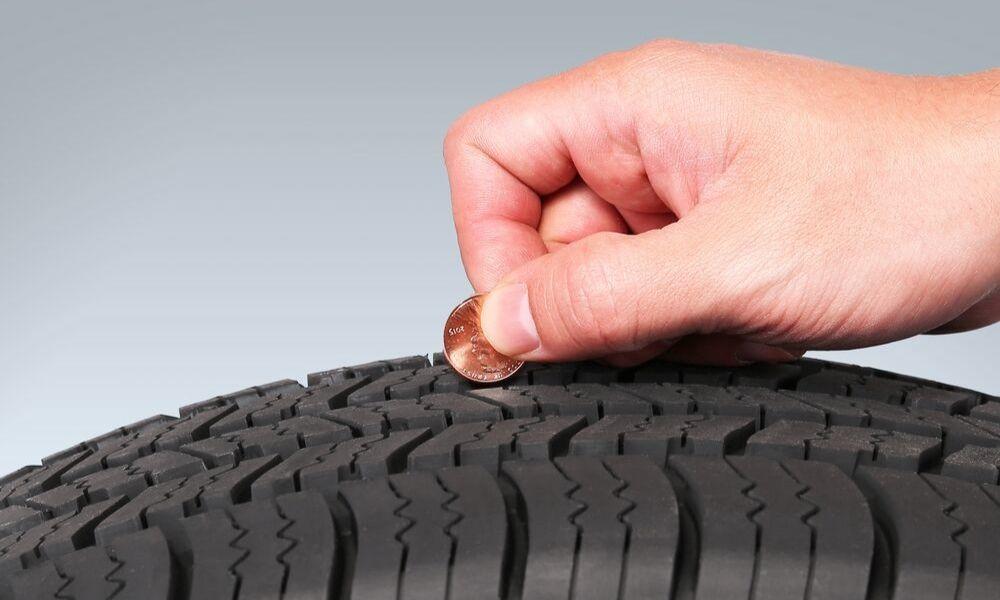
 If one of your tires seems perpetually under inflated, chances are you have a leak.
If you have a slow tire leak, you’ll want to have it repaired professionally as soon as possible. In some cases, you may want to keep a tire plug or patch kit in your vehicle. These kits are easy to use, and can keep your tire inflated until you bring it to a professional tire repair shop.
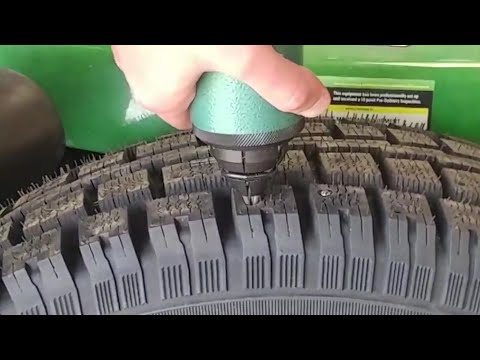
To permanently fix a tire leak caused by a puncture, you will need a “plug and patch”. This method of repair involves removing the tire from the wheel, and placing a combination plug and patch on the tire.
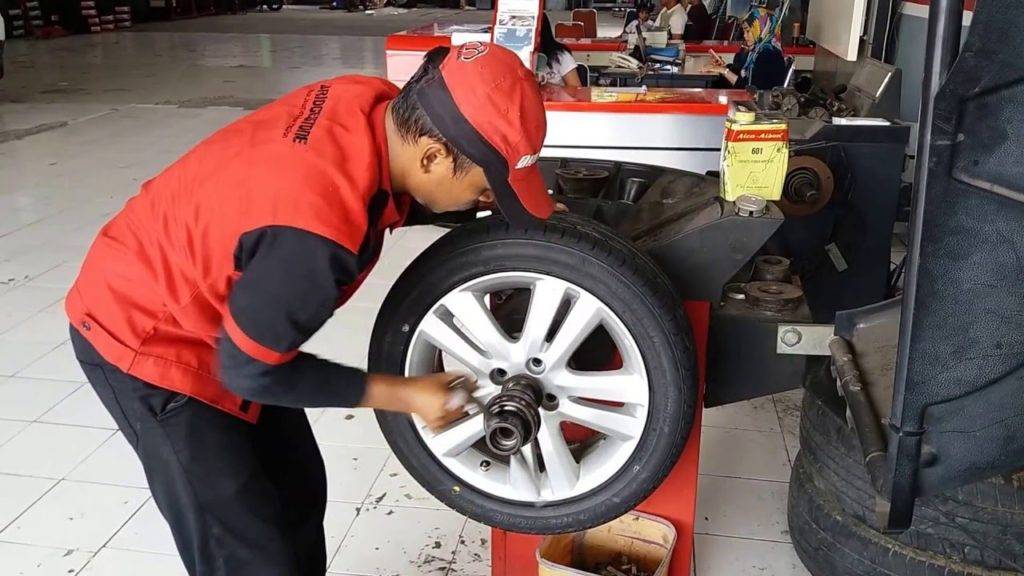
If your leak is caused by a faulty valve, you may need to replace it or your tire. Leaks caused by a damaged mounting surface may require you to replace the entire wheel.
If you need to repair a tire damaged by a puncture, or you think your valve or mounting surface may be damaged, we can help!
Schedule your appointment on Ride Time today, and come to our service centre now in Winnipeg, to make sure you stay safe on the roads!
A slow tire leak is more than just a nuisance. A leak can lead to low tire pressure. Not to mention, prolonged running on an underinflated tire can lead to more extensive tire damage or even cause a dangerous blowout.
If you’re experiencing a slow leak, here are some things to look for:A tire puncture: It is a common misconception that a puncture will cause the tire to immediately go flat. However, in many cases the object that caused the puncture remains lodged in the tire and prevents the air from leaking out quickly. As with all tire leaks, it is important not to ignore a puncture. Eventually the object will either wear down and/or work its way out of the tire. For more on this read our article How to Repair a Tire with a Safe, Permanent Fix.
Wheel damage: Another common cause for slow tire leaks is damage to the area where the tire bead meets the rim. This type of damage is typically cause by the driver hitting the curb, taking a speed bump at high speeds OR those dreaded potholes! The impact deforms the wheel’s metal surface which may cause the tire to pull away from the mounting surface of the wheel.
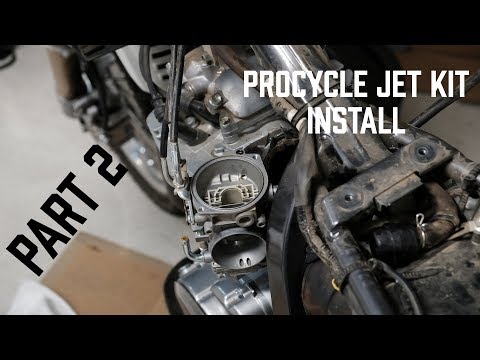
Valve stem damage: The third most common cause for slow tire leaks is worn out or damaged valve stems. Time, use and exposure to elements can cause your valve stems to wear out and cause leaks.
Diagnosing your tire leak:
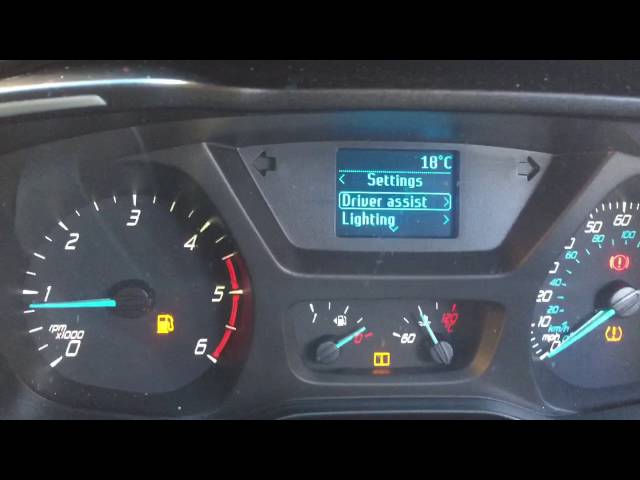
If your vehicle is equipped with TPMS, you will know right away if you have a leak. If the sensor light on your dashboard goes off, you inflate all the tires back to proper pressure and the light goes back on a few days later – you likely have a leak.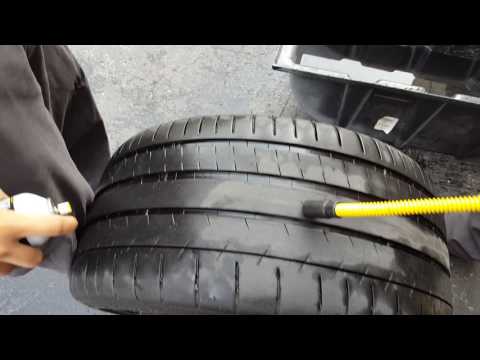 If your vehicle does not have TPMS, its important to check your tire pressure regularly.
Once you’ve identified that you have a leak, use TECH Chek to locate the source of your leak. Simply spray the product all around the tire. Where the surface of the tire begins to bubble is likely the source of your leak.
It’s important to have your tire diagnosed by a professionally trained tire shop or mobile tire repair service as soon as possible. In the case of a puncture, you may want to use a tire repair kit to keep your tire properly inflated until you can have it serviced. The leak should then be permanently fixed using a proper tire repair consisting of a cured rubber stem and repair unit.
If the leak is caused by a damaged valve, a trained tire technician can typically replace the valve at a minimal cost. In some cases, however, the tire may need replaced.
If the leak is caused by a damaged wheel, a tire technician may be able to reseat and seal the tire using a bead sealer.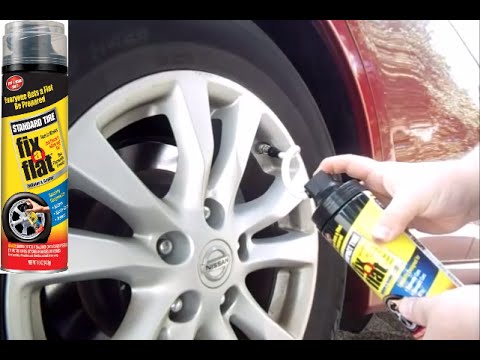 However, if the damage to the wheel is significant, unfortunately that means you may need to replace the wheel itself.
To read more about the types of damage that can and cannot be repaired, click here!
A leak from a metal heating or plumbing pipe can be a real disaster. Puddles, flooded and swearing neighbors, damaged floors and walls ... Leaks need to be fixed urgently, and if there is no time or money to replace pipes, simple but effective methods will do.
A leak can occur for a variety of reasons: the pipe simply wore out, rusted, the welder did not work well, the water was not drained from the system in the country house and the pipes froze ... In any case, you need to act as quickly as possible to prevent a communal disaster.
The first and the easiest and fastest way to temporarily fix a leak, for example, on a metal pipe thread, is to use a medical bandage soaked in water and sprinkled with salt. The bandage is wetted and wrapped tightly around the leak, each turn is accompanied by sprinkling with salt. This is a temporary way! Just to hold out until the arrival of the masters and the opportunity to replace or overhaul the pipe.
The second way to eliminate the leak is also associated with the use of a medical wide bandage. It is necessary to dilute the cement to the state of gruel and soak the bandage in the solution. Then, they wrap the place of leakage tightly, in several layers. The cement will harden in a couple of hours, sealing the leak. If it is decided not to change the pipe yet, you can clean the winding place with sandpaper and paint over. But still, this method of repair cannot be called long-term, although it is a more reliable option than a bandage with water and salt.
Third , one of the more popular options for repairing a crack in a metal pipe is to use a clamp. Factory clamps are sold in different sizes, you need to choose according to the diameter of the pipe.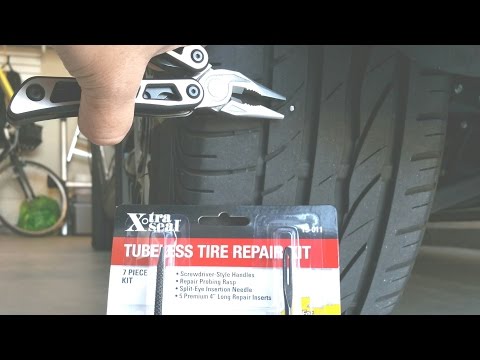 Rubber is placed under the collar, you can cut a piece, for example, from a bicycle tire, the top of a rubber boot, a thick work glove. A harness, rope, hose, flexible wire can replace the factory clamp.
Important! Before starting the repair of a cracked metal pipe, it should be cleaned of rust and old paint, mark the place of the leak and dry it.
The fourth option is used if the water cannot be turned off, the clamp does not hold, and the cause of the leak is a fistula. In this case, you can cut a small conical wedge out of wood and drive it into the hole. You need to drive the wedges into the place of the leak very carefully, this is a temporary measure, but the owners will have the opportunity to do a thorough repair without a fountain from the pipe.
The fifth method involves the use of adhesive or cold welding. The place of leakage, in this case, must be dried, cut out a piece of rubber, plastic, fiberglass, flexible steel of a suitable size with a margin of two to three centimeters. The material is lubricated with an adhesive, it is better to use epoxy, or cold welding, it is firmly pressed against the leak. You have to wait until the adhesive sets. There are varieties of ready-made cold welding of the consistency of plasticine, with such a composition you can simply cover up, plug a crack or hole. But having a piece of suitable material on top doesn't hurt.
The sixth method, as practice shows, is the most reliable. This is a combination of the use of adhesive and a clamp. In this case, a piece of rubber, metal, plastic, fiberglass lubricated with cold welding or glue is pressed against the cracked pipe with a clamp. It is convenient that you do not have to hold the material while waiting for the glue to harden.
In any case, we strongly advise you to replace the emergency pipe as soon as possible. A crack, a leak is a sign that engineering communications need to be thoroughly dealt with, to replace leaky pipes.
More in this category: « What are the dowels for fixing insulation What is cold welding: types and features of application »
Top
Contents
Wheel punctures are familiar to every motorist. Every driver has experienced something like this at least once in their life.
But what about in this case? It's expensive to buy new tires. How to repair the damaged one then - put a patch on the inside or install a tourniquet?
Indeed, in many cases, a tire after a puncture can still serve for some time if it is properly repaired. And for minor repairs to a regular puncture from a nail or self-tapping screw, it is quite possible to use a tourniquet.
It allows you to repair the damaged area well so that the tire does not deflate. Of course, it is possible that it will still be a little undercut, but it will not go down completely in a short trip.
Such a wheel must be monitored. However, it is necessary to measure the pressure in the tires periodically, even if they are brand new and have never been repaired. And, as soon as the tire deflates a little, just pump it up. So after the repair, it is quite possible to drive a whole season, or even more than one.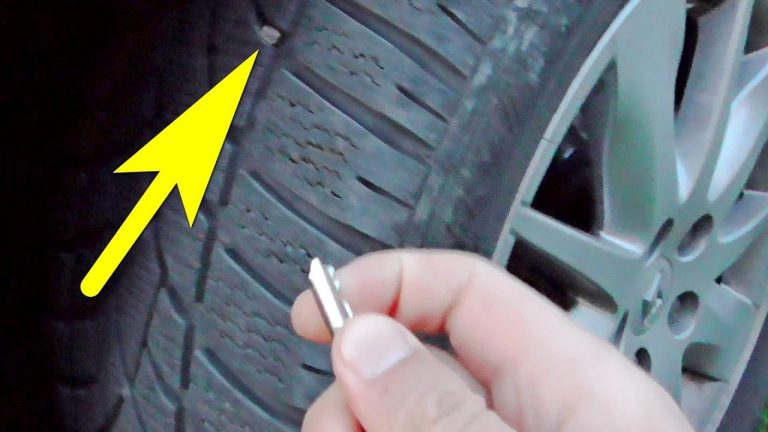
The patch is usually applied only for significant cuts. Many experienced motorists and tire fitters are skeptical about such repairs. They say that it is temporary and only helps to ride until a new tire is bought.
Of course, if the wheel has such a significant defect, you can put a patch. But don't expect it to last long. Here's how lucky.
Therefore, after an accident, you should think about buying a new tire. It is desirable to buy it as soon as possible. But there are cases when motorists managed to successfully drive the whole season even after such a repair.
But it's better not to risk it. In the case of minor punctures, a tourniquet can be dispensed with. And, if the damage turned out to be significant, it is better to immediately buy a new tire. After all, sometimes a patch is just money thrown away.
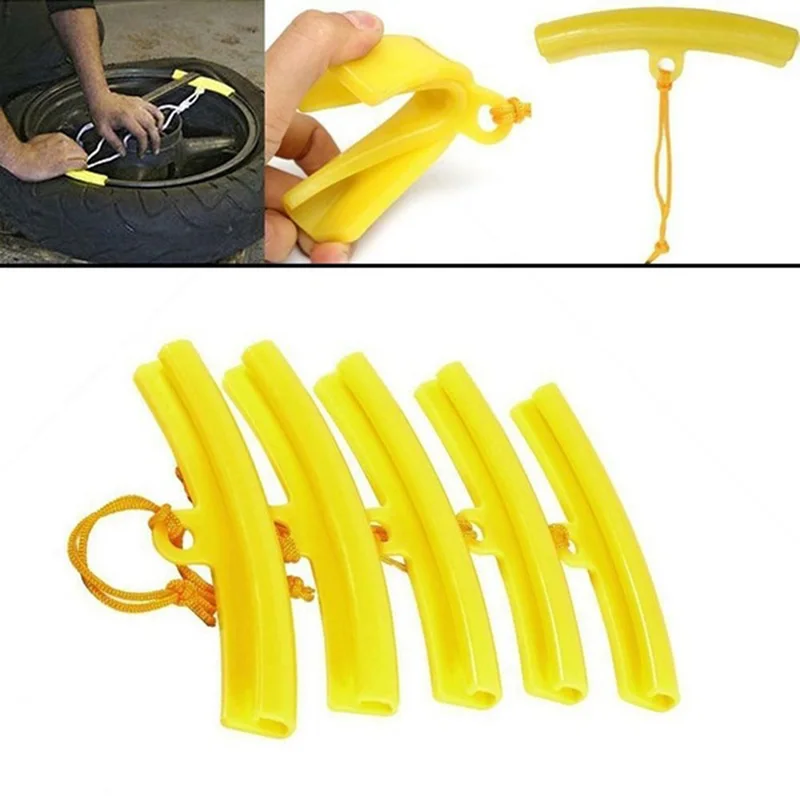
By the way, if you have a full-size spare tire, you can ride it until you get a new tire, but it's better to hurry, because. A tire puncture can happen anywhere. As a rule, such a misfortune overtakes at the most inopportune moment. What to do? To prevent the situation from taking you by surprise, always keep a minimum set of tools with you. This article will show you how to fix a puncture on a tubeless tire without removing it.
The first thing I want to say is always carry a pump, a jack, keys and a spare wheel with you. In the event of a puncture, it is not difficult to replace the wheel. But it happens that there is no way to make a replacement. What to do? To solve this problem without removing the wheel, there are as many as three ways.
The first method in any case involves acquiring a special agent for sealing a puncture in advance. This is a can of sealant under high pressure.
To repair a puncture without removing the wheel, follow these steps:
It is important to know that this is only a temporary fix. It will allow you to drive to the nearest tire shop or tire store.
Another common situation is when you accidentally hit a sharp object, such as a nail. For such cases, you can use another repair kit. It includes a device like a screwdriver with a hole, a tourniquet with a sticky base, glue. A flat-blade screwdriver and pliers will also come in handy.
Let's walk through the process of repairing a puncture without removing the wheel: