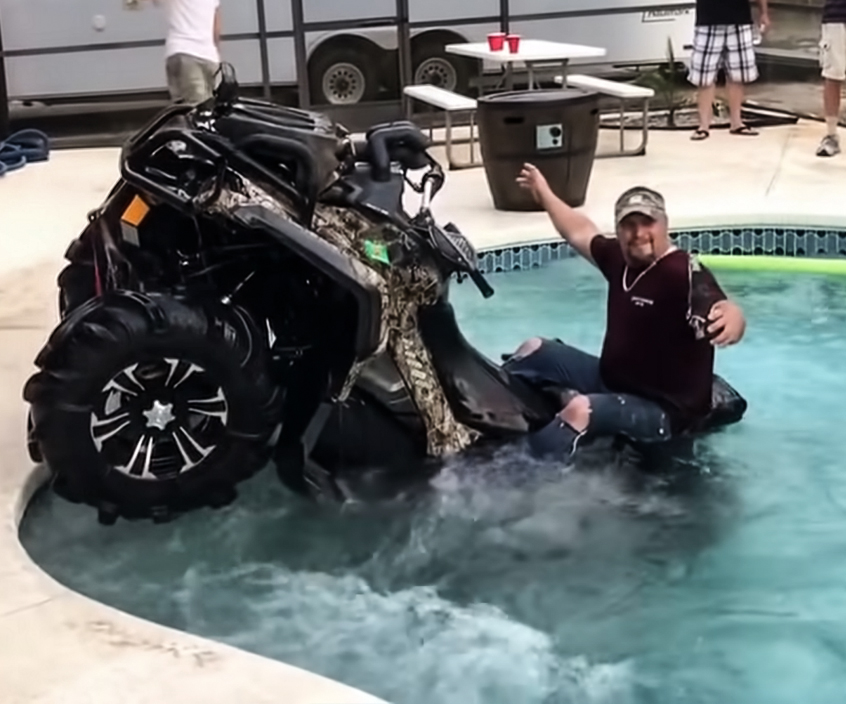
Written by Brent Huntley in ATVs
My wife would claim I am the most forgetful person there is, and this has included the unfortunate forgetting of ATV ramps. While it can be a bit panic-inducing to realize you have made it somewhere and don’t have ramps to unload and reload your ATV into your truck, it really isn’t a big deal in most situations. I had someone teach me an easy way to load an ATV and thought it was worth passing on, along with another easy way I have used when available that is easier than ramps.
How do you load an ATV without ramps? If you have an elevated surface you can just back the truck into it and drive the ATV in. If you do not have such a surface, you can pop up the front of the ATV and roll the front wheels onto the tailgate before lifting the back end.
These methods sound pretty easy, and they are, but you are dealing with a heavy piece of equipment and there are some things that go wrong. We want to make sure you get your ATV to the trail for an awesome day of riding with no damage to your truck, your ATV or your body, so we detail out the processes step-by-step below. You may also want to check out our guide for nearly every truck bed to see how well your ATV will fit.
Lifting the ATV End by End
This method requires you to do a fair amount of heavy lifting. How heavy depends on the weight of your ATV. If you are getting up around 500cc or higher with a utility ATV like the Polaris Sportsman (pretty consistently the heaviest model in its cc class I could find). If you have a lighter sports model, even something like a 700cc Yamaha Raptor, and this should work great for you. Even a 300-400 pound quad may sound heavy, but it isn’t bad since you only lift one side at a time.
To lift your quad into a truck bed, just follow these detailed steps exactly to keep your ATV, truck and body safe.

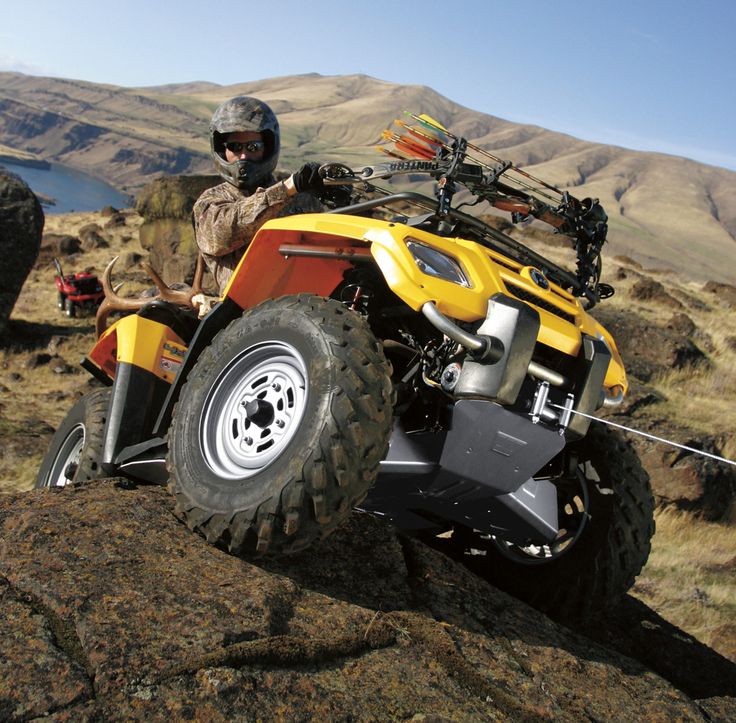 Make sure you lift with your legs and keep your back straight.
That may have seemed like a lot of steps, but it shouldn’t take you more than a few minutes to easily get your ATV in your truck bed, if it isn’t too heavy, without the use of any ramps.
This may not be an option for everyone, but it makes it really simple to load an ATV into a truck bed if you have some kind of elevated surface to back your truck into. This could be a hill, a slanted driveway, a loading dock or many other things. My house as a kid had a nice irrigation ditch in the front that worked well as we could drive an ATV from the yard right into the bed of a truck that had been backed into the ditch. To use this method, just follow these easy steps.
Something to keep in mind, if you have an elevated surface that doesn’t reach high enough for you to drive the ATV into the truck bed, is that you can use the method above to lift your ATV into the truck bed from an elevated position and it will make it a whole lot easier on your knees, arms and back.
How to Unload without RampsUnloading an ATV without a ramp is a little scary the first time you try it, but it is really easy and fast. Once again, the lighter your ATV, the easier this is going to be. Just pull it from the back grab bar. Pull it straight back, holding up the back end until the front tires reach the end of the truck bed. Then give it a little jerk so the front end clears the tailgate. Prepare yourself for a little bounce backward when the tires hit the ground.
Yes, you still should have ramps and use them whenever possible. Ramps are going to be the safest and easiest way to load an unload an ATV, and should be useable in any conditions.
Picking the right ATV ramps is not an easy task as it is going to depend a bit on your personal preferences and your hauling vehicle. Some people swear by a single piece ramp (as opposed to two tracks). These tend to be a bit safer and easier to use and are great for beginners. I personally don’t love them because they tend to be a little steeper and bulkier. Here is an example of a great tri-fold single piece ramp as an example.
I personally prefer the ramps in our recommended gear because they are a bit cheaper, very sturdy and have arches so it easy to drive the ATV into the truck bed without accidently gassing it into the rear window of the truck.
Some considerations to keep in mind as you are buying and using ramps are below.

That’s it. There really isn’t much to loading an ATV, but it probably leads to nearly as many accidents as actually riding. Get some ramps and follow these tips, but don’t despair if you don’t have ramps. You can easily load the ATV even without ramps. Just make sure to do so safely.
How To Use An ATV Spreader
One of the greatest things about summer is yard work. As the heat and humidity rise, so do the plants and flowers. The advent of technology has made seeding and fertilizing, a job that used to...
Continue Reading
link to When Should You Use High vs. Low Gear On Your ATV?When Should You Use High vs. Low Gear On Your ATV?
ATVs will provide any off-roader with a fun, thrilling experience. However, if you want to make the most of your ATVing trip without incident or frustration, it is important to know when and where to...
Continue Reading
By
Mercedes Streeter
Comments (19)Gif: U-Haul
Like my colleague Bradley, I am no stranger to renting a vehicle from U-Haul. When I flipped motorcycles in 2018 I rented a U-Haul motorcycle trailer every couple of weeks and towed them using my trusty Smart Fortwo. U-Haul is typically known for its vehicle rentals and storage, but decades ago they rented absolutely everything from ATVs to VHS movies.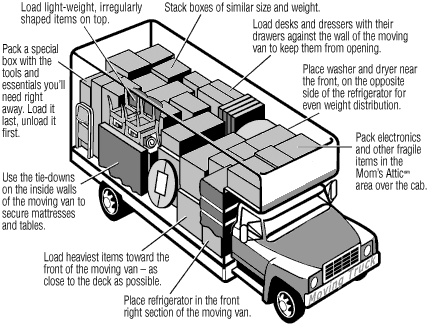
U-Haul was founded in 1945 by Leonard “Sam” Shoen. The company got its start by renting out distinctive orange and white cargo trailers from service stations. These service stations would serve as the backbone of U-Haul’s income until the 1973 oil crisis.
As the service stations closed down due to the lack of gas U-Haul began opening up their own self-contained facilities. These U-Haul built and owned facilities opened up broader horizons. By no longer needing to depend on tiny service stations, what else could U-Haul rent? Maybe they could become the go-to business to rent...anything? Check out this ad from U-Haul’s YouTube Channel:
The sheer number of items you could rent from U-Haul was staggering. You could walk into a U-Haul and walk out with canoes, tractors, paint sprayers and a whole Winnebago if you wanted to.
Say you wanted to have a party. However, you don’t have anything you needed to host it. Your grass hasn’t been mowed in months, you don’t have any supplies and what are you going to do without any movies? Come on, now.
Take a stroll to your local Michigan (and only Michigan) U-Haul corporate location and rent a lawnmower, a jet ski for the lake, some party supplies and sure why not...a U-Haul VHS cassette player with some movies. Yes, U-Haul once had seven video stores across Michigan amusingly named Haullywood Video Rentals. Look at this ad they placed in Playboy, of all places.
Photo: Lunchmeat VHS (Fair Use)
The video stores didn’t last too long as reported by the South Florida Sun-Sentinel in 1986, fierce competition by established video rental companies proved too hard to beat.
But for me, the ultimate in U-Haul’s rent anything period were the camping trailers. If you wanted to go camping, you could have purchased any of the dozens of different fiberglass campers that were all of the rage in the 1970s and 1980s, like a Boler. Or you could have rented one of these. Meet the U-Haul CT13 Get-A-Way Camper and the VT16 Vacation Traveler.
Photo: Fiberglass RVs 4 Sale (Fair Use)
Photo: Fiberglass RVs 4 Sale (Fair Use)
According to information gathered by U-Haul camper owners, these trailers were developed by a U-Haul subsidiary called Rec-Vee World. The units were produced for only a short time from 1984 to 1985. Per VIN plates and owners, the trailers were made by the Dayton Trailer Manufacturing Company in Ohio, Youngstown Trailer Manufacturing in Ohio, and by U-Haul in Arizona. The CT13 and VT16 were 13 feet long and 16 feet long and both units had the standard fare of RV equipment like fridges, sinks, and furnaces. However, if you wanted a bathroom you had to step up to the VT16 and its bathroom didn’t have a shower.
U-Haul rented the campers alongside its other wild rentals from 1984 to 1992. Unfortunately, the products of its crazy 1980s ventures have almost all disappeared. I cannot even find a U-Haul jet ski anywhere on the Internet save for this wacky ad from U-Haul’s YouTube channel:
So far as I can tell, these videos are the only photographic evidence they ever sold more than the campers. U-Haul’s site doesn’t even make a mention of its past rental ventures.
It appears only the campers were sold and kept in good shape by the public, though they somewhat fell into obscurity alongside other fiberglass campers from companies that didn’t make it to the new millennium.
Even though I already have a school bus, the U-Haul CT13 remains a dream vehicle of mine. The CT13's dry weight is just low enough that I could tow it to local campgrounds using one of my Smarts. But I’m curious about the other rentals. If you have a picture of those ATVs, jet skis, and other rentals, I’d love to see them!
A quad bike, unlike a snowmobile, is an all-season use technique. But in order for the all-terrain vehicle to faithfully plow the virgin snow all winter, it must be prepared for operation in the cold season. Otherwise, by the end of winter, or even earlier, the quadric can easily “die”. The AvtoVzglyad portal tells about the nuances of the winter use of "quadrics".
Maxim Stroker
Most often, ATV owners face the problem of difficult starting in cold weather. Perhaps the problem may be in poor contact between the power wires and the battery terminals. If there is oxidation in the connection, then the battery itself does not charge well and at the time of starting in the cold it simply does not have enough voltage to confidently turn the crankshaft with the starter.
The problem is solved simply: disconnect the wires from the battery, remove oxides with sandpaper, and so that they do not form in the future, we process the battery terminals with a special Liqui Moly Kontaktreinig contact cleaner. This combined action aerosol formulation removes metal oxides and grease in a single process. The special chemical formula almost instantly loosens and eliminates oxide salts, restores electrical conductivity, and also blocks leakage currents.
But much more often the cause of difficult start-up in cold weather is engine oil. Most ATVs run on 10W-40 or 10W-50 lube during the summer. In general, such oil is considered to be quite all-weather, but if your “quad” is not in a heated garage, but on the street, then in severe frosts, difficulties arise with starting the engine, since the thickened oil provides excessive resistance.
But even if the engine starts, then the first seconds after starting it can work, which is called dry, since it will be very difficult for the oil pump to create the necessary pressure due to the thickened lubricant and supply it to the rubbing surfaces. This is especially dangerous for motors assembled on so-called plain bearings, because due to oil starvation, main or connecting rod bearings can turn.
In order not to encounter such a problem, before the onset of severe cold, you should fill the ATV engine with oil with a viscosity of 5W-50. The Liqui Moly product line has a quality lubricant with the right characteristics, one hundred percent suitable for ATV operation in winter. Liqui Moly ATV 4T Motoroil 5W-50 HC-synthetic motor oil provides maximum performance and engine protection under all operating conditions.
Anti-wear additive package and base stock provide maximum ATV engine protection and trouble-free operation over a wide range of temperatures and loads.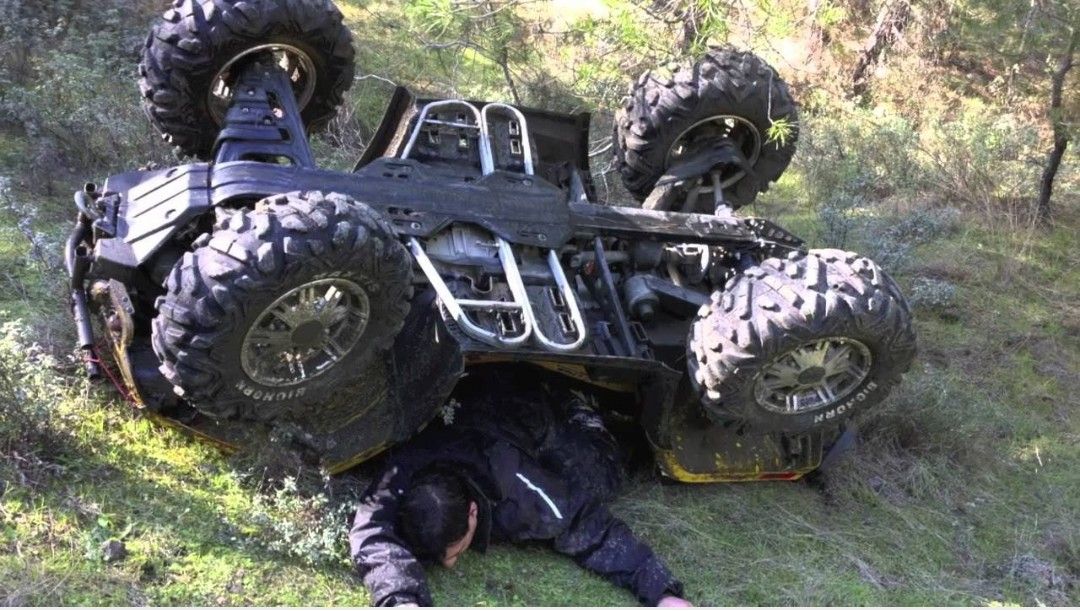 The oil guarantees easy start-up at low temperatures and high viscosity-temperature stability.
It is by no means a superfluous procedure before winter to change the oil in the all-terrain vehicle gearboxes. Despite the fact that there is no winter transmission for ATVs as such, it is still necessary to change the oil before frosts, because water from autumn puddles could well get into these nodes, through a breather or seals, which, mixed with oil, turns into an emulsion . And if you take into account that the gearboxes of modern ATVs have an electrician (someone has an electromagnetic clutch, someone has a servo drive), then there will be continuous problems from such a “slurry” in winter.
If there is any chance that the gearboxes of your "rogue" have taken a sip of water, then in addition to filling in new oil, they also need to be washed. Drain the waste from the gearboxes, tighten the bottom plug, and pour the quick cleaner Liqui Moly Schnell-Reiniger through the filler.
This agent is absolutely safe for electrics and rubber seals of the gearbox, but at the same time it will effectively clean the inside of the assembly from the remnants of the emulsion. For best results, jack up the quad axle you are flushing and turn the wheels forward/back by hand to flush the remaining emulsion from the sidewalls as well. After that, unscrew the drain plug, get rid of the dirty contents and, screwing the plug back, pour in fresh gear oil.
ATVs most often use a transmission with a viscosity of 75W90. It is suitable for most ATVs and is poured into both front and rear gearboxes. The German brand Liqui Moly has in its assortment a synthetic gear oil for motorbike Gear Oil 75W-90. It is in a sense universal, all-weather, and equally suitable for transmissions and motorcycles, and scooters, and ATVs, and snowmobiles.
This oil contains polyalphaolefins and special additives, due to which the lubricant does not change its properties either at sub-zero or positive temperatures. Its thermo-oxidative stability and resistance to aging allow for extended drain intervals that are significantly higher than other similar oils of similar viscosity.
In any case, check the manufacturer's recommendations before filling gears with oil, as some ATV models require gear oil for clutch operation. By the way, Liqui Moly also has such oils in its product line.
For the running gear to work well, it also needs to be prepared for the winter. Namely, lubricate the bushings of the fists and suspension arms with grease with a low freezing point, which at the same time is capable of operating in combined metal-plastic pairs. Perfectly fits this description of Liqui Moly Thermoflex Spezialfett.
This light beige grease has a long service life and is resistant to water and low temperatures (up to -50C).
… As we can see, in order to meet the Russian winter fully armed, an ATV does not need so much: the desire of the owner, skillful hands and high-quality technical fluids, such as German Liqui Moly fluids.
We solve "unsolvable" problems with the repair of equipment in one "puff"
21350
We solve “Unresolved” problems of repairing equipment in one “Pshik”
21350
Subscribe to the Autovzglygs channel:
, quadrocycles
You agree that the maximum speed will be limited for safety reasons
ATVs must be operated by persons over 16 years of age.
The total load on the ATV must not exceed 150 kg.
While driving, the driver must firmly hold on to the steering wheel, the passenger on the special handles.
When cornering, move (tilt) the body in the direction of the turn.
When tilting the ATV, move (tilt) the body in the direction opposite to the slope.
Always keep your feet on the footrests when moving, even when leaning over.
We provide a free instruction on how to drive the ATV before you start using it.
If you notice fluid leaks and/or other problems, stop the engine immediately and notify your instructor.
If you detect the operation of warning signs on the instrument panel (during the initial briefing, you will be shown control devices that you should pay attention to throughout the trip), immediately turn off the engine and inform the instructor.
The ATV before and after the rental is checked in your presence for breakdowns and damages, after which the acceptance certificate is signed.
Ride on a quad bike, always wearing helmets only, protective suits are provided free of charge on request.
In the event of a breakdown or accident, inform the instructor or contact him by phone.
If the ATV is damaged due to your fault, you pay for the cost of repairs and spare parts.
The time spent during the trip to fix problems that occurred through your fault is not compensated.
You must be instructed in how to operate the ATV before you start using it;
You agree to follow the speed limit set by the guide (instructor).
Do not succumb to the provocations of other citizens to participate in races; clashes and other actions that can directly or indirectly cause damage to property and citizens;
Do not interfere with your actions or omissions to comply with these rules.
Merge onto highways and other public roads.
To tow other ATVs, or any other vehicles.
Leave ATV unattended.
Crossing deep water obstacles, driving over fires and areas with smoke or open flames is prohibited.
Gear shifting without stopping the machinery.
Drunk or drugged ATV riding.
Intentional collision with other ATVs.
Intentional collision with obstacles.
Provoking others to collide.
Overtake the instructor and the ATVs in front.
Deliberately fall behind the convoy and then overtake the convoy at high speed.
Do not follow the instructions of the instructor.
Touch moving parts such as wheels, drive shafts, variator pulleys, etc.
Talk aggressively, use profanity, and do anything that might disturb the people around you.
• Do not operate the ATV without wearing a helmet of the correct size. It is also necessary to wear eye protection, (protective mask or goggles).
• Do not consume alcohol or drugs before or while operating an ATV.
• Always follow the instructions and follow the recommendations of the Instructor.
• Before each use, make sure the ATV is in good condition and safe to ride. Always follow the rules and recommendations for driving given in the instruction.
• Always use extreme caution and drive slowly when driving in unfamiliar terrain.
• Always keep both hands on the handlebars and both feet on the footrests while riding the ATV.
• Do not operate the ATV on rough, slippery, damaged roads until you have learned and gained the practical skills necessary to control the ATV on such roads. Always be extremely careful when driving in such conditions.
• Do not operate the ATV on slopes that are too steep for the vehicle and for your experience. Practice on small descents before moving on to difficult ones.
• Always follow the appropriate instructions from the Instructor when entering a hill, check the road surface first, never enter a hill on a road that is too slippery or has a damaged surface. Shift your weight forward of the ATV, never suddenly open the throttle or change gears suddenly. Never drive up a hill at high speed.
• Always follow the appropriate instructions from the Instructor when descending and braking on the hill. Inspect the road carefully before descending. Shift your weight back, never go down a hill at high speed. Avoid going downhill at an angle that could cause the ATV to lean to the side. Go straight down if possible.
• Always follow the appropriate Instructor instructions for crossing inclines. Avoid slides on excessively slippery or damaged surfaces. Shift your weight to the side of the lift. Never turn the ATV around on a hill until you have mastered the turning technique. On level ground, avoid crossing steep hills whenever possible.
• To prevent the engine from stalling and the vehicle from reversing when entering a hill, use the appropriate gear and maintain a steady speed. If the engine stalls or the vehicle reverses, follow the Instructor's specific instructions.
• Always check for obstacles in the road before operating the ATV in unfamiliar terrain. Never try to overcome large obstacles on the ATV, such as large rocks or fallen trees. Always follow the Instructor's specific instructions for overcoming obstacles.
• Be careful when skidding or skidding when practicing at low speed on a flat, smooth road. On extremely slippery surfaces such as ice, drive slowly and be very careful to reduce the risk of slipping or skidding.
• Start decelerating some time before stopping.
• Be aware that wet brakes reduce stopping power. Check your brakes after getting out of the water, if necessary, wait a while for the pads to dry out.
• Always be sure there are no obstacles or people behind you when turning.
• Never exceed the ATV's stated load capacity. The load must be properly placed and securely attached.
• Never start the engine on a slope, as this may cause damage.
• Observe age guidelines: children under 16 are not allowed to operate an ATV. Do not allow a person who does not know how to operate the ATV in a safe manner to operate the ATV.
• Avoid ATV riding on paved roads, including driveways, sidewalks, streets, and car parks.
• If you need to stop (frozen helmet glass, hands, etc.) do not wait for the group to stop. Raise your left hand up (stop signal for ATVs following you) and gently come to a stop.
The instructor has the right to stop the tour early in case of violation of these rules!!!
To prevent ATV riding from ending up in a long hospital room:
Do not drive too fast. A four-wheel drive ATV is not a car or a motorcycle. It doesn't respond as well to the driver as a car, it can't lean quickly into a corner like a motorcycle. Remember that when riding an ATV it is very easy to roll over on level ground or even crash into a tree at full speed. For example, if a stump comes across in a field under tall grass, the ATV can run into it, and then the rider will fly over the steering wheel, or at least hit it.
Never ride an ATV alone. It is best to ride with someone in a pair on two ATVs. There are a lot of situations when a partner is needed. For example, it is very difficult to put an overturned ATV on wheels, and if it covered you from above, then you won’t even be able to get out from under it alone. The second ATV can pull the first one out of the swamp or tow it to the camp in case of a breakdown.
When passing a difficult obstacle, it is better to get out of the saddle and, carefully working with the brake and accelerator, walk alongside. You should also not go too deep into the water - you can fill the motor.
Place both feet straight on the footrests and hands on the controls.
Start the engine, let it warm up. After that, holding the brake, engage the gear.
Select direction of travel.
Release the brake and slowly press the throttle with your right thumb to start moving. The speed of movement depends on how far the damper is open.
For starters, don't try to drive fast. It is better to learn how to maneuver, handle the brake system and throttle on level ground.
Turn the steering wheel in the desired direction. Tilt your upper body inward and rest your weight on the outside footboard. This will change the balance of traction between the wheels, and the turn will be made smoothly. Turns back are performed in the same way.
ATTENTION!!! ATVs are not designed to make sharp turns or turns at high speed!
When entering a slippery surface, slow down.
Avoid sharp and sharp turns, or the ATV will skid.
When skidding, turn the steering wheel in the direction of the skid and shift your body weight forward. Never slow down during a skid.
An all-wheel drive system can make driving on slippery surfaces much easier.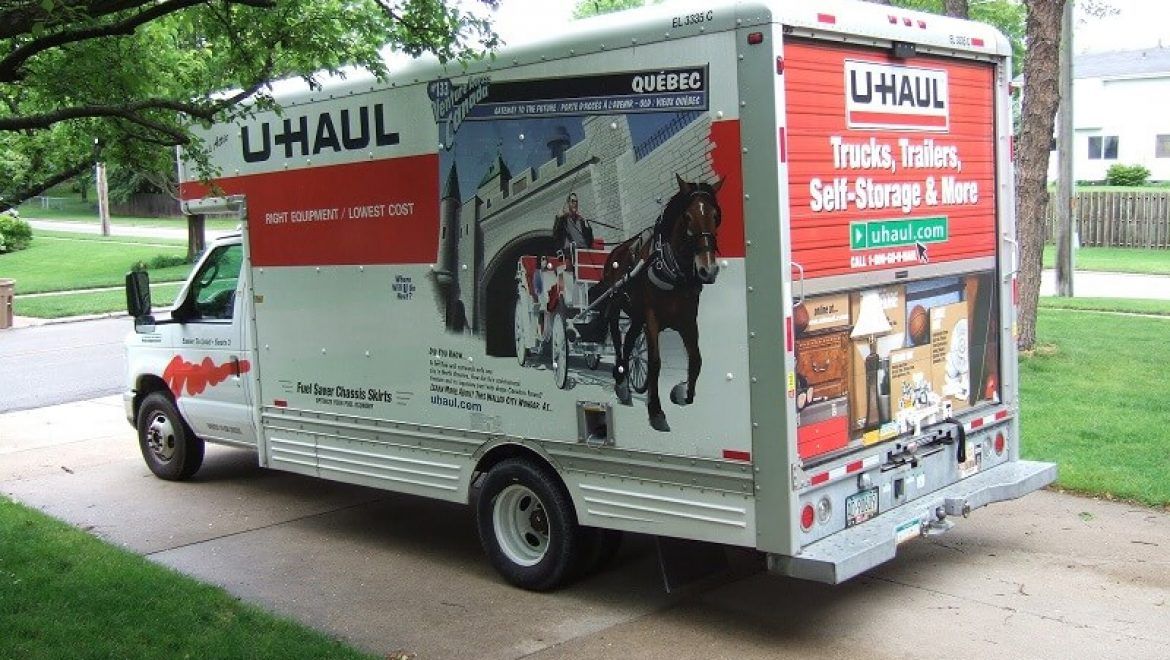
Climb up in a straight path.
ATVs are not designed to climb steep hills (over 25°).
When lifting, keep both feet on the footrests and shift your body weight forward.
Drive at a steady speed with the throttle open.
When ascending, be fully prepared for an emergency.
If the ATV has completely lost forward speed, raise yourself up and apply the front brake. If there is a complete stop, apply the rear brake as well, and then set the gear selector to park.
If the machine rolls backwards, it is necessary to get up and apply the front brake. After a complete stop, you can also apply the rear brake and move the gear selector to park mode.
ATTENTION!!! Crossing hills on an ATV is very dangerous! If possible, try to avoid hills when riding an ATV. Any incorrect action while crossing a hill can cause serious injury, or even death!!!
If you still need to cross a hill with an ATV, please follow these rules:
Drive at low speed.
Tilt your torso towards the hill to transfer the weight of your upper body towards the slope. But be sure to keep your feet on the footboards.
In order not to lose direction, the machine must be steered slightly uphill.
If the ATV begins to tip over, quickly turn the front wheel downhill or leave the vehicle immediately.
When descending a slope, you need:
Move in a straight line.
Shift your body weight to the rear of the machine.
Drive at a slow speed, applying the brakes lightly.
Know how to operate the rear auxiliary brake lever.
If the machine stalls while lifting, do not let it roll down.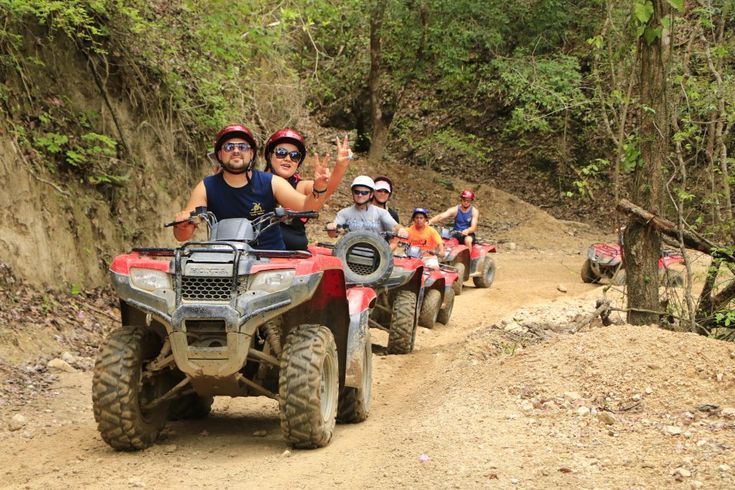 Do the following:
Stop and put the gear selector in park mode, raise yourself up.
Turn off the engine.
Get off the ATV on the side that is on top. If the ATV is pointing up in a straight line, then you need to get off on the left.
Stand at the top of the machine and turn the steering wheel fully to the left.
While holding the brake lever, place the shifter in first gear and allow the ATV to circle slowly to the right until the vehicle is across the slope or turns slightly down.
Shift the shifter into park and sit back on the ATV from the top side while supporting your body weight.
While holding the brake lever, start the engine while shifting the gear selector to first gear.
After releasing the brake, drive slowly until the ATV is on level ground. Control the speed with the brake.
The ATV can cross shallow water (the depth should not exceed the level of the footrests).