Whether you’re towing a camper, a boat or a cargo trailer, whatever’s attached to your hitch needs the same attention your vehicle gets. If you’ve noticed uneven tire wear, your trailer is bouncing or you’re not sure what type of tire is best, here’s a quick FAQ.
You don’t want your tow vehicle to sag under the weight of your trailer. It means there’s not enough weight distributed to the front wheels of your truck or SUV and it will compromise your handling. You’ll also create uneven wear on all your tires, and they won’t last as long as they should.
If the trailer tongue isn’t within an inch or two of being level with the ground, you need to make some adjustments.
There are many approaches to fixing an unlevel tow issue, depending on your rig:
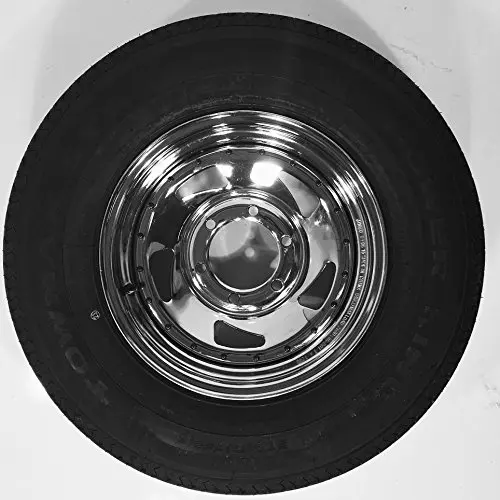
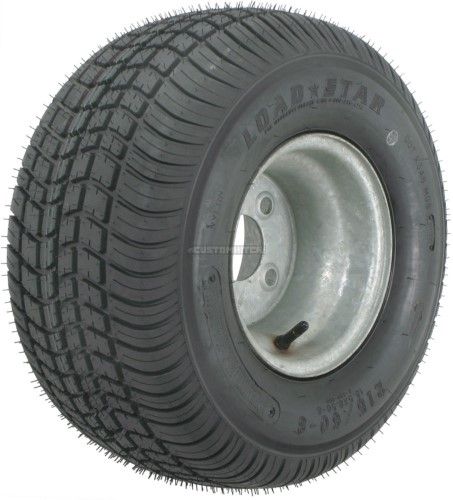
ST (Special Trailer) tires are a better choice. Non-trailer tires are made to carry people. ST tires are designed for carrying the heavy-duty load of travel and other trailers.
Structurally, STs have straight, solid ribs — the ribs being the circumferential bands of strong rubber separated by grooves. This makes them suited to bear heavier loads. They have about 10 percent more load capacity than light truck (LT) tires of the same size and 40 percent more than an equivalent passenger tire.
The stiffer sidewalls on ST tires improve stability and reduce swaying. These tires are usually narrower to fit standard trailer wheels. They’re designed with shallower grooves to improve fuel economy and help them run cooler, since hauling loads can generate a lot of tire heat.
Non-trailer tires have lots of voids and deeper grooves on the tread to evacuate water quickly for better traction. The ribs are often jagged and separated by grooves.
Any trailer hauled without its load will bounce. Boat trailers, for example, are made with stiff, solid axles with loose springs, which causes them to jump a lot when not weighed down.
If your trailer still bounces while loaded, there could be other issues that need attention:

Generally, trailer tires don’t wear evenly: It’s just physics. When a tandem axle trailer with four tires takes a tight turn, the inside tires will “slide” a bit rather than roll, because they have significantly less distance to travel. Over time, this scuffs off tiny parts of the tread, creating odd wear patterns.
That said, rapid or significantly uneven trailer tire wear can be caused by:
If all four tires are wearing heavily on the inside, the trailer is probably overloaded.
Trailer axles are built with a slight upward curve in the middle. When the trailer is unloaded, the tops of the tires lean slightly outward (toed-out, or duck-footed). When they are carrying the weight of whatever’s loaded, the axles straighten to a flat position and the tires come to a straight up-and-down position.
When the load is too heavy, the axle bows downward in the middle, causing the tires to roll pigeon-toed (more on the inside shoulder of the tires). That’s not the normal contact patch for tires, and you’ll see pronounced wear there.
Another possibility is the axle has been flipped over (the bow in the axle that is supposed to be pointed up is actually pointed down).
If only one tire is wearing faster on the inside, you may have a bent suspension part, like a spindle. This can cause one tire to skid rather than roll smoothly down the road, creating heat and friction that wears out the rubber.
If you see faster wear on the outer tread , this may be a case of an under-loaded trailer: The trailer weight is too light to straighten out the axle. Or, outer tread wear on just one side may be a symptom of a worn suspension component.
If you notice tire cupping — a bulge on one area of the tire — the belts or plies inside (the strong cords of steel and nylon that give the tire its strength) are failing. It can be caused by tires that haven’t been properly balanced, wheel bearing problems, bad alignment or something worn out in your suspension. It can also result from excessive heat caused by going over the speed rating of your tires.
Tires on a trailer parked for a long time can develop flattened spots in the area that contacts the ground. To prevent this, simply move your trailer regularly.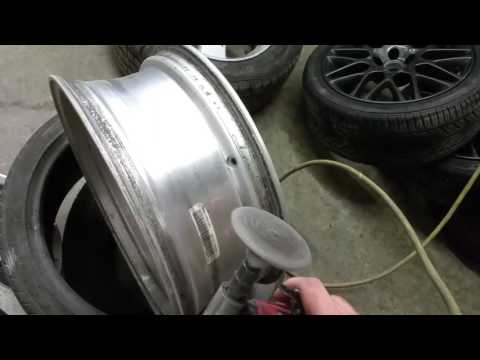
Find out how to keep your trailer tires in the best condition possible in our post, 8 Great Ways to Get the Most from Your Trailer Tires.
Learn More
Apr 16, 2019
Last Updated on November 16, 2021 by allprotrailersuperstore
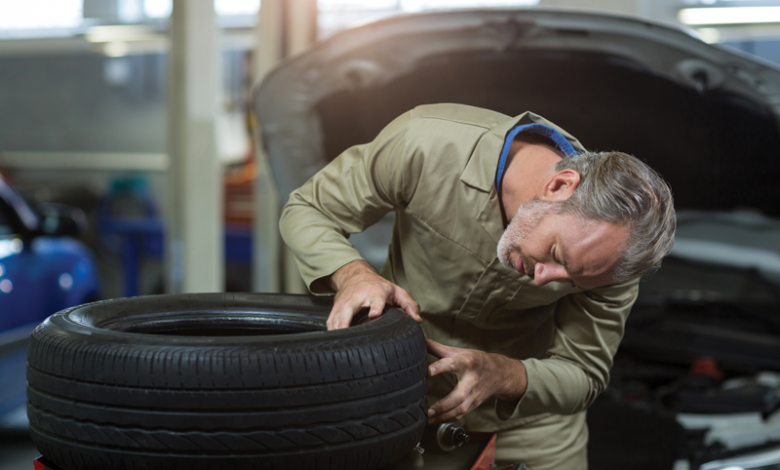
As the proud owner of a trailer, you know it requires diligent upkeep. And although you can do some of the necessary care and maintenance tasks yourself, in the comfort of your lot or driveway, others require a professional touch and call for you to bring your trailer into the mechanics to get it checked out.
While there’s certainly a time and an occasion for the professionals to get involved, however, there are several tasks responsible trailer owners should know how to perform themselves. One such task is knowing how to change a trailer tire. If you’ve never done that before, don’t worry. It’s more straightforward than it sounds, and is something anyone can quickly learn how to do.
Today, to help you learn this new skill, we want to walk you through the process from start to finish, as well as discussing how to recognize when to change a trailer tire and realizing when it’s time to call for a little professional assistance.
The most common reason you might need to replace a trailer tire is when you get a flat. Flat tires happen to all of us at one time or another, and there isn’t always a way to prevent them. Maybe you caused the flat by making a mistake somewhere along the line, but it might also result from circumstances beyond your control. The most common reasons for flat and damaged tires include the following.
 If they overheat too quickly, this will cause them to fail and need replacing. Prevent this by always making sure you have fully inflated tires before taking your trailer on the road.
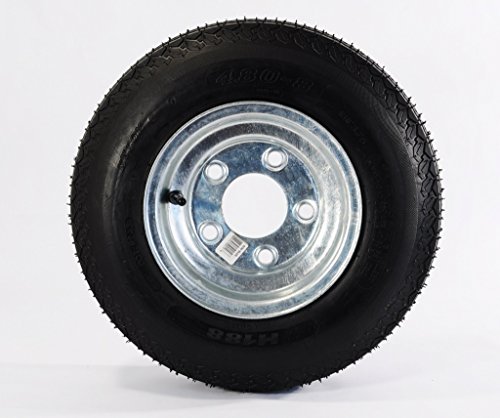 After this time, they’ll start to show cracks and you’ll know it’s time to replace them.
Sometimes, it’s easy to know when you need to change a trailer tire. For example, if you’ve broken down on the side of the road with a flat tire, there’s usually no mistaking the problem. If it hasn’t quite come to this yet, however, you can still realize your tires need changing by looking for the following.
.jpg)
So you’ve determined you need to replace your tires. The next step? Figuring out how to find new ones. Here are some of our best tips for completing this process.
The easiest solution is to write down the details about the tires you already have on your trailer, or take a picture of the tire designation. Then, head to your nearest tire center or online store and search for this same model. By doing this, you’ll ensure you get the right tire for your trailer, since you’ll be getting the same ones you had on it before. The only drawback to this technique is that it isn’t the best choice for situations where you didn’t like your last pair of tires, and you’d prefer to get a different brand.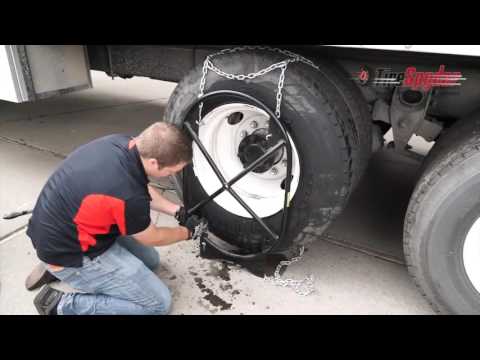
Everyone will have differing opinions about which tires are the best. However, as long as you’re choosing designated trailer tires instead of passenger car tires, you’ll be in good shape. To make sure you buy the correct type of tire, always look for the ST designation. If the tire in question has this mark on it, you can be sure you’re on the right track.
Do you have any friends who use trailers like yours? Ask them what tire make and model they prefer. Call up your mechanic and ask what they’d recommend. You might even ask the tire company what tires they recommend for your specific trailer. You shouldn’t feel the need to follow these recommendations to the letter, but they can be a great jumping-off point for you to decide.
Once you’re armed with your replacement tire, jacking up the trailer is your first step in the process of how to change trailer tires. Before doing this, however, take the precaution of loosening the lugs ahead of time.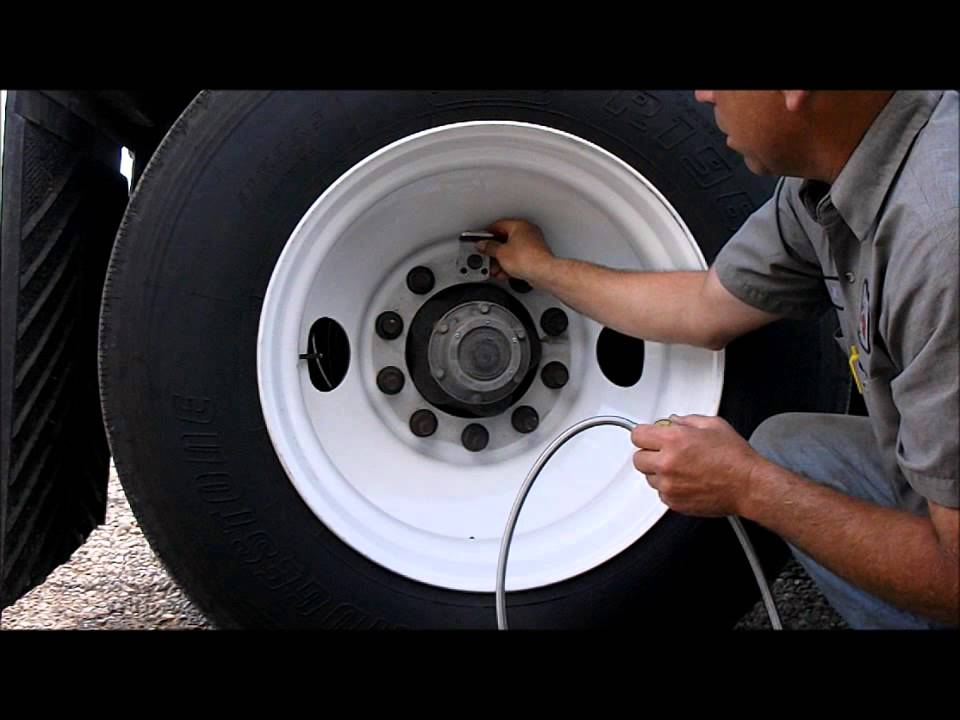
You can also loosen the lugs after you have the wheel jacked up, but doing so will leave the tire free to spin while you try to unscrew the nuts. By completing this step while the tire is on the ground, you ensure the tire will stay still. Use a lug wrench to partially unscrew the lug nuts, but don’t remove them yet. Leave them in the wheel, loosened to the point where they’ll be easy to remove once you’re ready.
When you’re finished loosening the lugs, place the jack under the trailer’s frame, at the back side of the damaged tire. On the other side of the trailer, slide a wheel chock under one of the tires to keep it from sliding around. Then, steadily jack up the trailer until there’s enough room to take the tire off the bolts and get a new tire on again. Keep in mind that if the old tire is flat, you’ll need to jack the trailer higher than you might think. A flat tire doesn’t need much room to slide off the bolts. A new tire will be larger and need more space.
Once you’ve safely jacked up your trailer and you have all your tools ready to go, it’s time to get started on the process of changing the tire itself. Follow these steps, and you can’t go wrong.
With the tire safely in the air, reach in and remove the lug nuts you loosened earlier. These should come out easily, after which it will be a simple matter to slide the used tire off the lug bolts. Keep the nuts nearby, as you’ll need them again. You can now put the old tire aside, as it has served its purpose.
Once you’ve removed the tire and the wheel hub is bare, this is a perfect time to glance at it and make sure everything still looks normal and functional. Check that the studs and bearings are in good working condition, and reassure yourself that nothing is cracking or buckling. This inspection isn’t necessary to the changing of the tire, but it is a rare opportunity to see the wheel hubs laid bare, so it makes sense to give them a quick once-over while you’re at it.
It’s time to grab that shiny new tire and lower it into place on the lug bolts. If you see anything that seems off — maybe you somehow bought the wrong size or type — now’s the time to notice that and head out to buy the correct tire this time. Give the tire a thorough look to ensure everything seems ordinary before proceeding.
Grab those lug nuts you removed earlier and put them back on to secure the new tire in place. You can do the first few turns by hand. You won’t be able to tighten them all the way yet, since you’re only using your hands and the wheel is probably trying to spin in circles. For now, get them as tight as you can, to make sure the tire isn’t going to fall off.
Once the lug nuts are as tight as you can get them with your hands, it’s time to lower the jack until the tire rests flat on the ground. Pull this out from under the trailer and set it aside, and don’t forget to remove the wheel chock from the other side of the trailer as well.
With the added pressure of the tire against the ground, you should have the resistance you need to finish tightening the lug nuts the rest of the way. Grab your lug wrench again, and use this to tighten the lugs to the fullest extent, until they positively won’t move anymore. The last thing you want is for the lug nuts to come loose and the tire to go flying off as you’re driving down the road.
Congratulations, you finished the job. The new tire should be securely in place, and shouldn’t need any more maintenance for a long while. All that’s left to do is clean up the tools scattered around and dispose of the old tire. To get rid of a used tire, wait for a bulk trash collecting event in your community and dispose of it then. You might also visit your local mechanic’s shop and ask if they recycle tires. You can even recycle your tire yourself by turning it into a tire swing, a garden planter or even a compost bin.
If you do decide to recycle your tire yourself, make sure to remove the rim and wheel weights before you put your tire to its new use. Cutting the rim away from the tire can be dangerous, however, so don’t attempt this unless you have experience with power tools and feel confident you know what you’re doing.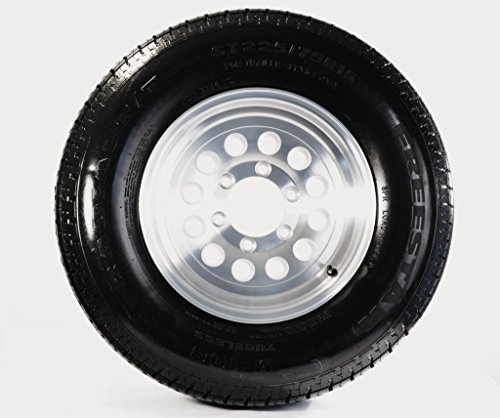
Sometimes, no matter how many tutorials you read, you may not have the confidence and skill to change a trailer tire yourself. This is entirely natural, and nothing to feel awkward about. Plenty of people seek professional help with their tire replacements every day, and if you choose to do the same, you’ll be in good company. If you’re ready for new tires and you don’t feel up to replacing them on your own, we want to help. Our team here at All Pro Trailer Superstore has years of experience in replacing tires on all kinds of trailers, and we’d be delighted to work with you on your trailer.
Tire replacement isn’t the only service we offer, either. Whether your trailer needs inspecting, repairs or some extra customization, we’re glad to help. What if you don’t yet have a trailer, but are thinking of taking the plunge and buying one? We sell trailers as well. Although our headquarters is in Pennsylvania, we’re proud to serve trailer owners, renters and buyers across the Mid-Atlantic and New England area.
Are you ready to get your tires fixed and prepared for your upcoming trip? Bring your trailer into Trailer Superstore today and learn why so many people trust us with their trailer maintenance needs.
We welcome cyclists of all ages!
In this most interesting section of our site you will find articles about bicycles carefully collected and written by us. They reflect all the most necessary technical knowledge about bicycle technology, advice from professionals from the world of cycling, interesting facts and many other entertaining things.
If you are a beginner and do not yet understand complex terms or can not catch technical subtleties, then our experts will always assist you in choosing a bike or explain this or that article - just leave a comment.
Our collection of articles about bicycles and everything related to them is constantly updated and is added, and we strive to ensure that you have no questions left.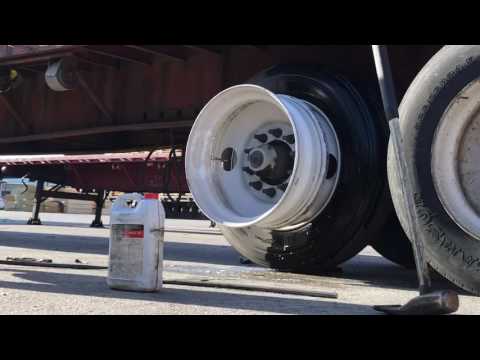 But if they do arise - do not hesitate to ask, you will always be answered!
All Top ten most read articles Brands, manufacturers Cycling clothes and shoes Bicycle trips Bicycle and safety Bicycle and city Bicycle and health Bicycle and sex Bicycle and creativity Bicycle equipment Bicycle accessories Bicycle parts (bike parts) Bicycle personalities Cycling Bicycle tuning Bicycle selection Mountain bikes Skiing Children's bicycles Clothes, shoes and accessories for winter skiing Preparation of winter equipment pokatushki Buying a bike Various Bicycle repair and maintenance scooters Sledges and snow scooters Bicycle assembly slopes Snowboard Snowboard and ski for kids Test reviews cycling technique Alpine skiing technique snowboarding technique Electric bikes electric scooters English-Russian Dictionary
cycling terms Dictionary of a cyclist
The cycle computer does not work
The most common causes of malfunction and how to solve them
How to winterize your bike
Everything you wanted to know about seasonal storage at VeloDrive
Re-Wooting a Bicycle Wheel
Detailed guide to spoke tensioning, assembling a wheel, fixing figure eights, ellipses and umbrellas
Adjusting the bike and getting ready to ride
Properly adjust the saddle, check the position of the handlebars and tighten all the necessary components
How to set up a
suspension forkHow to set up different settings for
forksHow to set up a bike suspension
A detailed guide to setting up a bike suspension and fork in particular
Repair of your bikes and scooters
Guide to all services in the store
Washing a bike
How to wash a bike
Complete bike overhaul
What does bike overhaul
includeBicycle Repair Questions and Answers
Quick Reference Guide (blank)
Answers to frequently asked questions about repair
We will try to give comprehensive answers to your questions
Frame work
What frame work is done in our workshop
How to take care of your bike
A few tips on how to take care of your bike and support your two-wheeled friend
Recommendations for bicycle maintenance
What can be repaired by yourself and what is better done by the master
Getting ready for the cycling season
Or resuscitation of the bike after hibernation
Contents:
A flat tire on a car is always a nuisance, especially if the loss of pressure caught the driver not in the garage, but on an empty highway. And it's not always a puncture, because the bleeding of air can occur along the disk. Why the wheel is lowering along the rim and what to do about it, we will analyze in the article.
This problem is quite common with tubeless tires, where the rubber adheres to the disc due to internal pressure. At the junction of the disk and tire, the seal is sometimes broken and air is bled, which ultimately leads to a complete loss of pressure. In chamber tires, the situation is more unambiguous: if the wheel is flat, then look for a puncture.
Deformation is the main reason. Disc geometry is an extremely important thing for full-fledged work, sometimes even a dent in an insignificant place can be fatal. The car drove into the pit - the disk bent, the tightness of the cord was broken and all the air came out. Low temperatures outside the car, which causes the rubber to harden, is a common cause, especially if tightened with a tire change. Also, due to poor maintenance, improper storage of the prefabricated kit, or constant driving on roads sprinkled with reagents, the disc begins to rust, as a result of which corrosion eats away the metal, forming micro-holes through which air will be gradually etched. Blowing off the wheel can also occur through a faulty nipple.
In the end, the reason that the wheel is going down is the most banal - the rubber is already old and deformed over time, which means it is physically unable to provide the desired density at the point of contact. There is nothing to prevaricate here: the tire urgently needs to be replaced.
It would seem that since such a disaster does not happen with chamber tires, isn’t it better to give preference to them? Maybe in this sense this is true, but in fact, tubeless has more than one advantage. Here they are:
They have no friction between the tube and rubber, which means that the tire heats up less during long rides.
It is lighter and more reliable, since the chamber version can burst at high speed.
It balances better and holds pressure longer after a puncture.
A hole in the tread may not interfere with the ride at all - a stuck nail will simply not allow air to escape.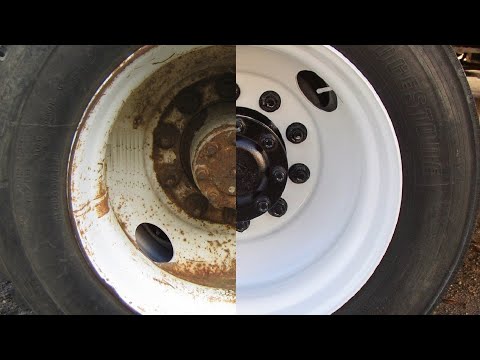 With a chamber tire, this is impossible, it will be blown away pretty quickly.
Damage to the tread can be urgently repaired with a repair harness. This is quite enough to get to the nearest tire center and change tires.
First, make sure that you do not have a puncture in the wheel or that the cause of the trouble is not in the nipple. It is elementary to notice a protruding nail, but it is not always necessary to pull it out immediately and immediately. As we wrote above, a foreign object can simply get stuck in the tread and the air will have nowhere to go. An open puncture is repaired with a tourniquet.
The valve must be smeared with soapy water or simply slobbered - if there are no bubbles anywhere, then it has nothing to do with it. A defective nipple will have to be replaced with a new one.
If the valve is in order, fully inflate the tire and smear the edges of the cord with soapy water. You can do this with a brush or use a sprayer. Air bubbles will tell you that the source of the trouble is in the detachment of the cord from the disk surface, i.e. in violation of the tightness of the tire seat. Metal edges should also be carefully examined - any cracks and welding defects can be the cause of a pressure drop.
You can eliminate the descent from under the rim like this:
We poison all the air and remove the wheel from the car.
It is best to disassemble it, so it will be much more reliable to fix the problem. In order not to do the balancing again after the procedure, it’s a good idea to mark the position of the nipple with chalk first.
The disk edges will have to be properly sanded with fine sandpaper in places of rust damage and covered with a new layer of paint.
After the paintwork has dried, we put the tire back on and spread the rubber on the places where the cord touches the disk with a special sealant or mastic. Or you can use the soap solution again, but this time cook it much thicker so that it resembles glue in viscosity. And with the help of a simple brush, we go around the entire circumference of the cord on both sides of the wheel.
We inflate the tire with a compressor, pressing the cord against the disk.
So we will eliminate the damage and provide a tighter fit on the seat. The sealing compound must penetrate all micropores and prevent new bleeding of air.
If there is absolutely no time to remove the wheel, and trouble overtook you on the road, it is enough to bend the edge of the cord and also smear the rubber with sealant or soap. This is quite enough to reach the garage or car service.
The described methods are suitable if there was no serious deformation and there are no cracks in places near the mounting holes or there is no damage to the tire cord. In the worst case, you can’t do without rolling a disk in a tire fitting or replacing it. If you have an alloy wheel, then you can fix it, but this is an extremely expensive business, comparable to buying a new one.