Biketoworkday is supported by its audience. When you buy through our links, we may earn an affiliate commission. Learn more
Written by Gary Johnson / Fact checked by Henry Speciale
Cyclists are expected to learn some minor repair and maintenance skills. The most important skill you should know is how to inflate a bike tire. Having a flat tire is a normal scenario among bikers, and learning the skill saves you from visiting a mechanic constantly.
So, how can you inflate a bicycle tire without seeking professional help? Here are the essential tips about inflating a flat bike tire successfully. It includes inspecting your tire valve, preparing the right bike pump, and determining the recommended tire pressure.
To know more, read on and learn from this short guide.
Table of Contents
Before you head out for a ride, checking your bicycle tires is a must. It is a good practice among bikers, especially for long-distance biking. You can avoid having a flat tire on the way to your destination.
So, why do you need to inflate your tires regularly? Check out the following reasons:
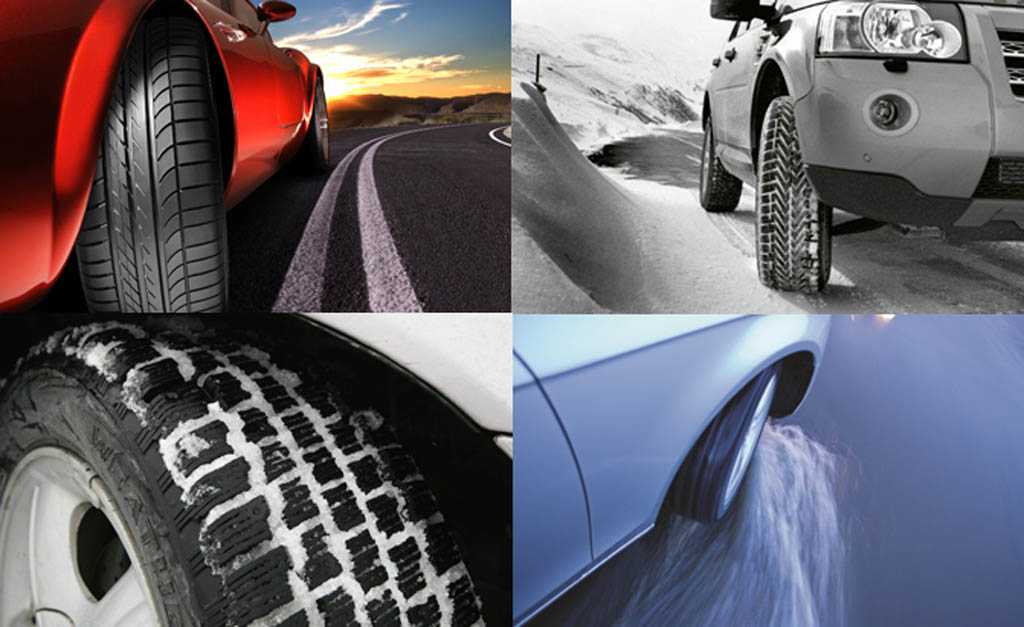
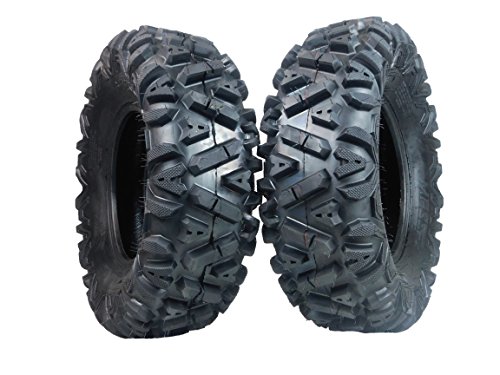
1. Enhances tractionTraction ensures that you have a smooth and hassle-free ride. It makes your tires versatile and can be used either for smooth or rough terrains.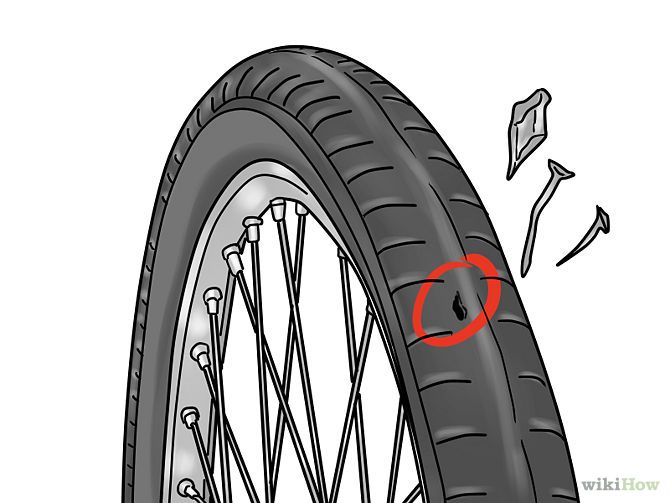 Aside from the tire pressure, you should also check the tread patterns you see on the bike tire. If it is heavily used, traction will be compromised.
A flat tire can cause serious accidents. If you feel not enough pressure on your bike tire, your cycling performance can be sacrificed. It can also lead to road accidents. A flat tire is not ideal to use in different surface conditions.
It will compromise your bike balance and can not provide a sturdy and stable performance. You will also have difficulty steering with a poorly inflated tire.
3. Provides comfortIf you want to be more comfortable during your rides, ensure that your bicycle tire is perfectly inflated. The right pressure in the tire gives you comfort when riding. You can ride on the bicycle smoothly and confidently with the correct pressure.
4. Avoids flatsA poorly inflated tire is a major reason you get flats during a ride.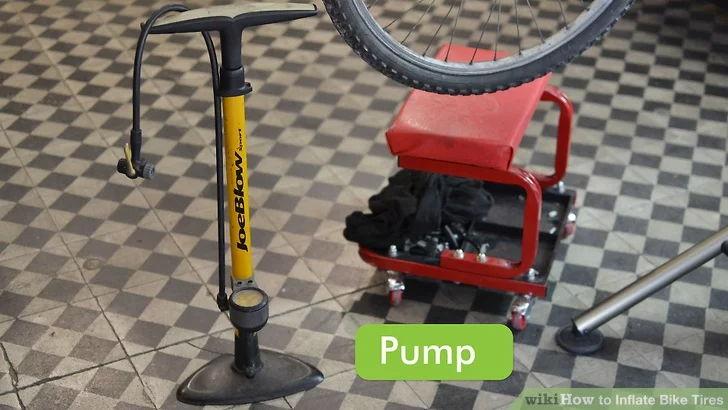 It would be really frustrating to encounter a flat tire, especially when you are in the middle of your long-distance ride. Thus, it is important to always check your tires before going out for a ride. Therefore, if you have a flat bike tire, please check out this guide for more steps to fix it.
Bad tires mean bad cycling performance. If your tire is poorly inflated, the responsiveness of your bicycle wheels will greatly be reduced. As a result, you cannot maximize the function of your bike on the road.
Ways to Inflate a Bike Tire1. Determine the type of valve your tire hasThe first step in this process is to know what kind of valve your bicycle tire has. There are several kinds of valves available in the market today. These valves require a specific bike pump or an adapter before inflating.
You should look at the valve initially and check what kind of pump it needs.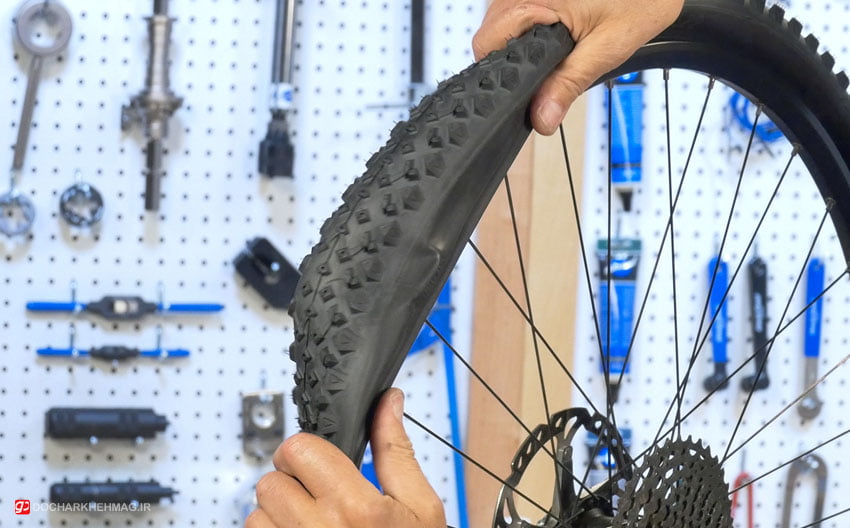 For your reference, here is the most widely used tire valve currently:
Schrader valves – this kind of valve is thick and usually used for bicycles with wide tires. The Schrader valve is almost the same as the valves found in cars. They are user-friendly and compatible with most bicycle pumps.
Schrader valves normally have hollow tubes along with a spring valve. You will also see a pin at the top of the valve controlling the air pressure coming out from the tire. It comes with a dust cap that does not require manual removal. The dust cap prevents dirt and debris from penetrating through your bike tire.
Presta valves – the Presta valve is an uncommon type. It is ideal for thin and narrow tires like those in 700cc wheels. It is a more complicated version of the valve because you need to unscrew the top of the valve before you can begin to pump the bike tire.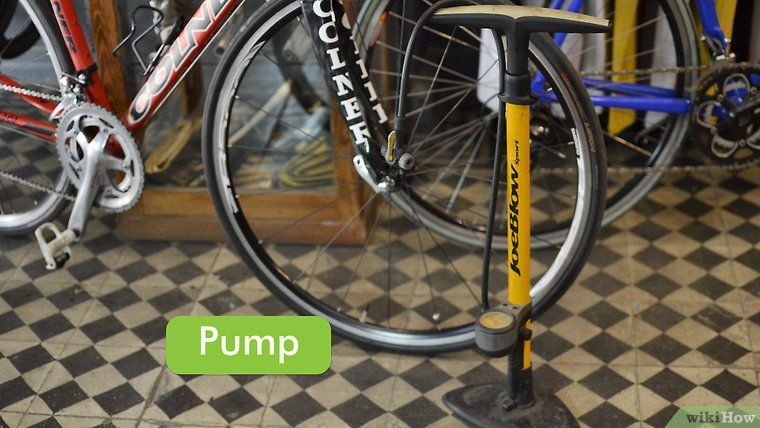
Aside from that, a Presta valve requires its own Presta pump or an adapter. This also comes with a nut that needs to be removed to open the valve when you put the air pressure. It is thinner than Schrader valves and more delicate to use.
Woods valve – it is also called the Dunlop or English valve. This type of tire valve is widely used in Asia and Europe. It looks like a bigger Schrader valve that uses the same mechanism similar to a Presta valve.
The next thing you should know is the recommended pressure your bike tire needs. You must look at the tire’s sidewall and check the pressure the tire requires. You can also refer to the tiring manual to see the manufacturer’s suggestion. Ensure that you do not go below or above the recommended tire pressure.
Prepare your bike pump and put air in the bicycle tires. For a specific valve type, the process varies, too. Check out the procedure below:
Schrader valve
Presta valve
This valve is a little more complicated compared to the Schrader valve. Remember, you need to get the correct bike pump or use an adapter for this process.
Dunlop valve
This is almost the same process as the Presta valve. You must remove the valve cap first, and loosely screw the valve nut. Expect that upon screwing the cap, the air will automatically come out. After that, you can now pump air in the bike tire to achieve the desired tire pressure.
How to inflate a bike tire is never complicated. You just need the basic knowledge of understanding the tire valve, the correct bike pump, and the recommended tire pressure. You do not need expert skills to be able to inflate your own bicycle tires.
This guide has provided you with fundamental information on how you can inflate a bicycle tire without visiting a bike repair shop. The steps are simple and easy to understand, as well.
Gary Johnson
“I ride my bike to work for years, but is that enough? Our carelessness towards our surroundings has taken a toll on the environment. And now, everyone is responsible for changes; even the most minor contribution is counted. With this hope and spirit, I started with my partner to establish Biketoworkday to help more individuals commute to their work sites on their bikes.”
Asked
Modified 4 years, 4 months ago
Viewed 52k times
I haven't used my bike for almost a year and I need to start riding it again, but it appears I have a flat tire. I don't think there's something wrong with the tube cause I haven't used it for a pretty long time. It just won't inflate. The tire has a Schrader Valve. I use a pretty old pump so maybe that's the case? I'm not really sure.. So is there any way I could inflate it again without getting a new tube or tire?
1
You can easily inflate a completely flat tire (provided the tube is still good). Usually, when a tire is completely flat, you have to press the back of the tire so that the valve doesn't recess into the tire so your pump can be attached properly to it.
With a presta valve, you can use your mouth for this (well, on a clean tube, since the valve stem isn't spring loaded), but with a schrader valve you have to use a pump.
If it still won't inflate, check the tire and tube for damage and replace accordingly.
3
Make sure the valve isn't stuck. If it's been sitting that long it probably is. Look at the valve and you'll see a pin in the middle. This pin needs to be depressed for the valve to open and allow air into the tube. Press down on it with a ball point pen, screwdriver tip or similar object to unstick it. Then follow the advice above about holding the tube in place while you attach the pump.
I had a similar problem and what worked for me was soaking the valve in white vinegar as you would a shower head for half an hr and then gently pushing the middle bit with an old ikea small allen key. worked perfectly.
ps i used a tissue soaked the tissue (cotton balls are better) in white vinegar, place them on the valve wrap in foil around tire and I let it sit for about an hr or 2)
Sign up using Google
Sign up using Facebook
Sign up using Email and Password
Required, but never shown
Required, but never shown
By clicking “Post Your Answer”, you agree to our terms of service, privacy policy and cookie policy
Contents
Flat tires do not bode well for the cyclist.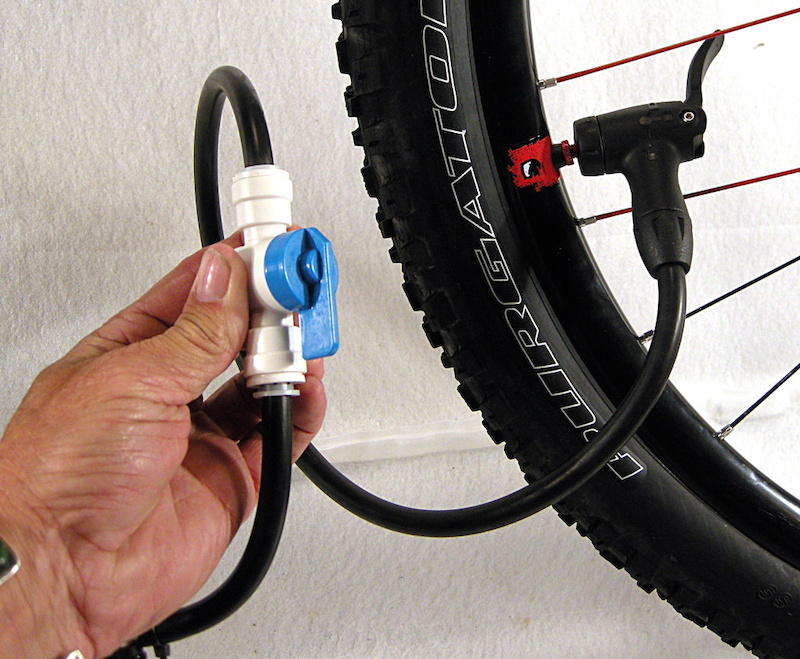 The situation must be resolved immediately, otherwise you will have to become a pedestrian for a while. What should be done? That's right, pump up the camera and calmly continue moving. Consider how to pump up a bicycle wheel with a pump, what subtleties are available when using an autocompressor, and whether it is possible to do without a pump.
Tire pressure is the main parameter that is responsible for the speed of movement, grip and safety of the cyclist. The average minimum indicator for bicycles is 2 atmospheres. For driving on asphalt, the recommended value is within 3.5 atm., For primers - 2.6 - 2.8 atm.
It is easy and simple to determine the pressure inside the bicycle tube using a pressure gauge - separate or built into the pump:

Another method: feel around the entire circumference of the tire with your fingers. If the rubber does not flex, then you can ride. It should be noted that this method will only give accurate results for thin slicks on road bikes and tires on city bikes.
Consequences of underinflated tyres:
On the contrary, an excess amount of air in the chambers threatens the following:
Maintaining the recommended pressure will eliminate all these shortcomings and allow you to get the most out of your trips. Below is a table of values depending on the weight of the cyclist:
| The mass of the cyclist, kg | atmospheres/PSI* |
| 50 | - 2.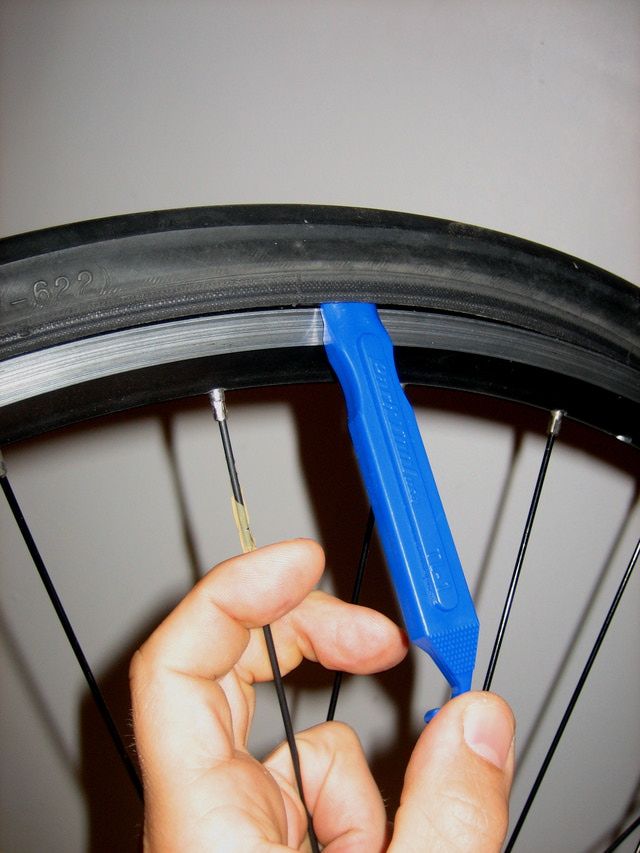 59/35 - 38 59/35 - 38 |
| 3.1/45.5 | |
| 90 | 3.6/53 |
| 105 | 3.9/57.5 |
| 4.1/60 | |
| 118 | 3.2 - 3.4/47 - 50 |
*1 atm = 14.696 Psi
In general, a bicycle pump is a necessary thing for every cyclist. With the help of this simple device, it will be possible to inflate the wheels on your own, and not roll your bike to a service or gas station.
Hand pumps are divided into two types: simple and with a recording device (pressure gauge). It is recommended to purchase the second option, however, if a separate pressure gauge was lying around in the cabinet, you can buy a cheaper pump.
Universal hand pump with dial gauge
For ease of pumping with a conventional hand pump, you can immediately count the number of air inlets until the optimum pressure is reached and then pump exactly like this, even without additional use of a pressure gauge.
How to inflate the chambers correctly:
Pressure tracking:
By the way, the latter will not be superfluous to do with a pressure gauge, since the pressure inside the pump can increase during pumping, but air does not enter the chamber (the valve is not completely closed) or exit through a hole in it.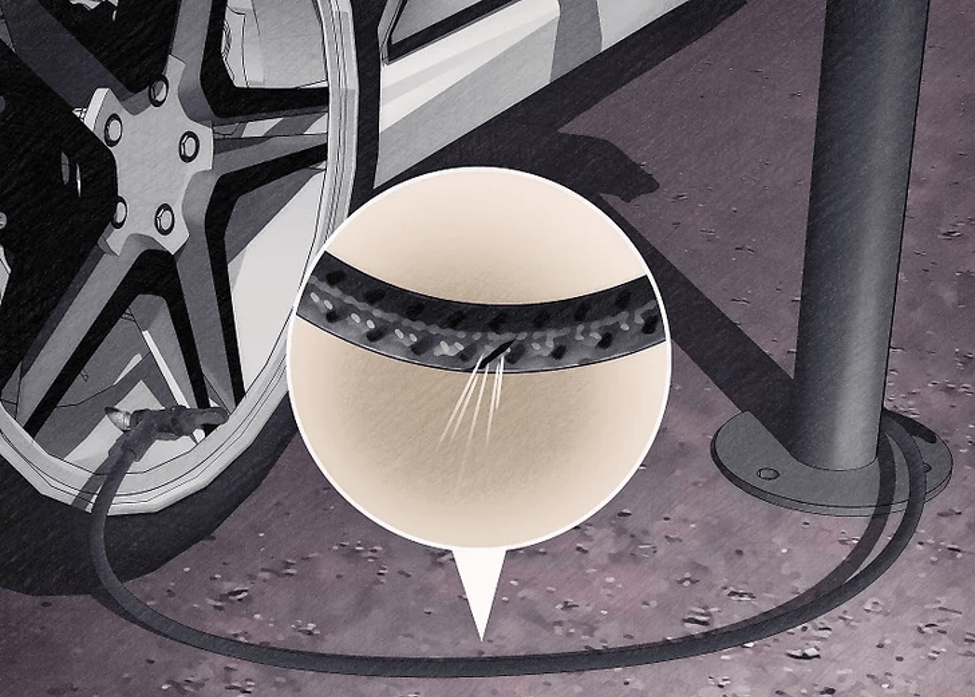
Common bicycle nipples are automotive and Dunlop. For thin wheels, a Presta nipple with a valve is used. It requires cleanliness and accuracy in handling.
Presta tubes fitted to road bikes and select hybrids
A special small volume pump is matched to it. A regular bike pump may not fit or you may need to use an adapter.
Most bicycles have a "Schrader" or car valve. The standard option allows you to inflate tires at gas stations and public bike pumps (of which there are only a few in our cities so far) directly.
How to inflate simple wheels with a car pump:

How to inflate your Presta with a compressor at a gas station:
In this case, it is very important to know exactly how many atmospheres it is necessary to let air into the chambers. With increasing pressure, it can quickly burst.
The last option left is Dunlop. It is identical in size to an automobile nipple, but in terms of design features it is similar to the French one (aka Presta). When inflating a wheel, you should follow the rules for a sports analogue.
Is it possible to inflate bicycle inner tubes without a pump? It is unlikely to reach the recommended pressure, since a regular supply of pressurized air is required, but you can reach the minimum values.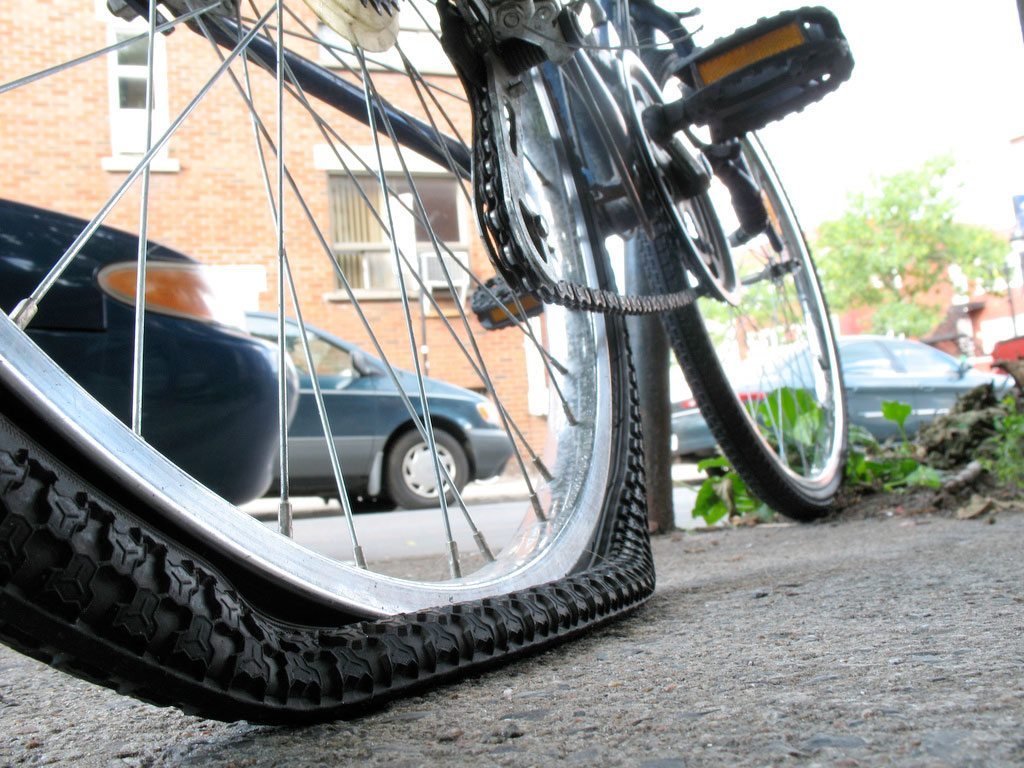 Let's consider several methods of pumping chambers, which can be resorted to without using a pump:
Vacuum cleaner. Many models are equipped with a blower mode, when switched to which air is blown out. A thin hose can be used to connect the wheel nipple. The result directly depends on the tightness of the connection between the hose and the nipple. Here you can use rubber pads, clamps and even rags.
Bottle pump. You will need two plastic bottles. One of them will serve as a cylinder, the other as a rod. Cut off the bottom of the first bottle and connect its neck through a thin hose to the chamber outlet. Next, insert the second bottle into it and with translational movements pump air through the cylinder into the hose. For tightness, grease the connection of the neck and the hose with sealant or lay a rubber pad. High pressure cannot be created, but it is possible to ride the N-th distance on a bicycle.
Bottle pump schematic: 1 - "rod", 2 - cylinder, 3 - cylinder neck, 4 - hose
The third way is to remove the nipple and inflate like a balloon.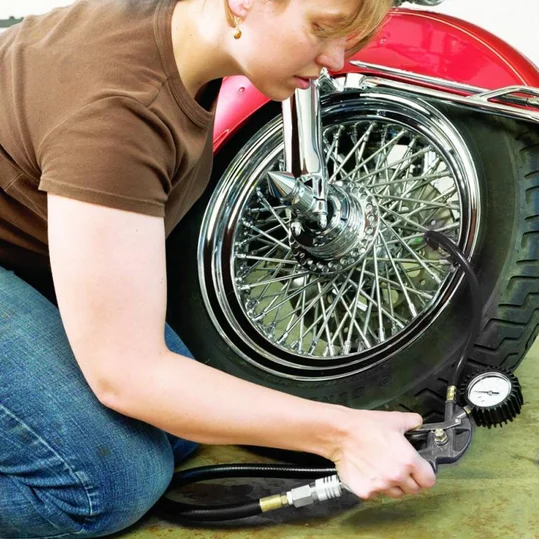 The method is fraught with difficulties in its removal and installation in its rightful place. It will be especially difficult to install back, since during this time all the air can be released.
An alternative tire inflation option is to inflate with a bicycle air fork pump. You will have to work hard, as this pump is designed for small volumes.
Despite the fact that a resourceful person will find a way out of any situation, it is recommended to have a special pump for tire inflation. Moderately inflated bicycle chambers are the key to comfortable trips without unpleasant surprises in the form of a burst chamber or damage to the wheels.
It may be elementary, but being able to inflate bike tires is an essential skill for any cyclist.
Many of you already know how to do this, but for those who don't, the different types of valves, pumps and, more importantly, how much pressure to inflate your tire can be a little overwhelming.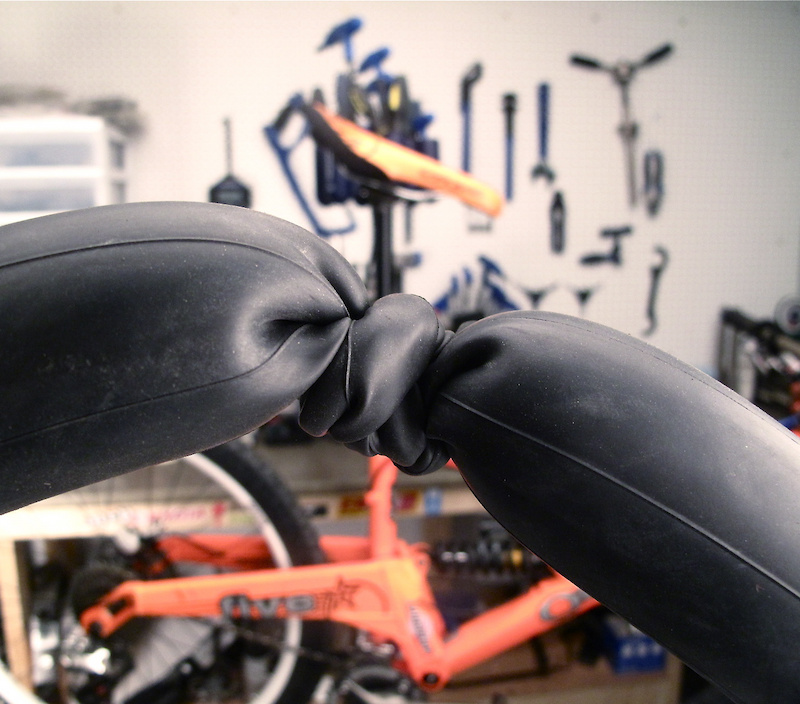 Let us help you through this process.
Contents
Pneumatic tires were invented to overcome the harsh "ride quality" of massive wheels.
The air inside acts like a spring, giving you suspension and allowing the tire to adapt to the terrain for better traction.
Tire inflation is a quick job that can easily improve your driving pleasure. Incorrect tire pressure will adversely affect cycling and make it more prone to punctures.
If you've never repaired a puncture before, you may not have thought about how your tires hold air in.
The vast majority of bikes will use a tube. It's a donut-shaped airtight tube that sits inside the tire with the inflation valve you see on the outside.
Inflated tire rests on the ground and provides puncture protection.
You may have heard of tubeless tires which do not have a tube but use a special rim and tire to seal air without using a tube. This usually requires a tubeless sealant, which is a liquid that plugs any air outlets.
Tubeless tires are more commonly used on mountain bikes, but the technology is moving to road bikes.
Tubeless sealant also seals punctures, and no tube means much less risk of pinching flat surfaces - that's when your inner tube gets pinched by the rim, causing a puncture. Thus, tubeless tires can run at lower pressures than inner tube tires to improve comfort, speed, and traction.
At the highest level, you also get tubular tires. They are essentially a tire with a tube built into it, but they are rarely seen or used outside of professional racing.
Inflating tires to the correct pressure is an important part of bike maintenance.
Running tires at too high or too low pressure can be potentially dangerous and can also affect your bike's handling.
Later we will discuss the correct pressure, but for now let's look at possible problems.
An under-inflated tire will reduce your efficiency and leave you vulnerable to annoying punctures.
If you drive with tires at too low pressure, the tire may wear out prematurely. Excessive sidewall deflection can lead to carcass cracking and tire brittleness. This can eventually lead to tire blowout.
Excessively low pressure also increases your susceptibility to punctures and can even cause your tires to literally jump off the rim if you turn at speed (the pressure inside is what keeps your tire on the rim).
Damage can also be caused by tire deflection up to the rim. This can lead to dents or cracks, which can compromise your wheel and require a costly replacement.
Conversely, too high pressure can cause the tire to come off the rim with explosive consequences. This pressure can also compress the wheel because if it is too high, the compressive force on the wheel can be too great.
From a drivability point of view, low pressure can lead to poor drivability due to the tire squirming under load.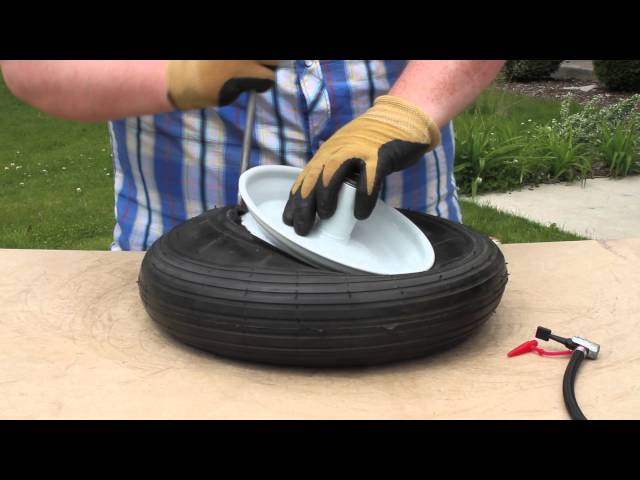 Your bike will be difficult to control and will be slow and sluggish.
On the other hand, too much pressure can lead to poor traction and a rough ride, leading to fatigue and in turn poor handling.
There are two possible reasons for your flat tire. Either you have a puncture or your tire has deflated over time.
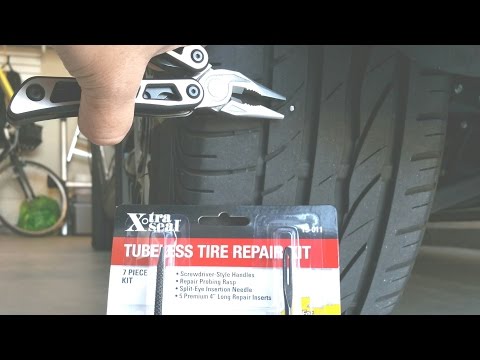
The adhesiveless patches are great for a quick fix, while the more traditional kit is a versatile option when you have a bit more time.
All tire systems will bleed slowly because the tubes are not completely sealed. For example, standard butyl tubing retains air fairly well compared to lightweight latex tubing, which bleeds relatively faster. Even tubeless setups will slowly leak air.
Old tubes will pass more air than new ones, so if they haven't been replaced in a while, it's worth taking a look at them. It is less likely, but also possible (especially on older tubes), that the valve is no longer sealing properly.
The best way to check what's going on is to try pumping up the tire. If it's holding air, you probably have nothing else to do. If this does not happen, most likely you have a puncture.
If air leaks slowly overnight, you have a slow puncture or just an old tube that needs to be replaced.
The first thing you need to know before inflating a tire is the valve type.
The valve is the key part that keeps the air in the tire but also allows the tire to be inflated (or deflated).
The Schrader valve is also used for car tires.
Schrader valves are more common on lower end bikes and in the past mountain bikes. The same valves are used on car tires.
The valve assembly is a hollow tube with a spring loaded valve that automatically closes and screws into the outer housing. The pin comes out of the valve and is usually flush with the end of the outer tube.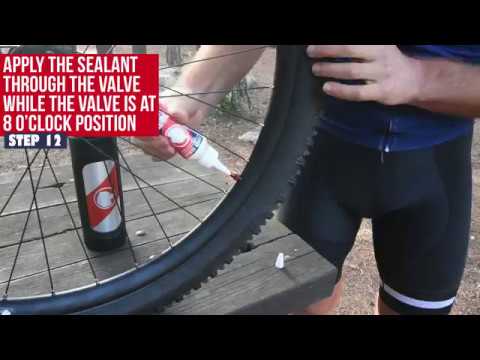 This pin can be pressed to release air.
The dust cap on Schrader valves is an important part of the design that can help close the valve completely if it is not fully sealed. Essentially, it provides a secondary "backup" seal.
The spring-loaded design of the valve is slightly susceptible to contamination from dirt or sand, so it is important to protect it as well.
These Presta valves are longer and narrower than the Schrader type valve.
Presta valves are only found on bicycles.
They originated on road bikes, where a narrower valve (6mm versus 8mm for the Schrader) meant a smaller valve hole (usually the weakest part of the rim).
These days you can find them on both mountain bikes and road bikes. Instead of using a spring, the valve is held in place by a nut that holds it closed, although the valve itself seals "automatically" when the pressure inside the tire forces it to close.
With a schrader valve you can simply press the pin to release the air, but with a Presta valve you first need to unscrew the small lock nut.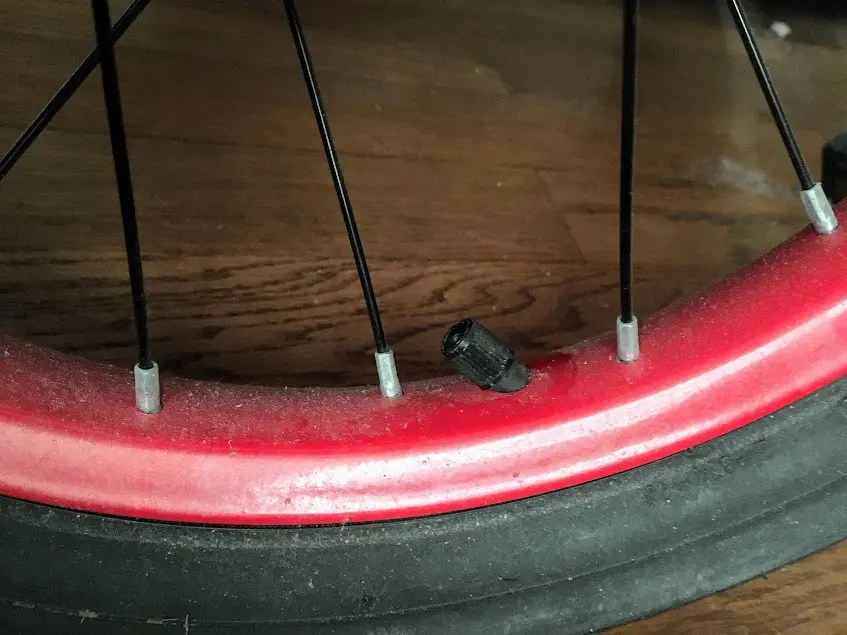 Don't worry about the nut coming off the end of the valve body because the threads are rounded to prevent this from happening.
There seems to be a myth that Presta valves handle high pressures better - this is probably not true given that there are Schrader valves that can handle many hundreds of psi (much more than you'll ever need). in your tire).
However, Presta valves are definitely a bit more fragile than Schrader valves. It is very easy to strike the threaded inner body of the valve, bend it or break it, so care must be taken. However, valve cores are easily replaced with standard tools.
Compared to Schrader valves, this requires a special tool.
Presta valves can be supplied with a retaining ring that secures the valve body to the rim. This can make them easier to inflate. The dust cap is not essential to sealing it, but helps keep the valve clean.
The only other type of valve you may encounter is the Dunlop (also known as Woods) valve. The base diameter is the same as the Schrader valve but can be inflated with the same pump as the Presta valve.
They are very popular on city streets in Europe and elsewhere in the world, but you are unlikely to find one in the UK or the US.
The tubeless valve is difficult to distinguish from a normal Presta valve.
Valves for tubeless tires are attached directly to the rim, not part of the inner tube.
Most often they are of the Presta type, but there is also a Schrader.
If you have a Schrader type valve like the one shown above, the first thing you need to do is remove the dust cap (if present).
Simply unscrew the cap counterclockwise to open the valve.
Now attach the pump head.
Inflate the tire to between the minimum and maximum indicated on the tire sidewall and remove the pump. Ready!
If your bike has a Presta style valve like this one, you will first need to remove the plastic valve cover (if any).
The plastic cover will open another threaded valve cover.
Loosen the threads, but be careful not to damage them in the process.
Now attach the pump head of your choice to the open valve and inflate the tire to between the minimum and maximum pressure indicated on the sidewall of the tire.
Inflate the tire to the desired pressure and remove the pump.
Finally, close the valve by turning it clockwise and install the plastic valve cover.
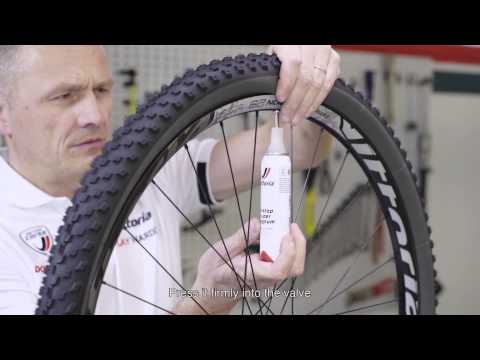
If you have a tubeless tire or a tube with sealant inside, there are a few extra steps you should take to avoid clogging your pump.
Turn the wheels so that the valves are at the bottom and leave for a few minutes to allow the sealant to drain.
Turn the wheels so that the valves are up and inflate the tires. The same thing happens when the tires are deflated to prevent the sealant from splattering all over the place.
We would say that if you can only own one type of pump, get a foot pump for home use because it is efficient, fast and easy to use.
However, there is no doubt that having an extra mini-pump for the duration of the trip is very useful - otherwise you risk getting stuck on the side of the road in case of a puncture.
There is no limit to pump selection. Basically, they all do the same job, some of them look better than others.
From budget to outrageously expensive, you'll find something to suit your needs.
Mini pumps work but are much more difficult to use. Again, there are many options that will fit in your pocket. We prefer hose mini pumps because it reduces stress (and potential damage) on the valve.
Another option for your inflation needs is the CO2 inflation pump. They use compressed carbon dioxide in a small cartridge to inflate or fill a tire very quickly. Not something you would like to use on a regular basis, but perfect for emergency repairs.
The first thing to do is attach the pump to the valve.
Remove the valve cap, and regardless of valve type, we find it useful to let some air out to make sure the valve doesn't stick and opens and closes cleanly. Screw on the chuck, or push it in and lock it.
If your tire is completely flat, it may be difficult to install the cartridge at first because the valve tends to move back into the rim. Simply hold the valve at the back while pressing down on the outside of the tire so you can lock the cartridge in correctly.
The locking ring on Presta valves (if equipped) can also help by preventing the valve from dropping, holding it in place for you.
The connection to the valve must be tight. It is normal for a small amount of air to escape when installing the pump, but this should not last long. If so, remove and reinstall cartridge. If the problem persists, it might be worth checking the rubber seal in the chuck to make sure it's not worn out and needs to be replaced.
Remember to be careful with the valves - they are fragile. This is especially true if you are using a mini pump without a hose.
Be sure to secure the pump by hand to avoid applying too much force to the valve, which could cause damage.
When you start pumping, make sure you use the full stroke of the pump. You will find that most of the stroke is compressing the air to the point where it will be forced into the tire.
If you don't use the pump all the way, the air won't be forced out of the bottom - you need to pressurize to move the air from the pump to the tire. Instead, you'll just end up wasting your energy to no avail.
With a floor pump, don't just use your hands, use your body weight to push down and pumping becomes much easier.
Sometimes you may find that the pump does not hold pressure, especially when inflating a tire from a fully deflated position. This may especially apply to older pumps where the seals may be slightly worn.
We find that vigorous inflation first helps to create enough back pressure (i.e. tire side rebound) in the system to ensure that the valves actuate properly and seal the tire. Keep going until you get the right pressure.
When the cartridge is removed from the valve, a hiss of air loss can usually be heard. This usually happens on the pump side, not the valve side. The pressurized air from the hose and cartridge just comes out.
The pump pressurizes air into your tire. The principle of operation is simple; you increase the pressure inside the pump until it exceeds the pressure inside the tire. This "overpressure" forces air into the tire, which also increases tire pressure.
The pump is simply a manually operated piston. As the pump moves down, a check valve (allowing air flow in one direction) seals the piston chamber, causing the air pressure to rise as the pump is compressed. This pressure increases until it exceeds the pressure inside the tire.
At this point, the second one-way valve will allow air to flow from the pressure pump chamber into the tire. You extend the pump again, the check valve opens to fill the chamber with air, and you repeat the process.
To prevent leakage of tire pressure, the second check valve at the base of the pump closes. If it wasn't there, the pump would just open up again.
Presta valves close automatically, but spring-loaded Schrader valves are usually held open by a pin in the valve mount (meaning you don't need any additional inflation force to overcome the pressure exerted by the spring).
The pump head is also known as the cartridge.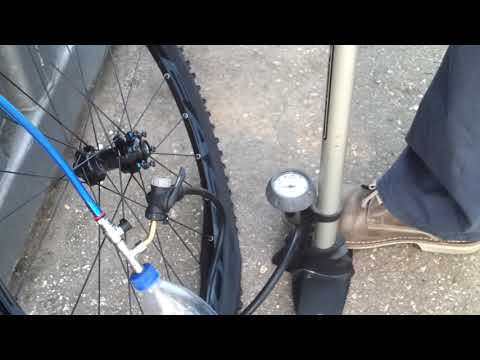
The cartridge is the part that attaches the pump to the valve and forms an airtight seal over the valve. There is one of two designs: threaded or push-on with a locking lever. Most pumps nowadays can also be adapted to Schrader or Presta valves.
They will either have two different mounting points or a cartridge that can be changed for both types.
For large pumps (and many mini pumps too) the cartridge is often on the hose, preventing your force from damaging the valve.
Pumps are often equipped with a tire pressure gauge.
Correct tire pressure is perhaps one of the most controversial topics, but there are a few guidelines that you can use.
As a rule of thumb, your tire should be strong enough to prevent it from flexing all the way to the rim, yet malleable enough to provide some suspension - after all, the beauty of a pneumatic tire is that you don't have an incredibly hard ride.
Most tires have a minimum and maximum pressure marked on the side. It is advisable not to go below or exceed these limits, because manufacturers have indicated them for a reason. Of course, this means there is still plenty of room to play around with the pressure and what works for you.
For mountain bikes, the problem is relatively easier to solve, since the goal is usually to improve traction, cornering, and damping.
As a rule of thumb, riders try to run as low pressure as possible without making it so soft that the tire squirms under load in a corner or flexes enough to damage the rim.
Things get a little more complicated for road bikes because along with grip and comfort, rolling resistance (how efficiently the tire rolls) is an important factor.
On all but the smoothest surfaces, a stiff tire will have no advantage, and instead of the tire being able to lean and conform to the bumps, causing the bike to move forward, you will bounce.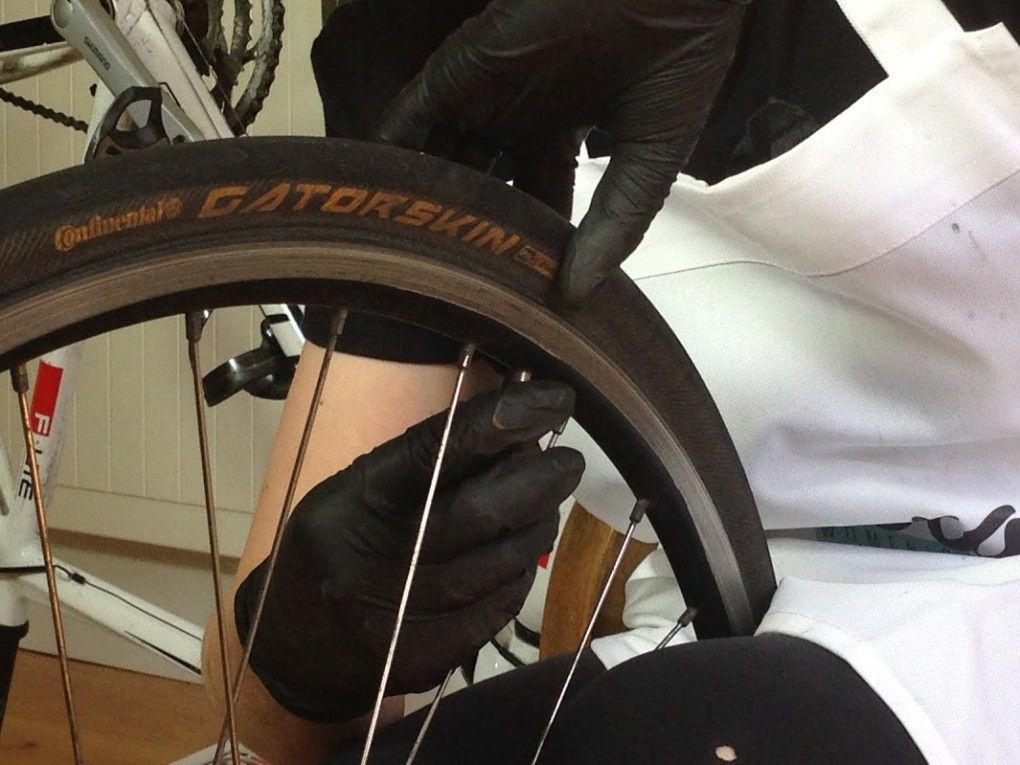
On all but the flattest surfaces, lower tire pressure can provide greater comfort and efficiency.
Testing showed that 20 percent tire compression (the amount of tire compression when a load is applied, measured by the height from the ground to the rim) was the optimal balance.
Incidentally, some manufacturers recommend the same level of tire compression, although this figure is somewhat controversial.
This value is indeed a good starting point for experimenting with tire pressures.
You don't always have to remove the pump/gauge to check tire pressure.
We recommend that you check your tires before every ride. Usually, you just need to squeeze them with your hand to check the pressure.
No, this is not very accurate, but you will quickly feel the pressure in your tires and be able to determine whether they need to be inflated or not.
If you get serious about this, you can end up with a pressure gauge that can read your tire pressure very accurately.