Categories
Blender
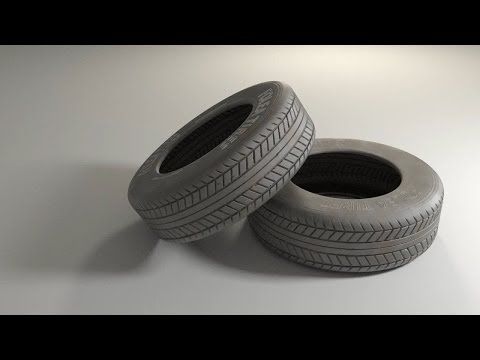
In this tutorial, we are going to model tire using modifiers. And, we are going to model the treads of the tire as well. We shall use the Shrinkwrap modifier to place the treads around the tire. Blender 2.90 is used.
In this tutorial, we are going to model tire using modifiers. And, we are going to model the treads of the tire as well. We shall use the Shrinkwrap modifier to place the treads around the tire. Blender 2.90 is used.
First of all, delete the Default Cube.
Add a Plane by clicking Add > Mesh > Plane.
Go to Edit Mode by clicking drop down menu on top left, OR press
Tab key.
Select the Rotation tool from the left toolbar.
Click and drag the Red circle, and type 90. This will rotate the plane 90 degrees on X-axis.
After the rotation, select the Move tool, and drag the plane upwards in the Z direction.
Go to Modifiers Properties on right side, and click Add Modifier.
Add the Screw modifier.
Screw modifier can create a helix like shape of the profile object. We can also make circular objects using this modifier.
Change the Steps Viewport to 30.
Go to the side view by clicking the Y-axis on the coordinate.
Also turn on the X-ray mode by clicking the icon shown or press Alt + Z.
Now we want to modify the shape of the tire. To do this, we can add Edge Loop Cuts.
Bring the cursor close to the mesh, press Ctrl+Z to add a loop cut, drag the Scroll wheel of the mouse up to increase the number of Loop cuts and finally press Enter key. In this case, we have added four Loop Cuts.
We need to adjust the shape. Select the Scale tool from the toolbar.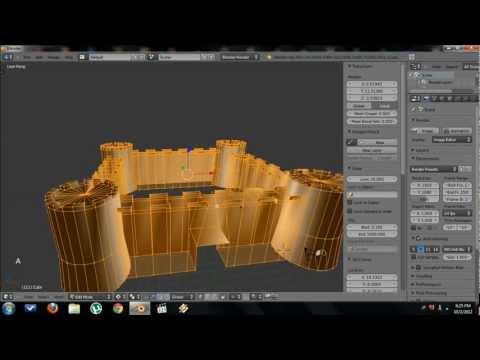 First, select the top two vertices and scale them short. Now scale the every pair of vertices until you have a good tire profile.
We can make the shape like that of a tire using the above mentioned method. The tire we are making is hollow from inside.
So we are going to delete the edges that are in the middle except of the top one. The remaining edges will act as the profile of the tire.
While in the edit mode, choose Edge selection from top left as shown or press 2 key. Select the edges that need to be deleted press Delete > Edges.
The results would look similar to this.
Our mesh is not smooth right now. We can make it smooth using Subdivision Surface Modifier. Subdivision Surface modifier subdivides the faces to make a smoother mesh.
In the Modifier Properties, click Add Modifier and click Subdivision Surface.
Change the Level Viewport to 2.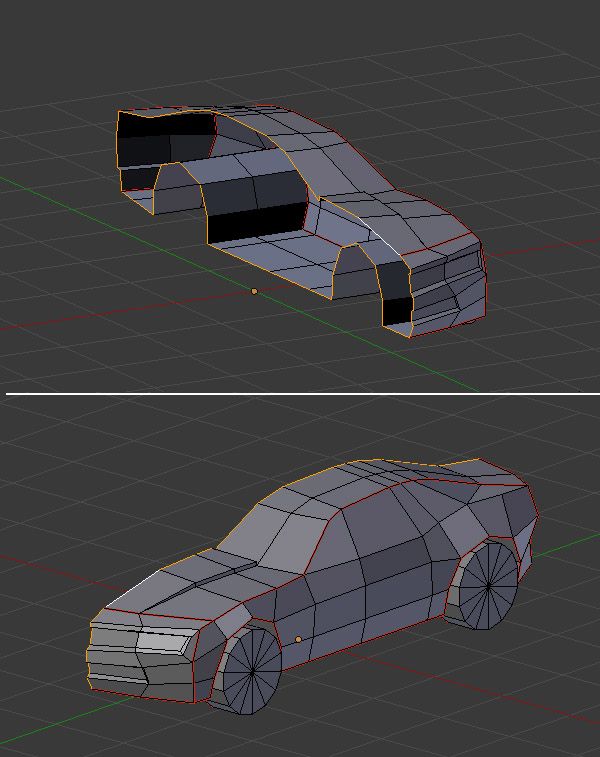
bigboy4006 (bigboy4006)
#1
I’m trying to learn how to make the tread on a tire. I made a single ‘tile’ for the tread, and now I need to make columns and rows of this ‘tile’ in a cylinder shape to make a tire. I know I can make multiples of this ‘tile’ using the array modifier, but how do I go about wrapping a array modifier of these ‘tiles’ around a common origin point? Would it be easier to wrap the array of these ‘tiles’ around an empty, the duplicate that column a few times to make a full tread for a tire? I assume this is just a minor detail I have to learn to fix. :o
DDD (DDD)
#2
check this out
http://www. blenderguru.com/how-to-make-a-car-wheel/
r6srider (r6srider)
#3
You should look up Andrew Prices tutorial (blenderguru) on making tires/rims. It’s a but out dated as he was using 2.49, but you should still be able to make it work, I did. Here’s a quick summary, you want to model one section of tire, from the sidewall where it meets the rim, across the main width where the tread pattern is then back down the other sidewall, you can also use a mirror modifier here if both sides have the same tread pattern. You then add an array modifier, don’t try and make it round here, just make it look like you cut through a tire and rolled it out flat (My array was 48 segments. After that you add a bezier curve circle about the size of the tire (seperate from the tire.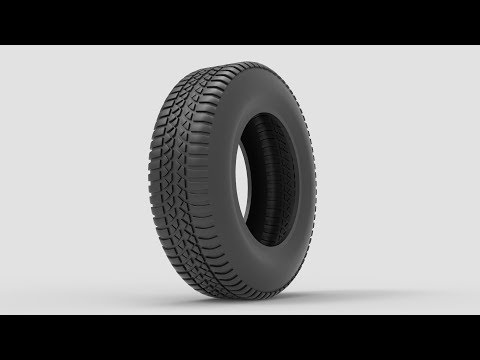 ) Go back to the “tire” object and add a curve modifier and select the bezier curve as the target object. You may have to play with the deformation axis buttons to make it work correctly. After it maps in the direction you want, add or subtract segments in the array to get it close, then scale the modeled part to get the array to meet up and make a circle. After that i usually copy the tire (so you can make changes later if needed) then apply the modifiers and stitch up the mesh. Finally click the smooth shading, and add a edge split modifier so the sidewalls look smooth but the tread pattern doesn’t look messed up.
bigboy4006 (bigboy4006)
#4
Thank you guys. I have some tinkering to do now!!! As for Andrew Price, I heard his name mentioned on a YouTube Blender tutorial on how to make a tire.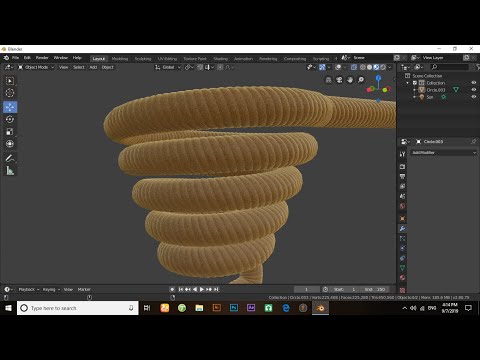 I keep forgetting to check out an video tutorials that Andrew has done, some I’ve got some checking to do on that.
JpHenrik (JpHenrik)
#5
I use this one. both tire and rim.
bigboy4006 (bigboy4006)
#6
I know it’s been some time since I started this thread, and I’ve been putting off working on tires for a little while. I’ve been giving some thought on how to make a tire, and I came up with the idea of scaling a torus mesh to gain thickness, then add cut loops to come up with the grooves in the tires to make treads.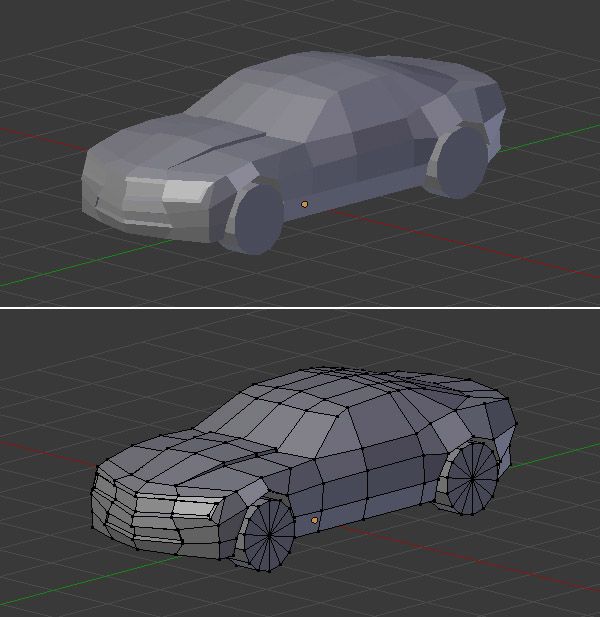 It may not be the best way to do it, but it’s a start. :o
DDD (DDD)
#7
Why did you not use our tutorial links? Those guys teach you how to make real good looking tires, and it doesnt take long and no it is not hard.
bigboy4006 (bigboy4006)
#8
I still plan to use the links. Just want to learn different techniques.
bigboy4006 (bigboy4006)
#9
I do plan to learn Andrew Price’s techniques, but because I suffer from anxiety troubles, I’m not on my computer every day. I days I do feel better, I do get on my computer. I just need the time to learn it.
bigboy4006 (bigboy4006)
#10
I finally got around to making my tire. I decided to make the tread from a subdivided plane mesh, then I used the spin tool on the tread to make the tire. I just learned the technique, which I wish I had done earlier. I know Andrew Price did such a tutorial (as you guys said), but I decided to do my own method. After all, there’s more than one way to model in Blender…
GrimZA (Armand)
#11
no dude lol.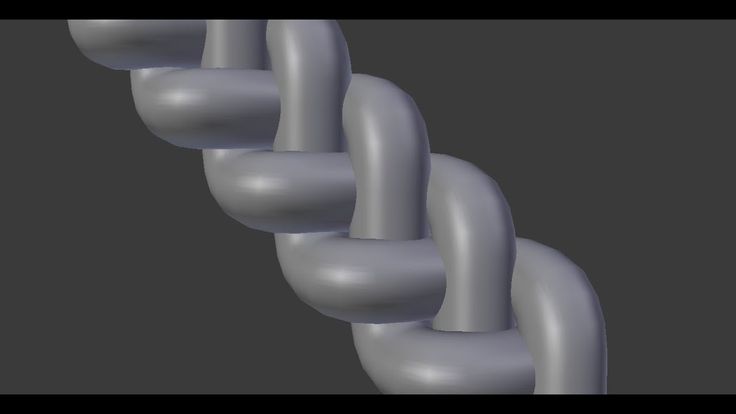
It’s easy to make a tire.
First make the tread of a tire with a basic plane.
After that add a bezier circle to the scene
after that select you thread a add 2 modifiers,the first one is curve and the second one is array modifier.In curve set the bezier circle as the object.click on your tire thread and go into edit mode,select all the vertices and rotate it until it fits nicely around the bezier circle.
after that choose the aray mod and set the count and turn on relative off.under that you will see a number saying 1.000,change that to determine the distance between each count object so they just just touch eachother.after that increase the count until it makes a full circle and then just before making a full circle select the bezier cicle and downscale it until the count start and end are connected
and that how you make a basic tire.
bigboy4006 (bigboy4006)
#12
I guess I could have used the Bezier curve, but I didn’t think about.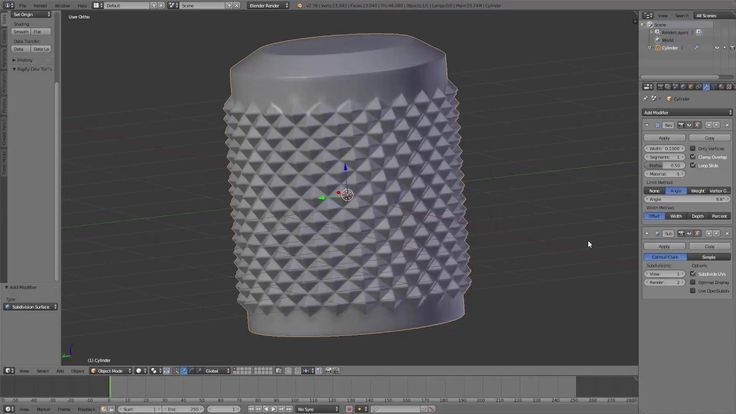 But you’re right - it is easy. I have a tutorial on my new e-reader that shows me how to do it (it’s one of Dark Scarab’s tutorials). I should have followed that tutorial, but at the time I didn’t feel like getting my e-reader out. I probably follow that tutorial next, considering it describes the same process you do (by the way, the tutorial was on making a current Chevy Camaro - that has the tutorial on both the tire and the wheel, aka hubcap).
bigboy4006 (bigboy4006)
#13
Just as an afterthought to my last reply, I’m wanting to learn different ways of making a tire. That way I’ll have several methods to make the tire at my disposal.
bigboy4006 (bigboy4006)
#14
And I did start out making the tread with a plane.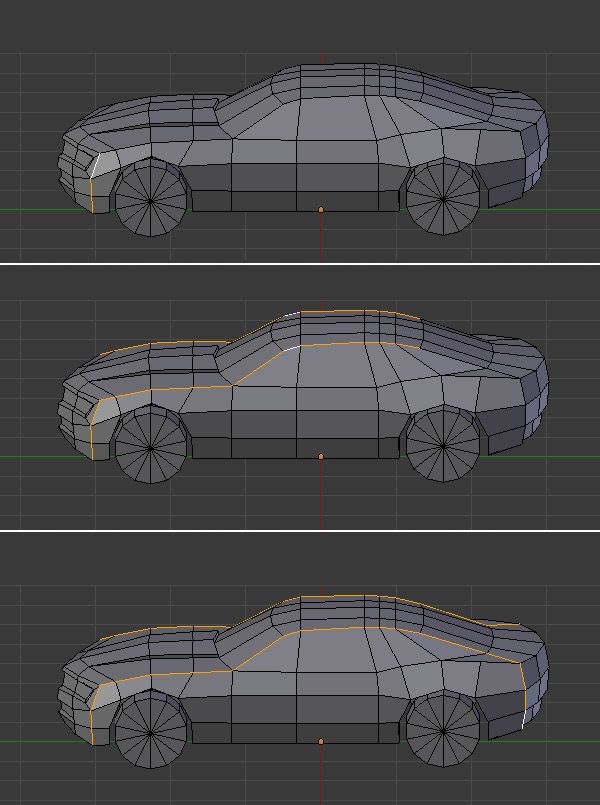 I’ll probably use the array modifier AND Bezier curve on my next attempt.
Modeling a wheel in Blender 2.7
Based on the video tutorial from http://blender-school.ru/
.Tread pattern 2.Wheel profile
You can use pictures that suit you.
Create a new project in Blender2.7
Remove the cube from the scene and start exposing background images.
First we set the background image of the wheel tread in the top view:
Background Images-Add Image-Top and adjust the image view
Start modeling.
Add a plane: Shift+A/Plane
Go to Edit Mode (Tab) and create the shape of the tread,
Selecting the vertices and moving them (G), give the desired shape of the tread.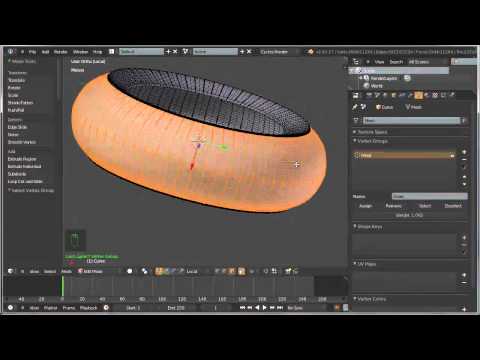
If necessary, use the Ctrl+R key combination to add edges. Or, by selecting the desired edges, extrude (E) along the Y or X axis.
Use the Shift + A / Plane combination (in edit mode) to add another plane
And model further.
Change to Front view and move (G) the extreme vertices down.
Go to object mode and add the Mirror modifier on the X axis.
Press the combination Ctrl + A and select Location in the drop-down list,
i.e. scaling relative to the zero axis.
Press the Apply button and apply the Mirror modifier.
Go into edit mode and adjust the left side of the tread.
Add another background image - wheel profile, Add image-Front
And lift the model up on the Z axis, adjust the background image.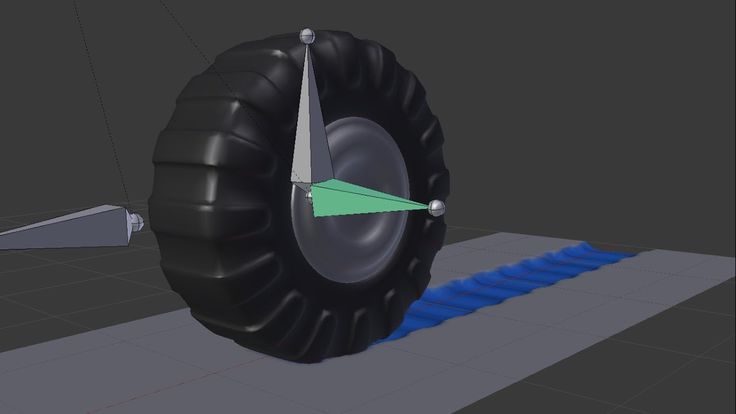
Go to edit mode, deselect (A) and turn on
proportional editing.
Select the middle vertices
Go to the front view Front, press G+Z and lift along the Z axis,
Simultaneously rotate the mouse wheel and achieve the profile we need.
Turn off proportional editing (O). And let's slightly lower the extreme
Model points along the Z axis.
Select the bottom points and use S+X to align with the profile.
Now let's add volume to our tread. Select the vertices and extrude
Down the Z axis, giving volume to our workpiece. Don't forget to save Ctrl+S.
Switch to object mode and see that some of the faces are turned outward.
Switch to edit mode, select all vertices and press
Ctrl+N combination.
The tread blank is ready, let's move on to modeling the wheel itself.
Use the combination (M) to transfer the tread to the second layer, and on the first layer
Let's start modeling the wheel. For the convenience of modeling, I changed the measurement system to Metric, and also adjusted the
tread mesh to approximately the future wheel size.
Let's move on to the front view (Front) 1 of the numeric keypad.
Press Shift+A and add a circle mesh.
Rotate the mesh along the X axis by 90 degrees R/X/90
Switch to edit mode and delete some of the mesh vertices.
Add a Mirror modifier
Align the vertices to the profile and hold Ctrl and left click to extrude down the profile shape.
Go to side view 3 and refine the cursor position.
In edit mode and side view 3 , select all the vertices and press Spin on the left side of the tool shelf.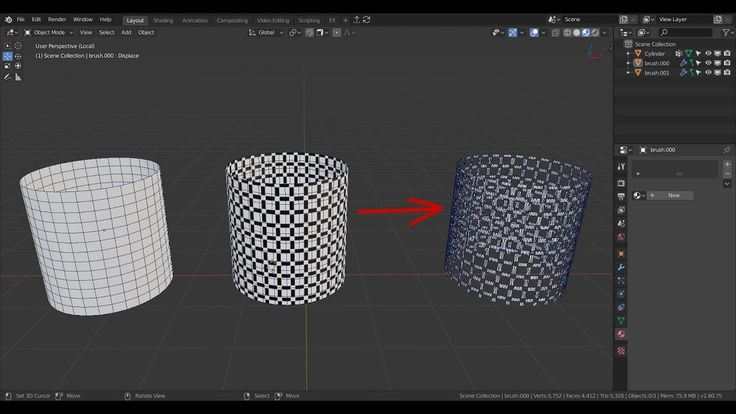
Select all vertices and remove duplicate vertices.
Switch to object mode and apply Smooth shading.
Turn off the visibility of background images and, if necessary, adjust the tread blank and the wheel itself to each other.
Press Shift+Ctrl+Alt+C / Origin to Geometry to align the origin to the center of the object.
The model has changed because we do not need it, we will fix it now.
Switch to the front view Front , turn off the Mirror Clipping modifier and shift it along the X axis in edit mode.
Turn Clipping back on and sew both halves of the wheel.
Align along the coordinate axis.
Now we need to multiply the tread blank along the wheel, we will use the Array modifier.
Create an empty at the zero point of coordinates Shift+A/Empty/Plane Axes,
It will serve as a guide for our Array.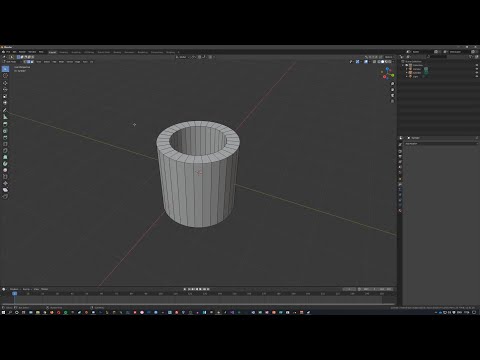
Add a blank as the Object Offset of the Array modifier.
Apply scaling Ctrl+A/Location; Ctrl+A/Rotation; Ctrl+A/Scale/.
Uncheck the Array – Relative Offset modifier.
Select the empty and rotate on the X axis. (R/X)
Increase the number of repetitions in the Array Modifier.
Let's go to the World tab and make the background lighter, select the Rendered mode at the bottom of the panel and see what the wheel looks like.
Apply Smooth shading.
Add an Edge Split modifier.
Now we will make a small relief of the wheel bead. Select the wheel mesh and go into edit mode. Let's add Ctrl+R edges for convenience.
Using the Ctrl+B combination and dragging with the mouse, we divide the edges into two.
Go to the top view and extrude a small ledge (E/X) along the X axis.
Repeat the same steps for the edges closer to the center of the wheel.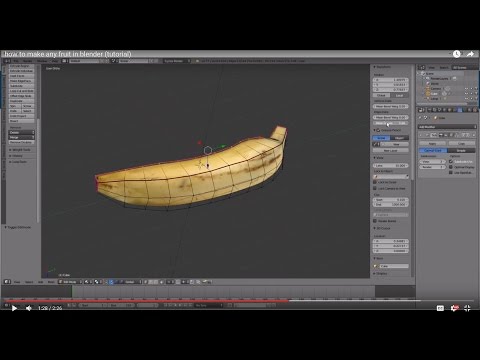
Let's go into object mode and add a Subdivision Surface Modifier.
Add a Solidify Modifier to add thickness.
The wheel is basically ready, for complete realism we will add an inscription.
Change to Right side view and add text Shift+A/Text. Rotate the text along the X axis by 90 degrees (R/X/90), and then once again rotate the Z axis by 90 degrees (R/Z/90).
Choose the inscription you want to write. Go to edit mode and write your inscription.
Switch to object mode and move the test to the place where we want to make an inscription, scale it so that the text fits between the protrusions on the wheel.
Now let's add volume to the letters in the text settings.
Return the left alignment to Left and sink the letters into the wheel, rotate if necessary on the Y axis so that the letters look normal on the wheel.
Return the alignment to the Center Center and now bend our inscription, for this we add Shift + A / Curve / Circle and rotate the curve along the Y axis by 90 degrees (R / Y / 90).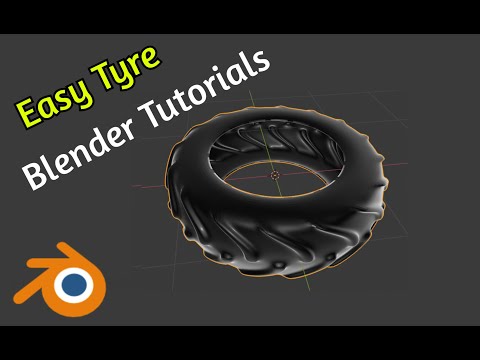
And scale the curve so that it passes in the middle between the protruding edges on the side of the wheel.
Now in the properties of the Text on Curve select our curve.
Align and scale the test so that it is positioned as we need.
If necessary, select the curve and scale it to get the desired text position.
Now all that's left is to link all the wheel objects together. Select the tread then the wheel and press Ctrl+P/Object, do the same with the blank and the inscriptions, i.e. assign the parent wheel.
Now, if you select a wheel and start moving or rotating it, all objects of the wheel will be together, but at the same time, it remains possible to edit all elements of the wheel if necessary. Now let's create a studio and prepare the settings for the Cycles render, and of course assign a material to the wheel.
Finally, let's render.
texturing for dummies (step-by-step) + photo
by Mehrshad
on this guide i teach you the basics of texture painting 2005 style a.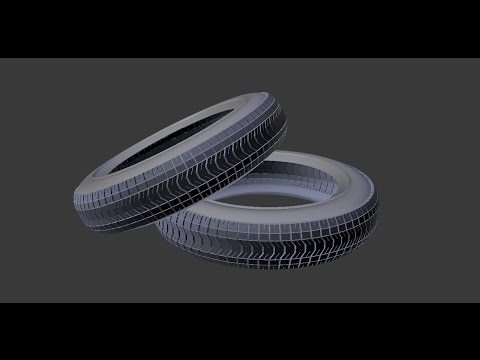 k.a lazy painting (step-by-step + photos) *note : this guide is for beginners and people that are new to blender...
How to import an MMD model into Blender
by cammy1
How to import a MikuMikuDance model into blender. You can than use this for Garry's Mod player models or any other things you would need to do in Blender....
How To Upload Screenshots (Not Artwork) [Video Edition]
by PlutoniumDG
Always wanted to know how some people upload Blender Screenshots, even though it has no Steam Overlay? And you would rather watch a short video than read a text? If yes, You are at the right place!...
Guide for beginners (Model)
by IMR4CE csgorun FAIL
The guide is made for beginners, it may be useful to those who know how to work in a blender....
Como hacer una guayaba en Blender
by JustAguacate
Guía paso a paso para hacer una guayaba en Blender: Antes que nada, tienes que proyectar la guayaba en tu mente.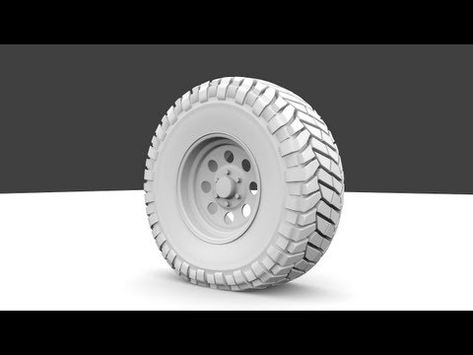 Recuerda las guayabas, lo son todo. Tienes que comer guayaba, ser guayaba, respirar guayaba y pensar guayaba. Paso 1. Abrir Blender. Paso 2...
HOW TO GET DEPRESSION FROM BLENDER
by Enzo Da Dawg
Step 1: Create your first model using Blender Step 2: Close or tab out of Blender Step 3: Navigate to the Blender page on Steam Step 4: Scroll down until you reach the community section Step 5: Look at the models that talented people have created Step...
HOW TO JUMP IN BLENDER
by Evropejets
HAVE YOU SEEN SMART GUYS WHO WRITE SUCH MANUALS WITH ONE WORD "NO"? READING THIS GUIDE YOU WILL REALLY LEARN HOW TO JUMP IN A BLENDER (LEARN THE WHOLE UNIVERSE) (on english: https://steamcommunity.com/sharedfiles/filedetails/?id=2543777913)...
Fix for people exporting to source engine
by Splash Color
This guide is to fix problems people have exporting to source using blender source tools....
GOOD YOUTUBE GUIDES FOR BEGINNERS LIKE ME IN BLENDER
by GINA SAVAGE
FOR THOSE WHO HAVE ALREADY KNOWED THE PROGRAM IF YOU DON'T STICK THIS IS MY FIRST GUIDE [b ]DETAIL AND QUICK GUIDES FOR CURRENT BLENDER VERSION 1 [url=https://www.