JavaScript is disabled. For a better experience, please enable JavaScript in your browser before proceeding.
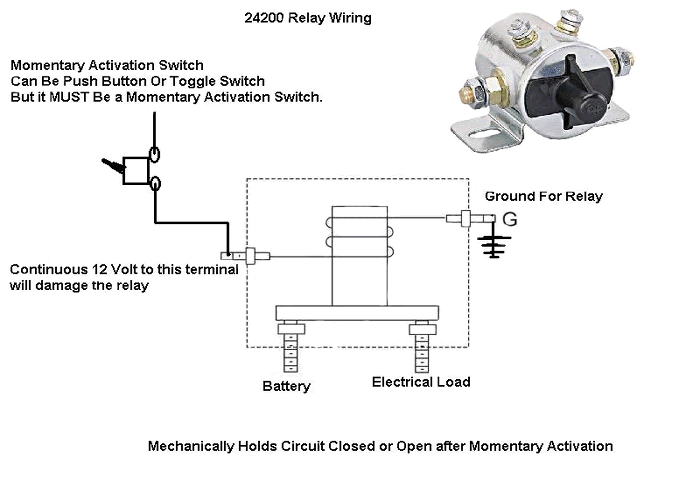
I have honda foreman that the starter button has quit working ,so they want $106 .00 for the switch assembly and I need to put a push button on it ,so now my ? is how do I do this ? and can it be hooked up to the solenoid switch and also my push button has 3 prongs -one for hot -acc- and ground and I only have 2 wires from the solenoid.
and I already tried the 2 wired on the solenoid switch to the push button and it melted the wires ,so does anyone know a simple way .
and also i have the key to turn the atv on but need to install the push button
and also -I can short the solenoid with a screwdriver and it will start .but i'm getting tired of climbing off the seat and doing it this way
southern-breeze said:
and I already tried the 2 wired on the solenoid switch to the push button and it melted the wires
Click to expand...
I'm not the wiring expert but I've learned alot in the past few months while rewiring my car.
To me, it doesn't sound right.
Why would the wires who normally carry that voltage upon being engaged melt ??
I'd think the switch would blow before the wires melted if it wasn't capable of handling the voltage.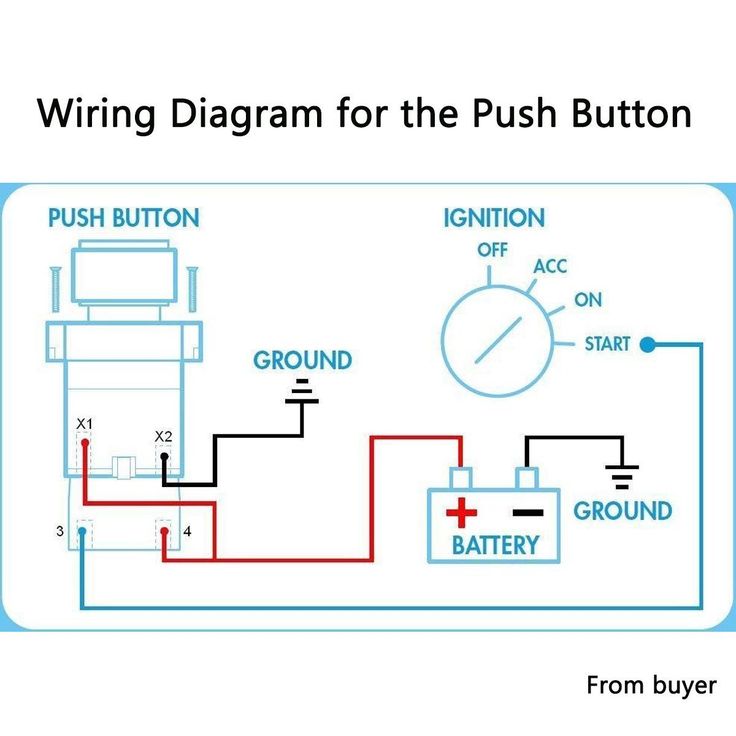
Something doesn't sound right.
Sounds to me like you might have hooked up the switch wrong maybe?? Backwards ???
Try a relay maybe ?? The accessory port on the start button I wouldn't think is necessary at all.
Maybe the switch is bad now .....causing too much resistance.
Last edited:
PERSONALLY....I'd spend the money for the right part so its not all jacked up later on...cuz if you 'wire' it up now, it might be that way for a LONG time....or it could cause other problems later....
I would if it was used more often ,but it is only used to round up cows.probly have not ridden it 10hours since 04 and also this is a 96 model
Try what I said in the PM.
Then what I strongly suggest is 2 avenues.
#1. Join an ATV forum and see if they have ideas.
#2. Call the manufacturer and see what they think.
It's hard to diagnose without knowing what's all involved here and what you've tested with a multimeter.
Like I said, I'm just a novice at this stuff so far. Not the "authority".
Buy a 12 volt push button switch at Radio Shack run two 14 guage wires from the switch on the handle bars to the solinoid. Use crimp on ring conectors & attach on wire to each terminal on the solinoid = Done!!!! I did the same thing on my 2000 Yamaha Grizzly 600 this past summer. Yamaha wanted $250 for the assembly. I said screw that. I too was able to jump mine with a pice of wire that I kept in the tool box under the seat...(it was pain to pull start & to pull the seat everytime I needed that pice of wire got old fast) So I wired in a new switch.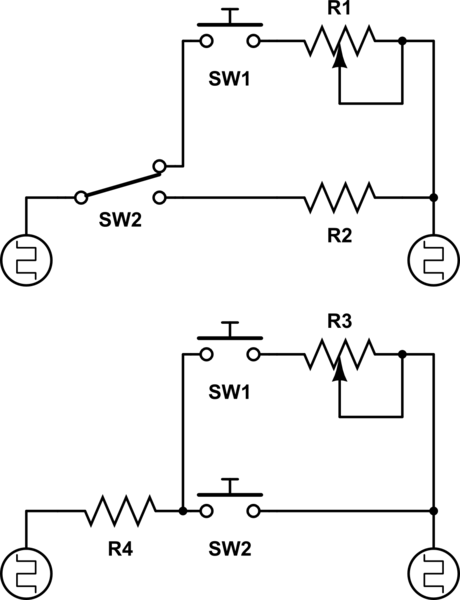 Easy!
Easy!
Nitroexpress said:
Yamaha wanted $250 for the assembly.
Click to expand...
Aceshigh said:
Click to expand...
Yah I know Ace... tell me about it = I looked the parts guy right in the face & told him he was nutts!!!! Apperently scince it's the whole assembly that also holds the master on/off switch & head lights controlls as well & break lever assembly it's an expensive part. Plus they didn't stock it & it was 5-6 + week lead time =
If you can jump the solenoid, I would just run new wires to the solenoid and connect a pushbutton switch like what was said above. Maybe the existing wires have a short? Unless they feed something else, maybe disconnnect them.
You must log in or register to reply here.
Share:
Facebook Twitter Reddit Pinterest Tumblr WhatsApp Email Share Link
Top
Don’t let losing or forgetting your ATV key stop you from enjoying your quad. In this article, I’ll show you a few ways to start your ATV or UTV without the key. You can do any of these methods with basic hand tools found in most garages.
Your ignition switch is simply a break in a circuit telling your electrical box when it’s ok to start or not. When there’s no key in the ignition, no power can be sent to the rest of the needed components to start the engine. There are some pretty simple ways to get around this though.
Of course the easiest way is if your machine has a pull start or kick starter on it. A lot of the newer quads being made don’t have this functionality anymore unfortunately. If you do have this option, simply unhook the ignition switch from the cdi or electrical box. That way the engine will start without needing a key inserted, then start the engine.
This method may work without a pull start or kick start if you can push your machine to a good pace and pop it into gear. Your other options are:
This is my preferred method to starting an ATV without the key. Most ignition switches will only have two wires going into it. On wire is sending power in, and the other wire sends power to the electrical box if the key is inserted.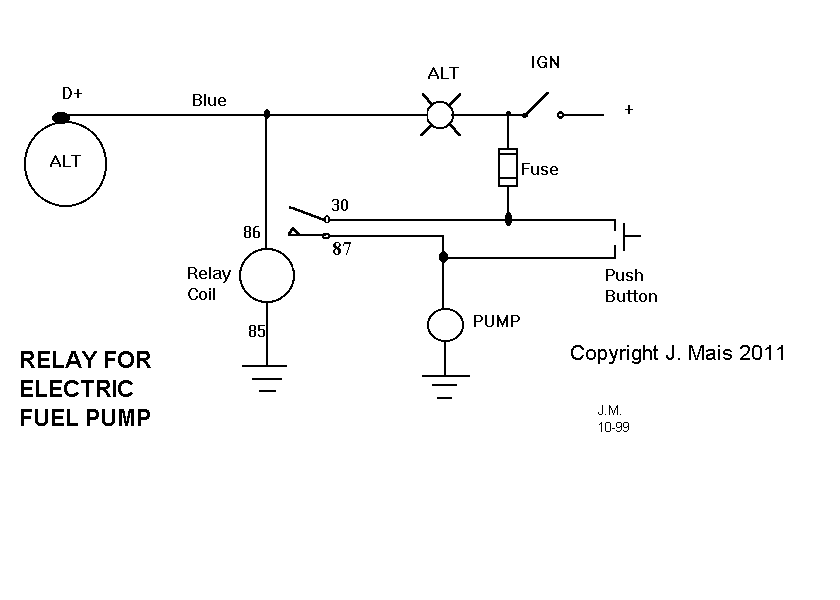 Telling the machine that it’s ok to start.
Simply remove the ignition switch from the equation. You can disassemble the switch or just cut the two wires leading to it. Be sure to leave enough slack in the wire just in case you want replace the ignition switch later on.
Now connect the two wires and your electric start should work like always. Remember to connect the wires on the side leading to the engine not the side leading to the ignition.
You have to remember to disconnect the two wires when you’re done riding or you’ll drain the battery dead. I would recommend you put a simple switch here in place of the ignition, a simple on/off switch will work perfect.
Some of the newer quads have more than two wires coming out of the ignition switch, not to worry. A lot of times there will also be a ground wire or something like that. The two wires you should focus on are red and black. Cut those two wires and tape them together. Make sure you tape together the ends of the wire leading to the engine not to the ignition.
You may also see a black with white stripe and green wire. These two wires are shorted together when the key is in the off position. You will need to open that short by cutting the black with white stripe wire and tapping off the end.
Once the black with white stripe is cut and taped, and the red and black wires and spliced together and taped. You should have power to your quad as if the key was turned on. You can use your normal electric start and everything the way it is.
Remember to disconnect the black and red wires when you’re done to avoid killing the battery. You could also tape the black with white stripe wire back together to prevent anyone from easily starting the quad.
This doesn’t work on all ATVs, only machines with an electric start option only. Your solenoid should be near your battery and wiring harness. On some quads you have to remove a side panel to access it.
Your solenoid will have two main wires coming out of it and possibly some other smaller ones, we only care about the two big wires. You need to lay a wrench or something metal across the two connectors of the main wires. Then, you should be able to start the quad.
I don’t use this method myself because you have to be real careful the wrench or piece of metal is not touching anything else that could short it out. If you accidentally touch the frame or something when doing this, you could cause damage to your electrical parts of the engine.
Desperate times call for desperate measures, and that’s what this method is. This trick is mostly used by thieves, so if you’re driving around the trails with a screw driver sticking out of the ignition and get stopped by trail enforcement, be ready to get asked some questions.
Basically you just hammer a screwdriver into the ignition and turn it on as if it were the key. The screwdriver will brake the pins in the lock allowing you to turn the ignition on.
I don’t recommend this method because you could damage the ignition and not get the quad to start anyway. And even if you are successful, you’re now riding around with a screwdriver sticking out.
This is obviously the best method in the list. Of course if you forgot your key and you’re already way out on the trail, then there’s no way you can order a part and do the replacement. This is more for someone who lost their key, or broke their ignition trying the screwdriver method.
Here’s a decent Replacement Ignition Switch found on Amazon to help get your search started. If you can find a replacement from the manufacturer for your specific machine, that would be the best route, but probably a lot more expensive.
One thing I want to mention is that it’s always best practice to tape up any wires you cut and exposed. You may have gotten the hotwire job done correctly, but if any of those wires hit the frame and short out you could have bigger problems.
Leave enough slack in the wires to work on them again later on.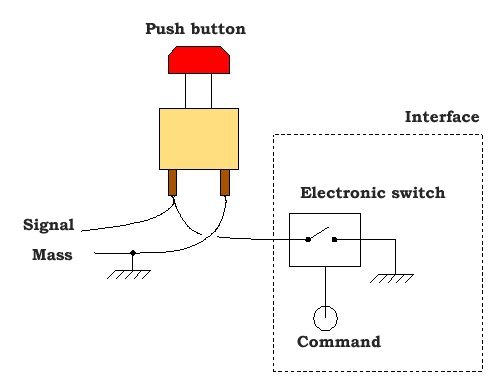 Try to avoid cutting the wires to the ignition real close to the ignition itself, or somewhere that makes it hard to get to the wires. You may want to work on it later on, like putting in a new ignition switch or on/off switch.
Don’t tell everyone how easy you hot wired your quad and how you did it. Maybe you’ll be safe to do this, but I lean a little more to the cautious side when it comes to my machines.
Sharing is caring!
A modern car can be started not only with a key. The Start-stop button is a small product that is installed instead of the ignition switch or in another part of the cabin. One click is enough to start the car. Everything is simple and convenient. How to install the "Start-stop" button with your own hands, we will discuss below.
In most cases, the principle is this: you disarm the car, get in the car and press the brake pedal, then press the start button once.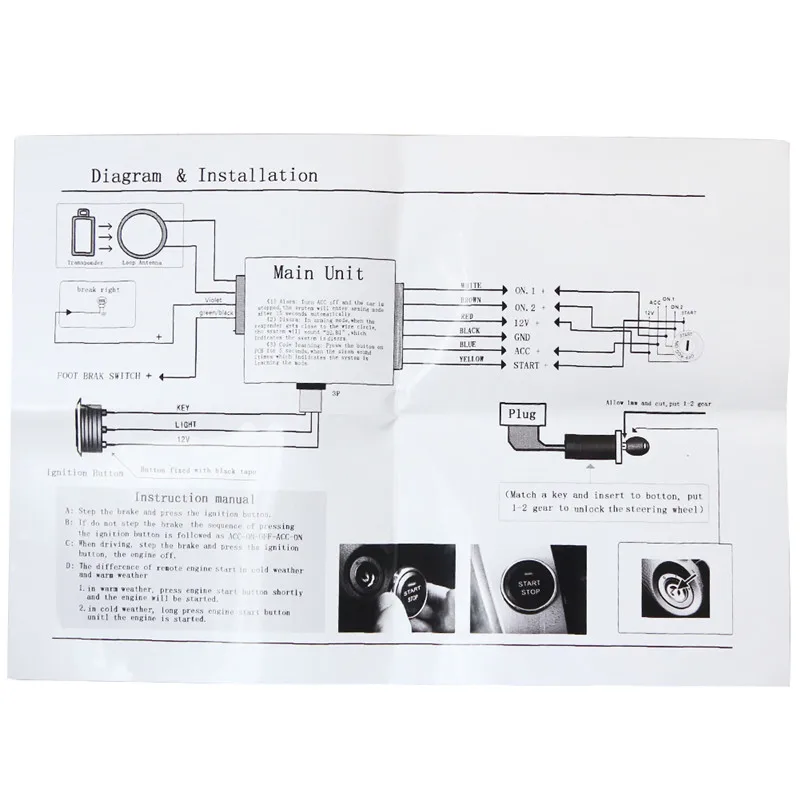 After about half a second of starter operation, the engine will start. Often, the buttons are equipped with LED indicators that indicate a successful start. Need to turn off the engine? No problem, just press the brake pedal and button again.
What are the benefits of using a button?
In the absence of elementary skills in working with an electrician, it is better to apply for services at a service station
Are there any disadvantages? Alas, yes.
There is an opinion that if the battery in the key fob dies, the car cannot be started with the button, but this is not so. It is enough to bring the product to the button, and everything will work. If the battery runs out, you can open the car with the key.
There are many installation schemes for the product, each with its own characteristics.
 An option without a key is possible - it is easier, you just need to press a button.
 This is how installation instructions usually look like
Experienced car enthusiasts combine different options, getting interesting schemes. To install the Start-stop button, you do not need to be an experienced auto mechanic - just ordinary knowledge in the field of car operation is enough. But if you want to implement a complex circuit, with a timer, start delay and other nuances, serious efforts and a large number of additional components will be required.
Regardless of which option you choose, you must first prepare the installation site. To do this, you must either remove the ignition switch, or cut a separate hole on the dashboard. This can be done with a soldering iron, drill, clerical knife and other devices. To access the wiring, disassemble the console. If you plan to install the button not in the ignition lock, do not forget to hide it with a plug.
Consider the option of installation on the VAZ 21214 (Niva). The system used will work in this way: the first time you press the button with the brake pedal pressed, the engine turns on, the second time it turns off. If you press it without the brake pedal, the power unit is started and stopped. When pressed with the engine running, the engine stops.
You will need the following items:
Here's what you need to install the pushbutton
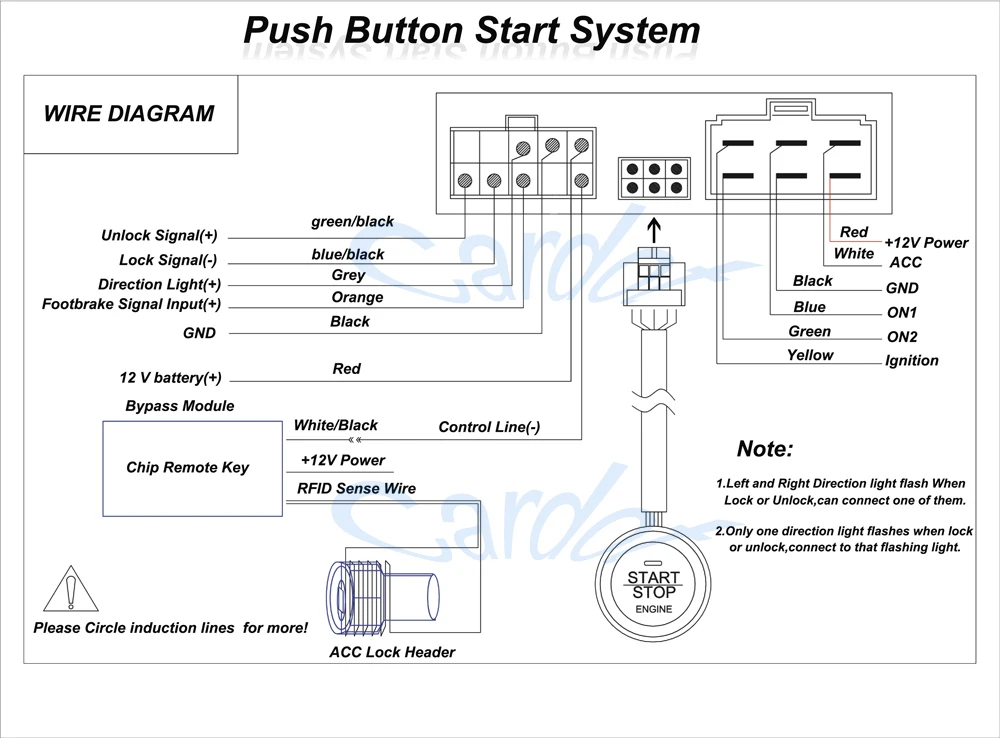
3 connection points are created in the car: to the ignition block, to the brake pedal switch and to the control wire. Due to this, the starter will not work after the engine is activated.
How to install the button
In other vehicles, the principle of installation is approximately the same. The wires of the button are painted in different colors, so you need to focus on the gamma. Difficulties sometimes arise with orange wires, since there are usually several of them. Thin, on a harness, is responsible for the brake - you need to throw it on the appropriate place in the car. Paired - on the "plus", they are responsible for the ignition. There is also a purple wire on the harness responsible for starting the engine - we place it on the fuel pump.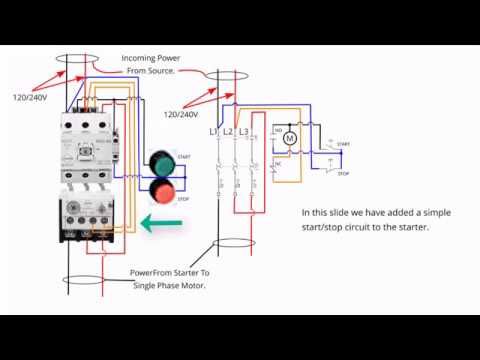 Red rushes to the "minus" of the battery, black - to the "plus". Blue is used to connect the alarm and joins the "plus". Yellow is responsible for connecting the button to the starter and goes there too.
Start/Stop Button Installation Diagram
You don't have to look for components individually, you can purchase a complete kit. It includes a control unit, wires and a button.
Everything you need in one box
The installation process is simple:
Remove the cylinder and lock
Need to cut wires
Partially insulate the wires
Job completed
keychain will be needed in any case. If the door is not opened with a key, the button will simply not work, so theft protection is not reduced.
The start-stop button is an interesting alternative to a regular key. With it, you can start the engine much faster and more conveniently. To install it or not is a personal matter for each driver, it is rather a matter of habit and the desire to try something new.
Hello! My name is Dmitry, I am a journalist by training. I specialize in automotive topics - I started my career in an online store of automotive components, and I myself am a car enthusiast.
Rate the article:
(9 votes, average: 2.9 out of 5)
Share with your friends!
Every ATV owner sooner or later faces a breakdown. And it doesn’t matter if you decide to buy an inexpensive ATV or a branded device. Of course, this is an unpleasant situation, but most problems can be fixed by hand. So let's figure out what to do if the ATV does not start.
Constant driving to the limit and improper operation of equipment often causes a number of breakdowns. Due to high loads, the following may fail:
But most often, problems arise due to some little thing, such as low-quality gasoline, lack of oil or improper preservation of equipment.
The first thing a motorist should do if the ATV does not start or stalls is to check the gas tank. If the fuel is idle for a long time, it may evaporate, and if the tank is empty, gasoline should be added. But if there is fuel in it, it is advisable to drain it. Very often, low-quality fuel comes across, which after a while simply ceases to ignite.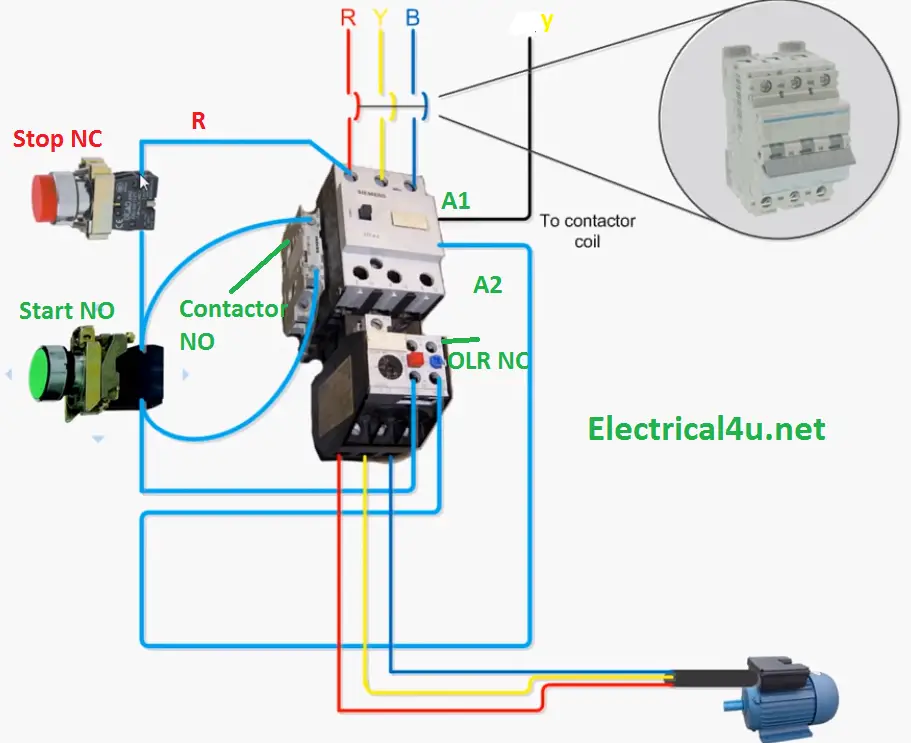
Don't forget the oil. If a low-quality liquid was poured into the system, the device will lose dynamics and may even stall. This problem is especially relevant for four-stroke quads, since their power unit must literally “float” in oil.
Another reason why the ATV does not start is improper preservation of the equipment. Even if you leave the device for a day in the garage, it must be prepared for downtime, otherwise starting the engine will be a real test.
Preservation required:
Many riders ignore this simple procedure, but it is the one that most often causes starting problems.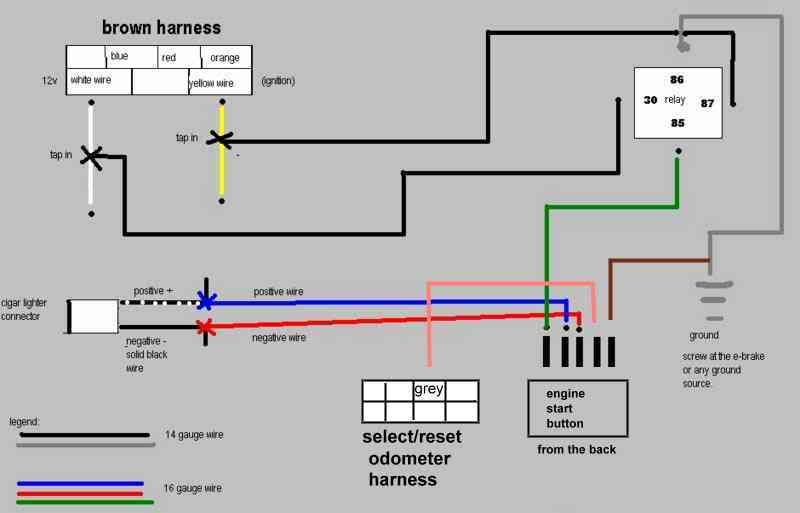 For example, it is almost impossible to immediately start a “cold” engine. Therefore, the driver begins to methodically press the "start" button, and at this time the battery is discharged. After 10-15 attempts, the battery runs out, and it becomes unrealistic to start the equipment.
Important: In severe frost, it is imperative to carry out conservation of the ATV. If this is not done, condensation will collect at the bottom of the carburetor, and the quadric will have to “warm up” for several days.
ATV won't start due to starter or bad contacts. In this case, you should:
 After that, the contacts are lubricated with a special grease. However, if the damage is severe, it is better to replace the part.
 But what if the Chinese ATV won't start due to problems with the starter in the field or away from home? In this case, the rider needs to close the relay contacts with a screwdriver. Thus, the rider will be able to start the device bypassing the faulty starter.
No spark is another simple but annoying failure. It usually occurs due to damage to the coil or a break in the wires that go to the candle. Solving the problem is easy. The rider just needs to unscrew the candle, insert it into the cap, attach it with a metal part to the motor and press "start".
Even a slight downtime can prevent your ATV from starting, especially if it has been improperly preserved. And in order to “reanimate” the equipment after the winter, you should:
