Whether your RV is your home away from home or your home on wheels, you need to keep it protected from the elements. Tire covers protect your tires from damaging UV rays when your RV or camper is parked and sitting in the sun. Get a perfect fit for your vehicle by making your own tire covers. We'll show you how to sew tire covers for your RV or any vehicle with our easy how-to video.
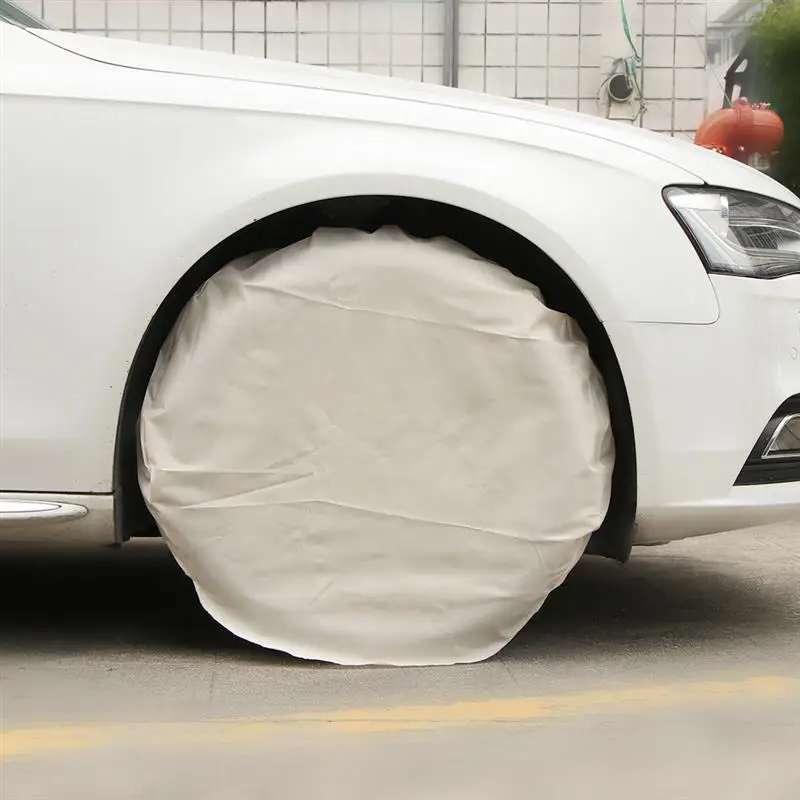
The new tire covers for our Airstream Argosy trailer are easy to put on.
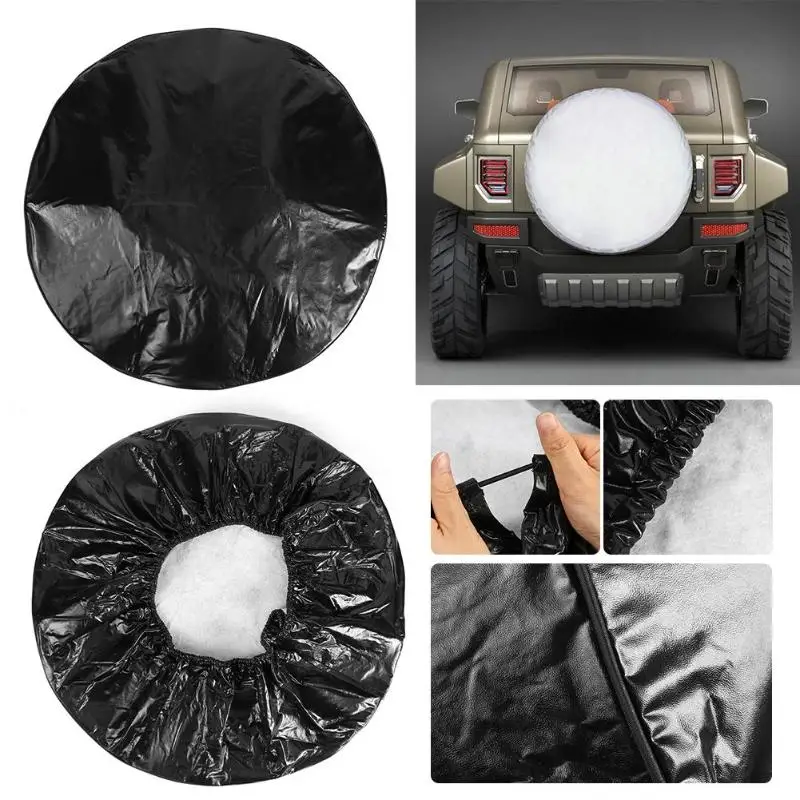
It's important to keep your tires protected to prevent dry rot and other damage and to extend your tires’ lifespan. We designed our wheel covers with a large opening in the back so they are easy to install and fasten around your tires. The hook-and-loop strap keeps the cover securely on your RV’s tires so it doesn’t blow away in the wind.
When it comes to choosing a cover fabric, there are important factors to consider. You want a fabric with excellent abrasion and UV resistance. And to keep your tire covers looking like new for years, we recommend a solution-dyed fabric with superior fade resistance. Sunbrella® Marine Grade ticks all of these boxes and that's what we chose for our RV tire covers.
If you need help finding the right cover fabric, check out the Sailrite Sample Book for Cover & Top Fabrics (#122118). It contains a sample of each fabric line of our marine and outdoor fabrics that we recommend for auto and RV cover applications, as well as marine and patio cover applications. Choosing the right cover fabric has never been easier.
Watch the video below to see how easy it is to sew your own tire covers for your RV or trailer. You can use these same techniques for a truck, boat trailer or any tire cover you need.
If you want to view more projects in our RV Renovation Series, click here!

RV Guides, Tires, Videos
This post may contain affiliate links or mention our own products, please check out our disclosure policy.
by Mark Morris
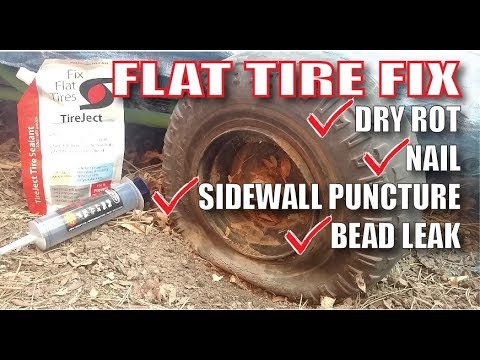
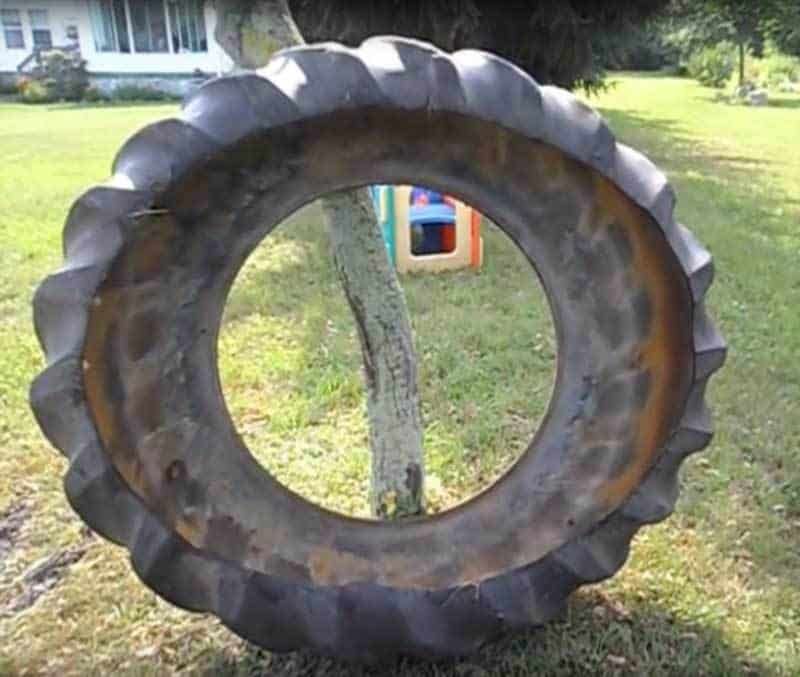
It may seem silly to think of making covers for the tires on your RV. After all, they’re designed to be outside – right? Well as we discussed in a tire maintenance post recently, there’s good reason for keeping your RV tires wrapped up when not in use.
Sunlight and ozone damage tires over time. Covering your tires will help keep them in good, serviceable condition for longer.
While you can purchase inexpensive RV tire covers, why not make your own? Sailrite made a video tutorial on how to use their incredible Sunbrella UV resistant fabrics to craft homemade tire covers for your camper. Let’s look at how they did it.
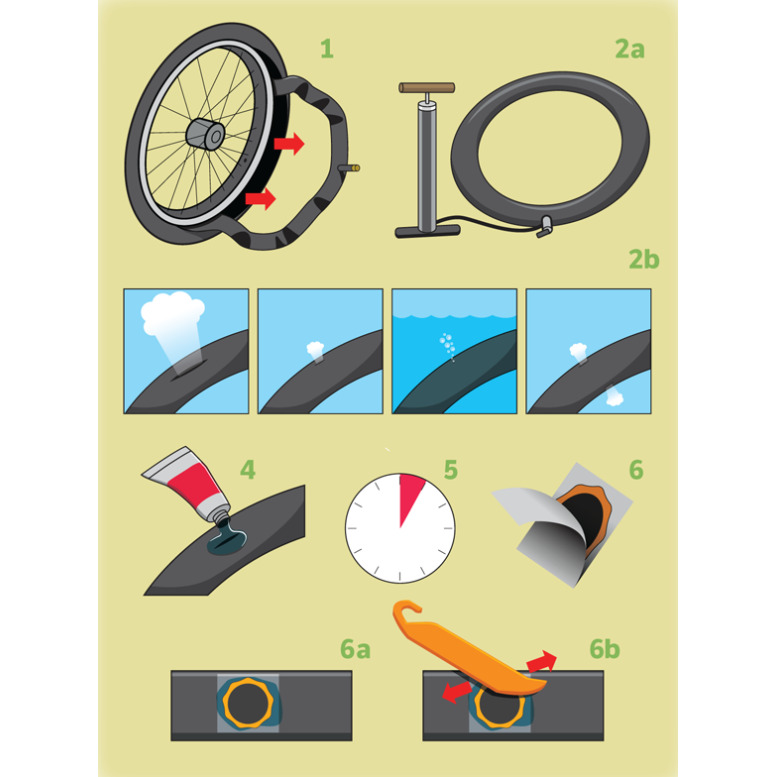
You’ll need a few measurements to start, so get out a yardstick or tape measure out and:
 The tire will not need to be off the ground for this. Just measure to the point where you want the fabric to stop a few inches from the ground.
Lay out your fabric panels, starting with the two circular pieces.

The best way to cut the marine grade fabric is with a hot knife. The hot knife prevents unnecessary fraying along the edges. A soldering iron will also work.
You’ll need to cut out the hub hole and a slit leading up to it in the back panel.
Measure and cut the rectangular panel the same way, then stitch a half inch hem around its edges.You need to use heavy synthetic thread and a heavy duty upholstery needle.
The back panel also gets an overlapping Velcro closure for a tight fit. Use binding around the edges of the hub hole and slit in the back panel for reinforcement.
If you are an accomplished sewing machine operator, this project should be simple. If your sewing skills could use a little improvement, don’t worry. The video has a lot of detail on sewing techniques that will walk you through the process step-by-step.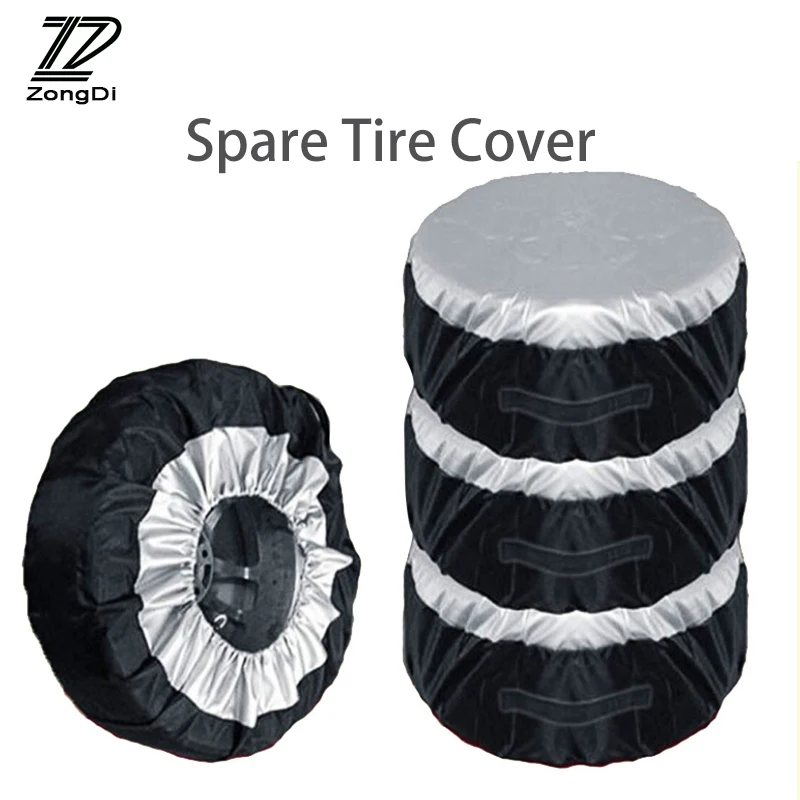
Once the back panel is complete, you can assemble the panels into a full wheel cover. If you fold your circular panels in half and mark the center along both edges, it makes it simple to see where the pieces fit together.
Make sure you stitch the three pieces together inside out!
This heavy fabric requires patience in feeding it through your machine. Don’t stress out if it folds over on you the first time through.
Sailrite also sells sewing machines, trim and everything else you’ll need to complete these great looking covers!
Original video by Sailrite
Categories RV Guides, Tires, Videos Tags Tire Covers, tires
Rachel and Cole from Workin’ For The Wild shared a look inside their beautifully renovated camper, a 2007 Frontier Explorer.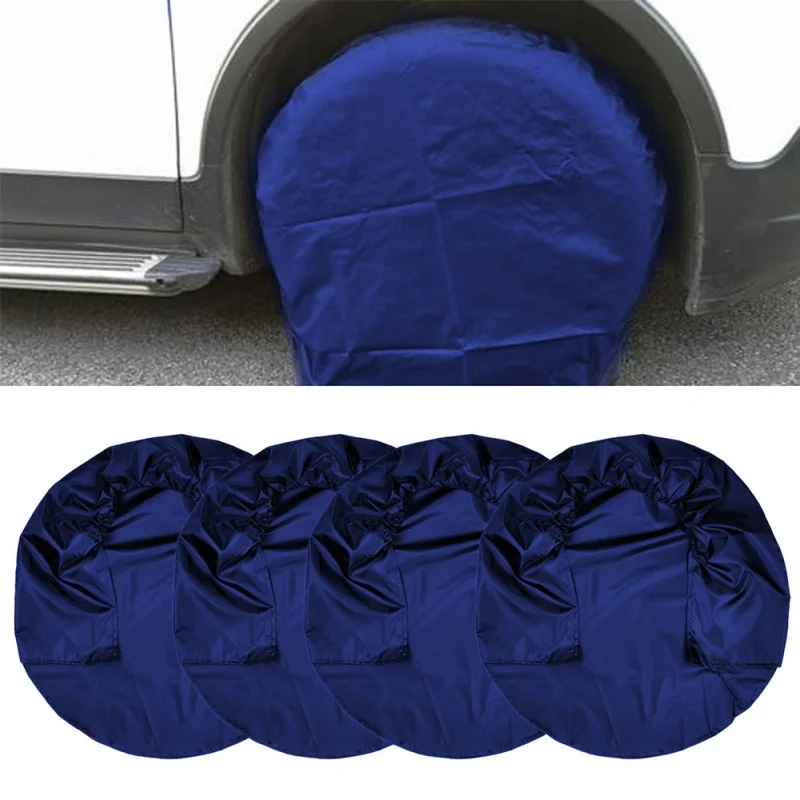
Fortunately, there are plenty of cheap camping sites that cost $40 or less per night. Some places even offer hookups and scenic views!
I was pleasantly surprised at both the ease of use and the results gained by using Chemical Guys Total Extract Tire and Rubber Cleaner.
Sign up for the newsletter today!
The Promobil resource presents tips on how to properly prepare your motorhome after a long winter for the summer season. In addition to checking with professionals.
Also during the season, according to ADAC (General German Automobile Club - the largest public organization of motorists in Germany, the largest in Europe), you should check the condition of the main components of the motorhome and control tire pressure.
When the first motorhome trip is just around the corner, the first thing we do is go to the car wash. And here you can not do wet cleaning. If you want your mobile home to serve you for a long time, act painstakingly and systematically.
It is best to divide the sink into two parts: inner and outer. And to make the task easier, it is worth attracting someone else to help. A simple tip will do: go to a truck wash. This is obvious when looking at the dimensions of your camper. Attention: it is not recommended to use sharp cleaning brushes and aggressive detergents for washing. It is best if you can find a sink with soft brushes that do not scratch windows.
If there is no suitable car wash: well, you will have to wash the van yourself. Buckets, rags and sponges to help you. The rules are the same as for a car (in Germany): washing a car on the side of the road is prohibited in most cities, and it is allowed to wash a motorhome at a gas station or car wash.
At the car wash, it is best to find the right program when heavily soiled: pressure cleaning in turbo mode cleans dirt and dried sludge that likes to settle in the wheel arches or the rear of the vehicle. Take care that the jet of water does not cause damage to the external elements, rubber seals and cooling grilles. The wheels will also welcome a portion of extra care, in stores you can buy a special wheel cleaner. The cooling grilles and the gas bottle compartment can be wiped with a damp cloth and rinsed gently if necessary.
When the outside of the motor home is already sparkling with cleanliness, you can safely move on to the interior of the car. After a long period of inactivity, the interior of the motorhome also needs to be cleaned. Using a microfiber cloth and detergent, you can start cleaning cabinets, bathrooms and furniture surfaces. Moderate use of water will protect the structure and furniture from excessive moisture. Be sure to open windows and doors and ventilate the motorhome while cleaning. It is also necessary to dry and ventilate pillows and mattresses by pulling them out into the air.
After cleaning the interior, all that remains is a functional check of the on-board instruments: refrigerator, stove, heating and batteries - is everything in order? Is there a foreign smell from the cassette toilet or is it better to clean it? Rinse and disinfect water tanks. If everything is in order, then your favorite motorhome is ready for the season!
Motorhome cleaning plan
Outside:
Inside:
Next, we inspect the motorhome for damage or minor flaws that may appear after a long stay. Here, not only cold and dampness play a role, but also the general condition of the chassis and body structure. If a vehicle leaves for the winter break after a tough season without a thorough inspection and preventative protective procedures, you may be in for some nasty surprises in the spring.
Important: inspection of the underside of the vehicle.
A decisive factor in vulnerability to winter damage is the texture and processing of the material. The weather resistant GfK coating is not as sensitive as wood flooring. Frames and attachments on the chassis can rust. Experts advise treating wooden structures with special hot wax to avoid moisture penetration inside.
Inspection of the car from the pit will show the results of wintering. A trip there is worth it in any case: a leak test is included in the mandatory warranty program. Is it too late for prevention? Then specialists must repair rotten wood parts or eliminate rust.
How difficult and costly is it to repair a motorhome? Correctly calculate costs and expenses
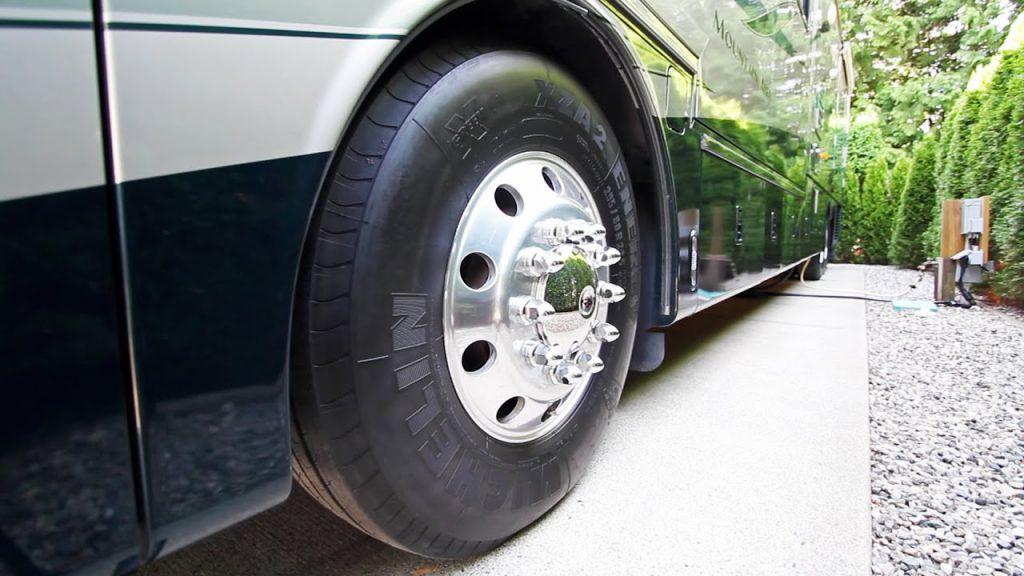
Check the wheels to make sure everything works safely.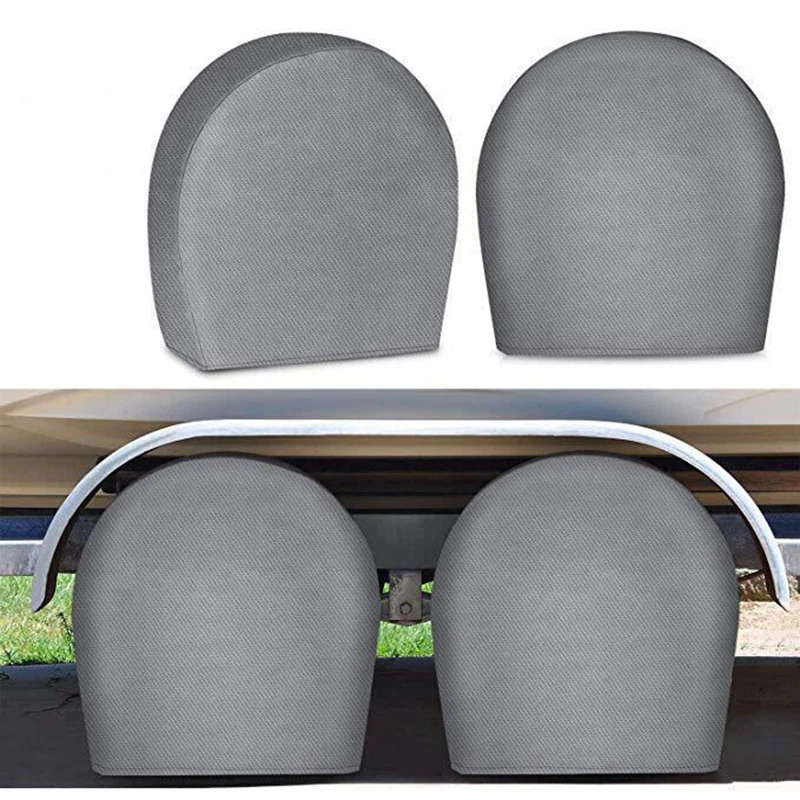 How long has it been since you last bought tires? Regardless of the recommended tread depth (at least three to four millimeters), a new set must be installed no later than six years. If the motorhome has been parked with too low air pressure in the tires, chafing or cracks will form on the side surfaces. Of course, such cracks are best detected before leaving the road. After checking the structures, chassis and wheels, it remains only to make an inspection in order to document the technical condition.
What to check
We talked about the preparation of the motorhome after the winter for the summer season with Christian Ertl, RV Operations Specialist at Goldschmitt Fahrwerkstechnik. In a conversation with Promobil, the expert explains what problems motorhomes struggle with after a long winter - and what is important in terms of tightness, technology and design.
promobil : What is the typical damage that wintering or winter driving can cause to a motorhome?
Ertl : On the one hand, damage to the electrical system, heating and water supply can be caused by frost, on the other hand, unwanted intruders such as mice or parasites must be reckoned with. After the winter holidays, corrosion of attachments on the frame or oxidation of locks and other metal parts may occur.
promobil : What do you recommend to prevent pipe bursts due to low temperatures?
Ertl : It's simple, this can be avoided by opening and emptying all containers, taps and pipes in the motorhome. To protect the motorhome from such troubles, sewer pipes are blown and dried at atmospheric pressure, about 1.5 bar.
promobil : How to recognize a leak without special equipment and what to do in case of moisture?
Ertl : There are several signs of moisture in the motorhome: a musty smell in places or everywhere, soft stains on furniture decor, in the worst case, dark mold. In any case, it is better to visit a car service.
promobil : What if lubrication of door seals and rubber gaskets with glycerine or silicone no longer helps?
Ertl : Any defective seals on doors and windows should be replaced if damaged to prevent water from entering the motorhome. Moisture in a camper is no joke.
promobil : Which places are particularly prone to rust and what can be done about it?
Ertl : Frames and fittings are primarily subject to corrosion, damaged areas may rust. Aluminum is more of an issue with aluminum doors, sashes and aluminum panels. Trouble can be prevented by regular visual inspection, good bottom protection, and sealing of seals and cavities.
promobil : For what problems is it not worth fixing the problem on your own, but should you contact a specialist?
Ertl : Exactly: water and cold damage, installation on electrical and gas installations, and repairs to the exterior wall or floor of a car.
promobil : What advice would you give to readers about a warranty, an additional warranty?
Ertl : In my opinion, it is always desirable to document everything - better in writing and with pictures. Then you are safe as a customer. For warranty work, shortly before the end of the warranty period, it may also be necessary to extend the work performed in writing.
promobil : What are the most common problems for motorhome owners?
Ertl : These are mainly defects in the refrigerator, heating system, battery, and alu-Fraßmängel (aluminum panels) - with this they mainly come to us.
04/02/2019 Author: Nadine Scheufele
As you know, the patency of any car on roads with poor coverage directly depends on the chosen rubber. Busya got us in the middle of the winter of 2016, being shod in summer asphalt tires of a rather modest "native" size 235 / 55R17.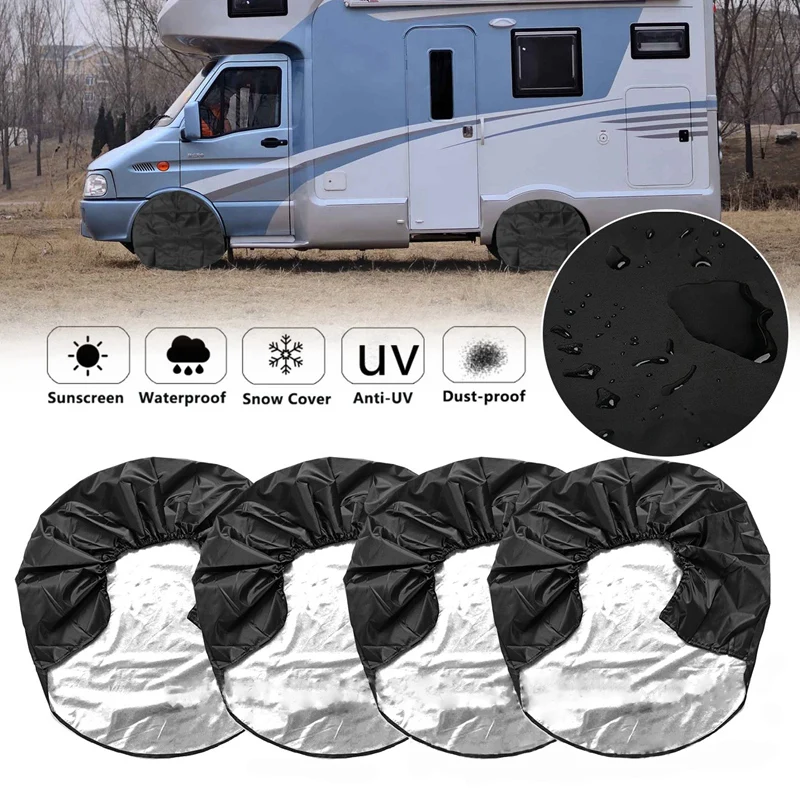 With the onset of spring and the expansion of the horizons of new trips, the issue of choosing tires has become especially relevant.
1. First of all, I decided to try to change her shoes to 16 "wheels. However, the attempt was unsuccessful. The thing is that we have a 180-horsepower two-liter turbodiesel, and in the configuration with it, the car is equipped with more powerful brakes, which exclude the possibility of installing smaller wheels (unlike the 140-horsepower version).Then it was necessary to determine the size of the tires, a thorough study of the bus drivers forum showed that 235/65 wheels fit on the Multivan without modifications, which, in terms of the inch size, is an honest 29"compared to the" regular "27".
2. Well, then everything turned out to be quite simple. The fact is that the choice of rubber in the indicated size, to put it mildly, was not at all "so hot", especially considering that I needed all-terrain AT tires, since it does not make much sense to put MT on this car: where you really need "hard" adhesion of a mud tire with, in fact, the dirt itself, I would most likely just feel sorry for killing our camper. :) In the end, I settled on the Goodyear Wrangler AT/SA 235/65R17 as the version with the most "evil" tread pattern of all available on the market at that time.
3. I bought 4 wheels, not five, for a simple reason: the spare wheel simply did not fit in the regular niche under the trunk floor.
4. And almost the next day we set off on a new journey around Kalmykia in search of blooming tulips.
5. Rubber turned out to be very good. Quiet, durable, excellent road holding and hydroplaning resistant. On primers, it allowed to reduce pressure, which led both to an increase in the level of comfort in the cabin ...
6. ...And to increase the cross-country ability in the sands. The “weak” node here is the DSG-7 robotic gearbox, so we tried to drive through all the more or less ambush places on foot, having previously explored the trajectory on foot so that the load on the transmission was not so high.
I would immediately like to say a few words about the "robot": from the pluses it has a very short first gear, which in the "asphalt" mode of operation it immediately switches to the second after starting: the first is needed literally in order to move the car from its place half wheel. Therefore, in difficult places, I simply transfer the gearbox to manual control and slowly pass obstacles in first gear.
We can say that it partially compensates us for the lack of a low-range transfer case: something is better than nothing. And by the way, judging by the reviews of the owners of cars with a 6-speed manual transmission, the “mechanics” have a very gentle clutch that does not like slipping, and in such cases it is not always possible to move the car from its place so that there is no burning smell around. :(
7. Of the minuses - reverse gear: it feels rather closer to "second", so it can be problematic to slowly move back uphill or on sand / snow. You have to press the accelerator pedal almost to the floor, the engine spins up to 1500 -2000 rpm, and only after that the "robot" starts to "reluctantly" set fire to the clutch, transferring torque to the wheels. Such is the feature of the box, which must be taken into account.0215
8. But back to our tires. Passing the car on the road, where otherwise it was impossible to pass, I drove into the thorns, moreover, I managed to hang the car diagonally, actually balancing on two wheels. In general, on a deflated tire, I immediately successfully caught a side cut.
9. Since the primer actually consisted of sand, we didn’t even notice this moment: the car didn’t pull in any direction and it drove exactly as usual. The fact that we drove about 10 kilometers on a flat tire, I found out only when the asphalt was already very close, and I had to go out to pump up the wheels. :(
By the way, the tire puncture warning system (it constantly monitors the number of wheel revolutions using the ABS sensors, and if suddenly one wheel starts to rotate at a slower speed than the others, it displays a message on the dashboard screen) for some reason did not work. They seem to be moving at a slow pace. But when they put a smaller spare tire and rolled on the asphalt, I began to regularly swear at it, although at that time we were already aware of it.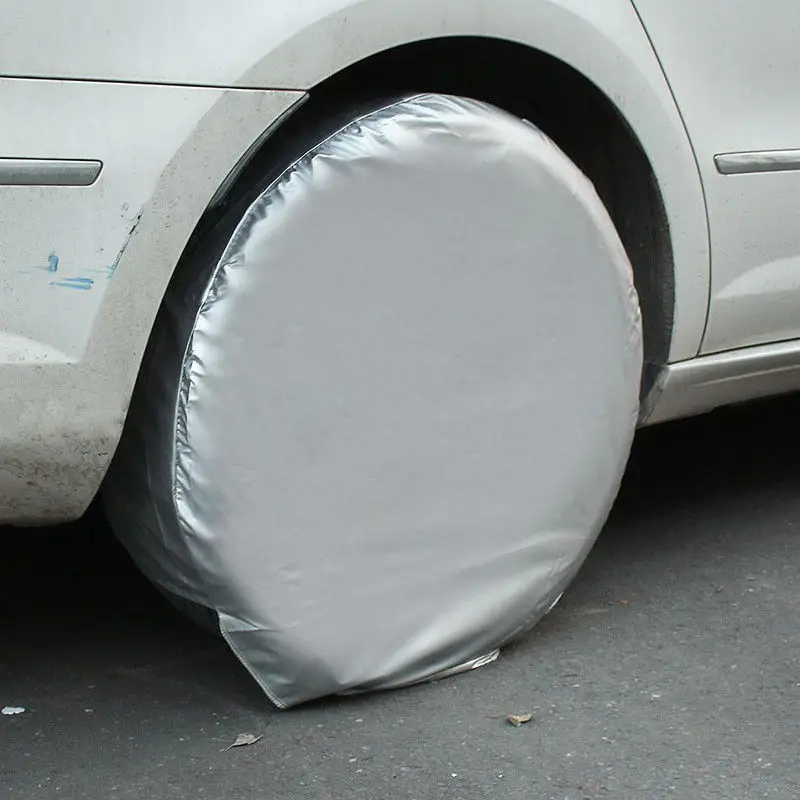 :)
:)
10. And, of course, it was very joyful to be in the steppe actually with a "roll-out", since it turned out that our profile rubber was not available in those parts - a rare size. At the tire fitting, the master put a patch with parting words " I xs how long it will last ".
11. Returning home after the trip, the first thing I bought was another tire to replace the punctured one. And then I accidentally noticed interesting information on the store's website:
I was especially interested in the last paragraph. For the sake of interest , I send a letter to the Goodyear representative office.So, they say, and so, like I just bought your premium, moved off the asphalt, and here it is, it's a shame, yes!
12. " Denis, good afternoon! It looks like your case is covered by the Premium Warranty. Please contact (store employee) and describe the problem. It will guide you through the next steps ".
" To accept a warranty case, please send a photo of the damaged tire:
1. general view
2. DOT code and production date
3. damage
4. size
This tire is available for order from the manufacturer. We expect delivery in early July ".
Sending photos, waiting for a month.
" Denis, good afternoon.
You can come for a new tire from 10 to 19:00. You leave your old tire with us and pick up the new one. Tire service will be free ".
13. Hurrah! (Victory fanfares sound)
Yes, by the way, the "asphalt" pressure on the bus is already 3 atmospheres, which is almost the maximum for these tires (there is a limiter of 3.2 atmospheres on the side.) Still, our car is quite heavy.0003
16. But on this rubber, it also became quite high. To the thresholds on the side - 31 centimeters (from the bottom to the protection of the tank, of course, it will be a little less, but in terms of damage, the thresholds are still more unpleasant, as practice has shown).
17. Well, the spare tire turned out to be the lowest point.