Anyone who has been riding bikes for a while can tell you that sooner or later, you’re going to get a flat. Even with tube sealant that prevents flat tires for up to two years, it’s just an unavoidable occurrence. When flats occur, the best thing you can do is be educated and prepared to patch the tube so that you can quickly get back on the road. Let's get started:
Materials NeededConsider these different flat tire scenarios: The at-home repair scenario where you're walking your bike into the garage and notice that the back wheel is sagging a little bit—you have a flat. Or, the on-the-trail repair scenario where 20 miles into a 50 mile ride, you go down hard on a rock and get a nasty pinch flat.
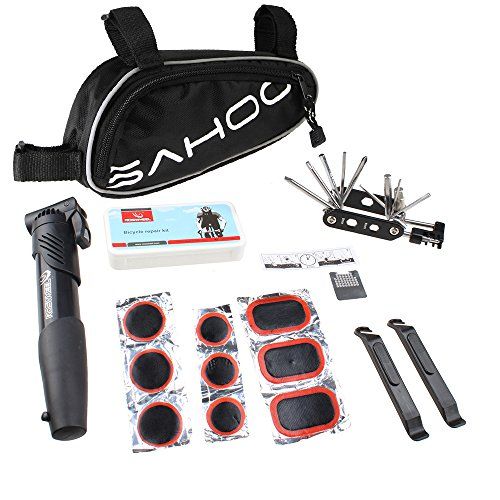
We’re going to walk you through some of the materials you’ll need for either situation, and then how to use them for both. Here’s a list of some things you will need to repair your tube.
Follow these 4 easy steps to patch your bicycle tube and repair your flat.
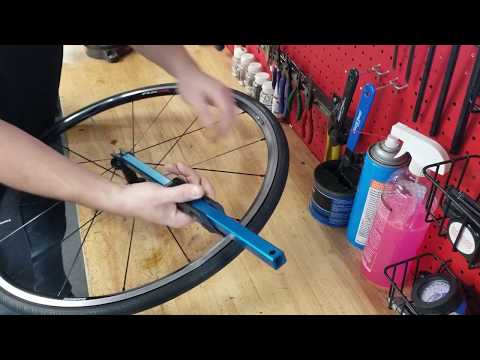
Step 1. Remove Your Tire
Take your tire lever and hook it around the outer edge of the tire (the bead) to get it off of the rim. Once you have the tire lever under the tire rubber, hook the other end of your tire lever around one of your spokes to keep the tire elevated. With a second tire lever, work your way around the rim, taking the tire out of the bead until one side has been completely removed from the rim.
Step 2. Find the Leak
If the puncture or gash in your tube is not easily apparent, you’re going to need to fill the tube back up to locate where the air is escaping from. There are a couple of different ways to find the leak. The layman’s way would just be to run your hand along the tube and try to feel it out.
The bucket of water method that we mentioned earlier, however, is a more accurate way.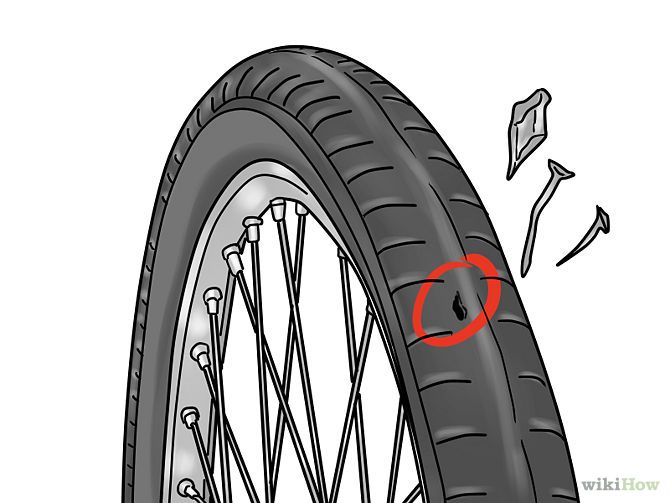 If you’re at home, fill your sink or a large bucket full of water and submerge each end of the tube. Watch for air bubbles escaping from your tire to locate your problem area.
Make sure you submerge each side, as there may be more than one puncture. Be sure to check the inside of the tire to make sure that the puncture-causing object has been removed. Once located, mark that spot with your tire marking chalk.
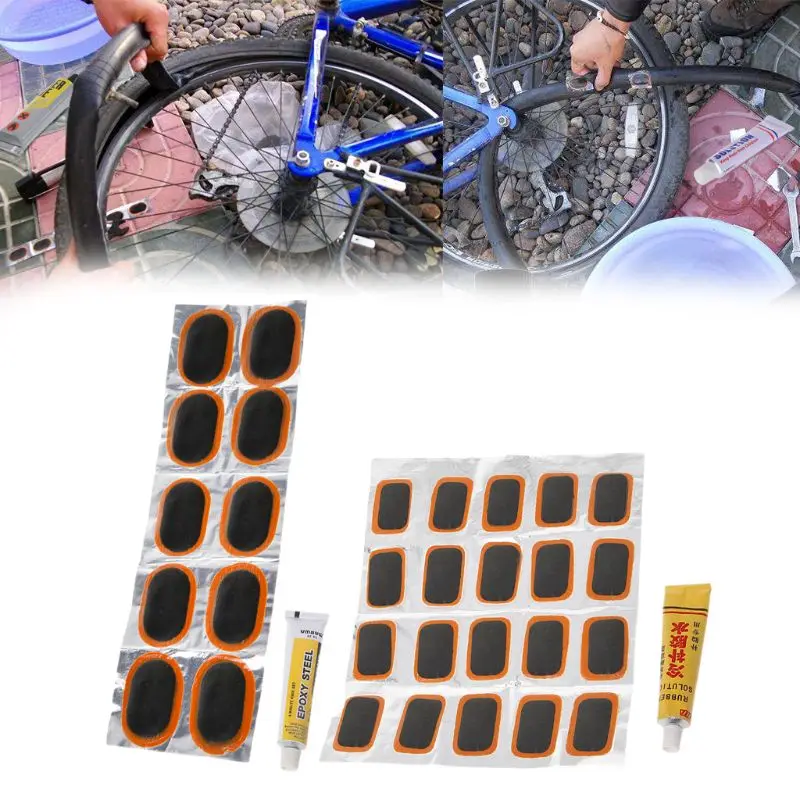
Step 3. Patch the Hole
When patching the hole in your bicycle tube, make sure that the area around the puncture is clean so that the patch will stick. Using the scuffer from your patch kit (sand paper or emery paper will also do the trick), rough up the area around the puncture so that your adhesives have something to grip.
If your patches don’t require glue, simply press them firmly over the hole. For patches that do need glue, add a layer of glue and spread it evenly around the area. Wait for the glue to get a little tacky, and then press on your patch. If you have the materials available to you at home, some cyclists will sprinkle talcum powder on top of the patch so that that patch/adhesive doesn’t stick to the inside of the tire.
Step 4. Put It All Back Together
Put a little air into your tube and then put it back in the tire, making sure, again, that there are no foreign objects remaining in the tire. Be sure to insert the tube and tire back into the rim using only your hands, as the tire levers may pinch the tube and cause another flat (we certainly don’t want that after all your hard work).
Once you’ve pushed the tire back in and the valve stem is securely inside the tire, inflate your tube back to maximum pressure, being sure to check the tire one more time to make sure that the bead is installed snugly. Ready to ride!
Asked
Modified 3 years, 5 months ago
Viewed 32k times
How do you deal with the small cuts in a bicycle tires main tread? Do folks fill these small cuts?
I have continental gatorskins which I periodically check and pull out the street glass shards.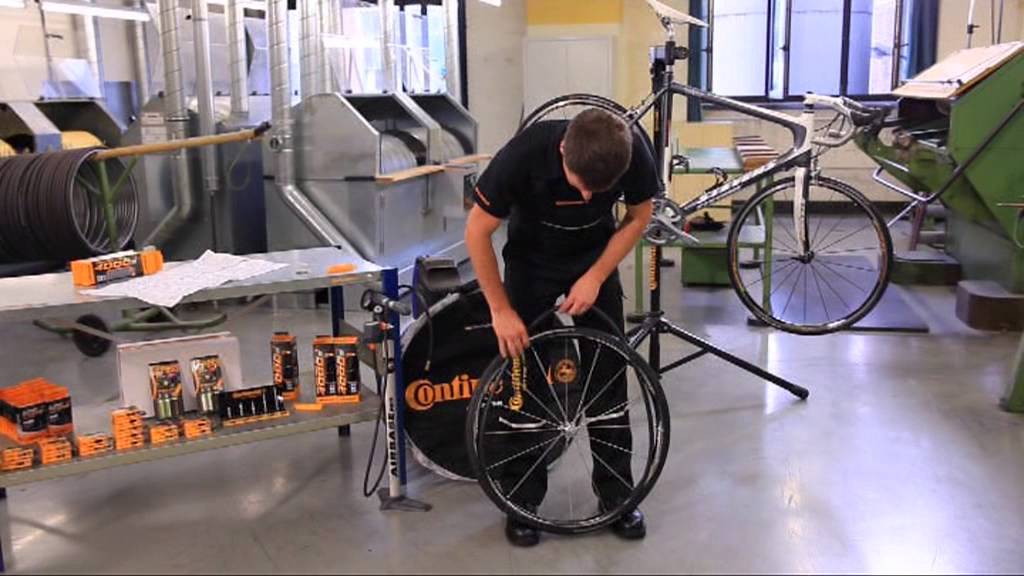
thanks!
2
If it's a large enough cut that the tube pokes through the tyre once inflated, then the best solution is to use a regular tube patch on the inner surface of the tyre with the vulcanising glue just like when patching a tube.
While less recommended, I've also had success just using a drop of superglue for a small cut in a tyre.
2
I periodically check and pull out the street glass shards
I have been doing the same for as long as I have a bike. Glass shards, small sharp stones, nails, drawing pins... name something I haven't pulled out of my tires!
But I never worried of patching the tire, and never had problems because of that. My tires (even those which weren't puncture resistant) reached end of life because of wear, not because of cuts. I just patched the tube inside, and went on.
0
The only times you need to consider the tyre is if the hole is large enough for the inner tube to poke through, or if the hole is in the thin sidewall
I once had a hole that was ~1 mm across, and seemed okay. It took about 3 flats every 200 km of riding to realise that the tube was herniating through the hole and wearing through. A black tube and a black tyre made it hard to see the issue.
If you can't see the tube or the threads of the tyre in or through the hole, its fine. If you can, then its possible to stick an inner tube patch on the inside of the tyre to get more wear out of it, or if the tyre's worn out anyway then its time to replace.
Your other option is to work on your technique, and try to stop riding through broken glass so much. Not easy I know.
2
You can use a small amount of super glue to close the area that was cut by the shard of glass.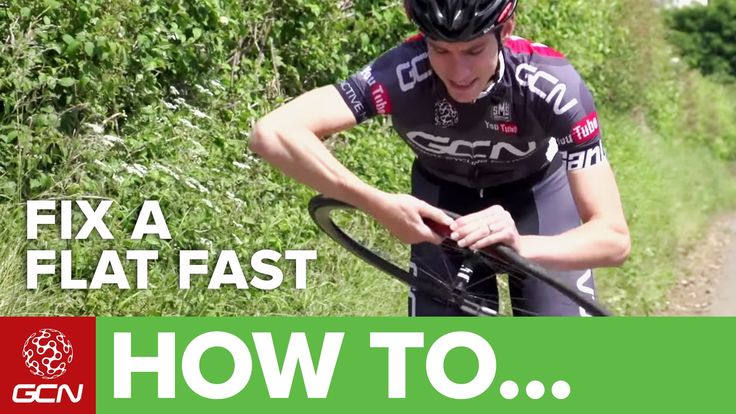 Depending on where the cut is located you will have to re-apply the super glue every few hundred kms, but this can greatly extend the life of the tire.
1
Some puncture kits come with a piece of rubberised canvas which is intended for glueing over a (small) tear or hole in the tyre carcass - but I wouldn't rely on it for anything bigger than a slot a few mm long - perhaps you could get away with longer on a relatively low pressure tyre but not on a racing bike. For pinpricks or cuts to the rubber that don't penetrate into the fibre structure I've never bothered doing anything other than removing the foreign material from the tyre so it doesn't get worse. I've never had a tyre fail because I'd not glued up or repaired damage to the tread... general wear gets them in the end.
I don't bother patching cuts caused by tiny shards of glass and have never had a problem. When touring I carry a Park Tool emergency tyre boot in case I develop a bigger cut in the tyre - but I would only use it as a temporary solution until I can get home and replace the tyre.
There are also tire plugs which are designed to plug holes in tubeless tires that are so big the sealant does not work.
It might be overkill, but I see no reason why those would not work when using tubes.
Sign up using Google
Sign up using Facebook
Sign up using Email and Password
Required, but never shown
Required, but never shown
By clicking “Post Your Answer”, you agree to our terms of service, privacy policy and cookie policy
06 Breast 2018, Thu
In this article, we'll show you how to fix a puncture or cut on a tubeless bike tire. What tools are needed for this. What mistakes should not be made when repairing bk rubber.
For repairing punctures and cuts up to 2cm, special tire repair kits can be used. They are a screwdriver with a sharpener and a special hook for a tourniquet made of vulcanized rubber. In our store, such sets are represented by the Lezyne brand:
1. So, we got a puncture or a cut in the tire. First you need to quickly find the puncture site and prepare a repair kit.
Important! It is advisable not to let the tire go down "to zero" as it can "snap out of the beads" (this is when the tire peels off the rim bead) and then, in addition to the puncture, you will also have to solve the problem with inflation in the field, and this requires a special Co2 pump or a high-performance pump/stack/compressor. So that the tire does not go down completely, you can not remove the object due to which the wheel has broken through or pinch the puncture site with your finger until you start to eliminate the puncture.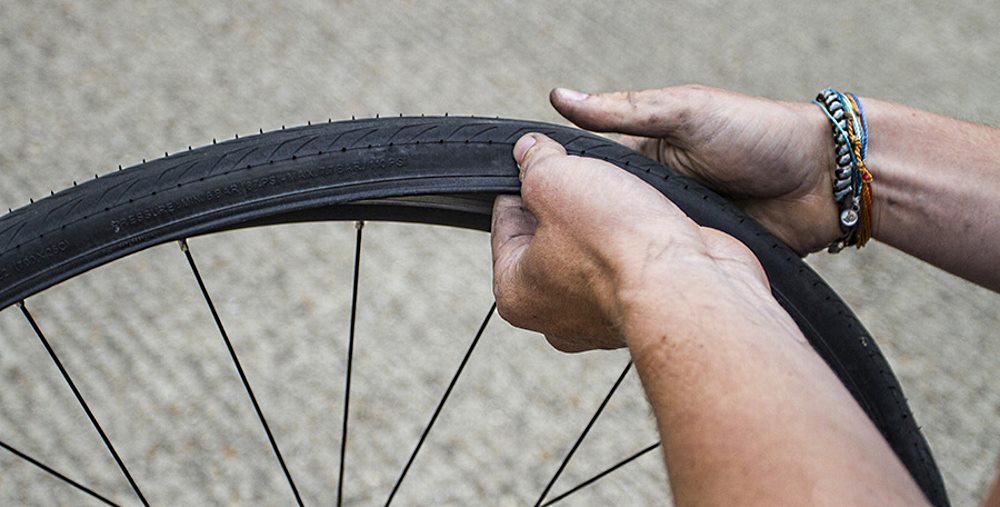
2. Prepare the site of damage to the tire: We remove the cause of the puncture from the wheel, if it remains, and insert the awl of the repair kit into the site of damage and grind it. We take out the awl and again hold the puncture site with your finger so that the wheel does not go down.
3. Take the tourniquet and insert it into the holder as shown in the photo.
4. Together with the tourniquets, we insert our awl into the puncture site by about 1.5-2 cm so that two tendrils of the tourniquet stick out. Glue is not required. If there is sealant left in your tire, it will seal the remaining puncture well. If the sealant is not enough, it is advisable to add it, but after using the repair kit.
5. Now the most difficult moment that everyone who has ever dealt with tire repair does in his own way is how to remove the awl and at the same time leave the tourniquet in the tire. Someone simply breaks the tourniquet in half by twisting the awl in the tire (this is what many motorists or motorcyclists do), but for this you need to have a fairly strong tire with a thick bead. If the tire is light and thin, then this trick will not work.
Tip: In my experience, I stretch the tourniquet a little in the middle, thereby making it thinner at the awl grip. This allows you to easily remove the holder from the flagellum when it is already in the tire.
Q&A:
How reliable and durable is this repair? How wide can a hole be repaired with a repair kit?
- With the correct use of the repair kit, this repair will last the entire life of the tire. An exception occurs only in cases where the cut is more than 1.5-2 cm or the tire at the place of the cut begins to "diverge along the seam".
Do I need to cut the tendrils from the harness protruding from the tire?
Not required. Over time, they will rub against the asphalt because they have a softer rubber compound than your tire.
Can the repair kit be used in wet weather?
Yes. No problem.
Can an awl or a small screwdriver be used instead of a special awl-screwdriver for repairing tubeless tires?
- It is possible, but this entails certain nuances. It is better to use a small screwdriver, but you need to be careful as you can damage the tire carcass.
I have run out of special flagella, what should I do?
- No problem. Alternatively, you can use a vulcanized patch cut into strips or a regular patch, or a piece of felt rope. Many even managed to seal it with a cigarette filter or rubber bands. But these are temporary options, so to get to the finish line.
Repair harnesses are always available in our shop.
NB permanent author Yuriy Ganusyak shares tips on how to take care of a bike so that it serves faithfully for a long time. Note that this material is designed for an experienced "rider". Therefore, if, while studying the review, you discover concepts or details unknown before, feel free to leave questions in the comments.
It's better to learn how to work with each part of the bike yourself. It is not as difficult as it seems at first glance, and bike maintenance skills will never be superfluous on a trip.
First, let's make a list of parts of the bike that need maintenance, and then we'll deal with each item in more detail.
 5-10 thousand km between replacements, depending on operating conditions.
 And before you start listing the main units and features of their maintenance, remember the main rule, which sounds like this:
node!
And more:
Chains tend to stretch with wear. Moreover, it is not the cheeks of the chain that are stretched, as one might think. The connecting pins are erased, because of which the chain not only becomes longer, but also looser. An elongated chain begins to work worse with a cassette and a system star, the grooves of which are designed for a certain pitch. In this case, all components are subjected to abnormal stress, from which they wear out even faster.
The chain wears about 2-3 times faster than the cassette. And about 10 times faster than the system's star.
To extend the life of all this goodness, use the chain replacement strategy . In addition to it, there is another fairly simple way to care for the mechanism, developed by the author of these lines - let's call it "Cleaning-Lubrication" . Let's start with the last one.
So you bought a new bike, or a new cassette and chain. Turn around and go back to the store for two new chains (for a total of 3).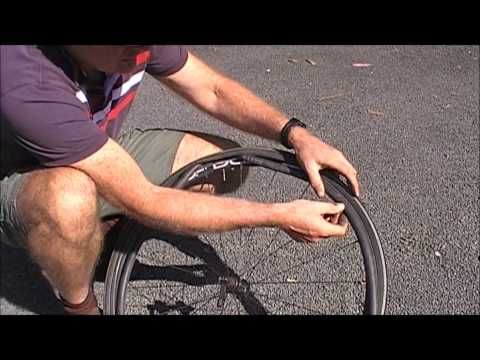 Buy a "gauge" - a simple device that measures wear - and be patient.
— Cleaning-lubrication of the chain
Regularity - once every 50-200 km, depending on the type of lubricant, weather conditions, etc.
Algorithm: wipe the chain very carefully with a cloth so that it shines like new. Then apply grease so that it gets inside the pins. Make a couple of tens of turns with the connecting rods so that the lubricant is distributed inside the chain. And again wipe the chain with a rag. The chain must be clean and dry after lubrication!
Optional - Wipe the teeth of the large system sprocket to minimize chain fouling. I recommend using Finish Line Teflon Lube.
- Circular chain replacement
Regularity - once every 500-700 km. The basic set consists of three clean dry chains.
Algorithm: chains are hung on a stud, the least stretched is determined by their length.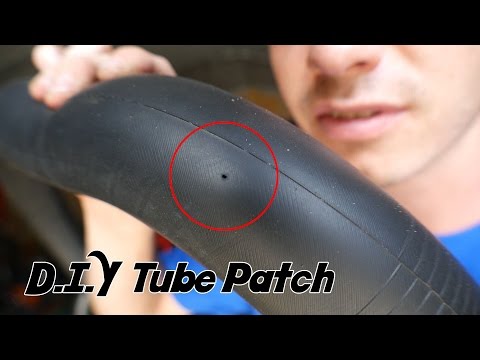 This chain is set for a period of two weeks, the rest - for a week and a half. After 2 weeks of use (remember about regular lubrication during this period! - Author), the chain is replaced with the next of the remaining two. After all three chains go through their cycle, a “spring cleaning” is performed (see below).
Thus, the wear of all chains, and hence the transmission as a whole, is evened out.
After the cycle, all circuits must be checked with a “gauge”. If any of them has reached wear 1.0, it should be excluded from the cycle. After all 3 chains pass the 1.0 mark, the transmission set is considered conditionally worn out and replaced with a new one.
The transmission set lives 5-15 thousand km depending on the care taken.
- General cleaning
After all 3 circuits have outlived their cycle (approximately 1,500-2,000 km), it is worthwhile to carry out a deeper cleaning of all components.
Algorithm: remove the cassette, wash it to a shine and dry it. An old toothbrush and Fairy detergent are great for this. Then clean the stars of the system, the transfer rollers. Immerse the chains overnight in the White Spirit solution (gasoline solvent, a mixture of liquid aliphatic and aromatic hydrocarbons - ed.), Then wipe thoroughly with a rag. The transmission is now ready for the next cycle of use!
Specific tools for "general cleaning": cassette remover, whip, "gauge".
There is one little trick that can extend the life of the rubber.
If you don't spend 100% of your time riding in a time trial champion seat, then approximately 70% of your weight is on the rear wheel and only the remaining 30% is on the front.
Because of this, the rear tire, if they are the same, wears out faster than the front. If you are not too lazy to swap the front and rear tires during the “general cleaning”, they will wear out more evenly and last longer.
Let me remind you that the average life of good tires is 5-7 thousand kilometers, and on good asphalt under a light messenger it can reach 10K or more.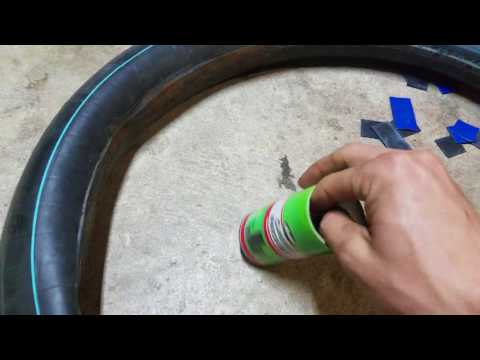
The frequency of punctures can also be a measure of tire wear. If the tire begins to prick once a week - in the oven it.
Do not get carried away with self-adhesive patches, bring spare tubes with you!
The problem is that they tend to come off at the most inopportune moment. If you pierce on the road and there are no normal patches and glue, use self-adhesive, but after that you should replace the camera with a new one or seal it with high-quality patches.
Perhaps there is no more underestimated component that affects shift quality than jackets and cables. Athletes buy top-of-the-line equipment, carbon frames and high-profile wheels, but don't think about the fact that Dura Ace doesn't perform well with worn cables and shirts.
I never oil WD40 cables. This is my religion. The cable, lubricated with WD40, collects dust on itself and arranges “Hell and Israel” in a shirt.
The key to success is ground cables, not necessarily Teflon, although the latter have some advantage. And good quality shirts.
It is optimal to change the cables and jackets together with the complete replacement of the transmission, i.e. about once every 10,000 kilometers.
The detailed algorithm of this procedure is rather cumbersome, and I will not present it in this review. Those who want to get confused can find it at this link.
A road bike has a huge advantage over MTBs in terms of component durability. On the highway, they usually ride in dry weather and do not bathe the bike in mud up to the very bushings. However, from time to time bearings die on the highway.
From my experience, this happens with such regularity:
 I had a bike with a BB30, the implementation of the bottom bracket protection was good and lived quietly for a couple of years, even passed the mud test;
 Now more about carriages and bushings . All of them are conditionally divided into two types: threaded ones, they are also BSA and models “press fit”.
BSA - left, "press fit" - rightIn the first case, two bottom bracket shells are threaded into the frame, in the second case, bearings or cassettes with them are pressed into the frame seats.
- BSA (threaded)
Servicing the former is fairly easy, but comes with risks. It is dangerous not only to overtighten the thread (it can be corny to rip off, although you need to be very strong and enthusiastic). It's even more dangerous to miss it. In this case, the thread is quickly loosened, the cup begins to play and break the thread. Catastrophic consequences occur in 1-2 days of driving with an unwound bottom bracket cup.
If you still decide to do this business, then I recommend arming yourself with a high-quality manual for replacing threaded carriages and the following specific tool: carriage puller such as ParkTool BBT-19 or BBT-09; a special compound like ASC-01, so that the carriage does not remain in the thread forever; torque wrench to tighten to the correct torque.
- Press fit bottom bracket
I would not recommend changing bottom brackets where the bearing is directly pressed into the frame unless you are experienced (e.g. BB30 or BB90). In theory, replacing bearings is simple - press-press-press, but there are high risks. A minimal misalignment of the bearing during pressing can lead to jamming, and if excessive force is applied, to damage to the bearing seat. The consequences are irreversible!
Excellent manuals for replacing these bottom brackets: BB30; BB92, BB90 and the like.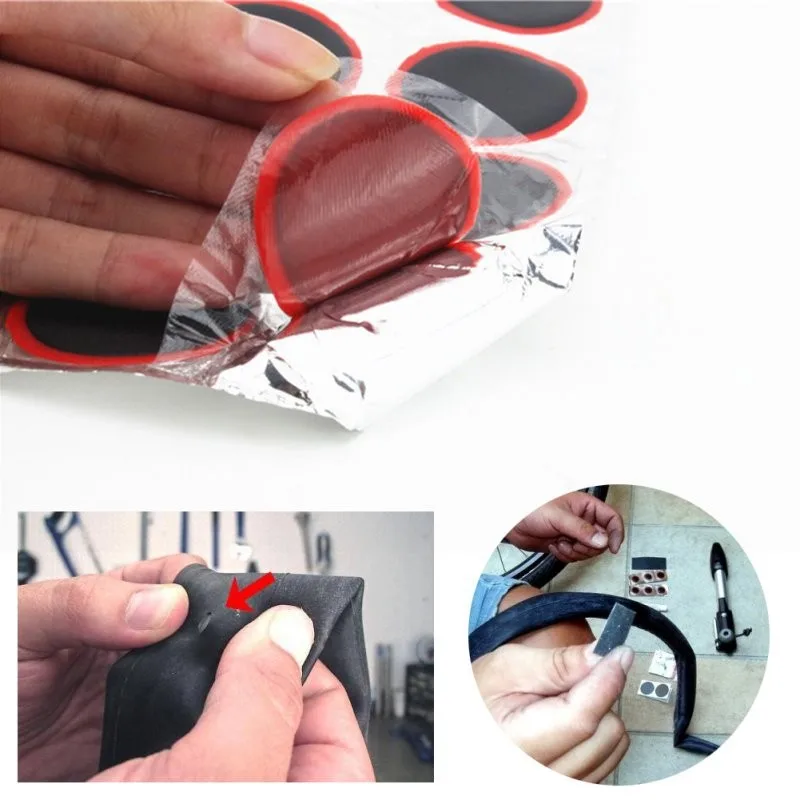
- Headset
In most modern road bikes, head tube bearings are installed without special tools. You just need to know the right article of bearings and have them in stock for a rainy day, and also be able to tighten the steering column.
You can talk about steering tightening for a long time. The main recommendation: the tightening torque should be such that when the front brake is clamped, there is no play in the steering. Having reached this state, we squeeze the bolt that tightens the steering wheel a little more, but so as not to overtighten it.
The steering wheel must turn freely!
After that, tighten the bolts on the stem. And not vice versa!
— Bushings
There are enough types and designs of bushings to cover them in this short overview. It is better to entrust the maintenance of wheel bearings to an experienced mechanic, or carefully read the manuals, or leave a question of interest in the comments to the article.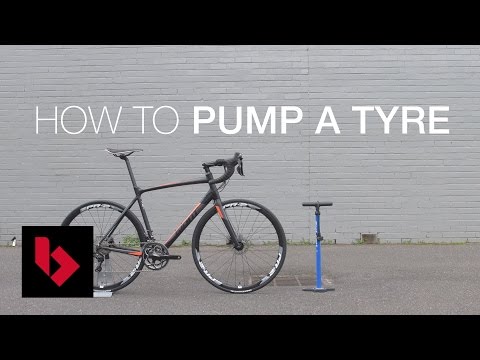 Choose.
The pads have a wear indicator. Check their condition regularly and change if necessary.
For those who ride on flat terrain, one set of pads can last for years, like me, for example. Residents of Crimea change them more often. Of the tools, this requires a 2.5 mm hex, in the case of Shimano, and 5 minutes of time.
If you ride on carbon rims, always use the special carbon pads!
Otherwise, you get, firstly, too much wear on the braking surface of expensive wheels, and secondly, no braking in the rain. The best you can expect is a drop from 40 to 37 under emergency braking.
Once every couple of weeks, it's worth spending 5-10 minutes to check if any bolt is loose. This usually does not happen with the proper use of torque wrenches and treadlocks, however, as the well-known rule says, "if something can go wrong, it will definitely go wrong."
Take a set of hex keys and go through all the bolts.