Updated on December 4, 2020
Black tire marks are an unfortunate reality of a car on your concrete driveway or garage floor. Here, we discuss how to remove tire marks from concrete or epoxy surfaces.
The method you use to remove tire marks depends on where the mark is in your garage or driveway.
RELATED: How to Clean Concrete
Removing tire marks from a concrete driveway
If your driveway has a decorative concrete coating, follow the following steps. This information also applies if you’re looking into how to get burnout marks off concrete.
See SUNDEK’s Maintenance Guide for detailed information on removing black rubber marks and grease or oil stains.
Get a cleaning estimate
From your local SUNDEK dealer
Removing tire marks from an epoxy garage floor
If your garage floor has an epoxy finish, follow these cleaning steps.
Caution: When searching online for how to clean tire marks off concrete, you might see alternate remedies such as Goof Off.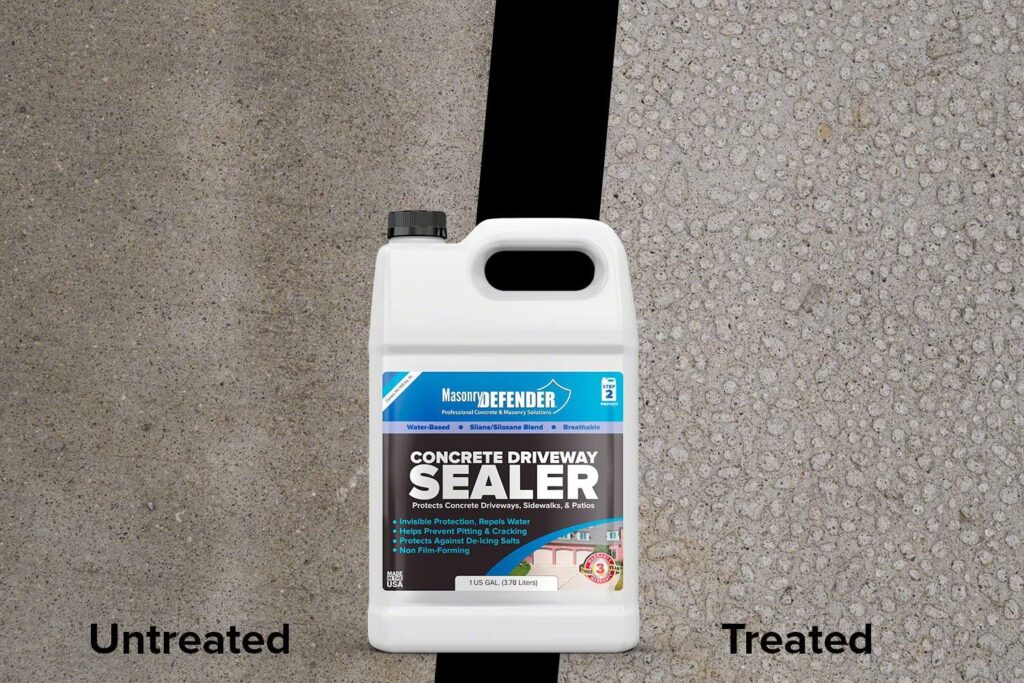 From experience, we have found Goof Off to be too harsh, so we do not recommend it to remove tire marks from concrete or epoxy.
If you have an alternate product you’d like to try, or you want more information about how to get tire marks off concrete, contact us.
Although you can’t prevent tire marks, you can prevent buildup that will make the tire marks harder to clean. We recommend hosing off and cleaning the affected area on a regular basis to prevent a heavy buildup.
Some customers place mats on the floor where their tires will be resting while parked in their garage.
If you’re curious why tire marks happen, Chris Sullivan provides a summary of the chemical process behind tire marks (from an article on ConcreteNetwork.com):
“This is a phenomenon called “plasticizer migration.” Plasticizer are polymer compounds added to rubber, glue and plastic to make them flexible. The rubber used to make car tires contains plasticizer to improve traction. But when the car is driven, the tires heat up, causing the plasticizer to soften and leach out of the tire. When a hot tire is parked or driven on certain types of sealers, the plasticizer migrate into and discolor the sealer. The better the tire quality, the higher the quantity of plasticizer —and the greater the chance for hot tire marking. Lower-quality tires are harder and contain less plasticizer, so they usually result in less hot tire marking on sealers.”
Related: Sealing Concrete Driveways
If your tire marks are especially stubborn, or you can't get rid of them completely, consider stripping and resealing your concrete or even resurfacing with a concrete coating.
It's time to get rid of that pesky tire scuff you've been meaning to clean up but haven't gotten around to. You've decided today is the day and you're wondering how to get tire marks off concrete.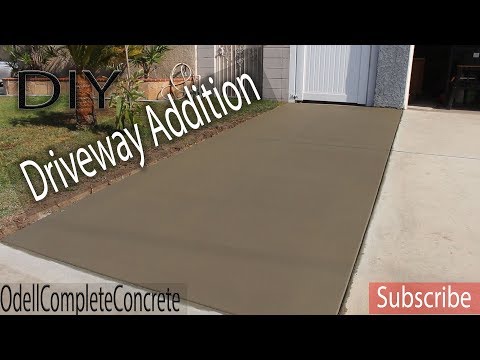 The answer is not as obvious as it might seem, but you may have realized that already if you've tried to wash it off to little avail. Luckily we've put together this guide on the best way to remove tire marks from concrete.
Here's our step by step guide on how to remove tire marks from concrete and get your driveway or garage floor looking pristine again.
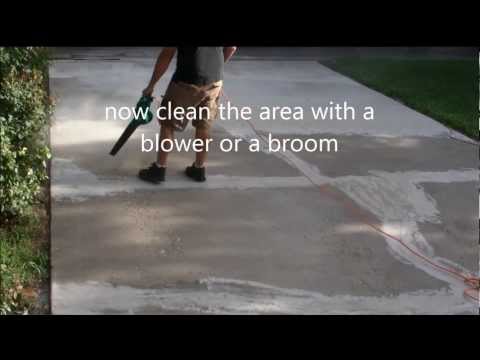
Step 1. Clear the concrete floor of any debris
You'll want to make sure that you get all items off your garage floor or driveway. Make sure to cover up anything that might be in the way and could get wet or damaged. You'll also want to make sure you cover up any delicate plants in the surrounding area to ensure they are protected.
Step 2. Pour degreaser on the tire marks and let it sit
Use some concrete degreaser, like our CSP Degreaser, and pour it onto the scuffs and let it set for about 30 minutes while ensuring that you don't let it dry.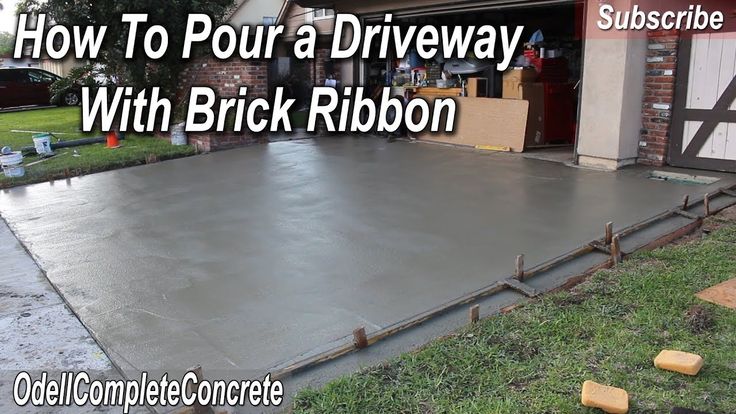 The key here is to not let the degreaser dry, so continue adding more as needed to keep it saturated wet. During warmer months try to do your work in the cool part of the day and with less sun so it does not dry out as quickly.
Step 3. Scrub the area with a stiff straw brush
While some people say that they only need to pour on the CSP and allow it to sit a few minutes and then it will power wash right off, we still find that scrubbing it with a straw brush usually gets it up better. Scrub the area using our high quality Straw Concrete Scrub Brush to move the degreaser around as it soaks in, and after the 30 minutes aggressively scrub it once more. You can also use a floor scrubber or floor buffing machine with the black aggressive scrubbing/stripping pad.
Step 4. Apply some more degreaser and continue scrubbing
You should apply some more degreaser after a few minutes and scrub some more. You won't usually need to do too much scrubbing at this point, but it's best to apply some more and give one last scrub.
Step 5. Wash it off with a power washer
You can use a power washer or a sprayer nozzle to wash off the degreaser. If you are indoors, you can use a mop to wash it off.
Things to keep in mind
The CSP degreaser/cleaner is great for normal tire marks. Especially in garages, homeowner driveways, and the such. For really intense and massive tire marks such as on a commercial driveway or parking lot, while it usually works fine, if the CSP degreaser isn't strong enough, then you may need to move towards a harsh chemical such as Xylene.
It's also important to note that the CSP degreaser will work to strip concrete sealers. So while it's great for cleaning and prep, you shouldn't use it on sealed concrete unless you intend to strip the surface of the sealer for re-sealing. Just be aware that you should only use the CSP degreaser sparingly on sealed concrete and understand that you are still slowly stripping the sealer.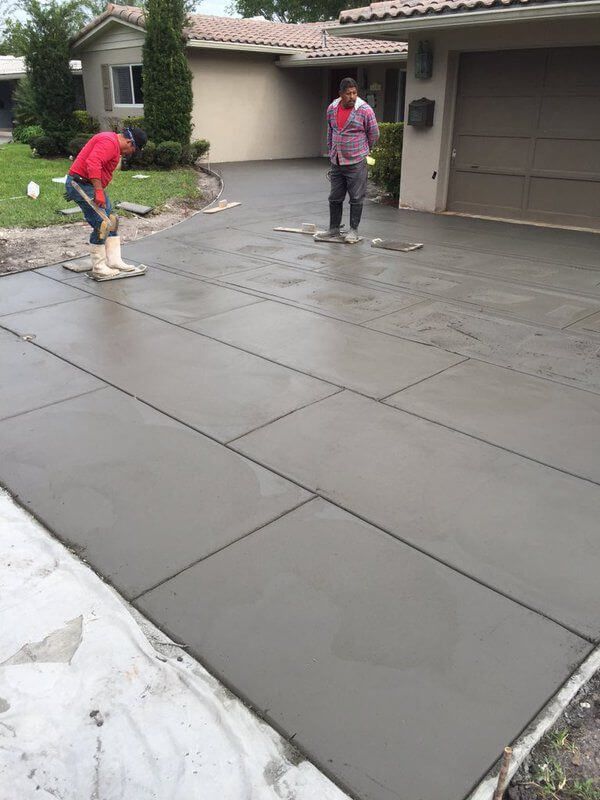
Planning to reseal? Make sure to check out our guide on sealing concrete and our Clear Shield water based sealer to ensure you get a long lasting finish on your newly cleaned concrete floor.
Add To Cart
View Product
| Tire brake marks on concrete road are much more visible than on tarmac and they give your road a haunted look. Braking suddenly at high speed, grabbing car wheels, is the most common cause of brake marks. Follow these proven steps to remove brake marks from your particular road, and learn how to prevent future brake marks. Step 1: Prepare Yard Near Concrete Road Remove container plants and cover any flowerbeds and trail lights, nearest brake tracks with a light plastic tarp loaded with bricks or rocks. Move any toys or bikes away from the road. Step 2: Rent or Borrow a 9 Hot Water Pressure Washer0009 For this task you will need a hot water pressure washer rated up to 3000 psi to remove the hard rubber strip off the concrete surface. Step 3: Soak Brake Tracks With Industrial Strength Degreaser You can get industrial degreaser cleaners at your hardware or auto parts store. Apply a degreaser and let it soak into the brake marks for 10 minutes. Step 4: Clean Brake Marks Using a bristle broom, brush over brake marks to lift off rubber particles. Rinse your broom from time to time as you dust. Be sure to brush around the edges of the brake track to ensure you've cleaned it all up. Step 5: Rinse Brake Track Spots Adjust pressure washer to lower temperature, warm but not steaming, and rinse off brake track areas. Point the pressure washer nozzle down the road to the driveway, not to your lawn and flower beds. Step 6: Road 9 squeegee0009 With a squeegee, pull as much water off a concrete road as you can. Let the road dry for 3 to 4 hours, and park cars on the road. Step 7: Cover Your Road With Penetrating Insulator Buy a clear penetrating concrete sealant for your driveway. Apply it to the road when it has dried completely using a squeegee. Create an even layer of sealant over the whole road to shield it from rubber brake tracks. Avoid using film-forming sealer because they create a slippery surface and may change the color and appearance of your particular road. Step 8: Teach Your Family Drivers How to Avoid Slipping Explain to drivers in your family the negative effects of brake marks, and how slipping shows that you are a poor driver, not a skilled one. Brake wear, tire damage and wet weather collisions with road objects and other cars can result from slipping.
|
Author Ksanka Views 13k. Published by
Concreting of a platform for a car provides convenient parking near a private house or cottage. This affordable way to organize the site is in great demand among car owners.
We have prepared a step-by-step instruction for creating a concrete platform, containing a list of the necessary tools and materials. With the help of the presented instructions, even a novice builder without work experience can make a platform for a car.
Contents
The structure of such a platform consists of several layers. First, sand 15 cm high is laid, and a geotextile is applied on top of it, which prevents crushed stone from being pressed into the sand. Crushed stone 15 cm high is laid on top of the geotextile, after which the entire site is leveled and rammed. Along the perimeter of the site, you can install paving stone or brick. This will make parking more attractive.
Using crushed stone is an inexpensive and practical solution At the same time it is considered both the most reliable and the most difficult. However, the strength of such a site is worth the money and effort invested in it.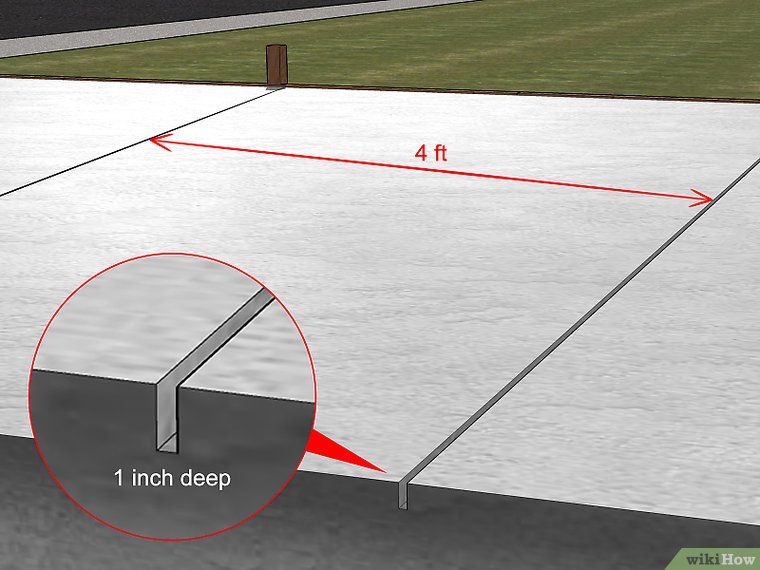 The concrete base has the longest service life.
Relatively easy to make. A geotextile is laid on a sand and gravel cushion 15 centimeters thick, which is fixed on top with lawn grates. The soil containing the seeds of the future lawn grass is poured into the grid cells. This parking lot has an unusual look and is more environmentally friendly.
With the help of eco-textiles, a parking area for a car can be made environmentally friendly and practicalUnlike most areas, tiled parking requires more investment and labor. But in return, the owner of the car will receive a solid platform with a long service life. Such a site will look very neat and stylish. However, if you do not take care of it, then over the years, sprouts of sprouted grass will appear between the tiles, which will adversely affect its aesthetic appearance.
Paving slabs look nice but require extra care Stamped concrete can be used as an alternative to parking tiles.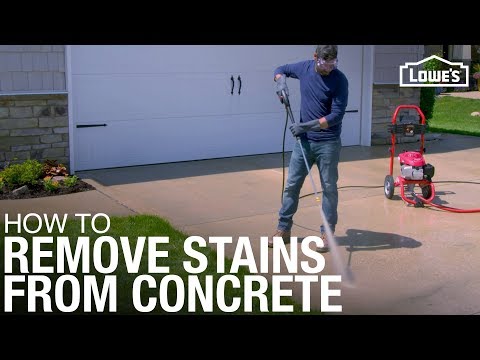 It is protected from grass sprouting, applied faster and looks more attractive.
from gravel
5.08%
concrete platform
86.47%
Tim
5.64%
Ecothecastic
9000 2.82%voted: 532 9000
Before starting work, you need to decide where the site will be located and what tools you may need to make it.
When concreting the site, the following tools and materials are used:
A concrete mixer can be used to speed up the mixing process. It makes no sense to buy it for one time, so in your city you can find organizations that provide it for rent.
The best place for parking is the entrance area in front of a private house or a free space in the yard. A concrete parking lot must meet the following requirements:
The dimensions of the platform will depend on the dimensions of the machine and their number. For example, for a car with a length of 4 meters, a parking lot with dimensions of 2.5x5 m is created.
Once a parking space has been identified, the area is marked out using stakes and a rope to tie them. On it, you need to dig a layer of earth 25–30 cm deep so that plants rotting under concrete do not spoil its characteristics.
Excavation prevents rot under the concrete padUnderground utilities running under the base of the concrete pad are placed in a box or pipes. After completing all the preparatory work, it is necessary to compact the ground well so that in the future there will be no precipitation of concrete.
When the surface for the site is ready, the arrangement of the sand cushion begins:
 It is evenly scattered over the surface, compacted and moistened;
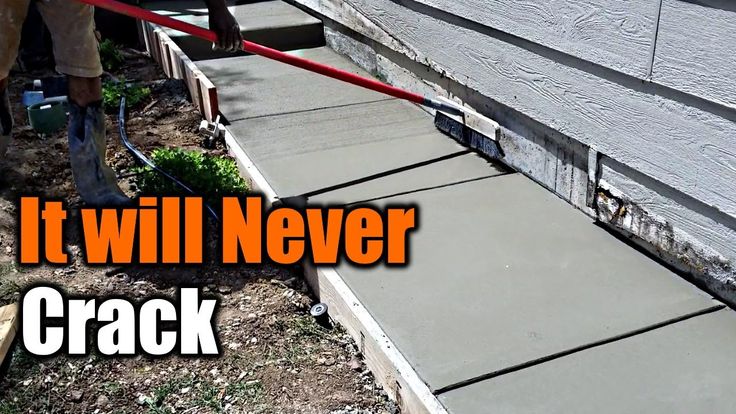
 Any arrangement of a concrete pad for a car is complete without formwork, which is installed along the perimeter and makes the edges even. Formwork is made from different materials: boards, plywood, metal sheets and even plastic.
For the installation of fixed formwork, a curb stone is used, which will not only serve as a demarcation, but also perform an aesthetic role. When using it, you need to take into account that under the stone, you also need backfilling.
Formwork should preferably be installed before the sand cushion is filled to prevent the concrete solution from flowing out. Fastened with rigidly mounted struts.
After the formwork is installed, metal beacons are installed at a distance of 50 cm from each other. They are set according to the level and serve as a guide when pouring the solution, allowing you to get a flat horizontal surface of the site. Beacons are attached to small patches of mortar consisting only of sand and cement in a 4:1 ratio. Horizontal check is made using the building level. Upon completion of the pouring, it is not necessary to pull out the beacons from the concrete.
For beacons, you can use the UD profile used when installing drywall. In this case, mark the zero level and the location of the beacons. Along the lines, with a step of 40-50 cm, self-tapping screws are screwed in to regulate the level and on which a UD profile is placed. After pouring, the beacons can be pulled out of the UD profile. If the site is large, then the profile can be moved along the line of poppies, gradually filling the entire surface of the site with concrete
You can concrete the site for the car with your own hands not only on the street, but also in a heated room. In this case, car owners can provide thermal insulation. For its arrangement, foam plastic 8–12 centimeters thick is used. Stacked before applying the solution. To achieve an insulating perimeter, the foam tiles must not touch the formwork. This arrangement will protect the insulation from moisture.
It should be understood that thermal insulation does not allow the soil to freeze to the extent that it deforms the concrete base. Therefore, it can also be used outdoors.
Styrofoam may be used to insulate a concrete floor.Waterproofing is laid on a compacted layer of crushed stone or on a heat insulator, if used. The thickness of the waterproofing film is usually 0.2 mm. When using several pieces of a protective film, they must be well overlapped with each other - at least 20 cm. The joints of the film can be treated with aluminum tape for greater strength.
Waterproofing film will protect well against moisture penetration and increase the frost resistance of concrete.
The strength of the platform can be increased by using reinforced metal rods Ø8–10 mm. The reinforcement must be connected with wire. The cell size of the reinforced mesh is set at 10 × 10 or 20 × 20 cm. It is not advisable to use welding for tying rods. In this case, the design of the reinforcing mesh will be rigid, immovable and, as a result, will lead to deformation of the concrete.
Laying the frame is carried out on a sand cushion in one or two layers. Reinforced mesh should be at least 3 centimeters from the edge.
Reinforcement increases the strength of concrete Concreting of the area under the car is carried out at an air temperature of 5–25℃. The main components when concreting a site for a car are M300 cement, crushed stone and sand in proportions of 1: 2: 3, respectively. Depending on the load that the car platform must withstand, the proportions may change slightly, and the brand of concrete may also change with them.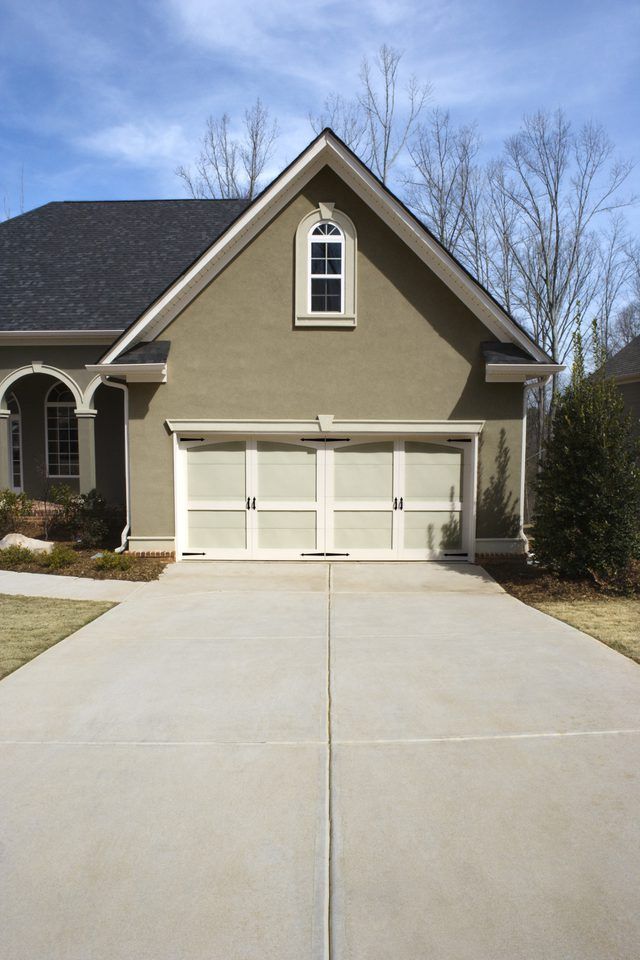
Mix the mortar preferably in a concrete mixer. The sequence of actions is as follows:
Before pouring the main mixture, make sure that the solution under the beacons has hardened and they are well fixed. The pouring of the concrete pad must be carried out at a time, so that the entire structure is monolithic. The thickness of the concrete should reach 20-25 centimeters. It is most convenient to level the concrete mixture with a building rule.
It is undesirable to pour at low temperaturesAfter the site is completely concreted, it is left for two days before hardening. To compact concrete, you can rent a deep vibrator or tap it with a shovel, which will prevent the formation of air pockets.
It is important not to over-tamper. If you devote a lot of time to it, you can worsen the quality of concrete.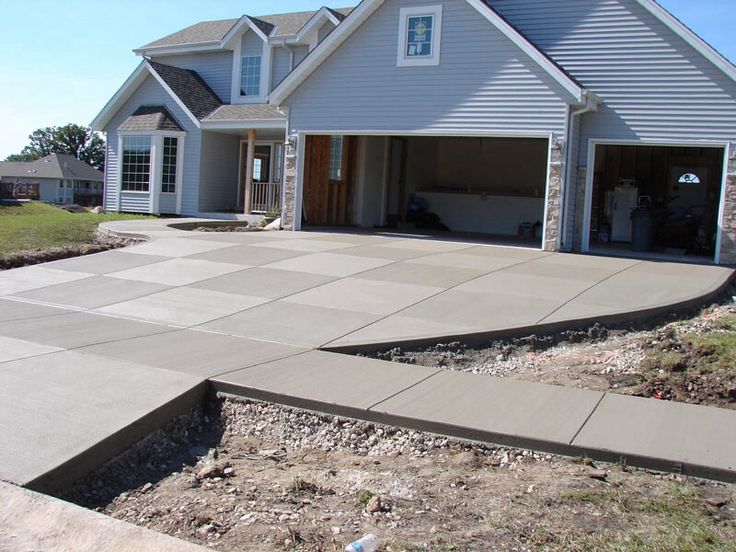 The main sign of a good compaction is the release of water to the surface.
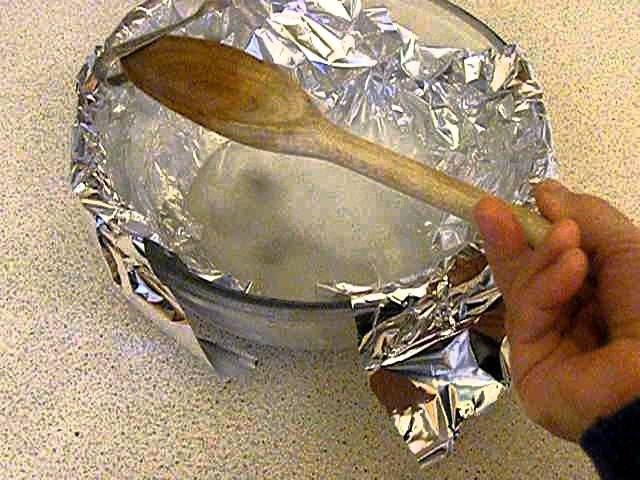
After the concrete has been leveled, it is covered with foil for 2 days. It will protect the surface from possible weather, debris and prevent the concrete from drying out too quickly. In hot weather, it is better to water the concrete surface with water 2-3 times a day, which will protect the concrete from cracking. 1 month after pouring the solution, the concrete pad is ready for use.
In the photo gallery below, you can view step-by-step illustrated instructions for creating a site. To scroll through the photo, use the navigation arrows on the image itself.
Remove unnecessary debris from the surface and make the area under the car level by grinding the concrete.

 Concrete must be rated to withstand 4000 psi pressure, the standard building material for roads. Spray the brake tracks for 2 to 3 minutes with pressure water with water hot enough to generate some steam.
 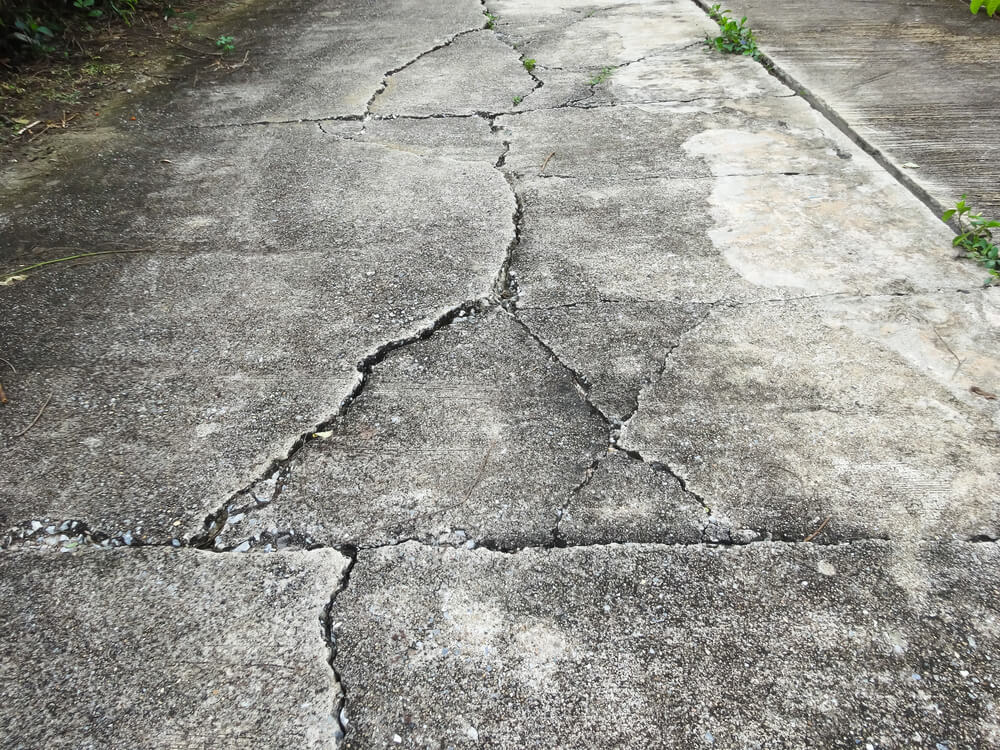 Finish with a rinse at the coolest pressure washer setting.
 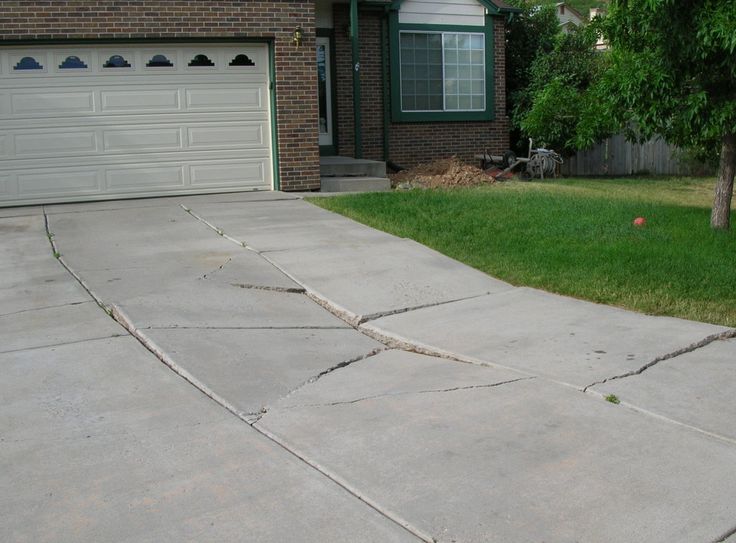 Show them how proper braking techniques can help prevent skids on the road.