If you are a motor enthusiast, you must have heard about the concept of ATV plastics. These plastics have been specially designed to give protection both to your ride and you from the rocks and dirt that you will inevitably come across while riding. However, when it comes to the appearance of the ATV plastic, you can go DIY and paint it yourself.
If you’re wanting to change the look of your ATV without needing to spend the money to buy all new plastic body parts, one option is to paint the existing plastics, it’s cheaper and more rewarding than buying new ATV plastics altogether.
Before you begin, you’ll want to make sure your plastics are in good condition and know how to paint ATV plastics. Painting ATV plastics is not as difficult as it sounds. It is fairly easy if you know what to do and how to proceed.
Remember, the most important thing you need to do is gather all the tools you might need beforehand. Unless you are well-prepared, it might take a lot of time, and you will end up disliking it. After that, it is your ATV that needs to be made ready for painting.
In general, to paint ATV plastics, you’re going to need to clean the plastics and sand them down, then remove contaminants in the plastic that prevent paint from sticking. After you’ve done that you’ll want to use a primer, paint, and topcoat to seal and protect the paint job. I will go more in-depth below with a step-by-step guide.
Table of Contents
As long as you recognize what to do and also how to deal with it, painting ATV plastic will certainly be as easy as feasible. Nonetheless, prior to you repainting the ATV plastic, you need to have all the tools and also equipment you require.
Several of the tools you would need include:
The first thing you will want to do before painting the ATV plastic is to give the ATV a major cleaning. Clean the plastic thoroughly with warm soapy water. This is just to remove all the dirt and dust from the plastic. Now, let's come to finish each of the steps that follow.
To paint a surface, the first thing to do constantly is to clean it thoroughly to make sure that no dust can interfere with the paint coat. As soon as you are completed with that, make use of 180 grit sandpaper on the whole surface area that will be painted.
These ATV plastics have been visible fighting natural environments like sunshine and wind for a long time which leads them to create a thin layer or crust externally. Sanding will certainly help you eliminate this unwanted crust so you can move on to the following step. Don't go soft since you require to eliminate every last bit.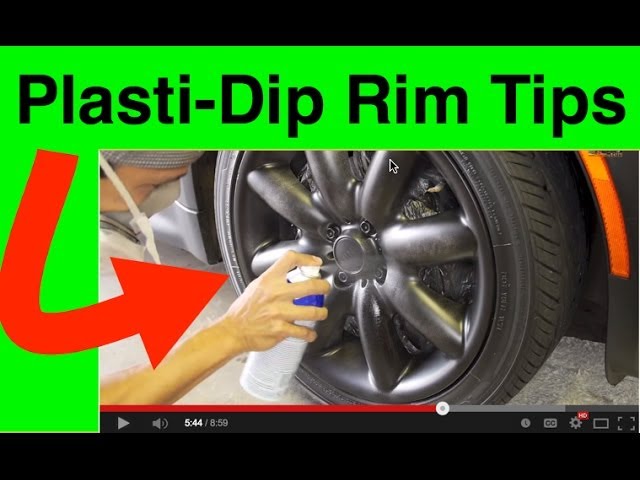
When you are done sanding, it is time to remove all water-soluble contaminants from the surface area that is to be painted. Make use of a scuff pad and a solution of your choice to do this. This action is likewise handy in getting rid of any pollutant that may have permeated into the plastic throughout the previous step.
We can not worry enough that unless the surface area is spotless, the paint will certainly either not clear up or it will certainly lose the texture and also gloss. If you wish to make your efforts count, pay particular attention to these initial few actions.
It never injures to be a little extra cautious or take some precautions. You can repeat the sanding procedure with 180 grit sandpaper once again simply in case you missed any type of spot the first time around. This is optional, yet it is best if you do it anyway.
As soon as you are finished with the tedious cleaning, you can go straight to the next important action.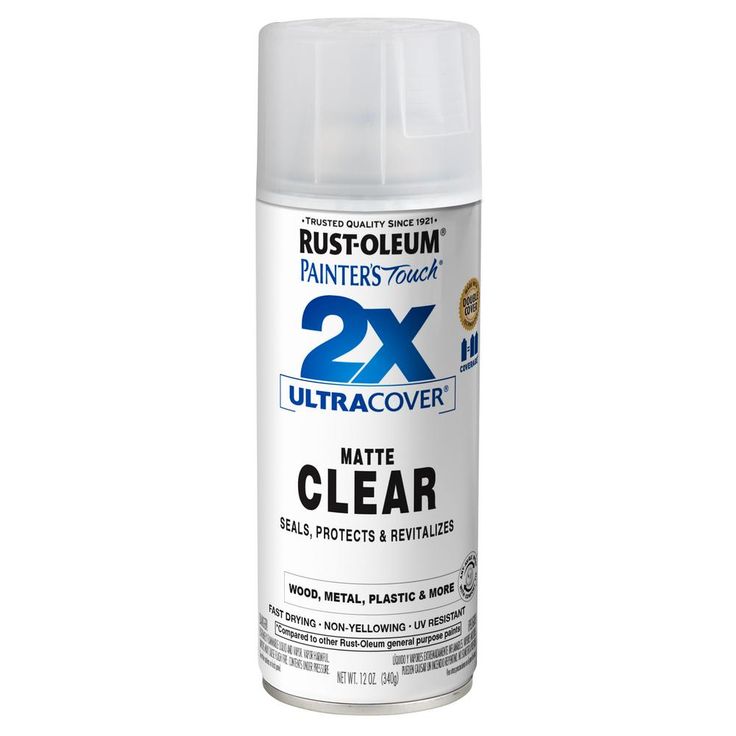 Sandblast the ATV plastic, and make sure that you cover the entire surface area that you intend to paint, with 80 grit aluminum oxide. Sand is an extremely reliable cleaner, and with this step, you will certainly be one step better at ultimately using paint. Nevertheless, hold your horses a little while longer since we are yet to do some more cleaning.
Make use of a plastic cleaner to finish the cleansing procedure. You can select the brand name based on your marketing research. They are available as sprays which are really easy to use. All you have to do is spray a hefty coat and after that wait till the solvents manage to dissolve all pollutants. Offer it twenty mins to do its task and then clean the coat off making use of a clean paper towel.
Now you have to apply two heavy coats of any kind of industry-level adhesive externally to the plastic. Do not double-coat without letting the first layer blink off initially. Prior to you going on to the following step, make sure that the adhesive has dried out completely.
Given that we are currently getting ready to paint the ATV surface area finally, we need to layer and also structure it properly. Use the waterborne guide surfacer to slather the surface area totally. As a result of the high build, you will not need to bother with any type of scratches. Nonetheless, the first thing that you require to take a look at is to leave the primer completely dry.
Given that you will need to utilize a high-build primer surfacer, you need to make an extra effort if you desire that perfect coating. To put it simply, you need to sand the whole surface area till it is definitely smooth. Use a 320 grit paper for maximum impact.
Currently, it is time to hide any flaws that might have already been there or which were brought on by our extensive cleansing. Use the very best finishing glaze that you can discover to cover these areas. Find one that has a lower thickness if you desire a smooth circulation.
Give the finishing polish time to settle and afterward use sandpaper to smooth the surface area out. After you paint, also the smallest undulations will be obvious. So sand it well.
Now it is time for the one last action before you start with a paintbrush. Apply a freeze-tolerant waterborne bumper sealant externally that will currently be painted.
Wait till the sealer dries out prior to you begin applying the paint. Do not fail to remember to dual layer it- a basecoat as well as a clear layer suffice. Utilize a flex additive on the overcoat. Flex additives help in the better bond of the paint to plastic surface areas.
Your ATV plastic is currently totally painted and all ready for use! There might be a lot of steps but in the end, it will be well worth your time.
You definitely need a guide developed specifically for plastic if you're using routine spray paint. The specialized primer can produce a structure that aids the paint stick. Apply the spray primer in even amounts to the totally fined sand, clean, as well as completely dry plastic product.
The most effective point you can do to maintain your plastic from fading is to keep your quad in the shade, ordinary and also simple.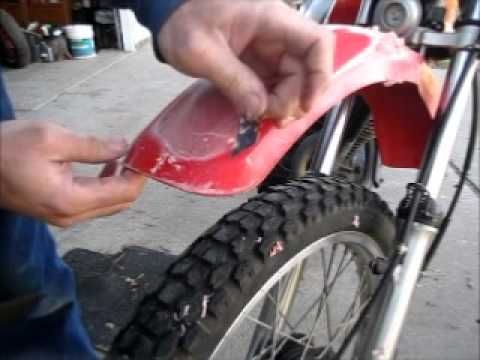 Everything else will certainly conceal the problem until you clean it. Actually, you can't buff your plastic like an automobile since just the outer layer of plastic is smooth and also shiny.
Paint sticks much better to rougher matte surface area plastics than to shiny plastics. Because the majority of plastic is glossy, fining sand is then an important step. Gently sand all surface areas to be repainted with 180- to 220-grit sandpaper. This is particularly vital when utilizing an electric sander on the plastic.
Plastic is impermeable and also removing its shiny surface area will certainly aid your paint to stick. Utilize a soft, clean brush or fabric to get rid of all dirt from the fining sand process. Repaint your product: As soon as your things' surface area is completely clean and also completely dry, enclose the areas you do not wish to be painted with painter's tape.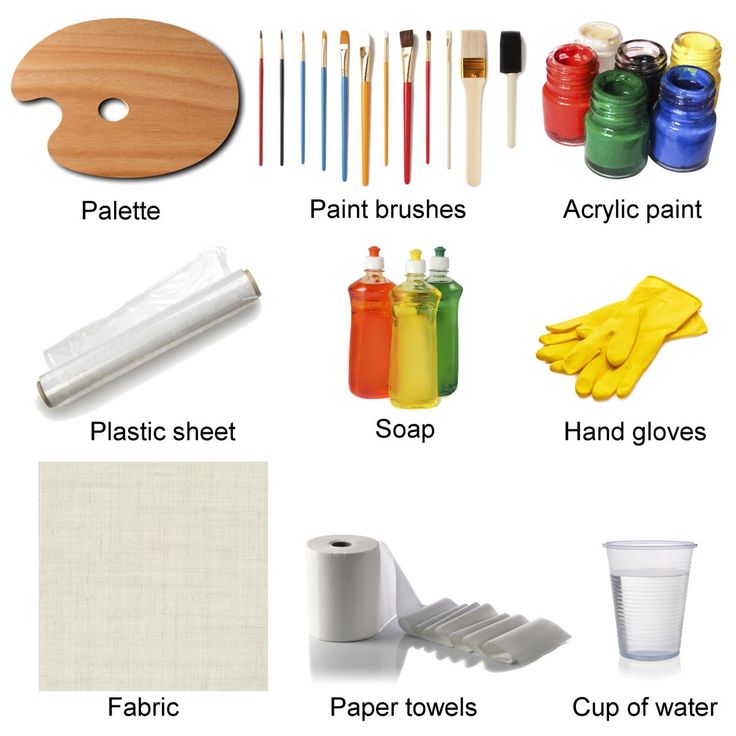
As a basic guideline, plastic primer is only necessary when using ordinary paint that does not normally stick to plastic. For instance latex or acrylic paint. However, a plastic surface area does not need to be keyed if special paints for plastic, like Rust-Oleums Paint for Plastic, are used.
Use paints that are specially developed to adhere to plastics. There are a number of offered on the marketplace such as Krylon Combination for Plastic®, Valspar® Plastic Spray Paint, as well as Rust-Oleum Specialty Paint For Plastic Spray. If making use of normal spray paint then your item will need to be keyed.
Painting your ATV plastics will certainly not just make them look wonderful, however, it will likewise guarantee that they last for a long period of time ahead. Taking the necessary steps such as removing any old paint and using the right primer and clear enamel is essential in order to successfully finish your project. We wish this write-up was valuable and also we want you the most effective of luck in your painting undertakings.
What is high hours for an ATV? And also high mileage?
Rodney L Herron
Rodney L is a technical writer and product consultant with over a decade of experience in the motor industry. Rodney is a fan of performance machines that run fast and loud and an expert in all things custom. His numerous articles and write-ups are available at our knowledge base. Whether it’s something wrong with your motorcycle or you are building a custom bike, you can trust Rodney’s experience.
If you’re wanting to change the look of your ATV without needing to spend the money to buy all new plastic body parts, one option is to paint the existing plastics. There’s a quick and easy way to get this done, and a longer more professional approach. Either way, it’s cheaper and more rewarding than buying new ATV plastics all together.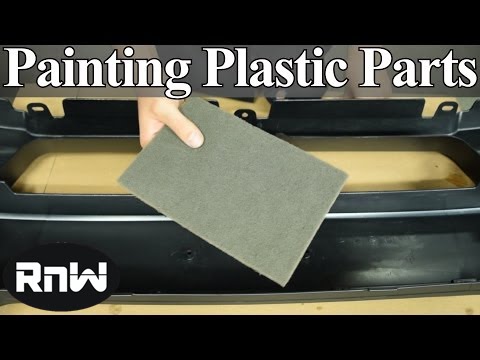
Most ATVs come with colored plastics already, maybe with some printed graphics on them. Some ATVs may even have hydrographics or water transfer printing done. This can lead to some pretty cool designs that would be almost impossible for the average person to recreate with spray paint or other painting methods. I go over hydro dipping in more detail below.
In general, to paint ATV plastics, you’re going to need to clean the plastics and sand them down, then remove contaminants in the plastic that prevent paint from sticking. After you’ve done that you’ll want to use a primer, paint, and top coat to seal and protect the paint job. I will go more in depth below with a step by step guide.
If you don’t want to go through all that trouble, there is a quicker method. It probably won’t last as long as taking the professional approach, but it works well. Before you begin either method, you’ll want to make sure your plastics are in good condition. Check out this article on Repairing ATV Plastics if you want to fix them up a bit before painting.
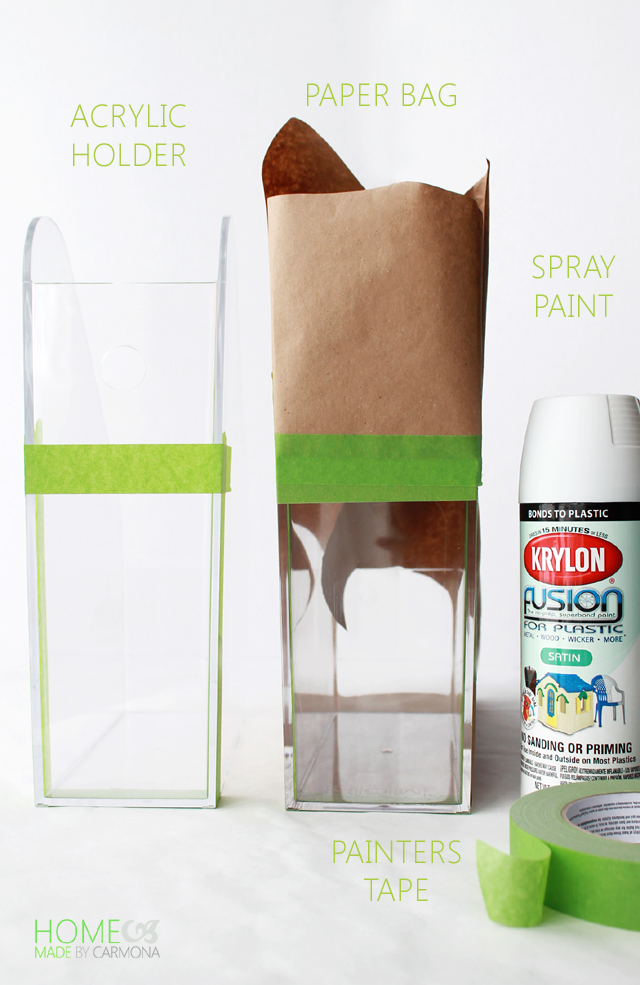
This method is the easiest most straight forward way to paint your ATV plastics. Simply get a can of this Krylon Fusion Spray Paint For Plastic from Amazon. It can’t get much easier than just spray painting right?
You will first need to take all the plastic pieces off the machine that you want to paint, unless you’re really good at taping off the painting area. Every time I try to just tape off the area, I end up still getting paint where I didn’t want. It’s up to you on this one, I take the plastics off the quad from now on.
It’s also easier taking the plastics off because you need to clean them before applying paint. It’s best to use a bucket of warm soapy water, take extra care to get all of the dirt and grime that will prevent the paint from sticking. Use a rag or sponge to thoroughly clean the plastic parts.
Krylon claims that you don’t need to apply a primer before painting with Krylon Fusion paint.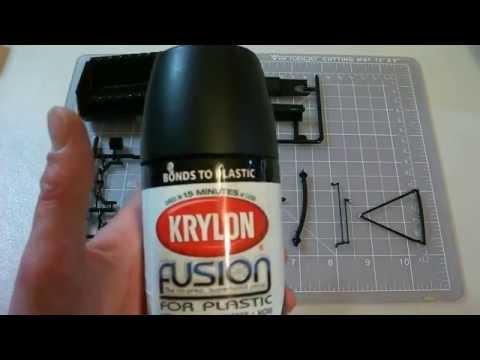 I’m a little skeptical about that, but it’s up to you. I’ve just seen the paint last longer when a primer is used. You might be ok if you’ve cleaned the plastic well enough.
Now you’re ready to paint, I’ve done this before by hanging the plastic from a tree with a rope. But this can also be done by simply laying the plastic on a bench or outside. Try to get into an area about 65 – 70 degrees if you can to help cure the paint.
I recommend painting from the bottom up. If you spray from the top down, then when you get to the bottom the over-spray will get into the top and make it look grainy. You should try to spray in light coats to avoid the paint running. If you spray too much in area the paint will lift. It’s up to you how it looks after the first couple coats if you need another one.
The paint itself will dry in about 15 – 30 mins but it’s recommended to wait 24 hours before handling. Also, it will take a week before the paint is chip resistant, according to Krylon.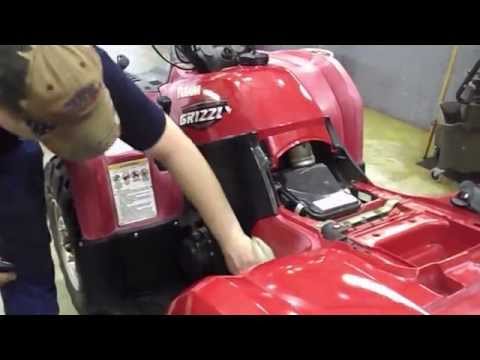
The biggest problem with this method is it doesn’t last a long time. Chipping and cracking after a couple years is pretty common with this approach.
Hydro dipping is only in the article because I think it’s one of the coolest ways to paint something. You may have seen this before. They lay a graphics film over a bucket of water and as they dip something into the film adheres to it giving it a cool graphic design paint job.
They do sell kits you can use at home for pretty cheap, like this HydroGraphics Kit From MyDipKit on Amazon. I can’t vouch for this myself because I’ve never tried it out. I do know, to get it professional done at a place is usually gonna run you somewhere around $500.
I’ve seen the hydro dip paint jobs hold up pretty well too, but again, those were professionally done. Not to mention you can get some pretty awesome looking graphics on your quad. It will definitively turn some heads.
This is not that hard to do, but it will take some time. A lot of sanding, cleaning, and waiting for paint to dry. First, take all the plastics you want to paint off the machine. You can’t do this method with the plastics on the machine, it just won’t work.
Start by cleaning the plastics thoroughly with warm soapy water. This is just to get all the dirt and dust that you can off the plastic. Next sand the plastic with 180 or 200 grit sand paper. You don’t want to press hard enough to create wells in the plastics so be careful.
Over time, ATV plastic exposed to the sun and other elements will get a thin coating on them. The point of this step is to remove that coating.
Use a scouring pad or scuff pad like they do with burnt on stuff on the dishes. Like a Scotch pad or Brillo pad. Use whatever cleaner you’d like for this step, 90 – 95 percent alcohol works or even carb cleaner if you have any laying around.
Make sure to scrub good this time, not to wear out the plastic but to get a good scrub on all parts of the plastic.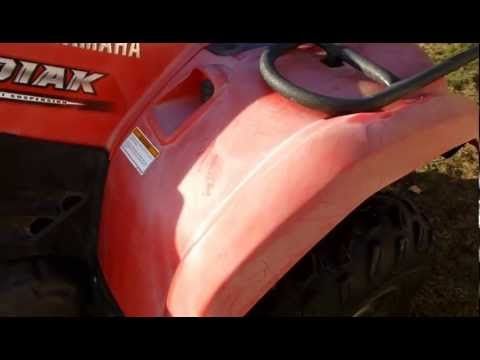 This will determine how well the paint sticks to the plastic, it needs to be super clean.
You should sand with 200 grit sand paper again if you notice any spots you missed the first time around before starting with the sandblaster. Use 80 grit aluminum oxide in the sand blaster.
If you don’t have a sand blaster, sand with 400 grit sand paper and scrub again with a cleaner. It’s best to use a sandblaster, but if you can’t, do the best with what you’ve got right?
Get the plastics dry and spray down with a surface cleaner or degreaser of your choosing. Something like this Panel Prep Surface Cleaner and Degreaser from Amazon will work just fine.
Spray a nice heavy coat of this stuff onto the plastics and give it a minute to work. This will dissolve any contaminants still on the plastics surface that might prevent the paint from sticking. After waiting a minute or so, wipe the cleaner off with a paper towel or rag.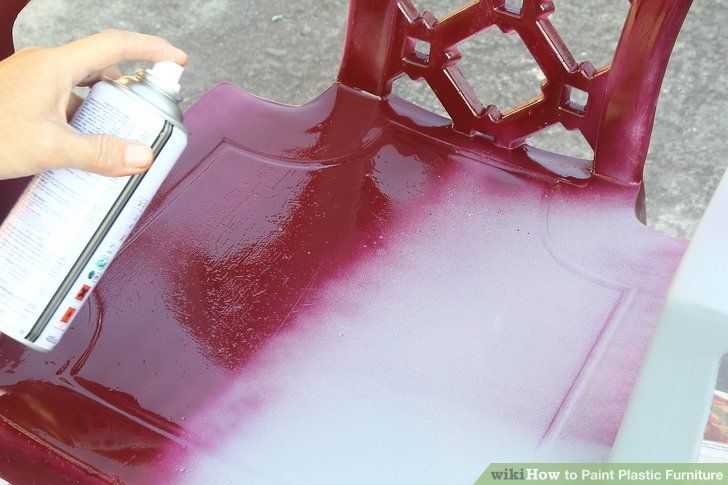
Now apply an adhesion promoter of some kind. This will help keep the paint stuck the plastics for a long time.
It helps keep your paint job durable and prevent chipping and cracking in the future.
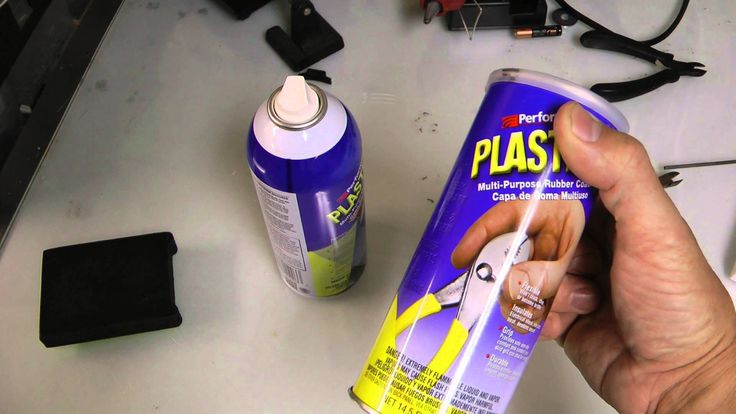
I use this Polyvance Plastic Magic from Amazon. It’s an aerosol spray like a can of spray paint and it’s nice and easy to work with. Apply two coats of this, making sure to let it dry completely.
You will need to let the first coat flash before applying the second. You’ll see it sort of change color and it should happen pretty quick.
Now apply a coat of a high build primer of your choice. Here’s a link to a 16oz Grey High Build Primer if want to stick to the spray cans.This step is important for filling any scratches left by the sanding or sandblasting steps. Or any existing scratches you had that you want covered.
Wait for the primer to completely dry before continuing.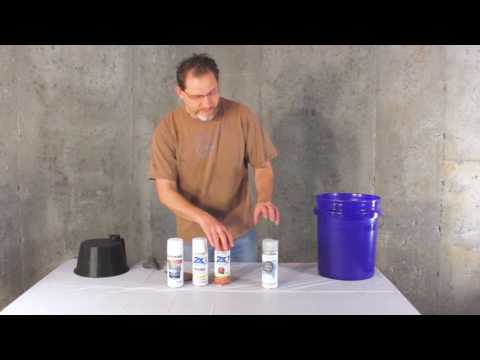 After the primer has dried, sand it down with 320 – 400 grit sand paper. A lot of primers dry with a thin top coating you need to remove. Plus this will smooth out the surface for the next step.
Before applying the flexible sealer, now is a good time to fill any gouges and big scratches with some type of flexible filler like Putty Flex. Let cure and sand down until smooth to match the rest of the plastics.
The flexible sealer is for use over any primed plastic parts. You could skip this step, and a lot of people do because of how expensive the sealers can be. It’s not totally necessary, but will extend the life of your paint job for sure.
The all season sealer will protect against cracking due to the heat of summer and cold of winter. Here’s a link to a good option if you want to check it out. It’s the All Seasons Waterborne Flexible Bumper Sealer from Amazon.
Let the sealer dry completely before continuing.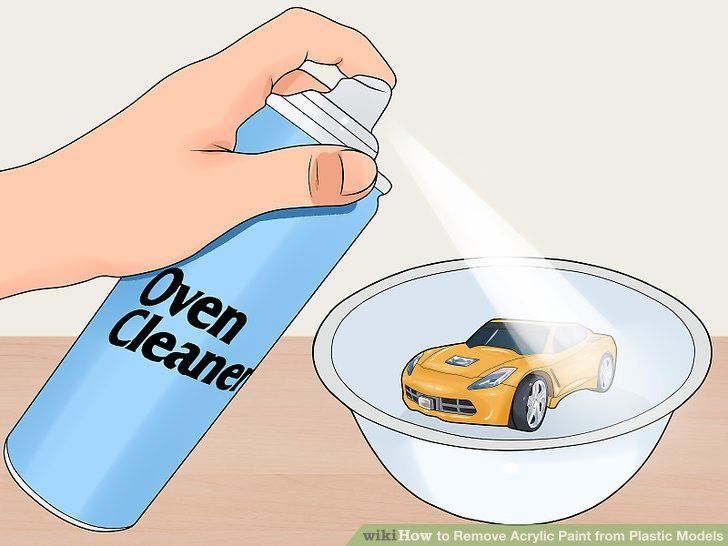
Finally, the actual painting step. Use a paint and clear coat of your choice, if you still want to use spray cans the Krylon Fusion for plastic we talked about above will work. When selecting a top coat, make sure there is a flex additive in it or add one yourself.
Let the paint dry between coats and don’t put too much paint on at once. The paint will run and you’ll have to sand down and start over. If you do need to sand down the paint, just sand down to the primer or sealer, I would start with a higher grit like 600 – 800 and drop to 320 if you need to. That way you don’t have to re-do those steps.
That’s it! it’s really not too hard once you get going. It can be time consuming waiting for all the different primers, sealers, and paints to dry though. Just to recap, the quick method works great, just won’t last for years and years. It’s definitely a lot easier though.
If you want your machine looking pristine, go with the professional method. your time and effort will surely show once you’re done.
Sharing is caring!
Do-it-yourself ATV painting is a very exciting, but also very time-consuming task. As a rule, the following reasons prompt the owner to paint the motorbike:
? the old paintwork is worn out and looks unattractive;
? the presence of scratches and traces of corrosion;
? the desire to change the appearance of the vehicle.
If you have no experience in performing this kind of work, then for painting plastic on an ATV, the best solution would be to turn to the services of real professionals or simply pick up a new device in the dvako.com.ua/kvadrocikly/ catalog.
Before you get started, you need to decide on the choice of paint. The following options are used for painting motorcycles:
? nitroenamel dyes are most often used for coloring vehicles. They boast a budget cost, the widest range of colors and shades, as well as a high drying speed. Such paint, unfortunately, cannot boast of having a glossy sheen and good performance. The coating will last for a maximum of one season, as it will quickly begin to be damaged by chemicals and physical damage;
? alkyd paints for ATVs have good resistance to negative environmental factors, but they will also cost much more. But such a coating is easy to apply and lasts a long time, except that there is not a large number of different colors;
? acrylic is good with a large selection of colors, and performance is not bad. True, under the influence of gasoline, it quickly loses its attractive appearance and fades. It is obvious that sooner or later the fuel mixture will still get on the surface of the ATV, leaving a noticeable mark on it;
? powder paints are resistant to both mechanical stress and negative environmental factors. Manufacturers provide a choice of an impressive number of shades.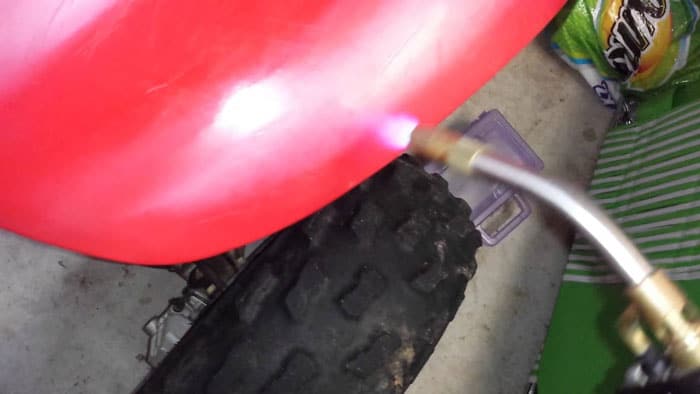 You can choose the intensity of gloss and the type of texture. The cost of the dye is at an affordable level. The only drawback is that specialized technical equipment is required for application.
Therefore, if you don't want to paint ATV plastic too often, then opt for nitro enamel or powder paint.
If you want to try painting an ATV yourself for the first time, then consider the following nuances:
? make sure that a radical change in the color scheme of motorcycles will not cause problems with the traffic police;
? instead of a spray gun and an air compressor, you can use a can of paint, however, such painting of an ATV cannot be called high-quality;
? use a brush to a minimum in your work, it is best suited for correcting minor flaws and painting over cracks;
? before painting the quad itself, it will not be superfluous to practice a little on a similar surface. This will help avoid mistakes for a beginner;
? do not neglect the use of a respirator and special goggles in the process of painting a vehicle. Otherwise, there is a risk of injury;
? inspect the final result of the work in good light to notice all the nuances that need to be improved.
Creative coloring of the frame and plastics of the ATV will give it a truly unique and exclusive look. The main thing is that the painting should be done efficiently and accurately.
If you have decided to entrust the painting of a motorbike to true masters of their craft, then feel free to contact Dvako Moto. We have been working in the field of repair, maintenance and sale of motor vehicles for many years, consistently providing customers with high quality work at an affordable and attractive price.
Here you will find the widest range of motorcycles, ATVs and mopeds, as well as spare parts, consumables and accessories for them.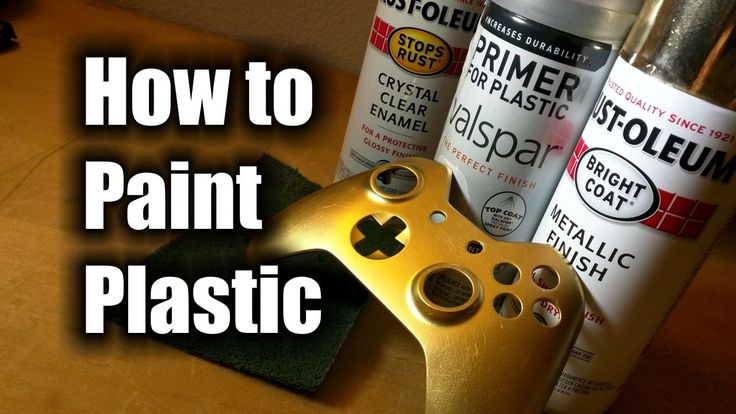 You can buy any product from the store's catalog remotely by placing an order online.
The process of coloring plastic from an aerosol can has its own characteristics. First of all, they relate to the choice of materials and surface preparation. Let's go over the process step by step.
It is almost impossible to paint products made of polyethylene, Teflon, silicone and polypropylene - the paint simply does not adhere to them or is very weak. Other plastics can usually be dyed. But keep in mind that there are tens of thousands of different plastics, and some of them may surprise you. Therefore, if you are dealing with some material for the first time, it is best to test stain on a small area.
If possible, if the plastic is sufficiently hard, it is better to mat the surface with a special abrasive sponge. Adhesion to a matte surface will always be higher than to a glossy one. The choice of primer depends on the type of enamel that is supposed to be applied to the plastic and on the condition of the surface.
If you plan to use Acrylic Enamel or Primer Enamel, you can do without the use of Adhesion Activator KU-6000 - acrylic materials have good adhesion to plastics and high elasticity. But the use of the Adhesion Activator will not spoil the situation, but will only further improve it. The activator is applied in one thin layer.
If alkyd enamels are to be used, the use of Adhesion Activator KU-6000 becomes mandatory. Without it, the adhesion of alkyd materials to plastic will be low. In addition, alkyd enamels are less elastic, so it is recommended to cover plastic with them only in case of emergency. For example, when high solvent and abrasion resistance is required.
If the surface has minor scratches or other shallow damage, apply KU-220X Acrylic Filler Primer or KU-210X Universal Acrylic Primer in a sufficiently thick layer.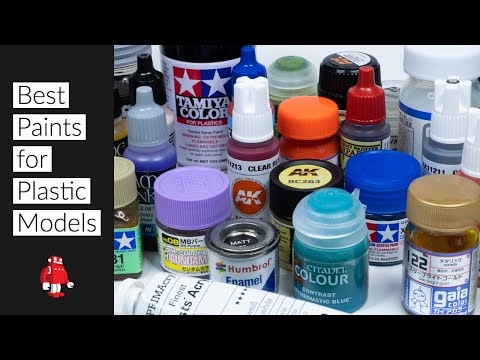 After drying, the filler primer should be sanded with fine sandpaper.
Plastic surfaces can be painted with acrylic, alkyd and cellulose ether (metallic car base) enamels. But first, you need to pay attention to the primer-enamel for KU-60XX plastic. As the name implies, it can be used both as a primer and as a top coat. It can be applied directly to plastic (it can also be applied to the Adhesion Activator and acrylic primer) in several layers. And that's it, a matte finish corresponding to one of the RAL colors is ready. But if there is no suitable color in the priming-enamel palette, you can apply the enamel that you like the most on top of it.
Acrylic materials are best for applying to plastic: universal quick-drying high-gloss and matte RAL KU-AXXXX enamel and silk-matt SATIN RAL enamel.
Acrylic metallics SILVER GRAIN FINISH, REFLECTIVE FINISH, MIRROR FINISH, although they differ in the type of pigment (more about the types of pigments here), are applied only to pre-primed surfaces.