After rebuilding or replacing the master cylinder on your ATV, you will need to bleed it separately to get all of the air out. The same applies if you bleed your brakes and accidentally let the brake fluid reservoir run dry, allowing huge amounts of air to enter the system.
In this post, we will have a look at 6 alternative ways of doing this procedure.
With this procedure, you bleed the master cylinder when it is still attached to the ATV.
To perform this job, you need almost no tools. All you need is:
Here you can see the banjo bolt still connected to the brake fluid reservoir.
Most of the brake fluid will stay inside the reservoir even after removing the banjo bolt.
Use your finger to cover the exposed outlet port.
 Slightly release the pressure with your finger covering the hole to allow fluid to escape. Keep pressing the lever until you reach about 80% of its total travel.
Remove your finger and insert the banjo bolt as fast as you can.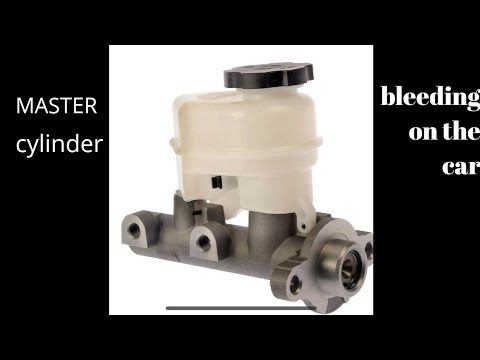
A variation of the above methods is when you, instead of controlling the fluid stream with your finger, use the banjo bolt as a bleed valve.
Step 1 to 4 is identical as above.
5. Then pump the brake lever as you do when manually bleed the brakes.
6. But instead of opening the bleed valve by the caliper, you open the banjo bolt until the brake fluid starts sputtering out.
7. Tighten the bolt when the brake lever is about 80% engaged.
8. Re-apply pressure and open the banjo bolt again.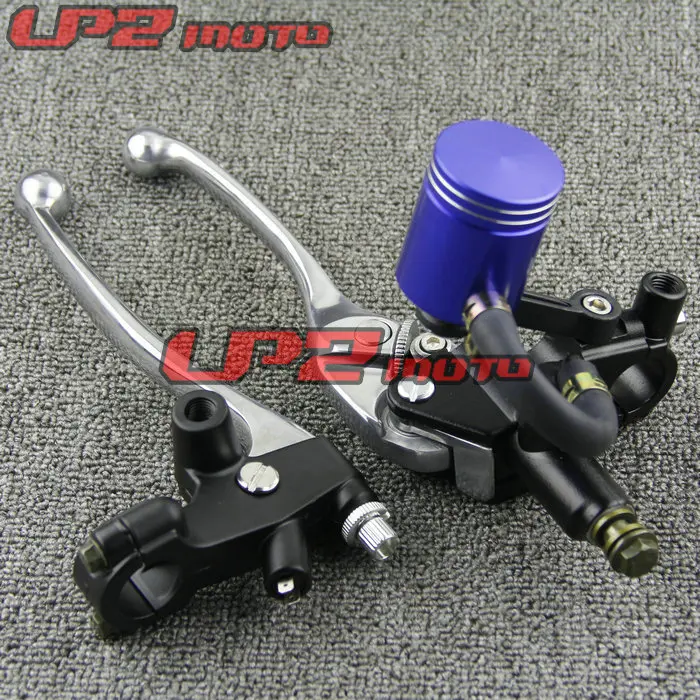
9. Continue until you get a sputter-free stream of brake fluid.
10. Then bleed the brakes normally. You should now be able to build proper pressure.
This method may be a bit messier, so make sure you use plenty of rags to keep your ATV protected.
Related: 12 reasons why your ATV brakes won’t build or hold pressure.
You’re probably starting to realize there is almost no limit to how many ways you can bleed the brakes on an ATV. Here is another tip to try.
Instead of letting the brake fluid squirt out of the banjo bolt and down onto a rag, you can direct it back up into the reservoir. Insert a piece of clear tubing into the outlet port on the reservoir and put the other end of the tube down into the master cylinder.
Use a piece of tube to direct the brake fluid back into the reservoir.Make sure it is completely submerged at all times. Then start pumping.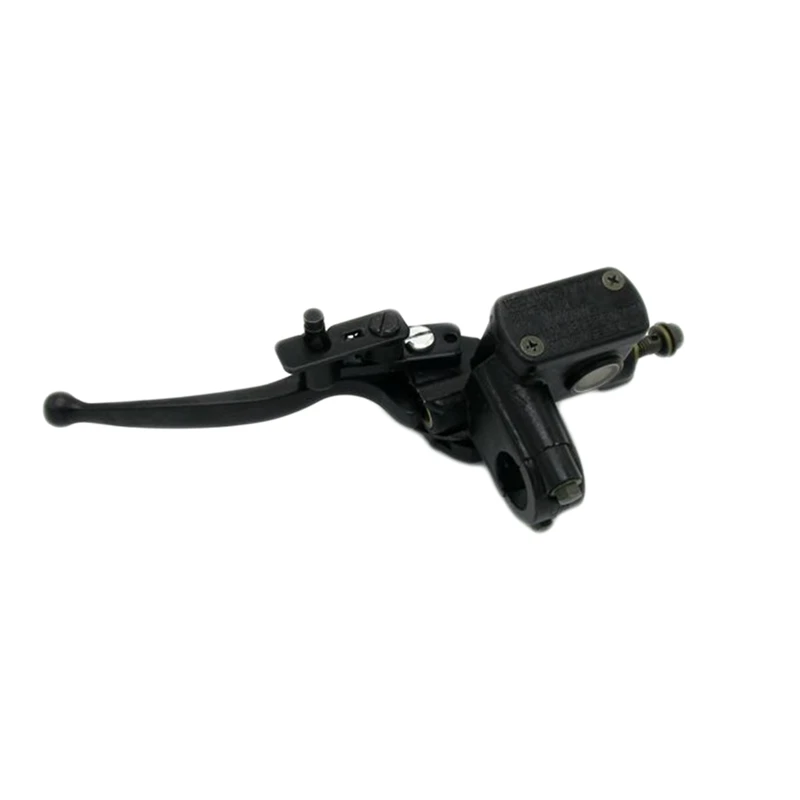
Continue until you see only clear brake fluid inside the clear tube. When you are done, install the banjo bolt quickly, so as little air as possible gets into the system. Top off the brake fluid reservoir and leed the brakes as normal.
The expression “bench bleeding” comes from removing the master cylinder off a car and bleed it on a workbench.
On an ATV, you don’t actually have to physically remove the master cylinder from the bike to “bench bleed” it, It is just as accessible where it is sitting on the bike.
It’s actually faster and easier to bleed it when still attached to the bike, but you run a small risk of spilling brake fluid on the ATV. Brake fluid is corrosive and will damage paint and plastic.
Another benefit of bleeding the reservoir on the bench is that you are free to rotate it so that the outlet port can be facing upwards when you are done bleeding.
This way, you can better prevent air from getting back into the system during installation.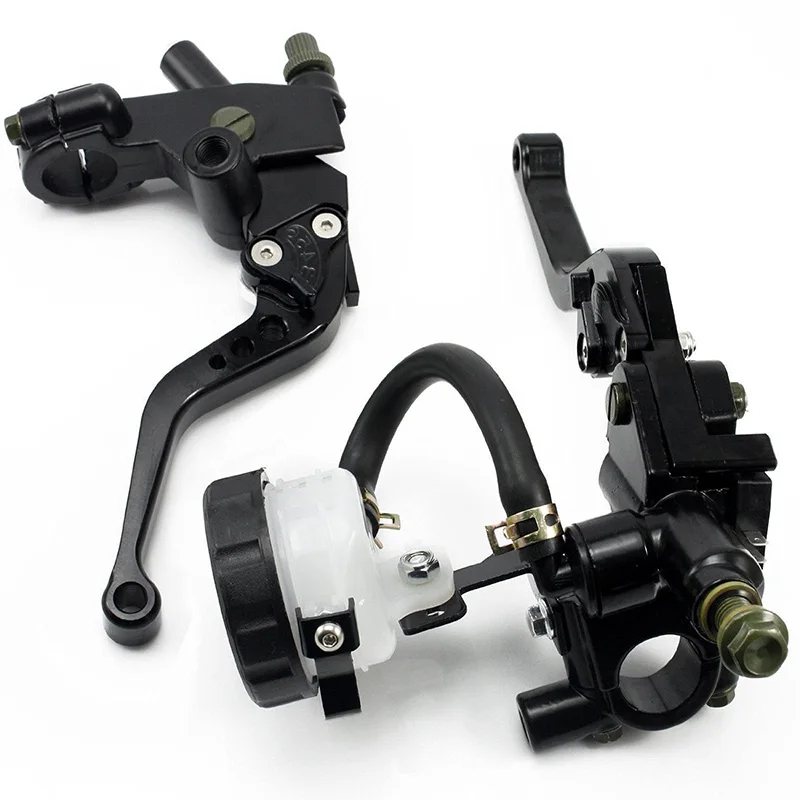 The banjo bolt can be installed with the port still facing upwards before fastening the master cylinder to the handlebar again.
Ultimately it is up to you whether you want to bleed the master cylinder when still attached to the handlebar or if you want to remove the whole assembly and perform the job over at your workbench.
The same tools as the first method. Also, you need the proper tools to remove the master cylinder from the handlebar. This varies between the brands and models of ATVs.
The procedure is pretty much identical with bleeding the master cylinder when still attached to the bike. But before you begin, you need to remove the whole assembly from the ATV.

If you’re not having any success bleeding the master cylinder just by pumping, you can try using a hand pump brake bleeding tool.
Depending on what model you get, these can be used for both pressing brake fluid through the master cylinder or sucking brake fluid down by utilizing vacuum.
The tool comes with a rubber adapter that can be inserted into the outlet hole on the reservoir. Follow the tool directions and press brake fluid back into the master cylinder assembly until no more bubbles appear in the reservoir.
Alternatively, you can switch the tool over to vacuum and suck brake fluid down from the reservoir and into the too through the same outlet port. If this does not help, you likely have a bad master cylinder and need to rebuild it to get it to start pumping again.
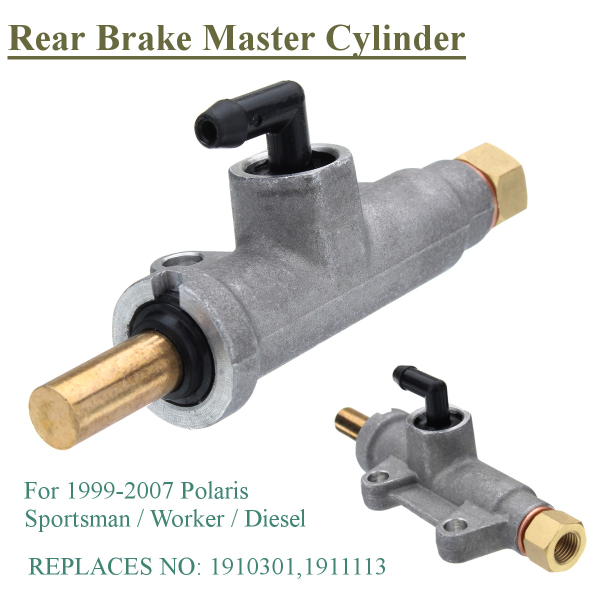
The rear brakes on many ATVs will have their own master cylinder. To bleed it properly, it is best to remove it and properly bench bleed it.
Removing the rear master cylinder will usually require some disassembling as it is hidden behind plastic covers.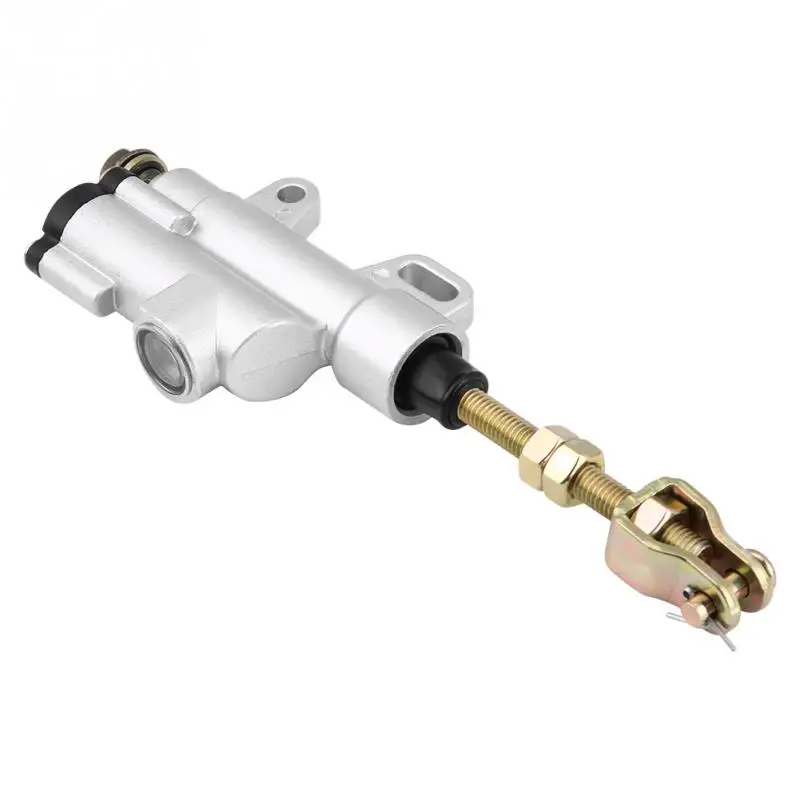 The aluminum or plastic materials will break if you apply too much pressure.
Related: ATV brakes won’t bleed; 9 possible causes.
After getting such a large amount of air into the master cylinder, you will likely have difficulty getting it all out with just the manual ways of pump-bleeding. That is if you can get it to start pumping fluid at all.
Inside the master cylinder, there are a lot of pockets and passages where air can get trapped. The flow of brake fluid alone will not be able to reach it all and get it out.
Also, you are fighting gravity. All of the air inside the system wants to go up and into the master cylinder.
Vacuum bleeding may work, but not always. Air may still be trapped within these passages, even after performing a proper vacuum bleed. But it is worth trying if you already own a vacuum bleeder or can borrow one.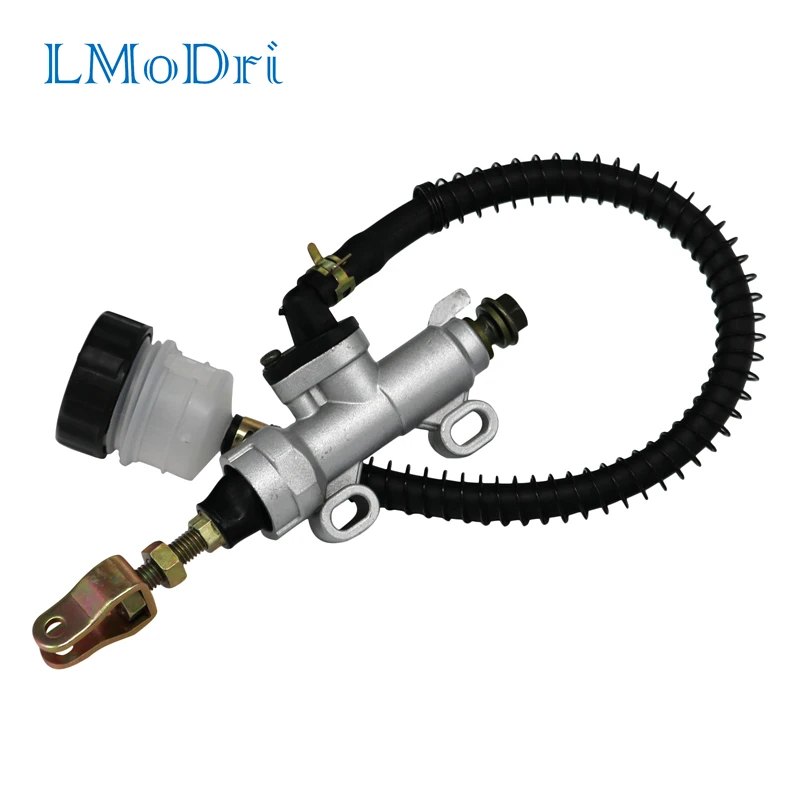
You may be lucky and achieve a decent result by just adding fluid and bleeding as normal. But you will likely spend less time and get a better overall result if you bleed the master cylinder properly right away.
The basic principle of bleeding ATV brakes is actually quite straight forward. But getting the brakes to bleed properly may sometimes be easier said than done. This post addresses the most common reasons why your ATV brakes won’t bleed and how to fix them.
Before you jump into the list of possible issues described in this post, please make sure you have tried bleeding your brakes properly using the standard methods and also by reverse bleeding them.
You always get the best result from combining these methods to ensure all of the air is out of the system.
The standard brake bleeding methods will usually eliminate all of the air trapped inside the actual brake lines. But air may still be trapped inside the connector that attaches the brake line to the master cylinder, often referred to as “a banjo bolt.”
To relieve this air, you need to hold the hand lever in the engaged position and then briefly loosen the nut holding the banjo in place.
Make sure you don’t press the brake lever too fast and hard, or you will get brake fluid all over your bike.Tighten the nut before the lever bottoms out. I recommend using a rag to soak up the brake fluid that squirts out so that it won’t damage the paint on your bike.
The master cylinder on ATVs and the piston inside it are relatively small compared to the one you find on a car on any other larger vehicle. Because of its small size, it can only pump a relatively small amount of brake fluid with each pump.
This makes the standard method of bleeding brakes work less efficiently on smaller brake-systems found on ATVs, UTVs, dirt bikes, motorcycles, or snowmobiles.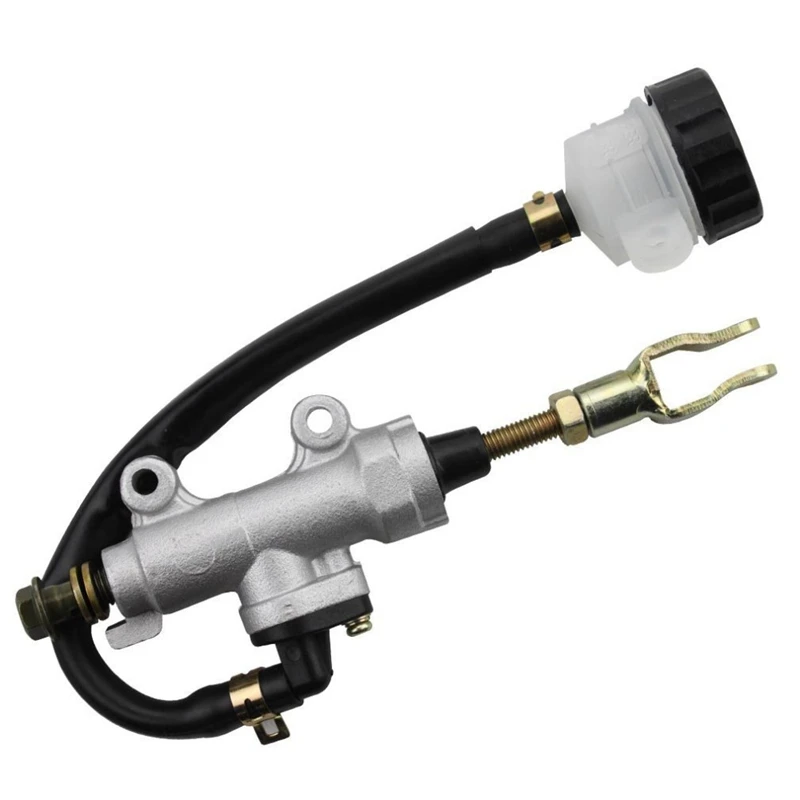
The amount of fluid being pumped may not be enough to move the bubbles of air out before you bottom out and have to start a new pumping cycle.
Before you attempt bleeding your hydraulic drum brakes, you need to make sure the brake shoes are properly adjusted. If they are not snug, you will never get a good brake feel.
Adjust the shoes according to factory specifications. The adjuster on each side needs to be adjusted equally, and the brake shoes need to be rubbing the drums quite a bit.
You should feel a noticeable drag when you turn the hub. If they are just barely scraping, you may have problems bleeding the brakes properly as the slave cylinder won’t be able to push the shoes far enough.
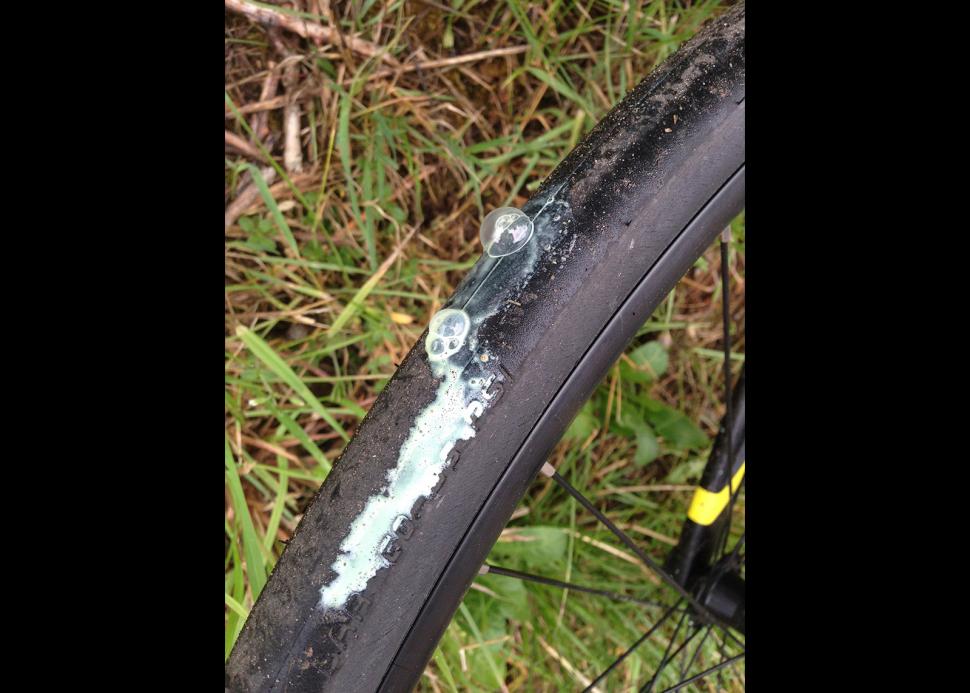
Even the smallest leak may be enough to prevent you from achieving firm brakes. Check the whole system with a dry paper towel, and address any found leaks.
 There is air trapped in the master cylinder
To remove the air trapped inside the master cylinder, you need to perform a bench bleeding procedure.
The process of bench bleeding the master cylinder is a bit more comprehensive than just standard brake bleeding, but sometimes it is necessary to remove the air trapped inside.
Running the brake reservoir dry is never a good idea and can lead to a bunch of problems.If you happened to run the brake fluid reservoir dry or have replaced or rebuilt your master cylinder, there is a good chance air trapped in the master cylinder is the cause of your problems.
I’ve dedicated a separate post on how you may bleed the master cylinder.
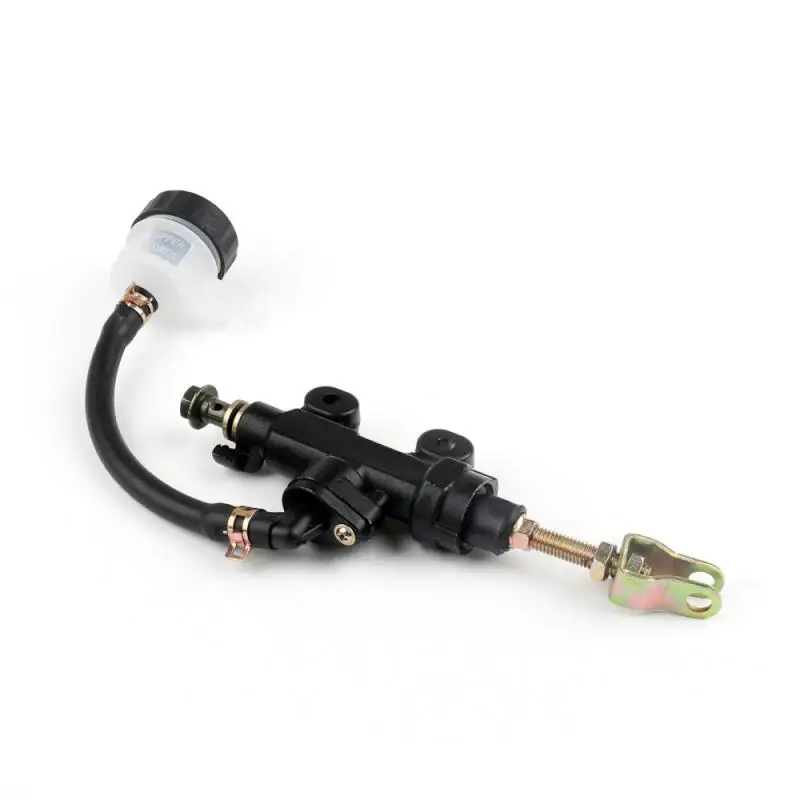
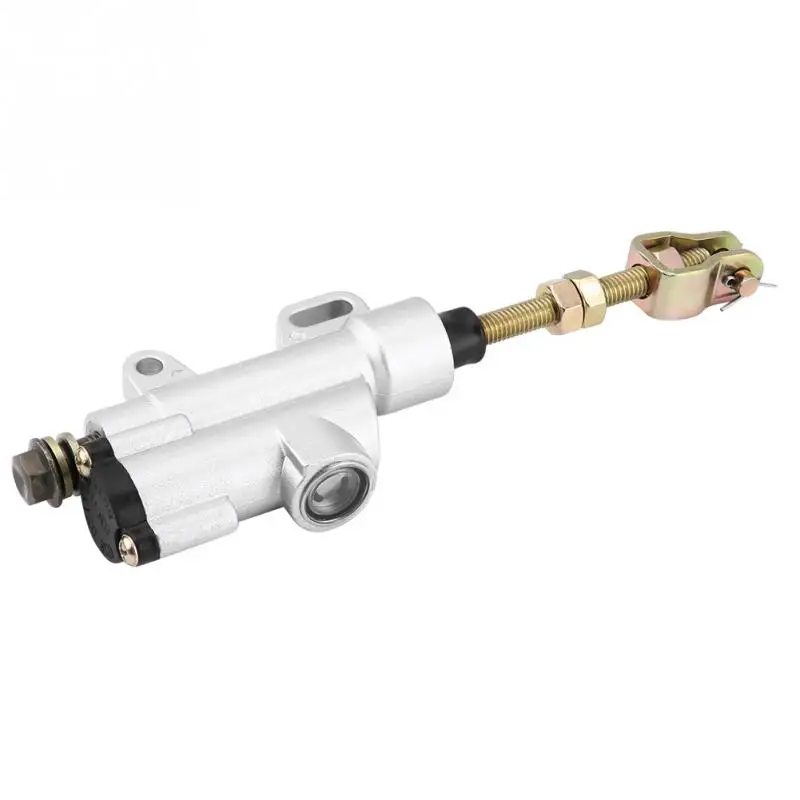
If you struggle to get the fluid down the brake lines, chances are your master cylinder has gone bad.
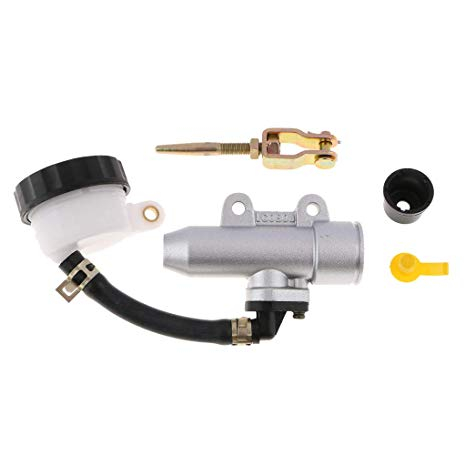
Inside the cylinder, you find a plunger with an o-ring that tends to wear or go bad over time. If you need several pumps to achieve firm brakes, this further enhances the likelihood of your master cylinder gone bad.![]()
Luckily you can rebuild an old master cylinder, and the parts needed do not cost much. Most manufacturers sell kits that fit your specific unit where step-by-step instructions are included.
If you happened to replace your brake handle/lever recently, it might be what is causing you trouble.
Installing an aftermarket or the wrong type of lever may prevent the piston inside the master cylinder from returning completely when the lever is released.
This may, in turn, prevent the brake fluid from flowing down and in front of the piston. The piston will move, but it won’t get any fluid from the reservoir to pump down the brake lines.
If you have opened the banjo bolt previously, make sure you installed it correctly with one copper or aluminum washer on each side.
There should be one copper or aluminum washer on each side.If assembled incorrectly, you may have problems building up the pressure, or you may suck air into the brake system each time you pump the brakes.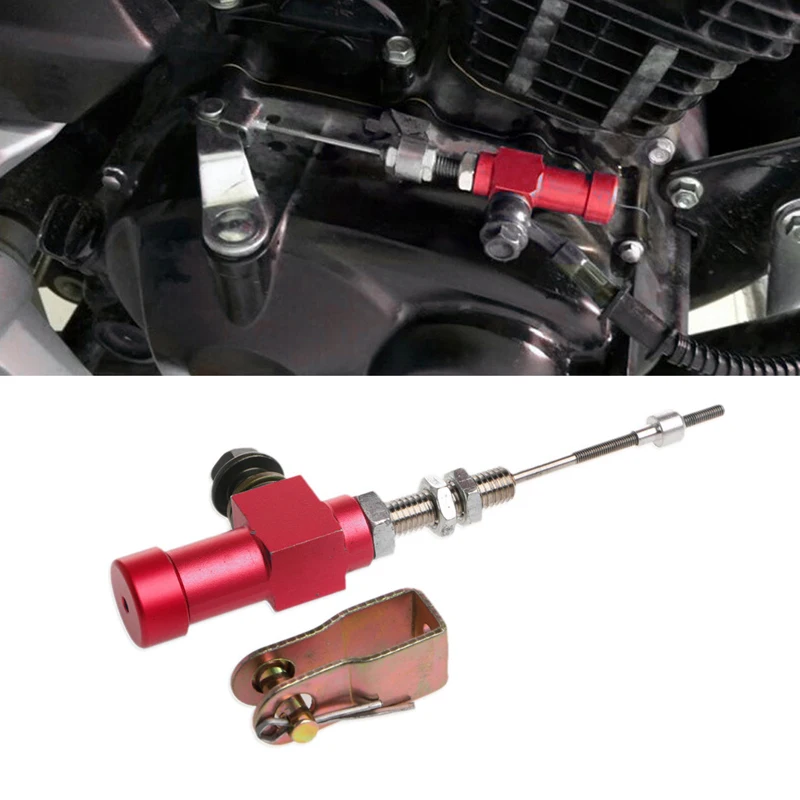
Over time, your brake lines may get clogged from corrosion and debris. If you cannot press one single drop of fluid out of an open bleeder-valve, or if the brake fluid flow is weak, you may have a clogging issue.
Try disconnecting the banjo connector from your master cylinder and pump the brake to see if the cylinder is working properly. Use a rag to prevent the corrosive brake fluid from ruining your paint and plastic.
If you get a firm squirt of brake fluid when you press the brake lever, the clogging is likely somewhere in your brake line.
Before you begin replacing brake lines, it’s worth completely removing the bleeder valve to see if this clears things up. Replace clogged bleeder valves with new ones. Bring the old one, and any automotive store should have new ones at almost no cost.
I’ll finish off with many last resort tips to try if your brakes seem to be in good shape but do not want to bleed.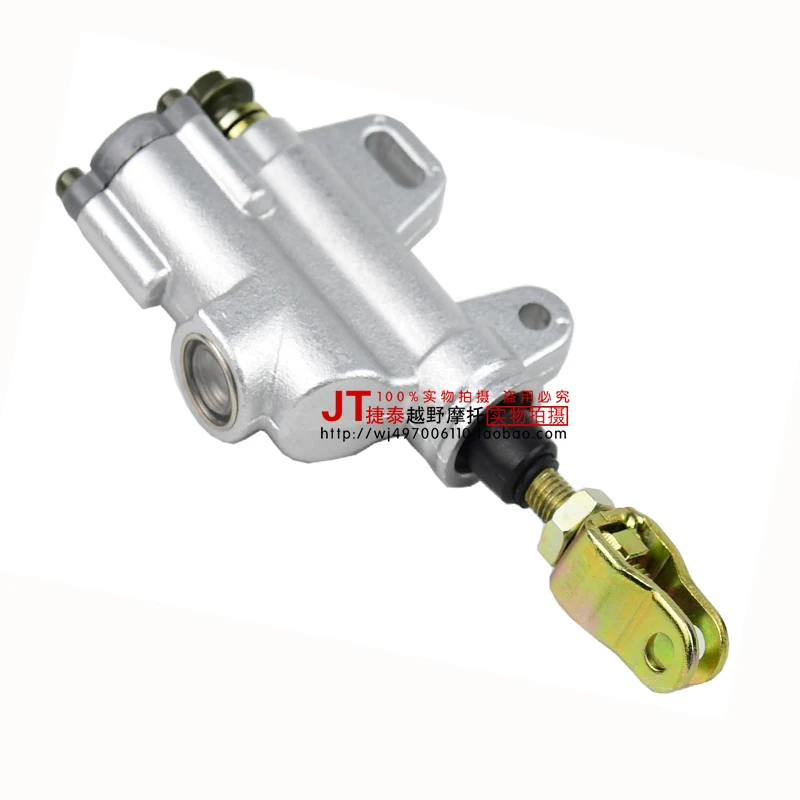
A simple trick to try out if you have tried everything and do not want to start messing with the master cylinder is to zip tie or rubber band the lever in the engaged position overnight.
If you are lucky, this may be all it takes to let the most stubborn bubbles of air escape up into the reservoir tank.
Here is one more simple trick to try before you attempt a complete master cylinder bleed.
Open the brake fluid reservoir cover. With the reservoir topped off with brake fluid and all the bleeder valves closed, slowly begin pumping the brakes. Note if you see any bubbles appearing in the reservoir.
Air bubbles appearing in the brake fluid reservoir is a good sign!Continue pumping until there are no more bubbles. Reinstall the cover and test your brakes.
Gravity bleeding is a well know method to try when everything else fails.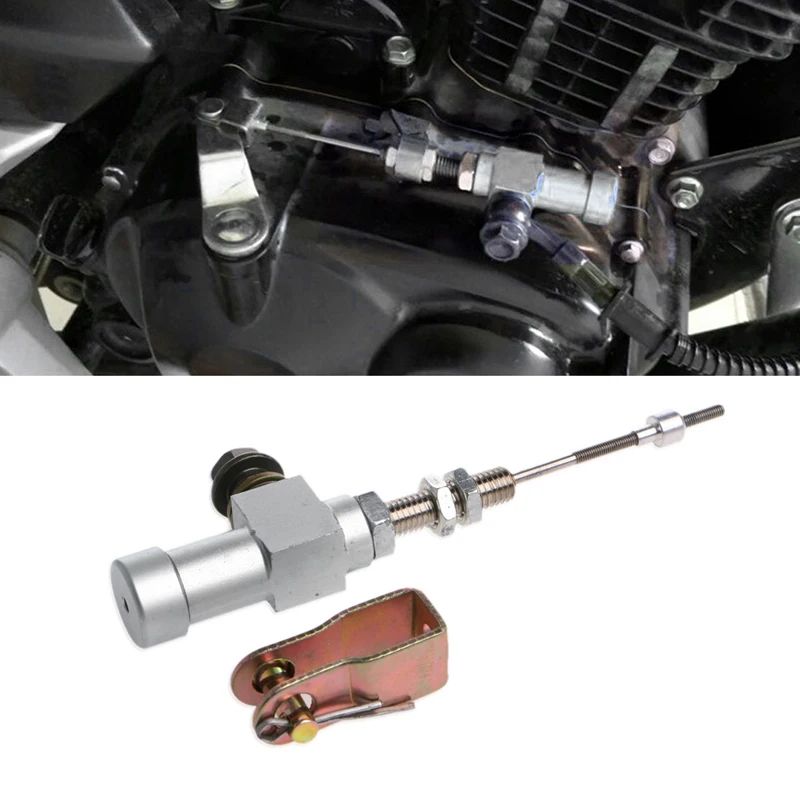 It may or may not be effective. The only way to find out is to try it out.
If you have reached this point and still had no success bleeding your brakes, I salute your willpower!
One time when I had no luck bleeding the brakes on my KTM EXC dirt bike.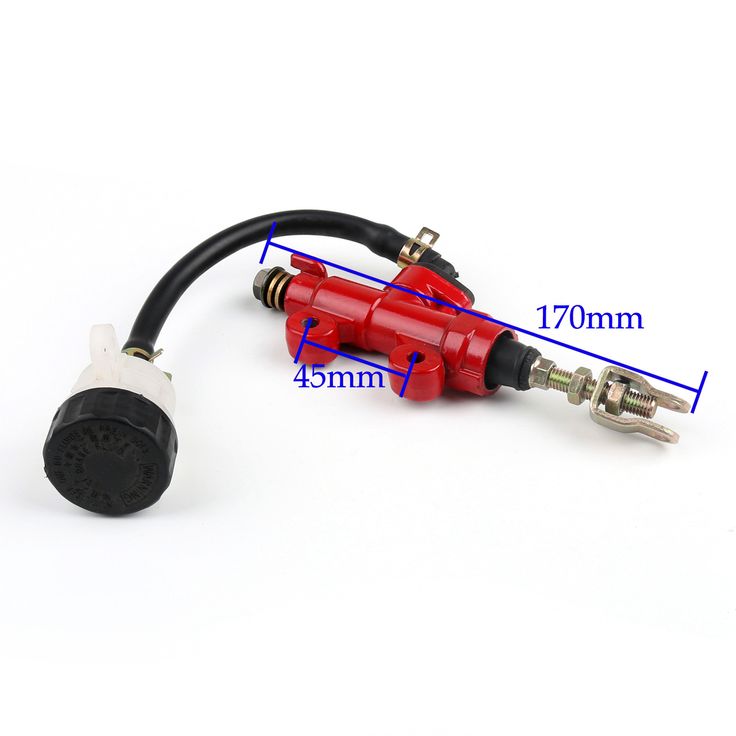 I tried everything and used bottle after bottle of brake fluid. The brakes were still soft.
Then I tried topping off the brake fluid reservoir completely before continuing manually pumping and bleeding the brakes. And what do you know, after just a few pumps, the brakes were rock solid again.
I cannot explain how it happened, but consider giving it a shot before giving up and taking your machine to the dealer.
ATV brakes are a basic safety system and should work perfectly. And if you notice the slightest slippage or decrease in the efficiency of the nodes, the system needs to be checked. Therefore, let's figure out how to pump the brakes on an ATV and diagnose all the components.
The first fluid change is recommended as soon as the rider has purchased the ATV. The fact is that many manufacturers fill in the cheapest composition, which does not have a high operational resource.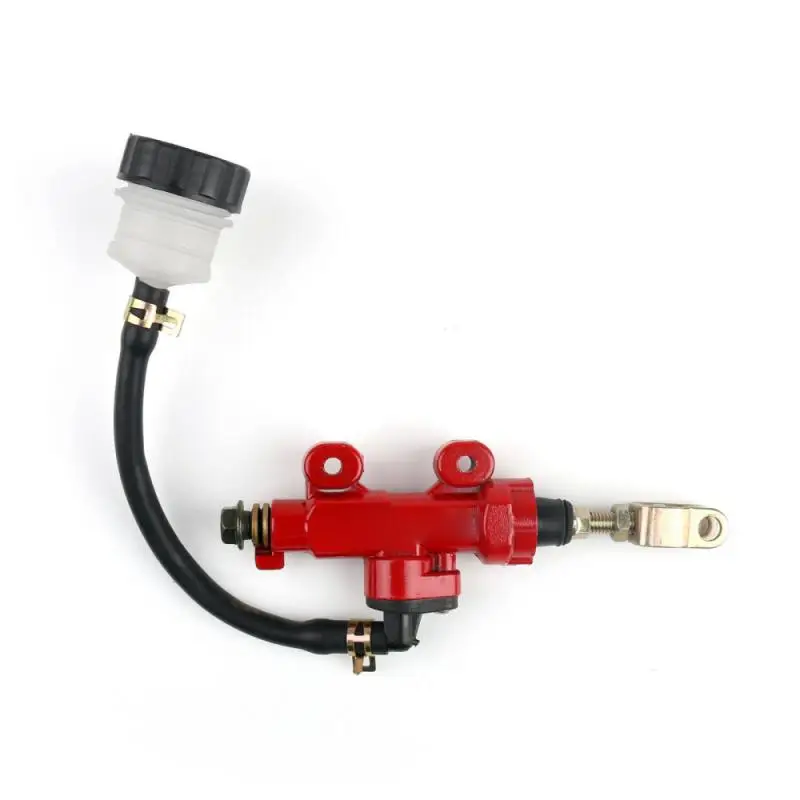
After buying a used ATV, you also need to service the brake system: change the fluid, check the hoses and pads. Remember that during the operation of equipment, moisture and air enter the composition. This leads to the formation of corrosion and even freezing of the liquid in winter. For example, if the composition contains only 3% water, its operating temperature drops from 230 to 165 degrees.
You need to figure out how to pump the front and rear brakes of an ATV even in case of their “failures”. If the lever has lost its elasticity, then air or moisture has accumulated in the system, which has affected the characteristics of the fluid.
Before you adjust the brakes on your ATV, have the necessary tools ready. To bleed the system you will need:
It is worth noting that in order to pump the ATV, you need a partner who will clamp the brake lever. If there is no assistant, you can fix the position of the brake lever with a belt.
Bleeding the brakes scares many motorists. However, the procedure itself is very simple, so even a novice ATV rider can handle it. The rider only needs:
This procedure is carried out for all calipers (front and rear). But if the brakes on the ATV do not pump, then you need to find places in the system where air accumulates and eliminate them.
Experienced motorists recommend using only high-quality brakes that are suitable for specific temperatures. This means that for summer and winter you need to choose different compositions.
Riders also advise:
Also buy a spare brake. If the documentation indicates that 0.5 liters of fluid is needed to bleed the system, buy 1 liter of the composition. The fact is that the recommended volume is indicated based on the experience of specialists. A novice ATV rider can spend more brakes.
19.02.2021 3694
Not everyone can fix a malfunction in the brake system. But you can independently determine its cause!
Brakes, of course, were invented by cowards - any reckless driver will tell you that. But when you realize that “something is wrong” with them, it becomes scary to get behind the wheel: the trip may be the last. Thoughts like “it will do” are driven away: the jokes are over. It is important to determine the type of malfunction - at least in advance.
Related content
In this case, ABS will only hurt - your brakes will not work!
As a rule, an increased free play is accompanied by an increase in the braking distance. Most often this happens when the brake system "snatched" air; at the same time, after several clicks, the pedal seems to pump up, becoming tighter. For what reason this happened is a separate question - in any case, the system will have to be pumped, at the same time determining possible brake fluid leaks.
Sometimes the pedal becomes loose due to swollen brake hoses. Broken hose cords give the same effect. But this happens only with the left components. Sometimes brake fluid may boil, but this also happens either with a frankly poor-quality product, or with a very old brake fluid that has never been changed at all.
Another possible cause is a very large runout of one or more brake discs. In addition, the automatic maintenance of the gap in the drum brakes may not work.
Related content
An Alternative Method for Changing Brake Fluid: Our Pump-and-Hold Answer
Stiff pedal, short travel when pressed... When braking, the car loses directional stability, trying to go to the side. Most often, this happens when the caliper cylinders are jammed in one of the system circuits. If the car does not drift anywhere, and the trouble is expressed only in a sharply increased effort during braking, the vacuum brake booster or vacuum supply hose may be to blame.
Sometimes increased effort on the pedals is caused by the use of low-quality brake pads, as well as excessive contamination, oiling of both the pads themselves and the surfaces of the discs or drums. But this happens quite rarely.
It is also possible that the brake pads are completely worn out or broken. It happens that an ice or salt crust forms on the surface of the discs. The poor quality of the brake pads, as well as severe corrosion of the brake disc (often more on the inside) are not excluded.
Most often, the reason is banal - like a low level of brake fluid in the reservoir or excessive wear of brake pads equipped with appropriate sensors. Another simple reason can be ... the parking brake is on (it happens that the limit switch is just buggy). However, brake fluid leaks can also be the cause of the level drop - they must be urgently identified and eliminated.
Tightened the lever, but the machine is still trying to roll downhill? In the simplest cases, the parking brake just needs to be adjusted normally. In addition, oily brake pads can affect. It happens that the cables are wedged in the shells. Possible causes include oily discs or drums. The culprit may be complete wear of the pads. And if the parking brake does not release the car, then most likely the pads have frozen or rusted to the brake drums.
A malfunction of any of the ABS components leads to the shutdown of the entire system and the system malfunction symbol lights up in the instrument cluster. The car will retain the ability to brake, and the intensity of braking in most cases will not suffer. But the important thing is that on slippery surfaces the wheels will be blocked, and this is the risk of loss of directional stability!
Related materials
Which brakes are better: drum or disc?
It is clear that not only the brakes can be to blame for taking the car off course - here the wheel alignment angles, the wheels themselves, and the steering can misbehave.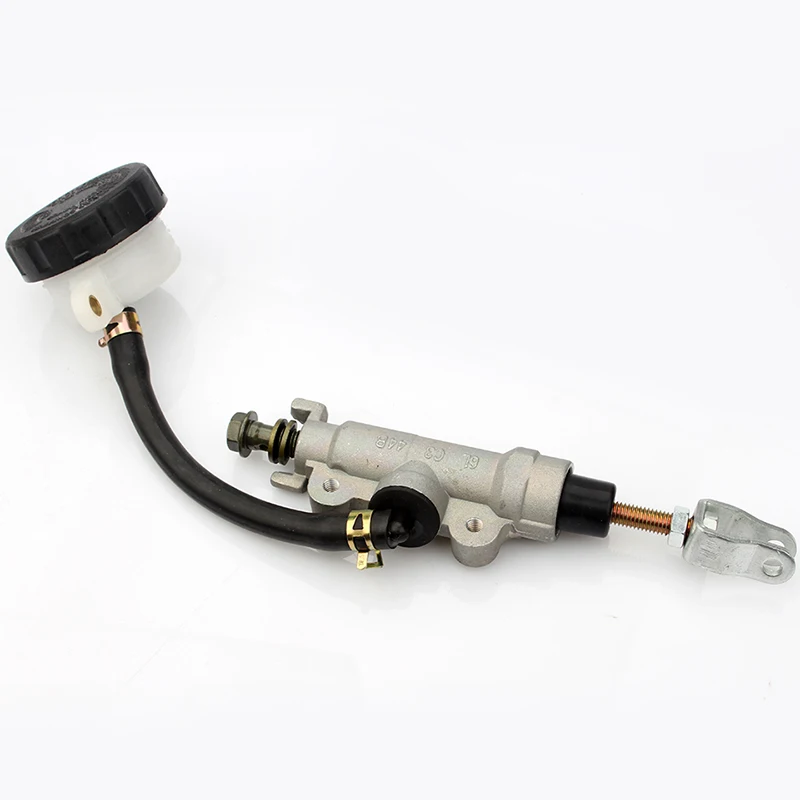 However, quite often questions arise specifically about the brakes, especially if the car is dragging sideways when braking. Most often, stuck pistons in the cylinders of one of the circuits are to blame. Braking of the wheel is possible due to the loosening of the bolts securing the guide pads to the steering knuckle, as well as oiling the pads or getting brake fluid on them.
It is possible that ice or salt crust has formed on the surface of the pads, or the pads are simply wet. Or one of the circuits of the brake system does not work - while the pedal is low and the braking efficiency is low. Brake disc runout, wheel bearing wear, and brake drum ovality can also be to blame.
It happens that the car shakes violently when braking - this trouble usually happens with experienced cars. The culprit may be the beating of the wheel hub and brake discs, play of wheel bearings, ovality of the brake drum, wedging of calipers or working cylinders. Other possible causes: the brake pad has peeled off the base, the drum brake return spring has weakened or broken.
This kind of malfunction is usually identified by the appearance of a burning smell. This, as a rule, is accompanied by an increased pedal travel, which began to seem cottony, as well as an increased braking distance. The cause of overheating can be both excessively active driving with constant braking, and banal forgetfulness, that is, a tightened parking brake.
Also, possible culprits include sticking cylinders and calipers.
It is clear that wear in itself is not striking. However, it is accompanied by a decrease in braking efficiency, high pedal effort, as well as the ignition of the brake malfunction indicator.
The cause of wear can be both the banal old age of the car, and the driving style of the owner, who uses the pedals in the “on / off” mode - without intermediate positions. Of course, jamming of cylinders and calipers can lead to increased wear.
High-frequency noise, screeching, whistling can occur both during braking and - sometimes - during normal driving. The reason is the off-design mode of friction of the friction material on the working surface of the brake disc. The limiting wear of the brake pads, severe corrosion of the brake disc (and often from the inner, “invisible” side) can be to blame. It happens that the brake pad has peeled off from the base. The list of possible causes continues to include pad contamination, disc warping due to local overheating, improper pad mounting in the caliper, left pads or discs, etc.
Usually manifested as a lack of free play on the brake pedal. Possible reasons: the vacuum booster is incorrectly adjusted (for example, when replacing), the cuffs in the cylinders are swollen due to the ingress of foreign aggressive liquids, the piston in the main cylinder is jammed due to corrosion, the spring in the GTZ is broken.