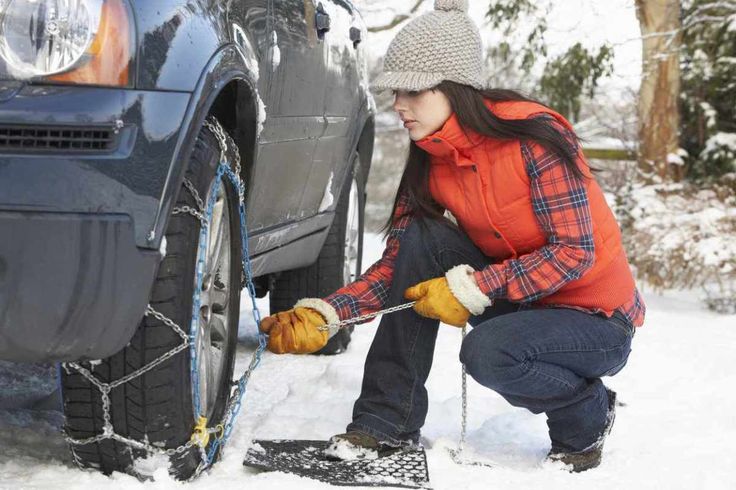
If you travel to the mountains or snowy areas regularly, sooner or later you’re going to have to use tire chains. Start by getting the right set for your vehicle at your local Les Schwab.
Quick-fit chains are not your grandpa’s tire chains. They are MUCH simpler to put on and take off. Here are a video, step-by-step instructions, and driving safety tips for installing quick-fit tire chains on your vehicle.
When you need chains, driving conditions are nasty. Snow is coming down, passing traffic is spraying slush, dirty water is dripping off your wheel wells, the road is slick, and it may be dark. Don’t make this the first time you put on your chains.
Practice installing your new chains once BEFORE you travel. Take advantage of a dry garage or driveway to make sure your winter tire chains are the right size and you’re comfortable putting them on. If needed, the professionals at Les Schwab Tire Centers can help.
Put together a simple winter road trip safety kit with warm gloves, waterproof layers, and other items to make your winter driving more safe and comfortable. In the winter, always carry this emergency kit and tire chains in your vehicle.
Once you’re comfortable installing your chains, you’re ready to hit the snow.
Be Safe. If you’re on the road, pull off as far as possible onto a safe shoulder. Flip on your hazard lights. Put on your waterproof layers, hat, headlamp, and gloves from your winter road trip kit.
Identify the Correct Tires. If your vehicle is front-wheel drive, the chains go on the front. If it’s rear-wheel drive, chains go on the back. If it’s all-wheel drive, please check your owner’s manual. If you’re not sure, you can ask the experts at Les Schwab for help.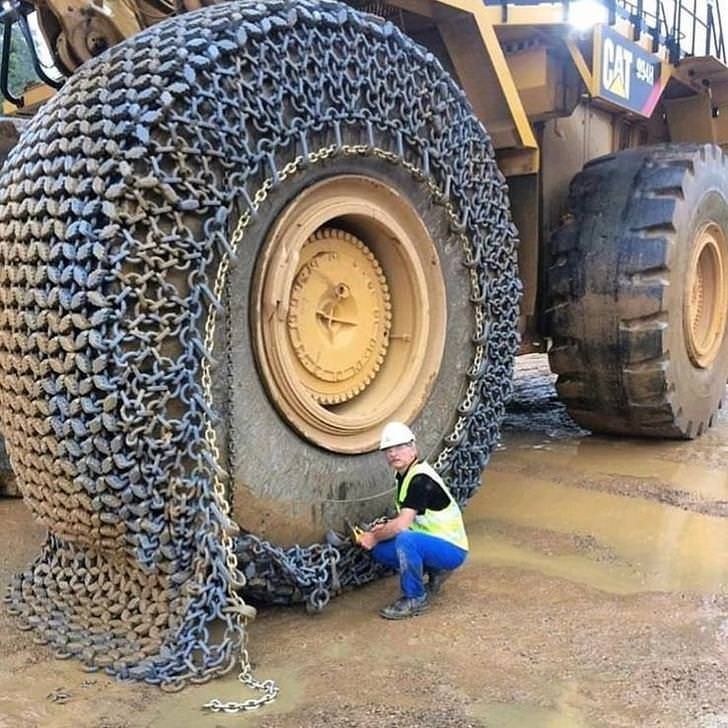
Pull Out Chains & Instructions. With your vehicle parked, open the bag and pull out your instructions and your first chain. Each bag comes with two chains. The plastic instruction mat that comes with your chains can be used as a barrier between you and the snow to keep you dry.
Untangle Your Chains. Holding them from the plastic-covered cable, make sure everything is straight and the chains are not looped over one another. Hold up your chains so the yellow end is in your left hand and the blue end is in your right.
The chains should hang loosely and the metal hooks seen along the yellow and blue sections should be facing away from you so they don’t damage your tires.
Place Chains onto Your Tire and Connect the Cable. Lay your chains on the ground and push them behind the tire, yellow cable end first, from the right side to the left.
Once the chains are centered behind the wheel, grab both ends and pull them up over the top of the tire. You should feel the chains against your axle.
This will allow you to easily connect the yellow and blue ends of the cable by slipping one end into the other and pulling them into place.
Connect the Red Hook. Now that the cable is connected on top, look for the red hook directly opposite the cable connection. Connect the red hook on the right to the first available gold link on the left.
Check the Diamond Shape. Push the connected chain over the top of the tire. You should see the diamond shape in the chains against your tire. Between each of those diamonds is the center rail, which should be placed down the middle of the tire tread.
Connect the Red Chain Along the Bottom.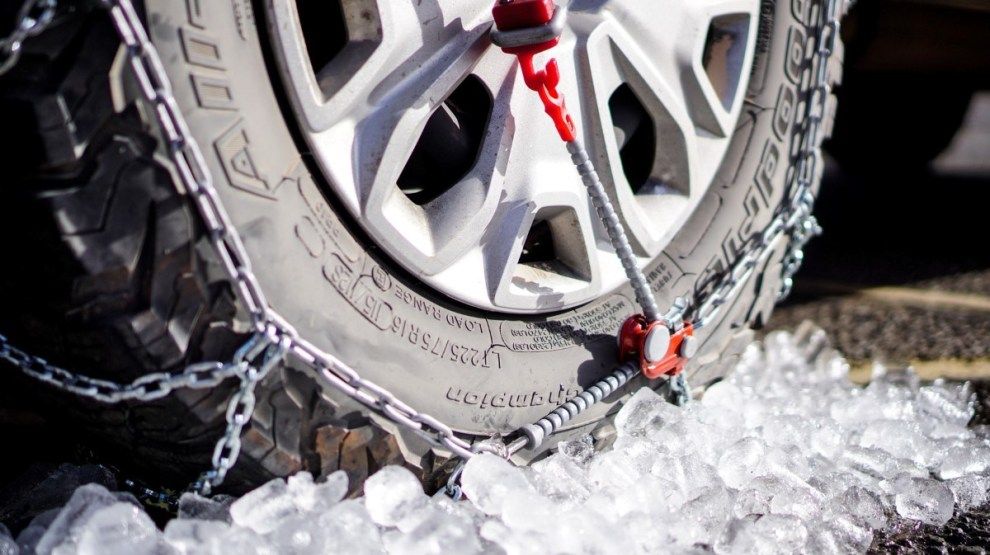 Now that the cable is connected on top, look for the red hook directly opposite the cable connection. Connect the red hook on the right to the first available gold link on the left. Push the connected chain over the top of the tire.
The bottom of the chains includes a red draw chain with bungee on your right, and a chain guide on the left. Pull these out towards yourself.
Take the long red chain and run it through the chain guide and pull as tight as you can with both hands. Don’t pull using the bungee. As you pull, one of the chain links will find its way into the notch on the red chain guide, locking it into place.
Using the bungee end of the red chain, pull it through one or both of the red loops and secure it to a gold-side chain opposite the red loops. If you can’t get it through both loops, that’s ok, pull tight through one and attach it to a side chain to the left of the loop.
Repeat on Second Tire. Repeat these steps to install chains on the other side of your vehicle.
Drive Forward Slightly. The next step is to drive forward about 15 feet, or a full car length. This gives the chains a chance to relax and settle on your tires.
Re-tighten Chains. To take up any slack, unhook the rubber end of the red draw chain and pull it tight again. Once it’s tight, guide the red chain through the loops and, again, securely latch the bungee end to the gold-side chain.
The chains should be tight on the tire. And, be sure to stop if you hear them making any contact with your vehicle. If your chains are still loose, unhook the bungee and adjust the red hook straight across from the chain guide. Unhook and reattach to the tightest position on one of the three gold chain links. It’s okay if the extra links are hanging loosely. Now, you’re ready to reattach your bungee.
While driving with tire chains, listen for a loud sound of slapping, or metal on metal. If you hear any indication that a chain may be broken or hitting your car, STOP as soon as safely possible. Loose or broken chains that flap can wrap around a strut or shock component, causing big damage to your vehicle. To help prevent damage, here are a few tips for driving when you have winter chains installed on your vehicle.
Pull over in a safe location and remove the chains. Start by unhooking the bungee and chain from the guide, removing them from the tensioner. Unlatch the red hook, and then undo the blue and yellow cable connection. Once all of your chains are off and lying flat on the ground, pull backward or forward slowly a few feet so you can safely pick them up.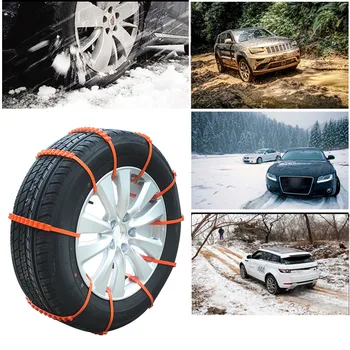
At the end of your trip, lay your chains out in the garage and let them dry. If you pack them wet, they can rust.
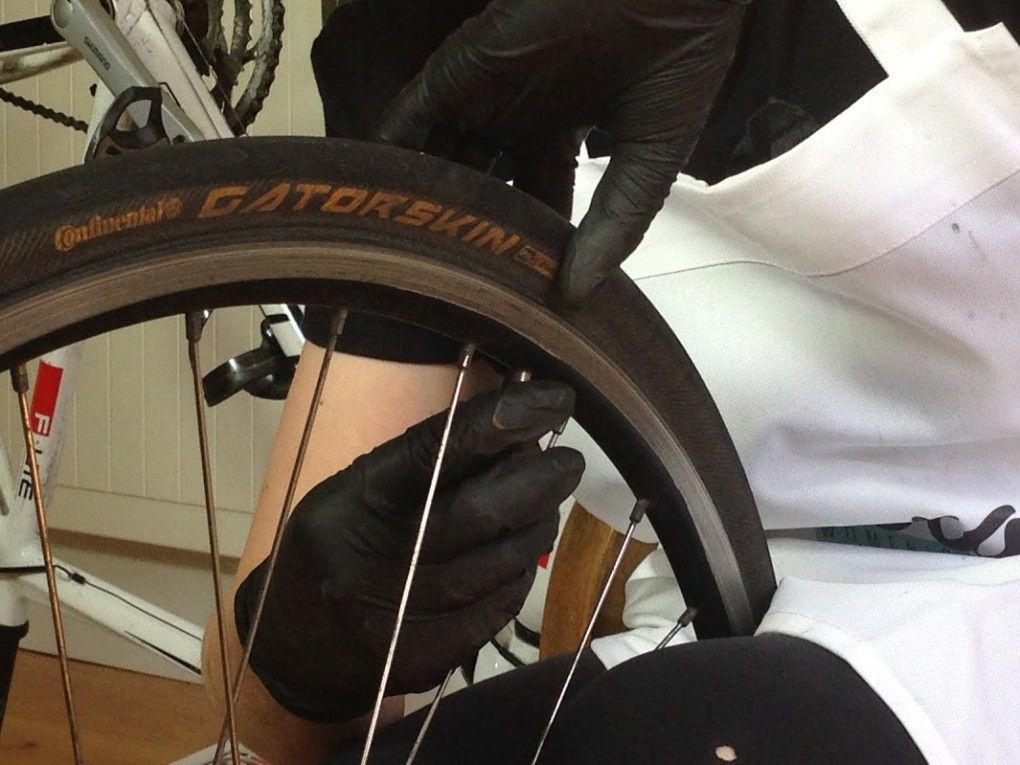
Also check them for wear, especially if you’ve driven them on asphalt for any distance. Look for flat spots, and replace the chains if you find some.
Link at left shows flattening from wear. Link in center shows sharp edge from wear that can damage a tire.
Remember, if you don’t use your chains all winter long, you can return them with proof of purchase to any Les Schwab for a full refund in the spring.
Get your next set of Quick-Fit chains, along with a few tips on how to install them, at your local Les Schwab, where doing the right thing matters.
Want more tips on winter road safety? See 19 Winter Driving Resources You Can’t Do Without.
Get More Winter Tips
The Drive and its partners may earn a commission if you purchase a product through one of our links.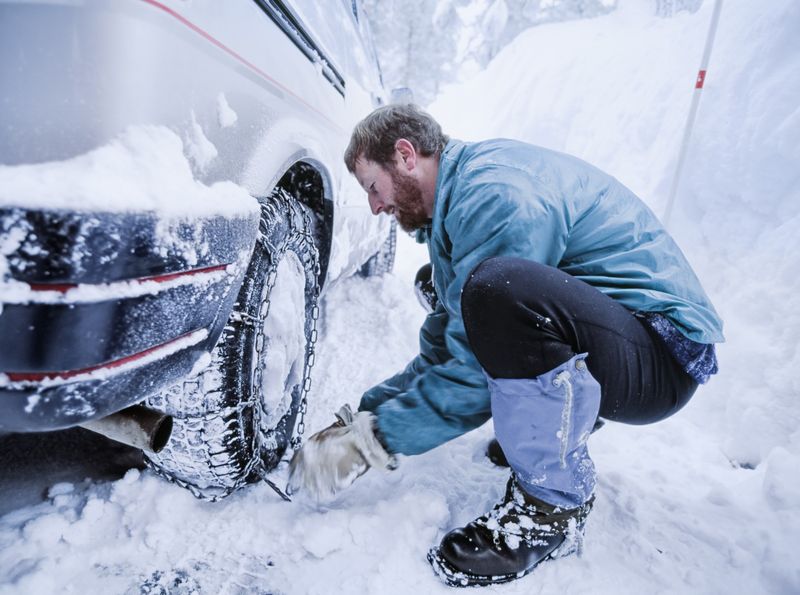 Read more.
If you’re lucky enough to live in an area that gets legitimate winter weather, you’re probably well aware of the annoyance and dangers that a snowstorm can prevent to motorists. Many people opt for winter tires to improve their vehicles’ traction in bad weather, but they’re expensive. Of course, people could stay off the roads altogether in winter weather, but in some places, that’s just not a practical option nor does it solve the issue of getting to and from work, the grocers, or taking your kids to school.
Tire chains, to a degree, help get around those issues with an affordable way to greatly improve traction. They can be installed and uninstalled in minutes, and can truly be the difference between a normal commute and a day spent being pulled out of a ditch.
Even if you do live where the air hurts your face, you might not know much about chains if you’ve relied on winter tires for the majority of your driving life. The Drive’s editors have experience installing chains and have made almost every mistake in the book so you don’t have to.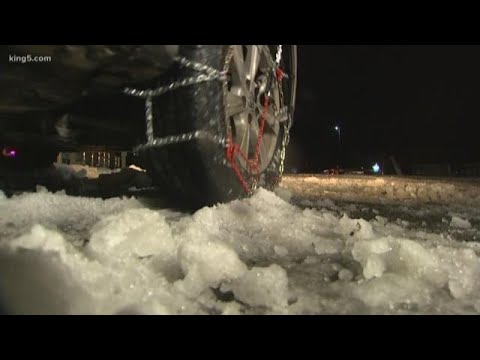 Let’s dive in.
Estimated Time Needed: 10-30 minutes
Skill Level: Beginner
Vehicle System: Exterior/Tires and Wheels
Tire chains are a physical part that’s wrapped around your tires to greatly improve traction in snowy, icy, and slippery conditions. They can be added to standard or winter or all-season tires. They are sold separately from the vehicle and its tires, and can be carried for use when necessary.
When installing tire chains, it’s not really the chains themselves that present the danger. It’s the road conditions and other drivers that you’ll really need to worry about.
There’s good news! The only thing you’ll truly need to install tire chains is the chains themselves. It’s a good idea to carry a roadside safety kit with emergency markers/reflectors for your own protection, but those things won’t actually help you install the chains.
Organizing your gear so everything is easily reachable will save precious minutes waiting for your handy-dandy child or four-legged helper to bring you the sandpaper or blowtorch, too. (You won't need a blowtorch for this job.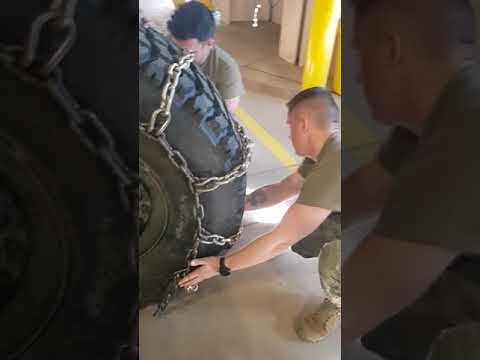 Please don’t have your kid hand you a blowtorch—Ed.)
You’ll also need a flat workspace, such as a garage floor, driveway, or street parking to install your tire chains. Check your local laws to make sure you’re not violating any codes when using the street because we aren’t getting your ride out of the clink.
Find a safe spot to work., DepositphotosIf you expect that you’ll need tire chains, find a flat space, and try to get out of the way of other drivers.
Let’s do this!

 If they are loose or misaligned, fix the issue to avoid having the chains fly off when the vehicle is in motion.
As much as The Drive loves to put the "you" in do-it-yourself, we know that not everyone has the proper tools, a safe workspace, the spare time, or the confidence to tackle major automotive repairs. Sometimes, you just need quality repair work performed by professionals you can trust like our partners, the certified mechanics at Goodyear Tire & Service.
 The side of the road is a terrible place to be fumbling with chains.
You’ve got questions, The Drive has answers!
A. Chains do provide better traction on snow and ice than winter tires. They’re also far cheaper than a good set of winter rubber. The issue is having to carry and install them every time there’s bad weather, and then uninstall them on the other side of the storm.
A. In testing performed by Consumer Reports, products like AutoSocks are about as effective as a mid-range winter tire.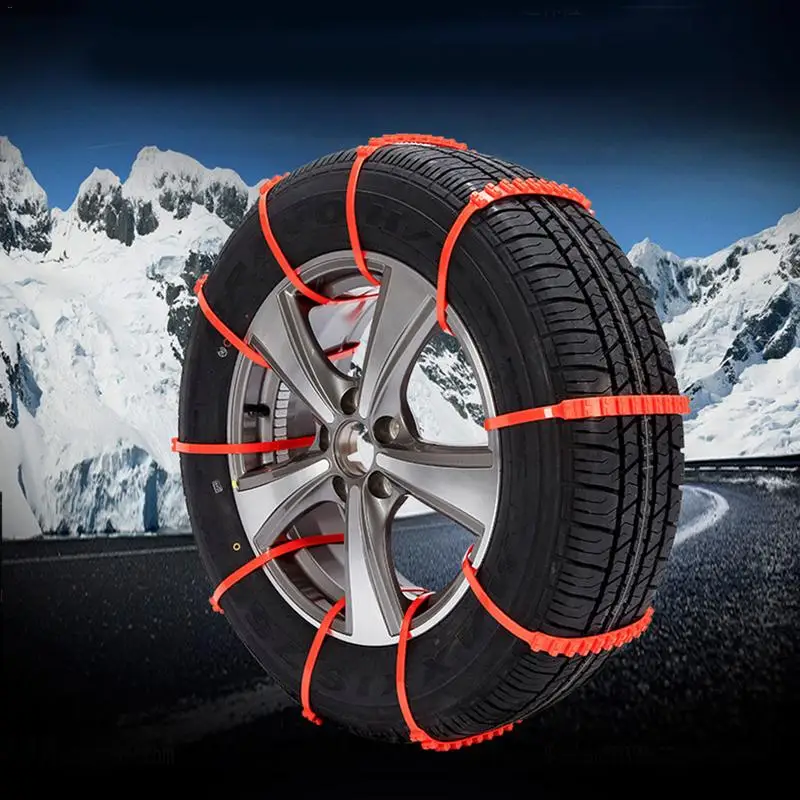 The publication also notes that, for people living in areas with serious winter weather, nothing is better than a solid set of dedicated winter tires.
A. Remember, you get what you pay for. Winter chains can be had for as little as $40 online, but it’s best to research the most reliable and well-reviewed brands. On average, prices range from around the $40 mark to upwards of $150.
We’re here to be expert guides in everything How-To related. Use us, compliment us, yell at us. Comment below and let’s talk! You can also shout at us on Twitter or Instagram, here are our profiles.
Jonathon Klein: Twitter (@jonathon.klein), Instagram (@jonathon_klein)
Tony Markovich: Twitter (@T_Marko), Instagram (@t_marko)
Chris Teague: Twitter (@TeagueDrives), Instagram (@TeagueDrives)
When it comes to tire chains, The Drive’s editors realize you could spend days just sifting through half of the products available. That’s why we’ve selected a few of our favorites to help get you started on the right track. These products are affordable, useful, and well-reviewed.
Snow chains are a valuable addition to your forklift. Snow chains are a device to be used in an emergency situation and, therefore, when using them, it is necessary to observe the precautions and the attached rules of use in order to obtain the expected results, as well as to avoid possible problems arising from incorrect use of the chains.
Anti-skid chains are designed to prevent wheel slippage and increase the passability of the loader when driving on difficult road sections - ice, rolled snow, virgin snow.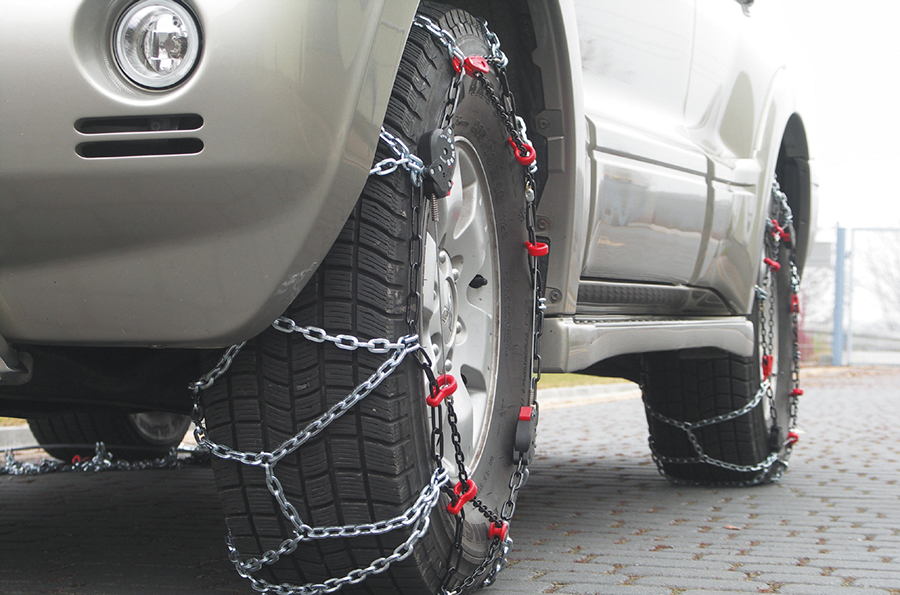
Before using snow chains, it is necessary to determine the possibility of their installation on the vehicle. Recommended minimum clearances between the wheel and various parts of the loader required for installation:
 this leads to rapid wear of the chains.
 Anti-skid chains are mounted on the drive wheels of the loader. Installation of anti-skid chains must be carried out before entering a difficult road section.
For different manufacturers of wheels for loaders with the same wheel marking, the actual dimensions can vary significantly.
To take into account the difference in wheel sizes, an additional jumper (pos. 7) is provided in the anti-skid chains. It is attached with staples to the end links of the tail chain (pos.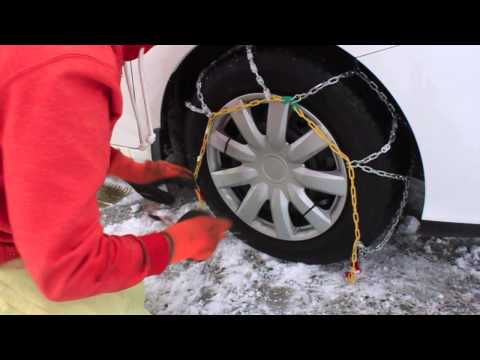 6).
6).
The need for an additional jumper is determined during the first installation. If the anti-skid chain hangs freely on the wheel during tension, warps on its side and further tension does not give the chain a snug fit to the wheel, then the additional jumper should be disconnected.
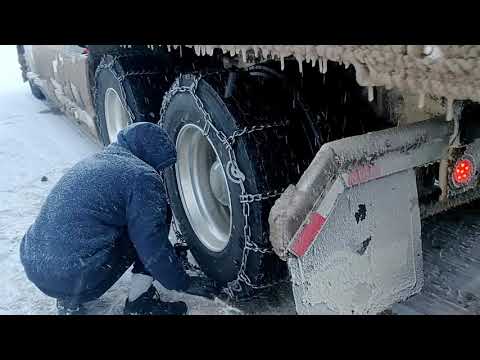
1. Carefully straighten the snow chain (chain links must not be twisted). Lay snow chains on the road surface and run the drive wheels over them. The locking hook (pos.2) with the locking ring (pos.3) must be located on the outside of the loader. Secure the loader in a position that prevents spontaneous movement on the road.
2. Throw the free part of the chain on the wheel. Spread the transverse branches of the chain (pos.4) evenly around the circumference of the wheel.
3. On the inner side of the wheel, hook the locking hook (pos.1) to one of the links of the tail branch (pos. 6). Hook hook only on odd tail chain links 1, 3, 5, etc. (for loaders with a small distance between the wheel and other parts).
4. From the outer side of the wheel, thread the locking hook (pos.2) into one of the end links of the tail branch (pos.6) and turn the locking hook towards the locking ring (pos.3).
5. Insert the locking ring into the groove of the locking hook. If necessary, make an additional tension of the chain (reattach the locking hook and the hook for the following tail links). Longitudinal and transverse branches should grip the tire tightly.
6. After passing a small area, make an additional tension of the chain by hooking the hook (pos.2) on one of the following links of the tail chain.
After the first installation, the extra tail links (not used) must be cut off or tied so that they do not touch the body or other parts of the loader during movement.

Removing the tool from the wheel is carried out in the reverse order.
Anti-skid chains are mounted on the drive wheels of the loader. It is advisable to install snow chains before entering a difficult road section.
For different manufacturers of wheels for loaders with the same wheel marking, the actual dimensions can vary significantly.
To take into account the difference in wheel sizes, an additional jumper (pos. 5) is provided in the anti-skid chains.
It is attached with staples to the end links of the tail chain (pos. 4). The need for an additional jumper is determined during the first installation. If the anti-skid chain hangs freely on the wheel during tension, warps on its side and further tension does not give the chain a snug fit to the wheel, then the additional jumper should be disconnected.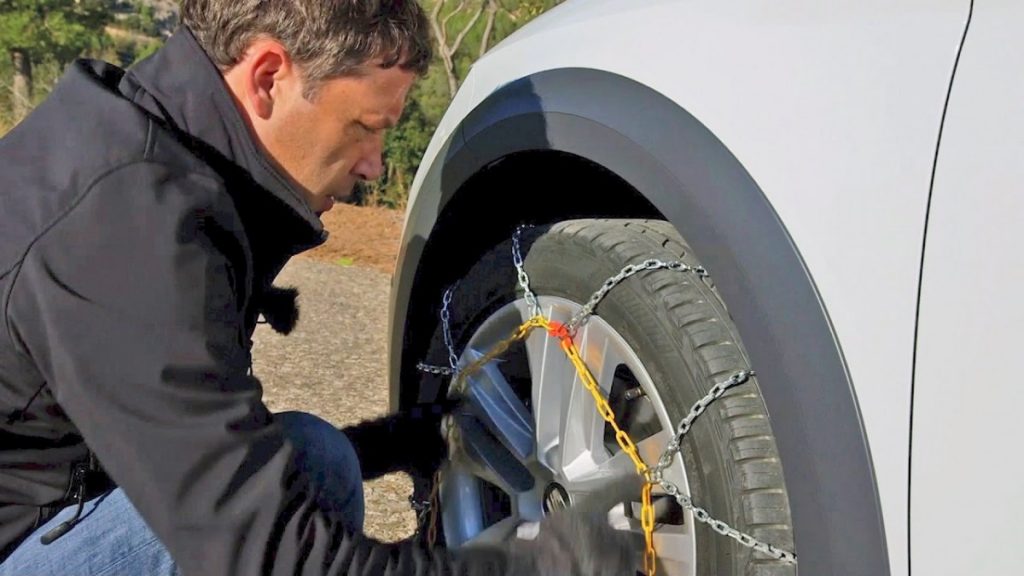
1. Secure the vehicle in a position that prevents spontaneous movement on the road. Put the snow chain on the wheel in such a way that the tensioning rings (pos.6) are on the outer side of the wheel, and the locking hooks (pos.1) and tail links (pos.4) are in the lower part of the wheel. Spread the transverse branches (pos.2) evenly around the circumference of the wheel.
2. Hook the locking hook (pos.1) on the inner side of the wheel for one of the links of the tail branch (pos.4), or for the ring, i.e. as close as possible to the other half of the snow chain.
3. Hook the locking hook (pos.1) on the outer part of the side of the wheel for one of the links of the tail branch (pos.4), or for the ring, i.e. as close as possible to the other half of the snow chain.
4. Pass the tensioning chain (pos.7) through all the rings (pos.6), including the ring to which the tensioning chain is attached.
5. Attach the lanyard (pos. 8) to one of the tension chain links (pos. 7). Hook the lanyard hook (pos.8) to the tension ring (pos.6) from the opposite side. Make a stretch. The tension should be carried out until the snow chains fit snugly against the wheel. If necessary (with a weak chain tension), hook the lanyard over the next link of the chain for tension and re-tension. It is also possible to fasten the lanyard to the side ring for tensioning, and with the hook of the lanyard, alternately hook it to the chain links for tensioning.
6. After passing a small area, make an additional tension on the chain.
Removing the tool from the wheel is carried out in the reverse order.
Return to list
Contents0003
How to install circuits on wheels with your own hands
Method of installation without frauding the machine
Alternative solutions
What you need to remember.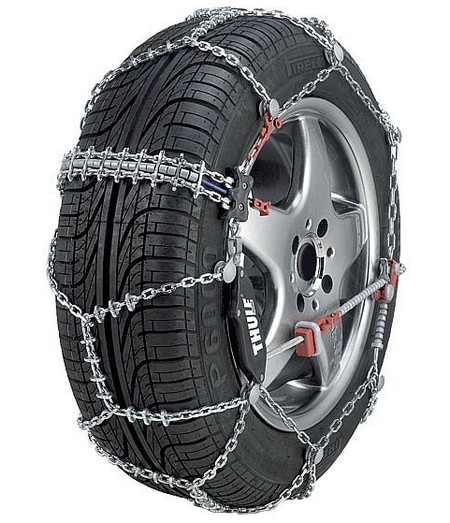 the driving wheels of the car began to slip in mud, ice or deep snow. It is often almost impossible to get out of such situations on your own - only with the help of another vehicle. How are our colleagues doing? Some people buy studded tires after such incidents, others simply put the car on a "fun" during natural disasters. But there is another category of motorists that uses homemade chains for wheels and, I must say, quite successfully.
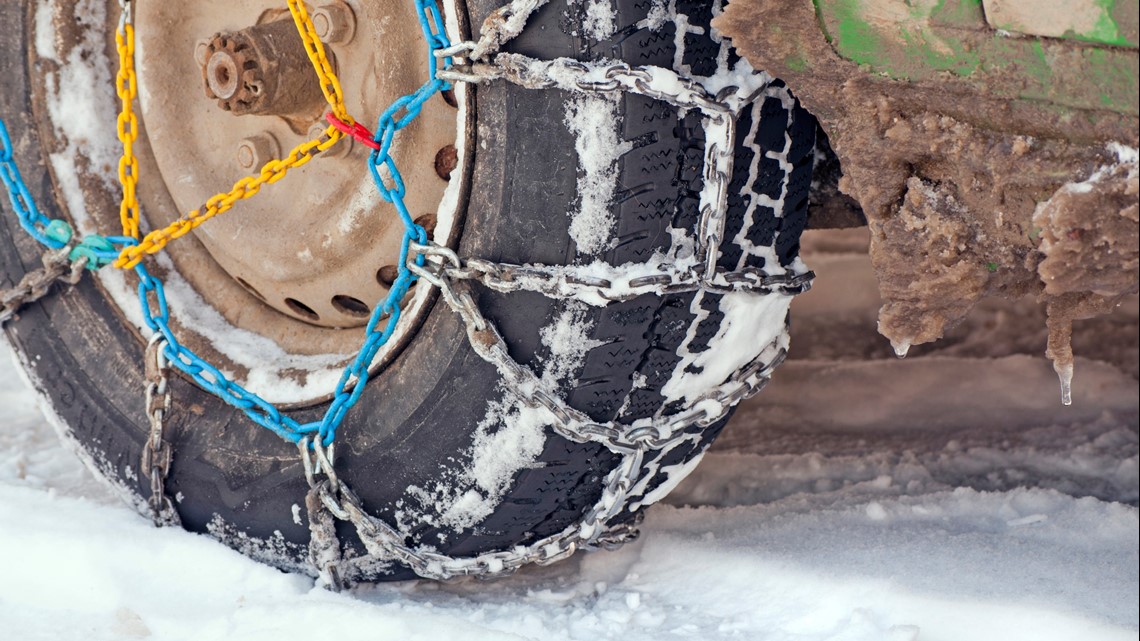
These devices are based on a simple design, consisting of steel links or armored wire . A successful application lies in the uniform distribution of the elements along the entire radius of the tire. Failure to comply with this condition threatens to break the product and loss of anti-skid properties. The classic scheme, proven by more than one generation of motorists, consists of internal and external components that run around the entire circumference of the tire. They are interconnected by transverse parts, the so-called " grousers ". The manufacturing technology of do-it-yourself wheel chains is available even for beginners. Depending on the layout of the structural elements, there are three types of devices :
Each type has its own advantages and disadvantages. In terms of labor costs, the first option is the most accessible - "ladder" .
It is not always possible to purchase an anti-skid device - the high price and lack of availability of the right size makes car owners decide such issues on their own. I must say that this is a pretty good choice - all the necessary components are always available in hardware stores. In a critical situation, you can try to simply wrap the tire with a cable or a piece of metal rigging , but not everyone carries such a set with them. Moreover, for a disc type brake system, this option is absolutely contraindicated - such a design will disrupt the operation of the mechanisms. Therefore, it is worth preparing in advance homemade chains for wheels , for which will need :
The dimensions of the workpieces depend on the dimensions of the tire used, so it is important to measure the desired values in advance. The number of transverse parts is also individual - craftsmen recommend making sure that there are two "crossbars" at once in the plane of contact between the tire and the ground. Thanks to this scheme, traction characteristics and reliability of the entire product will increase. Preparatory action process and do-it-yourself assembly of chains on wheels consist of the following items:
As can be seen from the description, with a certain skill and tool, the operation will take no more than 40 minutes. Those who have welding experience can put it into practice and refuse threaded connections, which will certainly affect the quality of the equipment.
Having checked the reliability of the finished product, it remains only to install it on the car.
The anti-skid device is mounted first of all on the drive pair and this is done in two ways :
The choice of method remains with the driver, but it is worth focusing on one recommendation - you need to think about installation in advance, even before entering a difficult area . Only in this way will it be possible to avoid annoying mistakes and save a lot of time.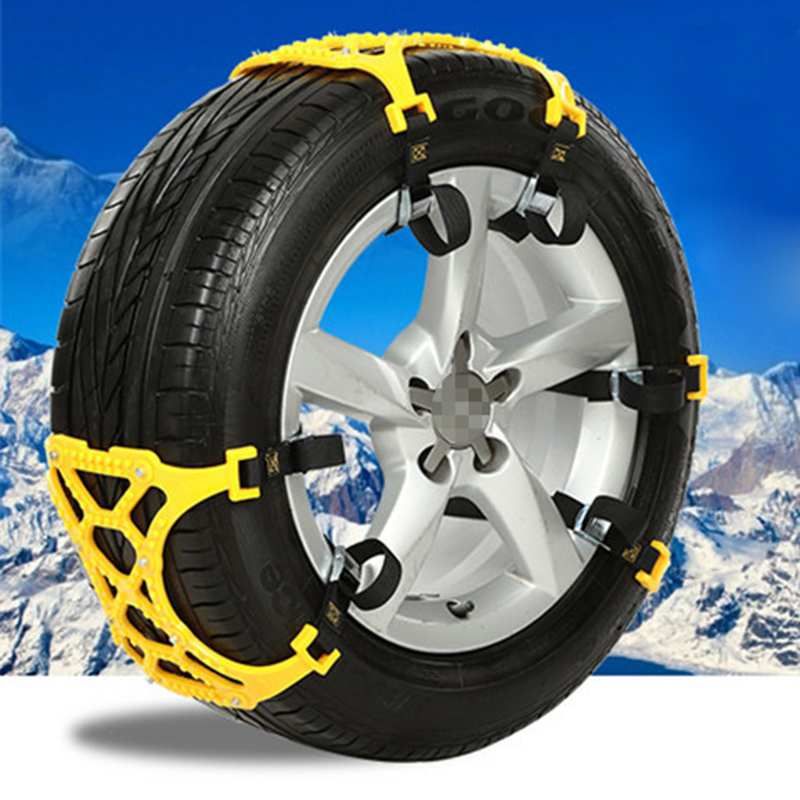
Before proceeding with the operation of installing homemade chain on car wheels , carefully lay it, not allowing the links to twist. Further, we act according to the points:
Do-it-yourself installation of the chain on the wheels of a car using a jack is similar to the technology described above, its only advantage is to facilitate the task. For a better installation, you must first reduce the pressure in the tires, but after the operation, do not forget to restore normal parameters. This procedure will allow the product to fit as tightly as possible to the tire.
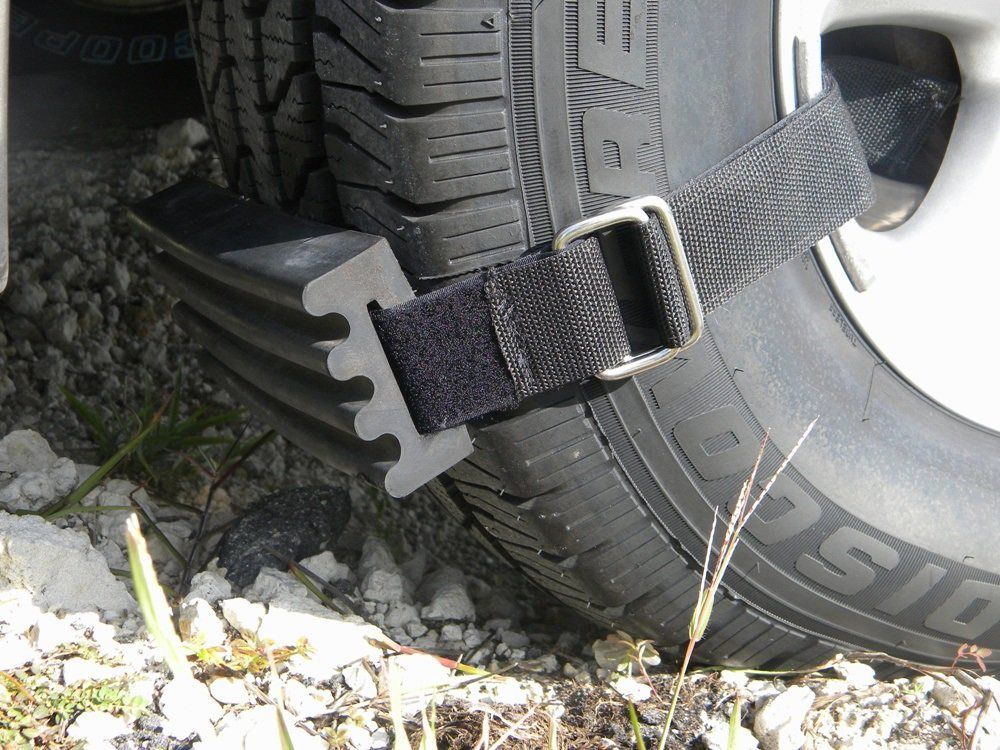
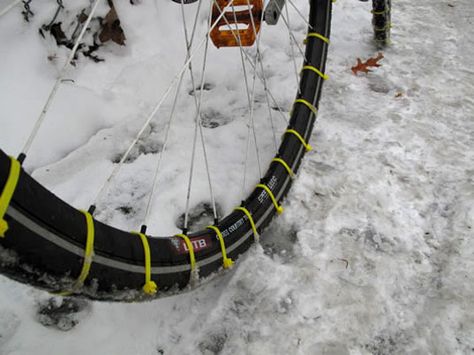
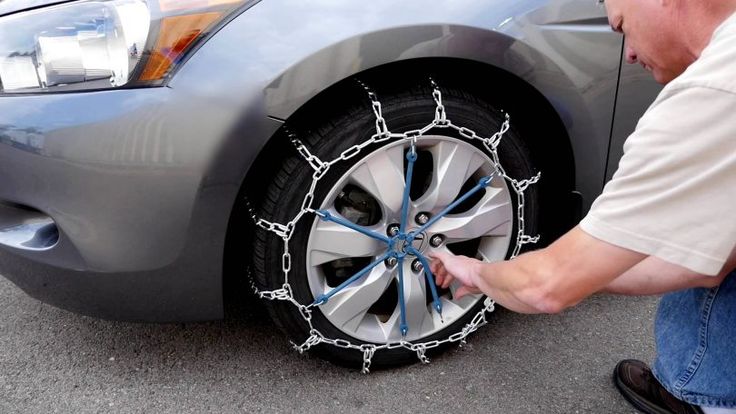
The idea of folk craftsmen does not stand still - and now they offer an alternative solution: anti-skid bracelets . In principle, these are the same home-made metal chains for wheels , only with a difference in the absence of longitudinal elements . The advantages of bracelets are as follows:
So what is needed for the manufacture of :
For 195 and 205 mm tires you will need about 4 meters of chain. As you can see, the costs are minimal, and you only need to cut the material to the required length. Another alternative is kits for DIY wheel bracelets using chains , they are quite affordable and of good quality (except for Chinese ones).
Set consisting of:
The kit is very easy to use and does not take up much space. An important plus is the possibility of using machines with disc brakes. Judging by the reviews, owners of expensive SUVs do not disdain to use them, which once again speaks of the practicality of the device.
For more information on how to make your own anti-skid bracelets, see the video:
Anti-skid chains must not be used when driving on paved roads (concrete, asphalt). In conditions of loose snow or soil, it is recommended to adhere to a speed of 10-20 km / h. Wheel slippage must not be allowed.
After installing the anti-slip device, after driving the first 100 meters, you should stop and check the reliability of its fixation, as well as the tension around the entire perimeter.