Are you in the market for a UTV? Get 10 Tips Before Making a Purchase:
Name
Please enter your name.
Email Address
Please enter a valid email address.
Get your tips today!
Thanks for subscribing! Please check your email for further instructions.
Something went wrong. Please check your entries and try again.
* All trademarked names are the property of their respective owners and may be registered marks in some countries. No affiliation or endorsement claim, express or implied, is made by their use. All products advertised here are developed by AMSOIL for use in the applications shown.
UTV Services
6596 S 1460 W
Taylorsville, Utah 84123
By Appointment Only
M-F 9 a.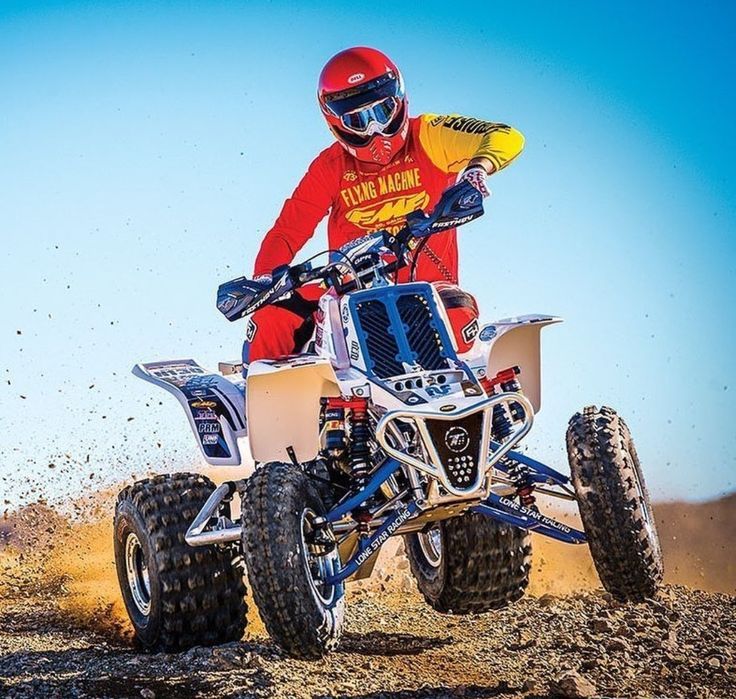 m.- 4 p.m.
Saturday appointment
Sunday Closed
Call:
801-410-0599
Email:
[email protected]
© 2019 UTV ATV Repair. All Rights Reserved. Site by WebCami
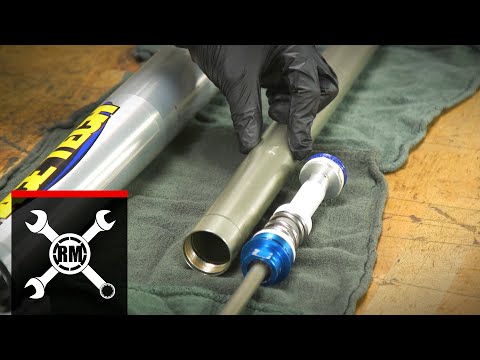
Why do shocks need to be rebuilt?
Shocks absorb bumps on the trail and turn that energy into heat. This heat breaks down the oil and seals that are inside the shock, hurting the performance of the shock. Shocks are also exposed to harsh environmental conditions. With use, dirt and moisture can work their way into the shock hurting the seals, bushings, and oil. A rebuild service returns your shock to its optimal working condition.
Why choose Hygear Suspension?
The simple answer is our experience and process. We have specialized on working with suspension components since 2002. Our process is based on providing our customers the best service and support available in the market. As shock absorbers have become more complicated and intricate we have invested in specialized service and inspection tools, this allows us to both test and inspect shocks and components for wear and function.
What is shock revalving?
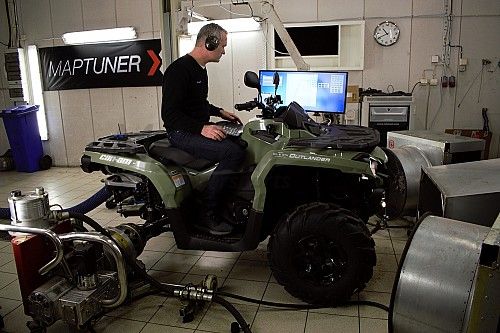
Shock Revalving is a technical re-calibration service provided to enhance the operating characteristics of your shocks. Our re-calibration service goes beyond re-stacking shims on the piston. With the use of both our dyno and testing data we modify many components in the shock to optimize its efficiency, improving both performance and reliability.
Why should I revalve my shocks?
When the OEM manufactures calibrate a vehicles suspension they need to set one calibration for every rider and every application. This setting can be too soft for an aggressive rider or too sift for a light weight rider. Our calibration baselines are developed from extensive in house testing as well as feedback we receive from customers. The baseline you choose will be the starting point from which we tune your suspension.
There is not a set time limit for a shock's service period. For most applications we recommend annual service. For ATV racing applications we recommend servicing the shocks twice during the season due to the extreme shock heat.
We can service any brand of shock that is rebuildable. Some lower end shocks are not rebuildable, feel free to contact us if you are not sure if your shock is rebuildable or not.
We recommend new seals at the time of service. Seals are a wear item and should be changed accordingly.
Start by downloading our shipping form for your vehicle here, then follow the shipping guide.
Our standard turnaround time is 7-10 business days from when the job is checked in. Make sure to check your email, including your spam folder for our estimate.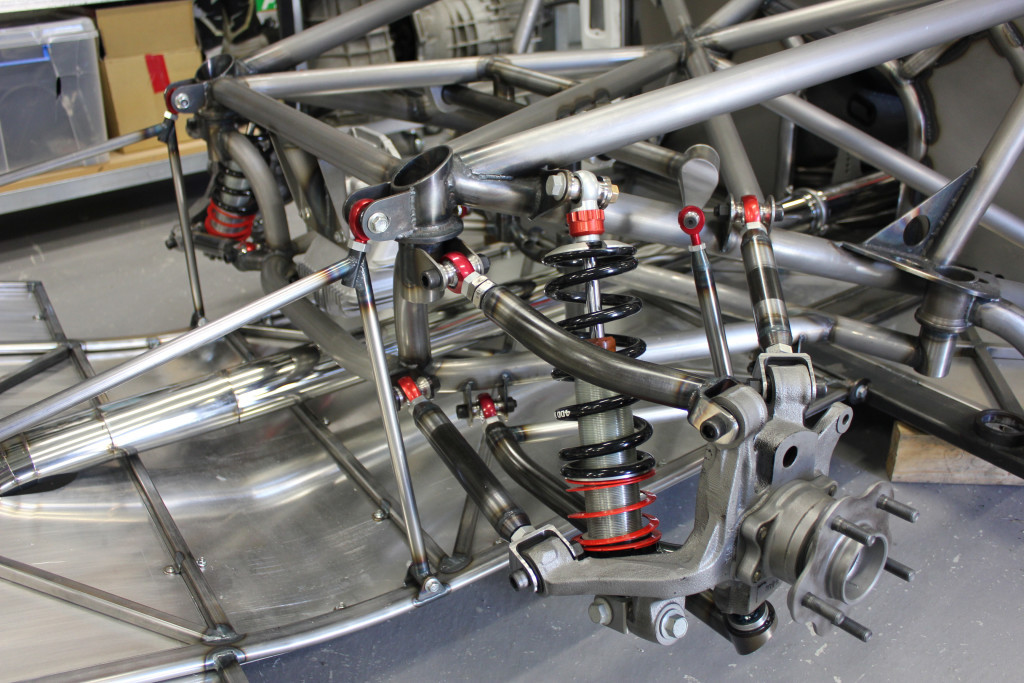
Yes! Rush service is an additional $50 per shock and moves your job to the front of the line. Rush service does not provide a guaranteed turnaround time because there are still unknown circumstances with the condition of the shock.
We recommend spraying the shafts with a light oil, also make sure to spray under the bumper.
Our re-calibration service modifies your shock to our baseline specs. This baseline is built off of our extensive data collection and vehicle testing.
We treat an off road vehicle as a system, changes to the front shocks will effect the rear and vice versa. For best results we recommend doing the entire vehicle during one service.
We record every shock and vehicle spec that comes through our doors. This system allows us to constantly develop and improve our calibration specs. Once you send your shocks in, your vehicle specs and calibration information are all recorded in our Data Tracking System. This allows us to give you the most personalized tuning and the best customer service in the industry.
Once you have revalved your shocks, any further adjustments to the calibration are free of charge with any standard shock rebuild service. Ride quality is a person's opinion, so what works well for someone may not be the best for someone else. We try to provide our best recommended set ups and our free revalve policy is here to help our customers fine tune their ride further.
Scroll To Top
Sign up for our newsletter for exclusive updates on contests, new products, and more.
ATV drownings happen quite often, and the consequences of these drownings are sometimes very deplorable - from electronic failure to engine water hammer. But all this can be avoided if all measures to restore the ATV after drowning are carried out competently and as soon as possible.
The fate of a drowned person can befall everyone, from a beginner to a professional, and absolutely no one is immune from emergencies. Sometimes a harmless 3x3 puddle can turn out to be up to one and a half meters deep, or the ice on the reservoir turns out to be not the thickness that we expected, situations are different. That's why it's always better to go for a ride, fishing or hunting with a partner, it is he who will help you retrieve the vehicle that has gone under water and tow it home. And, of course, it’s not worth taking risks in vain, if there is an opportunity to go around a water obstacle, believe me, it’s better to do it.
So let's get straight to the point.
After the ATV is out of the water, the first step is to disconnect the battery, thereby de-energizing the electrical circuit and protecting expensive electronics from short circuits.
Do not attempt to start the ATV under any circumstances, as this could lead to irreversible damage and costly repairs.
ATV will have to be towed to the garage and the necessary set of measures carried out as soon as possible:
1. Unscrew the air filter cover, drain the water, wipe the housing dry from the inside, dry the filter, soak it with oil and put it back;
2. Thoroughly flush the carburetor with clean gasoline or flushing fluids and blow through the channels;
3. Completely drain the gasoline from the gas tank and rinse with clean gasoline, change the gasoline filter;
4. Unscrew the exhaust pipe, drain the water, clean and dry if necessary;
5. Disconnect all electrical wiring connectors and spill them with silicone grease, it is also necessary to do with the dashboard;
6. Drain the water from the variator, be sure to unscrew the variator cover, you may have to rinse and clean the plates, and also dry the belt;
7. Check the presence of water in the engine. We take out the oil dipstick and evaluate the condition of the oil: when water enters the engine, the oil reacts with water, and the so-called “emulsion” is formed, on the oil dipstick it looks something like this:
8. If an emulsion is detected in the engine, immediately drain the oil and flush the engine, for this you need to stock up on 10 liters of the most common motor mineral water M 8. We unscrew, dry or change the candle, as well as the oil filter;
9. Fill in M 8 oil, connect the battery and turn the starter a couple of times without a spark plug;
10. Next, install the spark plugs and start the engine for 2-3 minutes, then turn off the ATV and drain the oil. The cycle sometimes has to be repeated up to 6-7 times, until the traces of oil completely disappear. As a rule, the first drained oil contains the largest amount of emulsion and looks something like this:
11. As the flush cycles go through, the oil will turn to its normal color, after that, replace the M 8 oil with the one you use constantly, it would be good to temporarily upgrade the oil class to please a flooded engine;
12. Change the oil in the front and rear gearboxes, you may have to change the oil in the gearboxes twice. After the first change, give a small load on the gearboxes, hanging the back and front of the ATV in turn, then change the oil again;
13. Syringe the ATV's suspension and all parts that are equipped with grease fittings;
14. Dry the seat, thoroughly inspect all components of the ATV and eliminate any traces of moisture found.
As you can see, the set of measures is quite large, but you can deal with the problem yourself without resorting to the services of service centers. We wish you not to despair if the situation with the drowning of the ATV happened to you, most importantly, do not panic and strictly follow our recommendations. And also consider whether it is worth tempting fate once again or whether it is better to find a safe detour. Good luck on the road, stay with us.
And finally, a video on how to do it is not worth it. )))
The suspension is considered to be one of the most important functional components of motorcycle equipment, since it is it that is responsible for the rider's comfort in the process of movement, and also ensures smooth passage of problem areas of the terrain.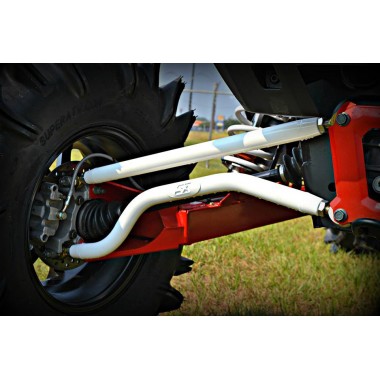 The sale of ATVs implies a special attitude to this unit and detailed advice on the procedure for its adjustment and maintenance.
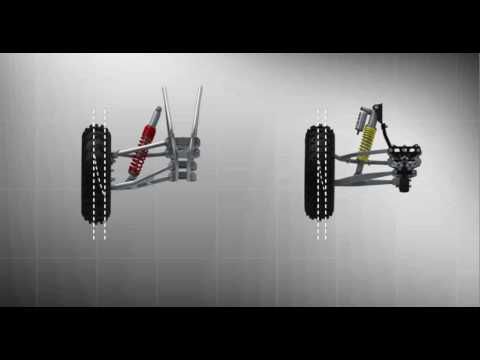
A distinction is made between dependent and independent suspension. The second type is most often found among modern ATV models. Each motorist can adjust it in accordance with his own preferences, as well as operating conditions.
Among the advantages of ATV dependent suspension it is worth noting:
Such attractive performance of this suspension is due to the extreme simplicity of its design.
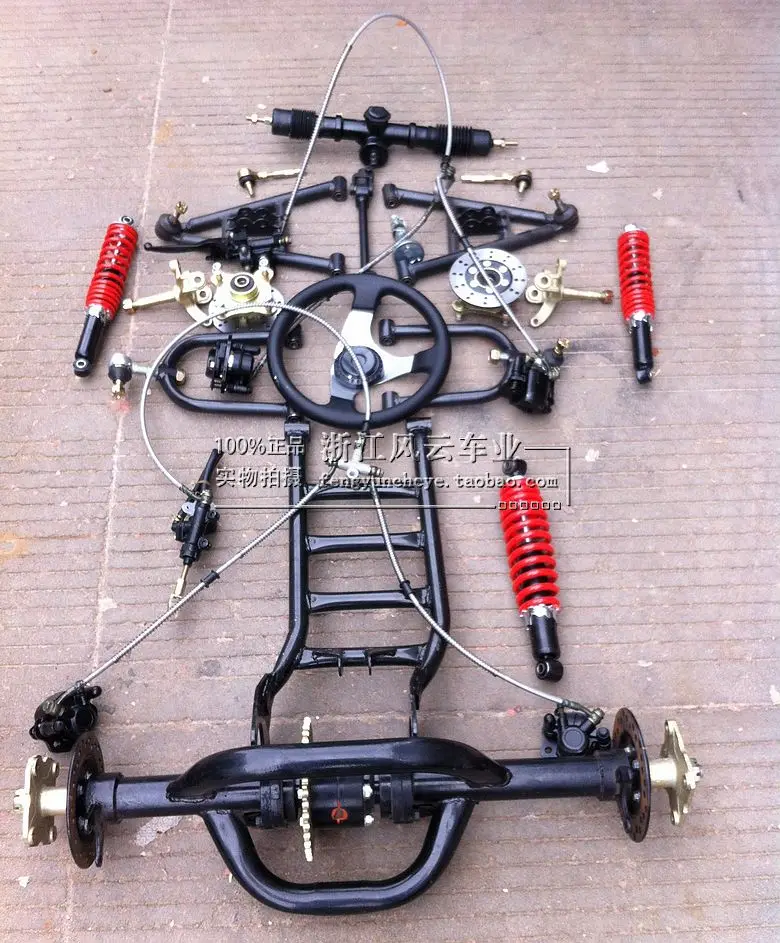
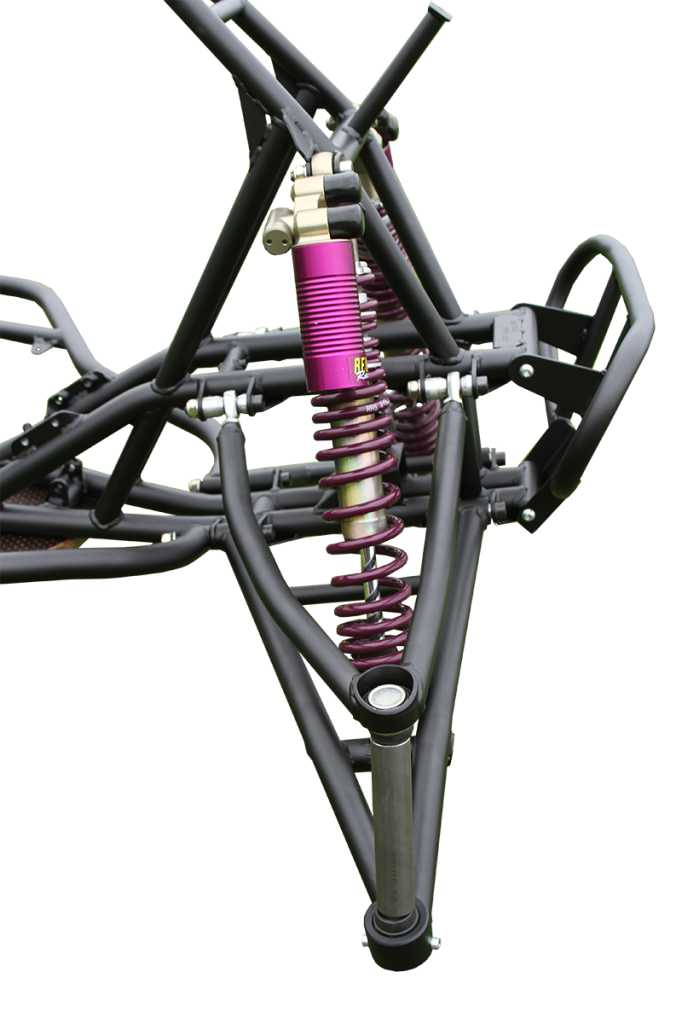
Regardless of the type of ATV suspension, there are some regularities in its structure. There are front and rear suspension types. In order for 125cc ATVs to boast a high level of ride comfort, the front suspension is usually made independent. Often it is supplemented with elements such as a pair of wishbones and telescopic shock absorbers.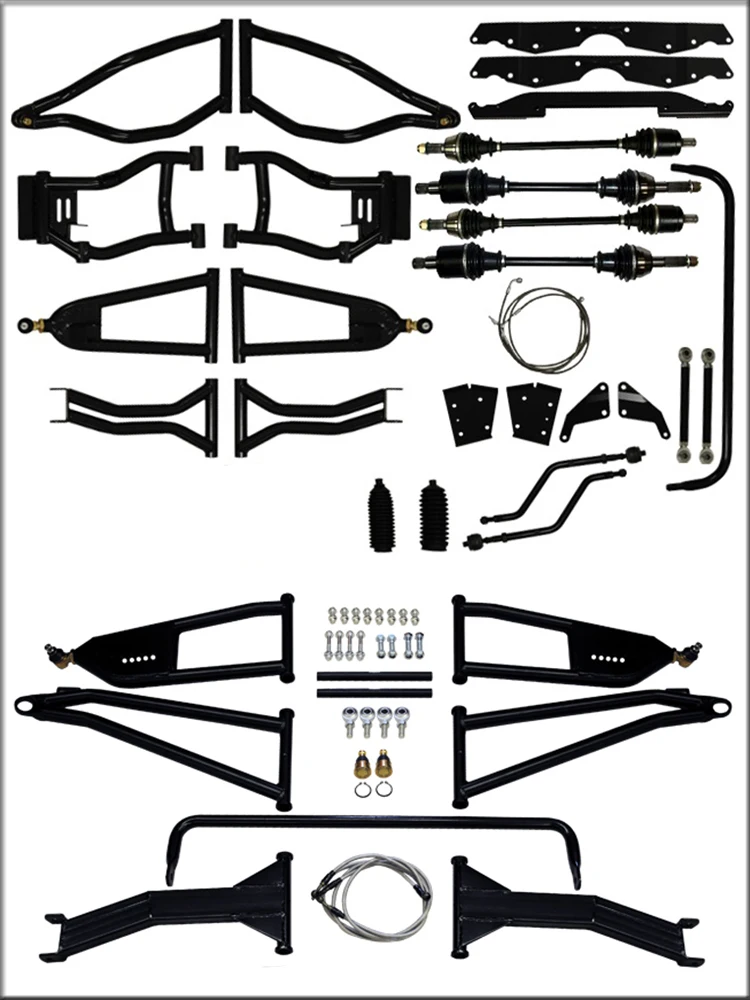 As for the rear suspension, it can be dependent, independent or semi-independent, and can also be equipped with pendulums and shock absorption devices.
Suspension of any ATV is a set of spare parts, assemblies and assemblies located between the motor vehicle body and the track. It consists of the following components:
ATV suspension also performs many important functions, namely:
Based on this, the suspension, despite the relative simplicity of its device, plays a significant role in the design of any vehicle.
If your vehicle's suspension is not working properly or has failed, you may need to replace some of its components with new ones.
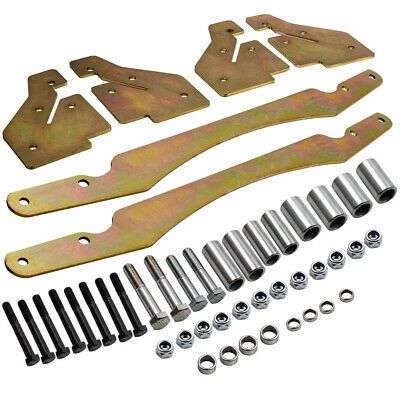
The following ATV suspension components most often fail:
To repair the suspension of an ATV without outside help, it will be enough just to find the failed elements of motorcycle equipment and replace them.
By adjusting the ATV's suspension to suit yourself, the rider will be able to get maximum pleasure and comfort in the process of driving. It is especially important to correctly configure this aspect in sports models of motorcycles. The fact that it is time to adjust the ATV suspension is indicated primarily by uneven tire wear, as well as the presence of problems and discomfort when driving a motorbike.
The motor vehicle suspension is set up as follows: