By Amy Rodriguez
Not everyone lives in a region that receives consistent yearly snowfall, but many areas are prone to cold winter weather that can produce a surprise snowy day. Snow blowers carefully stored for years will need to be dusted off and powered on. However, many owners will find that one of their snow blower tires will just not hold any air. In these cases, the tire needs to be replaced. Careful attention to the tire's attachment point will guide you to a successful snow blower repair.
Unscrew the gas cap from the snow blower. Lay a piece of plastic wrap across the open gas orifice. Carefully screw the gas cap back on. This plastic wrap will prevent any harmful fuel spills during tire replacement.
Choose a sturdy surface to work on the snow blower, such as within a garage or on a concrete driveway. Lay a tarp down to protect the surface from any damage from the auger blades or dropped tools.
Tilt the snow blower up onto its auger by pushing the handlebar forward. If the snow blower is too heavy for you to tilt, ask a friend to help with the pushing process.
Examine the snow blower's bad tire connection to the snow blower. Each manufacturer has a different attachment design to the axle. The connecting screw should be on the center of the exterior wheel assembly or behind the wheel on the axle rod.
Detach the connecting screw from the blower with a screwdriver or socket driver. Fasteners may differ between manufacturers; consult the blower's specific manual for particular fastener types. Slide any washers off of the connection point and place aside.
Slide the wheel and tire assembly off of the blower's axle. Place a new tire and wheel assembly onto the blower's axle.
Place any necessary washers onto the connection point. Insert the fastener onto the connection point and tighten with the screwdriver or socket driver.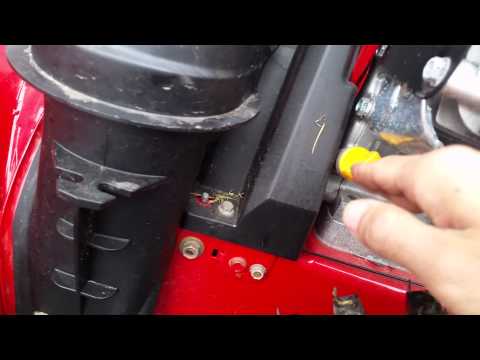 If your blower model has a screw torque specification, use a torque driver to tighten the fastener to the manufacturer's value listed in the owner's manual.
Tilt the snow blower back down into its normal ground position carefully. Remove the plastic wrap from the gas cap. Tighten the gas cap back down onto the snow blower.
Test the snow blower's new tire by rolling it across the garage or driveway. The movement should be smooth and bump-free.
References
Tips
Writer Bio
Writing professionally since 2010, Amy Rodriguez cultivates successful cacti, succulents, bulbs, carnivorous plants and orchids at home.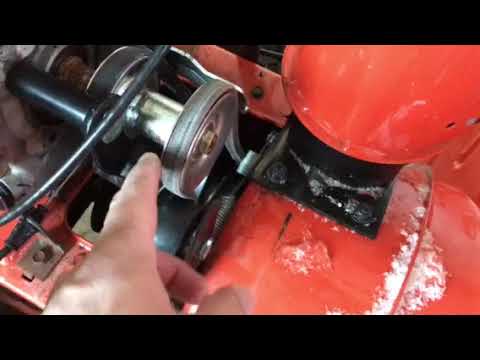 With an electronics degree and more than 10 years of experience, she applies her love of gadgets to the gardening world as she continues her education through college classes and gardening activities.
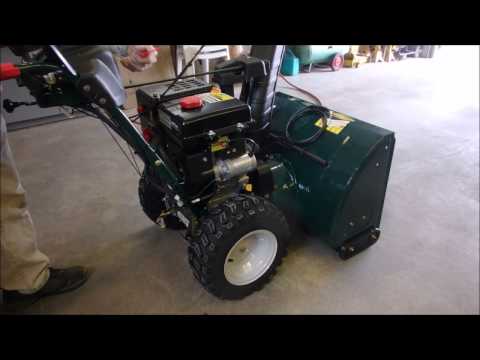
Have a flat on your Honda snowblower? Just got it out of storage to find a tire has come off a rim? Here’s what you need to do to fix it and keep it from happening again.
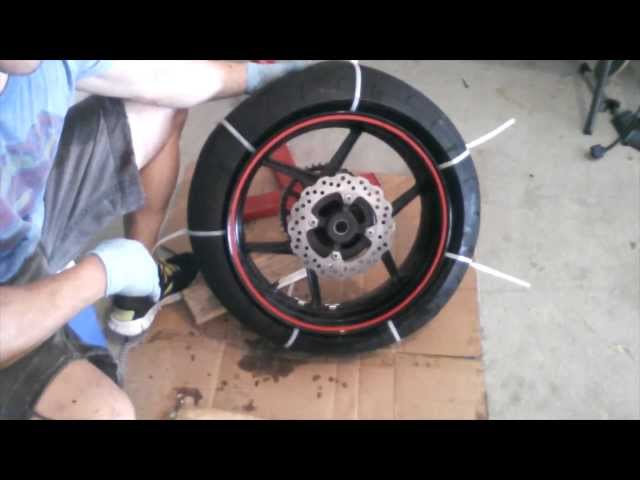
All Honda snowblowers built in the past two decades that use pneumatic tires are tubeless. That means if you have a leak, it’s in the tire itself. It also means that if the tire separates from the rim, the bead needs to be reseated to reinflate the tire.
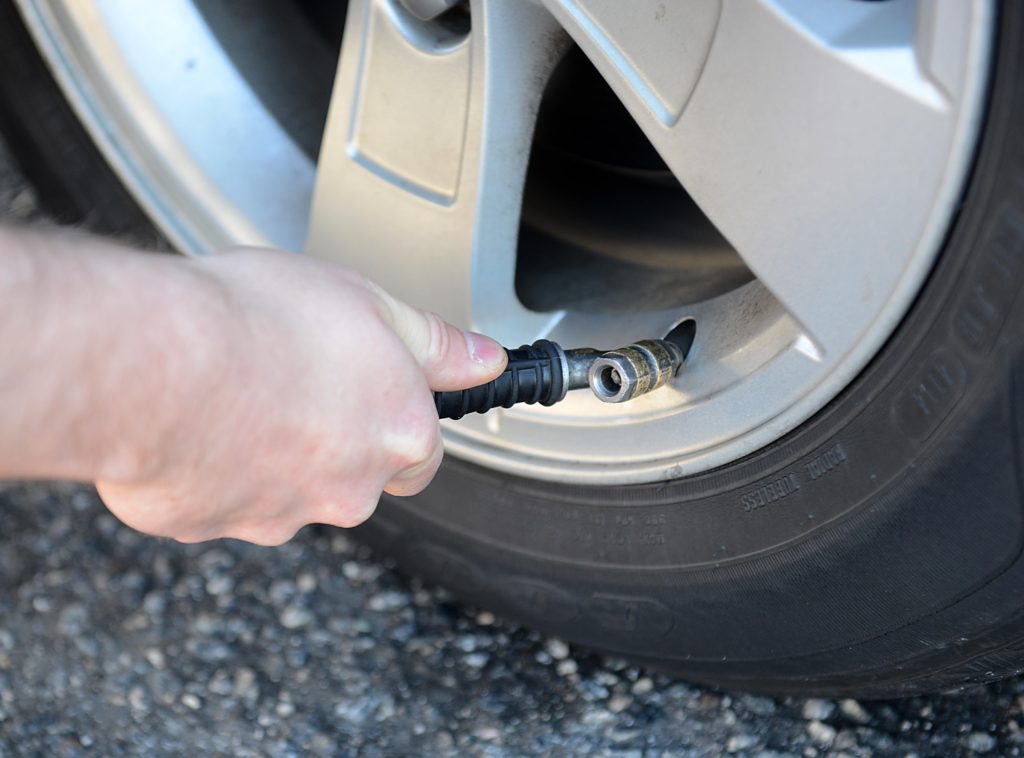
Tire pressure should be checked before each use, even if you got your snowblower out the day before. If the temperature drops 10°F, tire pressure can drop up to one PSI. Tires can also lose one PSI each month they’re in storage. Honda’s snowblower tires are designed to operate at 8.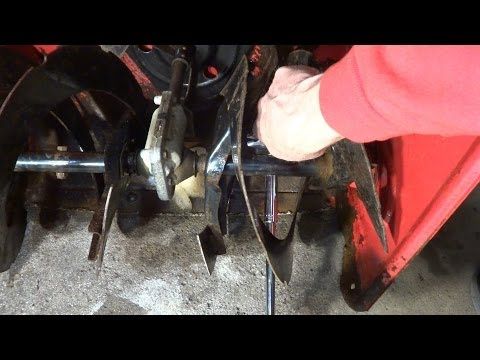 5 PSI, so it doesn’t take much for the pressure to drop significantly between uses.
Removing the wheel will make it much easier to work on the tire. Honda offers some tires and wheels as a complete set, letting you replace a bent rim and tire in one step.
1. Disconnect the spark plug wire to prevent an accidental start.
2. Lift up the rear of the snowblower so that the tires are off the ground.
3. Depending on the model, there will be either a bolt or a Clevis pin on the axle. Remove this part, and slide the wheel off of the axle.
4. Slide the new wheel onto the axle and tighten down the bolt or reinstall the pin.
5. Air up the tire before lowing the snowblower to keep the bead from separating it from the rim.
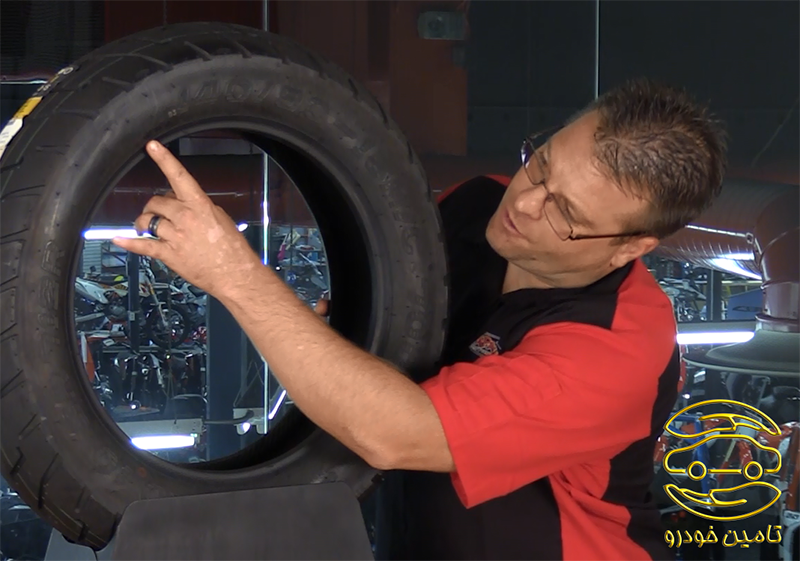
If the tire pressure is too low, rolling the snowblower can cause the tire bead to roll off of the rim. If that happens, it can be reseated by using air pressure to push out the sidewalls of the tire:
1. Remove the wheel.
2. Hold the tire and wheel in a way that lines the bead up with the rim.
3. Connect the air valve to a compressor or a pressurized air tank. You may need to go over the recommended operating pressure to push the bead onto the rim, but try not to go above the maximum pressure on the sidewall. The goal isn’t to put a lot of air in the tire, it’s to put the air in quickly to get the bead to meet with the rim.
Most of the time, the tire will expand and seat on the rim with just air pressure. If the bead still doesn’t want to seat, there are a few things you can try:
— Apply grease on the inside lip of the wheel. This helps the tire slide up to the rim, and can reduce the amount of air escaping as you air up the tire.
— Remove the valve stem. This reduces resistance when airing up the wheel. Be gentle handling the wheel and tire when reinstalling the stem as the lack of air pressure can let the bead slide off of the rim again.
— Tie a ratchet strap or a rope around the tire tread. This pressure will help push out the sidewall so the bead doesn’t have as far to go to meet with the rim. To tighten a rope, slide a piece of pipe between it and the tire and twist, wrapping the rope around the bar.
It is possible to spray the rim with starter fluid and light it to pull the tire onto the rim, but it should be obvious that this is extremely dangerous. If the tire is that difficult to fit, it’s worth getting a complete wheel and tire instead of setting your snowblower and yourself on fire.
If there are cracks in the rubber or damage to the tire, it should be replaced.
1. Remove the wheel from the snowblower.
2. Push in the tire valve to release any remaining air inside the tire.
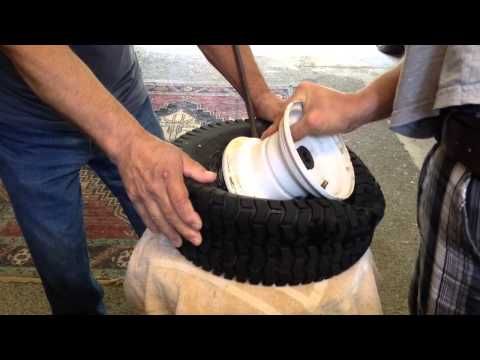
3. Use a set of tire levers or spoons to pull the bead over the rim. Once one bead is off the wheel, lift up the tire and pull the other bead over.
4. Fit the new tire onto the wheel using the spoons or levers.
5. Use the process above for reseating the bead.![]() Air up the tire to the correct pressure, then install the wheel on the snowblower.
Air up the tire to the correct pressure, then install the wheel on the snowblower.
www.hondalawnparts.com is a certified Honda Power Equipment dealer, so we’re able to ship any OEM part currently available to any address in the U.S. or Canada. Check out our wheels section to find a replacement for your snowblower, or use our search system to find the right part for your model.
When choosing a snow blower, many experienced users look at its engine, starter, auger, and handles. However, few people pay attention to the organs of movement of the snowplow. But it is precisely on their type and quality that the patency of the unit and its stability in areas with irregularities largely depend. In this regard, the choice of this part of the snow blower must be taken with special responsibility.
Contents
Modern snowplows are equipped with two types of systems responsible for the movement of vehicles around the site.
These include:
 There is only one drawback in this technique - a lot of weight, which adversely affects the maneuverability of the machines.
Wheeled snow blowers are more popular among users. This is due to the fact that even branded snow blowers with a wheel-off function are cheaper than standard tracked vehicles with a conventional factory layout.
Modern snow blowers are equipped with two types of tracks.
These include:
The only significant difference between these mechanisms is the area of contact with the coating.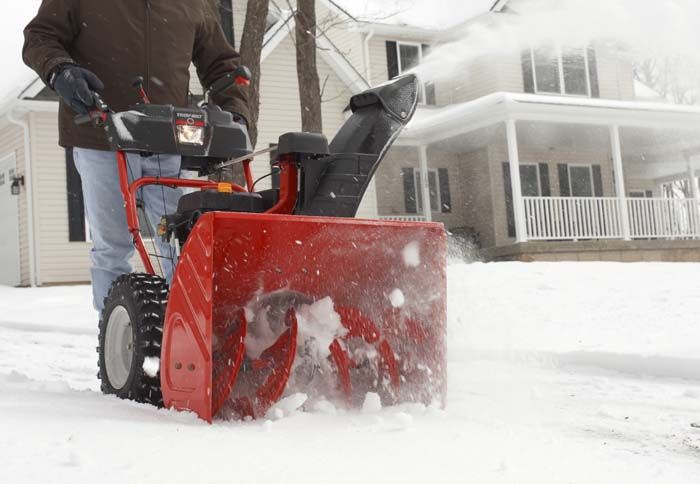 For three-roller chassis, it is almost twice as large as for 2-roller ones. Accordingly, the grip on the ground in a 3-roller chassis will be higher. In other words, snow blowers with 3-roller tracks show higher stability in areas where the machine requires a large contact area with the ground.
It is important to bear in mind that 3-roller tracked snowplows have a much higher center of gravity, which makes them less stable on slopes.
As a rule, for domestic use there is not much difference in the number of rollers. However, if the machine must be operated on large areas with uneven terrain, then it is better to choose units with 2-roller tracked chassis.
Both wheeled and tracked snow blowers are designed to operate in different conditions. The caterpillar snow blower is designed for snow removal mainly in areas with a large number of slopes and in places where it is not possible to actively move the machine up and down. The fact is that caterpillar mechanisms initially have high grip with a snow-cleared surface, so they can keep the unit on a certain trajectory with a slope of 5 to 15 ⁰.
At the same time, it must be remembered that if the adjacent territory is covered with a thin layer of ice, then the operation of a tracked vehicle in such areas will pose a great danger to the operator and others. In this case, the snow blower user will have to use special shoes with spikes. The operator of a tracked snow blower must be aware that when using the machine on slopes of more than 15⁰, the risk of equipment rollover increases significantly. Moreover, it increases if, during snow removal, the flow of the harvested masses is directed directly towards the lift. That is why it is necessary to operate a snow blower on tracks only in areas with a slope of no more than 15 ⁰.
As a rule, for domestic use, experienced users choose wheeled snowplows, on the moving parts of which are put on chains.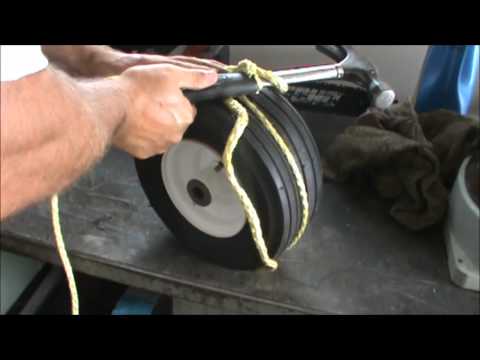 They are easier to maintain and more manoeuvrable. In addition, they are much easier to remove if they get stuck in a thick layer of snow. A wheeled snow blower with a wheel lock system and a properly set center of gravity is capable of clearing snow on slopes up to 20⁰. In this case, the operator can choose any side of the snow ejection without the risk of tipping over the wheel unit.
The wheel snow blower's movement elements consist of a list of important elements, the ability of the machine to move around the site depends on the coordinated work of which. The wheel drive device of the unit consists of a driven shaft, to the center of which a gearbox is attached. During engine operation, the gearbox receives the force required to rotate the shaft. The wheel drive itself is carried out using a transmission consisting of a single or multi-stage gearbox.
If the manufacturer has provided a multi-stage box in the device of the wheeled vehicle, then the operator gets the opportunity to adjust the speed of rotation of the shaft and the belt, which is responsible for the speed of movement of the wheels.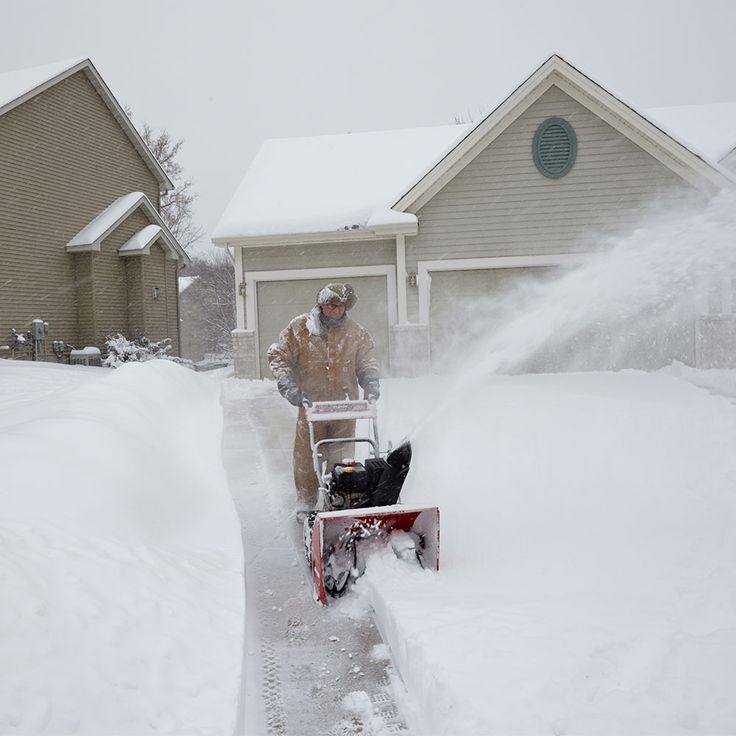 To adjust the speed of movement of the snow blower, a separate lever is provided in its configuration. By switching it in different positions, the operator selects the required wheel speed for operation. In first gear, the machine moves slowly - this speed is suitable for moving the machine on an incline and when cleaning heavy sticky snow masses. If the user needs to clear a relatively flat area of dry fresh snow, the wheeled snow blower can move in 3rd or 4th gear.
Depending on the configuration of the snow thrower, it can be equipped with a wheel lock system. This function is necessary when operating the machine in areas with a lot of ups and downs. If it is available, the operator gets the opportunity to block the wheels for a while and clear the snowdrift without hindrance.
The snow thrower's wheel drive is a serviceable mechanism whose internal parts are housed in a metal case to protect them from snow, rocks and small debris. For stable operation of the entire system, the operator must regularly lubricate the gears of the driven shaft. To do this, the housing must be disassembled, its interior space cleaned of old grease and new oil added.
The wheel drive of modern snow blowers is fairly easy to repair. In the event of wear of individual parts, the operator can quickly replace them by installing store-bought or even home-made spare parts instead of faulty components.
The pressure inside the pneumatic wheels plays an important role in the operation of the snow blower. In the instructions for different models, this parameter may differ slightly, however, in most cases, manufacturers advise keeping the pressure within 1.05–1.4 kg / cm3. This indicator is considered to be the most suitable for the operation of a snow blower with rubber wheels at low temperatures.
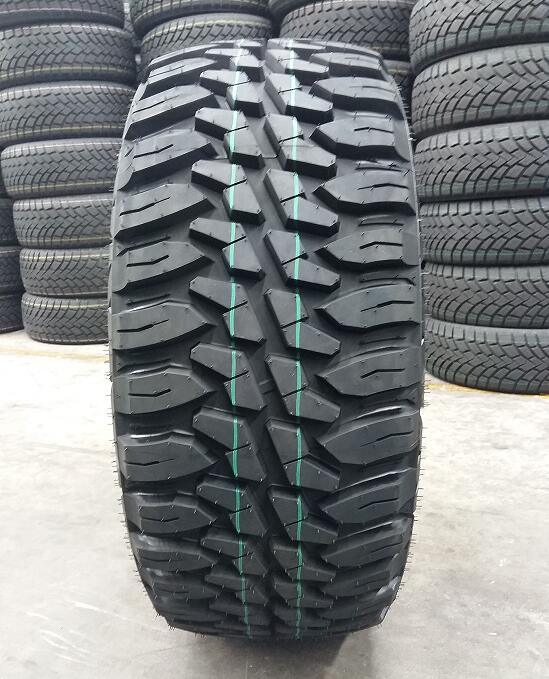
Often, users are faced with a situation in which the wheels of the machine randomly lower.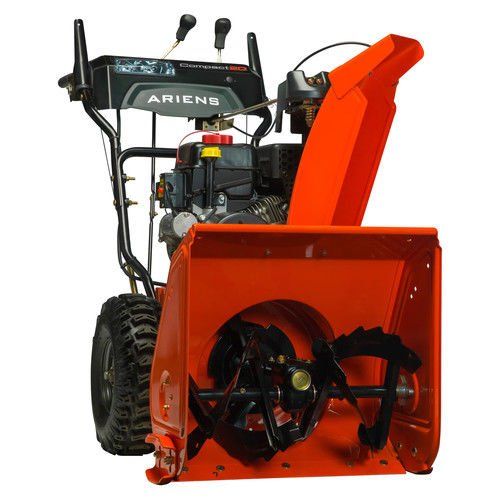 Before solving the problem, you need to understand the structure of the tire. If the snow blower is equipped with tubeless tires, then the cause of the problem lies in the uneven outer rim of the disc and, as a result, poor fit of the tire to the rim. In this case, you will need to disassemble the problematic wheel and align the disk.
If the snow blower is equipped with air bladder tires, the problem is most likely a blown bladder. In this case, the operator can try to repair it himself by sealing the crack in the chamber. If there are a lot of holes, and there is no point in repairing the camera, then it will need to be replaced.
To give a definitive answer to this question, you need to understand the conditions in which the unit will be used. In this case, the main role is played by the area of the serviced territory. If it is not large, and there are hard-to-reach areas on it, then it is best to use a wheeled machine to clean it. It is lighter and more manoeuvrable, making it much easier to handle.
If the area is quite large and there are no hard-to-reach areas, then a caterpillar snow blower is suitable for its maintenance. Due to the large weight, it is better pressed against the coating and does not slip on an icy surface. In addition, the tracked vehicle clears large snowdrifts and thick layers of wet, sticky snow faster. This allows you to confidently use it in large parking lots, parking lots, lanes and city parks.
90,000 friction ring for a snowman with your own handsContent work units often failed. However, there are parts that wear out quickly. One of them is the friction ring. The detail seems to be simple, but without it the snow blower will not go. If you wish, you can make a friction ring for a snow blower with your own hands, but it’s easier to buy it.
In wheeled snowplows, the friction ring is an important part of the transmission.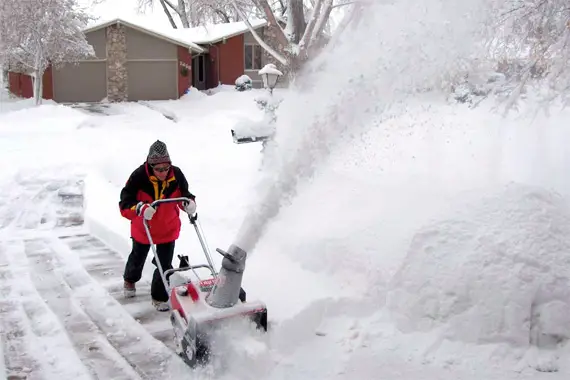 It is responsible for the rotation of the wheels at the speed set by the gearbox. Usually the ring is made of aluminum alloy, but steel stamping is found. The shape of the part resembles a disc with a rubber seal on it.
During natural normal operation, the ring wears slowly. In case of violation of the rules for using a snow blower, the part fails quickly.
Let's take a look at some of the most common causes of wear:
 The part quickly begins to wear out, and deep grooves form on its surface.
 Important! You can learn about friction ring corrosion by a strong creak. It will occur during gear changes.
It is clear that in winter, from melted snow, moisture will definitely get into the knot. However, during the spring and autumn storage of the snow blower, you should try to protect the machine from dampness.
It is impossible to restore the friction ring using various folk tricks. If the part has worn out to a critical maximum, it only needs to be changed. There is no other way out. You can do this yourself without contacting the service department. The principle of construction of many snow blowers is the same, so the procedure for performing repair work also has similar steps:
All parts that were removed during disassembly of the snow blower are put back in their place. Now comes the testing of the gearbox for performance.
Attention! Checking the operation of the gearbox is carried out on a working snow blower without load.
First fill the tank with fuel and start the engine. It should work for a couple of minutes to warm up. Without capturing the snow, the car is rolled around the yard. The positive results of the correct replacement of the clutch ring can be judged by gear shifting. If there are no squeaks, clicks and other suspicious sounds when performing these steps, then the repair work has been done correctly.
The video shows how to replace the friction ring on a snow blower:
The friction ring is not so expensive that you have to suffer with its manufacture. The part can be bought at any specialized store or ordered online. However, the craftsmen have not yet died out, who, for the sake of this little thing, are ready to spend their time and nerves on its independent production. It should be noted right away that the part needs to be machined perfectly even, so you will have to work a lot with a file.
First find the blank for the disk. Better if it is aluminum. Soft metal is easier to work with. According to the outer size of the old part, a disk is cut out of the workpiece. An ideal circle when using a grinder will not work. Rough edges of the disc will have to be carefully filed.
The most difficult part to make is cutting the inner hole in the disc to make a ring. As a way out of the situation, you can use a drill. Holes are drilled in a circle with a thin drill, as close to each other as possible. The remaining jumpers between the holes must be cut with a sharp chisel. As a result, the inner unnecessary part of the disk will fall out, and the ring will remain with a lot of jagged burrs.