This article will discuss the removal and installation of tires and tubes.
1
Wheel Removal
What do I need to know how to do?
What Tools do I need?
Repair stand (optional, makes the work a lot easier)
Tire levers such as the TL-1.2, TL-4.2, TL-5, TL-6.2, or a multi-tool that incorporates a tire lever
Patch Kit such as the GP-2 or VP-1
Air pump: either a floor or hand pump. An air compressor with correct fittings (such as the INF-2) can also be used
Wrench for non-quick-release type wheels that use outer axle nuts
To remove a tire and tube, the wheel must be removed from the bike. See Wheel Removal and Installation for a review of this process.
2
Removing Tire and Tube from Rim
The common bicycle tire is called a “clincher” tire, and in made with bead on the inside edge of the tire. The bead fits snugly into the wheel rim. As the inner tube is inflated, the tire bead is pushed against the “bead seat” of the rim, the portion of the rim that is hooked to hold the bead. The sizing of the rim bead seat and the tire bead must match. There are currently many different bead diameter standards, and none are interchangeable.
Because tire beads can be a tight fit in the rim, it is commonly necessary to tire levers to pry tire bead up and over rim sidewall. Do not use a screwdriver, knife, or other sharp object, which might damage tire or tube. Fully threaded valve shafts may have a locking nut next to rim. Loosen and remove locking nut before deflating.
Deflate tire completely. Even a small amount of air left in the tube can make it more difficult to get the tire off.
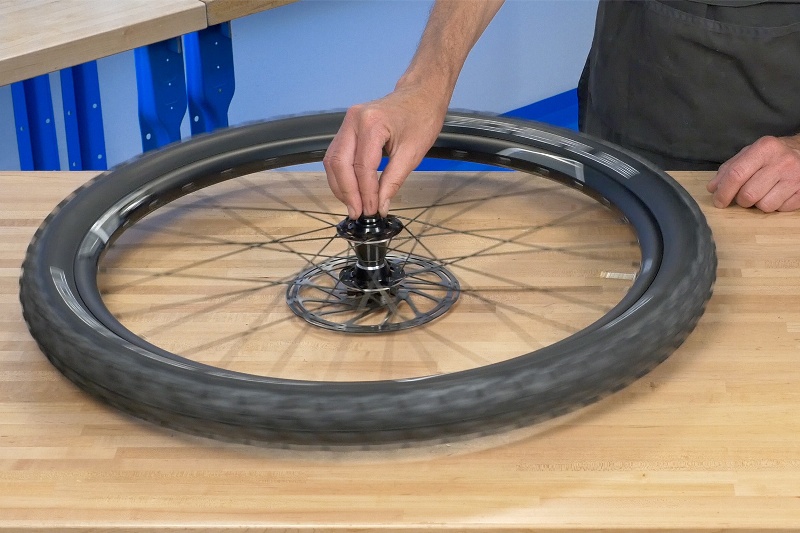
For best results, press downward on wheel while depressing the valve.
To deflate a Presta valve, unthread the locknut at the tip of the valve stem and press
use a small tool such as a hex wrench to depress the plunger inside a Schrader valve
On a Dunlop valve, unthread the cap a few turns, then pull outward on the tip of the valve
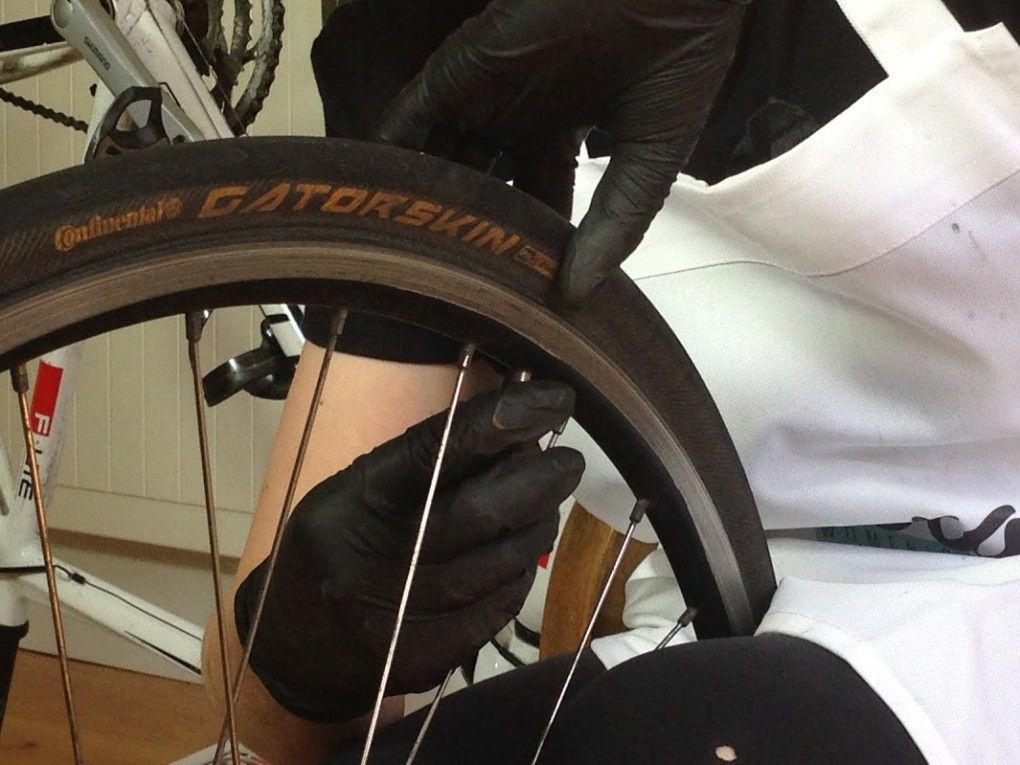
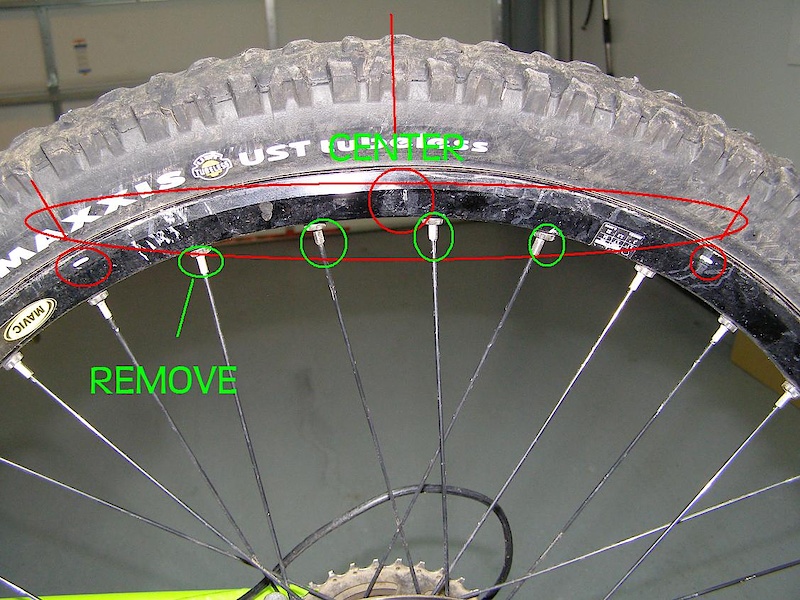
Push one bead of tire toward rim center. The tire bead will be pressed tight against rim. Pushing it inwards loosens the bead from the rim. Repeat on other bead.
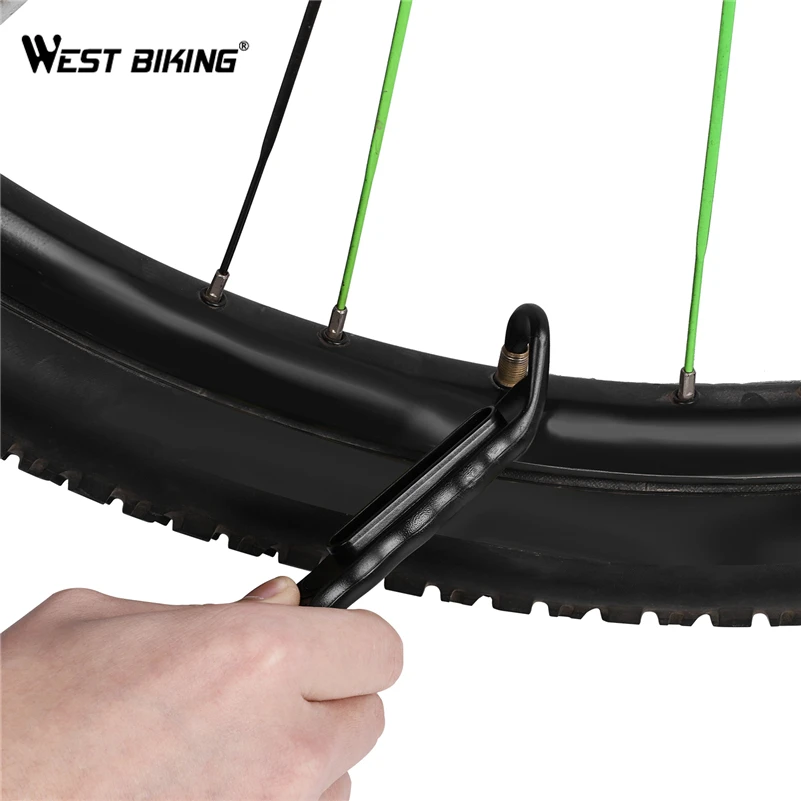
Engage one tire lever under bead of tire. Engage second lever 1-2″ (25-50mm) from first lever then pull both levers toward spokes to lift bead off rim. Disengage one lever. Move it two inches (5cm) along the rim and engage lever in the bead. Pull lever to lift next section of bead off rim.
Repeat engaging the lever until the bead loosens. Then slide the lever along the rim under the bead.
Starting opposite the valve, pull inner tube from tire. Lift valve from valve hole and remove tube from wheel.
Remove second bead from rim, which removes tire completely from rim. To fully inspect the tube and tire, it is best to remove both completely.
3
Inner Tube Inspection
When servicing a flat tire, always inspect tire and tube carefully to locate the cause of failure. This will help prevent future flats from the same cause.
If possible, inflate inner tube to twice its normal width.
Overinflation makes it easier to locate punctures
Inspect for air leaks by holding tube close to the sensitive skin of lips or by holding tube near your ear to hear air escaping. Move the tube around its circumference. If these steps do not work, submerge tube in water and watch for bubbles at the hole.
If you plan to repair the inner tube, use a marking pen to mark hole. Make four marks, one to each side of hole. Do not mark close to hole, as the mark may be sanded off.The type of cut or hole in the tube will help determine the cause of the flat.
Common causes of tire and tube failures:
A single puncture or small hole is commonly from a thorn, wire, or small nail. These may be repairable. Check tire as well for thorn, etc. and remove it.
Double slits are commonly the result of a rim pinch. The tube was pinched between the rim and an object in road/trail. Increase air pressure or use wider tires.
Small pinhole indicating a puncture
Symmetrical slits are indicative of a rim pinch
Blowout causing a large shredded hole. These are usually not repairable. Check tire and rim as well for damage.
A long cut or rip may also indicate a tire blow out. Typically this is not repairable. Use care when seating tire during installation.
Totally shredded, dude
A long slit-like blowout can indicate an improperly seated tire
Hole on inside edge of tube
indicates a problem inside the rim, such as from rim strip failure, a protruding spoke or other sharp object inside the rim.
Cut at valve core, commonly from misalignment of tube in rim or riding with low pressure. Be sure tube is mounted straight in rim and check pressure before rides.
Leaky valve core. Tighten with a valve core tool such as the VC-1. More common with Schrader type valves, but also possible on some Presta valves.
4
Tire Inspection
It is important to always inspect the tire as well as the inner tube. The cause of the flat, such as a nail or piece of glass, may still be embedded in the tire or tread. Inspect both the outside of the rubber tread and the inside of the casing.
Inspect outside of tread for protruding nails, pieces of glass, thorns, or other objects. Squeeze any cut to look inside for objects such as slivers of glass.
Visually inspect inside of tire casing for nails, glass or debris. Wipe inside of casing with a rag, and then carefully feel inside with fingers.
Inspect sidewall for rips, holes, or damaged rubber and casing.
Inspect wire or fabric tire bead for damage.
Example of damaged casing - this tire should be replaced
5
Rim Inspection
The wheel rim is made with holes between the rim sidewalls for spoke nipples. A rim strip covers the holes or nipples. The rim strip can be made out of different materials such as cloth, rubber, or polyurethane plastic. The strip protects the inner tube from sharp edges in the base of the rim and from spoke ends and nipples that might puncture the tube.
Inspect inside the rim cavity, looking at the rim strip and for any sharp corners or protruding spokes.
The rim strip should be wide enough to cover the bottom of the rim, but not so wide it interferes with the seating of the tire bead. Inspect the rim strip whenever changing a tire or inner tube. Look for tears and rips, and make sure rim strip is centered over the nipple holes. In the image below, the rim strip is damaged, which may cause a flat tire.
There are three common types of valve stems on bicycles: Schrader (“American” type), Presta (“French” type) and Woods (also known as “Dunlop”). The Schrader-type valve is common on American cars and motorcycles. It is also found on many bicycles. The valve stem is approximately 8mm (5/16″) in diameter and has an internal spring plunger to assist in shutting the valve. To deflate the schrader valve tube, it is necessary to stick a small hex wrench or other object into the valve in order to press on the stem and release the air. Upon release of the stem, the stem spring shuts. Schrader-compatible pump fittings press on the internal stem with a plunger, allowing the tube to be filled.
The Schrader valve core can be removed if necessary. This is rarely required, but a valve can become stuck and cause a slow leak. A loose core can also be the source of a slow leak. A special tool such as the Park Tool VC-1 will remove and or tighten the core.
Schrader valve core removed for cleaning and inspection with VC-1
The Presta valve is common on mid and higher priced road and mountain bikes. Presta stems are nominally 6mm (1/4″) diameter, thinner than Schrader valves. At the top of the stem is a small locknut, which must be unthreaded before air can enter the tube. To deflate the inner tube, unthread the locknut. Depress the valve stem to deflate. To inflate the tube, unthread the locknut and tap the valve to insure it is not stuck.
Presta valve tubes are available with different length valves. Longer valve stems are needed for deeper aerodynamic rims.
The rim valve hole should match the valve of the tube. It is possible to use the smaller Presta valve in a rim intended for the larger Schrader by using an adapter sleeve.
Presta valve with Schrader adapter sleeve
7
Inner Tube Repair
Simply replacing the punctured inner tube with a new tube is always the safest and most reliable procedure. However, it is possible in some cases to repair a small hole in an inner tube. If the hole is quite large, it may not be possible to repair. When in doubt, replace the tube.
For full instructions, see Inner Tube Repair.
8
Tire and Tube Installation
Note directional arrows of tire manufacturer, if any. Directional arrows printed on the sidewalls indicate rotation of wheel. Not all tires have direction orientation.
Inflate tube enough for tube to just hold its shape.
Install tube inside tire. Install with tube valve adjacent to air pressure recommendations written on tire sidewall.
Aligning pressure recommendations with valve stem will ensure they are easy to find when inflating tire
Lower tire and valve into rim valve hole and align valve so it is pointing straight toward hub. A crooked valve can lead to a flat tire later.
Install one bead at a time. Work tire bead onto rim with hands. If tire bead will not seat using hand, use tire lever as a last resort. Use caution when using tire levers to avoid pinching inner tube. Engage tire lever using same orientation as removing bead.
Work tube over rim sidewall and into rim cavity.
Install second bead onto rim. Use care if using a tire lever.
Inspect both sides of tire for bead seating and for any sign of the inner tube sticking out. Reinstall if necessary.
Inflate to low pressure and inspect bead again on both sides. Look for small molding line above bead. This line should run consistently above rim. Adjust if necessary.
This bead seat line is bulging upward from improper tire seating. Deflate immediately and reseat tire.This bead seat line dips down in one spot. Some extra inflation can help, but use care not to blow the tire off the rim.
If the tire bead is stuck below the rim, and extra air pressure doesn’t correct it, use a lubricant such as soapy water. Do not use grease or oil.
Inflate to full pressure and check with pressure gauge. It may be necessary to press downward above the valve in order to engage the pump head. For fully threaded valve shafts, reinstall the locking nut, if any. Do not use wrench or pliers to tighten nut — tighten finger tight.
9
Wheel Installation
At this point, the wheel is ready to be reinstalled on the bicycle. See Wheel Removal and Installation for help with this process.
In this article
1Wheel Removal
2Removing Tire and Tube from Rim 3Inner Tube Inspection 4Tire Inspection 5Rim Inspection 6Valve Types 7Inner Tube Repair 8Tire and Tube Installation 9Wheel Installation
Back To Top
How to Remove a Bicycle Tire in 5 Steps (with Photos)
Biketoworkday is supported by its audience. When you buy through our links, we may earn an affiliate commission. Learn more
Written by Gary Johnson / Fact checked by Henry Speciale
Cycling is indeed a great pastime activity. However, such a good experience can become an inconvenience if you encounter a flat tire during your ride and have no clue about fixing the issues.
But worry not; you will be able to get back on track in no time if you know how to remove a bicycle tire. In this article, you will learn further about the proper steps to help you with the process.
Table of Contents
What to Prepare
Tire Removal and Reinstallation
Step 1: Release the brakes
Step 2: Remove the wheel
Step 3: Remove the tube
Step 4: Patch the tube
Step 5: Reinstall the wheel
Conclusion
What to Prepare
There are essential tools that are a must to carry at all times to deal with unexpected incidents while biking. In fact, we should have the following pieces for removing bike tires:
A spare tube
Tire levers
Bike pump
A multi-tool.
Lubrication products
Some clean rags
Tire Removal and ReinstallationStep 1: Release the brakes
There are two types of brakes: the V-brake and those with disc brakes.
A V-brake consists of two brake arms where the other arm is holding the cable while the opposing arm is the one gripping the cable housing. Its mechanism is also called the cantilever pull method.
When the brake lever is pulled, the cable is also pulled along with the housing causing the brake pads to touch against the bike rim.
To release a V-brake, just squeeze the brake arms together to loosen the grip. You will be able to release the cable afterward.
On the other hand, a disc brake functions similarly by squeezing the two brakes against the wheel rim by using pistons.
When you pull the lever, hydraulic is applied to the pistons causing the brake pads to squeeze.
To release it, bend the pin that attaches the pads together using the multi-tool or a bicycle tire removal tool. After pulling the pinout, just push the pads outside.
Step 2: Remove the wheel
After you have successfully released the brakes, it is pretty simple to remove a bicycle tire. The wheel is connected to dropouts fastened by an adjusting nut that holds down the quick-release lever.
The quick-release lever is straightforward to operate, but it requires strength to release its grip on a wheel, especially for a mountain bike tire. Loosening such levers does not require tools but just your bare hands.
To finally remove the wheel, pull the lever downwards to open its release and loosen the adjusting nut if required. For other bikes, you can remove bike tire without lever because you only have to pull the nut out.
Lastly, fully remove the axle outwards to detach the wheel from the dropout. For rear wheels, simply pull down the derailer then you can release the cog from its chains.
Step 3: Remove the tube
To take tire off bike, completely deflate the tire first, and make sure there is no air, even just a small amount, to achieve the best results.
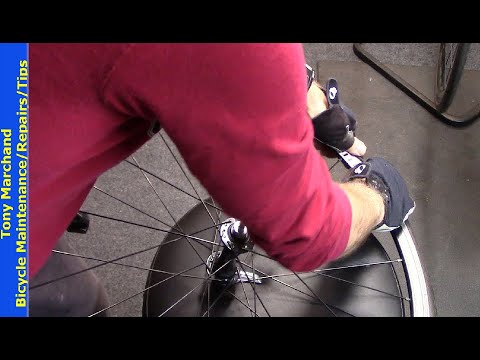
First, place a tire lever on any rim part except at the valve. Pull back and then gently lift the lever to push the bead out of the rim.
Place the other tire lever about a few inches away from the first one and lift out the bead. After that, repeat the same steps for the remaining areas on the rim to carefully take off a bike tire.
Step 4: Patch the tube
After removing the bike tube, you may either patch the hole on the tube or go for a bike tire replacement. Patching a tire is way cheaper and less time-consuming, but replacing the tire is recommended if the damage or flat is beyond repair.
Before patching, use the clean rags to clean the area, and you can use the lubrication supplies or even just plain water.
Spread the glue evenly, then firmly hold down the patch in place. Leave it overnight before continuing to fix a bike tire.
Step 5: Reinstall the wheel
Make sure that the tire is partially inflated by at least 30% before reattaching it to its tube. Place the valve stem back into the rim properly to prevent the valve from misaligning.
Slowly put the tube first, then the tire back to the rim. Start from the valve when reconnecting the tire back to its wheel and inflate the replaced or patched to its recommended pressure.
Conclusion
Removing and reinstalling a bike tire can be taxing but with the right tools and proper understanding of the process, it is actually just a straightforward task to do.
You have now learned how to remove a bicycle tire and you will always be prepared for what to do in case your bike gets flat again. At this point, your bike is ready to carry on with your thrilling ride experience on the roads.
Gary Johnson
“I ride my bike to work for years, but is that enough? Our carelessness towards our surroundings has taken a toll on the environment. And now, everyone is responsible for changes; even the most minor contribution is counted. With this hope and spirit, I started with my partner to establish Biketoworkday to help more individuals commute to their work sites on their bikes.”
How to remove a tire from a bicycle rim?
Contents
When should a tire be removed or replaced?
How to remove a tire from a bicycle rim?
Required tools
Procedure
Can a tire be replaced without tools?
Bicycle Tire Maintenance Tips
You can remove the tire from your bike yourself. But in order to cope with this matter without problems, you need to know the sequence of actions for dismantling parts. It will also be useful to familiarize yourself with the list of necessary tools and understand in which cases the tire must be removed.
When should a tire be removed or replaced?
Under certain circumstances it is necessary to remove the tire from the bicycle rim. Sometimes this part needs to be replaced.
There are several reasons:
Damage to the camera with a sharp object while driving. In this case, you need to remove the tire, then replace the camera. And reassemble the wheel.
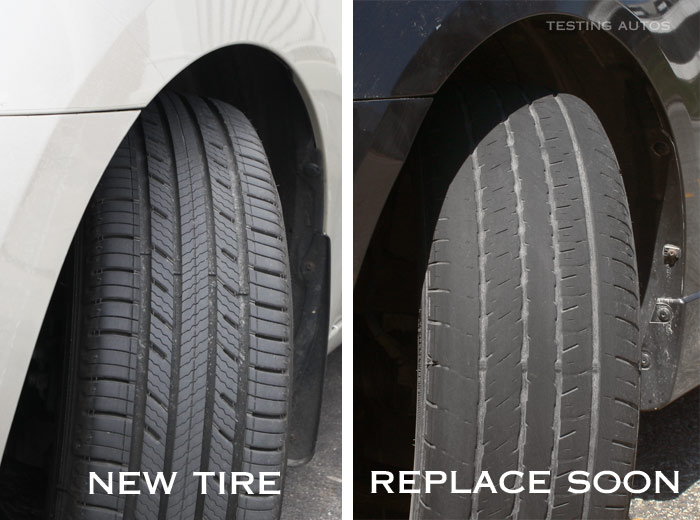
When abrading the tire surface. This happens when the life of the part is long or when driving is aggressive (especially on poor quality roads).
The need for maintenance or repair of the wheel, requiring its disassembly.
How to remove a tire from a bicycle rim?
Removing a tire from a disc has its own algorithm of actions. It will require a few special tools. It is important to remember: it is undesirable to press too hard on the sidewall of the tire when removing. Also, the tool should be free of burrs and sharp edges.
Required tools
The dismantling steps must be followed strictly, accurately and carefully.
To do this, you will need the following tools:
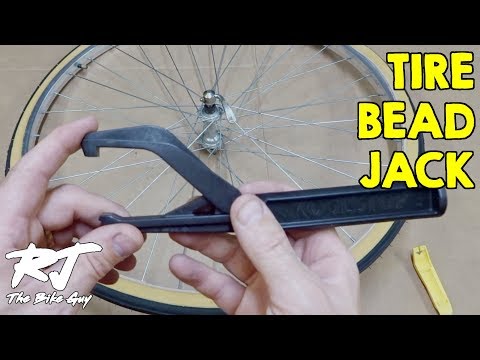
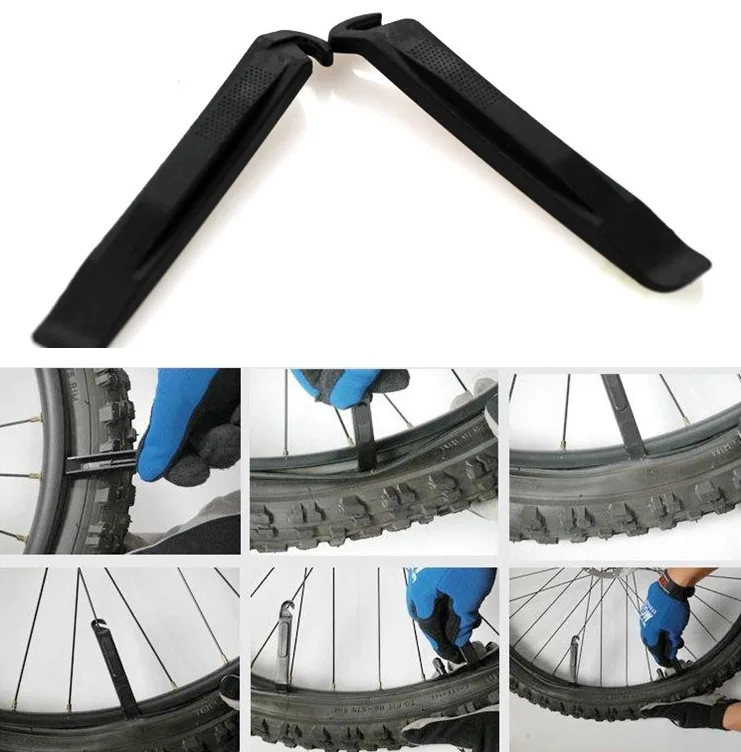
Stripping. Reminds me of plates made of plastic. Equipped with hooks on the sides. Needed to hold the edges of the tire when it is just beginning to be dismantled. Helps to remove the part without much effort.
Similar items can be used: keys, coins. Some of them are dangerous.
Special wrench suitable for wheel removal (for models with bolted axle).
Pump. Required for wheel mounting.
Procedure
Once you have the necessary tools ready, you can start removing the tire from the rim.
Work steps:
If equipped with a wheel brake, you will have to loosen it. Such an action is performed so that it does not interfere in the following steps. The cable must be carefully pulled out of the connector.
Loosen the bolt (on some models, an eccentric).
Take out the wheel.
Bleed air. It is important to try to keep it as small as possible so as not to damage the camera.
Pry off the edge using the rake. You can buy a special "shovel". She looks like a shoe.
15 cm from the previous position, repeat the action. It is necessary to move in a circle, gradually bending the tire from the disk with the blades. Continue until she is behind the rim.
Repeat the removal, without changing direction, of the second side, which is easier to remove.
Can a tire be replaced without tools?
Anyone can pierce the camera while driving. And such an unpleasant situation, requiring the removal of a tire, usually takes you by surprise. Often a cyclist does not have the necessary tools with him. To replace a tire, you need to have at least a spare set.
Procedure:
Vent the chamber. Be sure to drop it all. To do this, unscrew the nipple.
Compress the tire on both sides so that the cord comes off the rim.
Move the tire edges to the center of the groove. Continue the action towards the nipple, remembering to support the part to be removed near it.
If done correctly, it remains to pry off the cord and remove it from the wheel in a circular motion.
Carefully remove the chamber. If necessary, completely change the tire.
Bicycle Tire Maintenance Tips
Comfortable riding requires optimal tire inflation. In case of lack of air in the tires while riding, the cyclist has to exert more effort.
Tire life is reduced. If the amount of air exceeds the optimal threshold, grip becomes worse. And, as a result, a tough ride and an increase in the possibility of a camera puncture.
In order to avoid punctures, scuffs and other problems, experts advise you to follow the rules for using bicycle tires.
General recommendations:
Choose your camera wisely. Stretching it too much can cause damage. The rule also applies to insufficient stretching, leading to the appearance of wrinkles.
In case of carcass delamination, as well as the appearance of broken cords, patching is mandatory.
Chamber needs nut to be tight before inflating.
Choosing the right inflation pressure will increase tire life. Smooth asphalt pavement requires tight pumping, and off-road requires pressure reduction to a suitable indicator. It is impossible to reduce the atmosphere to the point of deformation of the coating.
When traveling, it is advised to choose a road where the appearance of sharp objects is minimized.
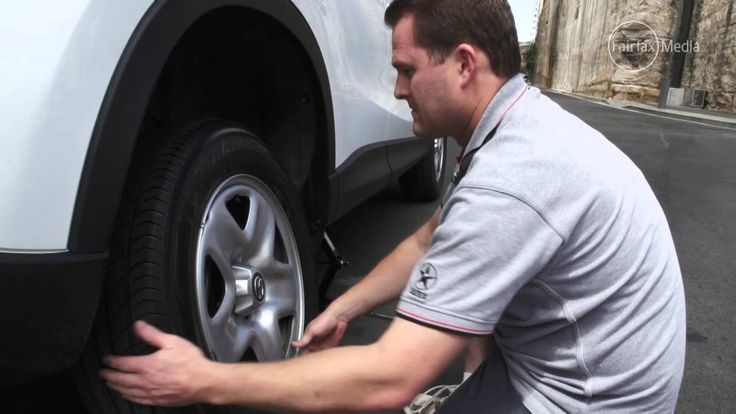
It will be useful to inspect the treads more often to detect and remove stuck stones and other small objects.
Tires need to be lubricated with glycerin during winter storage. A thin layer is sufficient. Such care prevents aging. You can use a paste for rubber parts. It can be purchased at an auto shop.
The rear tire wears faster than the front. Uniform wear will help to achieve a periodic change in places.
If a sharp object penetrates the tire, it must be immediately removed and replaced with a whole one. And broken - repair. Cracks need more minor repairs. It is important to remember: for long-distance journeys, it is better not to use refurbished tires because of their unreliability.
Removal and installation of the tire should be carried out carefully, slowly, to avoid damage.
Fitting and using a front brake reduces tire wear.
Maintaining optimal pressure is important during the operation of tires. You should pay attention not only to the quality of the road surface, but also the weather conditions. In cool weather, it is better to pump up the camera in time, and in the heat - let the air out a little.
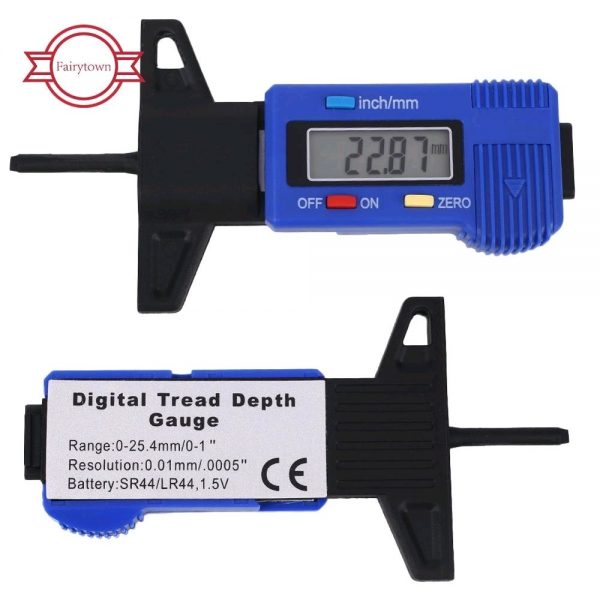
To check the pressure indicator, use a monometer, the data of which is compared with the numbers on the chamber.
Removing a tire without the help of specialists is easy. Many cyclists succeed right away. Accuracy, attention and the availability of suitable tools are all necessary conditions for a positive result. And so that the process of dismantling or replacing tires occurs less frequently, it is advisable to follow the rules for their operation.
How to remove a tire from a bicycle wheel (change and put on)
Contents
Tools
Procedure
Conclusion
Not everyone pierces their wheels, and not everyone repairs their bikes on their own. However, understanding how to remove a tire from a bike and put it on, what it takes and how to do it easily and without unnecessary problems, is useful for most riders.
When do we remove a bicycle tire?
The chamber is broken - it is necessary to remove the tire, then change the chamber, and then assemble the wheel;
When replacing, in fact, bicycle tires - they tend to wear out, especially during aggressive or long driving;
When servicing a wheel - when other elements, such as a camera, can get in the way.
Tools
Depending on the design of the bike, you will need different tools.
The minimum set is hands (preferably with gloves), nothing else is needed. What is used to facilitate the process?
Bicycle wheel beading - small oblong plastic plates with a “hook” at the end. It helps a lot to hold the edge at the beginning of the dismantling without effort, and then remove it.
Any replacement for disassembly - often used keys (for locks or wrenches), coins, sticks (which is quite traumatic, by the way).
Wheel removal wrenches - there are also models where the axle is fixed with bolts, not eccentrics.
Pump - needed when reinstalling the wheel.
First step using stripping
Procedure
So what do you need to do to remove a tire from a bike?
We begin to remove the wheel by blurring the brakes (in the case of V-Brake) or removing the caliper (disc), they can greatly interfere with the next steps.
Loosen the bolt or eccentric holding the wheel in the frame.
Remove the wheel.
We bleed excess air from the chamber through the nipple, it is important that there is as little air left as possible, otherwise the chamber can be easily touched and damaged.
We pry off the edge with the help of a razor or its replacement at one point.
We measure 10-15 cm and repeat the operation, bending the segment between two razbortov, and, bringing it out of the rim.
Carefully continue to remove the tires until one side is completely behind the rim.
Repeat the action in the same direction with the second side of the tire. Usually this stage is already easier.
Done!
Only repair of the chamber is limited to points 1-7.
The reverse process is the same:
It is necessary to put on the tire, starting to lay it inside the rim with one side.
On the last 15-30 cm we fix one side of the tire by unrolling and carefully transfer the entire edge inside the rim.

 For best results, press downward on wheel while depressing the valve.
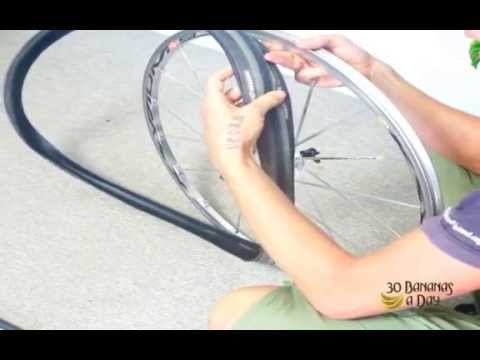
 Make four marks, one to each side of hole. Do not mark close to hole, as the mark may be sanded off.The type of cut or hole in the tube will help determine the cause of the flat.
 Use care when seating tire during installation.
 Upon release of the stem, the stem spring shuts. Schrader-compatible pump fittings press on the internal stem with a plunger, allowing the tube to be filled.
 Install with tube valve adjacent to air pressure recommendations written on tire sidewall.
 This line should run consistently above rim. Adjust if necessary.
 When you buy through our links, we may earn an affiliate commission. Learn more
 In fact, we should have the following pieces for removing bike tires:
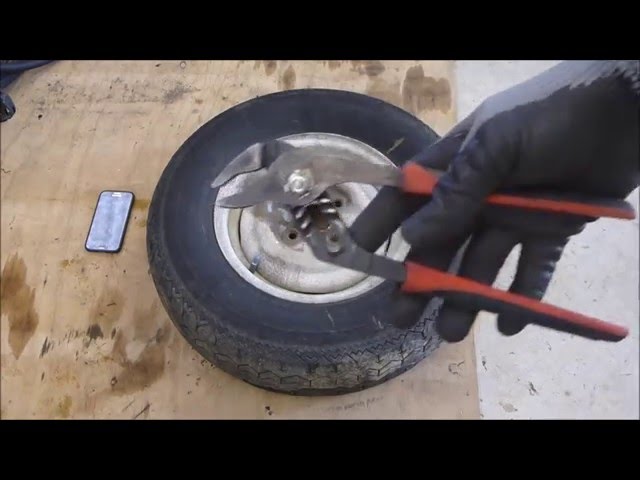

 But in order to cope with this matter without problems, you need to know the sequence of actions for dismantling parts. It will also be useful to familiarize yourself with the list of necessary tools and understand in which cases the tire must be removed.
  It will require a few special tools. It is important to remember: it is undesirable to press too hard on the sidewall of the tire when removing. Also, the tool should be free of burrs and sharp edges.
  Such an action is performed so that it does not interfere in the following steps. The cable must be carefully pulled out of the connector.
  To replace a tire, you need to have at least a spare set.