Subscribe Here
AND WHERE TO GET NEW SEAT COVERS —
ATV seats come in all shapes and sizes, but they all have one thing in common—they are always used every time you ride your machine. While some riders don’t spend much time thinking about how important a seat is, others know when they should consider upgrading their seat cover to one that is more durable and even grips better. Replacing a seat cover may be tricky, but it’s not as difficult as many believe it to be. We are here to walk you through the steps of changing out that old torn-up cover or simply upgrading to a newer one.
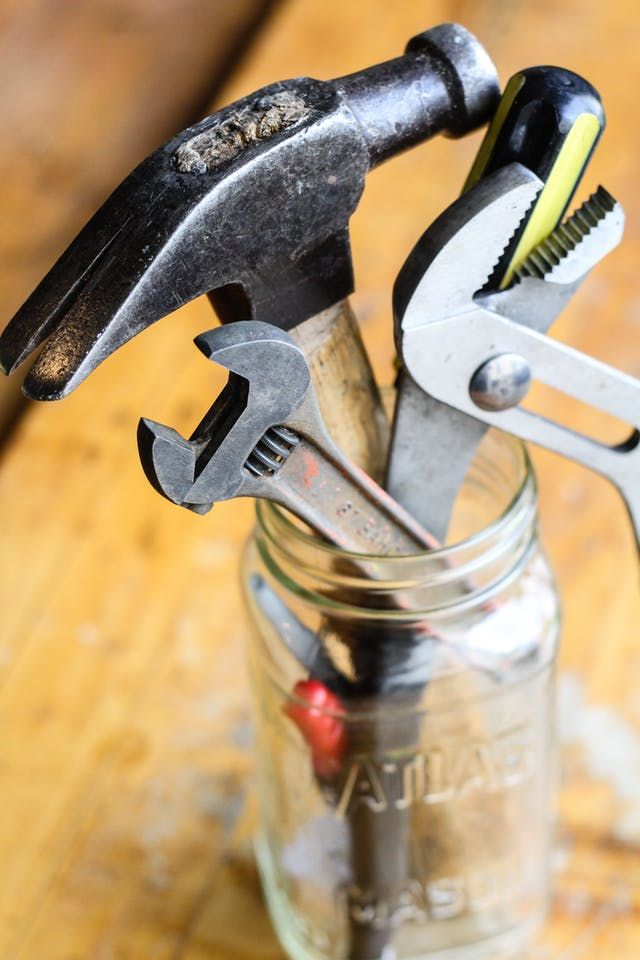
1.) The first step is to gather the tools you will need, which includes your old seat, a new seat cover like the one we chose from MotoSeat, a flat-head screwdriver, needle-nose pliers, scissors, and either a manual or air-powered staple gun with 1/4-inch staples.
2.) Start the process by prying up the old staples with your screwdriver and pulling them out of the seat to free up the old fabric. Once all of the staples are removed, pull off the old cover, flip the seat over and inspect the foam. If the foam does not have large holes and tears in it, then you should be able to reuse it. If not, companies like MotoSeat offer new seat foam to purchase.
3.) Now it’s time to start the install of your new seat cover. Covers like this one have a stitched front piece that slips over the front of the seat to help align the cover from the start. Once you have it on straight, flip the seat back over so the underside is facing up and put three staples next to each other on the top part of the cover. This will keep the cover in place while you work on the next steps.
4.) Next you are going to continue with stapling the cover to the seat in succession. Every 6 inches, pull out and backward on the cover, and install two or three staples on the left and the right side of the seat evenly as you progress downward. This will help pull out the wrinkles in the new seat cover as you continue with the job. Flip the seat over and inspect the cover each time you install a new set of staples for wrinkles and smooth them out, but pulling back more on the cover as you go along. It’s okay to remove and reinstall staples to help pull the cover tighter.
5.) Once you get to the rear of the seat, the job can get tricky. To get the cover to contour to the different curves and rounded edges of the seat, you may have to make waves in the fabric as you install a new staple every half inch or so. This will keep the top of the cover smooth and wrinkle-free as you move around each rounded edge. Once you have completed the rear of the seat, go ahead and install a staple all the way around the whole seat every inch. Now the cover will not shift around and be secure on your seat.
6.) Now that you have successfully secured the new seat cover onto your seat with all of the wrinkles smoothed out, go ahead and take scissors and trim off the excess fabric on the underside of your seat. Now that the job is complete, you can install your freshly covered seat back onto your machine and take it for a ride.
SADDLEMEN
Stock Replacement Covers, $89.99
Saddlemen makes seat covers for a wide range of machines, including on- and off-road vehicles. Their ATV seat covers are made with very durable
materials and come in multiple colors for your machine. If they do not offer the cover for your machine, the customer can send in their old cover, and they can make a pattern from it. Custom pricing varies for the replacement cover price. For more information, call (800) 397-7709.
FACTORY EFFEX
All Grip Seat Cover, $59.95
Factory Effex has been a big staple in the seat-cover industry. They make a range of smooth and gripper seats for multiple ATVs. This seat cover is very grippy so you don’t have to worry about sliding around on the seat as much. The material is strong and will last for years of riding and weather abuse. The covers come in different color options as well to match your machine. For more info, call (661) 255-5611 or go to www.factoryeffex.com.
COVERS OFFERED BY BRAND/MACHINE
Honda
–TRX 250 R, 400, 450 R
Kawasaki
–KFX 400, 450
Suzuki
–LTZ 400
–LTR 450
Yamaha
–Banshee 350
–Raptor 660, 700
–Blaster 200
–Warrior 350
–YFZ 450, 450R
FOURWERX CARBON
Wave Seat Cover, $144.99
For the enthusiast who likes to ride hard or race, this seat cover is your best bet for seat traction. It has a gripper top with a formed foam-based “Wave” top. The ridges provide enhanced grip from sliding around on your seat, and the gripper top adds to that effect. It has a very durable construction. FourWerx mainly manufactures parts and seat covers for racing ATVs. For more information, call (262) 501-9696 or go to www.fwcarbon.com.
COVERS OFFERED BY BRAND/MACHINE
Can-Am
–DS 450
–Renegade 500, 800, 1000
Honda
–TRX 90, 250 R, 300 EX, 450 R
KTM
–XC 450, 525
–SX 450, 525
Suzuki
–LTR 450
–LTZ 50, 90
Yamaha
–YFZ 450, 450 R
–Raptor 700
MOTOSEAT
Standard Replacement Cover, $49. 99
99
MotoSeat makes a durable replacement seat cover for a range of ATVs. The material used will last a long time and comes in multiple colors to match your machine. They also sell replacement seat foam for $69.95. If you are interested in their products, call (951) 677-8325 or go to www.motoseat.com.
COVERS OFFERED BY BRAND/MACHINE
Arctic Cat
–CAT 375, 400, 450, 500, 650, 700, 1000
–DVX 400
Can-Am
–DS 450, 650
–Outlander 500, 650, 800
–Renegade 500, 800, 1000
Honda
–ATC 70, 110, 185, 200 S, 200 X, 250 R, 250 SX, 350 X
–TRX 70, 90, 250 EX, 250 R, 250 X, 300 –EX, 300 FW, 400 EX, 450 R, 700XX
–TRX Recon 250
–TRX Rancher 350, 400, 420
–TRX Foreman 400, 450, 500
–TRX Rubicon 500 FW
–TRX Rincon 650, 680
Kawasaki
–KFX 450, 700 V-Force
–KLF 220, 250, 400
–KLF Bayou 250
–KSF Mojave 250
–KSF Lakota 300
–KVF Prairie 300, 360, 400, 650, 650i, 700
–Brute Force 650, 750
KTM
–XC 450, 525
–SX 450, 525
Suzuki
–ALT 50, 125
–LT 80, 125, 185, 230, 250, 250 R, 500
–KFX 80
–KingQuad 300, 400, 450, 500, 700, 750
–Vinson 500
–Ozark 250
–LTF 160
–LTF QuadRunner 250, 500
–Eiger 400
–LTR 450
–LTZ 250, 400, 450
Yamaha
–Breeze 125
–Timber Wolf 250
–Grizzly 80, 125, 350, 550, 600, 660, 700
–Bear Tracker 250
–Raptor 125, 250, 250 R, 350, 660, 700
–Big Bear 250, 350, 400
–Kodiak 400, 450
–Bruin 250
–Warrior 350
–Wolverine 350, 450
–Terrapro 350
–Banshee 350
–YFZ 450, 450 R
–Blaster 200
–YTZ TRI Z 250
 | Kawasaki ATV Forum
 JavaScript is disabled. For a better experience, please enable JavaScript in your browser before proceeding.
1 - 20 of 58 Posts
1 - 20 of 58 Posts
 Please consider creating a new thread.
Top
Have you noticed that your ATV has started to slip and its power has decreased? There are several reasons why an ATV skids. Usually the problem lies in a worn variator belt or clutch. And even a new ATV is not immune from such problems. Therefore, let's figure out how to solve the problem on our own.
The ATV clutch is responsible for changing gears and minimizing vibration. If this component fails, the rider will notice that the quad began to twitch, start from a place immediately at high speeds, or slip. Usually the cause of the malfunction is worn discs that simply began to slip. Such damage usually appears due to:

Complete replacement of the clutch or installation of new discs will solve the problem. The first option is more suitable for beginners, but experience is required to disassemble and assemble the component.
It must be said right away that the stages and features of replacing a node on a teenage all-terrain vehicle directly depend on its brand. Some brands hide the gearbox behind plastic parts, others install the assembly behind the footrest, etc.
To change the element, the rider needs to:
Please note that the procedure may vary for different ATVs. Therefore, before starting work, read the instructions for your ATV.
So, we figured out what to do if the clutch is slipping on a 125cc ATV. But how to treat an adult SUV? But here the rider will have to make extra efforts, because to replace the component on an adult ATV, you will have to immediately dismantle the variator. The procedure is as follows:
This will give you access to the clutch. Next, you will need to unscrew the fixing bolt, remove the washers and remove the damaged element.
ATV power loss or slippage is caused by a worn transmission belt. Usually the rider encounters such problems when the component is worn out by more than 1 cm. However, do not worry, because the belt is a common consumable and is easy to replace.
To fix the problem, the owner of the four-wheeler should:
Note : When buying a CVT belt, pay attention to its manufacturer. Japanese or European components are more expensive, but last 2-3 times longer than Chinese belts.
09/14/2021 2225
Like all motor vehicles, ATVs produced at the Zhukovsky motor and bicycle plant under the Stels trademark also have a number of minor flaws and require minor repairs. In this article, we will analyze the engine start system on the ATV Stels 500GT and its malfunctions. This ATV is equipped with an electric start and a mechanical kickstarter. What happens when you press the electric starter button at the same time as the foot brake pedal?! That's right!, the electric starter starts to turn and the engine starts. But unfortunately, there are breakdowns in this system and in order to start the engine, you have to pull the mechanical starter, and it is very difficult to turn the piston on such a not-so-powerful engine. Therefore, stock up on the tool listed below and let's check the electric start system in order and find out what the problem is. 1. You need a voltmeter, 2. A set of sockets and open end wrenches. First of all, we need to check whether power is supplied to the electric starter and whether the battery is charged to the desired level. Using a voltmeter, we check the battery charging (the voltage must be at least 12 volts), then we simultaneously press button
electric start and foot brake pedal.
At this point, there should be 12 volts on the positive terminal of the electric starter. If there is voltage on the electric starter and it is "silent", then it proceeds to remove the right cover on the engine, behind which the starting system is located, and a mechanical kickstarter is also installed in the cover itself. In order to remove the right engine cover on the Stels 500, you need to remove the right plastic driver-passenger footrest. Without removing this plastic element, you will not even be able to unscrew the bolts from the engine cover. Further, when the footboard is removed from the ATV, we unscrew the front mount of the gear shift rod and disconnect it from the shift knob so that the rod does not interfere with the removal of the engine cover. At the final stage, we need to unscrew the oil pipe mounting bolt. Now you can freely unscrew all the bolts securing the cover in a circle and try to remove it. By lightly tapping the cover with a rubber mallet, the cover gradually disengages from the motor guides. Having removed the cover, we will see the entire starting mechanism of the Stels 500 ATV engine. Next, we check the operation of the electric starter. For this operation, we need to pull the bendex out of engagement with the electric starter. When the electric starter gear is free, you can turn it on. If the starter is working, it will turn without extraneous noise and wedging. If the starter shaft does not spin at this moment, this indicates a malfunction and the electric starter must be further replaced.
Let's imagine that the electric starter is working, and when we try to start the engine, we hear only a loud click. Then we take the socket wrench and turn the crankshaft to make sure that the crankshaft with the piston rotates freely. If everything is normal, the reason lies in the flywheel gear. Most often, dirt or ice accumulates between the gear teeth. But there are times when the gear becomes unusable and wedges when trying to start the engine. Next, we clean the trigger mechanism or change the failed elements. Apply a small amount of graphite grease to the moving parts.
It remains to check the mechanical kickstarter. It is located in the engine cover. Everything is simple here. We pull the cord by the handle and see how the wheel spins and whether the metal engagement tongue comes out at this moment. If the mechanism is in good working order, then the trigger cord will be pulled out freely and just as easily folded into place. In the event that any element is faulty, you will not be able to pull out the cord or it will not return to its original position, while it is better to purchase the entire cover with the trigger assembly in the store, because it is extremely difficult to change individual elements.