The Toyota 4Runner is a popular vehicle for daily commuting and some off-road fun. However, like any vehicle, you may run into a situation where you need to access your spare tire. When a flat tire occurs, follow the steps below to change your tire.
To access the spare tire on your Toyota 4runner, follow these steps:
As you can see, there are a few more steps into changing a 4-Runner tire. This article will discuss how to access the spare tire on a Toyota 4-Runner and change the flat. In addition, we will answer other frequently asked questions about the Toyota 4-Runner, so read on!
Before you continue reading, let us say we hope you find the links here useful. If you purchase something through a link on this page, we may get a commission, so thank you!
Almost every vehicle has a spare tire that you access if you get a flat.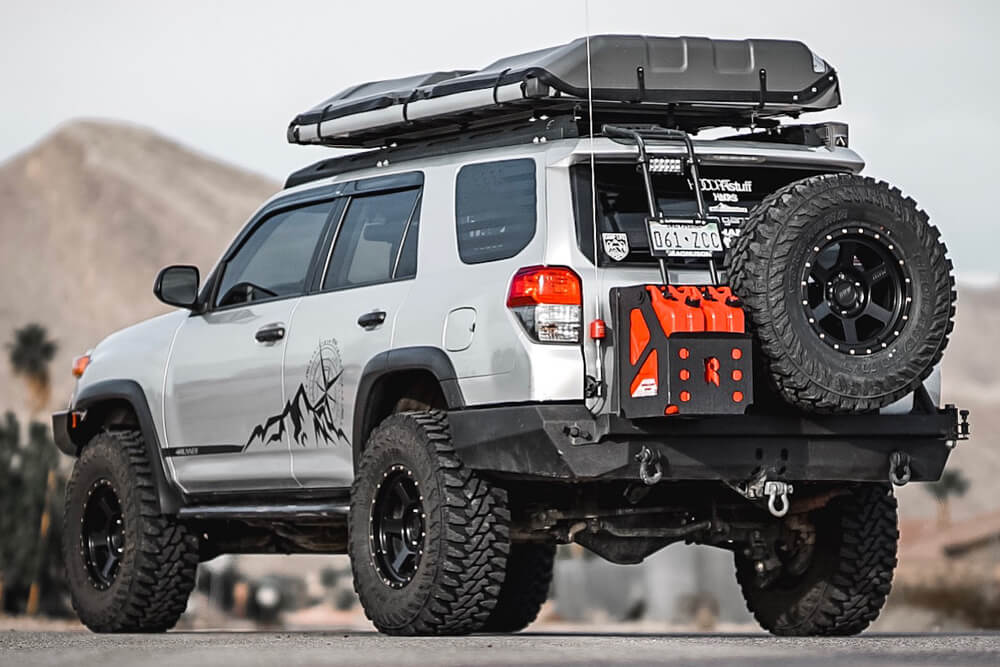 However, each spare tire is located in a different place and has a different access process. For example, for the Toyota 4Runner, you will access the spare tire by opening the back liftgate and locating a compartment with a yellow label attached to it.
If you get a flat tire, it is a good idea to get off the road as far as you can, turn on your hazards, and shut the vehicle off to be safe.
If you are on a highway and have hazard cones to layout, then do so to help oncoming traffic be aware of the situation.
Open the back liftgate and access the compartment with the yellow label. The compartment will be on the left side. It is essential to take out the tool pouch first because you won't be able to get the jack out if you don't.
Set it to the side once the pouch is out and unscrew the bolt on the jack to release it from the compartment.
When you open the tool pouch, you can set aside a lug wrench, another silver piece, and the question mark-shaped tool [black]. So now you will be left with two black metal pieces and one L-Shaped.
To release the tire, you will first need to connect the two straight pieces. Then, a bolt tightened on the piece can be tightened using your hands.
When putting the straight bars into the spare tire slot, you need to go at an angle towards the passenger side of the 4-Runner. If you go in straight, then you will miss the release mechanism.
Once you have the straight bar locked into the spare tire release, you can now attach the L-shape bar and crank it counter-clockwise. Once the tire is on the ground, you will have to disconnect the chain from the tire.
If you have someone to help you, it makes this process easier. First, lift the spare tire and slide the chain through the wheel. Once that is done, you can take the tire out from under the vehicle and change the flat tire.
The spare tire is located underneath the back bumper of a Toyota 4-Runner.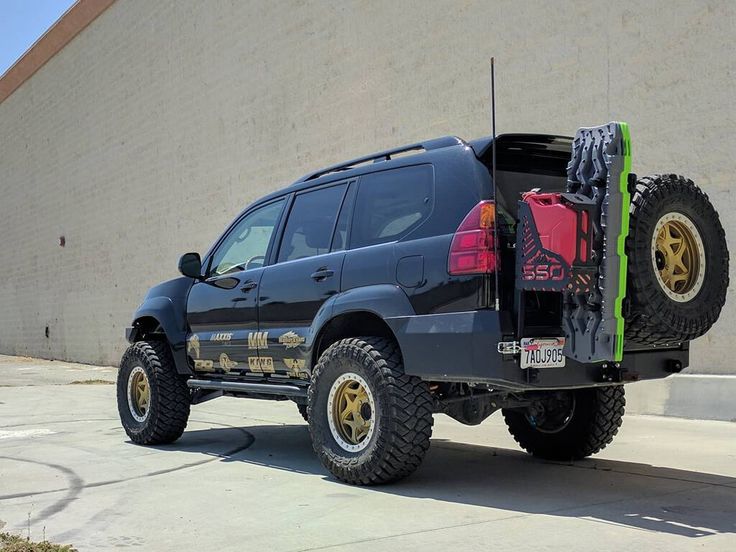 This location can be seen as a good and a bad thing.
The good thing is that it gives you more cargo space, and it doesn't interfere with the vehicle's ground clearance. However, it can be more time-consuming and difficult for some to get the tire out.
If you are doing the tire change yourself, it can be frustrating to get the tire out. First off, the tires to a 4Runner are heavy, and the final step can be challenging to remove the chain.
Second, getting the perfect angle with the straight bars can take some practice. If you come in too straight, you will miss the unlocking slot underneath the vehicle. However, when you get to the right angle, you will feel the bar lock into place.
When you jack up your Toyota 4Runner, it is vital to be sure you place the jack in the right place. If you don't, you run the risk of the jack slipping out from under the vehicle and causing serious injury to you or damage to the vehicle.
When jacking up the 4Runner, you will need to place the jack under the axle of the tire you are changing. A good tip is to partially raise the jack before putting it under the axle to save you time.
Once you have the jack underneath the axle, use the black bars to raise the Toyota 4Runner off of the ground. Once the flat tire is high enough off the ground, you can proceed to remove the lug nuts to remove the tire.
Putting on the spare tire can be done like any other tire by following these steps:
 Ensure that the tire is on all the ways and the lug nuts are on the thread correctly.
The Toyota 4Runner does have a full-size spare tire. However, if you put different tires on your 4Runner, the spare won't match and should be driven temporarily.
Having a full-size spare does come in handy if you have a flat tire when off-roading. It will ensure that you have something more durable to get back onto the main road.
Whether you have a full-size tire or a donut, you shouldn't drive too far. Typically, you shouldn't drive over 50mph and a distance of 70 miles. Even if you have a full-size tire, the tread will differ from the other three tires.
Over time this will cause wear on the other tires, and you will have uneven tread making the unbalance. In addition, your other tires will wear faster, and you will need new ones sooner than you should.
If you get a flat tire, you are better to go directly to a tire shop after putting on the spare.
If you are worried about having to change all four tires in the case of a flat, you may be in luck. If your tires are newer and still have 4/32 of their depth, then you can do a single tire replacement.
However, if your other three tires are worn down to past the level, you will need to get all four. Also, since Toyota 4Runner has bigger tires, they come with a bigger cost. Expect to pay $15-$500 a tire, depending on the type and brand.
Let's face it; no one likes having a flat tire. It's no fun having to change it on the side of the road or in a busy parking lot. It is even worse if you have to do all four tires on your Toyota 4Runner.
However, small changes like knowing how to jack up your 4Runner and changing a tire can make life easier when something goes wrong.
If you liked this article, then you should also read:
Does The Lexus NX Have A Spare Tire?
Does Acura ILX Come With Spare Tire?
Does Ford Fusion Have A Spare Tire [And Where To Find It]?
by Jody L. Campbell
Having a flat tire on the side of a dark, cold, and wet road is not the time for a crash course in Spare Tire Removal 101. This is why you must plan ahead, locate the required equipment, and practice a few times in your own driveway to get used to the process.
Grab a flashlight. It would be a good idea to keep one in your glove box and check the batteries in it often to make sure the flashlight is working properly.
Locate the spare tire/jack tool kit (usually in one of the side door panels in the very back of the 4Runner where the jack is. You may have to refer to the manual as different generation 4Runners may have put the jack and tools in different locations.
Separate and assemble the three parts of the spare tire tool, starting with the rounded hook end. Attach the straight rod to that, then the lug wrench will have a 3/8 inch hole in the middle that will fit on the end and create a T-handle, but do not attach the lug wrench just yet.
Locate the spare tire tool chamber located on the bumper/tailgate of the 4Runner by the license plate. It's an oblong shaped hole. Turn on the flashlight (you will need the flashlight to line the tool up on the sunniest day of the year, let alone a dark night) and look into the chamber. At the end, you will see a slot in the winch device that the head of the rounded hook fits into. Slide the tool into the chamber and align the hook into the slot of the winch device.
Apply the lug wrench on the end to make the T-handle and turn counterclockwise to unwind the cable holding the tire to the undercarriage of the 4Runner. You will want to lower enough cable to allow enough slack to remove the hub key from the center of the spare tire. Practice taking it off and putting it back on a couple times. To raise the tire, simply replace the hub key and turn the tools clockwise to engage the winch.
Tips
 Again, finding this out before it's an emergency will only help you prepare yourself.
 Things You'll Need
Writer Bio
Jody L. Campbell spent over 15 years as both a manager and an under-car specialist in the automotive repair industry. Prior to that, he managed two different restaurants for over 15 years. Campbell began his professional writing career in 2004 with the publication of his first book.
| DIY
| |||
Toyota 4runner - Video Lesson Model: Toyota 4runner N280 - Years 2010-2022 In order to remove the spare tire from your vehicle, it is recommended that you leave the engine off so that you can safely complete all necessary steps. First go to the back of the car and lift the hood. Lower the seat to the leftmost position and immediately after that do the same with the small plastic door located according to the yellow notice. Inside are all the various tools needed to remove the spare tire. Published 11 January 2022 by ScegliAuto | How to change Mazda 3 headlight bulbs Let's see how to change Mazda 3 headlight bulbs to LED ones: open the front hood (by pulling the lever at the bottom right of the dashboard), secure it with a rod. Locate the headlight inspection cap (located behind the headlight) and remove it. When we get here, we will find light bulbs with metal hooks; We take out the bulb holders from the headlight and go to remove the bulbs with a screwdriver. Watch the video! by ScegliAuto more videos
|
Vehicles can be equipped with both a small spare wheel and a spare wheel unified with the rest of the vehicle's wheels.
Spare wheel, unified with other vehicle wheels
The vehicle is equipped with a spare wheel with a tire of the same type, size and model as the other four wheels of the vehicle. This allows the spare wheel to be used both for replacing a damaged wheel and for occasional wheel changes.
Small spare wheel
The small wheel is lighter and smaller. The small wheel is only intended for short-term use in the event of damage to the vehicle wheel. Vehicle mileage on a small spare tire should be limited to a short distance. It is forbidden to use a small wheel for long-term movement over long distances. nine0008
When using a small size spare tire, the driving stability of the vehicle may deteriorate compared to when all four normal size wheels are installed on the vehicle. Therefore, when driving a car, be especially careful. To prevent damage to the small spare tire or vehicle, observe the following precautions.
- Do not exceed 80 km/h.
- Avoid driving over obstacles in the road. Also, do not drive into a mechanized car wash. Because the diameter of the small wheel is smaller than the stock wheels fitted to the vehicle, the vehicle's ground clearance will be reduced by approximately 10 to 25 mm. nine0008
- Do not fit a snow chain on the spare wheel as it does not fit the spare wheel.
- The small spare tire must not be fitted to vehicles of other makes and models. The small spare tire is designed for this vehicle model only.
- No more than one small spare wheel may be fitted to the vehicle at a time.
Removing and installing spare wheel
To remove the spare wheel, unscrew the fixing bolt (Fig. 1.141).
To secure the spare wheel in its stowage position, finger-tighten the bolt firmly to take up the free wheel play.
Replacing a flat tire
The operations described below can be used for both changing wheels and changing wheels. When preparing to change a flat tire, make sure the selector is in P (Park) (automatic transmission) or the shift lever is in reverse (manual transmission) and the parking brake is applied. nine0008
| Fig. 1.143 . Removing the decorative cap |
Wrap a piece of cloth around the end of the mount to avoid damaging the surface of the hubcaps and discs. Insert the mounting key into the groove of the wheel cap, gently wring out and remove the cap (Fig. 1.143).
Have the spare wheel and tools ready.
Remove the spare wheel, jack, jack handle and tool bag from the boot. nine0008
To prevent the car from moving when it is raised with a jack, install brake shoes (thrust blocks) under the wheel located on the opposite side diagonally with respect to the wheel being replaced (Fig. 1.144).
The wheel nuts must be slightly loosened before lifting the vehicle.
| Fig. 1.145 . Fitting the wheel nut wrench |
To loosen the wheel nuts, turn the wrench handle counterclockwise. When doing this, make sure that the wrench head fits snugly around the wheel nut. To obtain the most convenient lever, set the key to the position shown in Figure 1.145.
Then turn while holding the key at the end of the handle. Do not completely loosen the wheel nuts at this stage. Just loosen them half a turn.
Car jacking
| Fig. 1.146 . Correct jacking points |
The base of the jack must be placed on a hard, level surface. The jack must be located as shown in Figure 1.146.
| Fig. |
Insert the wrench to tighten the wheel nuts into the jack handle, as shown in Figure 1.147.
Turn the jack handle clockwise to raise the vehicle. When the jack begins to raise the vehicle, re-check that the jack is secure. If the jack is on soft ground or sand, it may be necessary to place a block, flat stone, or other object under the jack to keep it from sinking into the ground. Raise the vehicle high enough to fit a fully inflated tire. nine0008
Remove the wheel cover (accessory) from the wheel. Use the wrench to loosen the wheel nuts, then turn them out with your hands, remove the wheel and put it on the ground so that it does not roll away (Fig. 1.148).
To fit the wheel onto the hub, lift it up, align the holes with the studs and slide the wheel onto them. If this is difficult, tilt the wheel slightly and align the top hole with the stud first. Then wobble the wheel to insert the remaining studs into the wheel holes. nine0008
| Fig. 1.149 . Cleaning wheels and rims |
Before putting the wheel back in place, check that there are no foreign materials on the hub or wheel (dirt, tar, gravel, etc.) that could prevent the wheel from being placed on the hub. If they are, remove them (Fig. 1.149).
If good contact is not made between the wheel and hub mating surfaces, the wheel nuts can loosen, which can result in the loss of a wheel and loss of control of the vehicle. nine0008
To install the wheel cover while holding it to the wheel, screw the wheel nuts onto the threads and hand-tighten them. Nuts must be installed with a conical part inside (Fig. 1.150).
Rock the wheel to make sure it is fully seated and finger-tighten the wheel nuts again.
Lower the vehicle to the ground by turning the jack handle counterclockwise. Install the key in the position shown in Figure 1.