JavaScript is disabled. For a better experience, please enable JavaScript in your browser before proceeding.
1 - 20 of 33 Posts
1 - 20 of 33 Posts
Top
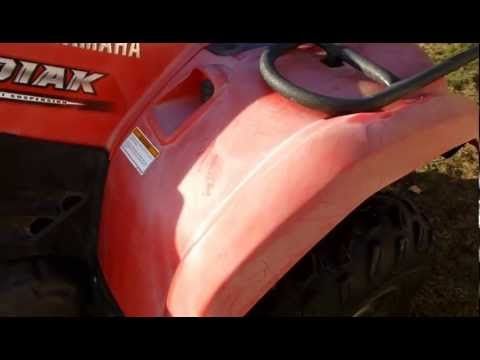
Cracks and scratches on your ATV plastics are bound to happen sooner or later. You could maintain and clean your ATV after every use, and still, you’ll end up with faded or scratched up plastic eventually.
To some people, scuffed up plastic on their quad is not a big deal. I mean, it’s not like it affects performance, handling, or anything important anyways. But there’s just something about the way it makes the machine look that I don’t like. So I went ahead and found the best ways to fix some of the most common ATV plastic damage you’ll encounter.
It’s a good idea to know why plastic fades to help you understand why the methods here work for restoring faded plastic. Basically, plastic starts to look faded because the oils in the plastic evaporate over time. The evaporation of oils in the plastic is sped up when the plastic sits in the sun for long periods of time.
Plastic is made from refined oil, and as the oil in the top layer of the plastic evaporates, the plastic is weakened and looks faded. Your plastics become more prone to cracks too the more you let it fade and weaken.
You could simply sand down the top layer of plastic, until you get to the part where the oil hasn’t evaporated yet. Then buff it out until it looks nice and new. But with this approach, you’re still weakening the plastic because you are actually removing layers of the plastic each time you do this.
Another method I’ve tried, is using a heat gun to help bring the oil in the plastic to the surface. This does work pretty good and makes the plastic look nice. But again, you’re not actually restoring oil to the plastic so over time, the plastic is getting weaker and weaker.
My preferred method, and what I recommend you try first. Is to get this Premium Plastic Restorer From Car Guys found here on Amazon. This way you’re not removing plastic, oil, or anything else from your ATV parts. In fact, this stuff is actually adding additives to the plastic to help get them to the condition they were in when they were brand new. This particular plastic restorer also has some nice UV protection to help keep the plastic from drying out and fading in the future.
Keep in mind, this is not to repair scratches or anything like that. It is specifically to restore dry faded plastic. There are some other brands out there that will do the same thing, I’ve just had the most luck with this one. To be honest, this is way easier than sanding or using a heat gun anyway, and I don’t have to worry about the structural integrity of the plastic being compromised.
There are two types of scratches you’ll encounter most often, light scratches or deep scratches. Light scratches are the ones caused by branches or bushes hitting the plastics and leaving little visible marks. A lot of people don’t even bother with these types of scratches, and just chalk it up to wear and tear. But for someone spending a lot of money on a quad or ATV, I can understand wanting to remove even the littlest of scratches.
The best way I’ve found for removing light scratches is to go with some 1500 Grit Wet Sandpaper. Just use the sand paper over the areas with scratches and buff it out when you’re done. You could finish up with a coat of the plastic restorer I talked about above to make it look brand new.
Using wet sand paper could even work for medium to deep scratches, but I don’t like removing that much plastic from my ATV parts. For the deeper scratches you end up having to start with 400 grit or worse, and work your way up to 1500 grit to get a smooth surface. For me, it’s not worth all the time and energy sanding to just end up compromising the integrity of the plastics. Don’t forget, the more plastic you sand away, the easier they will crack.
So for deeper scratches I’ll use a plastic bonder/filler. My go-to is this JB Weld Plastic Bonder Gap Filler found here on Amazon.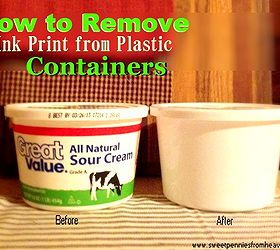 I’ll use this to actually just fill the scratches. It’s pretty easy to use, you push out some of the goop from each tube. It’s a 1 to 1 ratio and comes out at the same time. Mix it together and fill the deep scratches with it. The stuff sets in about 15 – 20 mins and you can sand it down after a half hour.
If you use a putty knife to clean off the excess after filling the scratch, it makes the sanding after much easier. This does set in a black color, so if you don’t want to have to paint afterwards, don’t use this method. I don’t paint after, and I don’t mind having the black filler here and there on the plastics. It’s better than having deep gouges in your plastics just asking to be cracked.
If you haven’t taken care of your ATV plastics, they could dry out over time and eventually crack and break. Or the more likely option, you hit something didn’t you? That’s ok, cracked plastics can usually be fixed without too much trouble. If you don’t want to spend the money buying new plastic parts, you’ll need to do it yourself.
For small little cracks you could try using the JB Weld I talked about above, but that only really works for cracks less than a few inches. But, you probably really messed your toy up bad, and for that, you’re gonna need something better.
I recommend using what’s called a hot staple gun. Like this Astro 7600 Hot Staple Gun Kit found here on Amazon. This thing is amazing and I’ve used it on more than just my ATV. It works by heating up these specially designed staples it comes with. The staples get set into the plastic making a nice strong bond, but still allowing the plastic to be flexible.
You just line up the pieces you want joined, and use the staple gun to staple them together. The staple is heated to it can sink into the plastic a bit, making a super strong bond. I always do the stapling on the underside of the plastic, that way you don’t see the staples. If you use this method, you will still see the crack on the upper side of the plastics. You can then use the JB Weld to fill in the crack, and then sand away any excess making a nice smooth surface.
Sometimes a piece of plastic from an ATV gets bent but doesn’t crack. That’s good, you don’t have to repair any cracked plastics now. But it can leave a discolored looking area on the plastic that doesn’t look right.
For fixes like this, I like to use a heat gun. It’s really kinda cool how well it works, you can watch the plastic change color as you hold the heat gun to it. Be careful though, too much heat can melt the plastics and there’s no coming back from that. Hold the heat gun a few inches away from the plastic and keep it moving side to side the whole time.
Any old heat gun will work for something like this. Heck, I’ve seen people use a propane torch with success. If you’re unsure what type of heat gun to use, check this Heat Gun from Amazon for starters.
That’s all there is to it. If you want to paint your ATV plastics a new color, check out this article: How To Prep And Paint ATV Plastics.
Sharing is caring!
The generator is one of the main mechanisms of any ATV. During the operation of the ATV, it creates an electric current from the rotation of the crankshaft. During the operation of equipment, it is constantly in operation, so after long-term use there is a possibility of its breakdown.
All ATVs presented on the page https://sh.sh3011.ru/kvadrocikly/cforce-600-eps.html are powered by internal combustion engines. With the help of a powerful motor, the necessary cross-country ability and speed are provided. While the engine is running, the generator continuously generates electricity, which is used to power various electrical appliances and the ATV.
ATV alternator breakdowns are not uncommon, due to the constant operation of this unit. If there are problems with its functioning, there is usually a serious disruption in power generation. If this happens, then you can independently check the main elements of the entire system. To carry out verification work, you can use a conventional multimeter. Everything must be done in the following sequence:
ATV alternator repair procedure involves replacing it because this unit is rarely repaired.
Repairing an ATV alternator is a complex process, so ATV owners most often just replace it with a new unit. The disassembly process includes the following steps:
This completes the dismantling work. Installation of a new unit is carried out using the same tools, only in reverse order. When installing the right engine cover, a new gasket must be installed. If it is not there, then it is best to coat the surfaces to be joined with sealant to prevent moisture from penetrating into the mechanism. On the site https://sh.sh3011.ru/ you can learn more about the features of repairing ATVs and checking the operation of the main components and assemblies.
Pasting with a film of plastic parts is a laborious task that requires a certain skill. A wide variety of colors of vinyl films makes it possible to make a unique interior in the cabin.
For pasting, you will need to disassemble the interior, thoroughly rinse each part from stubborn dirt, degrease and dry.
Next, the film is cut with a sharp knife. For each part, be sure to leave a couple of centimeters of stock around the edges. The substrate is removed from the film, the material is applied to the plastic element, carefully heated with a building hair dryer and smoothed out with a rubber roller or special spatulas. In order for the film to adhere perfectly to the plastic, it is necessary to remove all air bubbles with the help of constant smoothing. You should wait for a certain period of time indicated in the instructions for the sticker, and only then install the plastic parts back into the passenger compartment.
Incorrectly applied vinyl film may swell under the influence of sunlight, and in winter, due to low temperatures, lag behind the plastic. It is better to entrust the choice of film and work with it to professionals.
Sooner or later, scratches, abrasions and other flaws appear on the plastic elements inside the passenger compartment. If the plastic parts of the car are not repaired in a timely manner, after some time even significant cracks may appear at the defect sites. In order to prevent such situations, it is advisable to remove possible scratches immediately after they appear, then, firstly, the interior will look decent, and secondly, you will not have to deal with more complex repairs later.
Most often, scratches appear on the surface of the dashboard of a car due to the fact that the plastic (not only in this area, but also on other parts) does not have an anti-shock coating. Therefore, plastic elements are easily scratched from contact with other objects, for example, at the moments of opening and closing doors, from any mechanical influences during operation. The minor defects that arise in this case are easily corrected; for this, it is not even necessary to remove the part from its attachment point.
Surfaces often lose their original color when exposed to sunlight. In such cases, it is no longer possible to do without a major overhaul of the plastic parts of the car.
You can get rid of scratches in a car in different ways:
>
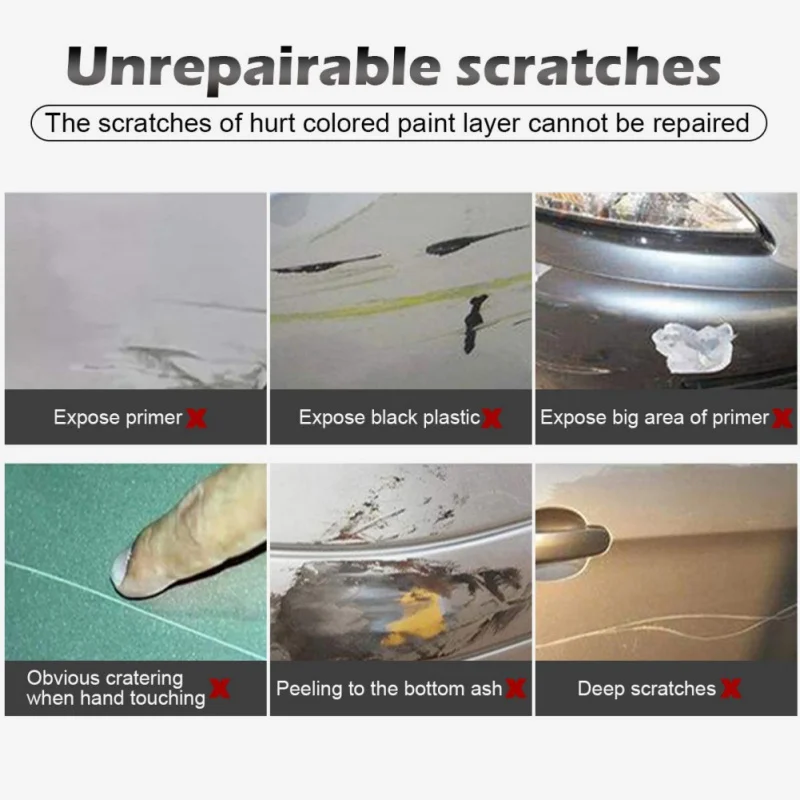
Flaws on machine elements with serrated surfaces cannot be removed by polishing or heat treatment, they only need to be replaced.
1. Revitalizing pencils and wipes.
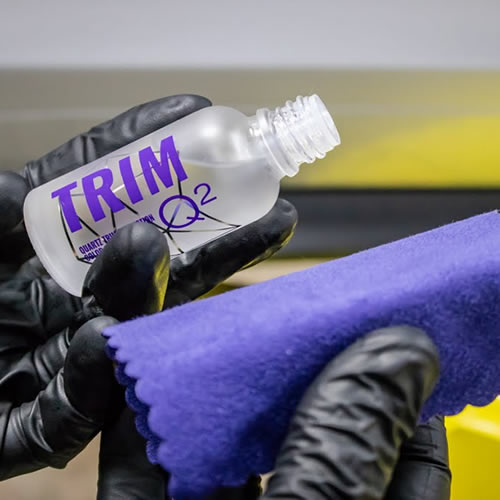
Special wipes, wax sticks, microfiber towels are tools for quickly and easily removing minor damage from the plastic parts of the car. You should know some features of working with them:

2. Using a hair dryer.
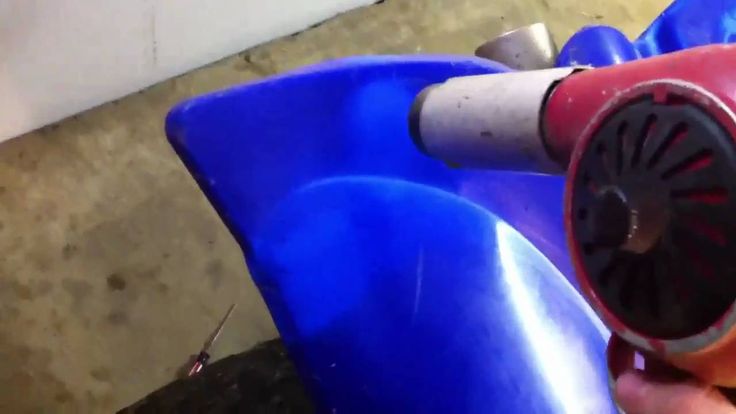
You can also easily repair plastic car parts with your own hands using a hair dryer. Before heating the damaged element, wipe it from dirt and dust, and then degrease it. And only after that, start processing with a hairdryer, turning it on to the maximum. At the same time, take your time, watch how the plastic behaves under the influence of high temperature. All flaws and damage should be smoothed out.
If you see that the plastic surface does not react in any way, then you need to raise the processing temperature and keep the dryer closer to the part. Keep in mind that overheated plastic can deform even more; this method is not suitable for correcting deep defects.
3. Polishes and gels.
After removing the scratch, polish the area where it was. Particular attention should be paid to this process if the defect was on a glossy surface. Sandpaper or a grinder will help to polish and polish. When using the machine, do not operate at maximum speed. This can cause the plastic to overheat and warp, which can be expensive to fix.
When repairing plastic car parts with special gels and polishes, choose these products carefully. In order not to cause even more damage to the treated surface, it is necessary to use compounds designed to work specifically on plastic.
The procedure should be as follows: wash, dry and degrease the area to be repaired. Apply a little bit of product and polish until the surface shines like new.
This method is only suitable for dealing with minor minor scratches and flaws.
4. Lighter repair.
Fire can also quite successfully remove small scratches and defects from the surfaces of the plastic elements of the car. Just run the flame of the lighter in the right place, wait for the plastic to cool, and wipe off the soot with a piece of cotton wool with alcohol. If you do everything correctly and accurately, you will see that the flaw has been eliminated.
This is a very easy way to repair the plastic parts of a car with your own hands, however, it requires a lot of care. Take care not to damage the cladding with fire or prevent a fire.
5. Overhaul of plastic.
Only minor defects in the plastic components of the machine can be corrected by the simple methods listed above. As for more serious damage in the form of cracks, chips, burnt areas, all this cannot be eliminated without a major overhaul of the plastic parts of the car (dashboards, etc.).
The procedure for this process is as follows:

Often, the structural components inside the machines are made of transparent plastic, which quickly becomes covered with a large number of small scratches, chips, and becomes worn and unpresentable. There are some important things to keep in mind when repairing plastic parts of a car:
Important! Polishes designed for restoring car body parts are not suitable for interior work. They can only harm surfaces.
Dashboard and other interior components covered with chips, scratches, cracks and other defects look very unaesthetic. At the same time, you can do an effective repair of plastic car parts with your own hands, you just have to take into account some of the nuances when performing work so as not to spoil anything.
Upholstery of plastic elements with leather or its substitute is the most expensive method. The interior is prepared in the same way as when working with a film: the parts are dismantled and cleaned of contaminants. Cutting along their contour is done with an allowance of a couple of centimeters.
 After complete drying, the glued elements are mounted in the salon.
 Yes, you heard right. Named it can be used to restore the plastic parts of the car interior. In order not to spend a lot of money, we will take home-made tire ink, its recipes are described in previous articles. The composition for blackening rubber is similar to the composition of store reducing agents. It also contains glycerin, distilled water, alcohol.
I want to immediately warn especially suspicious car owners. Tire blackening solution and interior plastic restorer use the same ingredients. Therefore, you will not harm the interior elements.
If you don't believe me with sufficient experience using this method, then experiment with plastic parts of the exterior or engine compartment. If nothing happens to them, then feel free to use it in the cabin.
 All dirt and dust will be washed off them
 Plastic painting, unlike the two previous options, is much more economical and easier to perform. Parts are removed, washed, dried. Using fine-grained sandpaper, grinding is performed, which effectively removes scratches and other damage. If the plastic has very deep cracks, then they need to be puttied and also sanded. It happens that plastic has a complex and deep pattern, then grinding is not used.
 After complete drying, the parts are installed in the salon and polished.
 This product is ideal for removing dirty stains from light-coloured plastic interiors. If there is a self-service car wash in your city, then you can collect ready-made foam in a liter jar - this will be enough. If not, then we buy it at the nearest car wash, it costs a penny, or we make it with our own hands.
Why litre? Because if you take a smaller container, then after the foam "settles", there will be little money left in the bank. A liter is enough to update the plastic in the car.
7 refers to the most commonly used methods, as it requires minimal material, time and physical costs. For restoration work, you will need tools for cleaning and degreasing plastic, a terry towel, fine-grained sandpaper and a building hair dryer. All work can be done by hand.
For deep scratches, coarse abrasive paper should be used. After all damage has disappeared from the relief of the plastic, a building hair dryer comes into play to heat the treated surfaces. It must be used with extreme caution, since even a slight overheating can melt the plastic and generally ruin the part.
For beginners, it is recommended to work with a household hair dryer, which gives much less heat, but it is enough to carry out all the necessary manipulations.
So, we heat up the plastic surface and at the same time start polishing it with a terry towel. We make circular movements. Rubbing with a towel is done until the surface takes on an updated look.
This method of plastic recovery is very effective and accessible to everyone. It literally makes plastic parts look like new.
It will be expensive to change quite expensive exterior plastic parts of a car after each scratch, so let's consider how you can repair such damage yourself and most importantly cheaply.
There are several ways to repair a plastic car part.
For example, you can simply solder the cracks using a building dryer, but firstly, such a repair requires special equipment, and secondly, if you are not an expert in detailed matters, then you are unlikely to be able to repair the same bumper with high quality and all the more impossible to give the plastic part of the car the former attractive appearance.
In the design of many interior elements, transparent plastic is used. The disadvantage of this material is the rapid appearance of defects: small scratches and chips, after several years of operation of the machine, literally cover the entire surface of the cabin element.