You may have heard of a choke before and noticed your machine has one. But how does a choke work? Well, I’ll explain that here, as well as when to use a choke and common problems with ATV chokes.
A choke is only seen on a carburetor of a carbureted engine. If you have a fuel injected engine, but still notice what looks like a choke lever, that is actually a fast idle or idle advance. It serves the same purpose but works in a different way than a choke.
Another thing many people confuse for a choke, is called the enricher. They work the same way as a ‘fast idle’ in theory but are found mostly on carbureted engines. I’ll give a brief explanation of each of these. Because a choke, an idle advance, and an enricher are all used for mostly the same purpose.
An ATV choke works by blocking some of the air from entering the carburetor and mixing with the fuel. When the choke is on, the air/fuel mixture entering the engine is a lot richer (more fuel than normal) which helps start and keep an engine running if it’s cold. Once the engine warms up, you can turn the choke back off.
Notice in the diagram below, the choke valve is allowing maximum air to pass through the carburetor to mix with the fuel. The choke is in the off position in this picture. This is how a warmed up engine will look.
If you are starting the engine on a cold day, you may want to use the choke to help you start and idle the engine. When you set the choke to the on position, the choke valve will close, blocking a lot of air from entering and mixing with the fuel.
The fuel/air mixture will be very rich (contain a lot of fuel) which helps get a cold engine started and idling. You won’t want to leave the choke on while you ride, the choke could actually stall the engine once it warms up.
An idle advance is mostly seen on fuel injected engines, but has the same purpose as a choke. You would use it to start a cold engine. The idle advance however, is essentially just adding extra fuel to the engine rather than limiting air the way a choke does.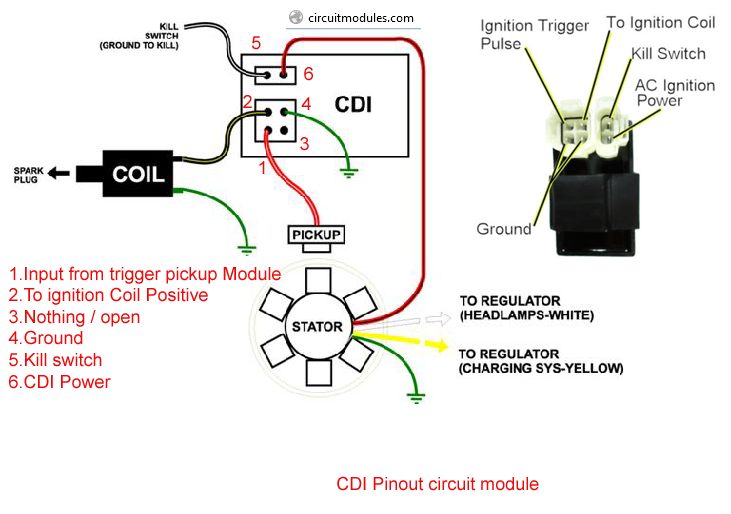
This still creates a richer air/fuel ratio and helps start cold engine all the same.
The enricher works the same way an idle advance, but is found inside a carburetor. They basically add fuel to the air/fuel mixture helping start cold engines. Many people confuse the enricher with a choke because it is on a carburetor and operates from a lever or plunger like a choke does.
An ATV choke is most useful to start a cold engine. By creating a richer fuel to air ratio, the engine has more gas to stay running. Once the engine is warmed up though, it won’t need the extra fuel. You shouldn’t ride or rev the ATV while the choke is on. Wait for the engine to warm up, turn the choke off, and then you can ride.
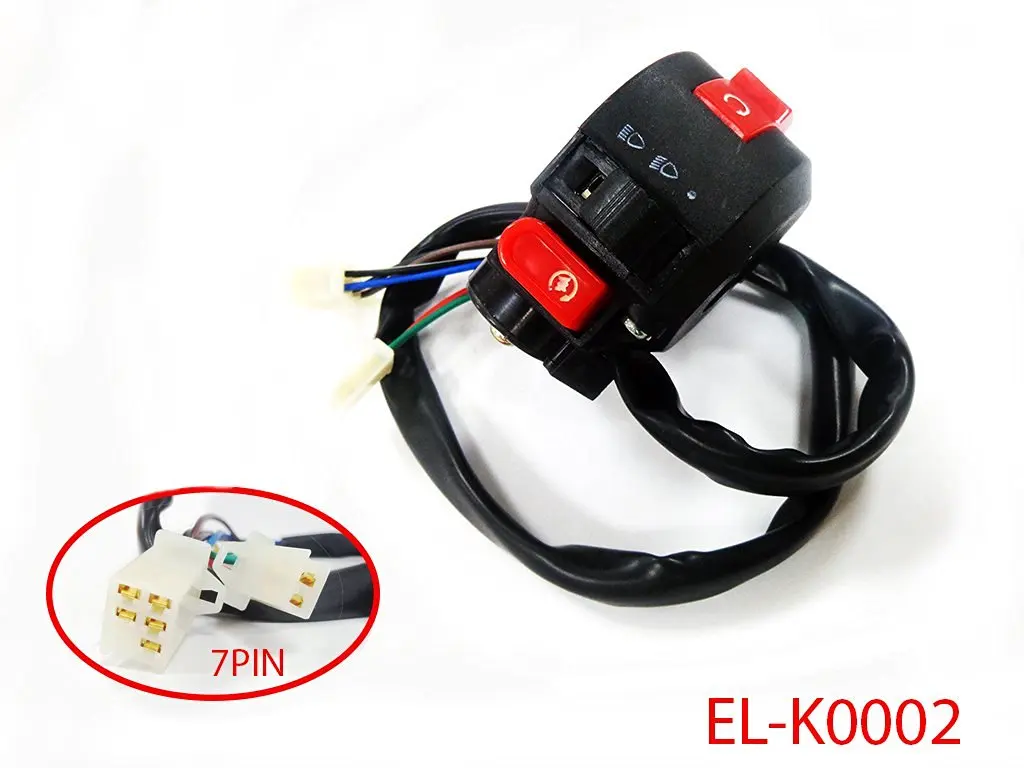
There are four main types of ATV choke. The plunger style, lever style, handle style, and switch style. I’ll go over each of these and how you’re supposed to use them. Here is a picture to show you the differences.
The lever type choke should be in the down position during normal operation. To use the choke to start a cold engine, lift up on the lever to turn the choke on. Once the engine has warmed up, return the lever to the down position.
The handle type choke is usually found on the left side of the handle bars if you have this type of choke. During normal operation the handle type choke will be pushed all the way to the left.
To turn the choke on, push the handle lever to the right. Once the engine is warm, return the handle lever back all the way to the left.
The plunger type choke is usually found on the side of the machine or near the fuel shut off valve. During normal operation the plunger type choke will be all the way suppressed (all the way in).
To open the choke to start a cold engine, pull up on the plunger type choke. Once the engine is warm, push the plunger back to be all the way suppressed.
A switch type choke is usually found on the side of the machine or near the gas tanks fuel shut off valve.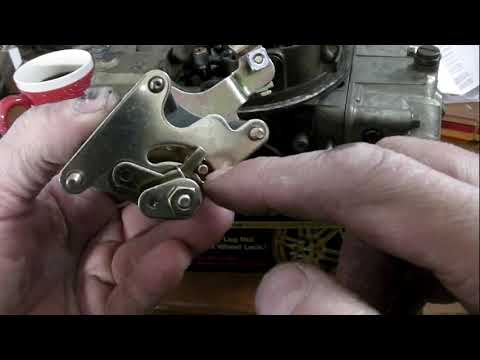 During normal operation, the switch type choke will lay flat (like in the picture above).
To open the choke to start a cold engine, pull up on the switch so it is sticking straight out, 90 degrees from its starting position. Once the engine is warmed up, return the switch to its original position.
Here I will answer some of the most common choke related questions I get. Not all of these are a simple easy fix, but maybe I can help point you in the right direction.
This problem happens quite a bit actually. It’s when you pull the choke to the open position, and it immediately slides back a little bit. This causes the choke to only be half on or turn all the way back off completely.
Of course you could just stand there holding it on, but who wants to do that. The most common reason this happens is because the cap to the choke comes loose. When this happens the little grips that apply pressure to the choke tube don’t grab and hold as strongly anymore.
Simply pull back the rubber gasket protecting the choke tube, right under the choke plunger you pull up on. And you should find a little cap that screws in and out to adjust the tightness of the choke. Tighten er down a bit and you should see an improvement.
This screams carburetor problems all over it. Sure you could adjust your idle screw first and maybe that will fix it. If the idle screw is set to idle too low, the engine will die everytime you turn the choke off.
But you’re probably going to need to clean your carburetor out good. I mean take apart and clean everything especially the needle jet/pilot jet. This happens a lot if old gas has been sitting in the float bowl for too long.
The carburetor is prone to getting plugged up from debris in gas or from old gas gumming things up.
If none of these answers helped you, you may need to replace the choke and choke cable on the machine. This usually isn’t the case. If you’ve ruled out choke problems and don’t know where to start, check out my ATV Won’t Start: Common Problems And How To Fix article for a step by step guide.
Sharing is caring!
|
Content
New models of ATVs are equipped with an electric starter. Therefore, problems with starting almost never arise. But in older models, manual kick starter can be installed. With him, beginners sometimes have difficulties.
To start the ATV, do the following:
 nine0038 It must be in the "on" position. Also, the ignition switch must be in the "on" position on the control panel.
 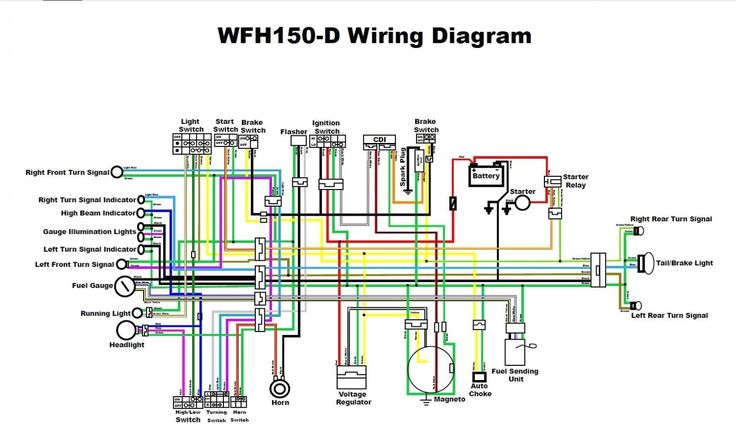 nine0016
 Start the CFMOTO 500 with a manual starter?
Watch this video on YouTube
Paradoxically, but sometimes the owners of ATVs simply forget to pour gasoline into the tank. Therefore, before proceeding with the diagnosis, it is worth checking the fuel level. nine0009
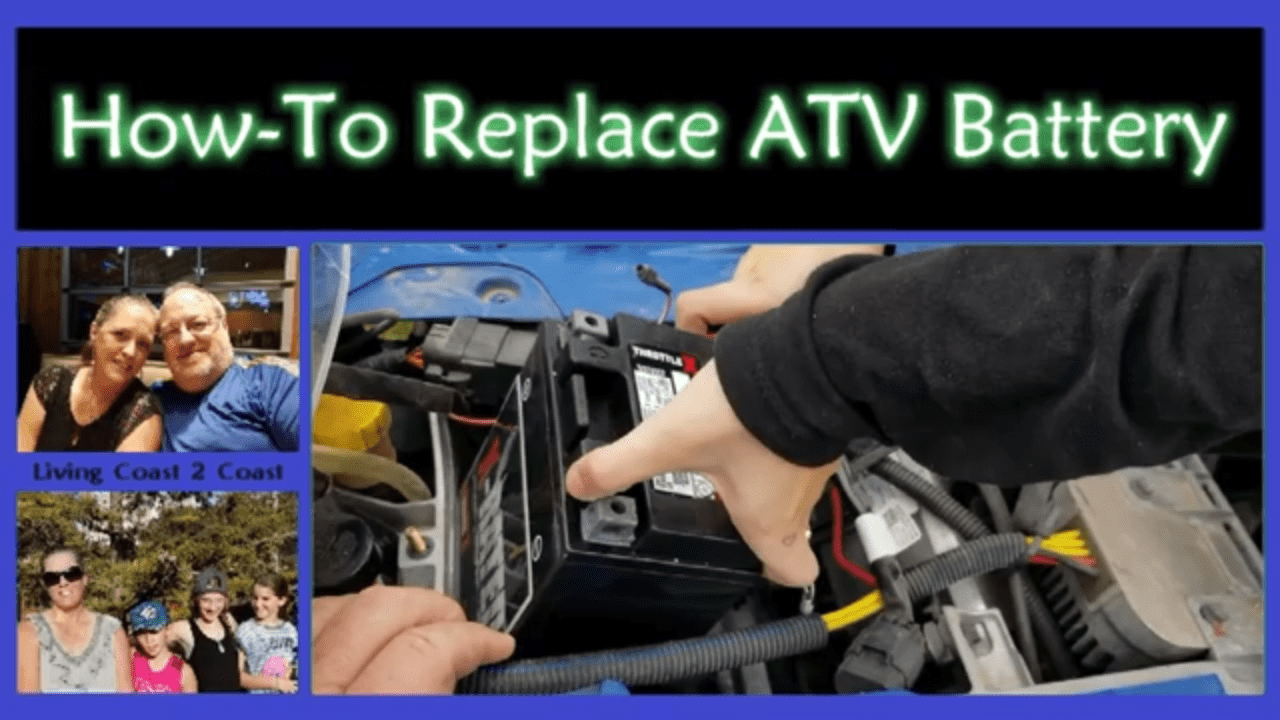
It is not uncommon for the cause of the problem to be insufficient battery charge . It can be charged at home. If the ATV is small, you can purchase an additional battery. The cost of batteries for budget models is relatively low.
How to start an ATV?! If the battery is dead!? Life hacks! Subscriber reply | Irbis Atv 250s | SJ8Pro
Watch this video on YouTube
If the battery is good, but the starter does not work, it may be worth looking for the cause in the starting system. It is necessary to try to close the contacts, which are located on the starter relay. To do this, you need to use a screwdriver. The relay is usually located under the seat. Two thick wires are connected to it.
If you need to find a way to start the ATV without a key, you can also follow these steps. This technique will be effective only if the system is not controlled by the central computer . Otherwise, blocking will work.
If, after the manipulations, the engine starts up, then the problem is in the launch system . Otherwise, you will need to look for the cause of the malfunction further or visit a service center.
Each ATV has a stop button on the steering wheel. Usually it is red. This button is responsible for turning off the ignition, it turns off the engine . If you do not bring it to its previous position, the engine, of course, will not start. Therefore, it is worth checking in what position the "Stop" button is located.
Another security system provided in ATVs is a special check. This is a cable that is attached to the ATV at one end and to the driver at the other. If the latter falls off the ATV while driving, check flies out and the ignition turns off. You won't be able to start the vehicle without this receipt either. If this part is lost, you will need to look for the appropriate contacts and close them directly. nine0009
Another possible reason why the ATV won't start is a blown fuse. If the ATV is small, there is usually only one fuse. It is located next to battery . The suitability of this part for operation can be assessed visually. The cost of the fuse is cheap, so it is better to have several of these parts in stock.
If there is no spare fuse, and the failure happened away from home, you can insert wire instead. This is a temporary solution that will allow you to get home. It is impossible to constantly replace the fuse with wire. You can burn much more expensive elements of the system.
This part is located under the seat or next to the motor (depending on the model). It's a small box with wires coming out of it. They are connected to the ignition coil. It is difficult to assess the health of this part, so it is better to contact a service center with a similar problem. nine0009
If the spark plug wire is broken or the ignition coil is broken, it will not be difficult to check the performance of these systems. The candle is unscrewed and inserted into the candle cap. Next, you need to attach it with the metal side to the engine and press the starter button. If there is no spark between the electrodes, this is a sign of a breakdown. Try cleaning the spark plug electrodes and adjusting the gap between them.
If there is a spark, then the problem lies either in the candle cap or in the candle. You need to buy a new part and change it. nine0009
It will be possible to eliminate many malfunctions and start the ATV even in the forest. For models with a manual transmission, you can try to start the engine from the pusher. It should be said right away that this cannot be done with an automatic transmission. In other cases, it is recommended to look for the cause of the breakdown according to the points listed above.
How to start an ATV with a PUSHER
Watch this video on YouTube
Maxim Rogov / author of the article
Back in 2011, I got on a motorcycle for the first time and since then I have been addicted to motorsport. I love trying new bikes. I dream of a BMW F800GT and a motorcycle tour of Peru.
Winter is coming.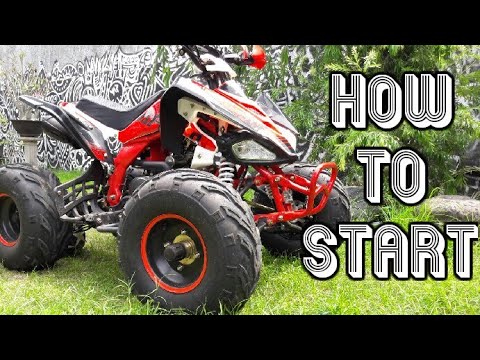 But who said you can't ride an ATV in cold weather? In fact, frost will only be a hindrance if proper precautions are not taken before setting out on a day's journey. nine0009
ATV owners usually do not store them in their living quarters where they can stay warm. Even a domestic cat moves from the garage to the house on cold nights, but what about an ATV? Cars usually stay outside, but that doesn't mean they can easily endure the cold. But the temperature in a garage or under a shed very often drops below zero, especially when the mercury column in the thermometer shows -12 degrees outside.
Sometimes severe frosts come before the first snow. Therefore, it is possible that during the first winter trips on an ATV, the roads will be clean. However, do not think that starting the engine in such weather will be as easy as on a 26-degree summer day. ATVs don't like cold weather more than their riders. They require proper warm-up before opening the throttle. So if you're itching to get outside and your ATV is in the garage, we recommend that you complete the following checks and take action before heading out into the searing cold of the outdoors.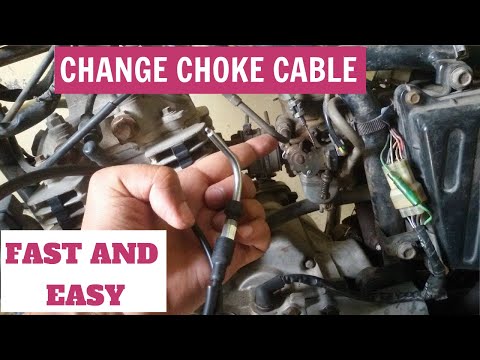 nine0009
Like a car, ATVs are also difficult to start in the cold. Fluids get thicker, spark plugs don't spark, and manufacturers don't make motor oils with -5w-30 specifications. Don't be surprised if you get a "hard start" where the engine starts with some effort and its running sound is unusually harsh until the oil has lubricated all the components.
Engine overheating is usually a big concern for drivers, especially those who race and forget to add antifreeze to their coolant. But for those who ride all-terrain vehicles in nature, to remove snow or hunt in cold weather, antifreeze is necessary. Chances are they already use the recommended antifreeze for their cars. nine0009
After starting, there will be no problems with engine operation in cold weather. However, if the coolant is of poor quality, contains too much water, or is not certified for low temperatures, it may freeze if the ATV is stored in freezing temperatures. Even more problematic is the expansion of the freezing liquid, which can cause serious damage to individual engine components made of non-ductile cast aluminum and steel. Cylinder walls and water jackets containing engine cooling fluid may be damaged. nine0009
Before starting the ATV, check the coolant to make sure it is not frozen. If this happens, you should not start the engine. You need to melt it and replace it. Frozen fluid will be spoiled, and if you continue to use it, the engine will overheat. To avoid freezing of the coolant, it is recommended to replace it immediately after the summer season by adding antifreeze, which protects against freezing and overheating.
Note: most known refrigerants will not freeze, at least at temperatures slightly above freezing. But for harsher, more extreme weather conditions, a refrigerant with antifreeze is required. nine0009
Even if the vehicle is not used in winter, it is best to replace the old coolant with new antifreeze fluid to avoid any problems during winter storage of the vehicle.
Don't be surprised if the suspension feels a bit stiff at the beginning of the ride. You don't have to worry - this is normal. Keep moving on. The suspension will not work properly until the thick fluid is heated. It will return to normal after approximately 10 minutes of driving. nine0009
Although this is rare, it is still possible. The engine may stall in cold weather if the throttle is turned off too soon after starting. This is called a cold engine failure. Ice-cold oil cannot provide the required lubrication immediately. Therefore, even after the engine has started, it is necessary to let it run at low speed for a while until the oil warms up before increasing the speed. It's like starting an engine without oil: all unlubricated parts will quickly seize up without proper protection. nine0009
Don't expect tires to perform well when you ride in the cold. Like the suspension, the tires will soon warm up and start functioning properly, but it will take some time.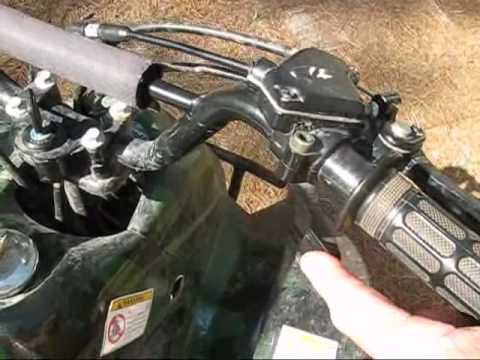

 Make sure the battery is charged and maintaining 12 volts. This can be assured by trickle charging the battery at 2 amps for at least 2 hours after receiving and unpacking your unit.
 After the engine “pops” the first time, then give it a little throttle and allow it to idle till it warms up.
  Next, insert a plug into the boot on the wire making sure it is fully inserted for good electrical contact. Then place the plug gap end in contact with the head of the engine(this will ground the plug) so that you can observe the spark jumping the gap. Be careful not to hold the metal threaded portion of the plug while performing the following test. Next, have a friend press the starting button to see if you have spark jumping across the gap. If a spark occurs, the ignition system is good. If no spark occurs you will need to check if all wires are connected at the coil including the main spark plug wire. If all wires are connected and there is still no spark when the engine cranks over, contact Superior Powersports service technician for further troubleshooting advice.
 For all other starting issues, Contact the Superior Powersports service department.