If you travel to the mountains or snowy areas regularly, sooner or later you’re going to have to use tire chains. Start by getting the right set for your vehicle at your local Les Schwab.
Quick-fit chains are not your grandpa’s tire chains. They are MUCH simpler to put on and take off. Here are a video, step-by-step instructions, and driving safety tips for installing quick-fit tire chains on your vehicle.
When you need chains, driving conditions are nasty. Snow is coming down, passing traffic is spraying slush, dirty water is dripping off your wheel wells, the road is slick, and it may be dark. Don’t make this the first time you put on your chains.
Practice installing your new chains once BEFORE you travel. Take advantage of a dry garage or driveway to make sure your winter tire chains are the right size and you’re comfortable putting them on. If needed, the professionals at Les Schwab Tire Centers can help.
Put together a simple winter road trip safety kit with warm gloves, waterproof layers, and other items to make your winter driving more safe and comfortable. In the winter, always carry this emergency kit and tire chains in your vehicle.
Once you’re comfortable installing your chains, you’re ready to hit the snow.
Be Safe. If you’re on the road, pull off as far as possible onto a safe shoulder. Flip on your hazard lights. Put on your waterproof layers, hat, headlamp, and gloves from your winter road trip kit.
Identify the Correct Tires. If your vehicle is front-wheel drive, the chains go on the front. If it’s rear-wheel drive, chains go on the back. If it’s all-wheel drive, please check your owner’s manual. If you’re not sure, you can ask the experts at Les Schwab for help.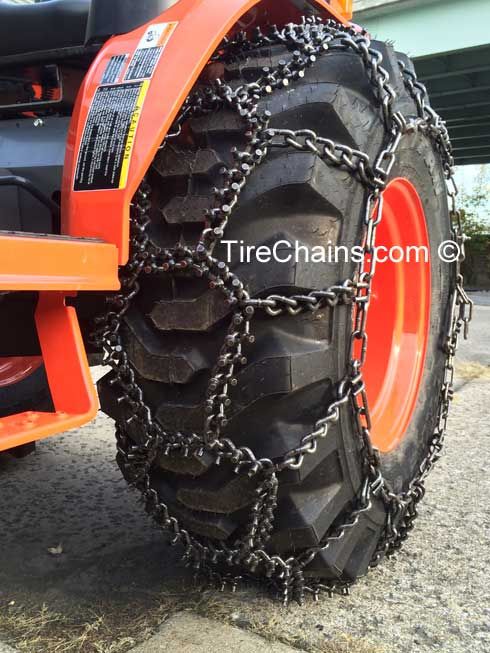
Pull Out Chains & Instructions. With your vehicle parked, open the bag and pull out your instructions and your first chain. Each bag comes with two chains. The plastic instruction mat that comes with your chains can be used as a barrier between you and the snow to keep you dry.
Untangle Your Chains. Holding them from the plastic-covered cable, make sure everything is straight and the chains are not looped over one another. Hold up your chains so the yellow end is in your left hand and the blue end is in your right.
The chains should hang loosely and the metal hooks seen along the yellow and blue sections should be facing away from you so they don’t damage your tires.
Place Chains onto Your Tire and Connect the Cable. Lay your chains on the ground and push them behind the tire, yellow cable end first, from the right side to the left.
Once the chains are centered behind the wheel, grab both ends and pull them up over the top of the tire. You should feel the chains against your axle.
This will allow you to easily connect the yellow and blue ends of the cable by slipping one end into the other and pulling them into place.
Connect the Red Hook. Now that the cable is connected on top, look for the red hook directly opposite the cable connection. Connect the red hook on the right to the first available gold link on the left.
Check the Diamond Shape. Push the connected chain over the top of the tire. You should see the diamond shape in the chains against your tire. Between each of those diamonds is the center rail, which should be placed down the middle of the tire tread.
Connect the Red Chain Along the Bottom. Now that the cable is connected on top, look for the red hook directly opposite the cable connection. Connect the red hook on the right to the first available gold link on the left. Push the connected chain over the top of the tire.
The bottom of the chains includes a red draw chain with bungee on your right, and a chain guide on the left. Pull these out towards yourself.
Take the long red chain and run it through the chain guide and pull as tight as you can with both hands. Don’t pull using the bungee. As you pull, one of the chain links will find its way into the notch on the red chain guide, locking it into place.
Using the bungee end of the red chain, pull it through one or both of the red loops and secure it to a gold-side chain opposite the red loops. If you can’t get it through both loops, that’s ok, pull tight through one and attach it to a side chain to the left of the loop.
Repeat on Second Tire.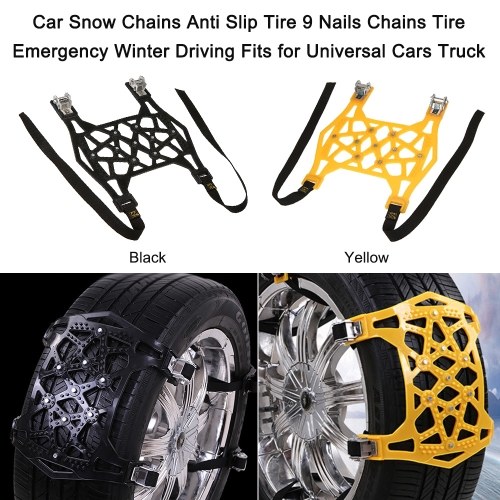 Repeat these steps to install chains on the other side of your vehicle.
Drive Forward Slightly. The next step is to drive forward about 15 feet, or a full car length. This gives the chains a chance to relax and settle on your tires.
Re-tighten Chains. To take up any slack, unhook the rubber end of the red draw chain and pull it tight again. Once it’s tight, guide the red chain through the loops and, again, securely latch the bungee end to the gold-side chain.
The chains should be tight on the tire. And, be sure to stop if you hear them making any contact with your vehicle. If your chains are still loose, unhook the bungee and adjust the red hook straight across from the chain guide. Unhook and reattach to the tightest position on one of the three gold chain links. It’s okay if the extra links are hanging loosely. Now, you’re ready to reattach your bungee.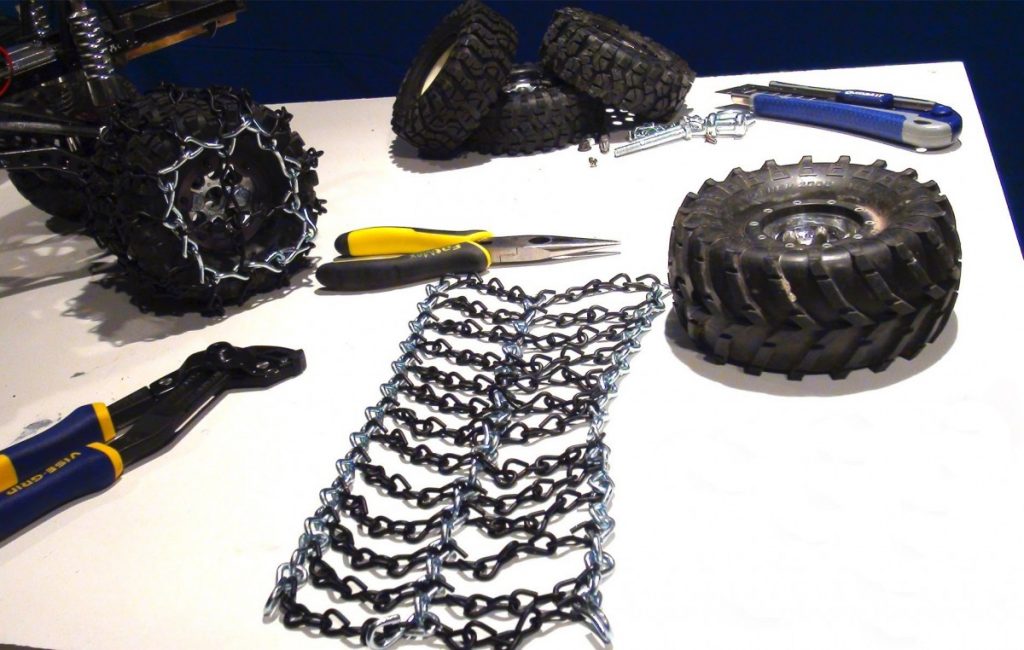
While driving with tire chains, listen for a loud sound of slapping, or metal on metal. If you hear any indication that a chain may be broken or hitting your car, STOP as soon as safely possible. Loose or broken chains that flap can wrap around a strut or shock component, causing big damage to your vehicle. To help prevent damage, here are a few tips for driving when you have winter chains installed on your vehicle.
Pull over in a safe location and remove the chains. Start by unhooking the bungee and chain from the guide, removing them from the tensioner. Unlatch the red hook, and then undo the blue and yellow cable connection. Once all of your chains are off and lying flat on the ground, pull backward or forward slowly a few feet so you can safely pick them up.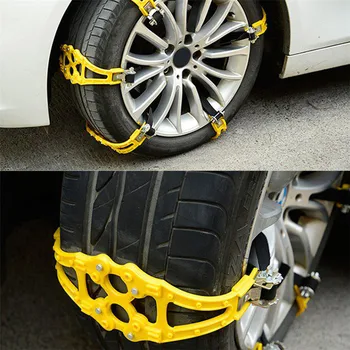
At the end of your trip, lay your chains out in the garage and let them dry. If you pack them wet, they can rust.
Also check them for wear, especially if you’ve driven them on asphalt for any distance. Look for flat spots, and replace the chains if you find some.
Link at left shows flattening from wear. Link in center shows sharp edge from wear that can damage a tire.
Remember, if you don’t use your chains all winter long, you can return them with proof of purchase to any Les Schwab for a full refund in the spring.
Get your next set of Quick-Fit chains, along with a few tips on how to install them, at your local Les Schwab, where doing the right thing matters.
Want more tips on winter road safety? See 19 Winter Driving Resources You Can’t Do Without.
Get More Winter Tips
Need suggestions where/how to store chains.
Tire chains, or cargo chains for flatbed?
If it's tire chains, it really depends on the type of tractor.
Tire chains should be stored neatly on chain racks attached to the frame of the truck behind the cab. If you don't have chain racks, store them in their original bags in your side box. Or under your bunk.
It might be cargo securement chains Butter is asking about. This time of year anyway.
Tire chains. and i am looking for low budget ideas to store them outside. Accessibility is low priority because we don't plan on ever putting them on.
butter said:
Tire chains. and i am looking for low budget ideas to store them outside. Accessibility is low priority because we don't plan on ever putting them on.
Click to expand...
What kind of truck are you talking about? Pre-DPF Volvo's can be set up with a chain box under the passenger side of the cab. You have to pull the side-skirt off but it comes off in 2 seconds.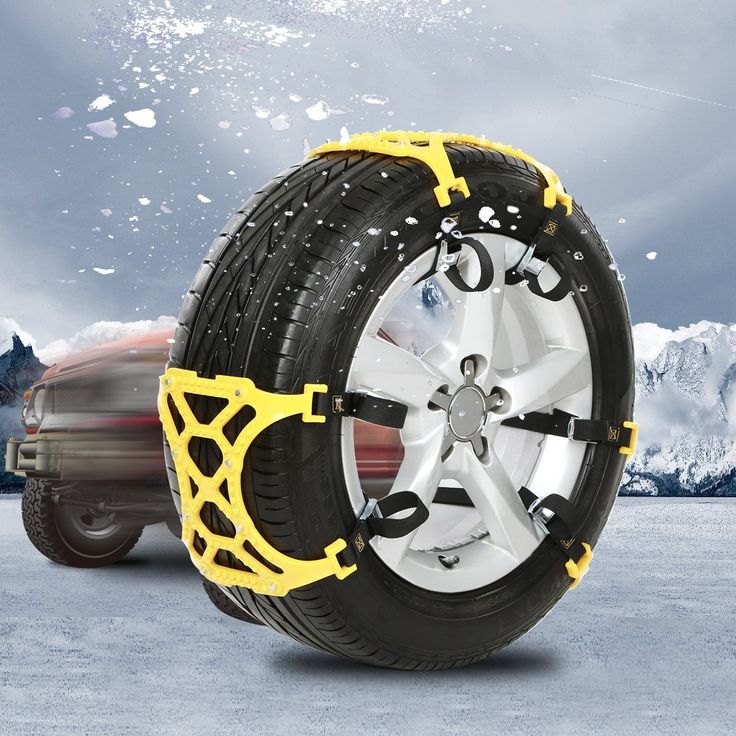 The newer models have their "global warming" filter located in that spot though.
If you're in a truck with side-skirts that go all the way back to the front of the drive axles, it can get tricky. If the side-skirts stop at the rear of the sleeper so you can get right up to the frame then you can just get a chain hanger that bolts to the frame, passenger side.
i was thinking on top of the catwalk and we'll just bolt them down?
P.S. Unfortunately it's a newer volvo and we need all the space we can get inside.
butter said:
i was thinking on top of the catwalk and we'll just bolt them down?
P.
S. Unfortunately it's a newer volvo and we need all the space we can get inside.
Click to expand...
Right side box full?
Just how would you "bolt" the tire chains to the catwalk?
Gotta be careful when carrying stuff on the catwalk anyway. Depending on the truck & how far forward the 5th wheel is, the front corners of the trailer can hit whatever is on the catwalk when you turn corners. Especially if you're on unlevel ground like if you're turning into a driveway that's up-hill, off of a flat/level street & the tractor starts pointing uphill when the trailer is still on flat ground.
I tore up a catwalk turning into a truck stop in Oklahoma somewhere a bunch of years ago. The entrance to the truck stop was downhill for about 30 feet, then levels off again. I was turning to the right at the same time the trailer's axles were still on the street & the drive axles were at the bottom of the hill & the bottom corner of the trailer hit the catwalk.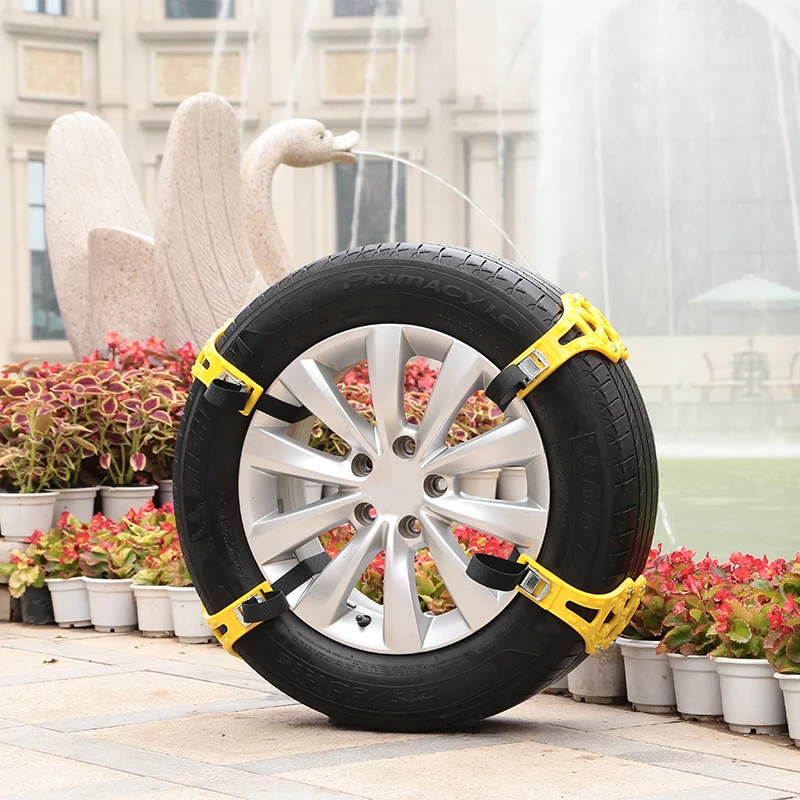
You can't block catwalk access.
Here's another idea:
http://www.iowa80.com/DirectionsWEB...25278&itemdesc=Cab+Mount+Locking+Chain+Hanger
Chain Hanger
Item Number: 25278
Regular price: $78.99
Sale Price: $59.99
Bolts to the back of the cab.
I keep mine in the box that fits between the frame rails and is also the catwalk.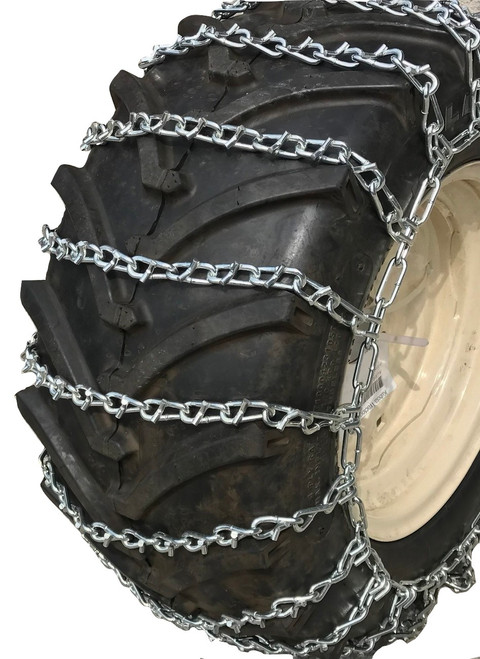
http://www.empirechromeshop.com/p-4736-8-h-x-22-l-x-25-w-in-framedrop-in-aluminum-tool-box.aspx
AK7 said:
I keep mine in the box that fits between the frame rails and is also the catwalk.
http://www.empirechromeshop.com/p-4736-8-h-x-22-l-x-25-w-in-framedrop-in-aluminum-tool-box.aspx
Click to expand...
Thats where the batteries are in some models.
Injun said:
Thats where the batteries are in some models.
Click to expand...
If I ever bought a truck that had it's batteries located there, one of the first things I'd do is re-locate them to the side so they're closer to the starter. Shorter cable, easier starting.
Duck said:
If I ever bought a truck that had it's batteries located there, one of the first things I'd do is re-locate them to the side so they're closer to the starter. Shorter cable, easier starting.
Click to expand...
You got that right. ..
..
Injun said:
Thats where the batteries are in some models.
Click to expand...
Your right,never owned or drove a truck that had them there....
But if ya got a long enough wheelbase,then you would have room for both....
Why carriy that weight around approaching summer? Leave them home.
rigjockey said:
Why carriy that weight around approaching summer? Leave them home.
Click to expand...
A full complement of tire chains weighs roughly 180 pounds...82 kg. For me, why should I have to mess around moving the stupid things twice a year when they really won't cost me any money to just leave on the rack?
If 180 lb is going to put you over gross, you either need to lose some weight yourself or you have way too much crap in your truck.
Injun said:
A full complement of tire chains weighs roughly 180 pounds.
..82 kg. For me, why should I have to mess around moving the stupid things twice a year when they really won't cost me any money to just leave on the rack?
Click to expand...
Injun said:
If 180 lb is going to put you over gross, you either need to lose some weight yourself or you have way too much crap in your truck.
Click to expand...
No? The extra weight will not cost more fuel? For no reason at all? P.S. My country wide ass and my truck scale just fine, So long as I hop out and walk beside the truck as it goes over the scale. lol
rigjockey said:
No? The extra weight will not cost more fuel? For no reason at all? P.
S. My country wide *** and my truck scale just fine, So long as I hop out and walk beside the truck as it goes over the scale. lol
Click to expand...
180 pounds is .5% (one half of one percent) of 35,000 pounds, which is the average weight of a tractor and empty dry van trailer combination. It's .225% of the weight of a loaded-at-gross 80K rig.
How much extra fuel do you actually expect to burn carrying them year-round?
Now you are trying to make me do math? i was just going to say you would burn more fuel with them than without them.
rigjockey said:
Now you are trying to make me do math? i was just going to say you would burn more fuel with them than without them.
Click to expand...
Let me do it for you: It might cost you 10 gallons of fuel over the span of an entire year to just leave them on the truck. At today's fuel cost, that's $38.59.
If an average owner/op has revenue of $1.65/mile (low end) and it takes 5 minutes of scratching your head looking for a good place to put them in the garage and another 10 minutes to pull them off the racks and drag them to where you want to put them, then another 15 minutes to find them and 30 minutes to straighten them back out and hang them neatly on the racks so you don't have to screw with them much in 25 degree F weather, knee-deep in snow to put 'em on the tires (and to avoid the $500 ticket you'll get in Colorado for not carrying them during season), you have used an hour of on-duty time fooling with them, which cost you $165 of driving time.
I'd rather spend the $38.59/yr to just haul 'em around.
Snow chains must be correctly fitted to the wheel and tensioned.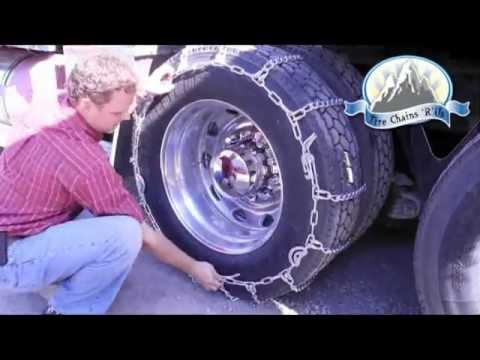 Otherwise, the service life of the product will be significantly reduced, the risk of injury during use will increase, and the manufacturer's warranty will be void.
We unpack new chains, spread them on a flat surface, remove twisted knots. The fastening rings of the jumpers of the ladder (honeycomb or rhombus) must be directed into the inside of the chain. Tension "G" - we have a shaped lock on the outside of the wheel, a hook or a screw carabiner inside.
If the chain is twisted, the sidewall becomes shorter, incorrect wear and damage to the bar may occur during operation.
Option 1: we run on the straightened chain with a wheel, then we put the chain on the tire, evenly distributing and aligning the chain bridges along the tread.
Option 2: put on and straighten the chain on the tire, slowly move the vehicle so that the chain passes under the wheel and it becomes possible to connect the side chains.
Option 3: hang the wheel, put the chain on the wheel and evenly distribute it on the tread.
When the vehicle runs over the chains, make sure that the tension lock and the hook (screw carabiner) that connect the side chains do not get under the wheel! They can deform and damage the tire.
We bring the ends of the side chains together to determine the most suitable links to connect and evenly tension the inner and outer side chains.
We connect the ends of the inner side chain with a hook or a screw carabiner (depending on the configuration) into links that are optimal for the required tension, fix the hook (carabiner).
We thread the tension “L” - shaped lock into the chain link, which is in the same parallel with the lock. With the effort of the hand, we stretch the chains and fix the lock in a special ring. We check the tension of the chains, if necessary, move the lock to the next link and again tighten and fix.
We pass a chain through the rings located outside the wheel for additional tension, having previously removed the screw carabiner from it.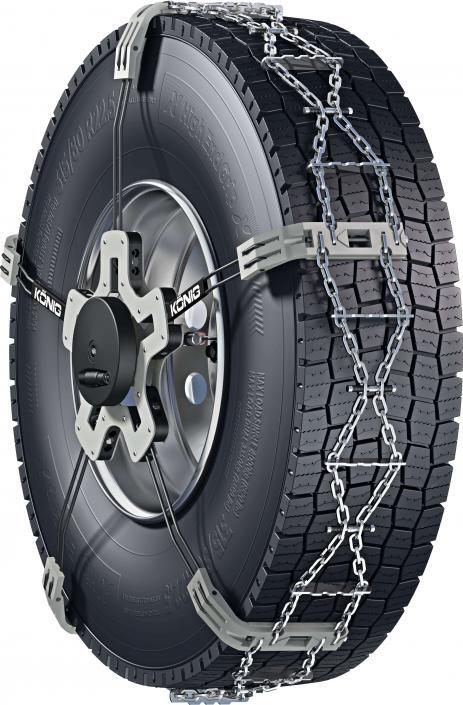 Next, we make a control tension and fix it with a carabiner on any link of the side chain.
The additional tension chain is not available in all configurations.
We drive with the chains installed for 100~200 meters and check the tension of the chains, if necessary, we re-tension, repeating the operations indicated in paragraphs 4-6.
During operation, we regularly check the condition of the chains, if the chains become loose, we re-tension them.
The chain must be moved by hand on the wheel tread. Excessive tension will lead to rapid wear of the tire, stretching and increased contamination of the chains during operation.
Remove chains in reverse order.
Removed snow chains must be cleaned of snow or dirt, dried well and treated with special agents to prevent rust. Damaged chain links, if this is not a warranty case, should be replaced or repaired.
Chains must be stored in a dry place.
 When using chains only on worn tires, mechanical removal of excess links is allowed.
 on snow chains is not applicable in the following cases:
Contents:
Cars sometimes have to deal with difficult road conditions.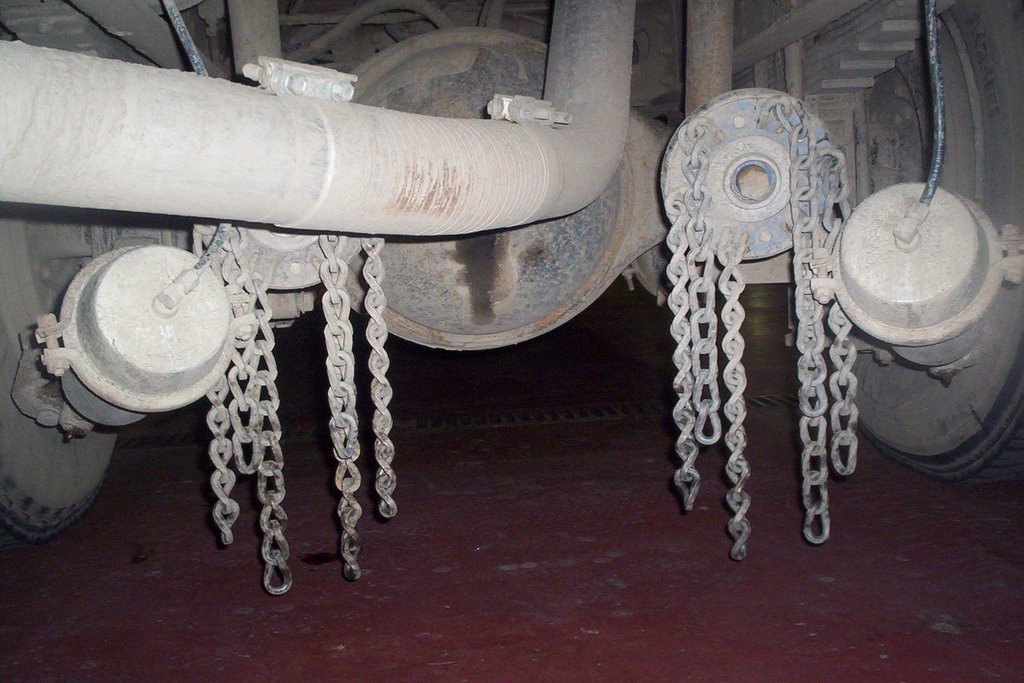 A snowy area, a steep climb, an icy or muddy section of the road - there will be no problems if an SUV collides with this. When it comes to ordinary passenger cars, the situation becomes more complicated with them.
Tire chains are a special accessory for the wheels that give the vehicle off-road capability. Its main function is to improve road grip. Consider what this equipment is, and also learn how to choose the right snow chains.
An anti-skid chain is a small structure that is put on the wheels to improve the car's flotation. Thanks to them, the vehicle moves without skidding on a slippery surface, while during turns and braking it does not lose its trajectory. With the help of a chain, a car will get out of a snowdrift, overcome icy or washed out roads.
Some motorists do not know what this type of equipment is. This is explained by the fact that on Russian roads, many move on studded tires. As for European countries, there snow chains are the same mandatory attribute of a car as a fire extinguisher.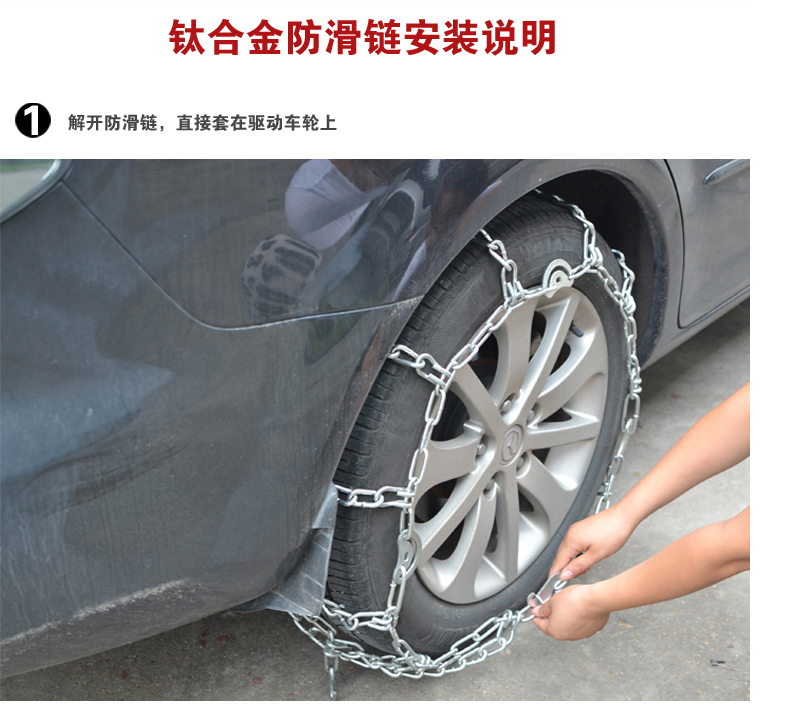
In domestic conditions, a ladder chain is recommended for use on highways. During icy conditions and snowfall, climbing a slope with an inclination angle of more than 12% on studded tires is almost impossible. It is strictly forbidden to drive a car with “hooks” on asphalt, otherwise it will provoke the destruction of the coating. Chains must be stored in the trunk so that in a difficult moment you can use them. This rule should be followed by owners of SUVs and cars.
In 1904, an American named Harry Weed invented the first snow chains. The man created such equipment is not accidental. James Weed, the great-grandson of the creator, told the story that prompted his grandfather to make chains.
One day Harry Weed was driving down the road and saw a man winding ropes and vines around the wheels of his car. In the 20th century, muddy and snowy roads were everywhere, and with the help of ropes and vines, motorists struggled with this. The American tried to invent a similar device and he succeeded.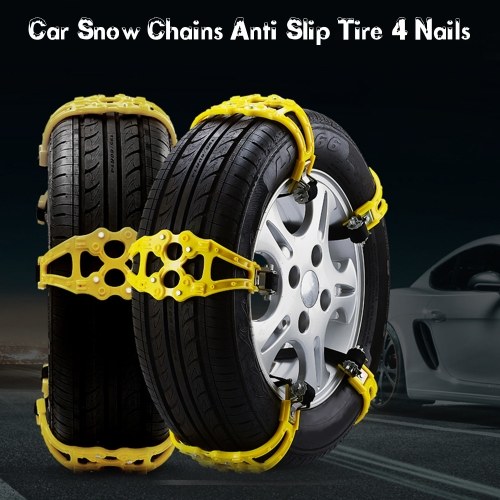 The chains were durable and easy to use.
There is a second version of the appearance of snow chains. At the beginning of the 20th century, a group of skiers set off to conquer the Swiss Alps. Their transport got stuck in a loose snowdrift in front of the pass. After several unsuccessful attempts to get the car out of the snow, one skier suggested putting a chain around the wheels. The idea really worked. Tourists managed to get out of the snow-covered area.
Anti-slip chains or bracelets (other names for chains) are always sold in pairs in hardware stores.
The principle of operation is that the links create a small contact patch with the road surface. Due to this, the pressure force of the weight of the car on the road surface increases by an order of magnitude. During operation, the chain "bites" into the snow or the ground, working on the principle of the paddles of a paddle steamer.
Drivers who install chains on their vehicles experience a certain relief.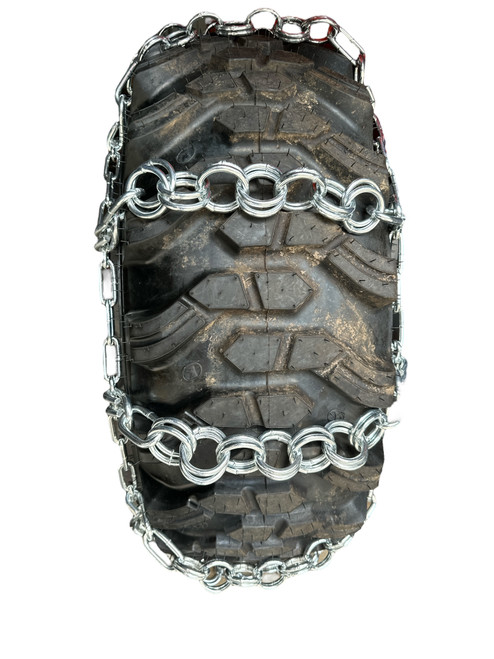 However, the car itself, on the contrary, feels an additional load. In any case, it will not be possible to avoid this, but it is possible to minimize the negative consequences. To do this, you must make the right choice of snow chain.
There are many products on the automotive market that differ in materials and type of contact surfaces.
Types of chains by materials:
Metal (rigid) - classic chains made of galvanized steel. If desired, the driver can order titanium products, but the cost of equipment will be quite high. The size of the links varies from 12 to 18 mm, in rare cases it is 9 mm. The latter are intended for cars with low profile tires. Metal chains are allowed for both passenger cars and heavy trucks.
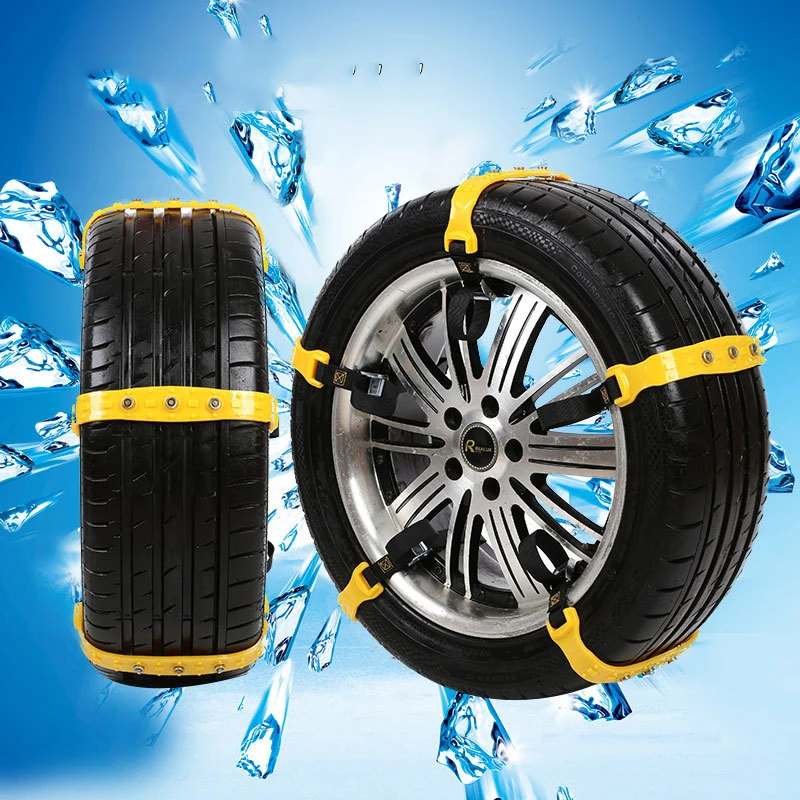
Rubber (soft) - chains that are installed exclusively on passenger cars. Products are most often operated in the city. Rubber bracelets, compared to metal ones, are better attached to the wheel, surrounding the tread pattern.
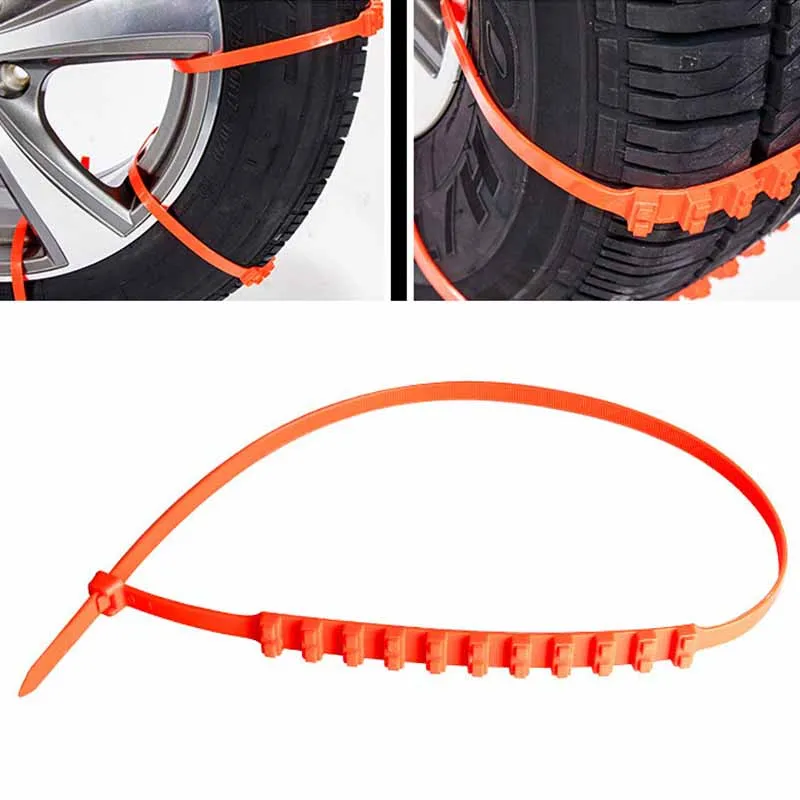
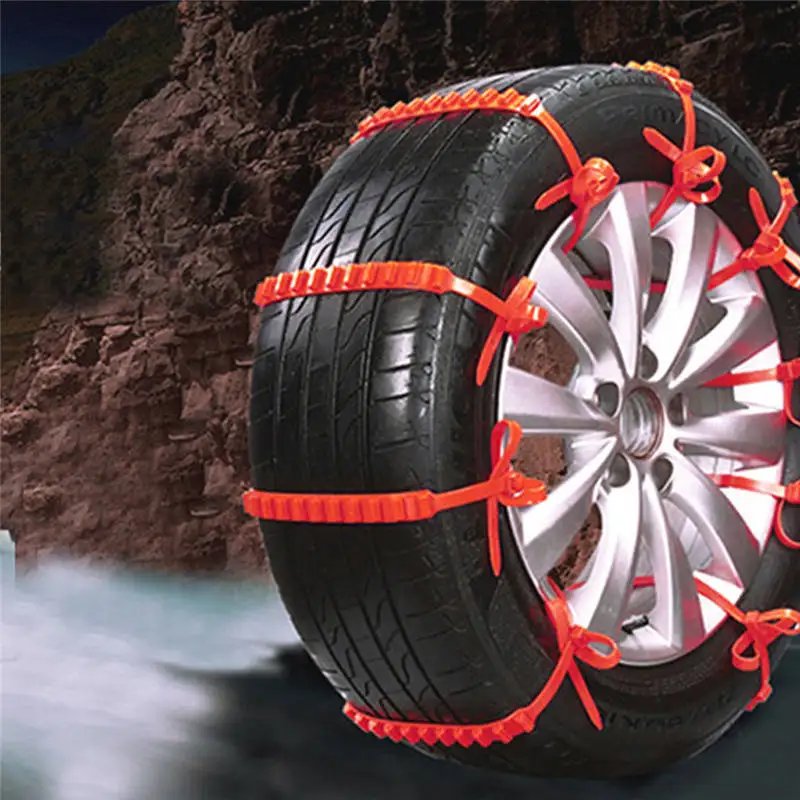
Plastic is a fairly new type of "hook" used for driving on snowy roads. Products do not differ in quality and strength characteristics.
Chains are not only made of different materials, but also available in different sizes. In addition, they are classified "by pattern", each of which has its own characteristics.
Types of bracelets according to the picture:
"Ladder" - a simple option when 2 parallel cables are connected by transverse strips. The equipment has excellent traction, suitable for short driving on bad roads.
"Rhombus" - a bunch of chains is made on the tire tread. It has durability and better handling.
"Honeycomb" - a design that has the effect of interlacing. The pattern is provided due to the fact that the longitudinal cables are additionally combined diagonally.
They show themselves well on snowy and muddy sections of the chain of the Diagonal pattern. The appearance of the "hooks" is presented in the form of strips that do not intersect with each other.
Sometimes motorists face the question of what to choose: snow chains or something else? Choosing the best way to increase the cross-country ability of a car, the driver must focus on the pros and cons of one or another option. Consider why chains are good?
Benefits:
Versatility. The equipment is used with great success both in summer and winter. There are no restrictions on their use in the off-season.
Availability. In many countries, steel products are forbidden to be worn on wheels due to their negative effect on the road surface. In Russia, chains are available to everyone. This is the only way to move freely off-road.
Convenience. Due to their small size, bracelets are compact. They can be stored in the trunk, because. they don't take up much space.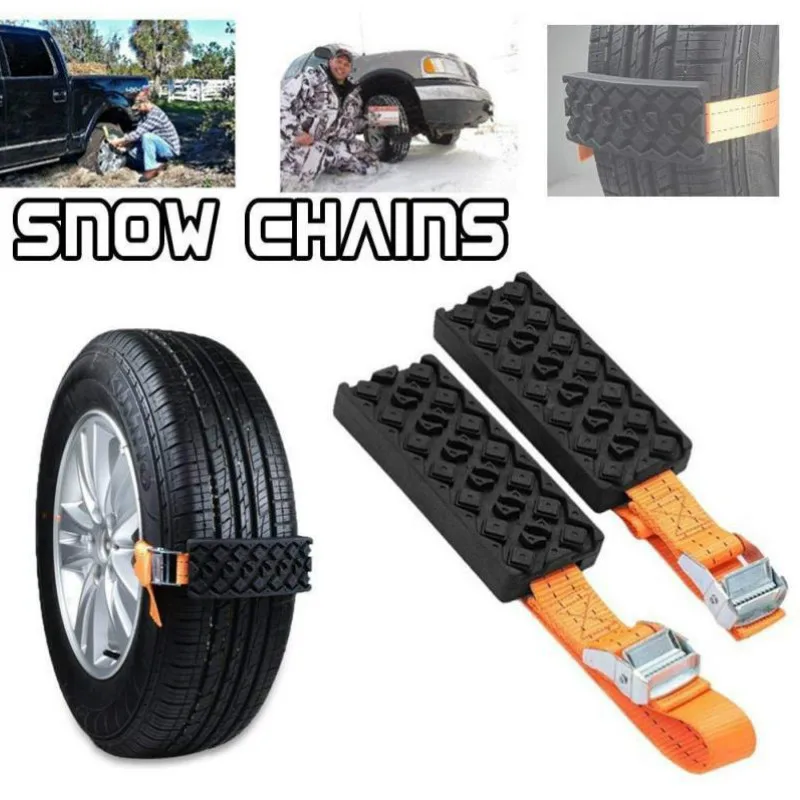
Easy to install. The chains are quite easy to put on and just as easy to take off after a difficult section of the road is left behind.
The product has another important advantage - it can only be used when needed.
It is believed that metal equipment is the best way to prevent accidents on city roads and highways. In addition, the chains help the driver out at unexpected moments. For example, when during a trip out of town it started to rain and the roads were very washed out.
Snow chains are not without drawbacks, due to which it is necessary to limit their use.
Wear of vehicle parts. When driving with chains, the suspension, steering, rack - all this is subjected to increased loads and leads to rapid wear. In addition, tires suffer greatly, their service life is noticeably reduced.
Speed limit. It is not recommended to move along the highway faster than 40-50 km/h. After the installation of the bracelets, the grip characteristics change, in connection with this there are speed limits.
There is a gentle way to increase the patency of a car - to buy rubber or plastic products. However, their off-road properties are somewhat worse than those of metal ones. With these chains, the driver will be able to move along the highway at a speed of 90 km / h.
Installing snow chains on wheels is easy. The main thing in this matter is to follow the instructions.
The installation algorithm involves the following steps:
Unfold the chains, remove all formed knots and loops. It is advisable to do this in the trunk. On land, the process will take a little longer.
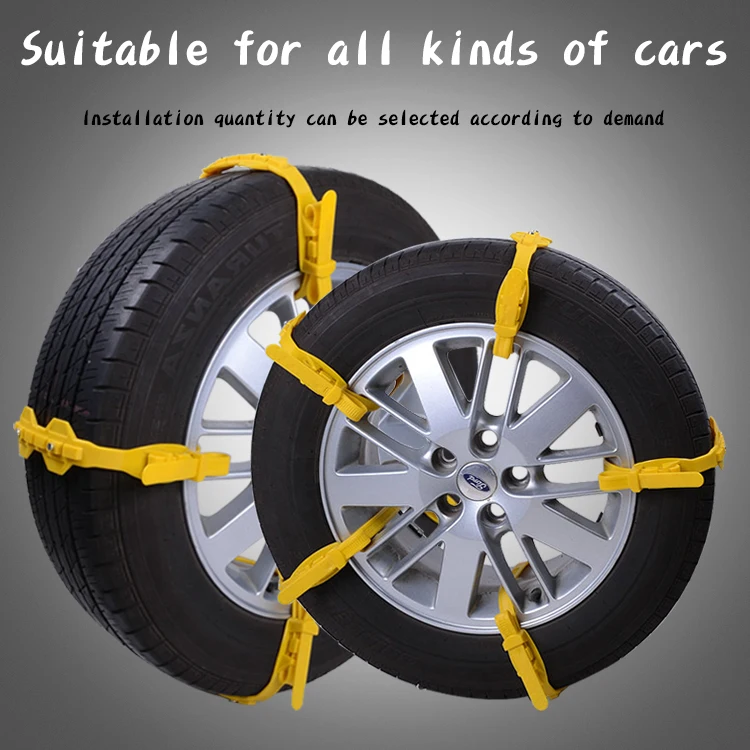
Park, raise the handbrake and spread the chains. Then throw the products on the wheels so that they cover 3/4 of each tire. After that, you need to make sure that the side sections of the bracelets hang evenly.
Pull the vehicle forward until the remaining 1/4 of the chains are free.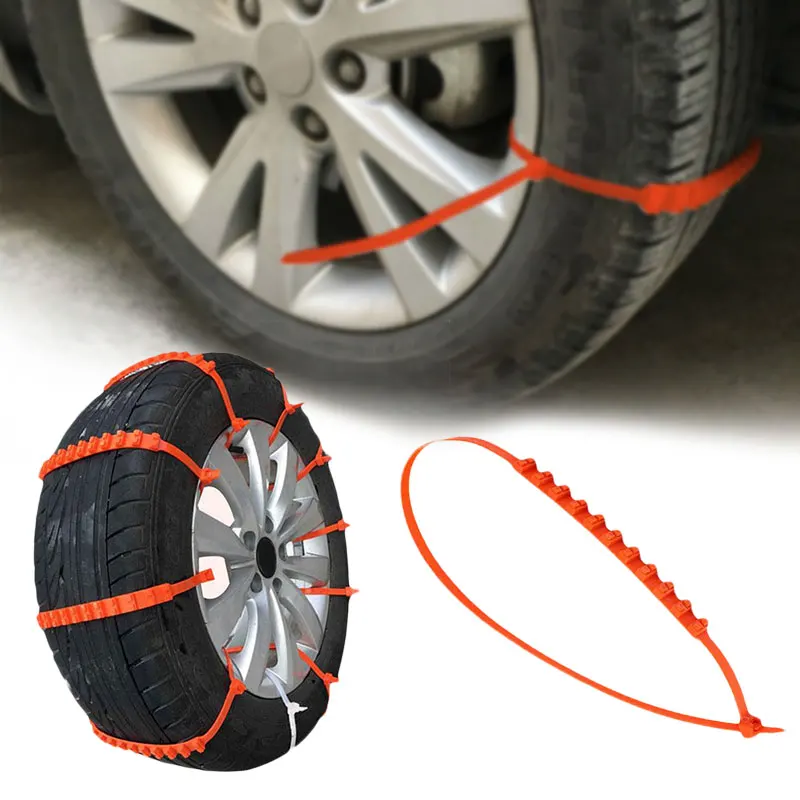 You only need to drive a little, then stop the car and raise the handbrake.
Connect the edges of the products by fastening the hooks on the edges. Repeat the same steps for the outer surfaces of the tires. Using a special link, the driver must tighten the chains.
Make sure that the outer and inner areas are set the same. If one section is loose and the other is too tight, then you will have to distribute the chain more evenly.
Repeat for other wheels.
Drive 500 m after installing the chains to achieve a tighter fit. During the first movement, the chains may loosen and need to be tightened again. After that, they are securely fixed on the wheels.
The snow chains, along with the bracelets, are available as removable treads that improve the running properties of the tyres. What are the differences between these details?
There is an opinion that the driver will need a jack to install the equipment.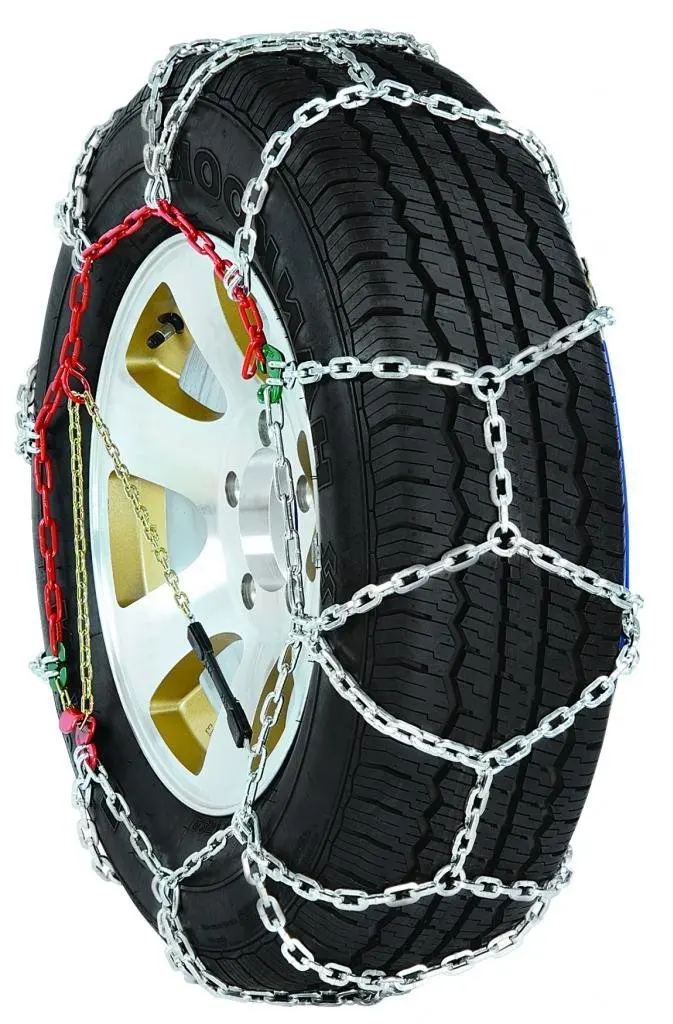 In fact, it will only be needed if the wheels are buried deep in the ground. In other cases, additional gestures are not required.
Bracelets are easier to put on. However, installing several bracelets on one wheel will take longer than one chain.
Chains are recommended to be mounted on the drive axle. However, if the driver goes on a trip to the mountains, then it is better to put the equipment on all 4 wheels. This rule applies to front wheel drive vehicles.
Thus, the difference between bracelets and chains is insignificant. The only important difference is that the bracelet can be installed even on a loaded wheel.
With the approach of cold weather, which brings with it icing of the road, drivers are beginning to choose snow chains. Products are divided into soft (rubber) and hard (steel). The soft ones are equipped with cables, between which rubber anti-slip elements are installed. This is not the case in the second. Also, "hooks" are classified according to the size and shape of the pattern.
Choosing the size of snow chains. Anti-slip equipment is not suitable for all wheels. Some products may damage parts of the brake system while driving. That is why before buying you need to decide on the size of the disk and wheels of the car. For those who are not sure, you should look into the instruction manual. It contains all the necessary information.
When selecting chains, it is important to pay attention to the vehicle class. Despite the fact that the size of the wheels of a passenger car and an SUV may be the same, the cost of equipment for the latter will be an order of magnitude higher. You should not buy chains for jeep wheels that are designed for passenger cars. This method of operation will lead to an increased load on the transmission. For SUVs, bracelets are made with an increased cross-sectional diameter of the chain link. This makes them heavier and able to withstand heavy loads.
Today, snow chains or grouser are made by different manufacturers. Before buying, we advise you to familiarize yourself with the best models on the market.
Konig Zip Ultra snow chains are for passenger cars only. Manufacturer - Italy.
Only 9 mm thick. This allows you to install their wheels with a minimum clearance. The main advantages of this equipment are: long service life, excellent road grip and a high level of vehicle controllability. During testing, the Konig Zip Ultra performed well on a combination of snow and dirt.
CarCommerce 4WD-225/115 snow chains have been developed for use on passenger cars in order to increase their cross-country ability. Snow, mud and ice cover will not stand in their way.
Assembly and disassembly of the products is quite simple. The driver does not need special tools. The procedure will take no more than 15 minutes.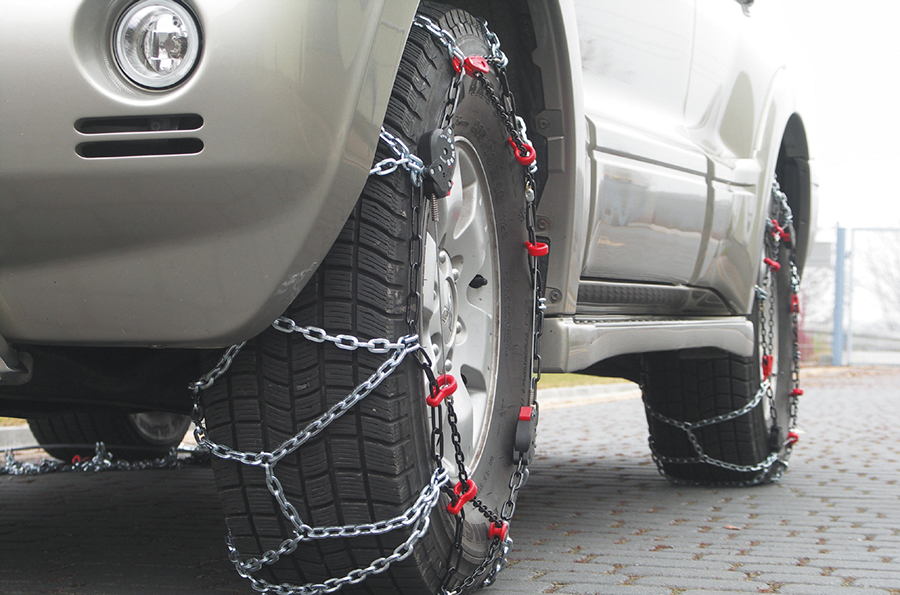 The chains are suitable for both front and rear wheel drive.
Thule CB12 are not the cheapest snow chains on the market. They are designed for passenger cars, have high quality and affordable price. The product is backed by a five-year warranty.
This product has a premium design with fewer links. This feature ensures a smooth and comfortable ride even on clean pavement.
Color coding makes it easy to install chains, especially for those who have never done it before. Convex links provide perfect traction and long service life.
Those who live in harsh climates will love the tension mechanism. This system independently regulates and tightens the chains automatically. The rider will not have to suffer from freezing fingers in an attempt to spread the chains in the correct position.
Manufacturer Taurus Diament - Poland. Grousers are designed to equip the wheels of SUVs and minivans.
The products have a thickness of 16 mm, which means they are suitable for all impassable sections on the road.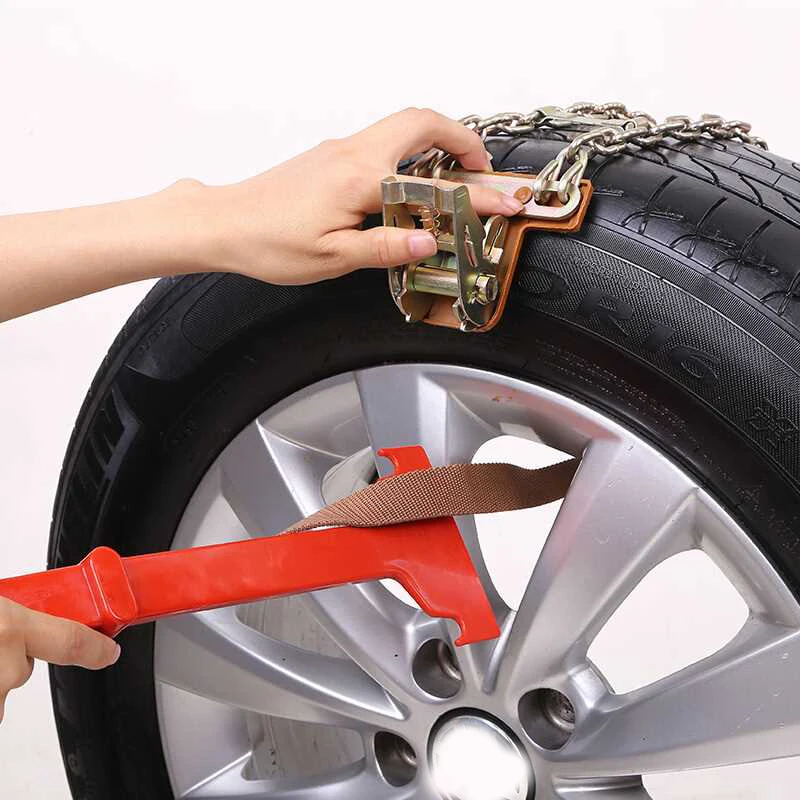 The "diagonal" pattern additionally increases the permeability. No equipment is required for installation. The only condition is that manual tightening is required.
All products of the company have passed European certification tests. At the same time, the cost of chains, in comparison with goods from other manufacturers, is relatively low.
Good model for vehicles with little clearance above the caliper. Chains are worn on the side, have a relief of 15 mm.
The layout of the chains is unusual: they are equipped with shaped plates, spikes and cross scrapers. Thanks to them, the product bites into the ice. The design is held by the "spider", which is fixed on the wheel bolts.
PEWAG traction control chains made by an Austrian manufacturer. This product is very popular with drivers for its many advantages.
The main feature of the equipment is that it is not mounted, but very easy to put on.