Edit
Edit
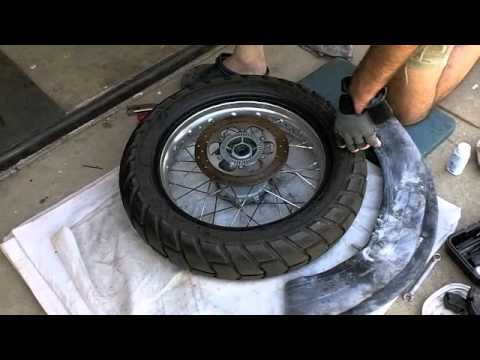
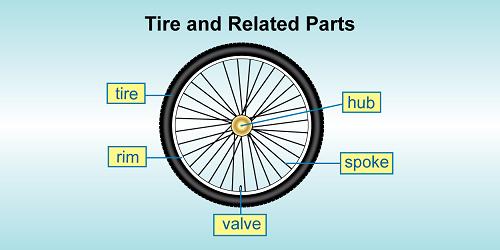
The wheel is now off. Now you should take the valve core out of the tire with a valve core tool, and release all the air. Use a size 12mm wrench and take the nuts off the valve stem, and the bead lock. Which is the other thing in the rim with a nut on it besides the valve stem.
Edit
Edit
Edit
Once the tire is back on the rim add more air this should push the bead lock out. Now you can put the nut back on the bead lock as well.(do not tighten yet.) make sure the tire is at the correct pressure and everything looks good, now you can tighten down the bead lock, and the valve stem. After the valve stem is tight put the second nut on.
Edit
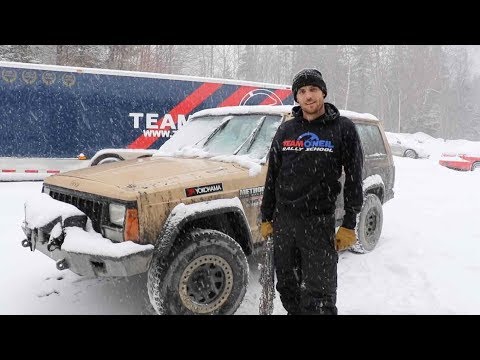
Remember when I told you to mark where your tightening blocks where? This is where that comes into play. Align the blocks to their original spot, then tighten the nut on the axle. Now you are done, and your bike is ready to ride.
Edit
with 5 other contributors
Badges: 5
+2 more badges
Changing a dirt bike tire can seem intimidating, but most riders with a little mechanical aptitude and access to a few tools can complete the project unscathed.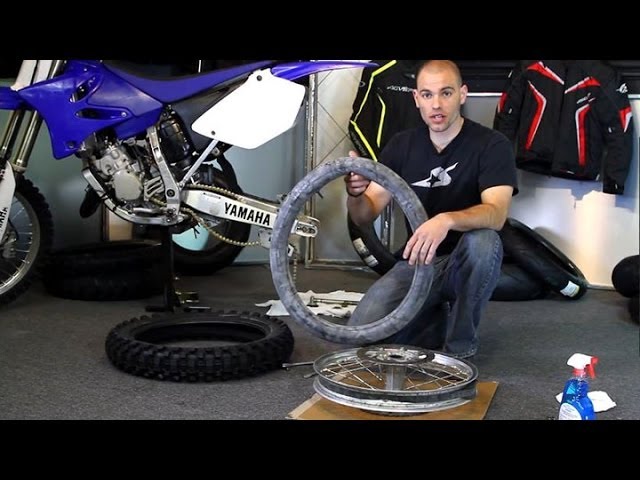 In this video, our experts show you how to change a dirt bike tire.
First, remove the tire from the bike and position the tire off the ground using a bucket.
Using a core-removal tool, pull the valve core out and deflate the tire. Now’s a good time to remove the dust seal since you eventually need to remove the tube from the tire. Make sure you loosen the rim lock since it must be loose to remove the tire.
A little bit of soapy water goes a long way in this project, so use soapy water as a lubricant around the edge of the tire. Use a tire spoon on the edge of the tire to break the bead free from the rim. Work your way around the tire to unseat the bead.
Now, flip the tire over and repeat the process until the tire is off the bead.
Next, starting at the rim lock, put your tire spoons underneath the tire on the rim, being careful not to pinch the tube. Start working the tire around the rim with the tire spoons. Once it’s removed about three quarters of the way, it will start to come off a little easier.
After one half of the tire is off the rim, reach in and remove the tube.
Now, remove the other half of the tire from the rim. Spray soapy water to lubricate the tire and rim, then slide a tire spoon underneath the tire. If you have a plastic hammer, carefully hit the bead, taking care not to bend the rim. Work your way around the tire to help push it off the rim.
Again, use plenty of soapy water to lubricate the tire and set it on the rim. Locate the yellow dot on the rim and align it with the rim lock. This is very important for balancing the tire.
Start the tire onto the rim by hand, then use a tire spoon to push the tire on the rim the rest of the way.
Reinstall the valve core into the tube, and reinstall the tube into the tire. Take your time to ensure the tube doesn’t pinch or wrinkle. Push the valve stem through the rim and screw on a nut to hold the valve stem through the rim.
As you finish installing the tube into the tire, make sure the yellow dot is lined up with the rim lock. Also, ensure the valve stem is straight.
Using tire spoons, start at the rim lock to install the tire. Make sure the tube isn’t pinched between the tire spoon and rim. Use your knee to work the tire around the rim. It’ll go easy until about the halfway point, and then it’ll become difficult. At this point, be careful that you’re not pinching the tube as you gain a new bite with the tire spoons. A good trick is to use a plastic hammer to help as the tire becomes difficult to move.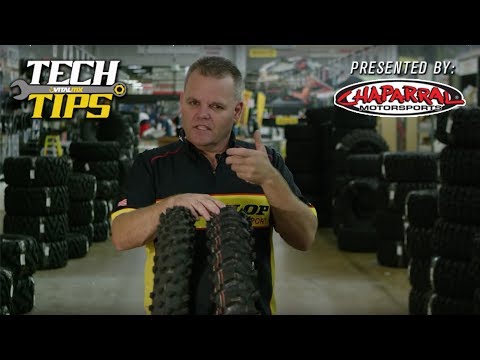
At this point, add a little air to the tube. Check the bead all the way around on both sides to be sure the tube isn’t sticking through and that everything is aligned properly.
Now, be sure the tube is in the tire properly. Remove the valve core again and deflate the tube. Push back and forth on the valve stem to verify it isn’t pinched. Once you confirm the tube isn’t pinched, reinstall the valve core and add some air to the tire. If you see a few bubbles come out, don’t panic – that’s just the soapy water, which is normal. Again, check the bead on both sides.
Now, inflate the tire to the correct pressure. Look in the bike owner’s manual or on the side of the tire for the correct tire pressure. Install the dust seal and put on the valve cap. Finally, tighten the rim lock, which ensures the tire stays on the rim in the event of a flat.
Now you know how to change a dirt bike tire. Take your time and work carefully to help avoid problems so you can get back to riding.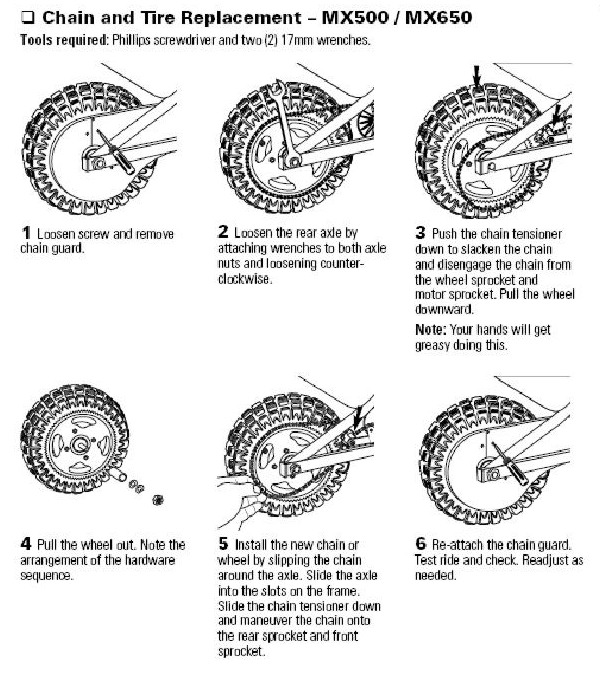 Don’t forget to check out AMSOIL products for your dirt bike.
Shop AMSOIL Dirt Bike Products
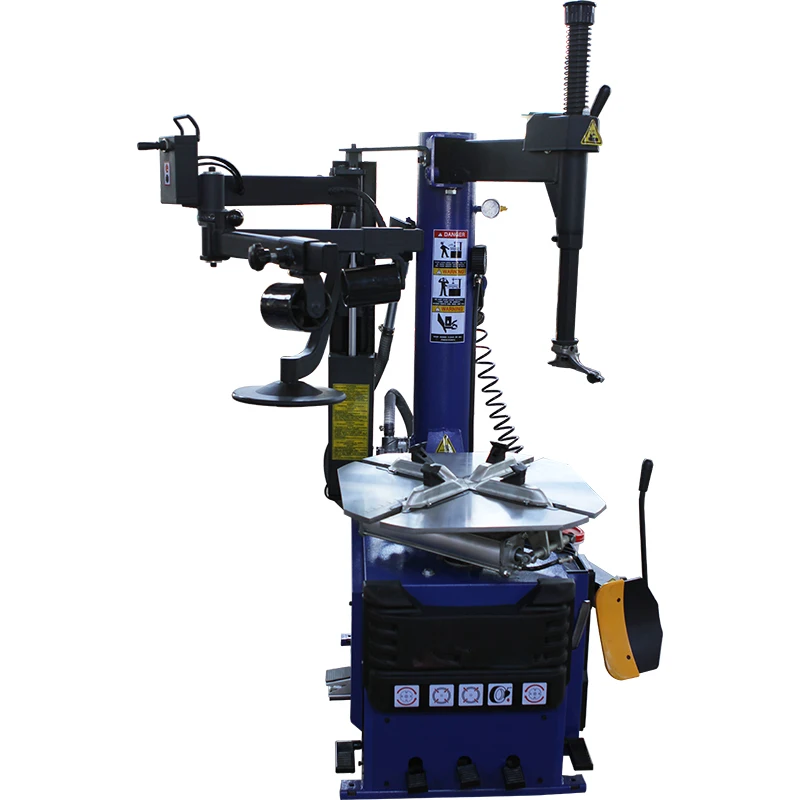
First of all, the bicycle service service bicycles purchased from the SportEk store. All other bicycles are accepted by prior agreement with the bike service.
- repair of bicycles of any level and degree of complexity - semi-professional and professional mountain and road
General complex maintenance
| 2.01 T.O. 1 cat. | 2,500.00 |
| Bulkhead steering, bottom bracket, rear and front hubs, transmission cleaning (chain, cassette, system, switches) setting switches and brakes, pumping wheels | |
| 2.02 T.O. 2 cat. | 3,000.00 |
| Overhaul of the steering, carriage, rear and front hubs, cleaning of the transmission (chain, cassette, system, switches) setting up the switches and brakes, pumping the wheels, checking and tightening the spokes, centering, fixing eights | |
2. 03 T.O. 3 cat. 03 T.O. 3 cat. | 4,000.00 |
| Overhaul of steering, bottom bracket, rear and front hubs, transmission cleaning (chain, cassette, system, switches) adjustment of derailleurs and brakes, pumping wheels, checking and drawing spokes, centering, fixing eights, overhauling fork | |
| 2.04 T.O. 4 cat | 4,500.00 |
| Overhaul of steering, bottom bracket, rear and front hubs, transmission cleaning (chain, cassette, system, switches) adjustment of derailleurs and brakes, pumping wheels, checking and tightening spokes, centering, fixing eights, overhauling fork, overhauling frame suspension, cleaning bearings | |
| 2.05 T.O. 5 cat | 6,000.00 |
| Overhaul of steering, bottom bracket, rear and front hubs, transmission cleaning (chain, cassette, system, switches) adjustment of switches and brakes, pumping wheels, checking and pulling spokes, centering, fixing eights, overhauling fork, overhauling frame suspension, cleaning bearings, bulkhead shock absorbers | |
2. 06 Seasonal bike preparation 06 Seasonal bike preparation | 2,000.00 |
| Cleaning the transmission (chain, cassette, system, switches) adjusting switches and brakes, pumping wheels |
| 0.01 Departure of the master | 1,000.00 |
| 0.02 Maintenance of a dirty bike | 500.00 |
| 0.03 Bicycle diagnosis | 500.00 |
| 0.04 Order to the front of the queue | 1,500.00 |
| 0.06 Timed work 5 min. | 100.00 |
| 0.071 Consumable | 50.00 |
| 0.072 Consumable | 100.00 |
| 0.073 Consumable | 150.00 |
| 0.081 Bicycle storage after repair 1 day | 200.00 |
1. 01 Bicycle assembly 01 Bicycle assembly | 2,000.00 |
| 1.02 New bike adjustment | 1,500.00 |
| 1.04 Frame replacement | 3,500.00 |
| 1.05 Bicycle assembly (from accessories) | 3,000.00 |
| 1.08 Packing the led into a box | 1,000.00 |
| 3.01 Wheel assembly | 600.00 |
| 3.02 Carbon wheel assembly with strain gauge | 1,000.00 |
| 3.03 Calculating the length of spokes | 150.00 |
| 3.031 Rim replacement | 550.00 |
| 3.04 Wheel centering in light machine | 300.00 |
| 3.05 Replacing the wheel rim BMX 48 spokes | 450.00 |
| 3.05 Wheel alignment in the machine is difficult | 400.00 |
3. 10 Tube/Tire Replacement 10 Tube/Tire Replacement | 200.00 |
| 3.11 Tube/Inflated Tire Replacement | 250.00 |
| 3.12 Tire inflation | 50.00 |
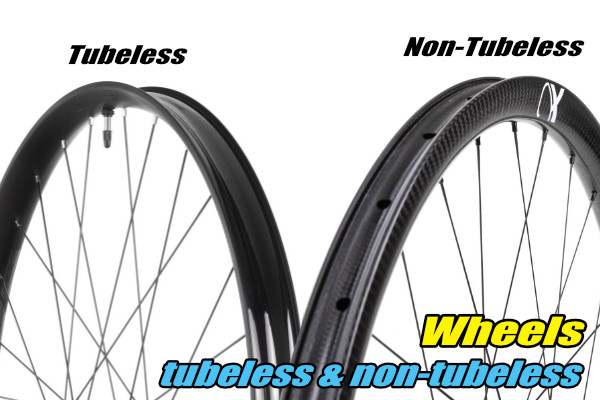
| 3.13 Fitting the rim tape for tubeless | 200.00 |
| 3.14 Fitting tubeless nipple | 100.00 |
| 3.15 Sealant change, refill (No cleaning) | 200.00 |
| 3.16 Fitting the tubeless tire | 300.00 |
| 3.17 Cleaning the tire sealant | 500.00 |
| 4.01 Replacing ratchet/cassette | 200.00 |
| 4.02 Bulkhead rear bushing (Loose bearing) | 500.00 |
| 4.03 Bulkhead rear bushing (Industrial bearing) | 350.00 |
| 4.04 Overhaul of the front bushing (Loose bearing) | 400.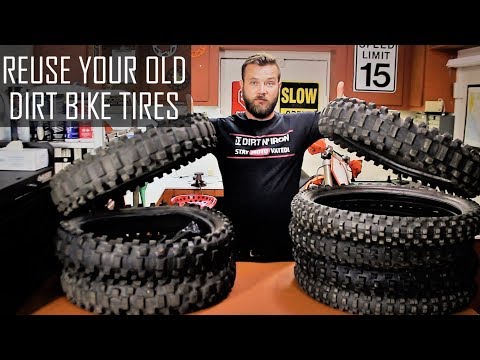 00 00 |
| 4.05 Bulkhead front bushing (Industrial bearing) | 300.00 |
| 4.06 Drum bulkhead (Loose bearing) | 500.00 |
| 4.07 Drum bulkhead (Industrial bearing) | 300.00 |
| 4.08 Replacing bushing bearing | 200.00 |
| 5.01 Switch adjustment | 250.00 |
| 5.02 Changing shifter | 250.00 |
| 5.03 Replacing the gear selector without adjustment | 250.00 |
| 5.04 Rear switch bulkhead | 450.00 |
| 5.05 Replacing the rear derailleur rollers | 250.00 |
| 5.06 Replacing cable, jacket (External) | 150.00 |
| 5.07 Replacing cable, jacket (Internal pr.) | 250.00 |
| 5.09 Cleaning the front derailleur | 250. 00 00 |
| 5.10 Cleaning the rear switch | 300.00 |
| 5.11 Switch repair | 300.00 |
| 5.12 Editing the cock of the frame | 200.00 |
| 6.01 Installation of steering wheel | 250.00 |
| 6.02 Removing steering wheel | 250.00 |
| 6.03 Replacement steering wheel | 350.00 |
| 6.04 Steering wheel replacement | 250.00 |
| 6.05 Stem replacement | 250.00 |
| 6.06 Replacing the steering wheel grips ("grip") | 250.00 |
| 6.071 Steering column bulkhead on industrial bearing | 250.00 |
| 6.072 Steering column bulkhead on bulk bearing | 350.00 |
| 6.081 Steering column backlash adjustment | 150. 00 00 |
| 6.082 Steering column backlash adjustment threaded | 350.00 |
| 500.00 | |
| 7.02 Carriage replacement (Threaded) | 350.00 |
| 7.03 Carriage replacement (Press-Fit) | 400.00 |
| 7.04 Fitting the carriage (Threaded) | 200.00 |
| 7.05 Fitting the carriage (Press-Fit) | 250.00 |
| 7.06 Removing the "problematic" connecting rod | 350.00 |
| 7.07 Removing one connecting rod | 200.00 |
| 7.08 Removing the "problematic carriage" with sawing out the bowls | 1,000.00 |
| 7.10 Removing/installing pedals | 150.00 |
| 7.11 Installing the | system250.00 |
7. 12 System replacement 12 System replacement | 400.00 |
| 8.01 Replacing the brake pads | 250.00 |
| 8.02 Replacing the brake lever | 250.00 |
| 8.03 Changing the brake without adjustment (external) | 400.00 |
| 8.04 Replacing the brake without adjustment (Internal pr.) | 550.00 |
| 8.05 Replacing the cable, brake jacket (External) | 150.00 |
| 8.06 Replacement of the cable, brake jacket (Internal pr.) | 250.00 |
| 8.07 Dressing the brake disc | 200.00 |
| 8.08 Removing/installing the rotor | 250.00 |
| 8.09 Replacing/shortening the hydraulic hose (External) | 450.00 |
| 8.10 Replacing/shortening the hydraulic hose (Internal) | 550.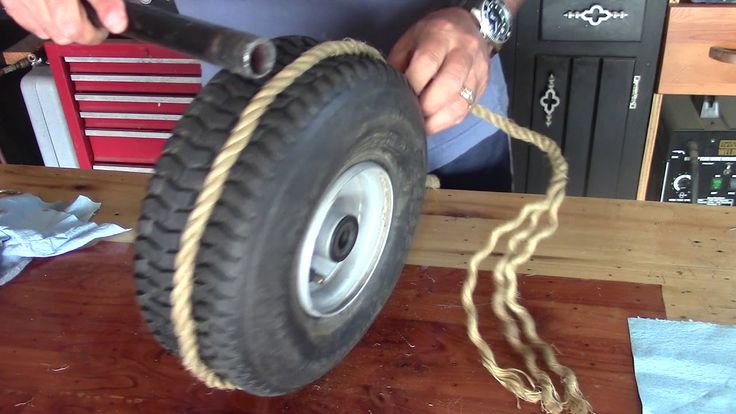 00 00 |
| 8.11 Caliper repair | 500.00 |
| 8.12 Bleeding the hydraulic brake | 500.00 |
| 8.14 Cleaning, degreasing the brake rotor | 250.00 |
| 8.15 Cleaning, degreasing brake pads | 250.00 |
| 8.16 Brake adjustment | 200.00 |
| 9.01 Ratchet/cassette removal | 250.00 |
| 9.02 Replacing the chain. Changing the length | 250.00 |
| 9.06 Overhaul of the system (Replacement of sprockets, cleaning) | 350.00 |
| 9.07 Cleaning the cassette sprockets | 400.00 |
| 9.08 Cleaning and lubricating the chain | 350.00 |
| 10.01 Cycle computer programming | 250. 00 00 |
| 10.02 Installing the bike computer | 250.00 |
| 10.03 Installation of bag, pump, flask, flashlight, horns | 150.00 |
| 10.041 Installation of quick-release trunk | 350.00 |
| 10.042 Installation of the trunk factory | 550.00 |
| 10.051 Installation of quick release wings | 250.00 |
| 10.052 Full fender installation | 550.00 |
| 11.01 Fork inflation | 100.00 |
| 11.02 Plug installation | 300.00 |
| 11.03 Replacement fork | 700.00 |
| 11.04 Cut to size | 200.00 |
| 11.050 Removing/Installing the bulkhead fork | 300.00 |
| 11.051 Bulkhead fork spring-elastomer | 1,500. 00 00 |
| 11.052 Bulkhead fork spring-oil, air. | 1,800.00 |
| 11.054 Air shock absorber bulkhead | 1,500.00 |
| 12.01 Replacement of bearings in frame suspension | 200.00 |
| 12.02 Carriage thread in frame bottom bracket (aluminium) | 250.00 |
| 12.03 Suspension cleaning without changing bearings | 1,000.00 |
| bearings (aluminum)BCA | 500.00 |
| 12.05 Carbon frame repair | 3,000.00 |
We are waiting for you at the SportEk service:
Yekaterinburg, March 8, 207 building 1,
Phone: 8 (343) 254-58-93.
Contents
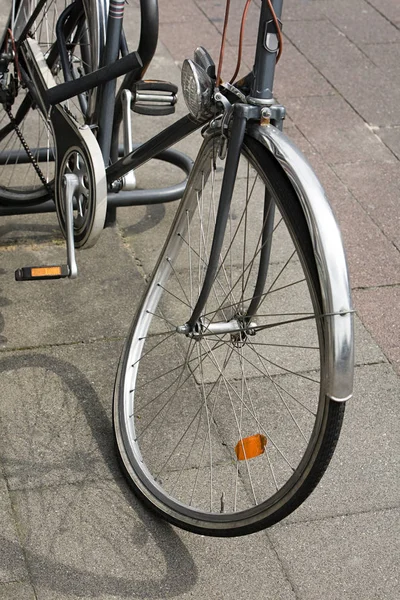
You can remove the tire from your bike yourself. But in order to cope with this matter without problems, you need to know the sequence of actions for dismantling parts. It will also be useful to familiarize yourself with the list of necessary tools and understand in which cases the tire must be removed.
Under certain circumstances it is necessary to remove the tire from the bicycle rim. Sometimes this part needs to be replaced.
There are several reasons:
Removing a tire from a disc has its own algorithm of actions.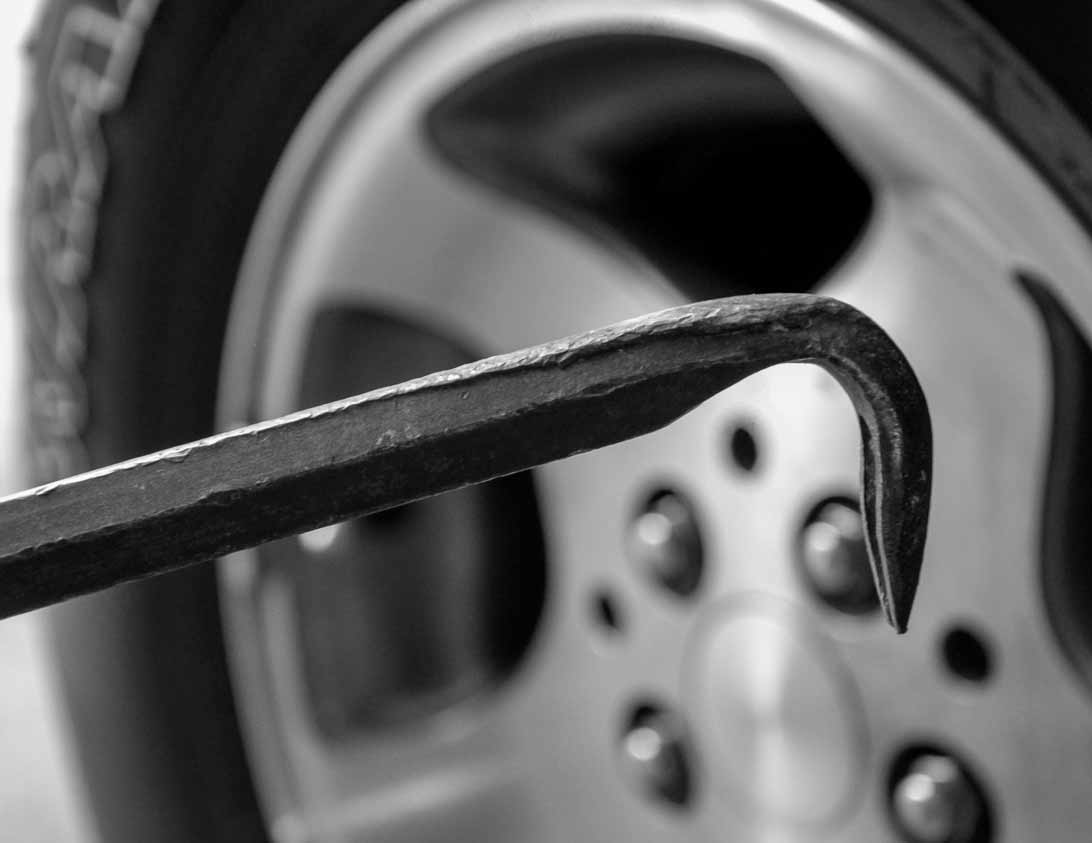 It will require a few special tools. It is important to remember: it is undesirable to press too hard on the sidewall of the tire when removing. Also, the tool should be free of burrs and sharp edges.
The dismantling steps must be followed strictly, accurately and carefully.
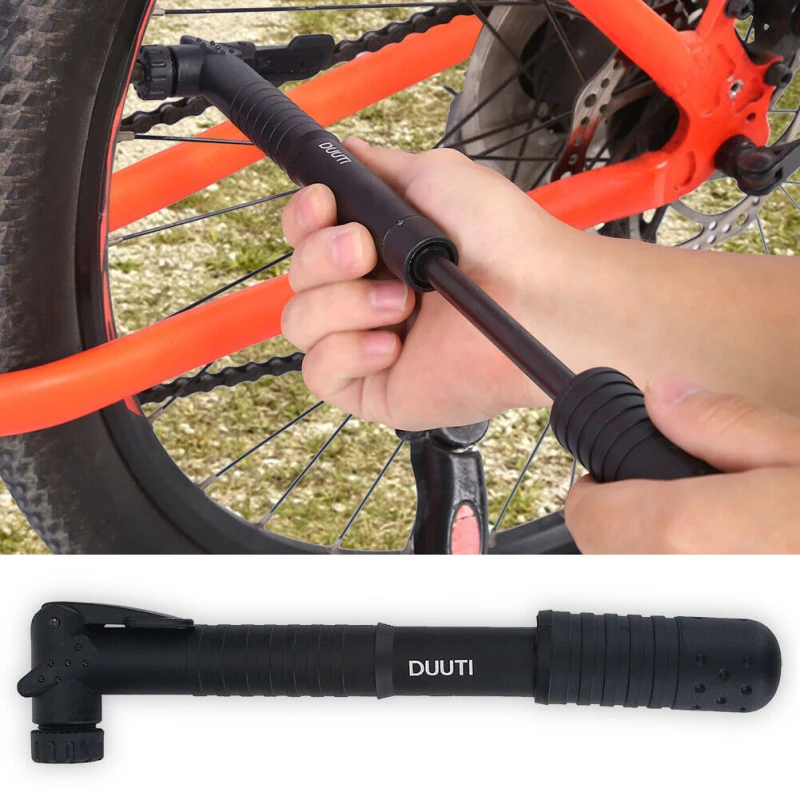
To do this, you will need the following tools:
Once you have the necessary tools ready, you can move on to removing the tire from the rim.
Work steps:
 Such an action is performed so that it does not interfere in the following steps. The cable must be carefully pulled out of the connector.
 Anyone can pierce the camera while driving. And such an unpleasant situation, requiring the removal of a tire, usually takes you by surprise. Often a cyclist does not have the necessary tools with him.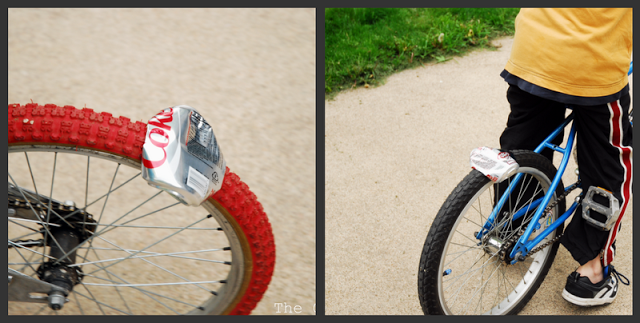 To replace a tire, you need to have at least a spare set.
Procedure:
Comfortable riding requires optimum tire inflation. In case of lack of air in the tires while riding, the cyclist has to exert more effort.
Tire life is reduced. If the amount of air exceeds the optimal threshold, grip becomes worse. And, as a result, a tough ride and an increase in the possibility of a camera puncture.
In order to avoid punctures, scuffs and other problems, experts advise you to follow the rules for using bicycle tires.
General recommendations: