By Diana K. Williams
Tires become worn over time and must be replaced, or they can become punctured and need repaired. The John Deere 100 series riding mower uses a snap ring system to hold the rear tire to the axle, making it easy to remove the wheel and replace it yourself, or to take it to a local dealer for repair without having to haul the entire tractor.
Park the mower on a level surface, turn off the engine.
Place the jack under the rear frame of the tractor near the center and jack up the rear of the mower.
Place blocks in front of both front wheels so the mower will not roll forward.
Place jack stands on each side of the jack, where the mounting bolts on the frame are located, and raise them up to meet the frame. They should be high enough that the tire will be off the ground when resting on the jack stands. Lower the weight of the tractor slowly onto the jack stands.
Remove the rear wheel’s plastic cap on the outer end of the axle by twisting it back-and-forth with your hand. This will expose a snap ring and washer.
Slide a flathead screwdriver under the snap ring and pop it out of the groove to remove it. Use care not to damage it. Remove the washer and slide the wheel off the axle.
Slide the new/repaired wheel onto the axle, replace the washer and then the snap ring. You may have to compress the snap ring to make it smaller to get it back into its original position. Ensure it is inserted completely in the groove because this is what holds the wheel on. Replace the plastic cap.
Jack the mower up off the jack stands, remove the stands and lower the mower slowly to the ground.
References
Resources
Tips
 They work by placing the bent ends into the holes on the snap ring so you can compress and expand the ring as needed. Snap ring pliers come in a variety of sizes, so purchase the right size for your job.
 Warnings
Writer Bio
Diana K. Williams is a certified Master Gardener, has more than a decade of experience as an environmental scientist, and holds a Bachelor of Science degree in biology and environmental studies from the Ohio Northern University. Williams is a winner of Writer’s Digest Magazine's annual writing competition.
If you’ve had a lawn mower for more than a couple of seasons, chances are you’ve had a flat tire.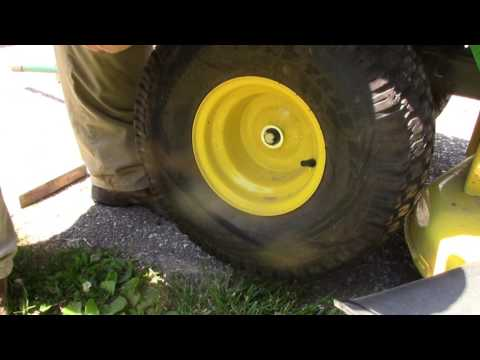 In this article, we’re going to tell you how to get a flat tire back on the rim and how to change a tire if you need to.
With our step-by-step guide—lawn mower tire flat & off the rim? Here’s how to fix it, you’ll be back to cutting your lawn in no time.
A tire that’s slipped off the rim is never a wanted sight!Using simple tools and a few helpful tricks, you can get your tire back on the rim or replaced. With a little effort and minimal cost, your mower will be ready to go again.
Want to know how to get your lawn mower tire back in working order? Let’s get stuck in.
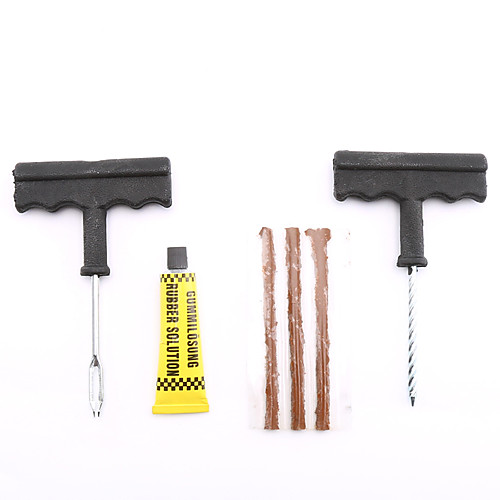
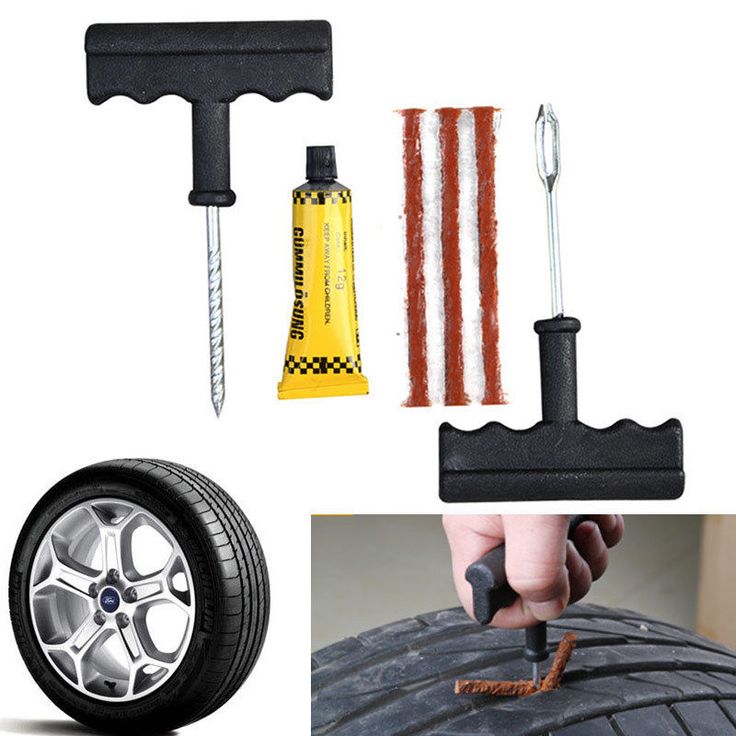
For this repair, you’ll need a few tools. And if you need to replace the tire, a few more. For both repairs, don’t forget your safety gear. Here, we’ve listed what each job requires:
Not all flat tires are created equal.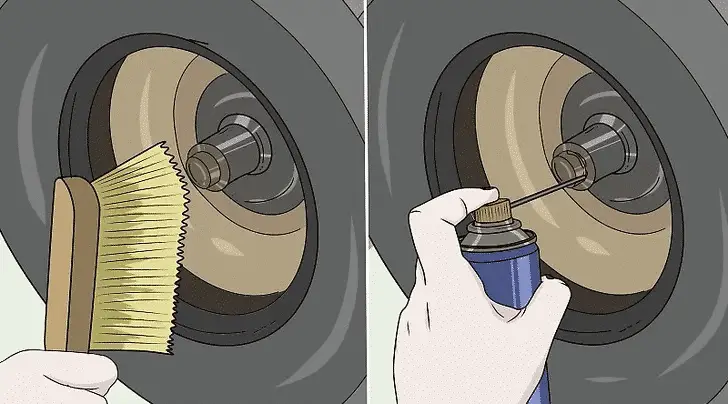 Sometimes a flat caused by a very slow leak or just time can simply be reflated. And it will last a good while until next time. But sometimes a flat causes the tire to come off the rim of the wheel, and this requires a more complicated fix. And in the worst case, with a damaged or worn-out tire, you’ll need to replace it.
No matter if your tire is just off the rim, or needs replacing, we’ve got you covered. Here is our step-by-step guide to fixing a flat on your lawn mower. Steps 1, 2 and 3 are required for both fixes. After that we’ve split the instructions depending on whether you’re putting it back on the rim (steps 4a to 7a) or changing the tire (steps 4b to 10b).
I know it’s obvious, but we’re nothing if not complete. Make sure your mower is on a flat surface. Then turn off the mower and remove the ignition key. It’s a good idea to chock the wheels as well.
What might not be so obvious, is that we highly recommend you remove the spark plug cable as well.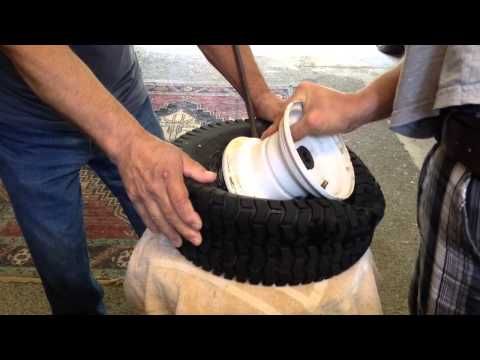 Removing the cable means there is no chance of the blades moving while you’re fixing your flat. It’s never wasted time to do things safely.
In order to get to your tire, you’re going to need to jack up the mower. Any jack will do as long as it’s rated for more than the weight of the mower. We would recommend fixing your flat on a hard surface, driveway, garage or shed. But, if your mower is still on grass, and you’re using a bottle jack, you’re going to need to put wood under the jack to stop it from sinking into the grass.
Jak up the mower so your tire spins freely. You want enough height to make it easy to get your hand underneath the tire. Once you’ve reached the required height, support the mower with a jack stand.
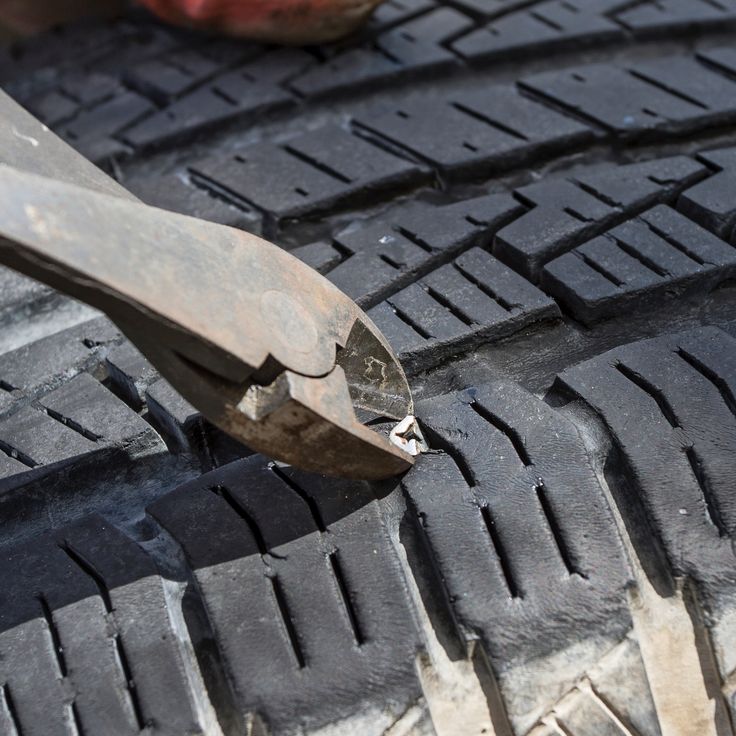
You need to check the tire for obvious damage, holes or sharp objects. If it helps, put a little chalk mark on the tire. Carefully roll the wheel round, inspecting both side walls and the surface for damage. When your chalk mark comes back around, you know you’ve covered the whole tire.
If you can’t find any obvious holes or damage, and the tire is not completely worn out, you can try putting it back on the rim, inflating it and seeing if it holds. If the tire is punctured, ripped, or completely worn out, you’re going to need a replacement.
These days most mower tires are tubeless. That means there is no inner tube inside the tire that holds the air. Instead, the air is held inside the tire by a seal formed between the tire bead and the rim.
In order to refill a tire where the bead has come off the rim, you first have to create a seal between the bead and the rim.
The easiest way to do this is to apply pressure to the surface of the tire. This pushes the bead outwards and helps create the seal you need. On used tires, it’s usually not possible to do this by hand. So instead, we can wrap a ratchet strap or a rope around the tire and use that to help.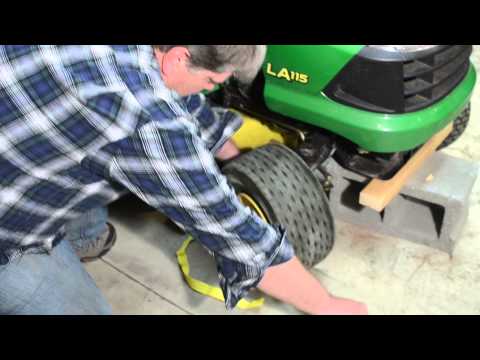
Get your ratchet strap around the tire and ratchet it a few times to apply pressure. This pushes the middle of the tire down and the sides outwards.
Once you’ve applied a bit of pressure, try pushing the sidewalls near the rim. If the bead seems solid against the rim, you can start adding some air and seeing if you have a seal.
If air still escapes from the sides and the tire won’t inflate, ratchet a couple of times on your strap and see if that helps. Once you have a seal, inflate the tire enough to keep the pressure on the bead so that you can remove the strap.
After removing the strap, you can continue to inflate the tire. The optimum tire pressure will be on the tire wall. And that is the number to aim for. Usually it’s between 15-40psi and often around 20psi.
Make your to check the tire and inflate to the right pressure.Make sure you check your tire and inflate to that pressure. Under or over inflating can increase tire wear, decrease grip, and increase the chance of a puncture or blowout.
That’s it, your tire is back on the rim and fully inflated. Re-insert your jack and raise the mower enough to remove the jack stand.
Lower the mower back onto all its wheels. We recommend letting it stand for a few minutes before moving it. This way you can wait and see if your tire will keep pressure.
Once your happy everything is working, don’t forget to reconnect the spark plug wire and remove any chocks on the other wheels.
So, you’ve inspected the tire and decided to replace it. Now you need to remove the wheel. Take off the axle cover if there is one. Underneath will be a retaining ring. Use a slot screwdriver or pliers to pull it off.
Now you can remove the washer and pull off the tire. Beyond the tire is an inner washer. It’s best to pull that off as well. Make sure you put your two washers and the retaining ring somewhere safe. It’s really annoying to find you lost one when it’s time to put the tire back on.
Take the tire and lie it flat with the valve facing upwards. Remove the stem cap and use the stem core removal tool to unscrew and pull out the core.
Push down on the tire to dislodge the bead. Using a couple of slot screwdrivers, pry the tire up and off the rim on one side. Take your time. Pry a little of the bead up, slide another screwdriver next to the first and pry a bit more. Continue around the rim until the whole side is free. Flip the tire over and do the same again so that you can pry the tire completely off the rim.
While you’ve got the rim separate, give it a clean. Removing any dirt and grime will give a better seal between the new tire bead and rim.
Now it’s the reverse procedure from removing the tire. Using your slot screwdrivers (and make sure there are no sharp edges that could damage the tire) pry one side of the tire onto the rim. Flip it over and pry the other side on.
Flip your tire vertical again and find your compressed air. With a new tire, and not attached to the mower, it shouldn’t be necessary to use a ratchet strap or rope to get the bead to seal.
Push down a little on the tire and start to inflate. The bead should seal. Once you’re happy you have a seal, re-insert the valve stem core.
With the valve stem in, you can continue inflating the tire to the optimum tire pressure. Remember to check the optimum pressure on the tire wall and only fill to this value. As we said above (step 6a), over or under inflating a tire is not a good idea.
Using the reverse procedure from taking off the wheel, you can now re-install it. Find your washers and the retaining ring.
Put the back washer on first and then slide on the wheel. Add the front washer. Using pliers, put the retaining ring back on the axle and then replace the axle cover.
That’s it, you have a new tire. Re-insert your jack and raise the mower enough to remove the jack stand. Lower the mower back onto all its wheels.
Once your happy everything is working, don’t forget to reconnect the spark plug wire and remove any chocks on the other wheels.
Well done! You have fixed your mower tire and are ready to get back to your lawn.
I hope this guide has been useful to you. Whether you’ve put your tire back on the rim or replaced it completely, following our step-by-step guide should get your mower back on the grass in no time. Happy mowing!
Found 2 Patriot lawn mower repair service centers (wheel replacement) in Ivanovo. Choose the service that suits you from the list below or just leave a request for repair and the master will contact you.
Quick repair request
Varentsovy 8
Today 10:00-20:00, no break
+7 (4932) 36-41-36
7 photos
Zharova 9
Today 09:00-18:00, no break
+7 (930) 333-15-70
Leave a request for lawn mower repair or just ask a question to the masters and representatives of service centers will contact you to fix the problem.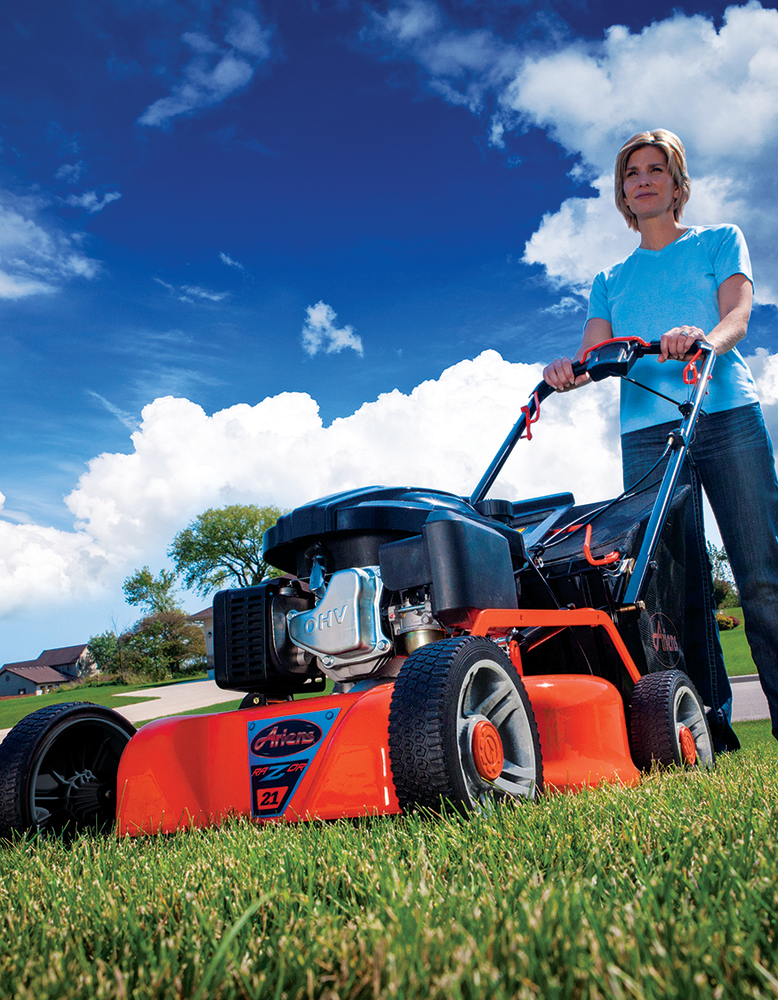
How does it work?
Can't contact a service center? Then try to fix it yourself with the help of step-by-step instructions, guides and manuals that we have collected in one place.