If you travel to the mountains or snowy areas regularly, sooner or later you’re going to have to use tire chains. Start by getting the right set for your vehicle at your local Les Schwab.
Quick-fit chains are not your grandpa’s tire chains. They are MUCH simpler to put on and take off. Here are a video, step-by-step instructions, and driving safety tips for installing quick-fit tire chains on your vehicle.
When you need chains, driving conditions are nasty. Snow is coming down, passing traffic is spraying slush, dirty water is dripping off your wheel wells, the road is slick, and it may be dark. Don’t make this the first time you put on your chains.
Practice installing your new chains once BEFORE you travel. Take advantage of a dry garage or driveway to make sure your winter tire chains are the right size and you’re comfortable putting them on. If needed, the professionals at Les Schwab Tire Centers can help.
Put together a simple winter road trip safety kit with warm gloves, waterproof layers, and other items to make your winter driving more safe and comfortable. In the winter, always carry this emergency kit and tire chains in your vehicle.
Once you’re comfortable installing your chains, you’re ready to hit the snow.
Be Safe. If you’re on the road, pull off as far as possible onto a safe shoulder. Flip on your hazard lights. Put on your waterproof layers, hat, headlamp, and gloves from your winter road trip kit.
Identify the Correct Tires. If your vehicle is front-wheel drive, the chains go on the front. If it’s rear-wheel drive, chains go on the back. If it’s all-wheel drive, please check your owner’s manual. If you’re not sure, you can ask the experts at Les Schwab for help.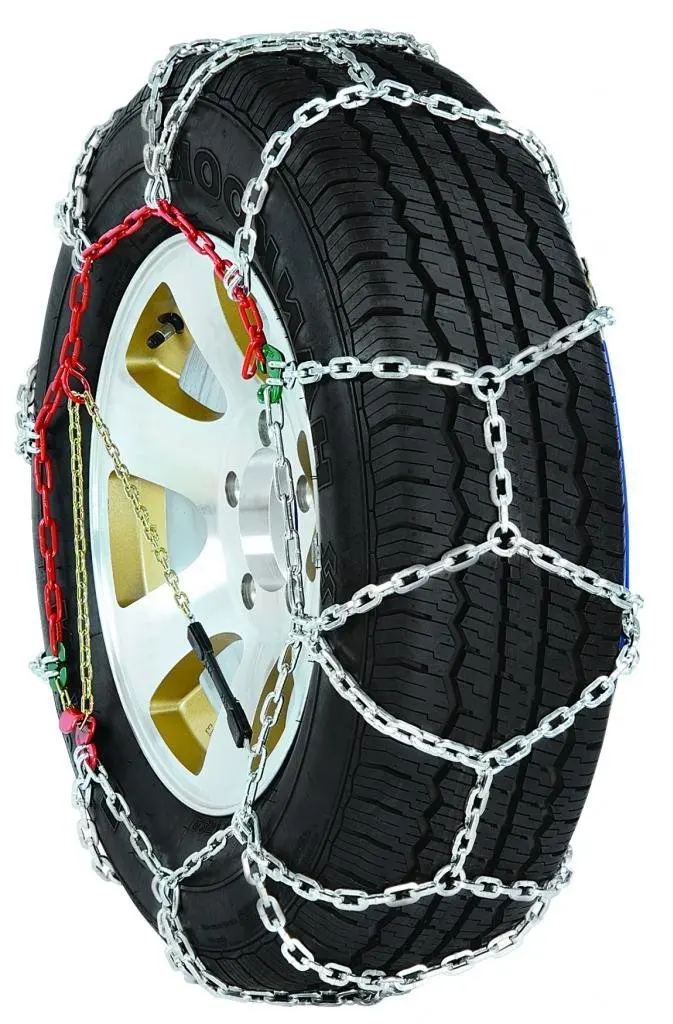
Pull Out Chains & Instructions. With your vehicle parked, open the bag and pull out your instructions and your first chain. Each bag comes with two chains. The plastic instruction mat that comes with your chains can be used as a barrier between you and the snow to keep you dry.
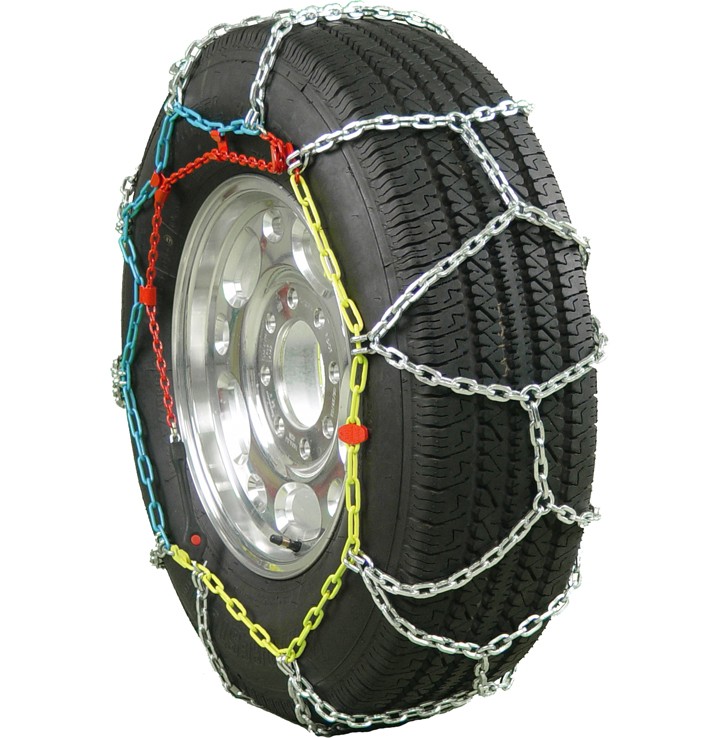
Untangle Your Chains. Holding them from the plastic-covered cable, make sure everything is straight and the chains are not looped over one another. Hold up your chains so the yellow end is in your left hand and the blue end is in your right.
The chains should hang loosely and the metal hooks seen along the yellow and blue sections should be facing away from you so they don’t damage your tires.
Place Chains onto Your Tire and Connect the Cable. Lay your chains on the ground and push them behind the tire, yellow cable end first, from the right side to the left.
Once the chains are centered behind the wheel, grab both ends and pull them up over the top of the tire. You should feel the chains against your axle.
This will allow you to easily connect the yellow and blue ends of the cable by slipping one end into the other and pulling them into place.
Connect the Red Hook. Now that the cable is connected on top, look for the red hook directly opposite the cable connection. Connect the red hook on the right to the first available gold link on the left.
Check the Diamond Shape. Push the connected chain over the top of the tire. You should see the diamond shape in the chains against your tire. Between each of those diamonds is the center rail, which should be placed down the middle of the tire tread.
Connect the Red Chain Along the Bottom. Now that the cable is connected on top, look for the red hook directly opposite the cable connection. Connect the red hook on the right to the first available gold link on the left. Push the connected chain over the top of the tire.
The bottom of the chains includes a red draw chain with bungee on your right, and a chain guide on the left. Pull these out towards yourself.
Take the long red chain and run it through the chain guide and pull as tight as you can with both hands. Don’t pull using the bungee. As you pull, one of the chain links will find its way into the notch on the red chain guide, locking it into place.
Using the bungee end of the red chain, pull it through one or both of the red loops and secure it to a gold-side chain opposite the red loops. If you can’t get it through both loops, that’s ok, pull tight through one and attach it to a side chain to the left of the loop.
Repeat on Second Tire. Repeat these steps to install chains on the other side of your vehicle.
Drive Forward Slightly. The next step is to drive forward about 15 feet, or a full car length. This gives the chains a chance to relax and settle on your tires.
Re-tighten Chains. To take up any slack, unhook the rubber end of the red draw chain and pull it tight again. Once it’s tight, guide the red chain through the loops and, again, securely latch the bungee end to the gold-side chain.
The chains should be tight on the tire. And, be sure to stop if you hear them making any contact with your vehicle. If your chains are still loose, unhook the bungee and adjust the red hook straight across from the chain guide. Unhook and reattach to the tightest position on one of the three gold chain links. It’s okay if the extra links are hanging loosely. Now, you’re ready to reattach your bungee.
While driving with tire chains, listen for a loud sound of slapping, or metal on metal. If you hear any indication that a chain may be broken or hitting your car, STOP as soon as safely possible. Loose or broken chains that flap can wrap around a strut or shock component, causing big damage to your vehicle. To help prevent damage, here are a few tips for driving when you have winter chains installed on your vehicle.
Pull over in a safe location and remove the chains. Start by unhooking the bungee and chain from the guide, removing them from the tensioner. Unlatch the red hook, and then undo the blue and yellow cable connection. Once all of your chains are off and lying flat on the ground, pull backward or forward slowly a few feet so you can safely pick them up.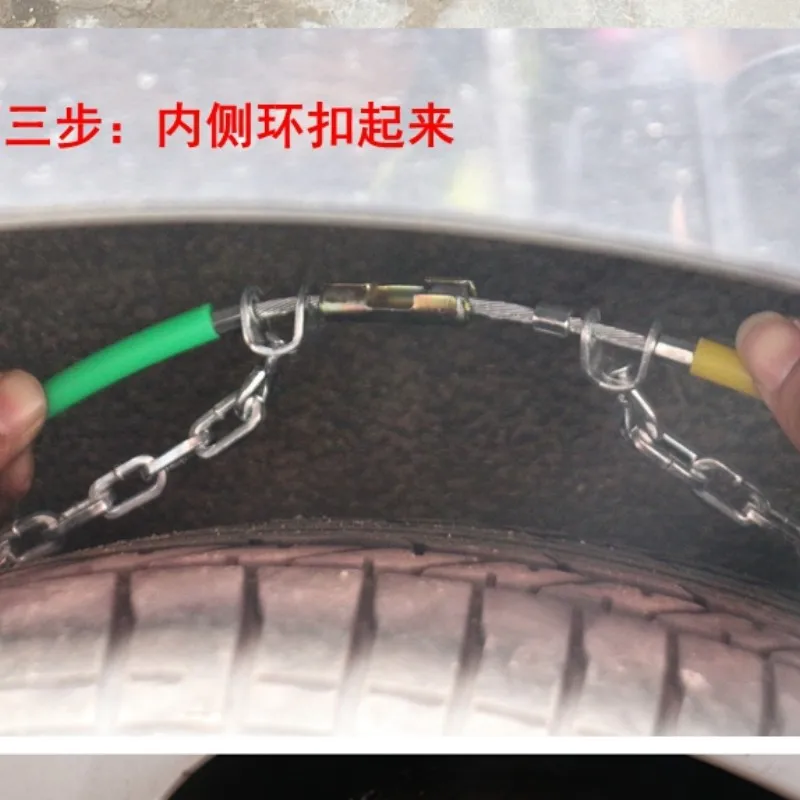
At the end of your trip, lay your chains out in the garage and let them dry. If you pack them wet, they can rust.
Also check them for wear, especially if you’ve driven them on asphalt for any distance. Look for flat spots, and replace the chains if you find some.
Link at left shows flattening from wear. Link in center shows sharp edge from wear that can damage a tire.
Remember, if you don’t use your chains all winter long, you can return them with proof of purchase to any Les Schwab for a full refund in the spring.
Get your next set of Quick-Fit chains, along with a few tips on how to install them, at your local Les Schwab, where doing the right thing matters.
Want more tips on winter road safety? See 19 Winter Driving Resources You Can’t Do Without.
Get More Winter Tips
The Drive and its partners may earn a commission if you purchase a product through one of our links. Read more.
Controlling your car's traction is tricky when there is snow or ice on the ground. All vehicles, even ones with snow tires and all-wheel drive, can slip and slide in heavy snow. When the white stuff is piling up, especially in mountainous areas, often the best solution aside from staying home and sitting by a fire with a glass of whiskey, is to hook up a set of snow chains.
If you follow proper procedures, and some basic safety tips, snow chains are relatively easy to install, even while out on the open road by yourself. Some states regulate the use of snow chains, so check your local guidelines.
When you're all up to date on the rules and regulations, and a big snow's a-coming, here's how to use snow chains.
BasicsEstimated Time Needed: 30 minutes.
Skill Level: Beginner
Vehicle System: Your car's tires.
DepositphotosTo keep yourself and others safe, here are a few simple ways to help mitigate some of the risks while you're installing snow chains:
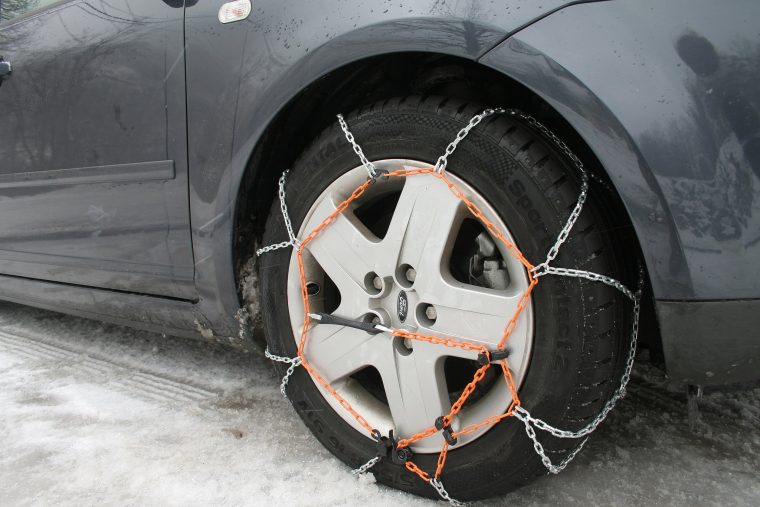
The great thing about typical tire chains is you don't need any special tools to get the chains on the tires, though you'll still need two fairly obvious things. They are...
See what we mean?
Ideally, you'll want a flat, traffic-less and hopefully, snow-less, surface to ensure your own safety, your car's safety, and your pants from getting soaked while kneeling on the ground.
DepositphotosArranging Your WorkspaceOrganizing your tools and gear so everything is easily reachable will save precious minutes waiting for your handy-dandy child or four-legged helper to bring you the sandpaper or blowtorch.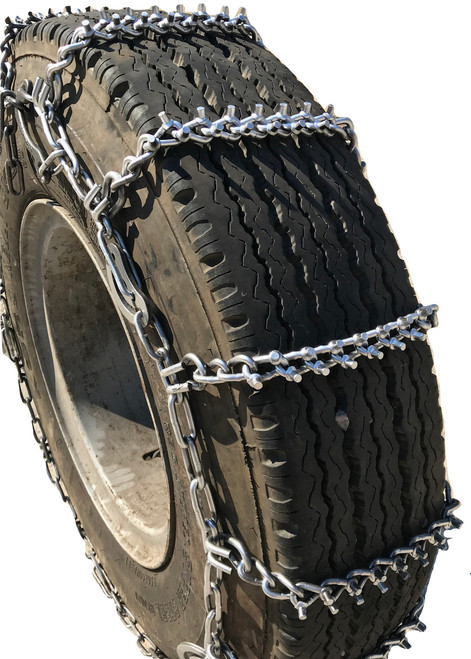 (You won't need a blowtorch for this job. Please don’t have your kid hand you a blowtorch—Ed.)
Snow chains can seem challenging to install, especially if it's your first time, so you should expect some trial and error that may or may not test your ability to use PG-friendly words while under duress. With some persistence and the occasional mumbled curse, you'll get a handle on them.
All right, let's get this party started!
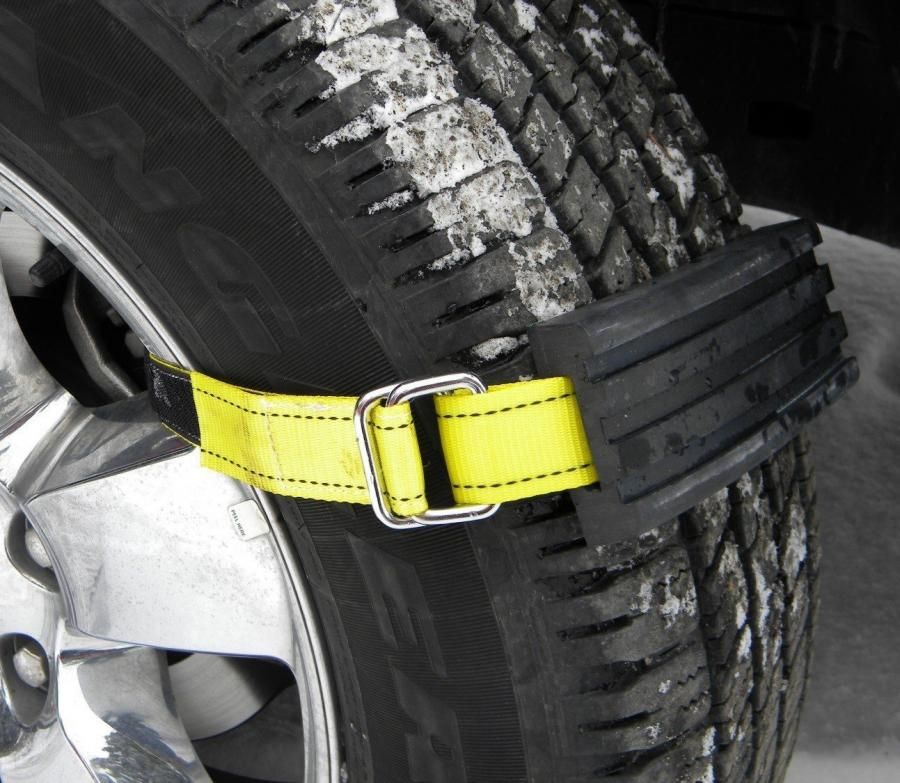
You did it, congrats!
Depositphotos Here are our top tips for putting chains on, taking them off, and making sure you're safe on the road.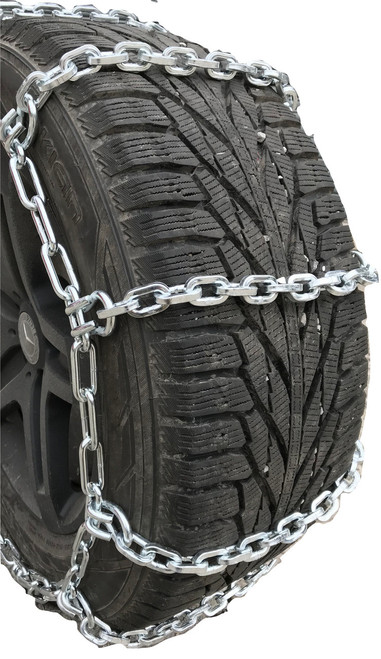
Only if your vehicle has all-wheel drive. Otherwise, you should only need chains on the drive wheels.
Not necessarily.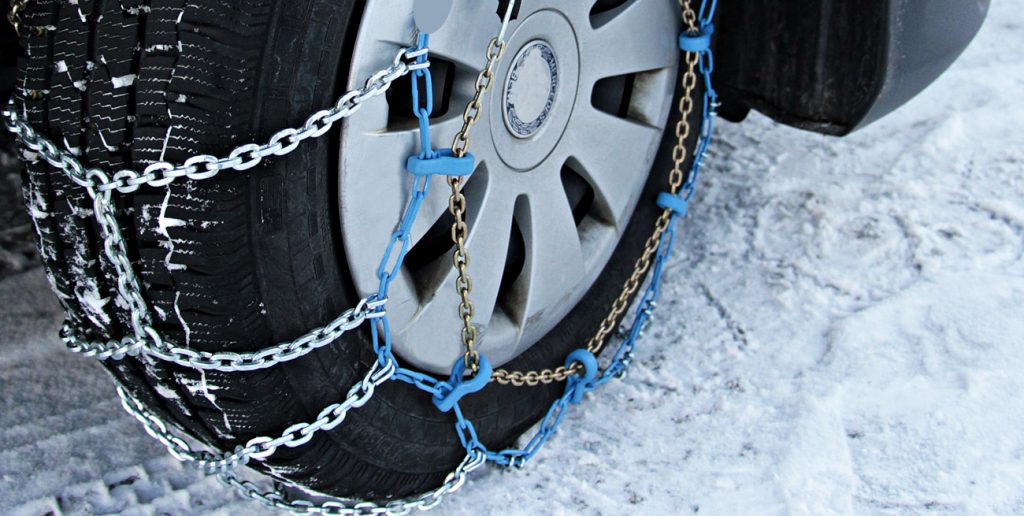 If there is enough space above the tire and wheel arch, you don't need to use a jack. But you may need one to raise the body of the vehicle if there isn't adequate space.
Even the best snow cables can rotate and move around when you drive. It’s advised that you check the snow chains every time before you drive. If they move, they may loosen and become less effective.
Life HacksWe all have them, we all love them. And since you may not have access to the right tools, or have a friend you can bum a wrench off of, we also compiled a list of our best hacks to make your life easier and drain your pocket less. Here are our best life hacks for using snow chains.
Got a question? Got a pro tip? Send us a note: [email protected]
Snow chains are not used daily and often get in the way in the trunk of a car, but there are situations when further movement without chains on the wheels is simply impossible and then they become for the driver, the same necessity as a can or a first aid kit. Often, the tread of standard wheels, all-wheel drive and low gear are enough to overcome puddles and mud on country roads.
But sometimes it is necessary to overcome those last few kilometers to the destination (dacha, mushroom meadow or treasured fishing place) along a country road covered with snow or muddy from rains and broken by timber trucks.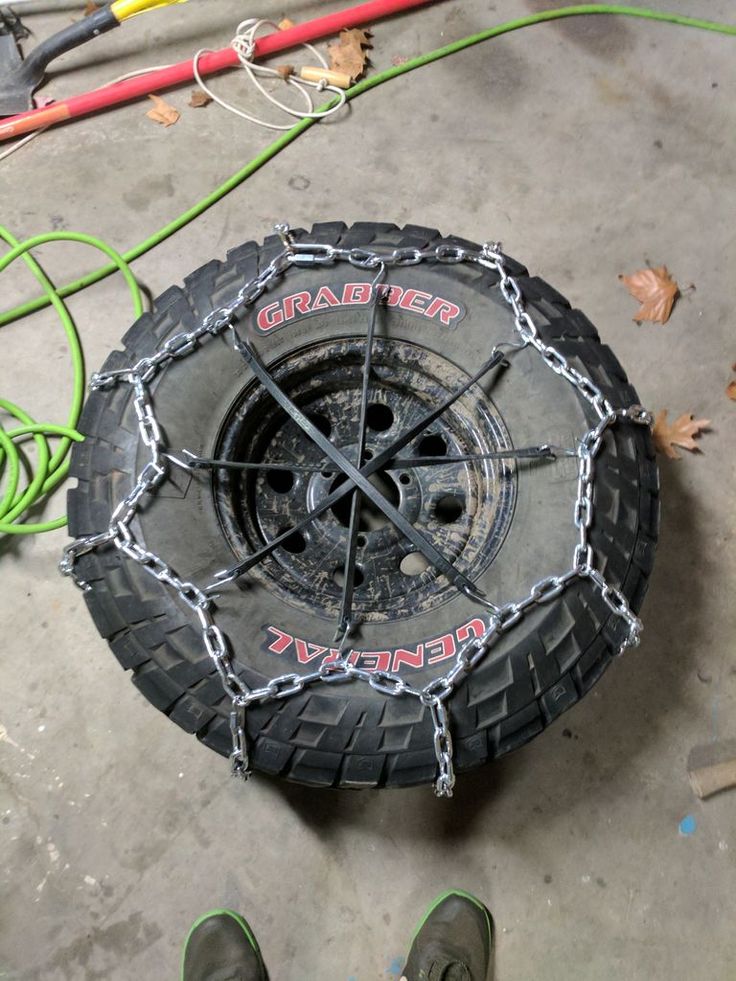 In such cases, snow chains come to the rescue.
Anti-skid chains (“muzzles” or “purses” as they are popularly called) increase the cross-country ability of any car from OKI to URALs, Kamaz and GAZ-66. Of course, you can increase the car's cross-country ability by buying off-road tires like Goodrich, but for a car that is used more in urban areas with constant driving on paved roads, this is impractical and expensive. And snow chains for increased flotation, of course, win in price and durability compared to off-road tires.
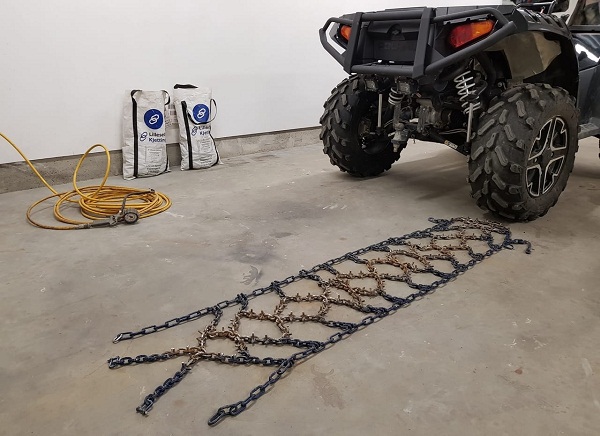
Chains for cars and SUVs are of 2 types: "Ladder" and "Honeycomb". Chain link thickness 5mm or 6mm. Chain locks are strong, reliable and easy to fasten.
The most common chains with a "Ladder" pattern. Their main advantages are low price, ease of mounting on wheels, better traction, they are lighter and easier to operate, require less time to install on wheels.
"Honeycomb" chains - allow you to move more confidently on viscous soils, no jerks when moving, the likelihood of digging is reduced, but at the same time, a higher price, the complexity of mounting on wheels and more installation time.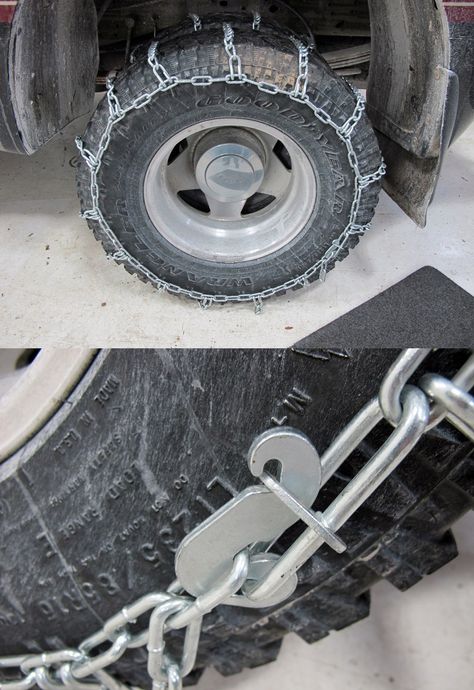
Niva 21213 on snow chains
There are two ways to put chains on the wheels:
- with jacking up the SUV wheel and then mounting the chains on the wheels.
- with chain spreading and subsequent collision with a car wheel.
For Niva and UAZ, thanks to the large wheel arches, the method of spreading chains in front of the front or rear wheels of the car is more suitable. The chains must be laid out on the ground along the axis of movement of the car with the locks outward. Having driven 20 or 30 cm with the front or rear wheels on the chain, we throw most of the chain on the wheel. We pull the chain onto the wheel, pulling the ends together, and with a hook on the inside of the wheel we fasten both parts of the chain. Having straightened the transverse branches of the chain (lugs) on the wheel, we fix the outer lock to the farthest link on the outside of the wheel. After you put both chains on the wheels on one axle of the SUV, you need to drive a few meters to evenly distribute the chain over the surface of the wheel. Then, from the outside, you can tighten the chain a few more links and secure it with a locking hook (lock).
January. Kirov region. Car VAZ 21213, tires K-182. Chains "Ladder" with a link thickness of 5 mm on the front wheels. Installation of chains took about 15 minutes. Packed snow, crust, snow cover height 40-50cm. When driving, there is a slight drift of the car, to reduce jerks when driving, you have to move in a lower gear in order to have a traction reserve. Having overcome several kilometers through snow-covered fields, I felt like an all-terrain vehicle driver. Permeability has increased exponentially! Slips have been reduced to a minimum, Niva just goes and that's it!
Only the thought of plows and harrows forgotten in the fields by collective farmers, which can catch and break the chain, was alarming, but everything worked out. The car moved confidently, did not skid. When driving uphill, I had to accelerate a little. When overcoming icy slopes, a slight slip of the front wheels is felt, due to gaps of 200-250 mm between the transverse jumpers.
In the winter of the same year, when turning, the rear wheel jumped off into an icy track and got stuck. Having jacked up the rear wheel, put the straightened chain under the slipping wheel in the direction of travel and calmly left without outside help. The chains also helped in overcoming a small-looking stream in the spring, which gave us a lot of trouble. Deciding to skip the stream without chains, he landed the car just in the middle of the channel and at the slightest attempt to turn back, the Niva dug deeper and deeper into the clay. The wheel tread instantly clogged with semi-liquid clay and became smooth. The whole family had to dig out the front wheels, jack them up and put on chains up to the elbow in clay and mud. With the chains on, he turned the wheels all the way and reversed. The car jumped out of the rut and drove effortlessly back onto dry land. After that, taking a little to the right, so as not to fall into its own rut, with acceleration effortlessly, my SUV overcame the ill-fated obstacle.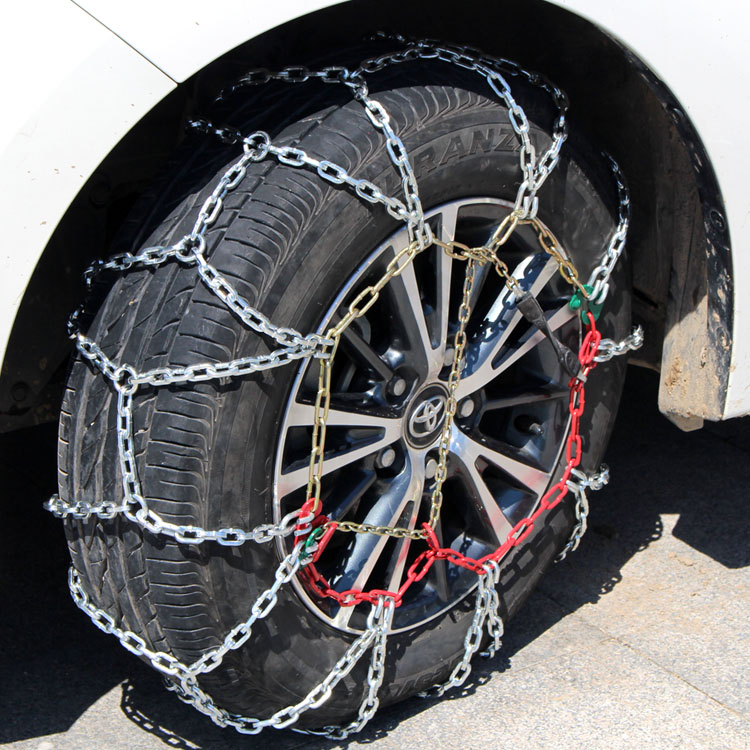 After that, I was once again convinced of the need to put on chains before overcoming an obstacle, and not to suffer then to pull them in cold water and elbow-deep in mud. Previously, without chains, when I sat down, I could no longer get out without outside help. Now with the chains I came to the conclusion - before the mud, immediately put them on, you need to move on them evenly, do not skid once again in the mud.
Experience in using chains on 2111
We drove at the beginning of winter to the dacha on the VAZ-2111. In summer, the road there is normal, covered with gravel, and in winter it is not cleaned for several kilometers and, accordingly, snow fell knee-deep there. The temperature for several days was +2 degrees, so the snow was wet and loose. A VAZ-2111 car on winter tires Amtel NordMaster K-239 175/65 R14, faced with wet, heavy snow, stalled after a few meters and refused to go forward. Having passed a few meters back, on a less snowy road surface, I decided to try out snow chains. The snow chains were galvanized, Lasenka type, made specifically for the size of my wheel. Since the vases of the 10th family are characterized by small arches, the transverse branches (lugs) of the chain were made from a long link chain. I tried to put on chains without jacking up, as on a NIVA or UAZ, alas, it did not work out. The distance between the arch and the wheel is too small so that you can stick your hand into it and put the chains on the wheel. Therefore, I had to get the jack and jack up the front wheels in turn. The installation of the chain on the wheel itself turned out to be simple and there were no difficulties with installation. After driving a few meters, I stopped and tightened the chain by 1 link. After installing the chains, the situation changed dramatically: the car began to easily overcome snowdrifts and snow crossings. Effortlessly stopped and started again anywhere.
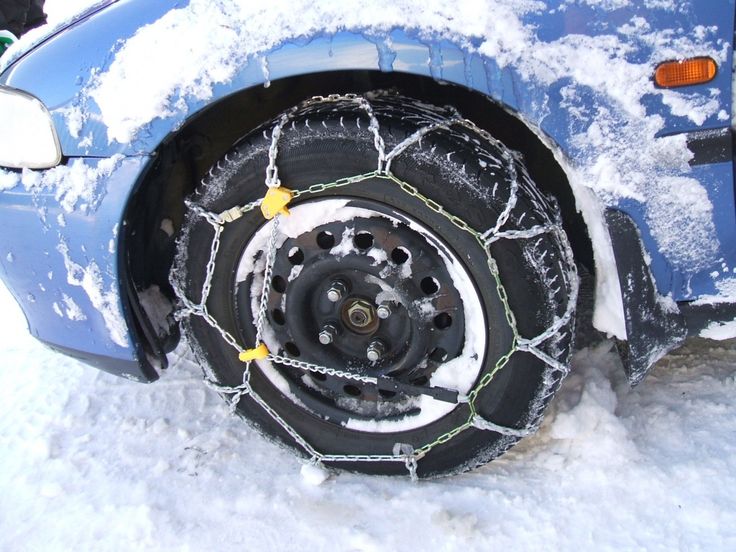 The car drove effortlessly where a Chevrolet Niva car (Chevrolet NIVA) had hardly passed a few hours ago on winter highway tires, with blocking and in low gear.
You can order snow chains for your car on our website. We can order snow chains for non-standard wheel sizes for cars, trucks and special equipment. We carry out delivery to the regions of Russia by transport companies and mail and luggage cars of Russian Railways.
Contact information:
Kirov, Kirov region
tel. (8332) 205-215
e-mail: [email protected]
ICQ: 555466694
2111, 21213, car, VAZ, wheel, installation, field, snow chains, chain
Contents
Whereas in Europe, on the contrary, few people use studded tires.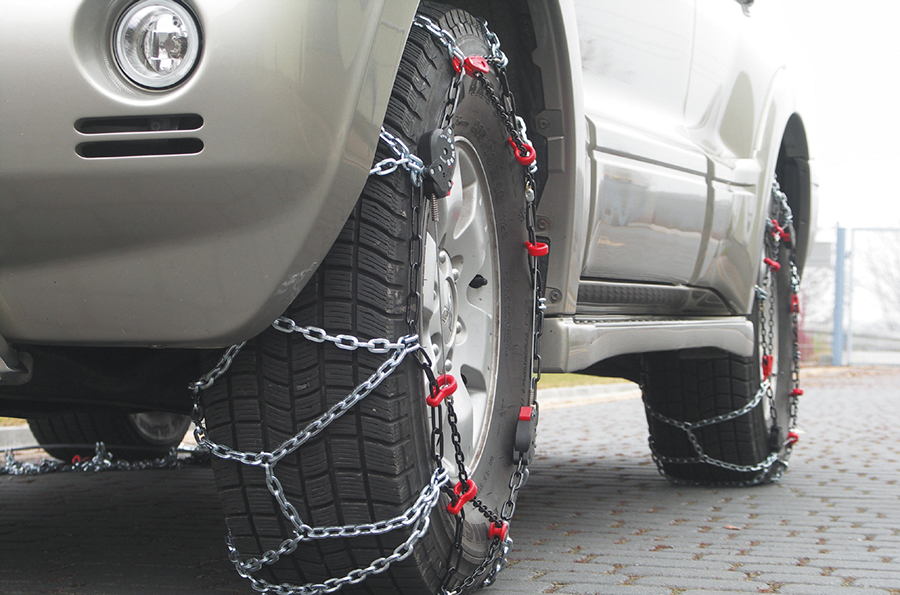 And when traveling to ski resorts, on some roads you may encounter a mandatory requirement to use snow chains.
You will be informed about this by the relevant road sign. And the fact that you can have winter tires installed will not matter. So for peace of mind, it's better to have chains in the trunk.
New vehicles are often offered with different wheel/tire sizes. Some of them may not be suitable for fitting snow chains.
The problem is that installing chains adds a few centimeters to the width and diameter of the tires. This means that with some wheel/tire combinations, the snow chains will hit the body, suspension or parts of the braking system, which can lead to serious consequences.
Circuits can also interfere with the correct operation of electronic sensors mounted on the steering wheel.
The vehicle manual must clearly state which wheel size the manufacturer allows snow chains to be used with.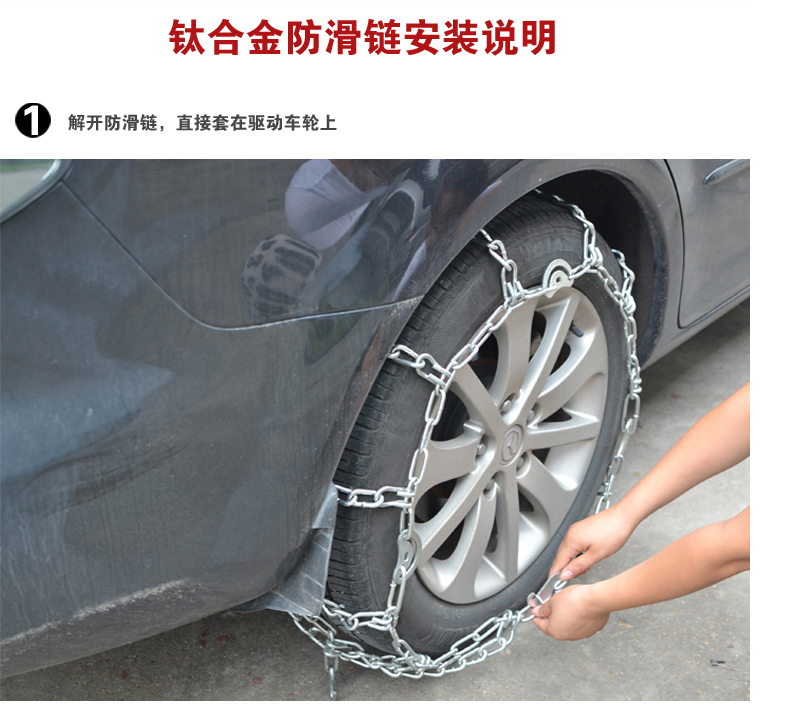
If the chains cannot be used with the wheels installed on your machine, then your only option is to buy a second set of wheels/tyres.
You should only use snow chains where the road surface is completely covered by compacted snow or ice.
If signs require the use of snow chains, they must be fitted to all vehicles. Including those equipped with both winter and studded tires.
If you attempt to use the chains on a road that has been cleared of snow, you risk damaging the road surface and the vehicle. If you damage the road surface, you may face a large fine.
Therefore, as soon as you reach a section of the road free of snow or ice, you must select a level place and remove the chains.
It can be quite inconvenient to install or remove chains, for example when the wheel arches are filled with snow and your gloved hands are wet and cold.
So when you buy chains, don't just throw them in the trunk and forget about them. The practice of installing them at home when the weather is warm and dry, and you feel much more confident when you have all the necessary tools at hand, will help to cope with them in more difficult weather conditions.
At least one pair must be used on the drive wheels. But two pairs are better, especially if you spend a lot of time in conditions where snow chains are a must.
As a general guide:
As a general rule, traction control (a system that controls the amount of slip on the vehicle's drive wheels to prevent them from spinning during acceleration) should be disabled when snow chains are used.